This post may contain affiliate links. I may earn a small commission at no extra cost to you if you make a purchase through these links. I only recommend products I personally use and love.
Quick answer: These eight Montessori inspired activities for toddlers build fine motor skills, problem solving and hand eye coordination through independent play, starting with a learning clock, a shape sorter and spinning gears. Research from the NAEYC finds play based learning is one of the most effective ways to build early childhood skills.
8 Montessori Activities for Toddlers That Build Skills Through Play
These montessori activities for toddlers are designed to support your child’s natural curiosity and development through hands-on, independent play. Research from the National Association for the Education of Young Children (NAEYC) confirms that play-based learning is one of the most effective ways to build cognitive, motor, and social skills in early childhood. Here are 8 montessori activities for toddlers that make learning feel like fun.
As parents, we want the best for our little ones, especially when it comes to their development. The Montessori approach to learning emphasizes hands-on, sensory-rich activities that encourage your child’s natural curiosity and foster essential developmental milestones. For babies aged 6-12 months, this Montessori-inspired activity set is a perfect tool to promote sensory awareness, fine motor skills, and early problem-solving abilities.
This thoughtfully designed activity set features 8 engaging and educational activities that align with the Montessori philosophy. Let’s explore how each activity provides unique benefits for your baby and makes playtime both fun and meaningful!
1. Learning Clock
Introduce your baby to the concept of time with this colorful learning clock. The movable hands and numbers encourage shape recognition and fine motor skills while laying the groundwork for time-related concepts in the future.
2. Shape Sorter
The classic shape sorter enhances your baby’s problem-solving abilities and spatial awareness. By matching shapes to their corresponding slots, your baby develops hand-eye coordination and a better understanding of geometry.
3. Spinning Gears
Turn, twist, and explore! The spinning gears captivate your baby’s attention while promoting fine motor development and cause-and-effect learning. It’s an engaging activity that keeps little hands busy.
4. Sorting Stacking Board
Stacking and sorting rings or blocks by size and color encourages your baby to develop color recognition and logical thinking. This activity also helps improve grasping and hand strength.
5. Ball Drop Game
The ball drop game introduces object permanence, helping your baby understand that objects exist even when out of sight. Dropping the ball and watching it reappear is both exciting and educational.
6. Color Matching Sticks Drop Game
This activity involves matching colored sticks to their corresponding holes, which enhances color recognition and fine motor precision. It’s a fun challenge that improves focus and patience.
7. Coin Bank
Encourage early saving habits while building hand-eye coordination with this coin bank activity. Dropping coins into the slot is a simple and rewarding way for babies to develop fine motor skills and concentration.
8. Carrot Harvest Game
The carrot harvest game features removable carrots of various sizes, teaching size differentiation and improving pincer grip. It’s a delightful activity that introduces concepts of farming and nature.
Why Parents Love This Activity Set
Durable and Safe: Made from high-quality, non-toxic materials, this set is built to last and safe for little hands and mouths.
Educational Value: Every activity is carefully designed to align with Montessori principles, ensuring your baby’s playtime is productive and meaningful.
Multi-Use: Perfect for independent play or parent-child bonding sessions.
Great Gift: Ideal for baby showers or birthdays, this set offers lasting value for babies and their families.
Ready to Elevate Your Baby’s Playtime? This Montessori-inspired activity set is a must-have for parents who want to support their baby’s natural curiosity and growth. Click the link below to shop now and watch your little one’s development thrive!
Shop the Best Montessori Activities for Toddlers
Here are some of my favorite Montessori-inspired toys perfect for babies and toddlers:
Kizfarm 8-in-1 Wooden Montessori Play Kit – Shape sorting, stacking, carrot harvest, coin bank & more: Shop on Amazon
PEBIRA Montessori Sorting & Stacking Toys – Wooden color recognition shape sorter for 1-3 year olds: Shop on Amazon
Montessori Wooden Sensory Toddler Toys – Educational learning toy for fine motor skills: Shop on Amazon
Disclosure: This post contains affiliate links, which means I may earn a small commission if you make a purchase through my links, at no extra cost to you.
Quick answer: This is the DIY roach routine I actually run in my own home, using affordable products from Amazon and no exterminator. It has kept my house roach free for over a year and a half. Cockroaches are one of the most common household pests and can trigger asthma and allergies, according to the EPA.
How to Get Rid of Roaches DIY – A Step-by-Step Routine That Actually Works
If you’re wondering how to get rid of roaches DIY, you’re not alone. According to the U.S. Environmental Protection Agency (EPA), cockroaches are one of the most common household pests and can trigger asthma and allergies. This proven DIY routine shows you exactly how to get rid of roaches DIY using affordable products from Amazon , no exterminator needed.
This post may contain affiliate links. I may earn a small commission at no extra cost to you if you make a purchase through these links. I only recommend products I personally use and love.
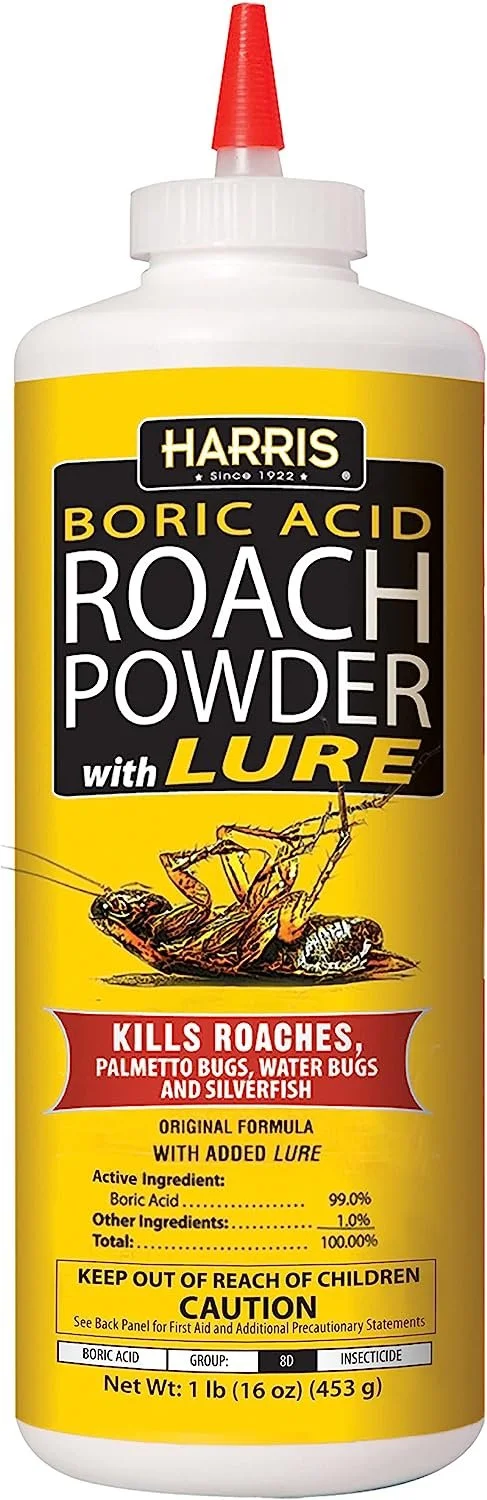
Roaches in your home? I understand your pain and please reassure yourself and know that you are not alone! When I first moved into my first home almost three years ago, I was faced with an overwhelming roach infestation in my home. After much trial and error, countless hours of research, and testing out dozens of methods and products I have developed a routine that allowed me to finally feel comfortable in my home without seeing a pesky roach for over the past year and a half. Below you will find a list of the products and step-by-step routine I use to help keep the cockroaches out of my house & then to kill any that are currently living in your home.
Before I begin, if you haven’t already viewed my video on Tiktok as a response to Grace O’Malley who’s new apartment in NYC was infested with roaches then go ahead and view it now via the Youtube video below.
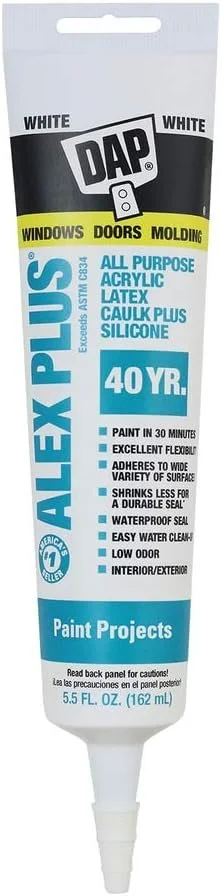
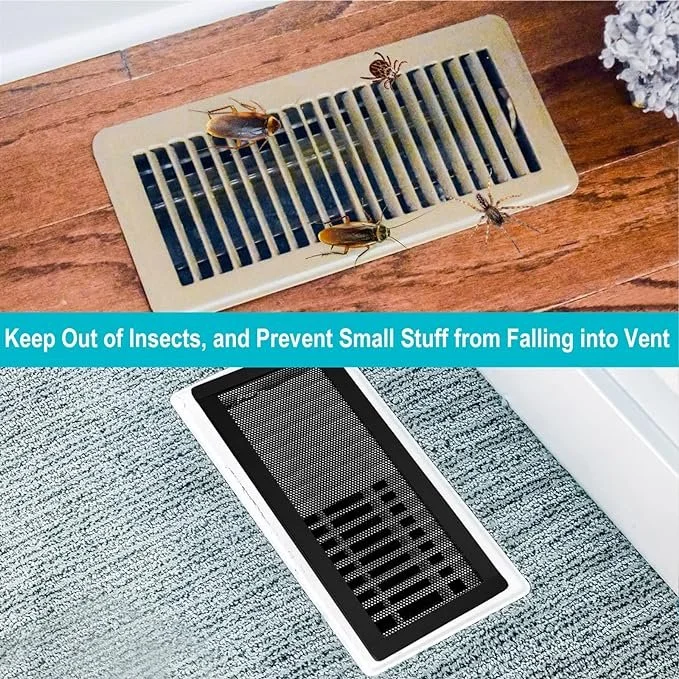
The most important tip I can give you is that if you don’t seal up their points of entry then they will definitely continue to find their way in your apartment. But not to fear! It’s easier than you think. Caulk any crevices or holes, cover your air vents, close your drains at nighttime (bathroom sink, tub/shower, & kitchen sink) and literally they won’t be able to get into your space!
Don’t give up! You’ve got this & I promise you are going to eliminate and overcome these roaches once and for all so that you can finally feel comfortable in your home!
Disclosure: This post contains affiliate links, which means I may earn a small commission if you make a purchase through my links, at no extra cost to you.
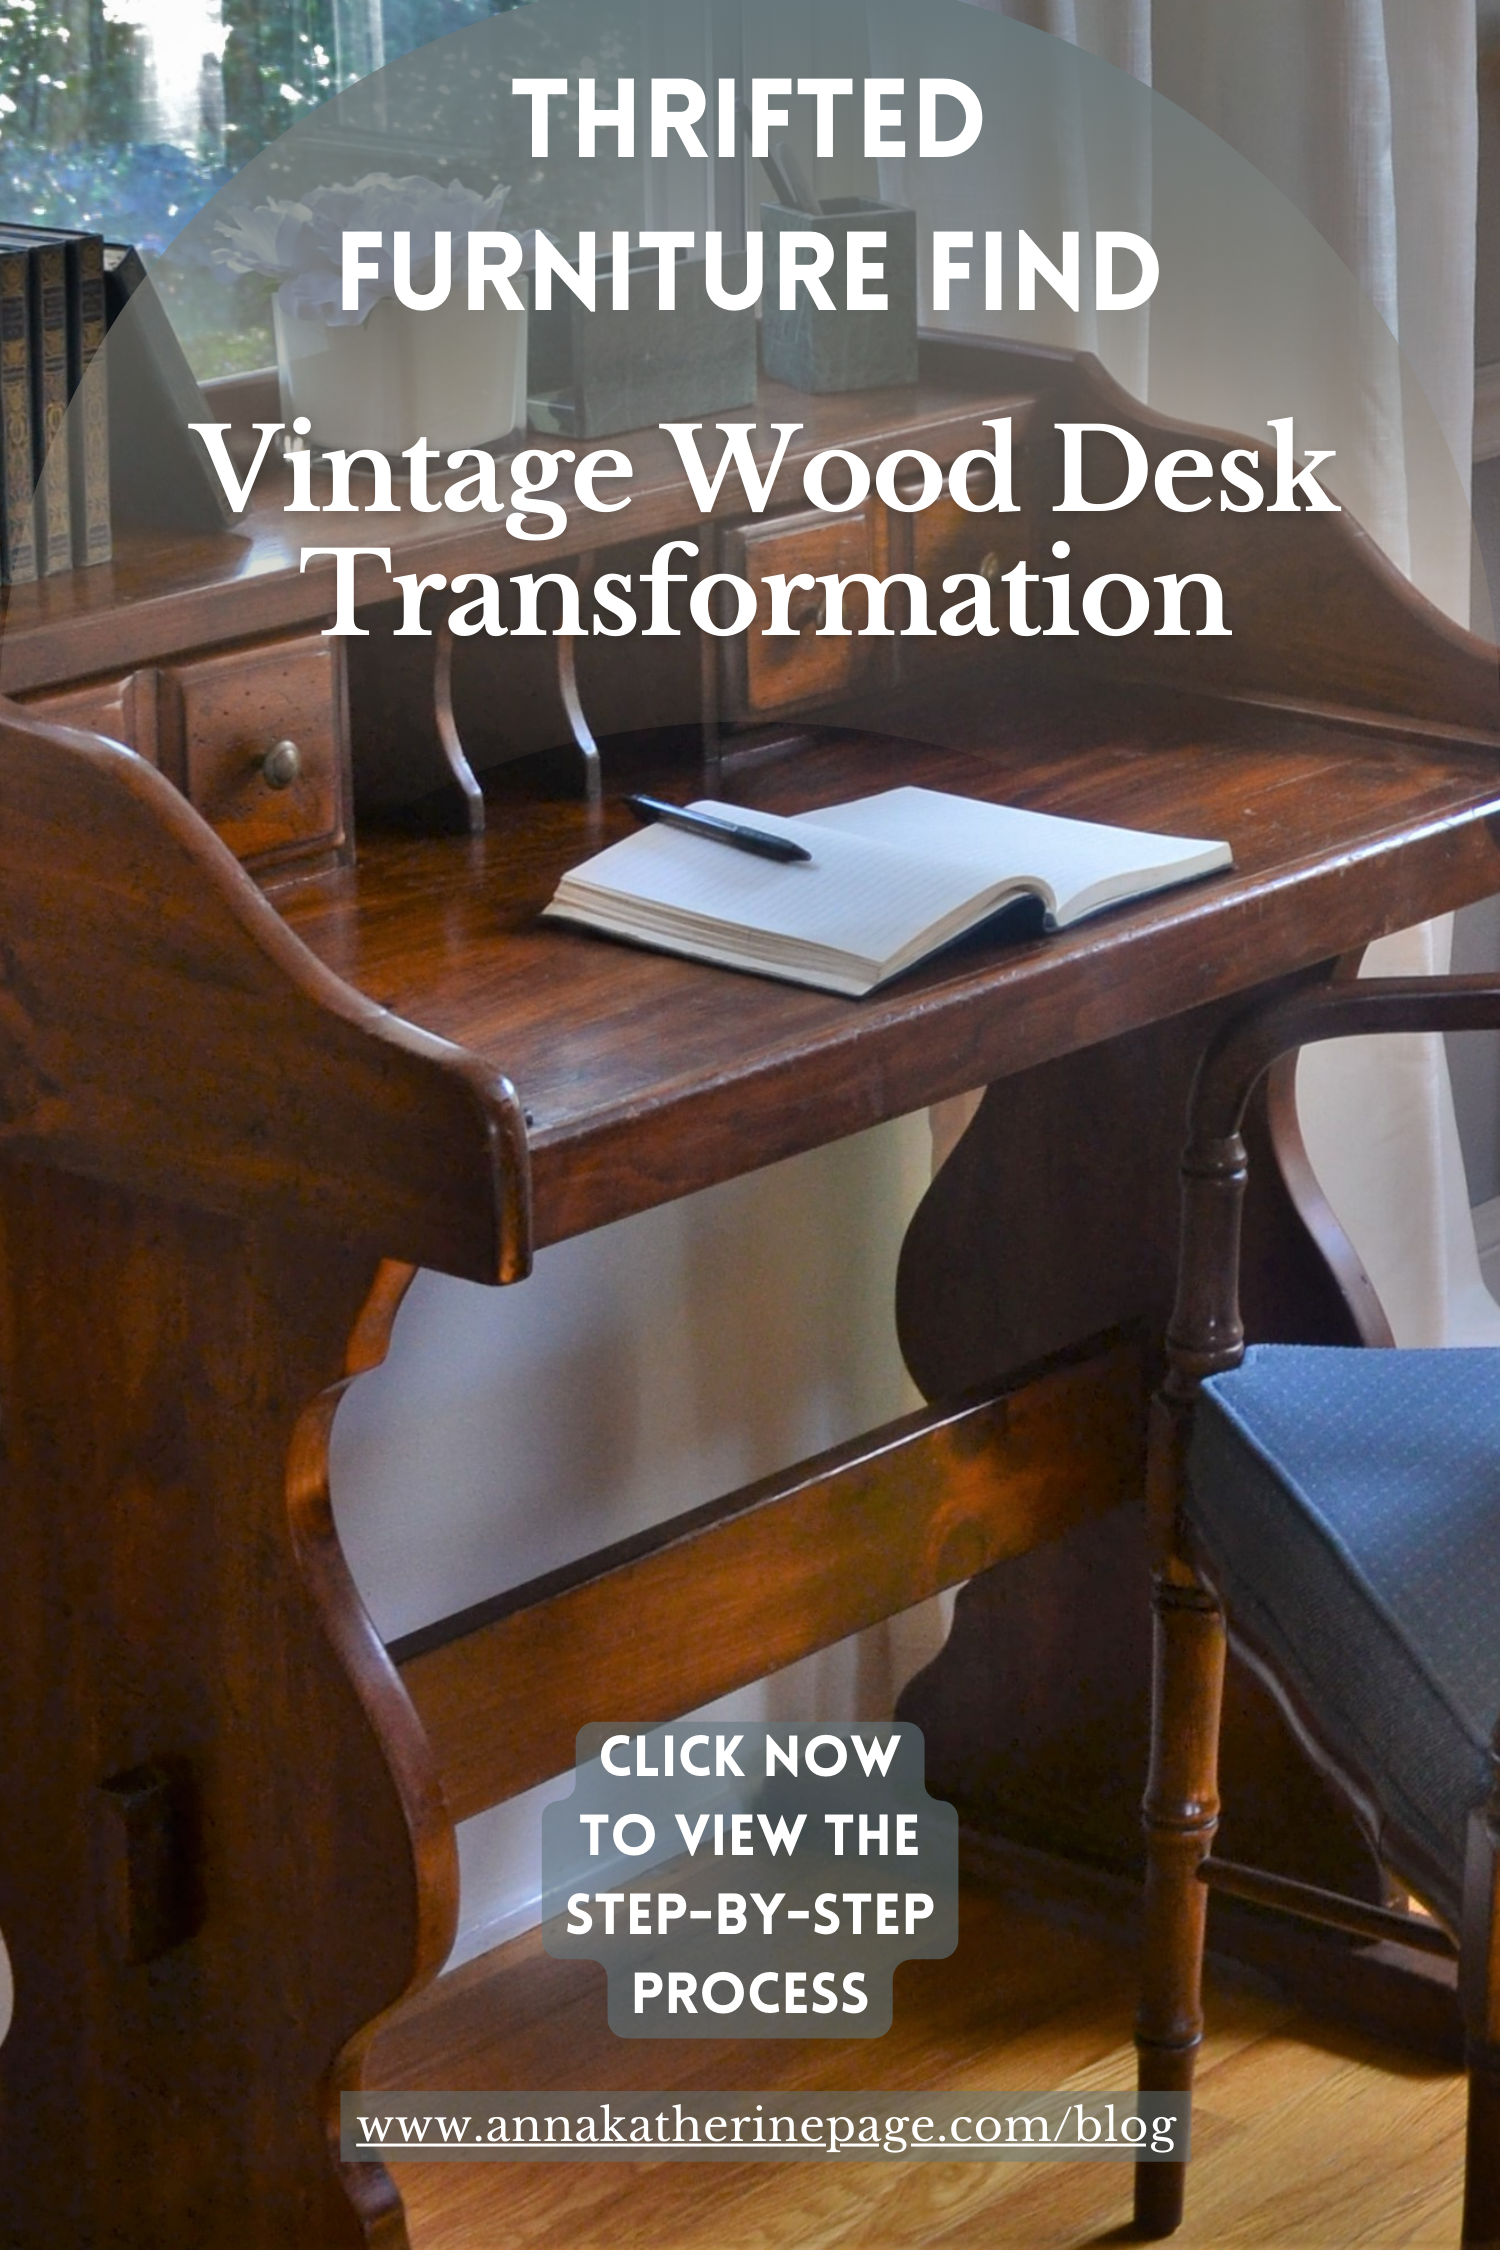
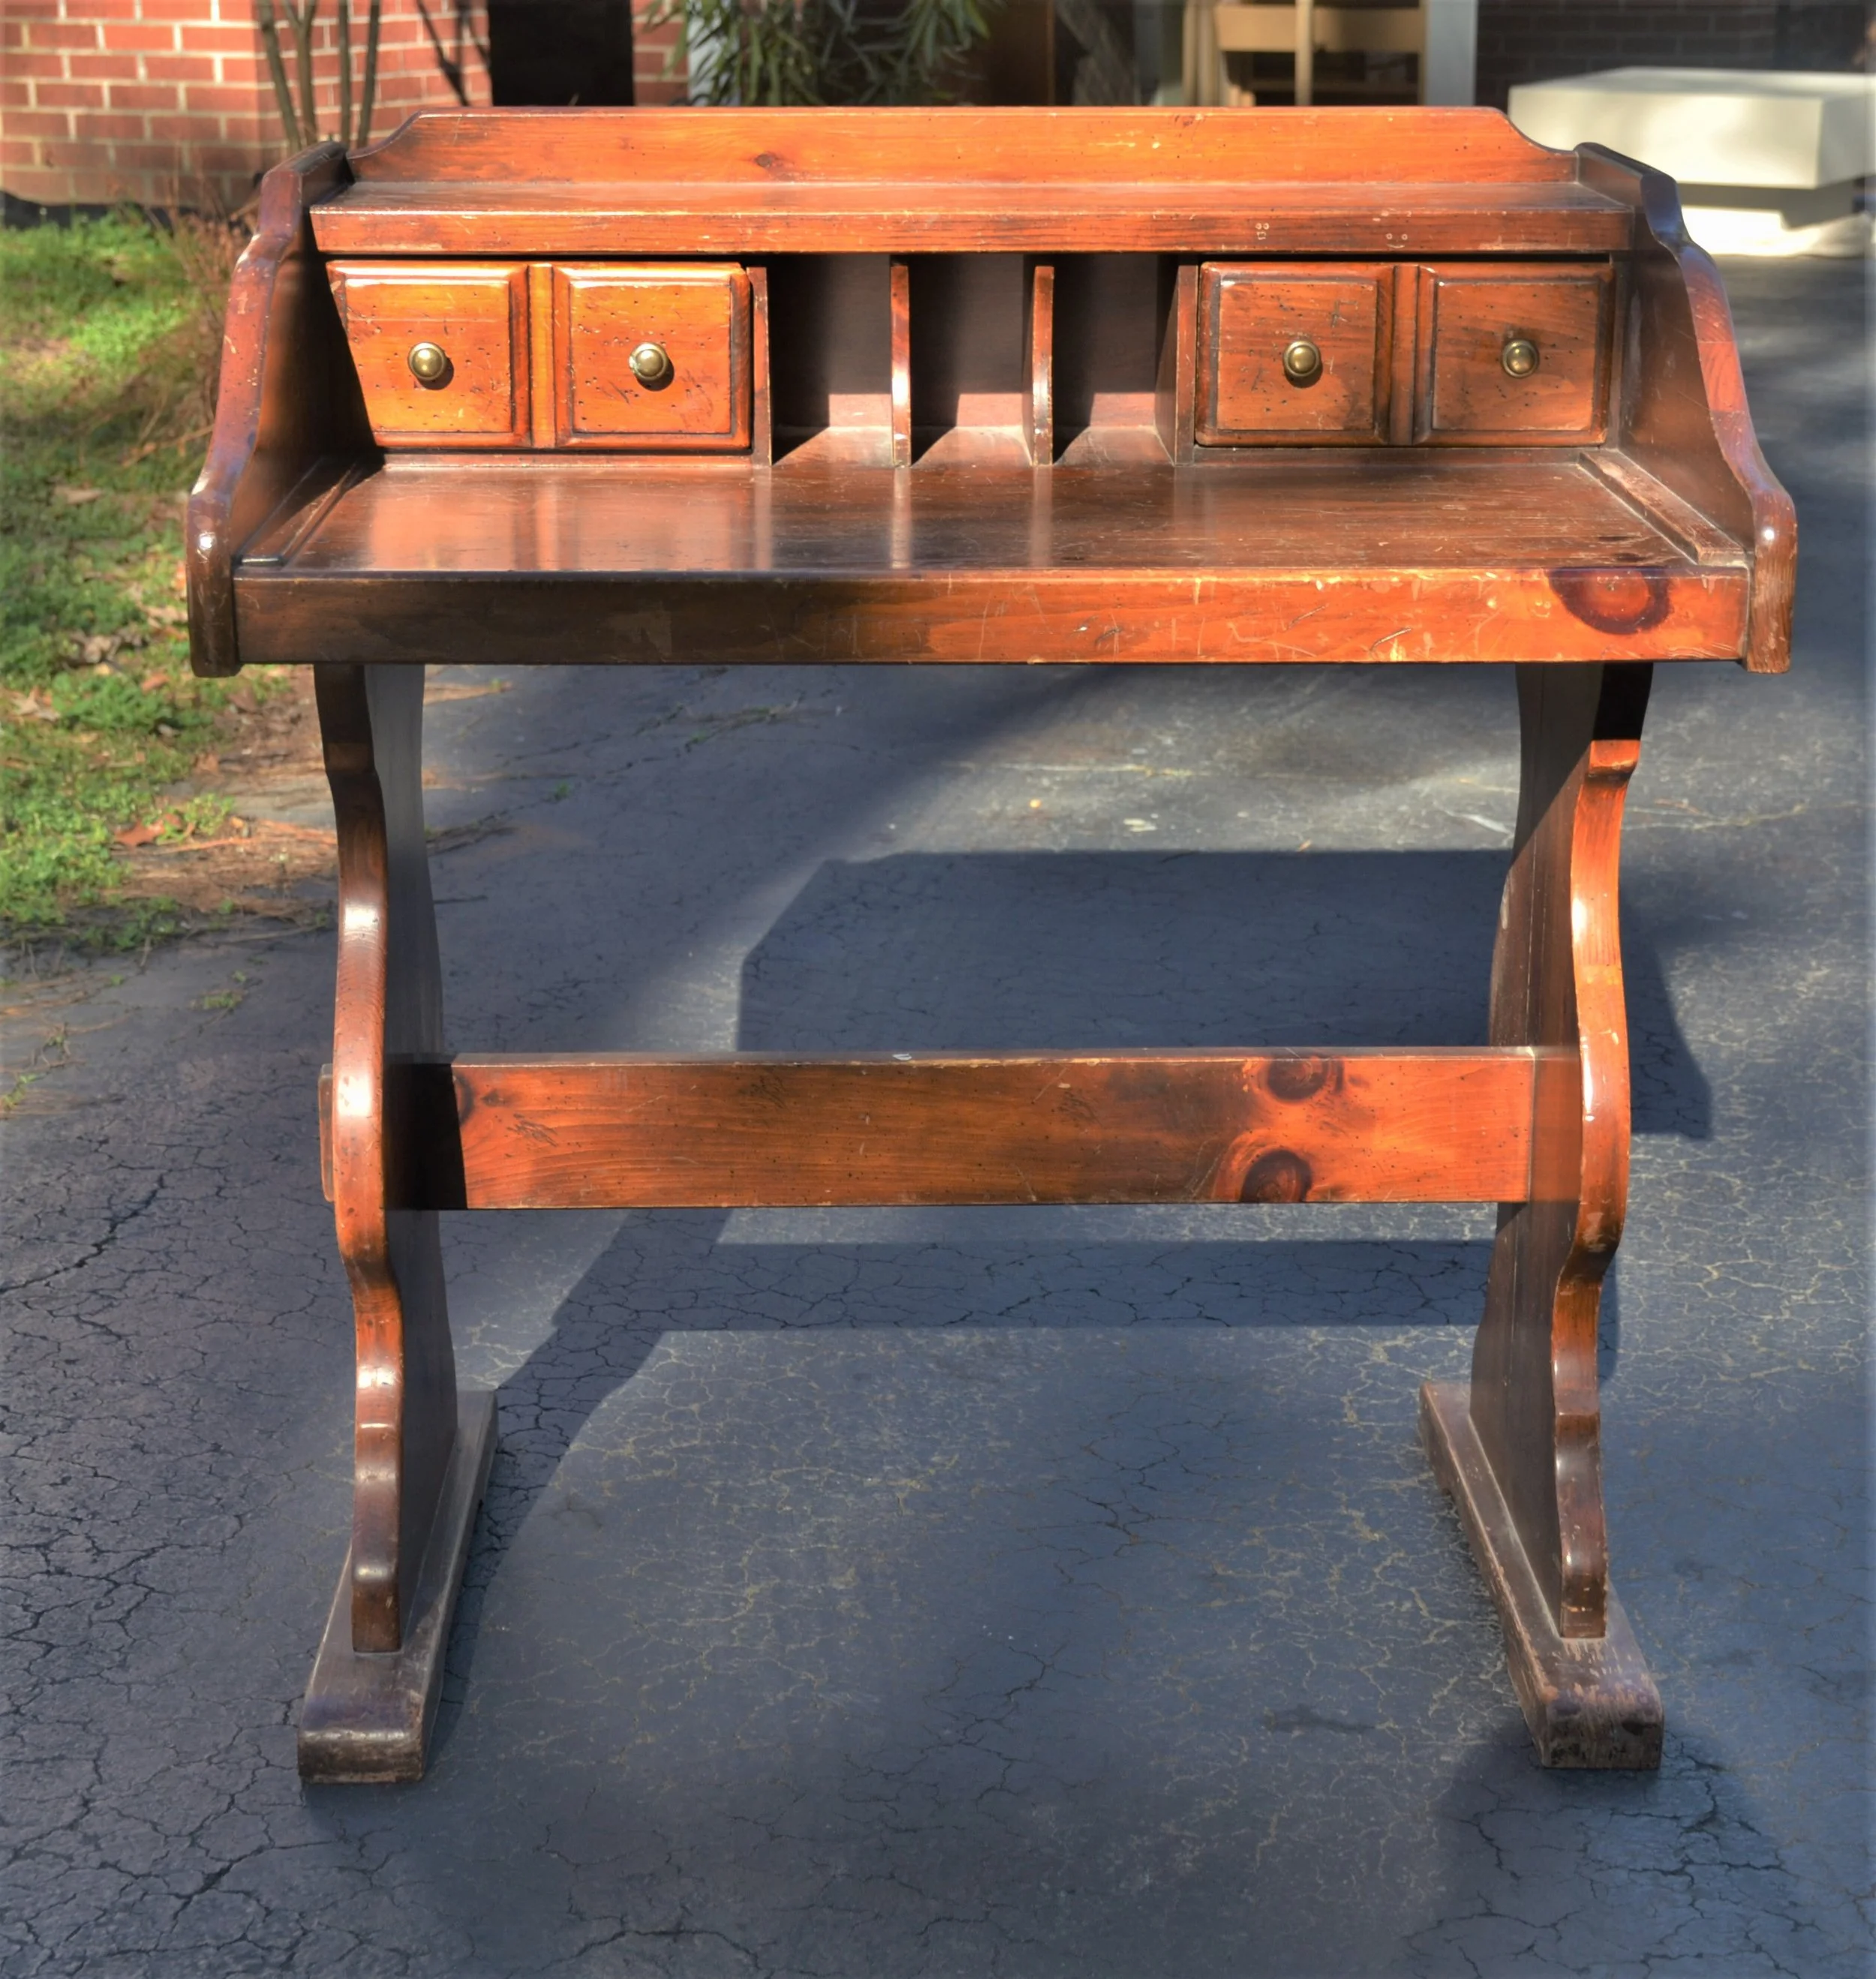
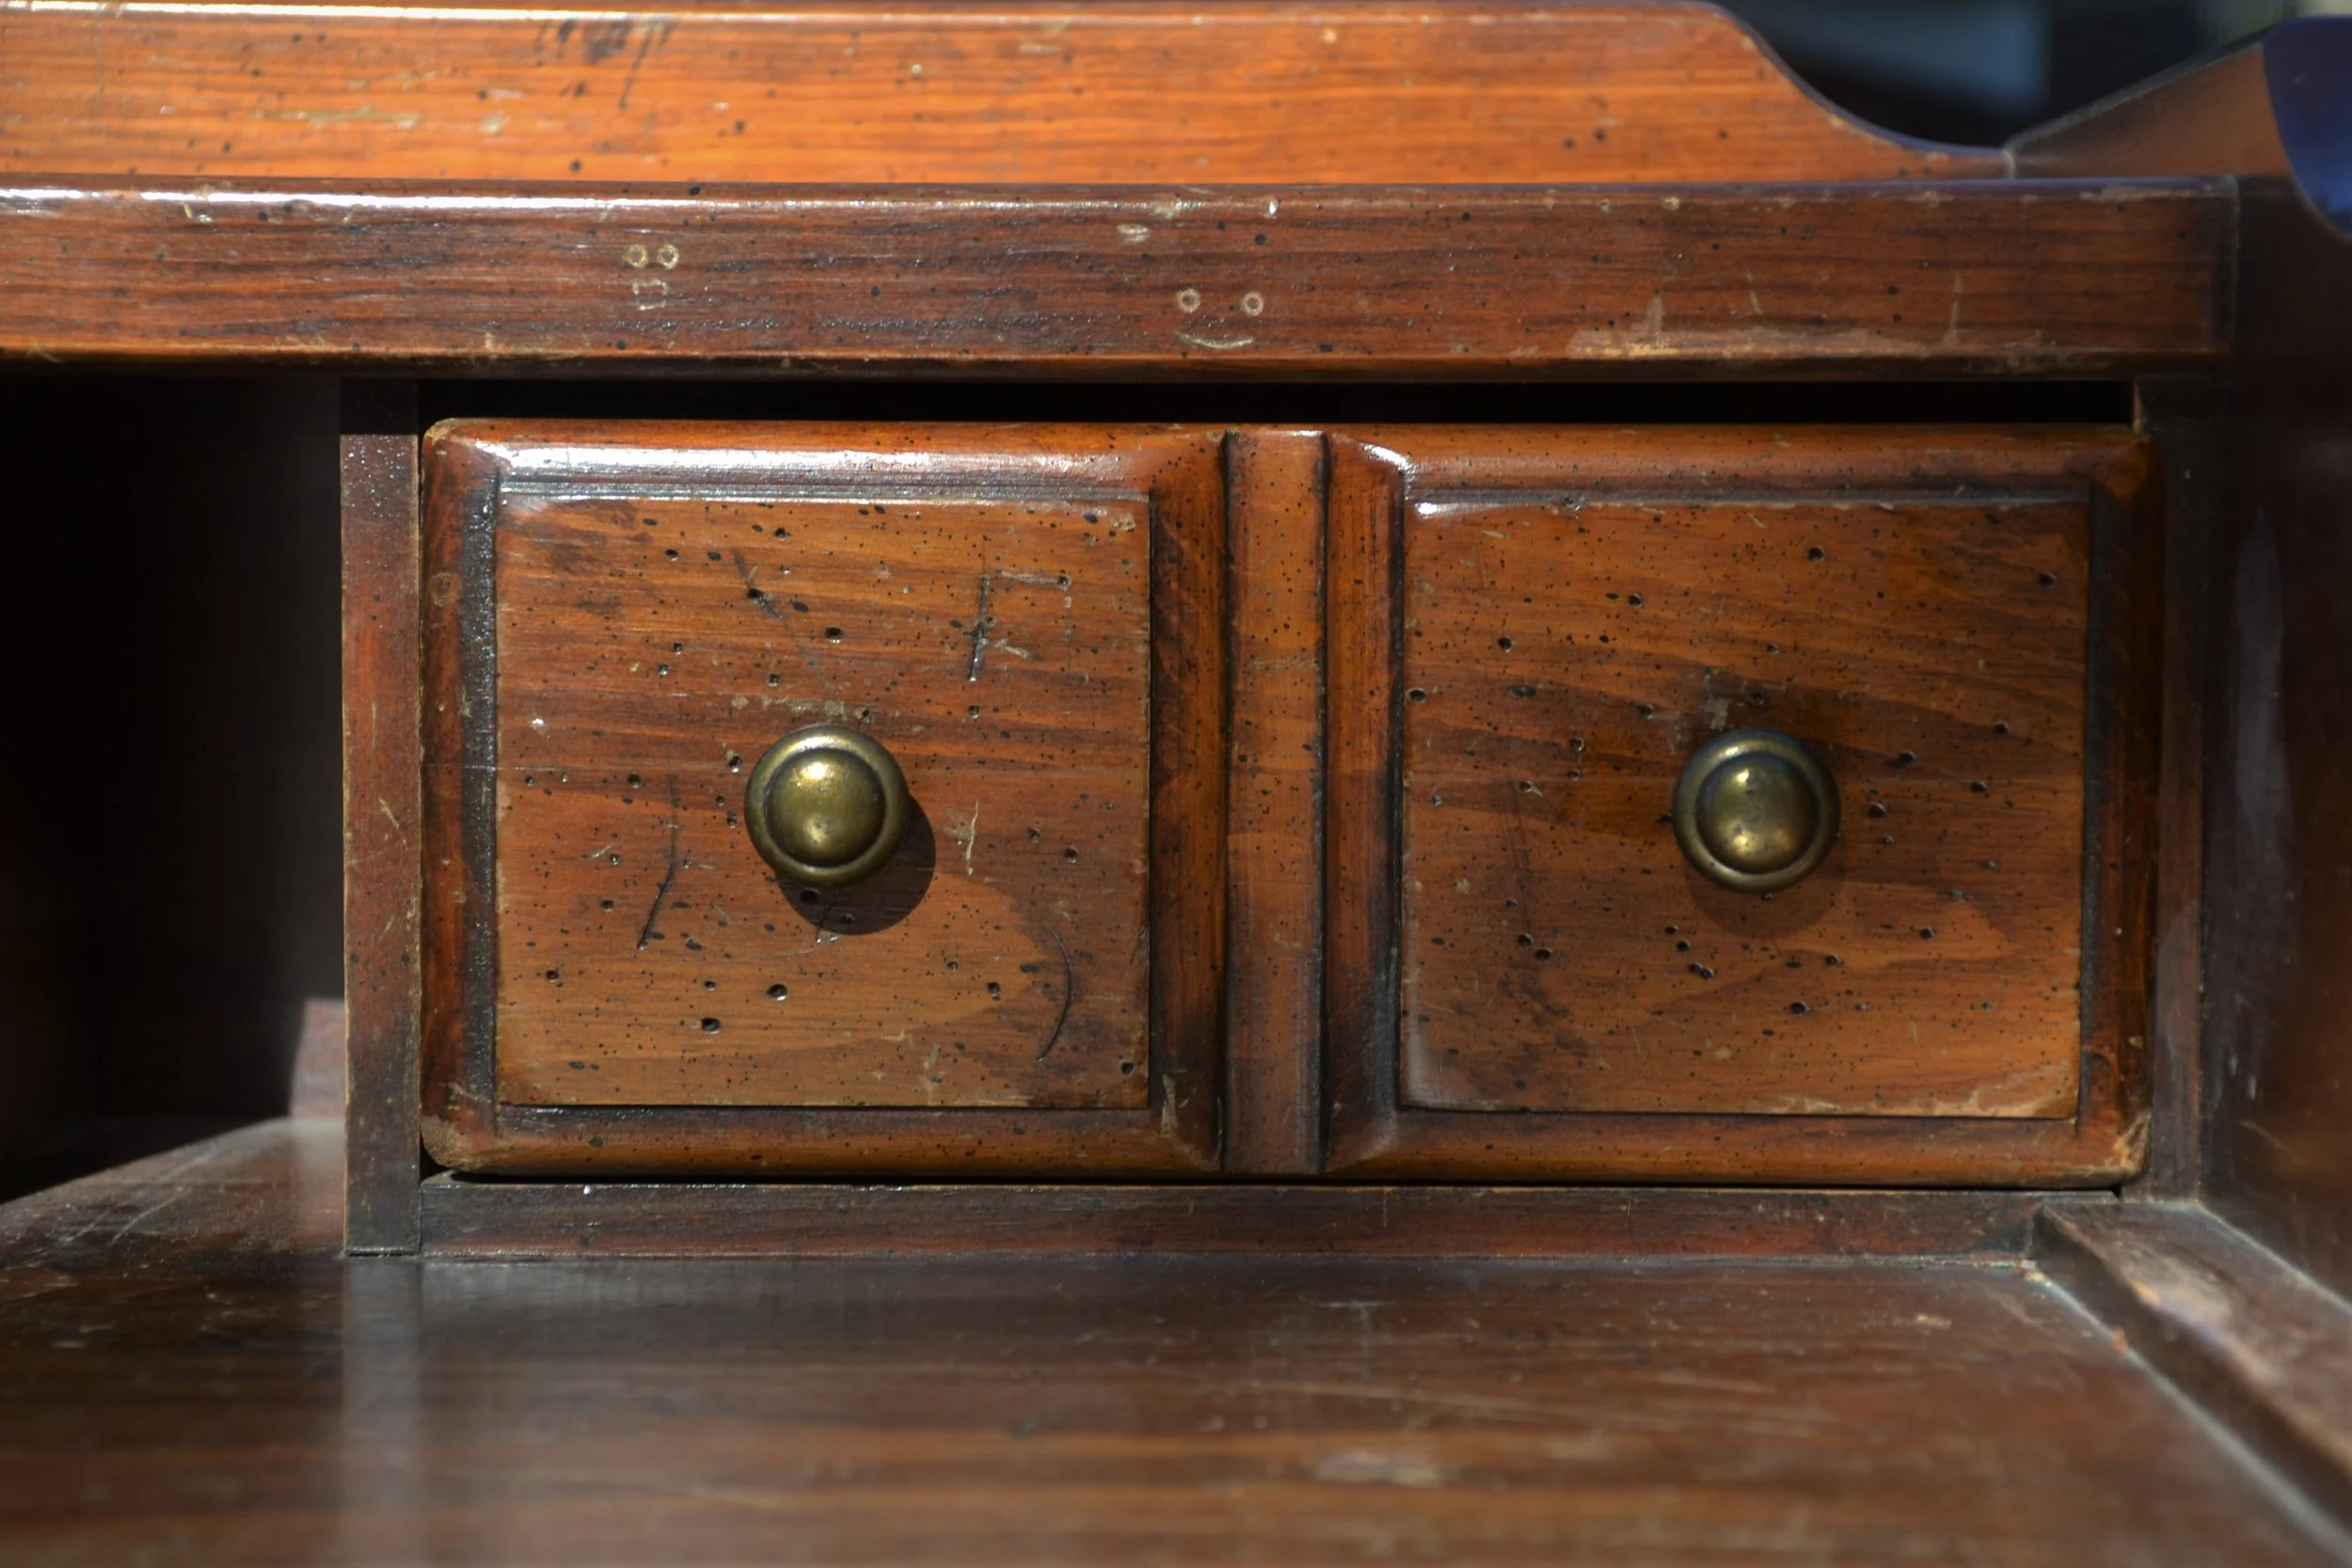
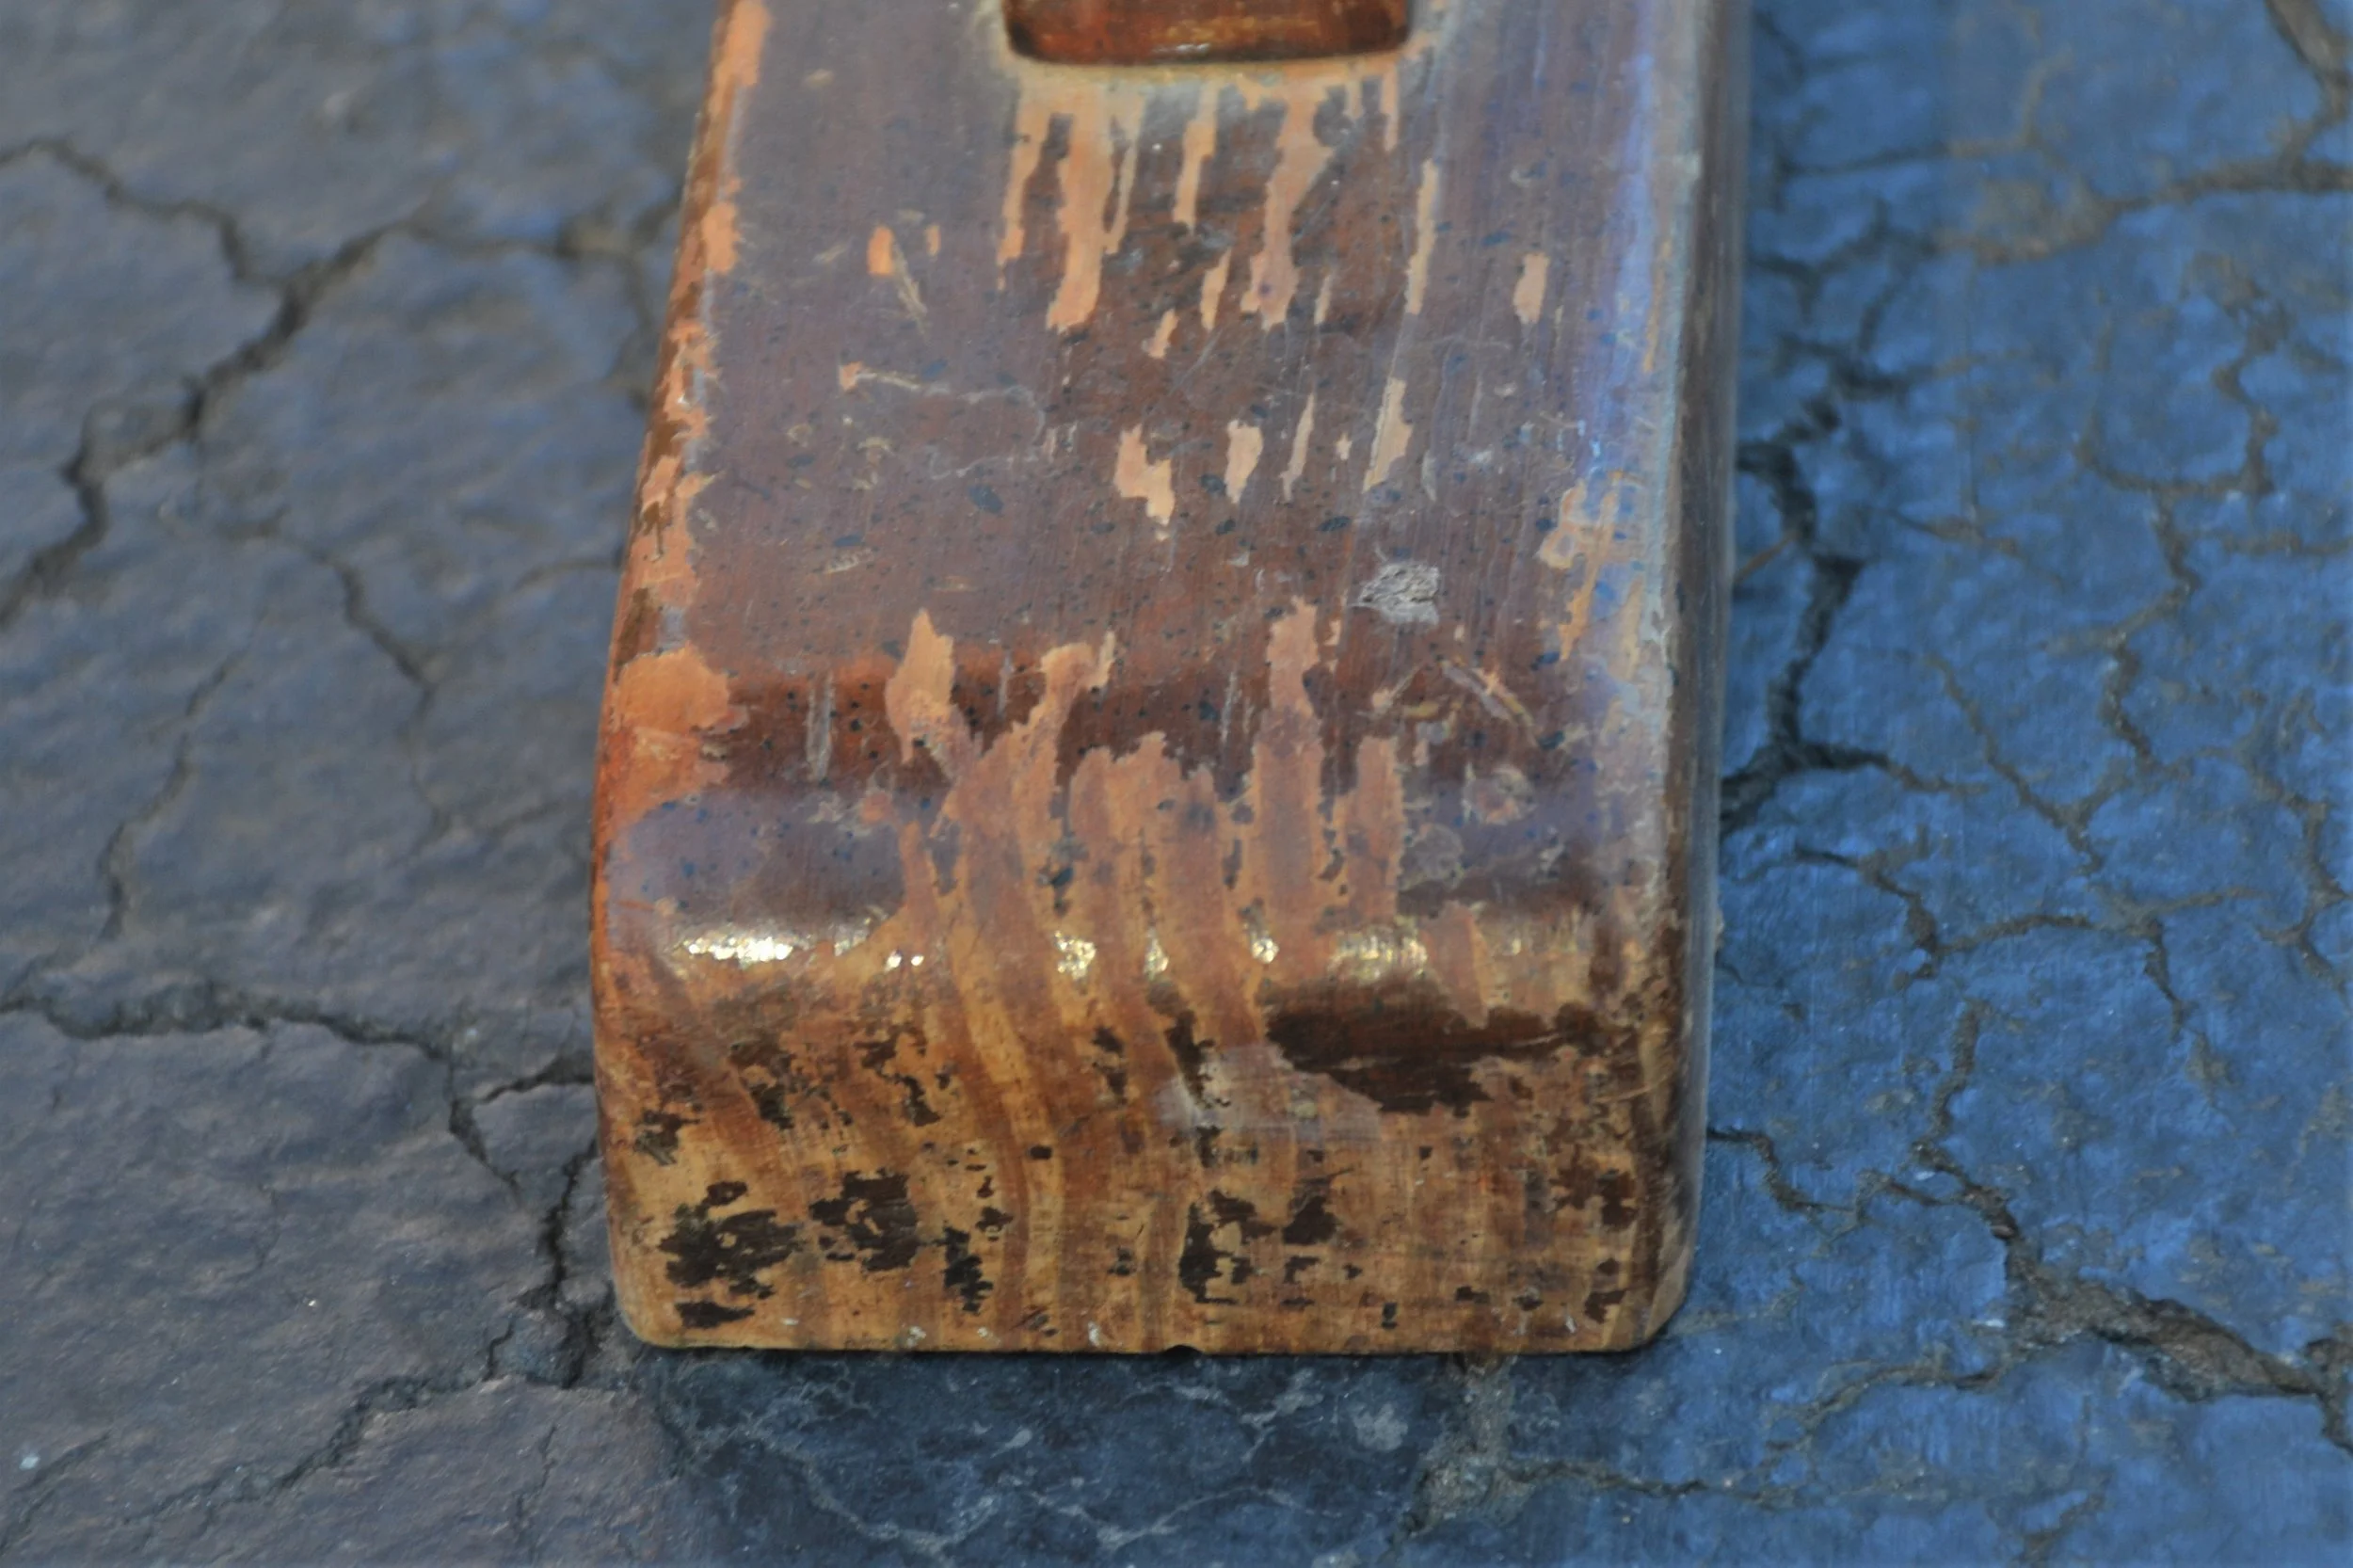
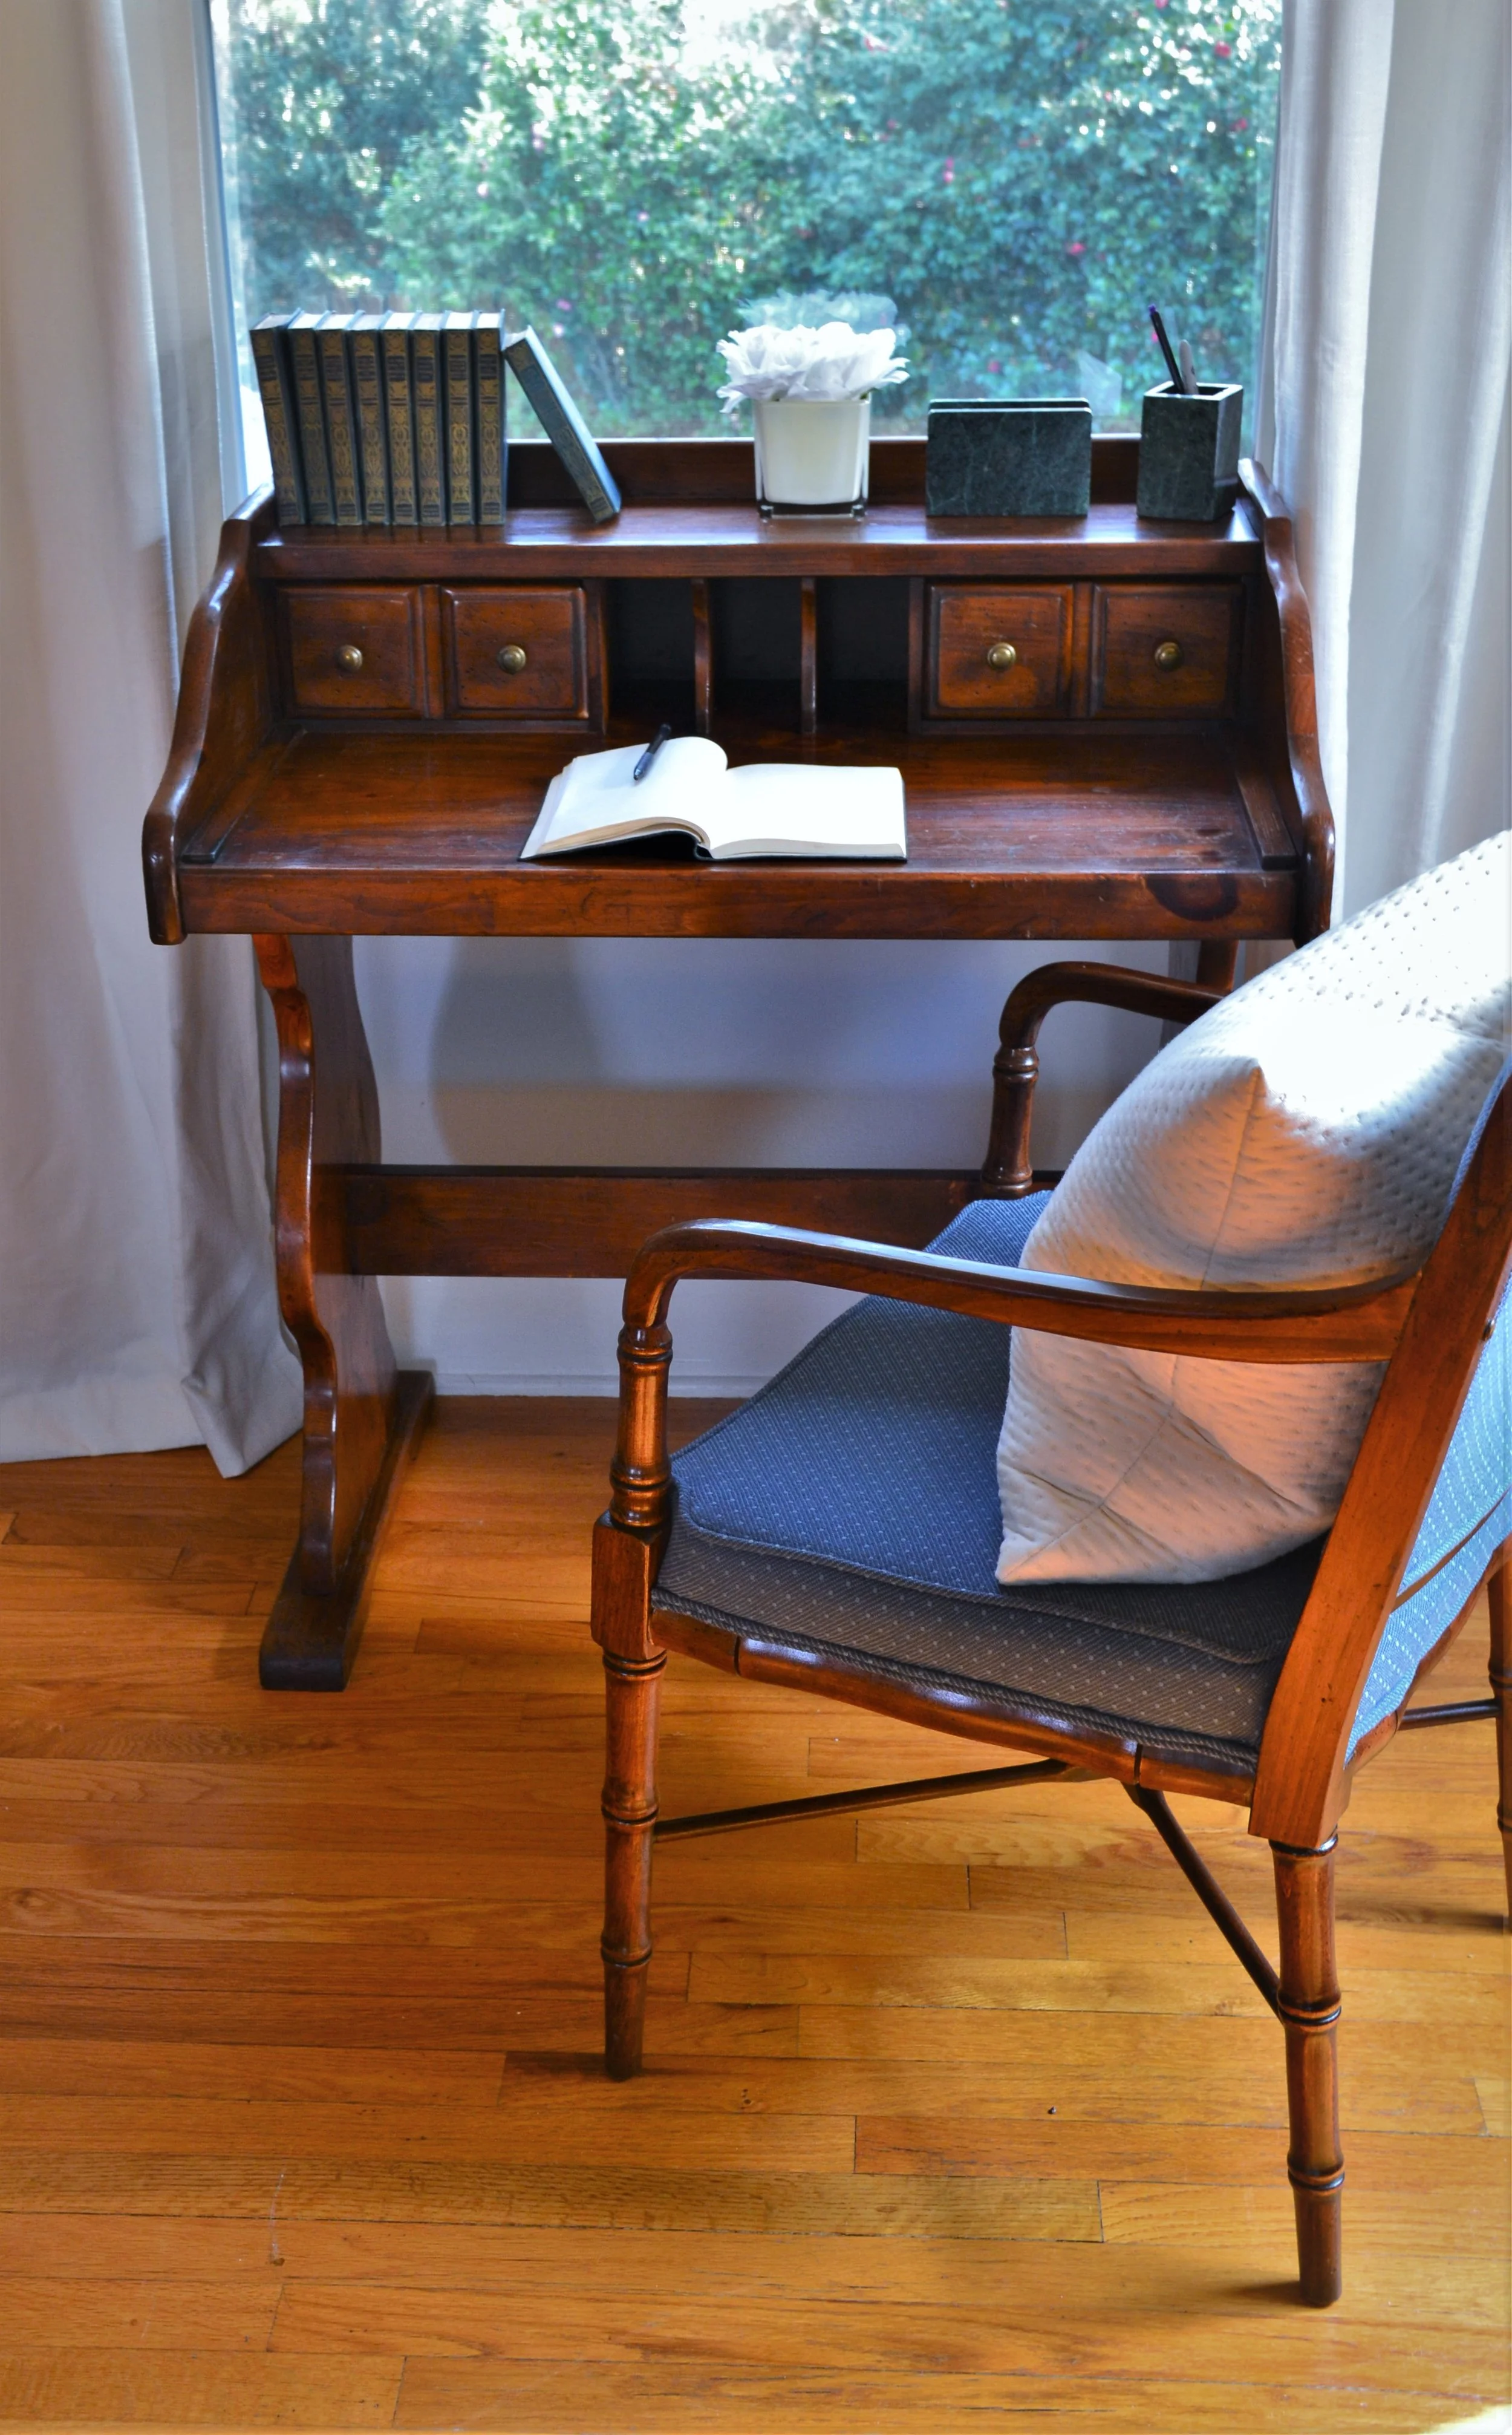
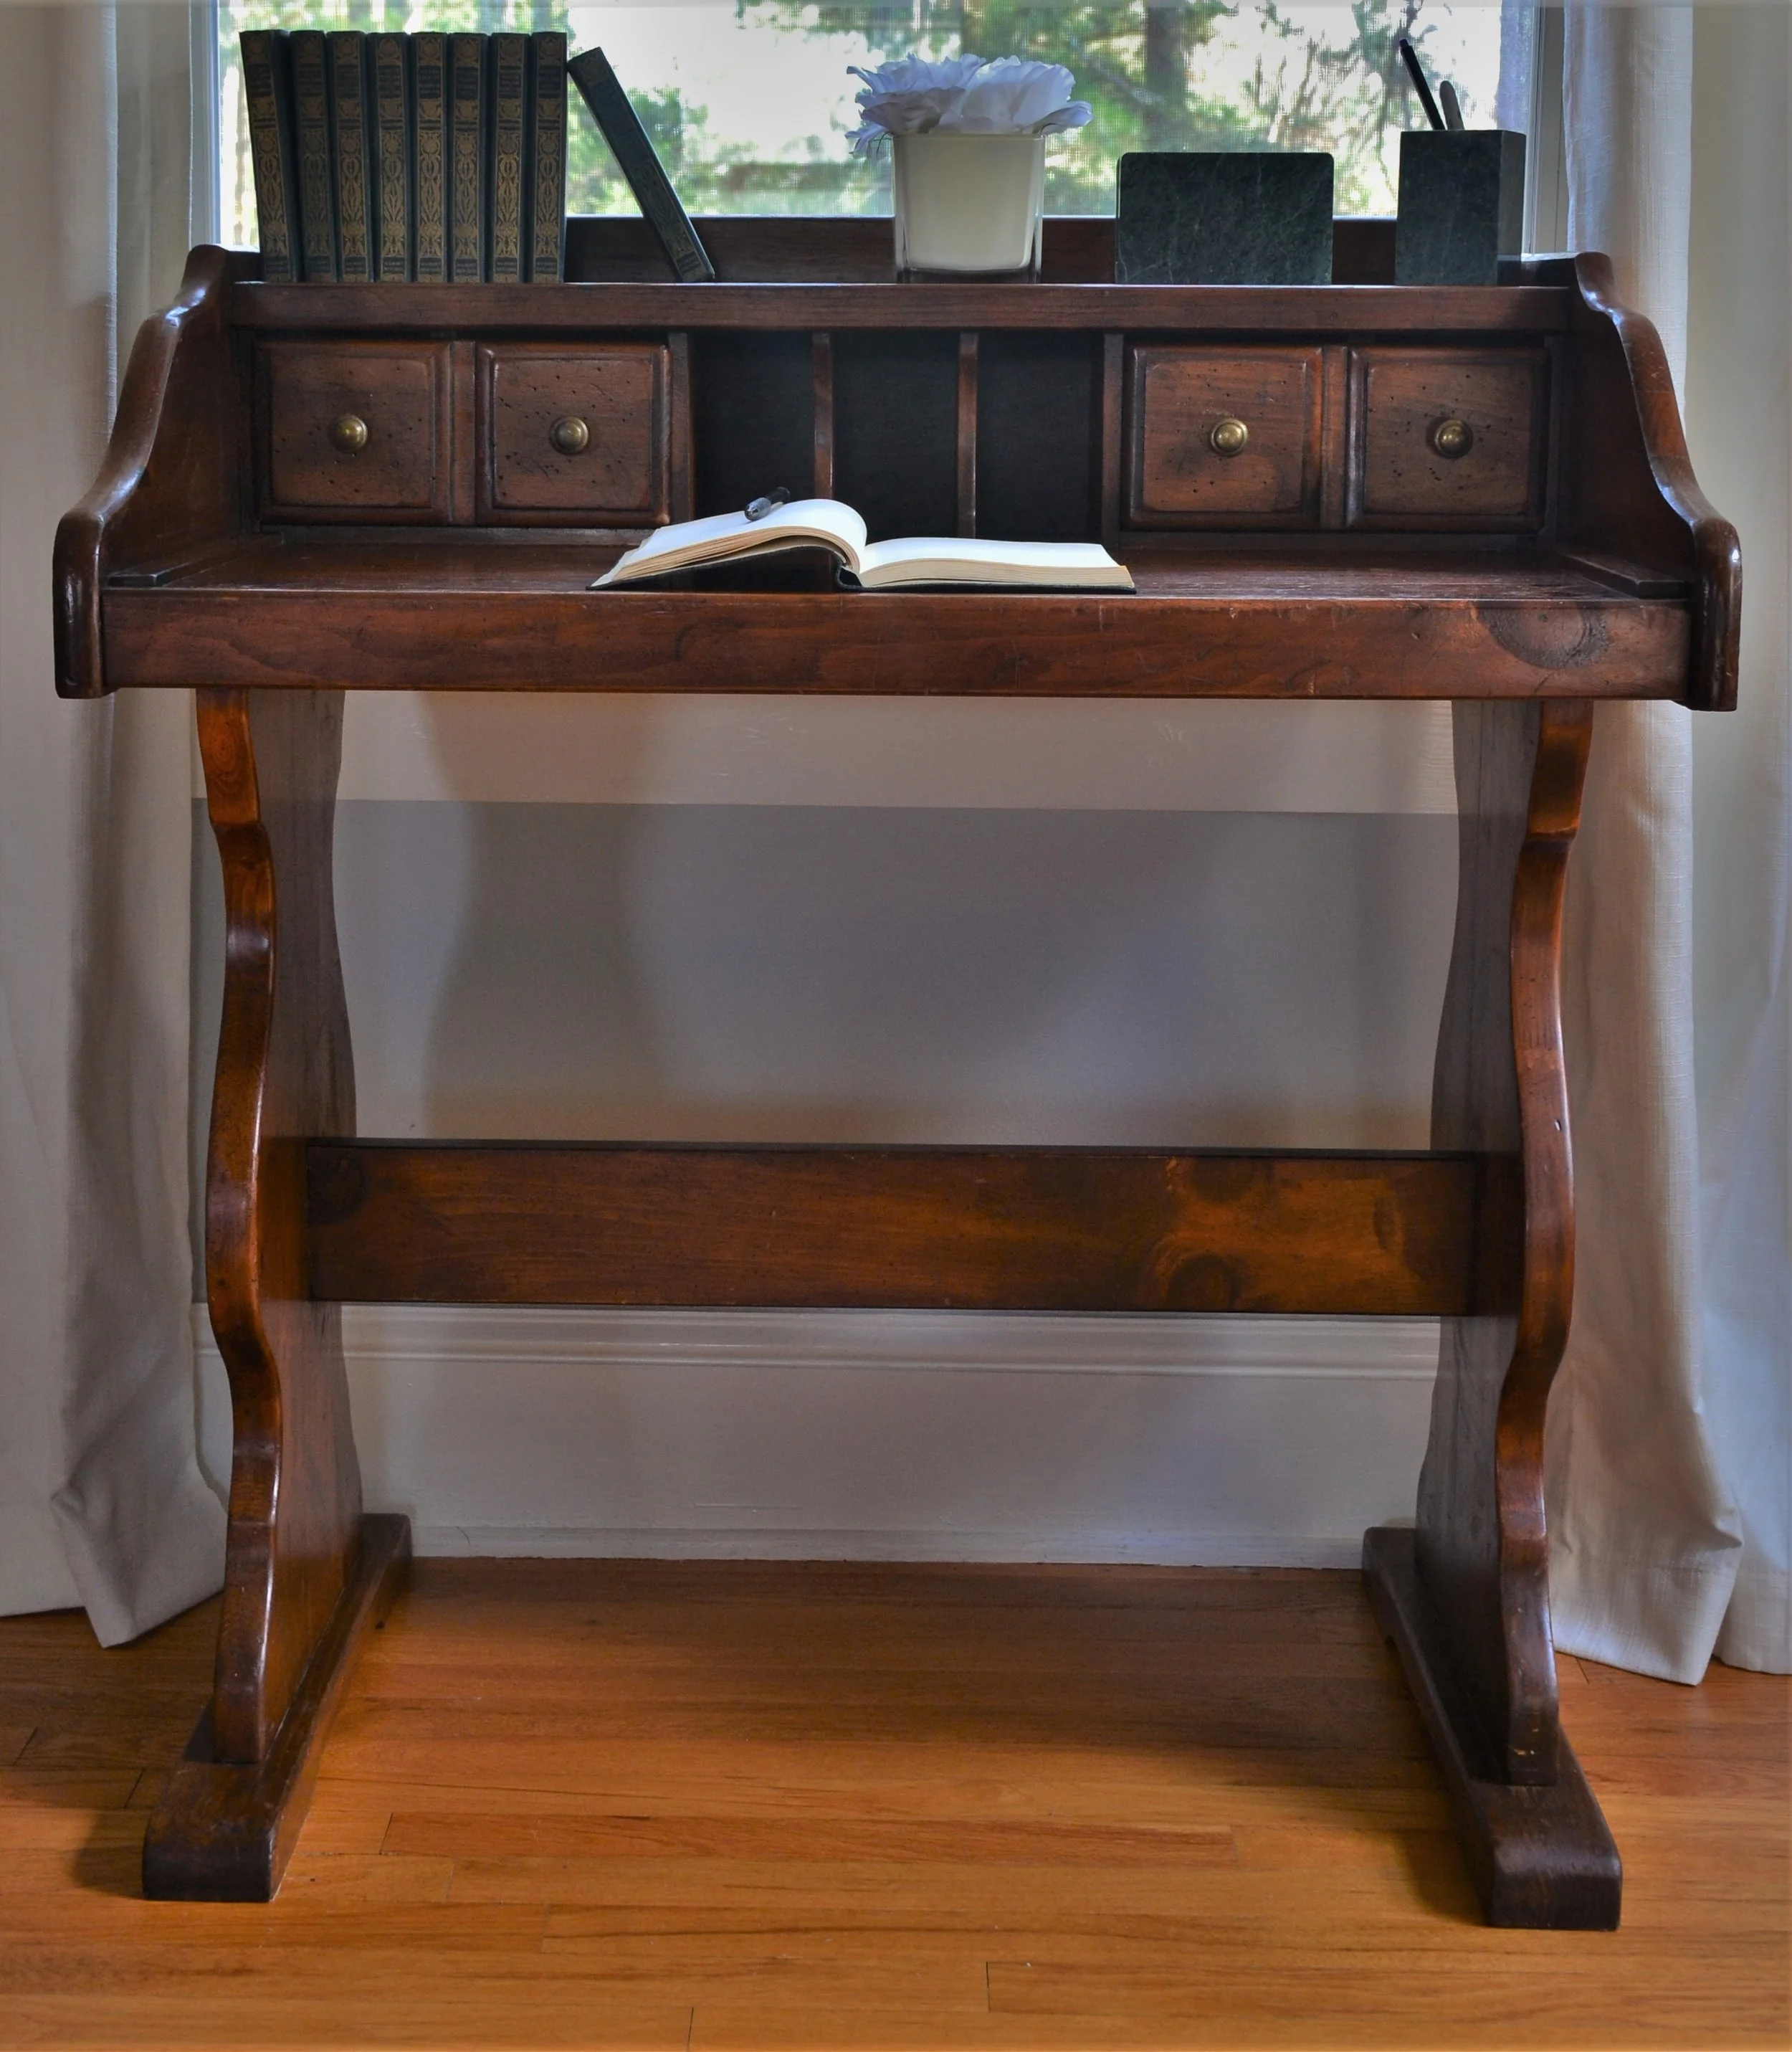
$25 Thrift Store Furniture Flip – Vintage Wood Desk Transformation
This thrift store furniture flip proves you don’t need a big budget to create something beautiful. I found this vintage wood desk at a local thrift store for just $25 and transformed it into a stunning statement piece. According to the EPA’s guide to reducing waste, furniture restoration and upcycling keeps thousands of tons of wood out of landfills every year , making every thrift store furniture flip a win for your wallet and the planet.
This post may contain affiliate links. I may earn a small commission at no extra cost to you if you make a purchase through these links. I only recommend products I personally use and love.
Before
After the Thrift Store Furniture Flip – The Final Result
This thrift store furniture flip was one of my favorite projects , there’s something incredibly satisfying about giving a forgotten piece of furniture a second life. If you’re looking for your next thrift store furniture flip, keep an eye out for solid wood pieces with good bones. The best thrift store furniture flip candidates are vintage desks, dressers, and side tables made from real hardwood.
Disclosure: This post contains affiliate links, which means I may earn a small commission if you make a purchase through my links, at no extra cost to you.
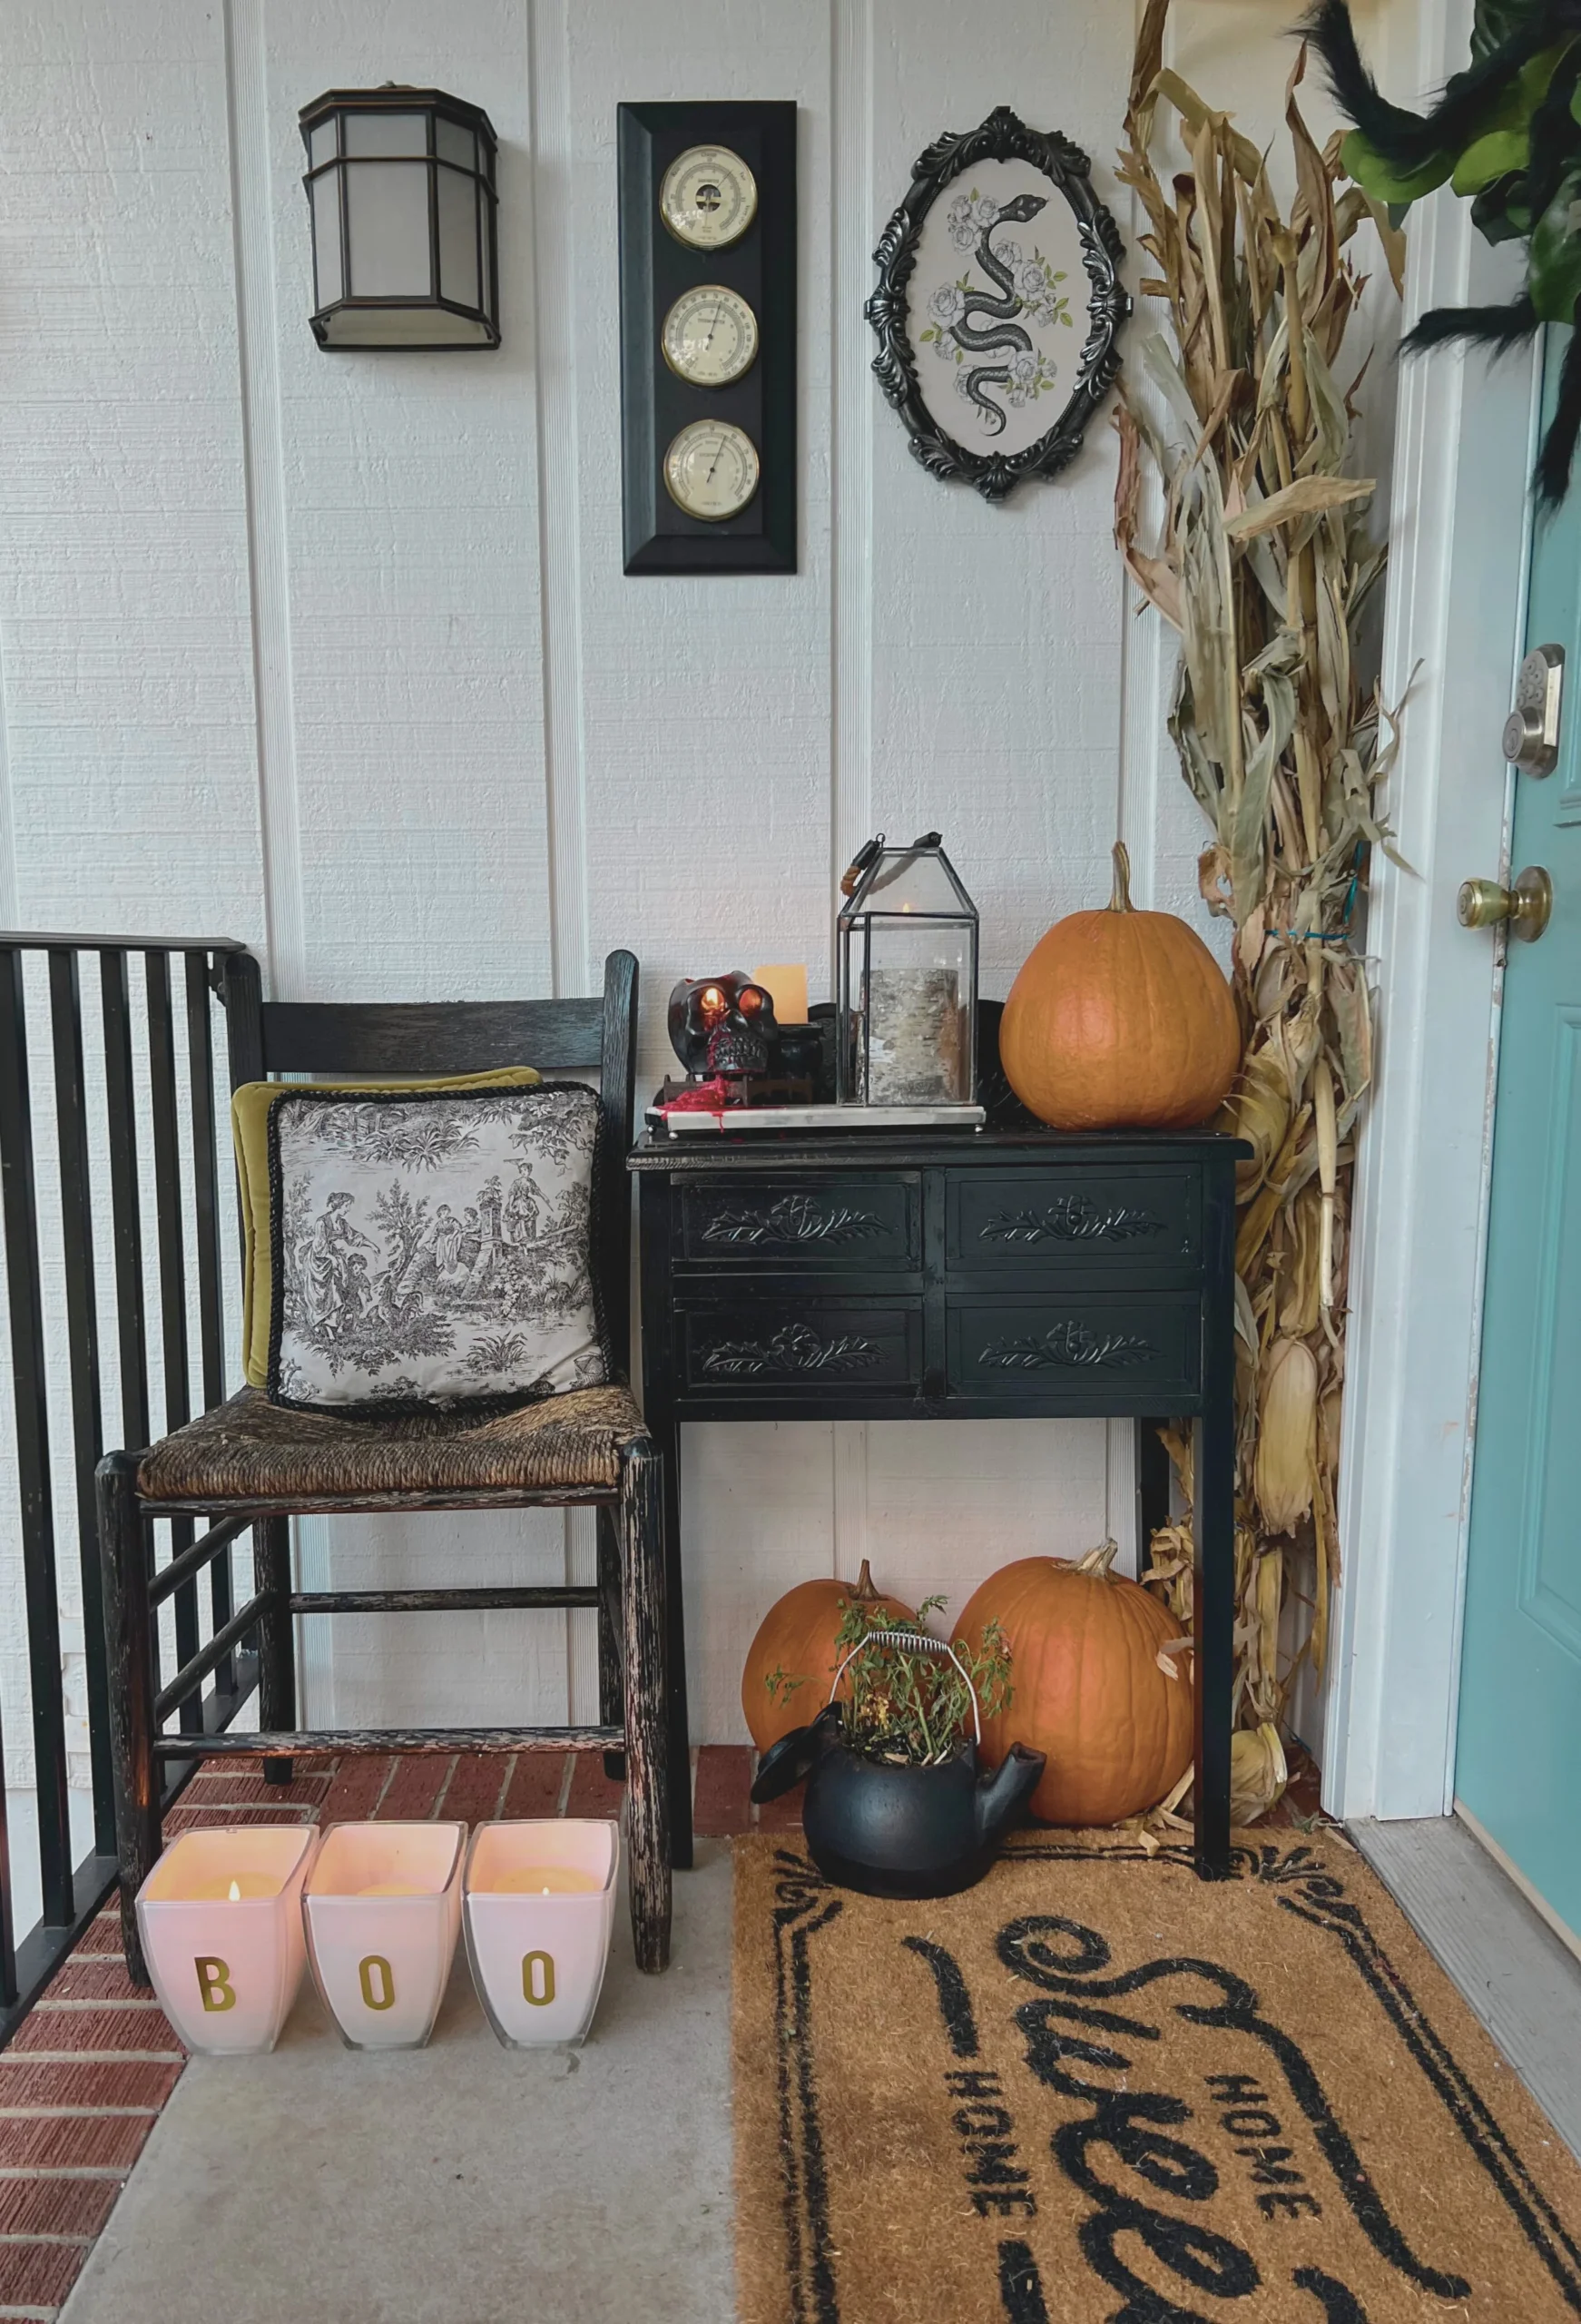
13 Halloween Porch Decor Ideas for the Spookiest Season Yet
Looking for the best halloween porch decor ideas this season? Whether you prefer creepy-chic or family-friendly, these halloween porch decor ideas will transform your front entry into a show-stopping display. The National Retail Federation reports that Americans spend billions on Halloween decorations each year , but you don’t need a huge budget to make an impact with these halloween porch decor ideas.
This post may contain affiliate links. I may earn a small commission at no extra cost to you if you make a purchase through these links. I only recommend products I personally use and love.
These halloween porch decor ideas prove that a little creativity goes a long way. Mix and match different elements like pumpkins, cobwebs, lighting, and skeletons to create your own unique spooky season display.
Shop the Best Halloween Porch Decor Ideas
Light-Up Standing Ghost Decor (2 Pack) – 8 lighting modes with remote, perfect for porches: Shop on Amazon
Halloween Porch Trick or Treater Decor (38″) – Lighted color-changing jack o’ lantern: Shop on Amazon
Hello & happy fall! My name is Anna Katherine, but you can call me “AK” for short!
In today’s blog post I’m showing you some of my previous Halloween decor displays and DIY ideas on how to create a spooky design aesthetic in your home this Halloween season. First & foremost, I can’t emphasize enough, use what you already have! Don’t feel the urge to have to spend hundreds of dollars at the store to create a festive feel in your home this Halloween. Get creative, shop secondhand (thrift stores, consignment shops, antique stores, yard sales, Facebook Marketplace, Craigslist, etc.), and exchange or swap decor with friends & family. Lastly, don’t forget to incorporate fresh, in-season florals such as mums and locally grown pumpkins, gourds, and corn stalks from your local farmers markets.
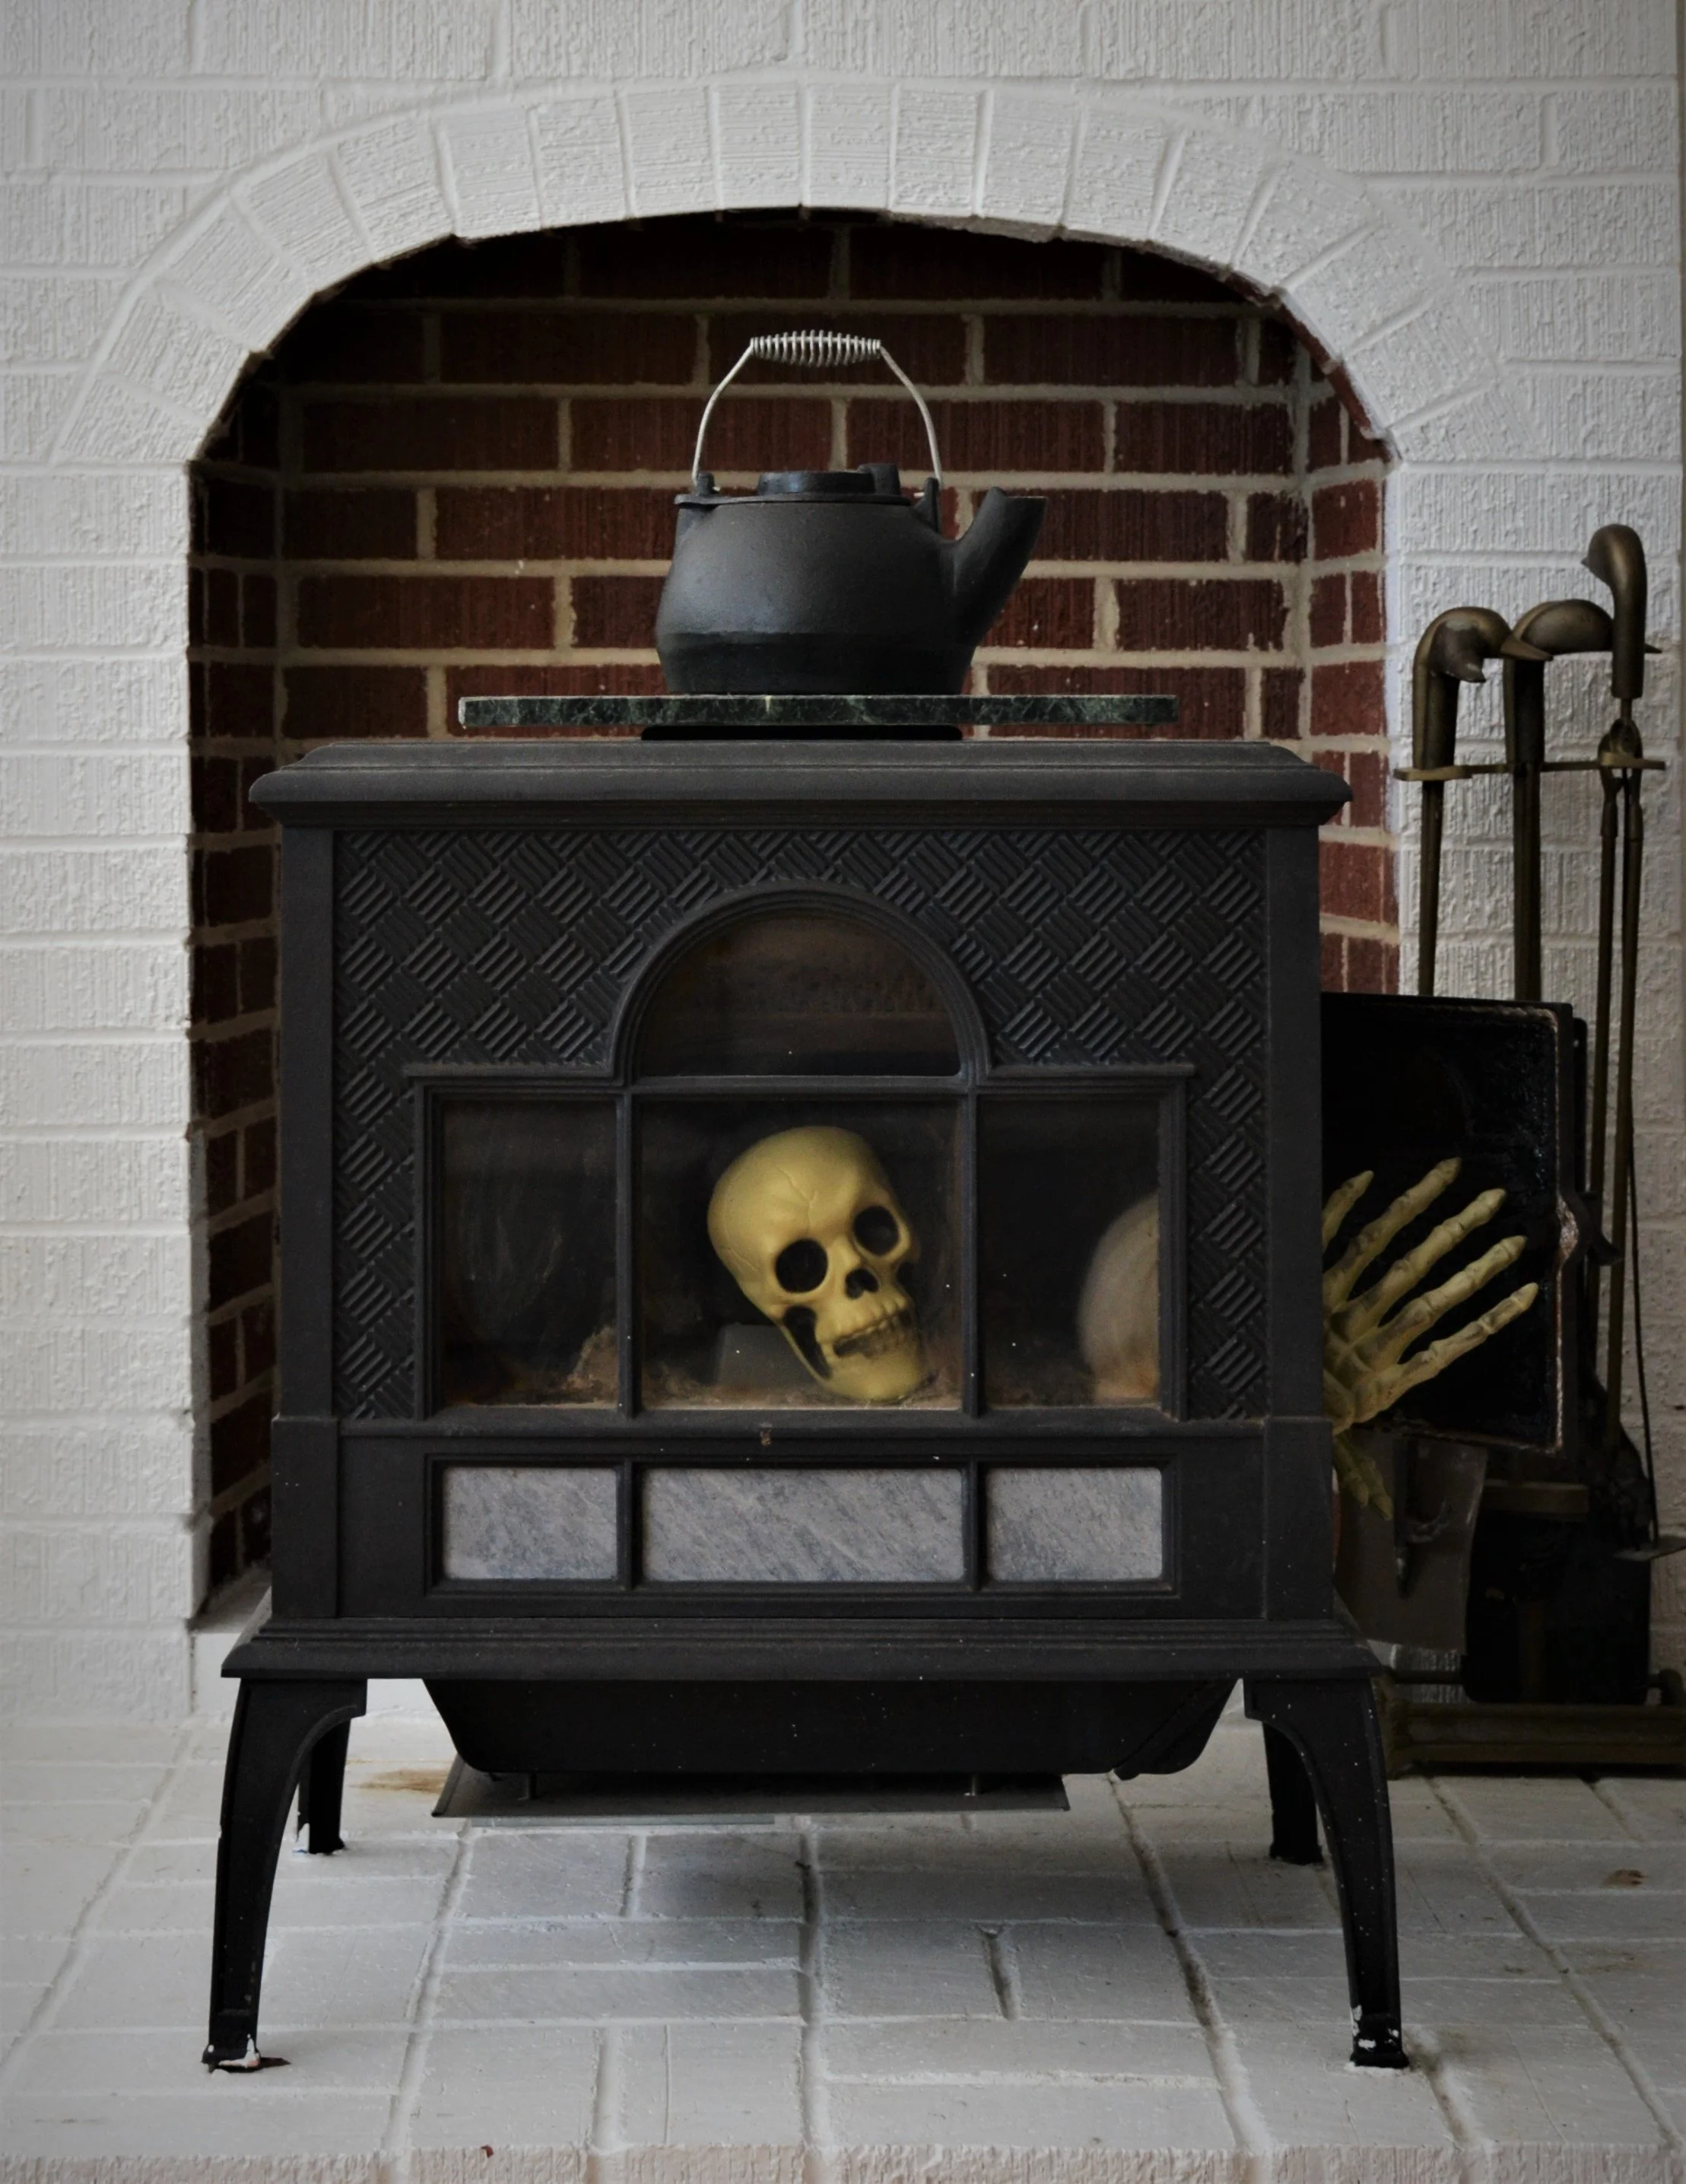
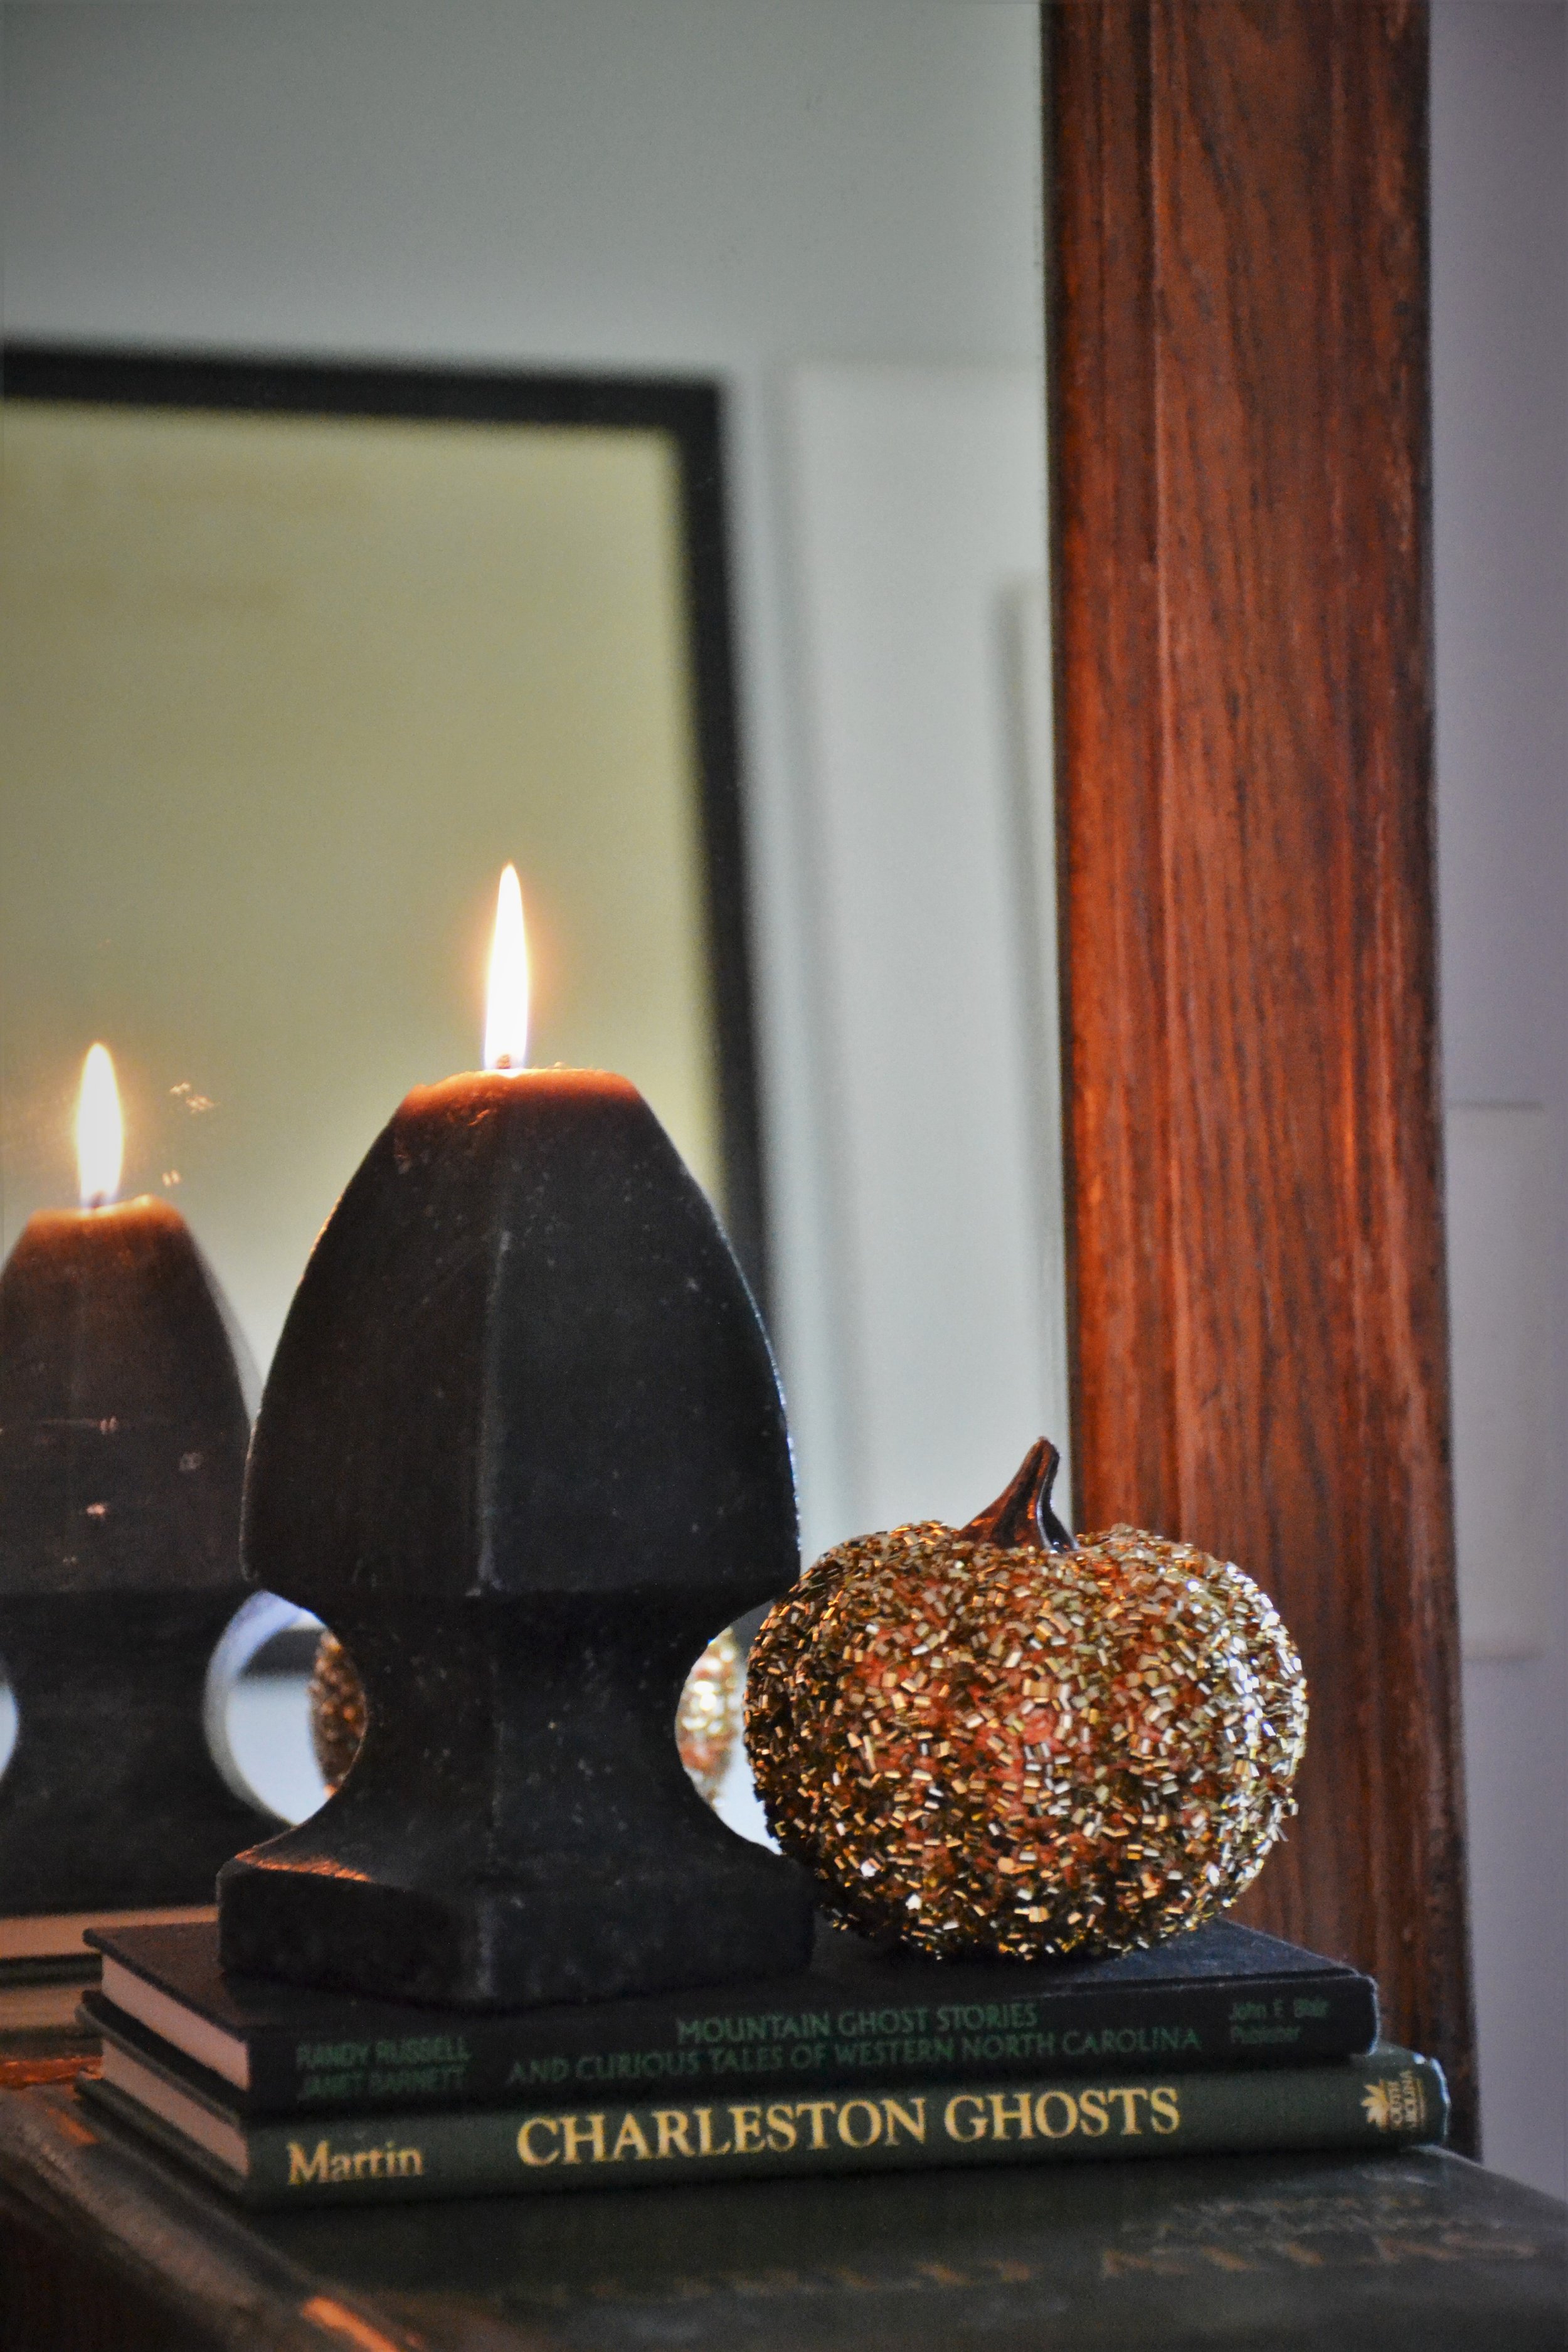
Skull & skeleton hands in wood fire burning stove. Skull was purchased from Dollar Tree. Skeleton Hands (quantity 2) was purchased from Dollar Tree.Vintage ghost books thrifted from local thrift stores for $1 each. Sparkle pumpkin purchased from Dollar Tree.3 various style pumpkins purchased from Dollar Tree.Spider purchased from Dollar Tree Plus.
Disclosure: This post contains affiliate links, which means I may earn a small commission if you make a purchase through my links, at no extra cost to you.
Quick answer: I restored a 1960s vintage rattan dining table with BEHR paint as my entry to the BEHR To DIY For Season 2 contest. The table had been weathering on my screened porch for almost three years. This walkthrough covers the prep, which is where nearly all of the real work is, and the paint I used.
Vintage Rattan Table Restoration – Bringing a 1960s Dining Table Back to Life
This vintage rattan table restoration project is proof that with the right paint and some patience, you can transform a forgotten piece into a stunning centerpiece. I entered this vintage rattan table restoration into the BEHR “To DIY For” Season 2 contest , and the results speak for themselves. According to This Old House, proper prep work is the key to any successful furniture restoration.
This post may contain affiliate links. I may earn a small commission at no extra cost to you if you make a purchase through these links. I only recommend products I personally use and love.
Here is my official entry posted on TikTok for Challenge #2:
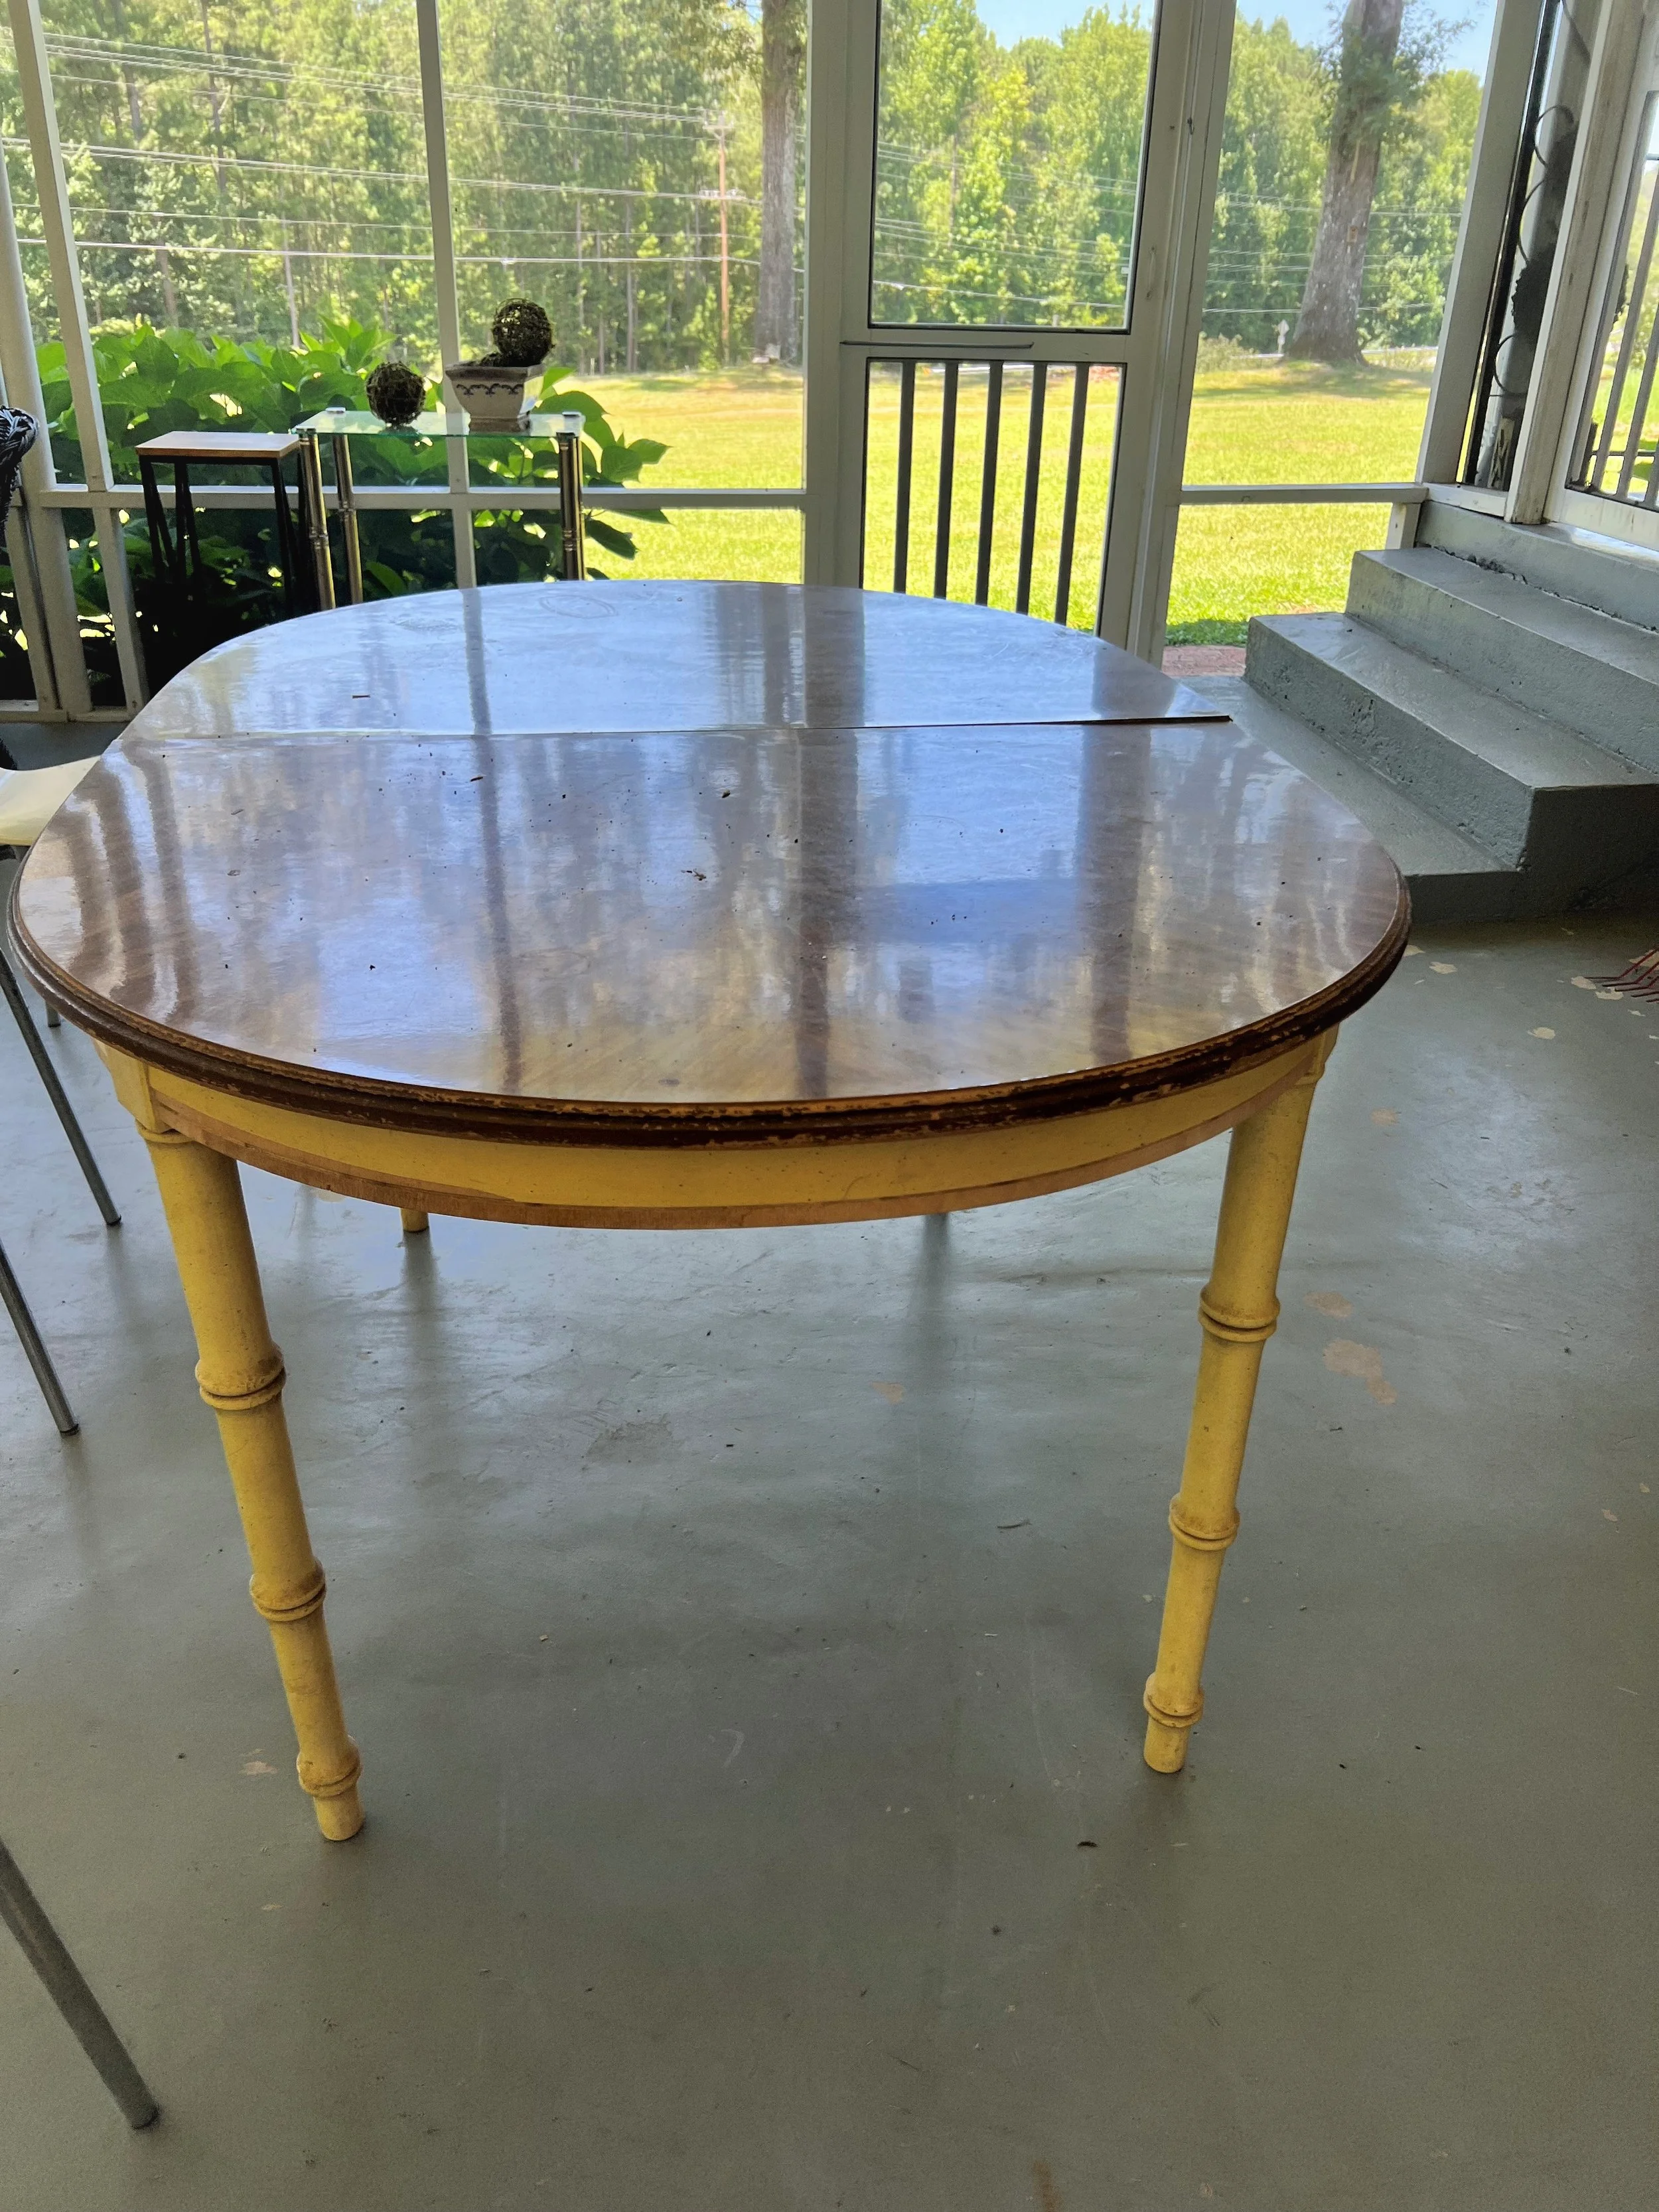
As soon as I saw BEHR’s video on TikTok announcing Challenge #2, I immediately knew which table I was going to tackle for my entry to the contest. Yes, that dirty, old, forgotten 1960’s vintage rattan dining table I had weathering away on my screened in porch is EXACTLY what popped into my head (cobwebs & all).
I acquired this table almost 3 years ago at a local rental house going out of business and selling their inventory. It was the last day of the sale that I stopped into the shop & I saw this dining set along with 6 chairs. They had it listed for $100 but when the owner saw me looking at the set, she offered it to me for only $40 for all 10 pieces (1 table, 3 leaflet inserts, & 6 chairs). I quickly obliged and handed her the $40 as quickly as I could. At this time in my life I was still living with my parents but actively looking for a home of my own. I stored the dining set in their garage along with my other thrifted, yard-sale, & flea market second-hand finds for my home. 2 months after purchasing it, I made an offer on a home with a dream of a screened in porch and I knew that this table would make the perfect addition to the large porch area for entertaining. Fast forward to now (2 & 1/2 years later) and I still haven’t gotten around to sprucing up this dining table and it’s been long overdue!
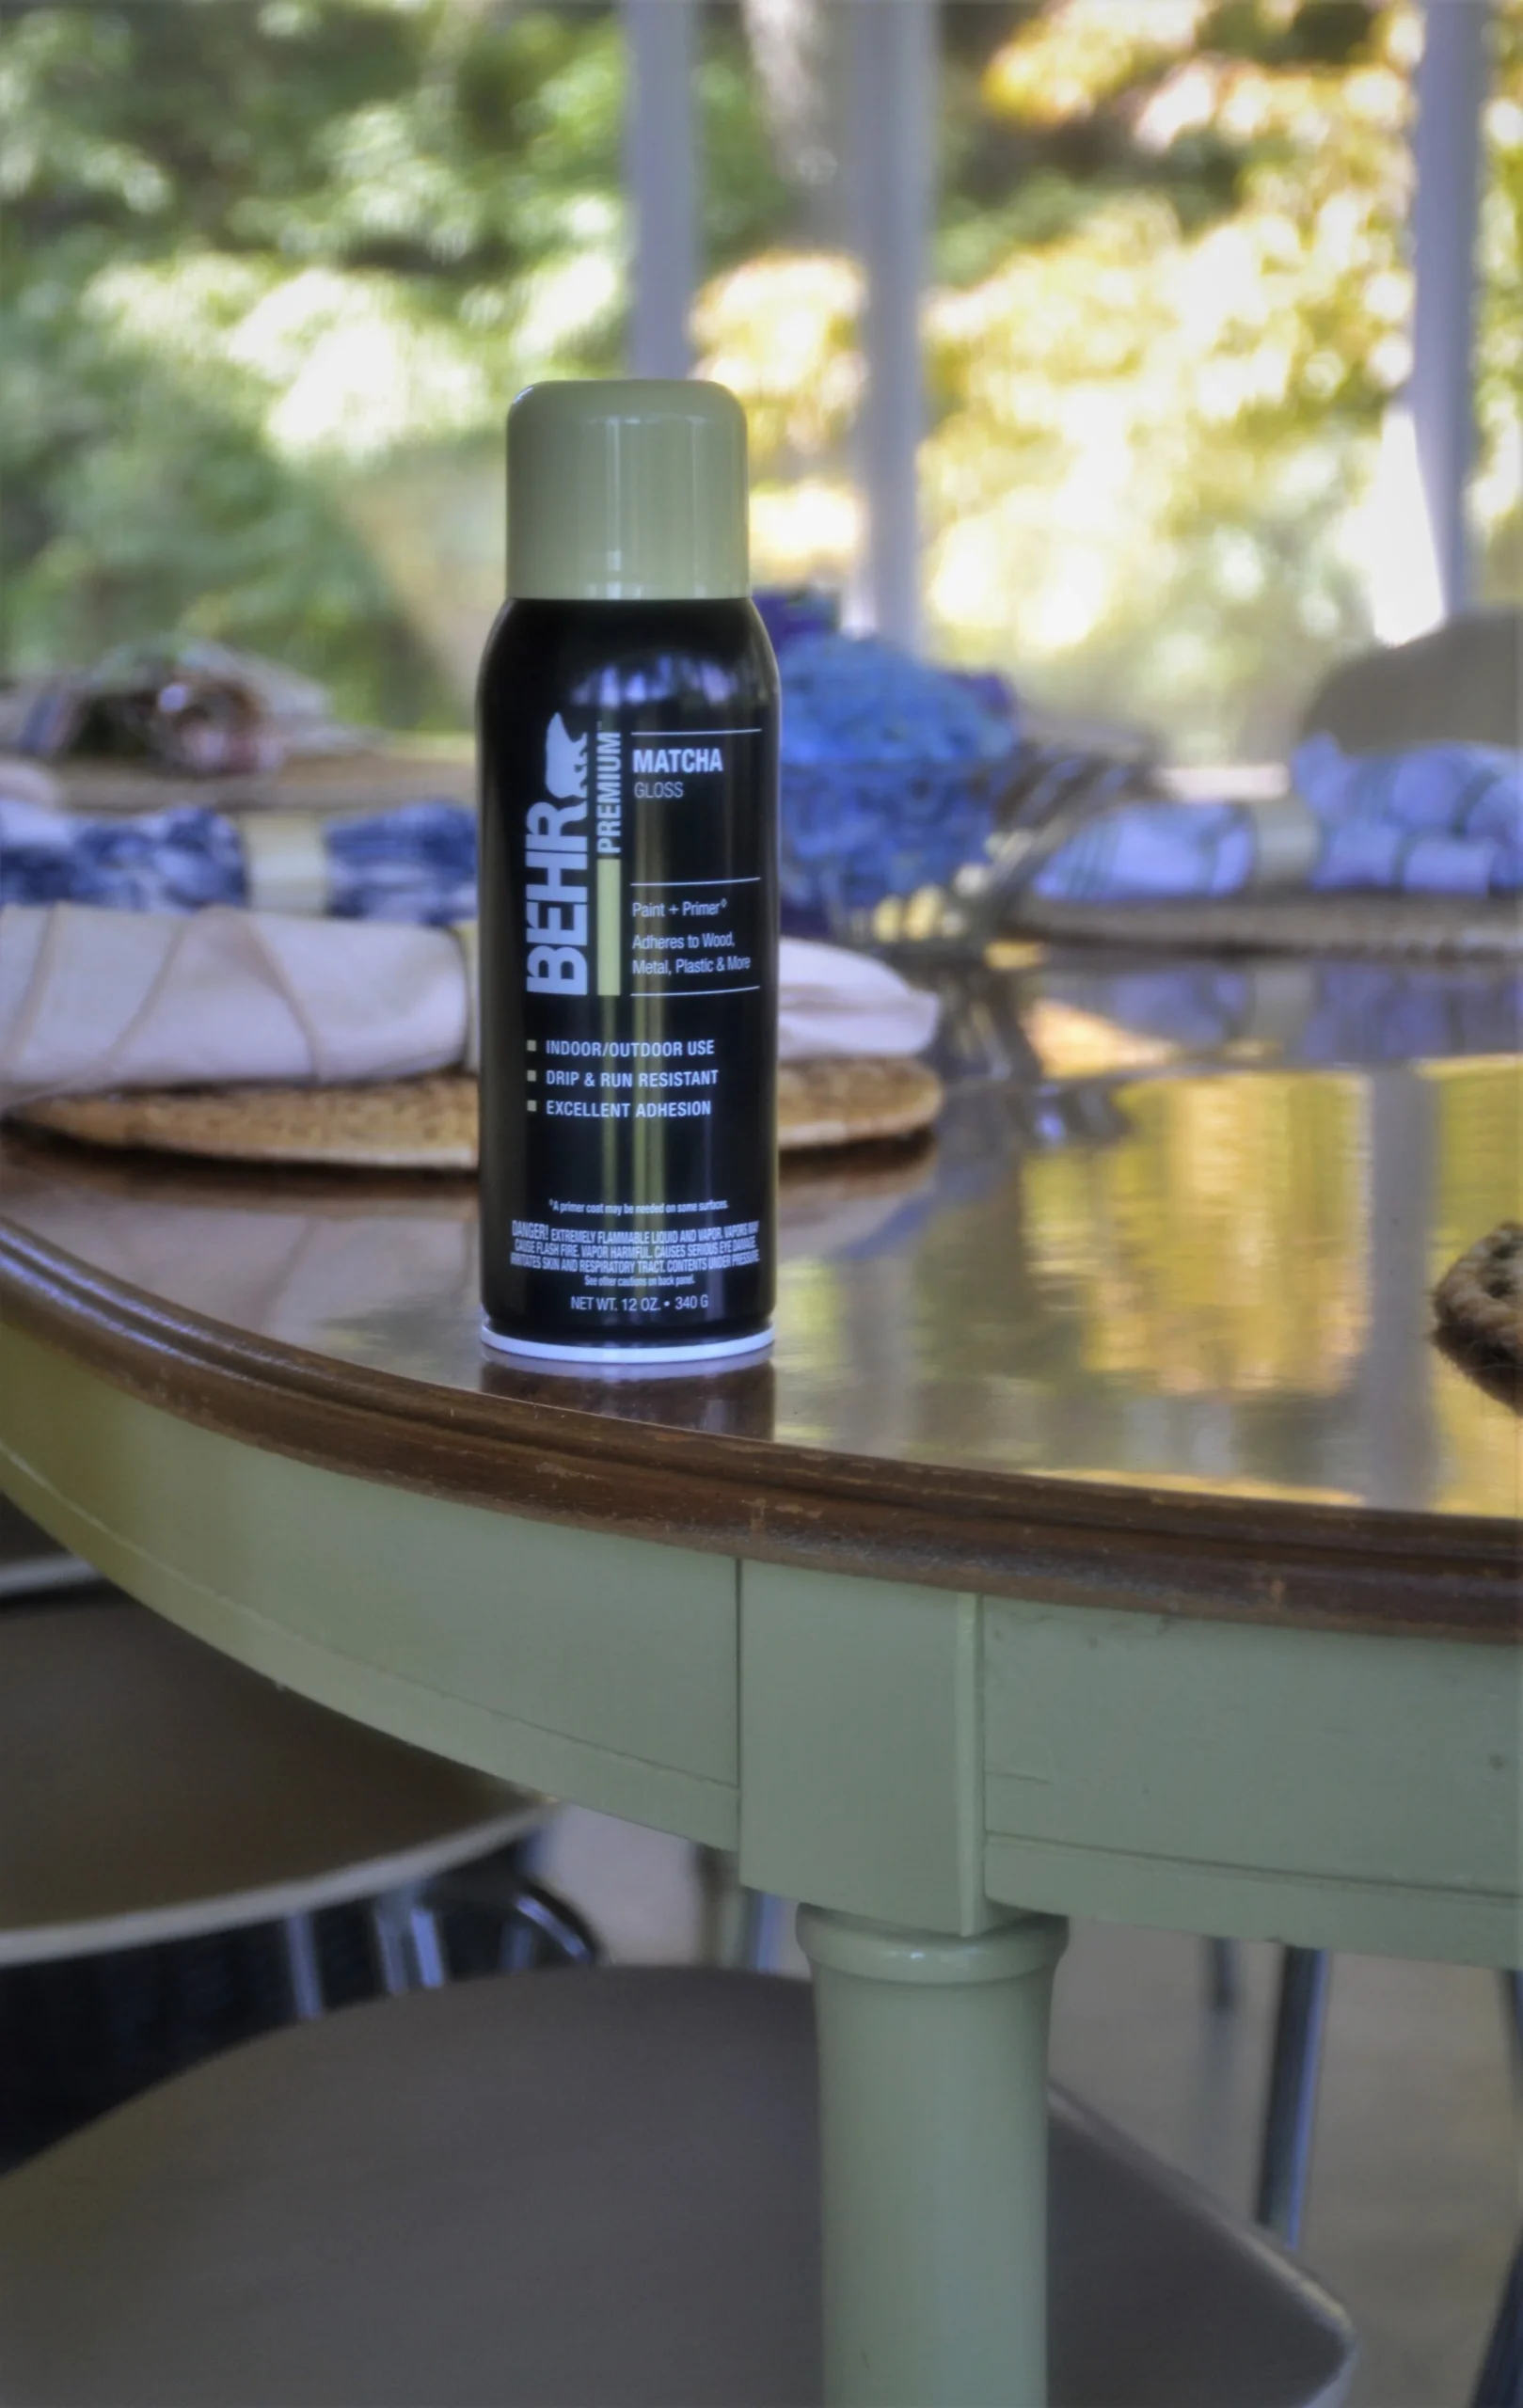
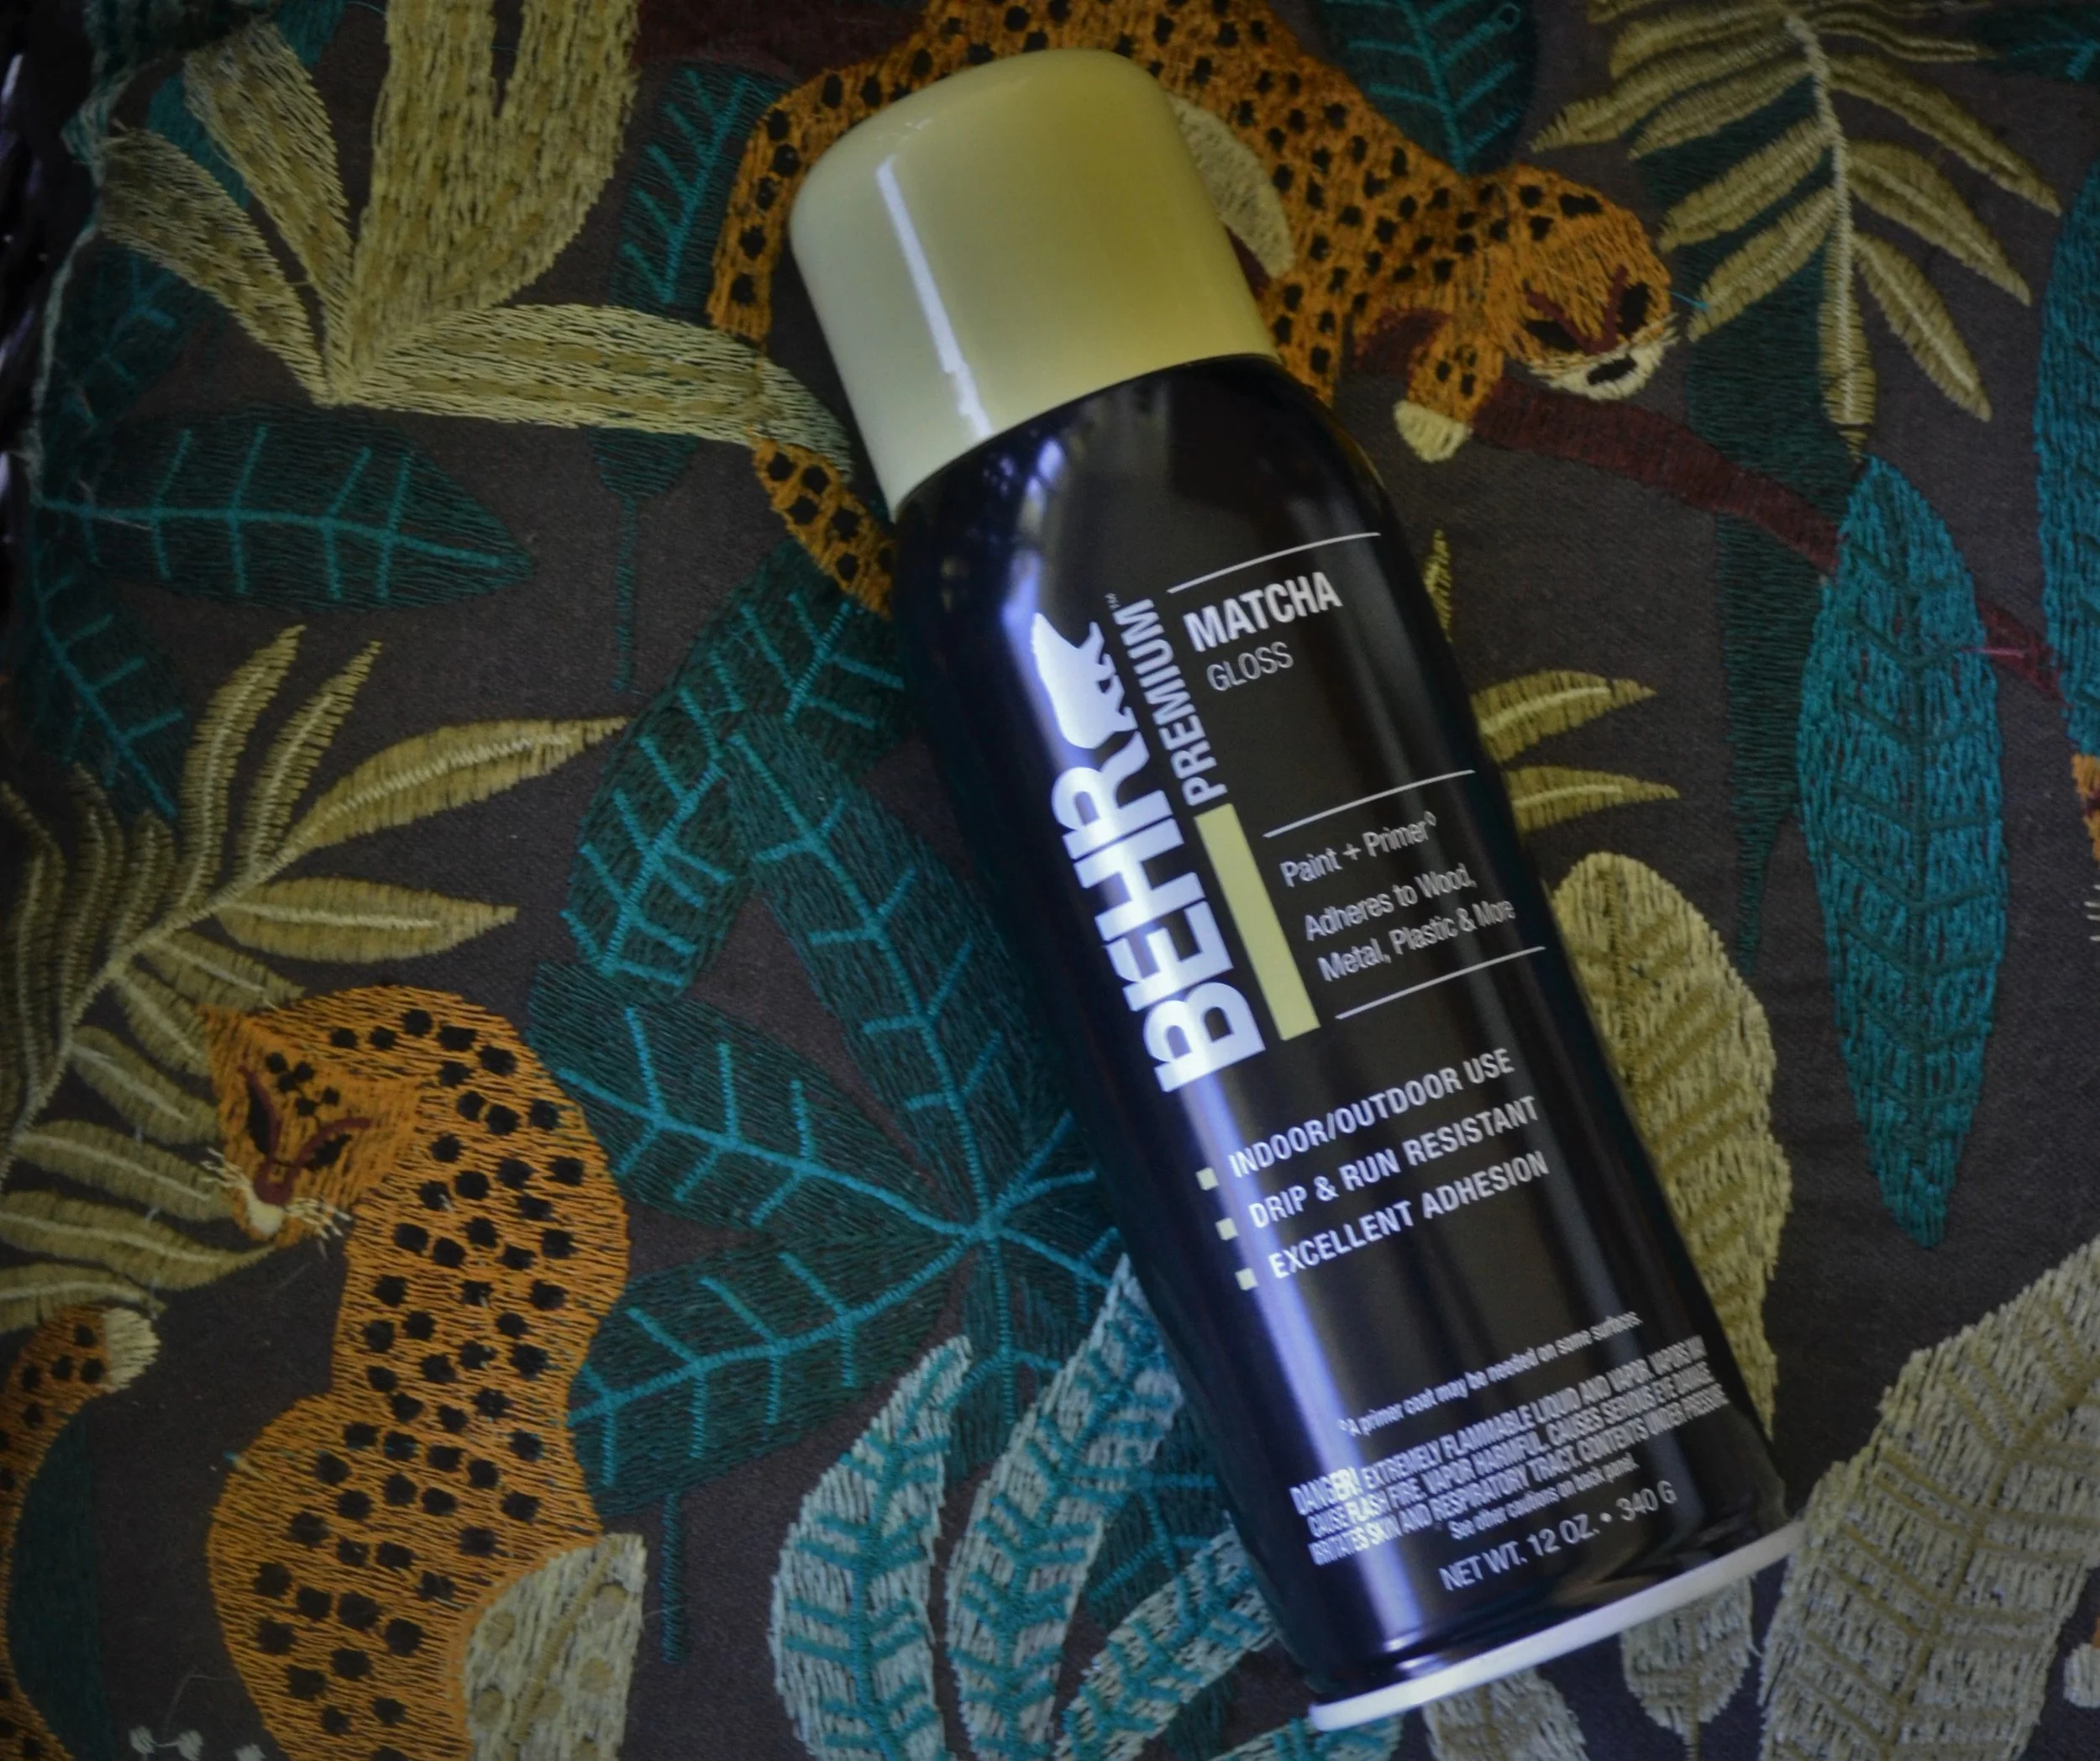
My intent for this table was to never alter the original beauty or integrity of this piece. I knew I wanted to leave the table surface itself alone as it is in decent condition. The only 2 items that required attention were the wood veneer peeling around the round edges below the table’s surface. This was a simple fix and only required me to peel it off by hand and then use a knife for those trickier areas that were more difficult. Lastly, I wanted to add a fresh coat of paint. I like the original yellow color but it didn’t vibe with my color pallet for my porch. When looking through BEHR’s potential color options offered in their spray paint, I was overwhelmed (in a positive way) with the many color options. I was immediately drawn to the color Matcha. I ran to my local Home Depot & went straight to the paint section to grab myself 2 cans of their Premium Matcha Gloss Interior/Exterior Spray Paint.
Check out what this table looked like before..
The Vintage Rattan Table Restoration Process
Here are some of the products I recommend for furniture restoration projects like this one:
KILZ Chalk Spray Paint – Ultra matte finish for upcycling furniture, works on wood, wicker & rattan: Shop on Amazon
Amy Howard Chalky Mineral Spray Paint – No stripping, sanding, or priming needed: Shop on Amazon
Whether you’re tackling your first vintage rattan table restoration or you’re a seasoned DIYer, the BEHR paint line makes it easy to achieve professional-looking results on any budget.
Disclosure: This post contains affiliate links, which means I may earn a small commission if you make a purchase through my links, at no extra cost to you.
Quick answer: Tree removal is one of the hidden costs of homeownership that most budgets miss, and it can run into thousands of dollars. This guide breaks down the expenses to plan for, why financial preparedness matters before a tree comes down on its own, and how to find a licensed and insured local tree service.
What Every Homeowner Needs to Know About Tree Removal Cost
Understanding tree removal cost as a homeowner can save you thousands of dollars and prevent dangerous situations on your property. According to the International Society of Arboriculture, regular tree assessment is one of the most overlooked aspects of home maintenance. In this guide, we break down the real tree removal cost homeowner expenses you should budget for and how to find reliable professionals.
This post may contain affiliate links. I may earn a small commission at no extra cost to you if you make a purchase through these links. I only recommend products I personally use and love.
Hey there, friend! Today, I want to share a personal experience that taught me a valuable lesson about the hidden costs of homeownership. As a first-time homeowner, I was prepared for the usual expenses like monthly mortgage payments and utility bills. Little did I know, there was a lurking expense waiting to surprise me: tree removal. In this blog post, I’ll shed light on the importance of being financially secure enough to handle these unforeseen costs and provide you with a quick guide to finding licensed and insured local tree removal experts. So, let’s dive in!
Expecting the Unexpected:
The Hidden Costs of Homeownership: Tree Removal Cost Breakdown
Owning a home is a dream come true, but it comes with responsibilities beyond the regular bills. It’s crucial to anticipate and plan for unexpected expenses, such as tree removal, repairs, and maintenance. By understanding these hidden costs, you can avoid financial stress down the road.
The Significance of Financial Preparedness:
Being financially secure is the key to managing tree removal cost as a homeowner and to managing the surprise expenses that arise as a homeowner. Establishing an emergency fund specifically for home-related costs is a smart move. Aim to save at least 1-2% of your home’s value annually to cover potential maintenance, repairs, and unforeseen tree removal expenses.
Finding Reliable Tree Removal Experts in Your Area:
When it comes to tree removal, understanding tree removal cost is crucial, and hiring professionals who are licensed, insured, and skilled in their craft. Here’s a quick guide to help you find the right experts:
a. Ask for Recommendations: Seek referrals from friends, family, or neighbors who have dealt with similar issues. Personal recommendations can provide valuable insights and trustworthy leads.
b. Online Directories and Reviews: Utilize online directories and review platforms to find local tree removal experts. Pay attention to ratings, customer reviews, and feedback regarding their professionalism and pricing.
c. Verify Credentials: Ensure that the tree removal experts you consider are licensed, insured, and qualified for the job. A reputable contractor will gladly provide proof of insurance and necessary certifications.
Analyzing Quotes from Tree Removal Contractors:
Once you’ve shortlisted potential tree removal contractors, it’s essential to analyze their quotes thoroughly. Consider the following tips:
a. Request Multiple Quotes: Reach out to several contractors to get a range of quotes. This allows you to compare prices and services offered, ensuring you make an informed decision.
b. Beware of Lowball Offers: While affordability is important, be cautious of significantly low quotes. They might indicate a lack of experience, subpar equipment, or shortcuts that could compromise the safety and quality of the job.
c. Assess the Scope of Work: Ensure that the quotes include details about the scope of the work, such as tree removal, cleanup, stump grinding, and debris disposal. Clear communication and transparency are key.
Being a homeowner is a fulfilling experience, and understanding tree removal cost, but it’s crucial to be financially prepared for the unexpected. By acknowledging the hidden costs and planning accordingly, you can avoid unpleasant surprises and ensure your home remains a safe and pleasant place to live. Remember to find reputable tree removal experts by asking for recommendations, checking online reviews, and verifying credentials. When assessing quotes, prioritize quality and safety over the lowest price. Here’s to responsible homeownership and a well-maintained property!
Remember, being a homeowner means being proactive about tree removal cost and prepared. Start saving for those hidden costs today, and you’ll thank yourself later. Stay tuned for more insights and personal stories on homeownership.
Disclosure: This post contains affiliate links, which means I may earn a small commission if you make a purchase through my links, at no extra cost to you.
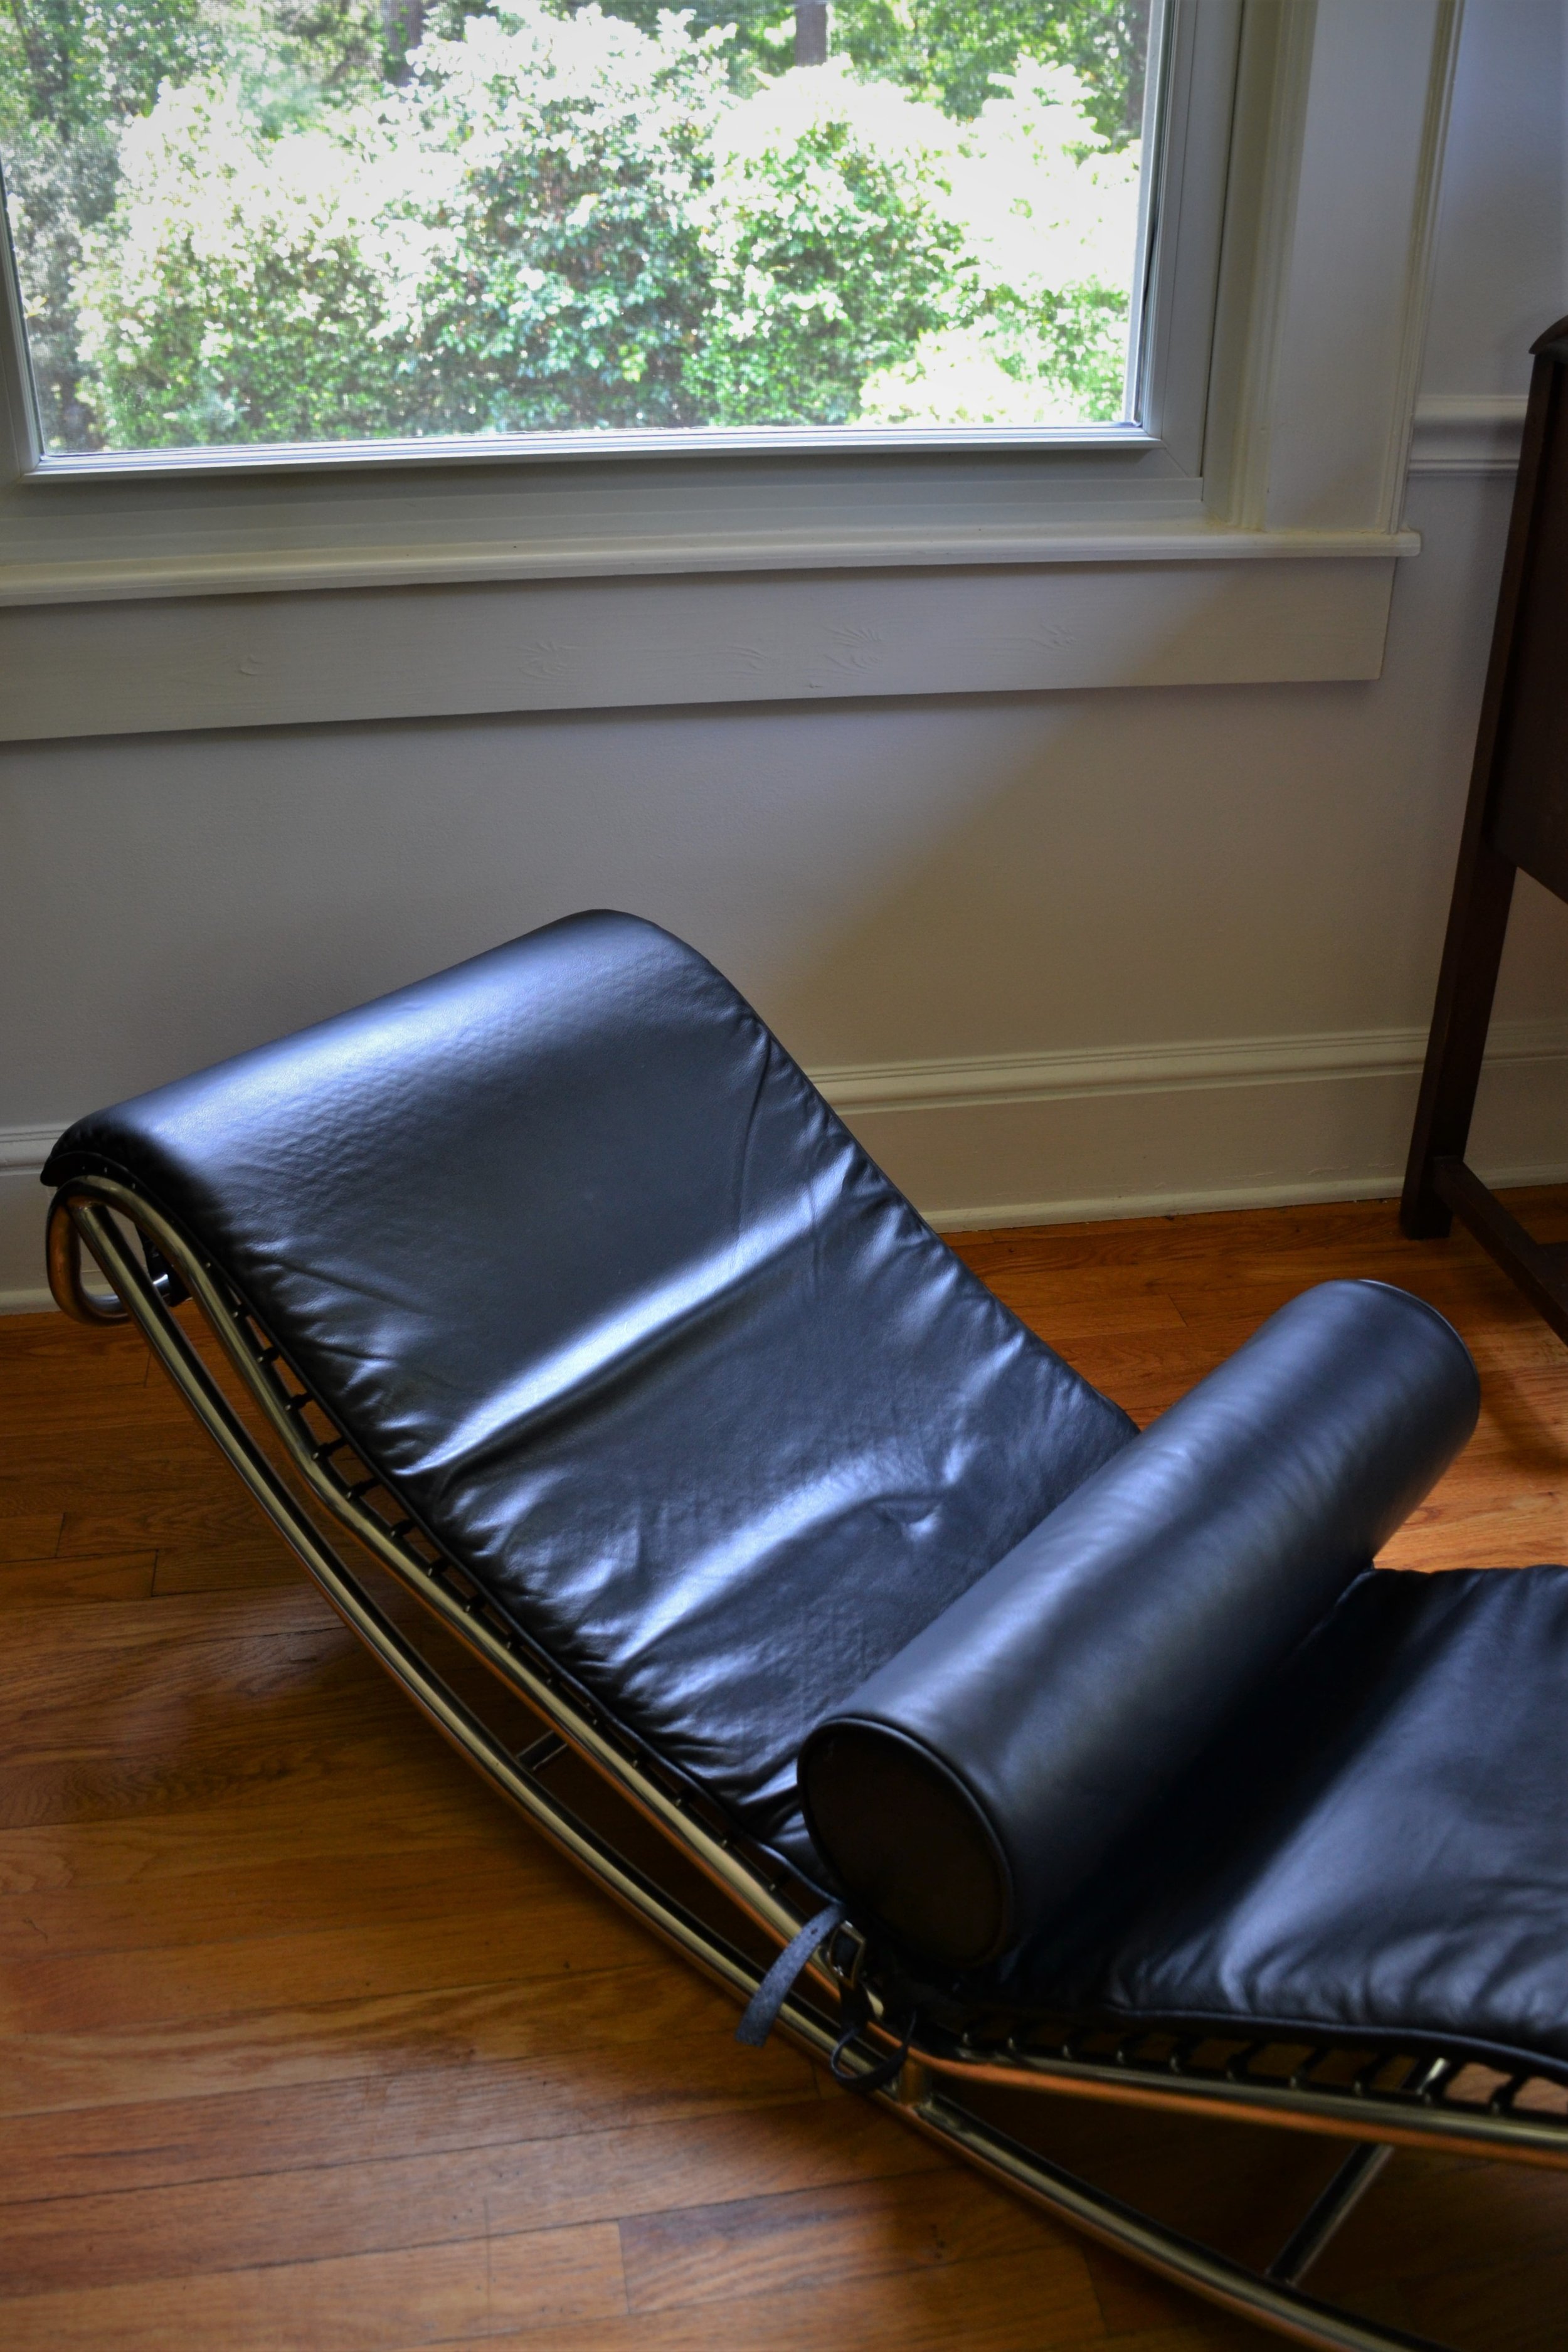
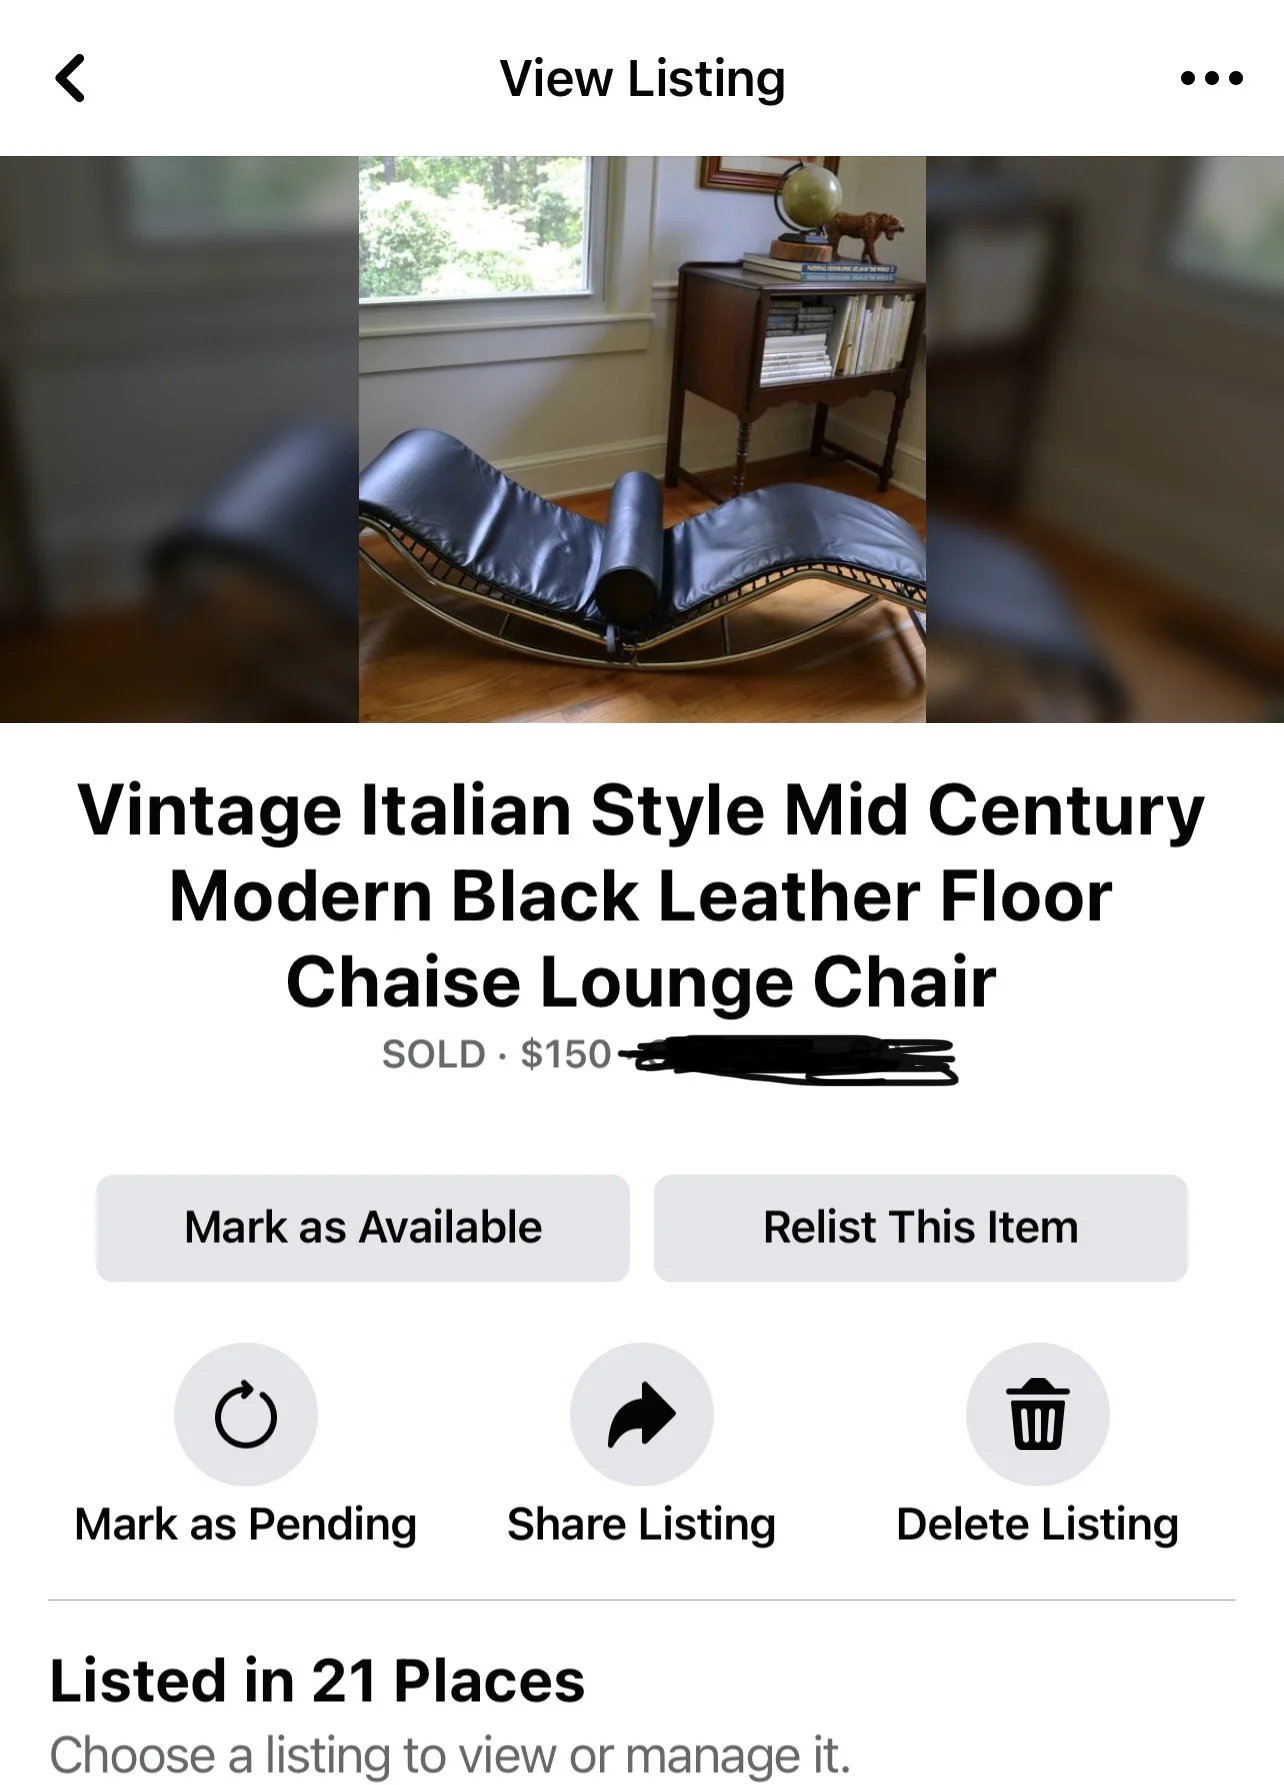
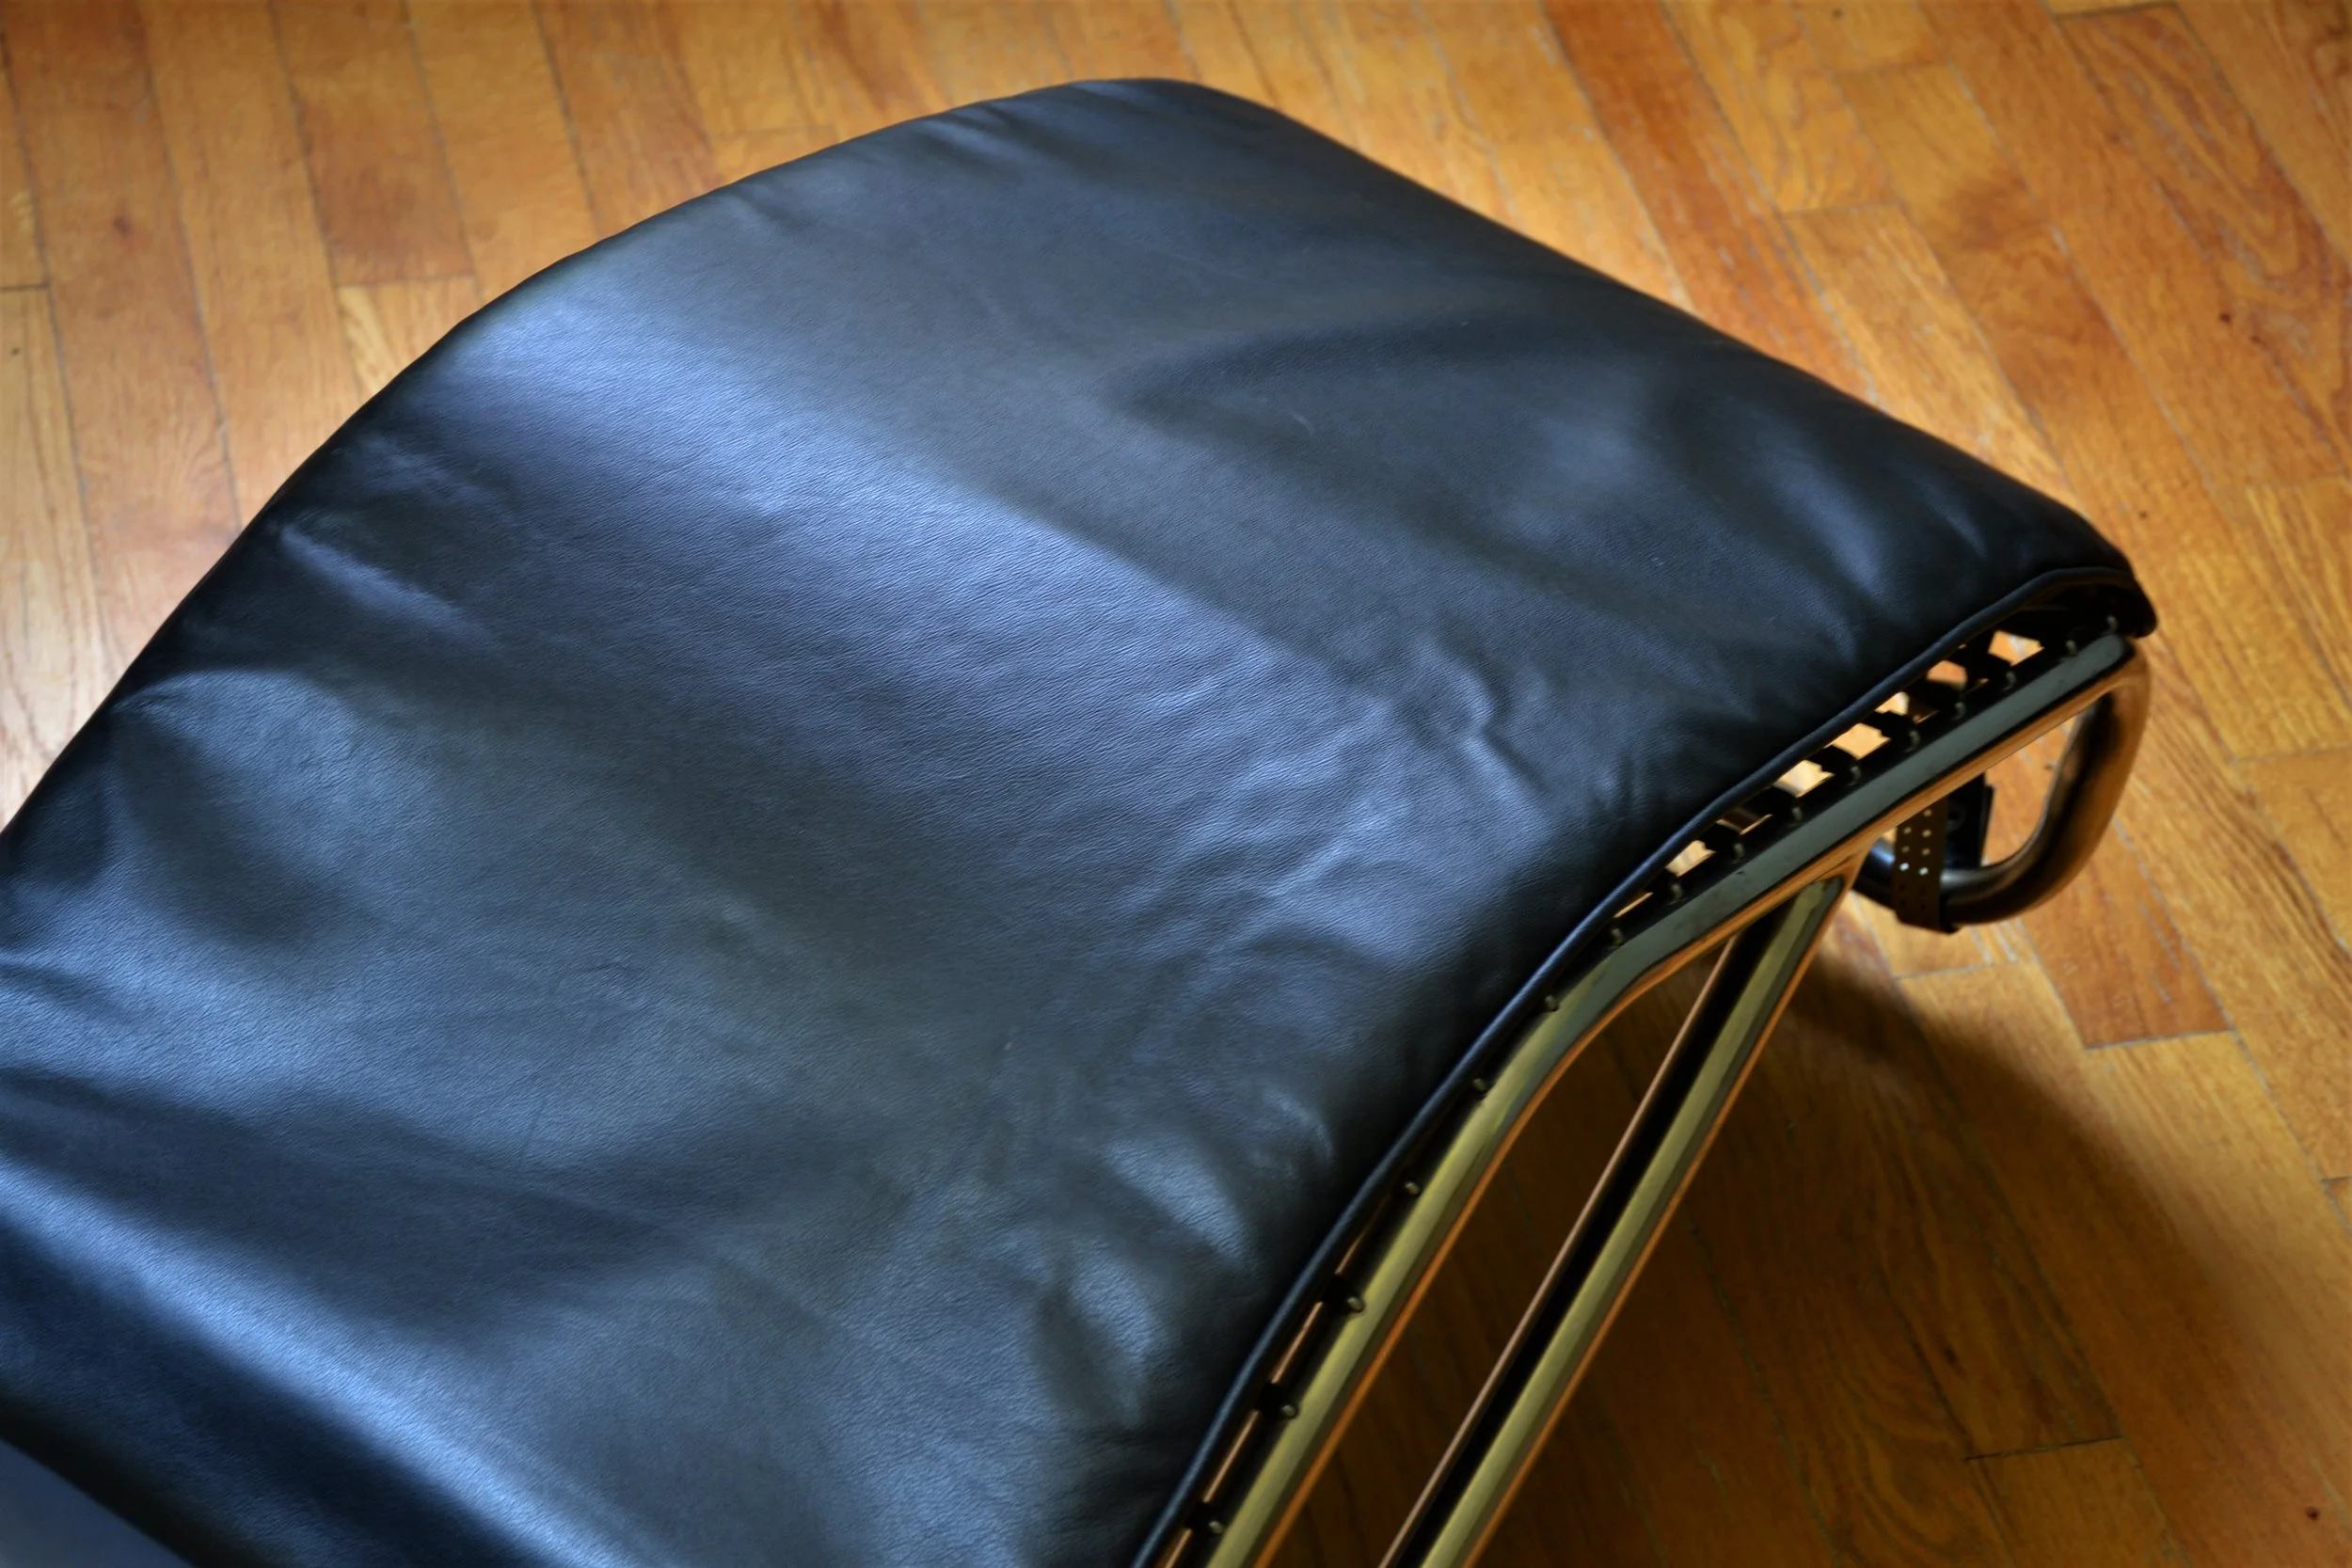
Quick answer: I bought a vintage Italian style mid century modern black leather chaise lounge at a yard sale for $15 and resold it for $150, a $135 profit. Here is how I spotted it, what I checked before handing over cash, the light leather clean I did, and how fast it sold.
How I Found a Vintage Mid Century Modern Chaise Lounge for $15
Finding a vintage mid century modern chaise lounge at a thrift store is every furniture flipper’s dream. According to 1stDibs, authentic mid century modern furniture continues to appreciate in value, making pieces like this vintage mid century modern chaise lounge incredible investments. Here is the story of my best flip yet.
This post may contain affiliate links. I may earn a small commission at no extra cost to you if you make a purchase through these links. I only recommend products I personally use and love.
Discovering a Vintage Mid Century Modern Chaise Lounge at a Thrift Store
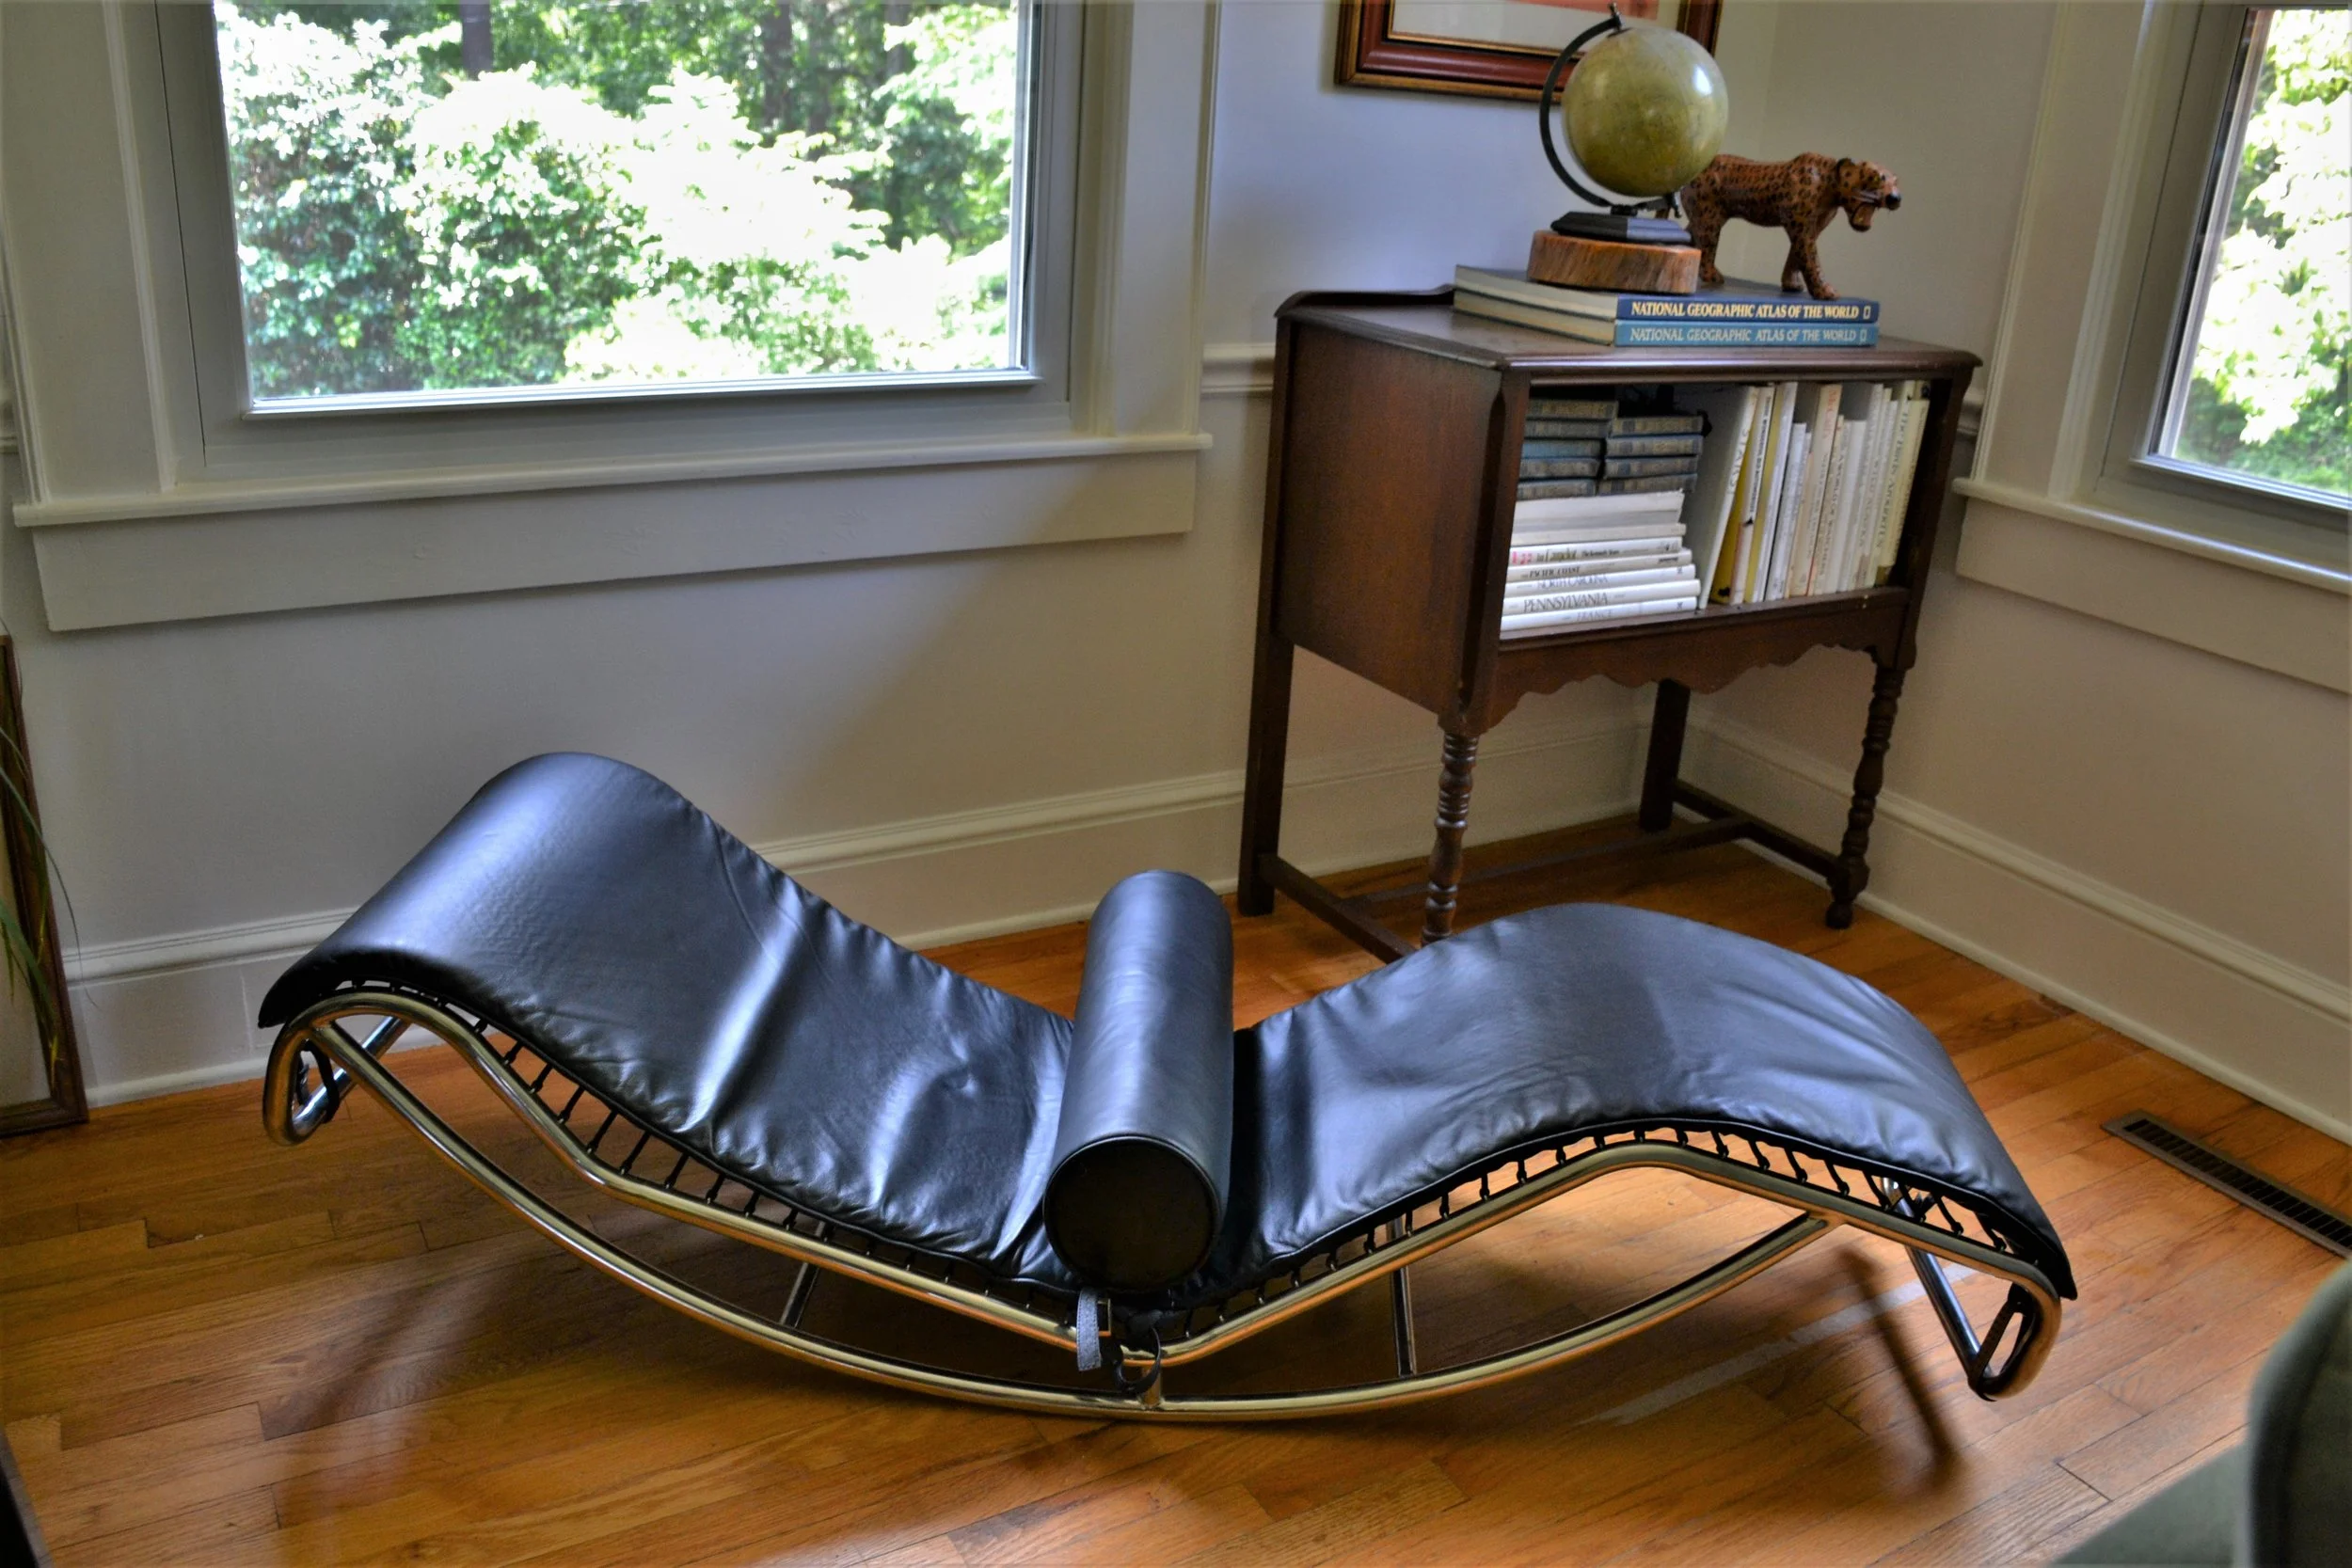
Have you ever stumbled upon a vintage mid century modern chaise lounge in the most unexpected of places? That’s precisely what happened to me during a recent yard sale adventure. Little did I know that a seemingly ordinary event would lead me to a remarkable Vintage Italian Style Mid Century Modern Black Leather Floor Chaise Lounge Chair, waiting patiently to be discovered and appreciated. What makes this story even more extraordinary is the quick turnaround that transformed this $15 purchase into a jaw-dropping $135 profit. So, let’s rewind the tape and relive this exhilarating journey together!
Picture a sunny Saturday morning, the air filled with anticipation and the possibility of finding something truly special. As I perused the various yard sale items, my eyes were suddenly captivated by an alluring silhouette, a sleek and stylish chaise lounge chair draped in rich black leather. Its design exuded the timeless elegance of mid-century modern aesthetics, whispering stories of a bygone era. Instantly, I knew I had stumbled upon a hidden gem.
With adrenaline coursing through my veins, I approached the seller to inquire about the intriguing chaise lounge chair. Much to my delight, they revealed that it had been in their family for decades. The chair had been lovingly maintained, and although it had lost some of its former luster, its allure remained intact. Negotiations ensued, and after a brief haggle, we settled on a humble price of $15. I couldn’t believe my luck!
Researching the Value of My Vintage Mid Century Modern Chaise Lounge
I immediately took a picture of the chair and searched it on Google to identify the brand and to research sold listings for similar chairs. As I began my research, I had already made my purchase when I quickly realized that this chair was missing the base. The chair along with the base could have brought in upward of $750 if I were to list this chair on Facebook Marketplace. Without the base the chair alone didn’t have much value and thus I priced it to sell quickly at $150. This was definitely a big learning experience for me as a reseller. Every time I sell an item, I am constantly learning something new and this time I was reminded to do my research before buying.
Listing and Selling the Vintage Mid Century Modern Chaise Lounge
Thrilled with my newfound treasure, I wasted no time in capturing its beauty through captivating photographs. Armed with my i-phone and a keen eye for aesthetics, I ensured that every angle highlighted the chair’s elegant lines and supple leather upholstery. Armed with these stunning visuals, I was ready to introduce the chair to the digital world and embark on the next chapter of its journey.
Using Social Media to Sell Vintage Mid Century Modern Furniture
Social media has undoubtedly transformed the way we connect, discover, and buy. With the chaise lounge chair’s photos in hand, I eagerly crafted a compelling listing and posted it on my Facebook page. In a matter of minutes, the chair began attracting attention, with admirers expressing their interest through comments and private messages. It was apparent that this vintage piece had struck a chord, and potential buyers were eager to welcome it into their homes.
To maximize the chair’s visibility, I employed some strategic tactics to enhance its search engine optimization (SEO). By incorporating relevant keywords such as \”vintage,\” \”Italian style,\” \”mid-century modern,\” and \”black leather chaise lounge chair\” into the listing title and description, I ensured that it would appear prominently in search results for interested buyers. A well-optimized listing can make all the difference when it comes to attracting potential customers, and I was determined to make this sale a resounding success.
The response was nothing short of overwhelming. Enthusiastic inquiries flooded my inbox, each person eager to learn more about the chair. ‘s history, condition, and, of course, the asking price. The combination of a visually appealing listing and effective SEO techniques had truly paid off. As I diligently responded to messages and engaged with potential buyers, it became increasingly evident that the chair’s destiny lay in the hands of someone who truly recognized its value.
Ultimately, after careful consideration, I selected a buyer who shared my admiration for the chair’s timeless design and appreciated its significance as a rare vintage piece. Bidding farewell to my profitable acquisition was bittersweet, but knowing it would be cherished in its new home brought immense satisfaction.
Lessons Learned From Flipping a Vintage Mid Century Modern Chaise Lounge
Reflecting upon this vintage mid century modern chaise lounge flipping experience, I am reminded of the hidden treasures that can be found in the most unexpected places. The world of yard sales is a treasure trove for vintage enthusiasts, offering countless opportunities to unearth remarkable pieces with tremendous potential. The key lies in keeping an open mind, honing your eye for quality, and having a bit of luck on your side.
As I conclude this extraordinary tale of discovery and triumph, I invite you to embark on your own treasure-hunting adventures. Whether you’re seeking to enhance your living space or looking for profitable investment opportunities, the world of vintage and resale is brimming with possibilities. Who knows? You might just stumble upon a Vintage Italian Style Mid Century Modern Black Leather Floor Chaise Lounge Chair of your own, one that not only brings joy to your life but also adds a substantial boost to your wallet. Happy hunting!
Disclosure: This post contains affiliate links, which means I may earn a small commission if you make a purchase through my links, at no extra cost to you.
Quick answer: Poshmamma’s anti aging glow up skincare recipe is a two ingredient DIY, vitamin E oil combined with an essential oil, applied to the face. I tried it after watching her results on TikTok and wrote up honestly what happened on my own skin. This is a cosmetic routine, not a treatment.
Poshmamma’s Anti Aging Glow Up Skincare Recipe That Actually Works
This anti aging glow up skincare recipe uses just two powerful ingredients to transform your skin. According to the American Academy of Dermatology, vitamin E and essential oils are among the most effective natural anti-aging ingredients. I tried Poshmamma’s viral anti aging glow up skincare recipe and here are my honest results.
This post may contain affiliate links. I may earn a small commission at no extra cost to you if you make a purchase through these links. I only recommend products I personally use and love.
I’ve found a new anti aging glow up skincare recipe that I’m going to be trying out that I recently discovered from someone on TikTok. Her username is @Poshmamma and here is one of the videos where she introduces us to the 2 holy grail all-natural products that give her this phenomenal glow. This woman is really extraordinary when it comes to giving tips on how to utilize the resources that Earth gives us to heal our bodies and, in this scenario, to make our skin glow & repair the effects of aging. Poshmamma is in her early 50s, I believe, and I noticed in her videos that recently she has been doing something to her skin. The results have been visibly noticeable by not just me but some of her other followers on TikTok as well. In a matter of only 1-2 weeks, this lady’s skin has turned from night to day. Her results had me immediately convinced to try whatever she was doing. So of course, I quite literally ran to Wal-Mart and I bought her skin recipe concoction to test it out for myself.
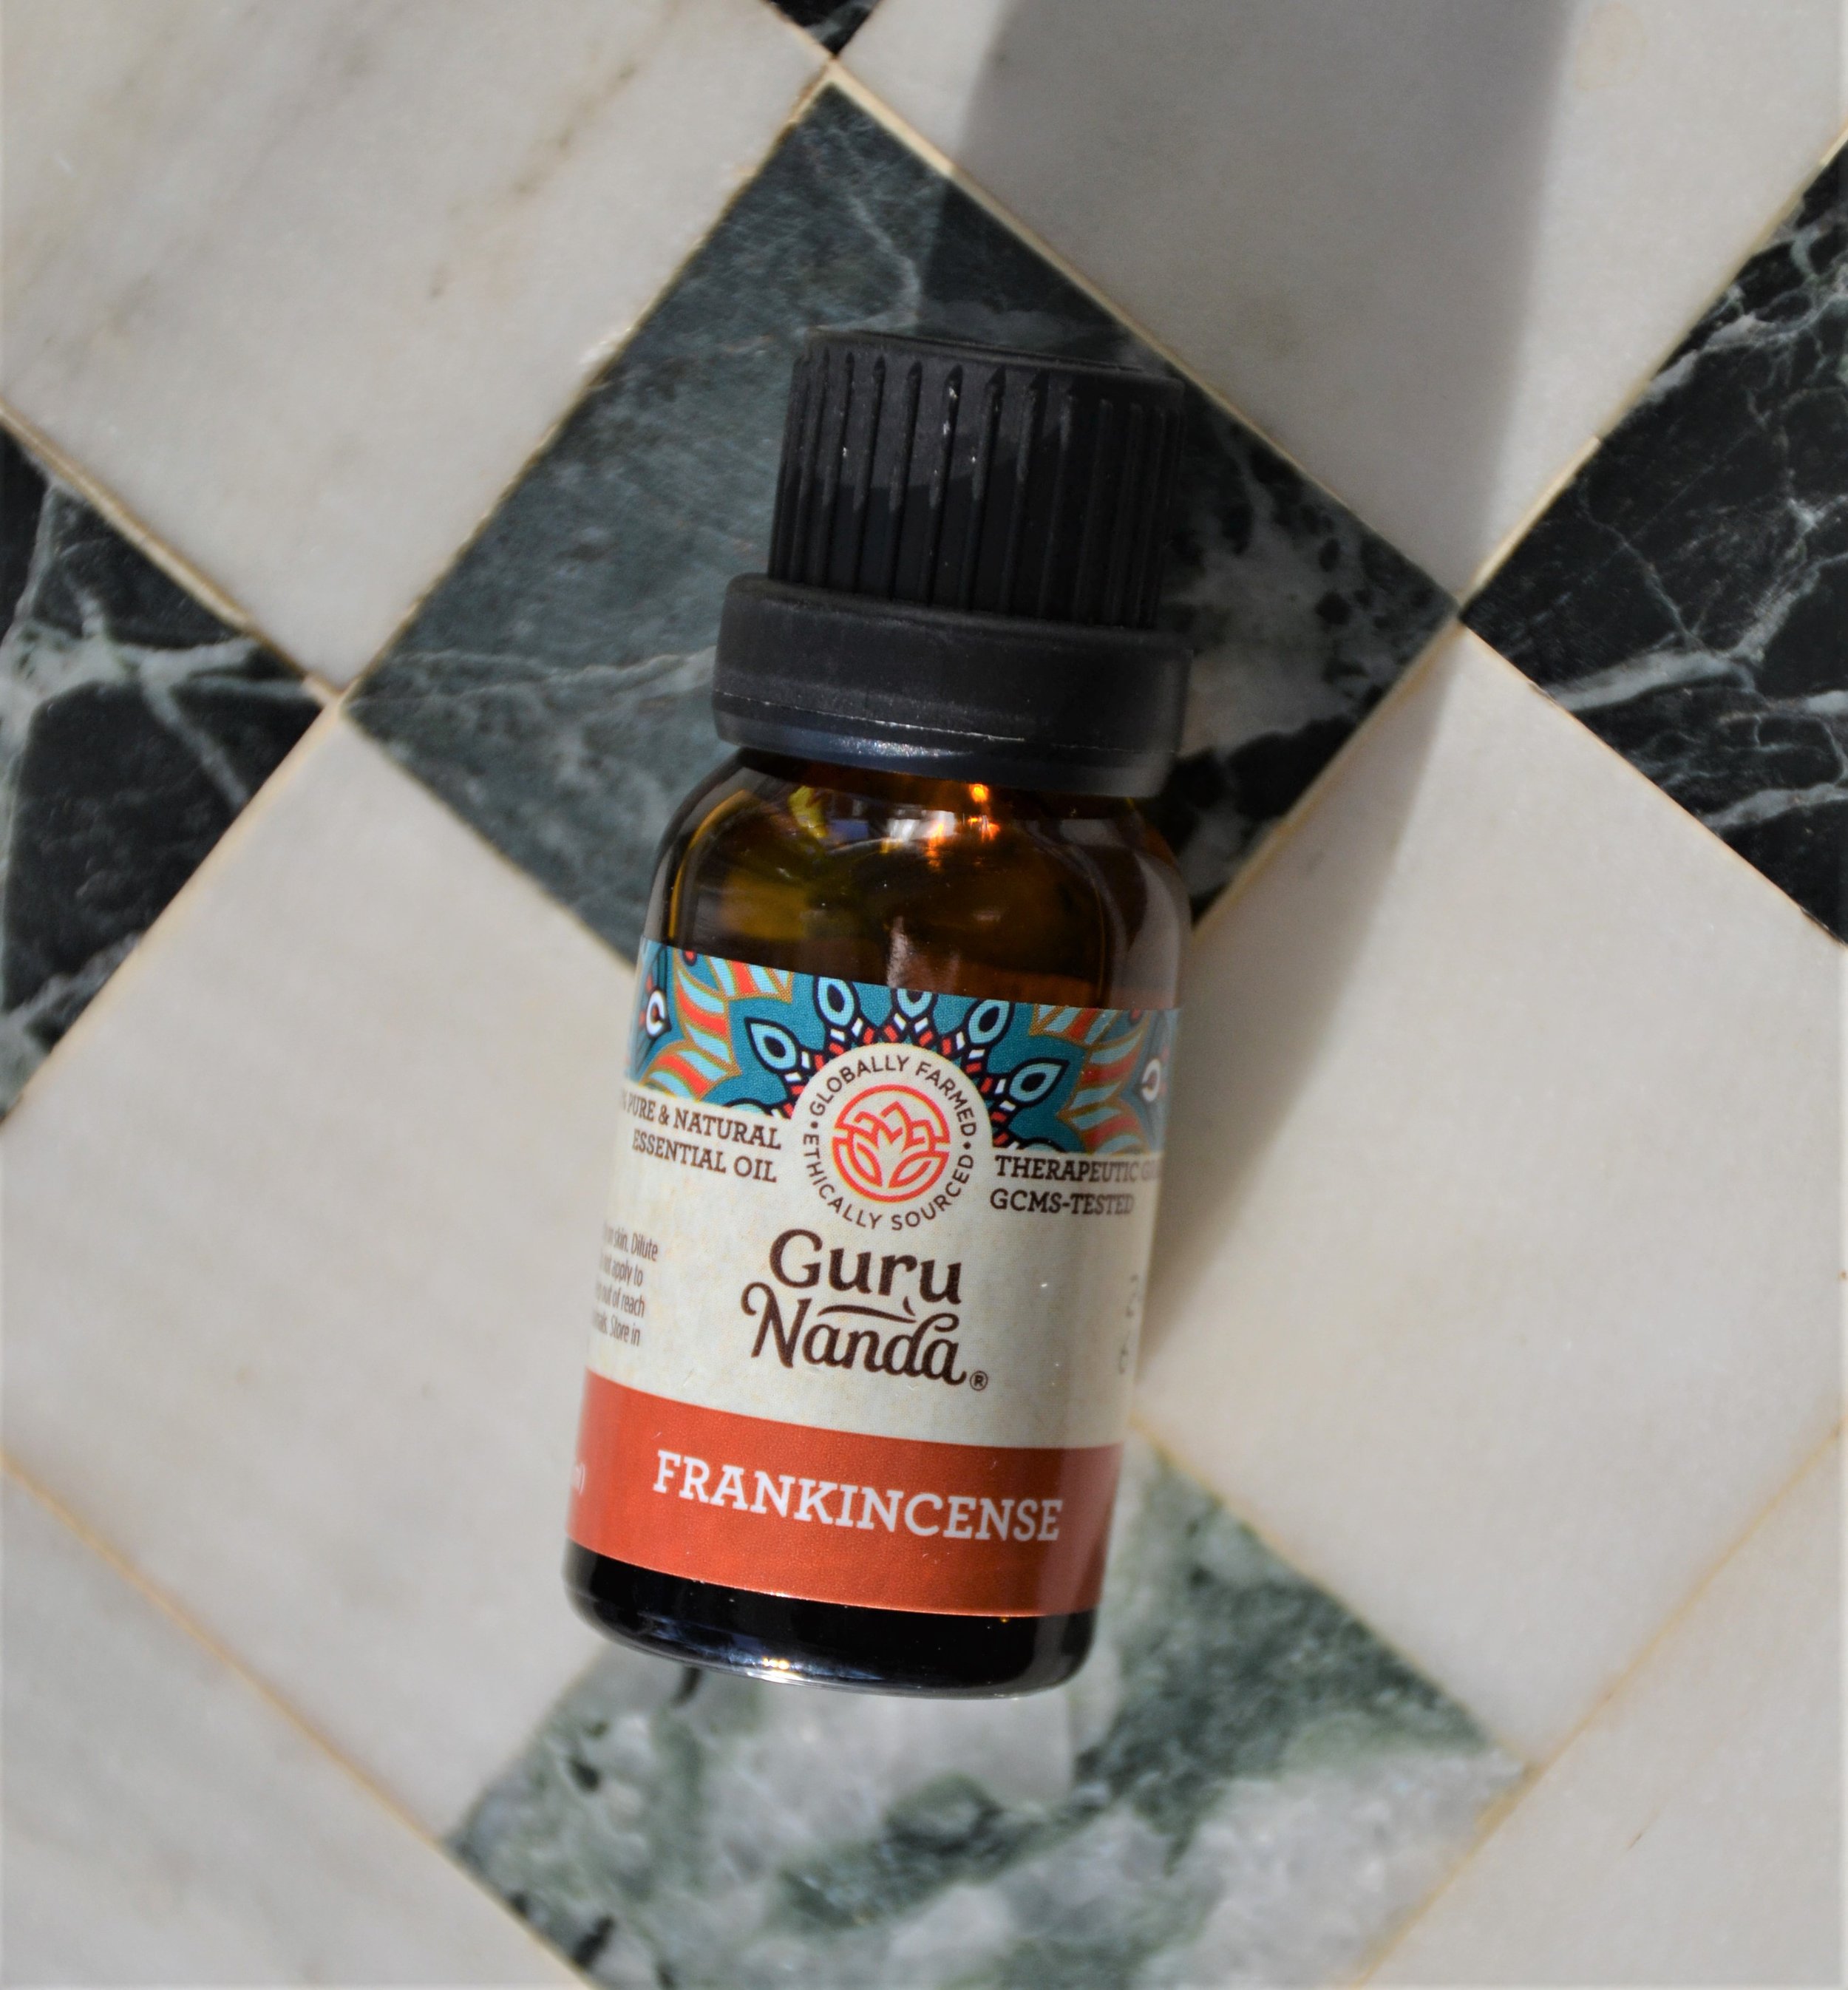
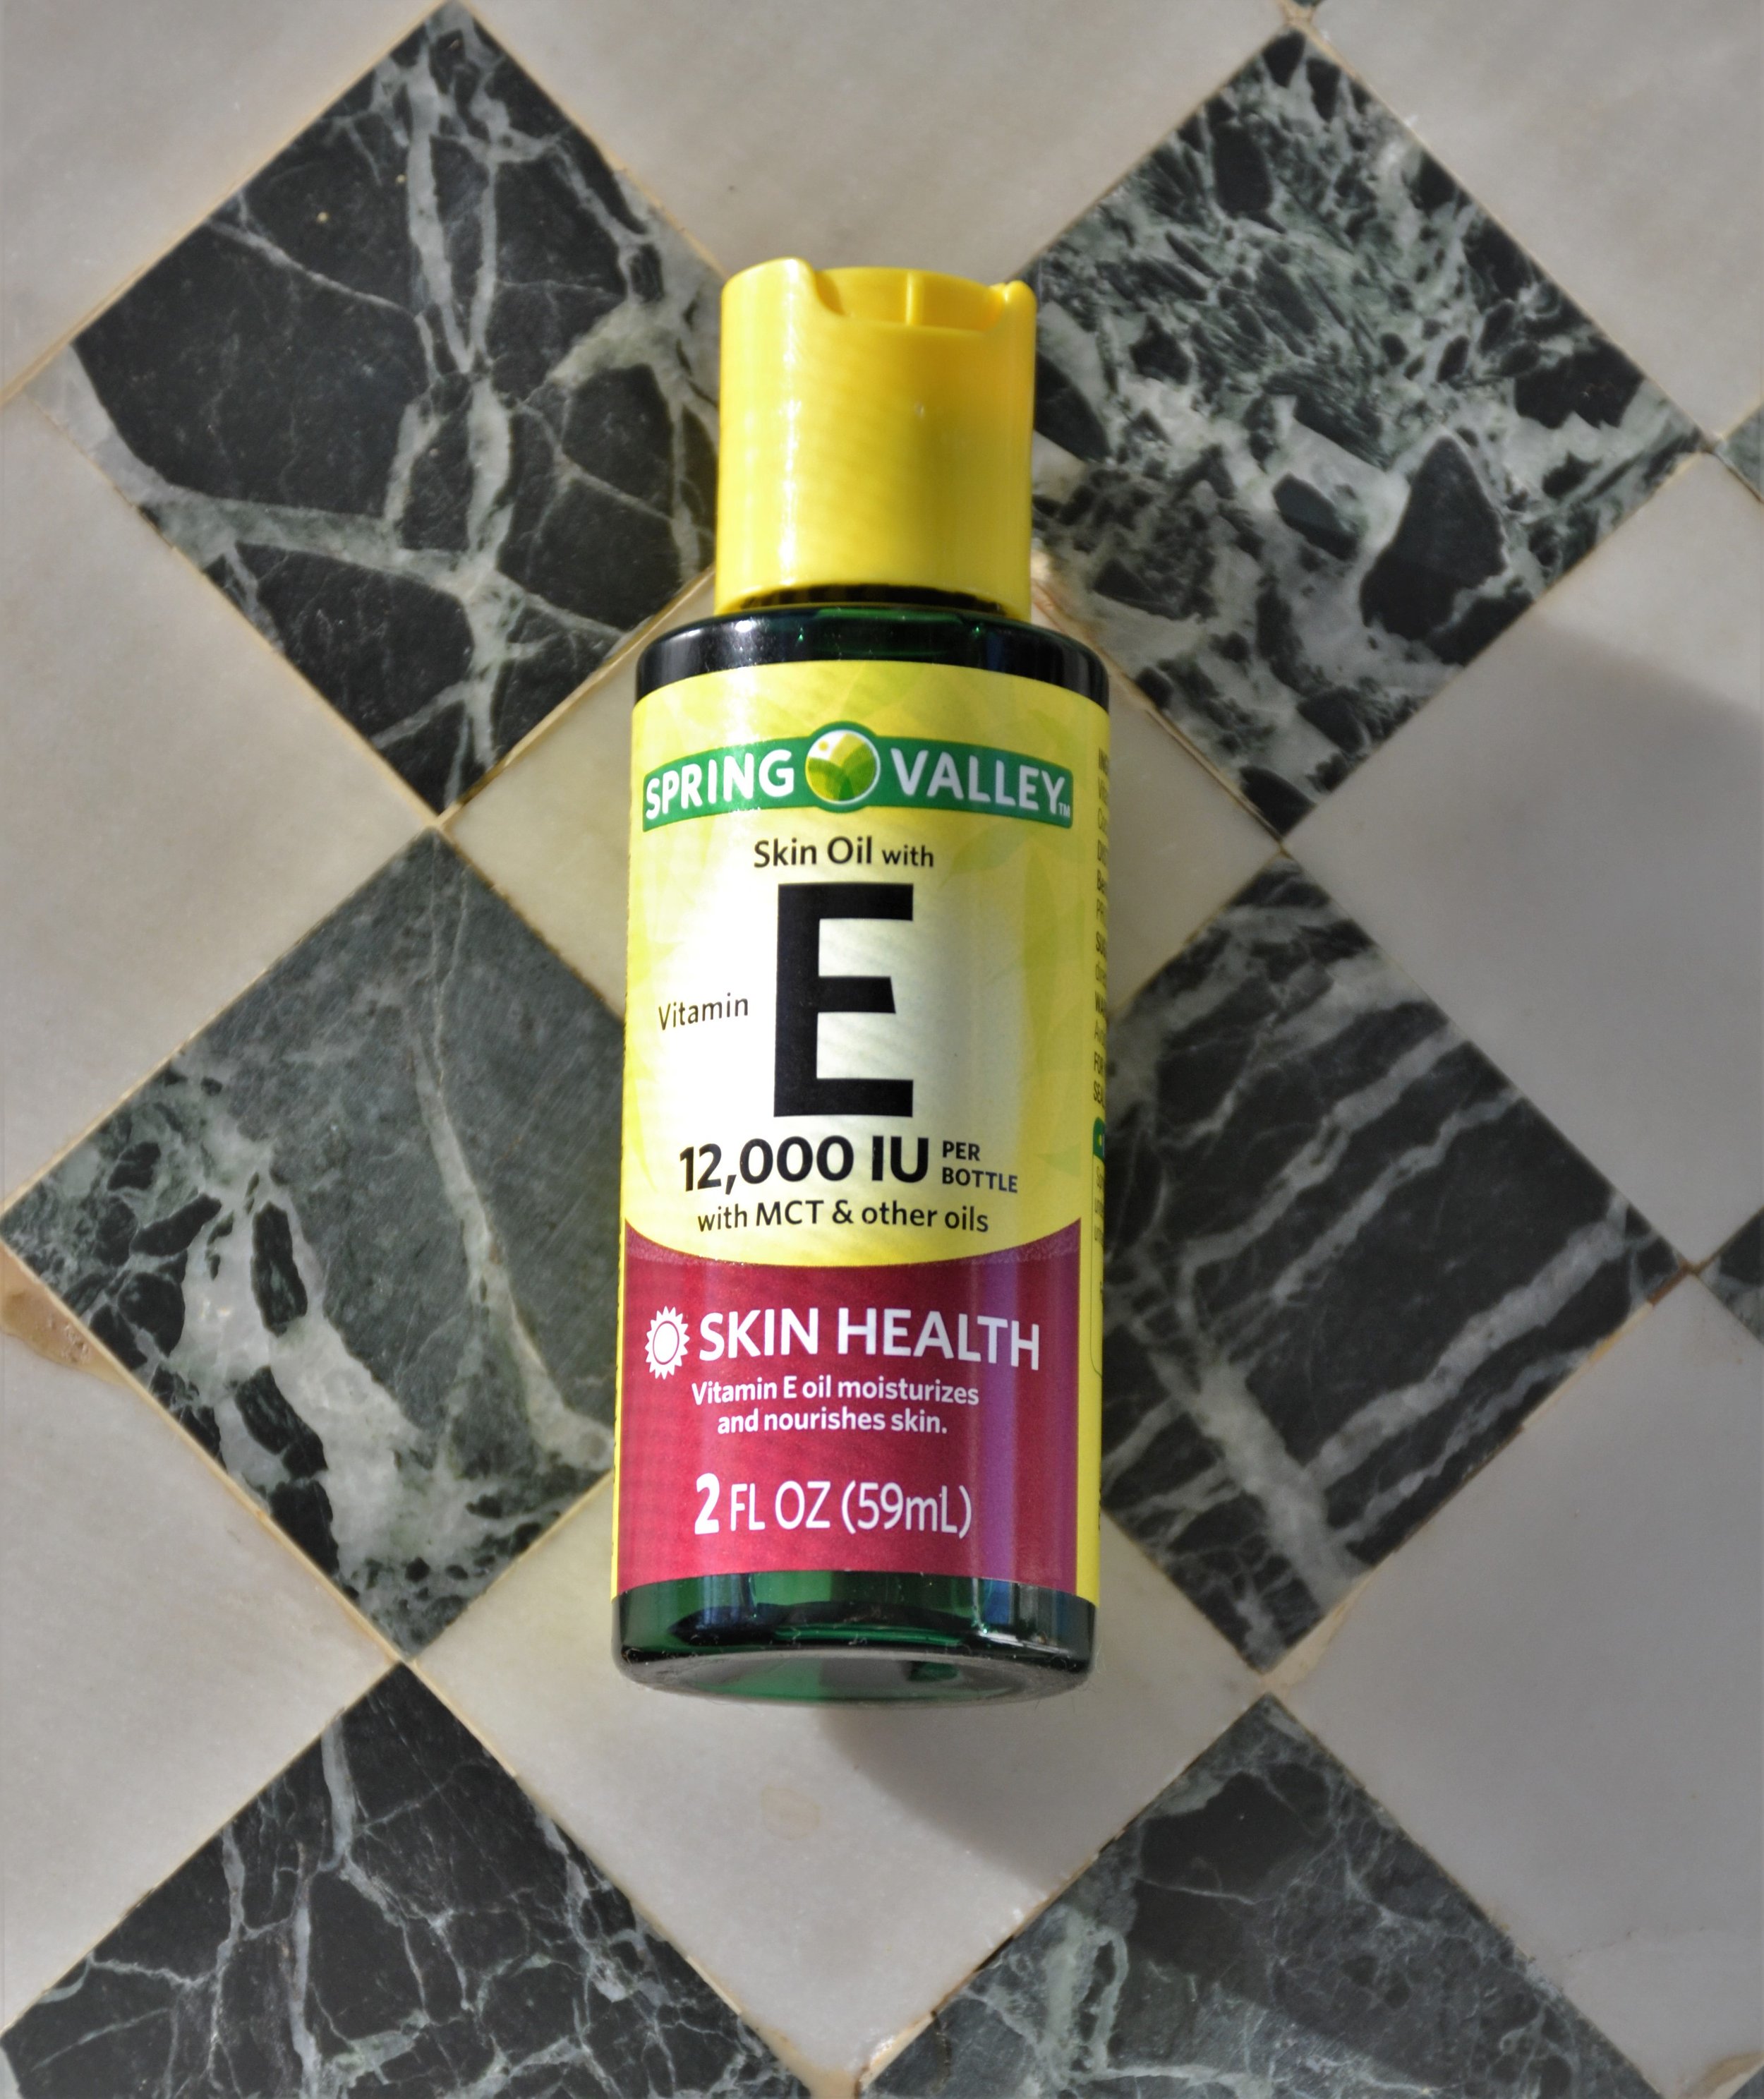
It’s just two ingredients that you’re going to use and add to your normal morning & nighttime skin care routine. First ingredient is vitamin E oil. She purchased one manufactured by Spring Valley. It’s in the vitamin section. At my store, it was on the bottom shelf of the vitamin section. If you’re looking on the vitamin aisle, you’ve got all the bottles of vitamins and pills and then this oil is at the bottom. I purchased the 2 oz bottle. The second and final ingredient is Frankincense oil and the product she recommends is made by Guru Nanda.
How To Apply:
Start with a cleansed & toned face before applying the Poshmamma Anti-Aging Glow Up skincare recipe. Pour about a nickel sized amount of Vitamin E oil and put it in the palm of my hand. Then add 1-2 drops of the Guru Nanda frankincense oil. You can mix the 2 products in the palm of your hand or wait to mix them once you apply to the face. Some people say that you lose product when you mix skincare in the palm of your hands but I just like to think that I am giving a little extra (& probably much needed) attention to the skin on my hands.
Stay tuned for my weekly progress update where I will be showing you my results after implementing these two products into my daily skincare routine.
Guru Nanda Frankincense Oil When it comes to maintaining healthy and radiant skin, there are few ingredients that can compare to vitamin E oil and frankincense oil. These two oils, when applied topically to the face, can provide a wide range of benefits that are sure to leave your skin looking and feeling its best.
Key Ingredients in This Anti Aging Skincare Recipe
First, let’s take a look at vitamin E oil. This oil is known for its powerful antioxidant properties, which can help to protect the skin from free radical damage caused by environmental factors such as pollution and UV radiation. In addition to this, vitamin E oil has been shown to help improve the appearance of scars and stretch marks, as well as reduce the appearance of fine lines and wrinkles.
Frankincense oil, on the other hand, is known for its anti-inflammatory properties, which can help to reduce redness and swelling in the skin. In addition to this, frankincense oil has been shown to help improve the overall tone and texture of the skin, giving it a more youthful and radiant appearance.
The benefits of this anti aging glow up skincare recipe with vitamin E oil and frankincense oil topically to the face are numerous. From protecting the skin from free radical damage to improving the overall tone and texture of the skin, these two oils are an essential addition to any skincare routine. So why wait? Give them a try today and see the difference they can make for yourself!
Stay tuned for my weekly progress update where I will be showing you my results after implementing these two products into my daily skincare routine.
Shop the Anti Aging Glow Up Skincare Recipe Products
Here are two products I recommend for your anti-aging skincare routine:
GuruNanda Frankincense Essential Oil (2×0.5 Fl oz) – 100% Pure, Natural, Undiluted Aromatherapy Oil for Diffusers, Supports Joint Health & Radiant Skin ($10): Shop on Amazon
Ella & Eden Organic Castor Oil (32 fl oz) – Cold-Pressed Hexane-Free Unrefined, USDA Certified & 100% Pure, For Hair Growth, Skin and Face ($26): Shop on Amazon
Quick verdict: The Michael Todd Beauty Sonicsmooth Pro+ is the at-home dermaplaning tool to look at for most people. The sonic vibration makes it faster and less nick-prone than a manual dermaplaning razor, it has three speeds, and it comes with a 3-year warranty.
See the full routine start to finish, including technique, speed settings, and results.
What is the Michael Todd Beauty Sonicsmooth?
The Sonicsmooth is a sonic dermaplaning system, a cordless tool that uses a fine, single-use blade vibrating at 15,000 sonic movements per minute (250 plus per second) to exfoliate dead skin and remove peach fuzz. Unlike a plain dermaplaning razor, the sonic motion does the work for you, so you glide instead of scrape. That is what makes it gentler on sensitive skin and easier for beginners.
Dermaplaning at a spa typically runs about $100 per treatment. The Sonicsmooth pays for itself after roughly one visit, and you can do it at home whenever you want smoother skin or a flawless makeup base.
Sonicsmooth specs at a glance
Feature
Detail
Sonic speed
15,000 movements per minute (250 plus per second)
Speed settings
3 adjustable levels
Blades included
16 single-use, medical-grade stainless steel
LED
Built-in light on the safety tip
Power
USB rechargeable, cordless, wireless charging cradle
Warranty
3 years
Also includes
2 microdermabrasion tips
Awards
Allure Readers’ Choice, Best Tool Breakthrough
Sonicsmooth vs Sonicsmooth Pro+: Michael Todd sells two versions. The specs above and the buttons on this page are for the Pro+, the kit with 16 single-use blades and two microdermabrasion tips. The base Sonicsmooth is a separate listing with the same three speeds and 3-year warranty, so check which one is in the cart. For what to do with those two tips, see How to Use the Michael Todd Microdermabrasion Tip.
Genuinely painless. The sonic vibration means no tugging or razor burn, even around the jaw and upper lip.
Smoother makeup, instantly. Foundation sits more smoothly on freshly dermaplaned skin. This is the benefit most people notice first.
Three speed settings. Lower speed on the cheeks, higher for denser peach fuzz. Most competitors have one speed.
Best-in-class warranty. A 3-year warranty on a tool at this price is a sign the brand stands behind it.
Cordless and wireless charging. Charges on the cradle, travels easily, no cords in the bathroom.
Tiny cost per use. One spa dermaplaning visit costs about the same as the whole device.
What to keep in mind
You will rebuy blades. The single-use tips are consumable. Budget for refills a few times a year, still far cheaper than the spa.
Technique matters at first. Your first session has a small learning curve: short, light strokes on clean, dry skin. The step-by-step guide walks you through it.
Not for active acne. Skip dermaplaning over active breakouts or raised blemishes. See the safety guide.
Sonicsmooth vs. Dermaflash Luxe+ (honest comparison)
The Dermaflash Luxe+ is the other big name. Here is the straight comparison so you can choose for yourself:
Sonicsmooth Pro+
Dermaflash Luxe+
Speed settings
3
1
Warranty
3 years
Not stated
Blades in box
16
Fewer
Extras
2 microdermabrasion tips, LED tip
PREFLASH cleanser included
Best for
Control, value, longevity
Simplicity, included cleanser
Bottom line: If you want the included cleanser and the simplest one-button experience, Dermaflash is a fine pick. If you want more control with 3 speeds and a 3-year warranty, the Sonicsmooth Pro+ wins. The full side by side is in Dermaflash vs Michael Todd.
Buy it if you want smoother skin, better makeup application, and painless peach-fuzz removal without paying for repeat spa visits. It is especially good for dermaplaning beginners because the sonic motion is forgiving. Skip it for now if you have active acne or very reactive, broken skin.
How to use it (the short version)
Start with clean, completely dry skin.
Hold skin taut and use short, light, downward strokes at about a 45 degree angle.
Go slow around the jaw and upper lip.
Follow with a hydrating serum and SPF. Freshly dermaplaned skin loves product and needs sun protection.
Also looking at hair removal? Dermaplaning clears peach fuzz for a week or two. For hair that keeps coming back on legs, underarms or the bikini line, at-home IPL is the next step up, and the one to look at is the Nood Flasher Pro, the only at-home IPL device with an energy figure in a public FDA file.
For most people, yes. If you dermaplane even a few times a year it replaces repeat spa visits, and the 3-year warranty makes it low risk.
Does dermaplaning make hair grow back thicker?
No. Dermaplaning cuts fine vellus hair straight across at the surface. It does not change the hair’s thickness or color, and it grows back exactly as before. More in the myths and mistakes post.
How often should I use it?
Most people dermaplane every 1 to 2 weeks to let the skin’s surface renew between sessions.
Does it hurt?
No. The sonic vibration is what keeps it painless, with no razor burn or tugging when you use light strokes on dry skin.
The Sonicsmooth Pro+ comes with a 3-year warranty and 16 blades in the box. It is the at-home dermaplaning tool to look at for salon-smooth skin without repeat salon visits.
Disclosure: This post contains affiliate links, which means I may earn a small commission if you make a purchase through my links, at no extra cost to you.
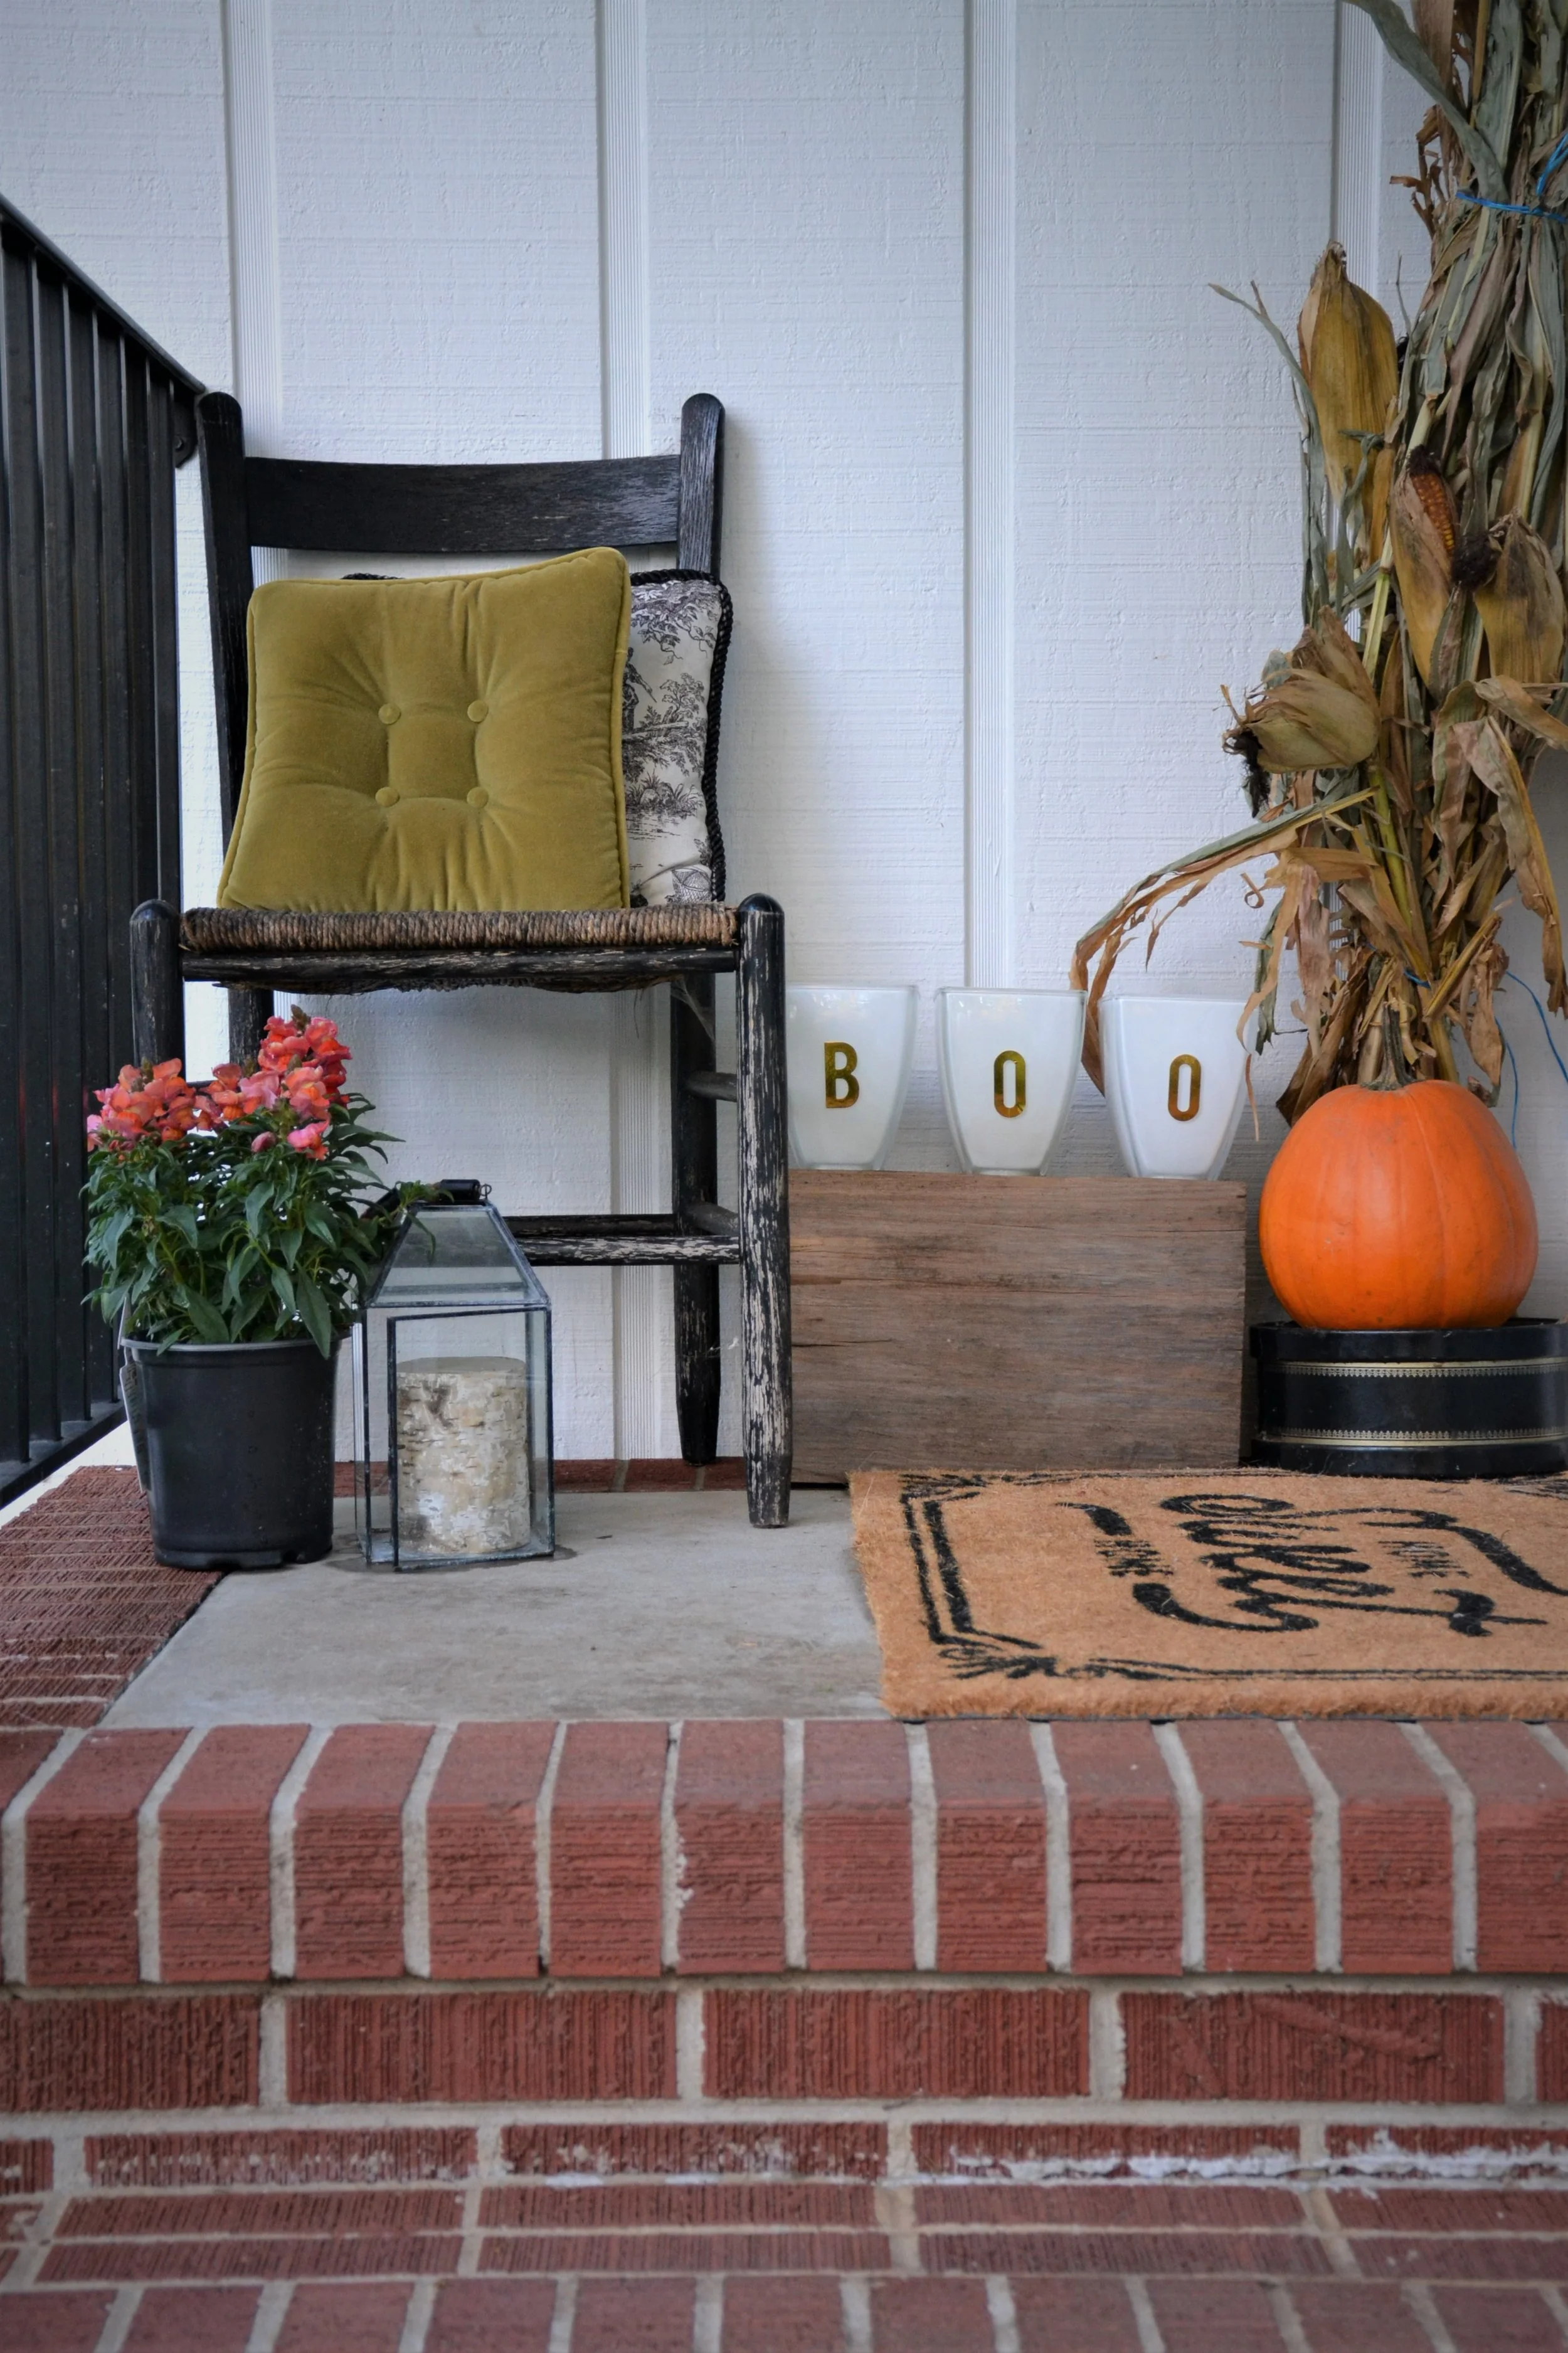
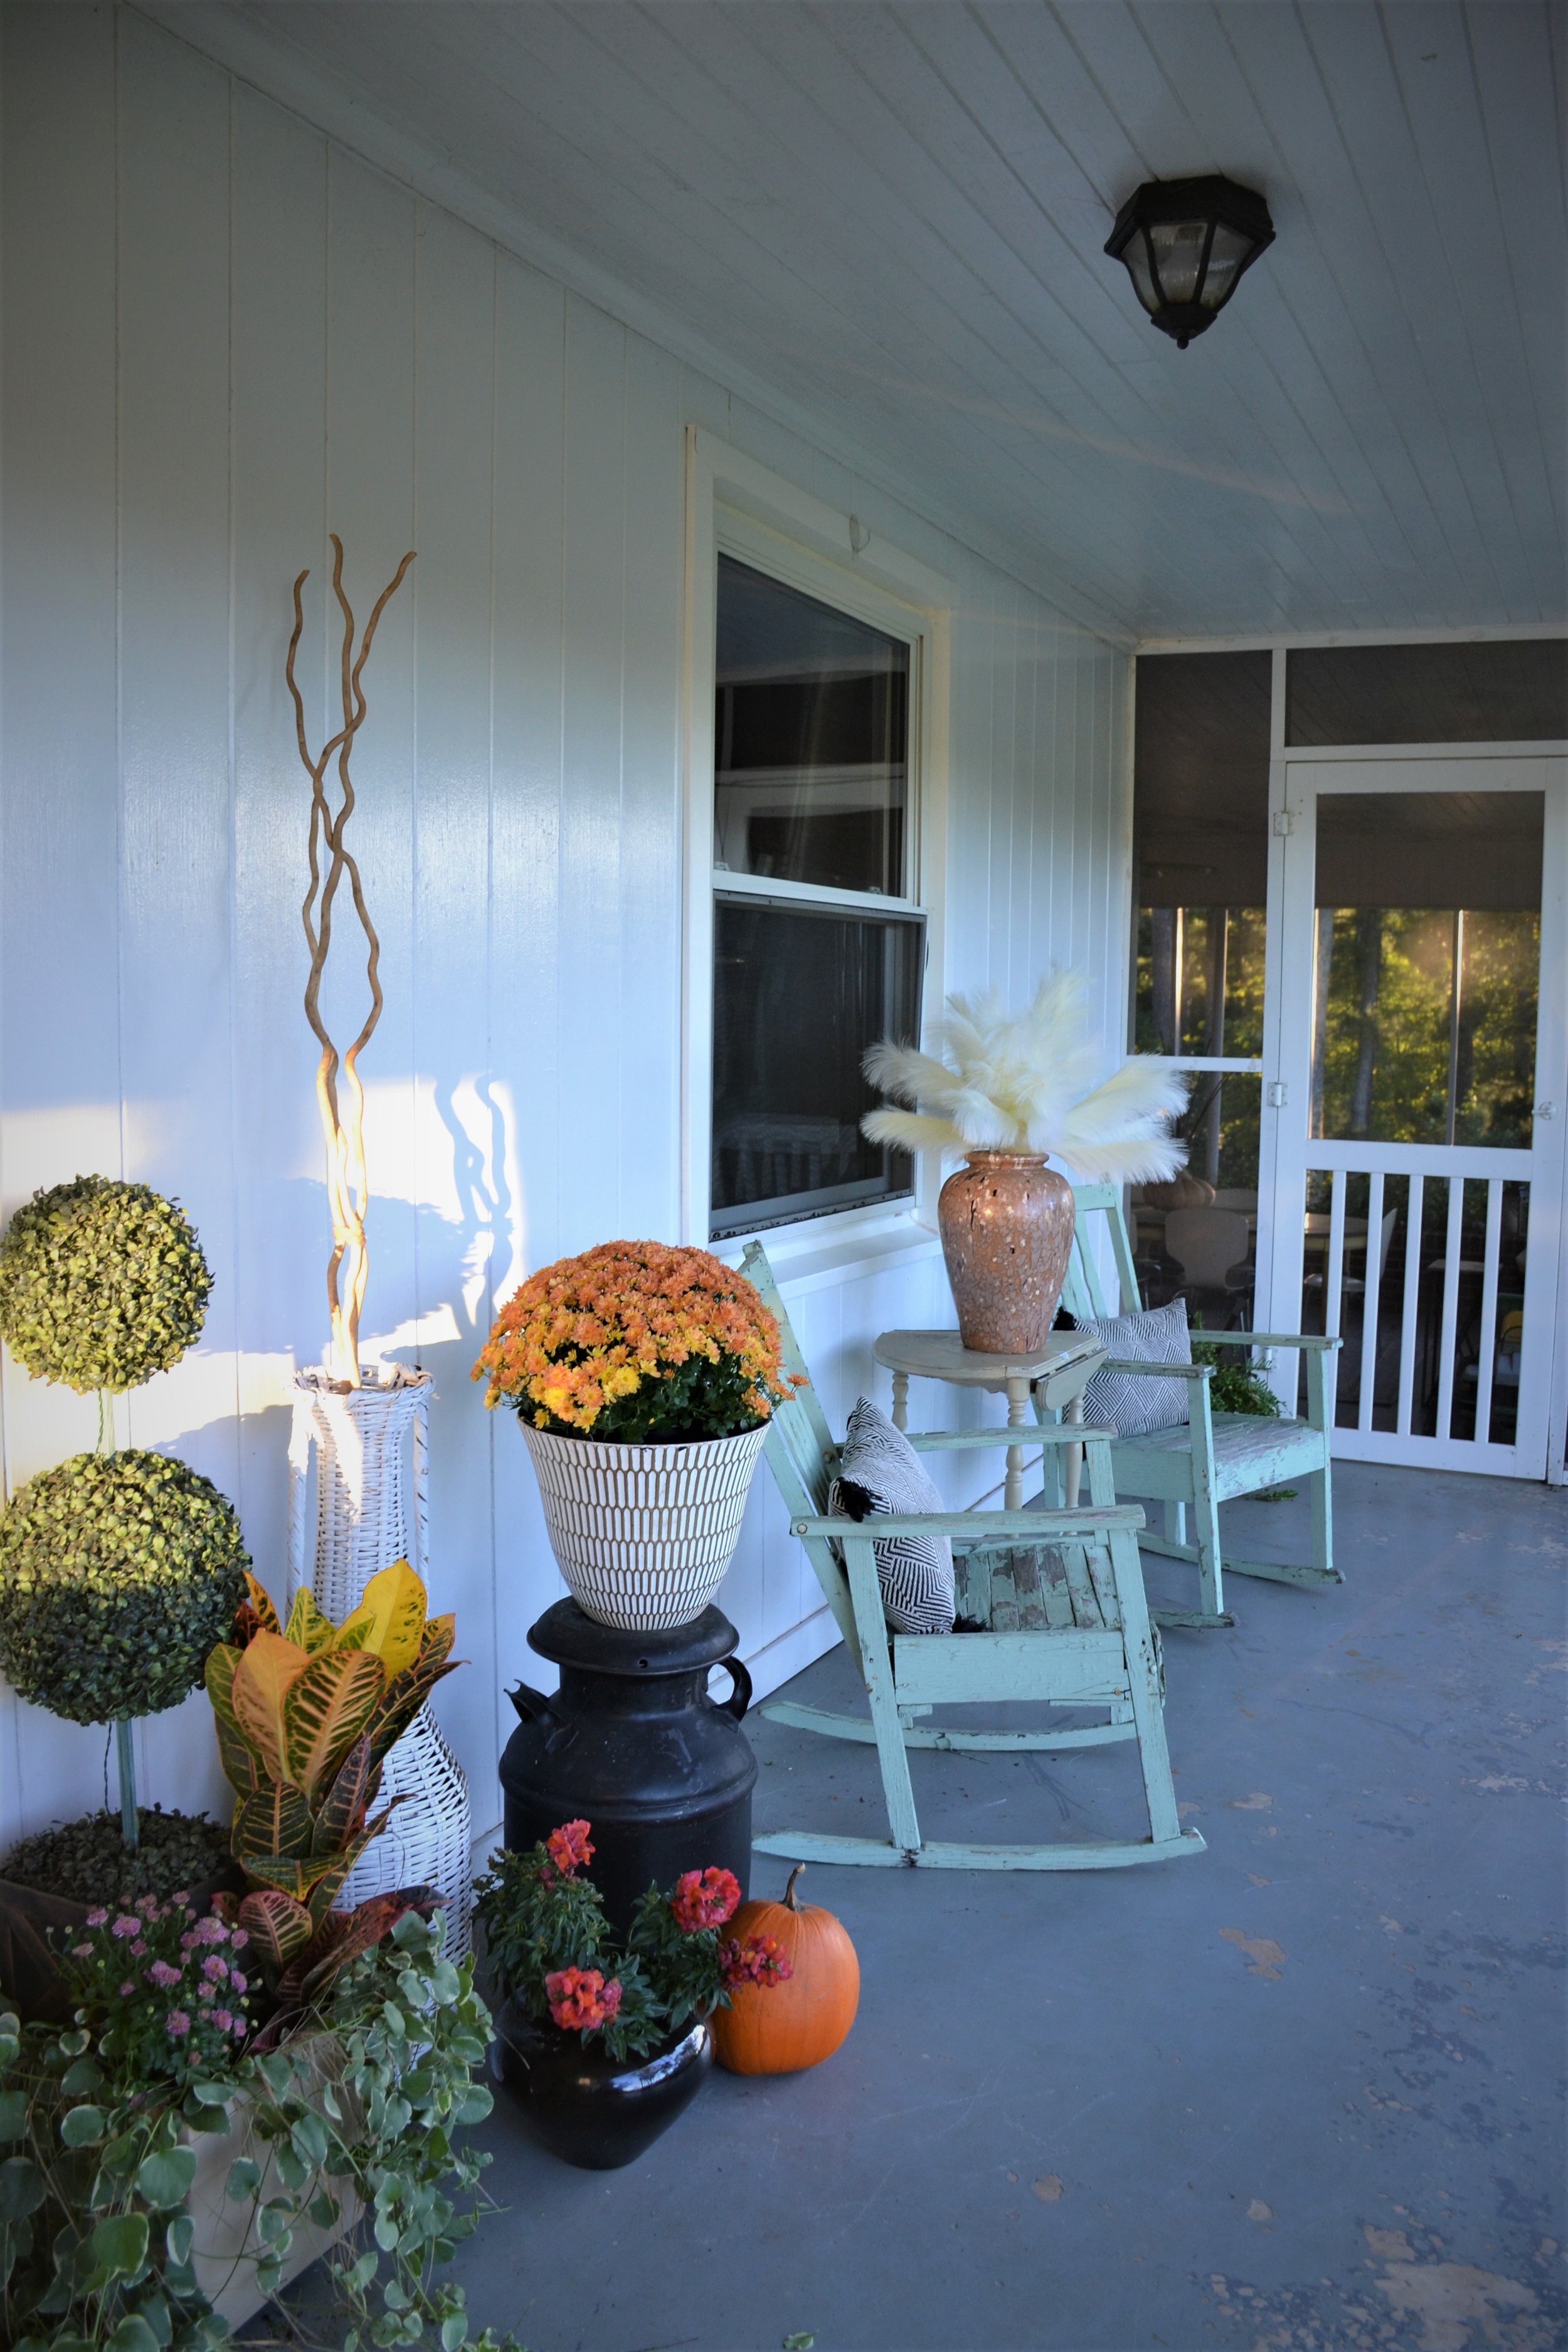
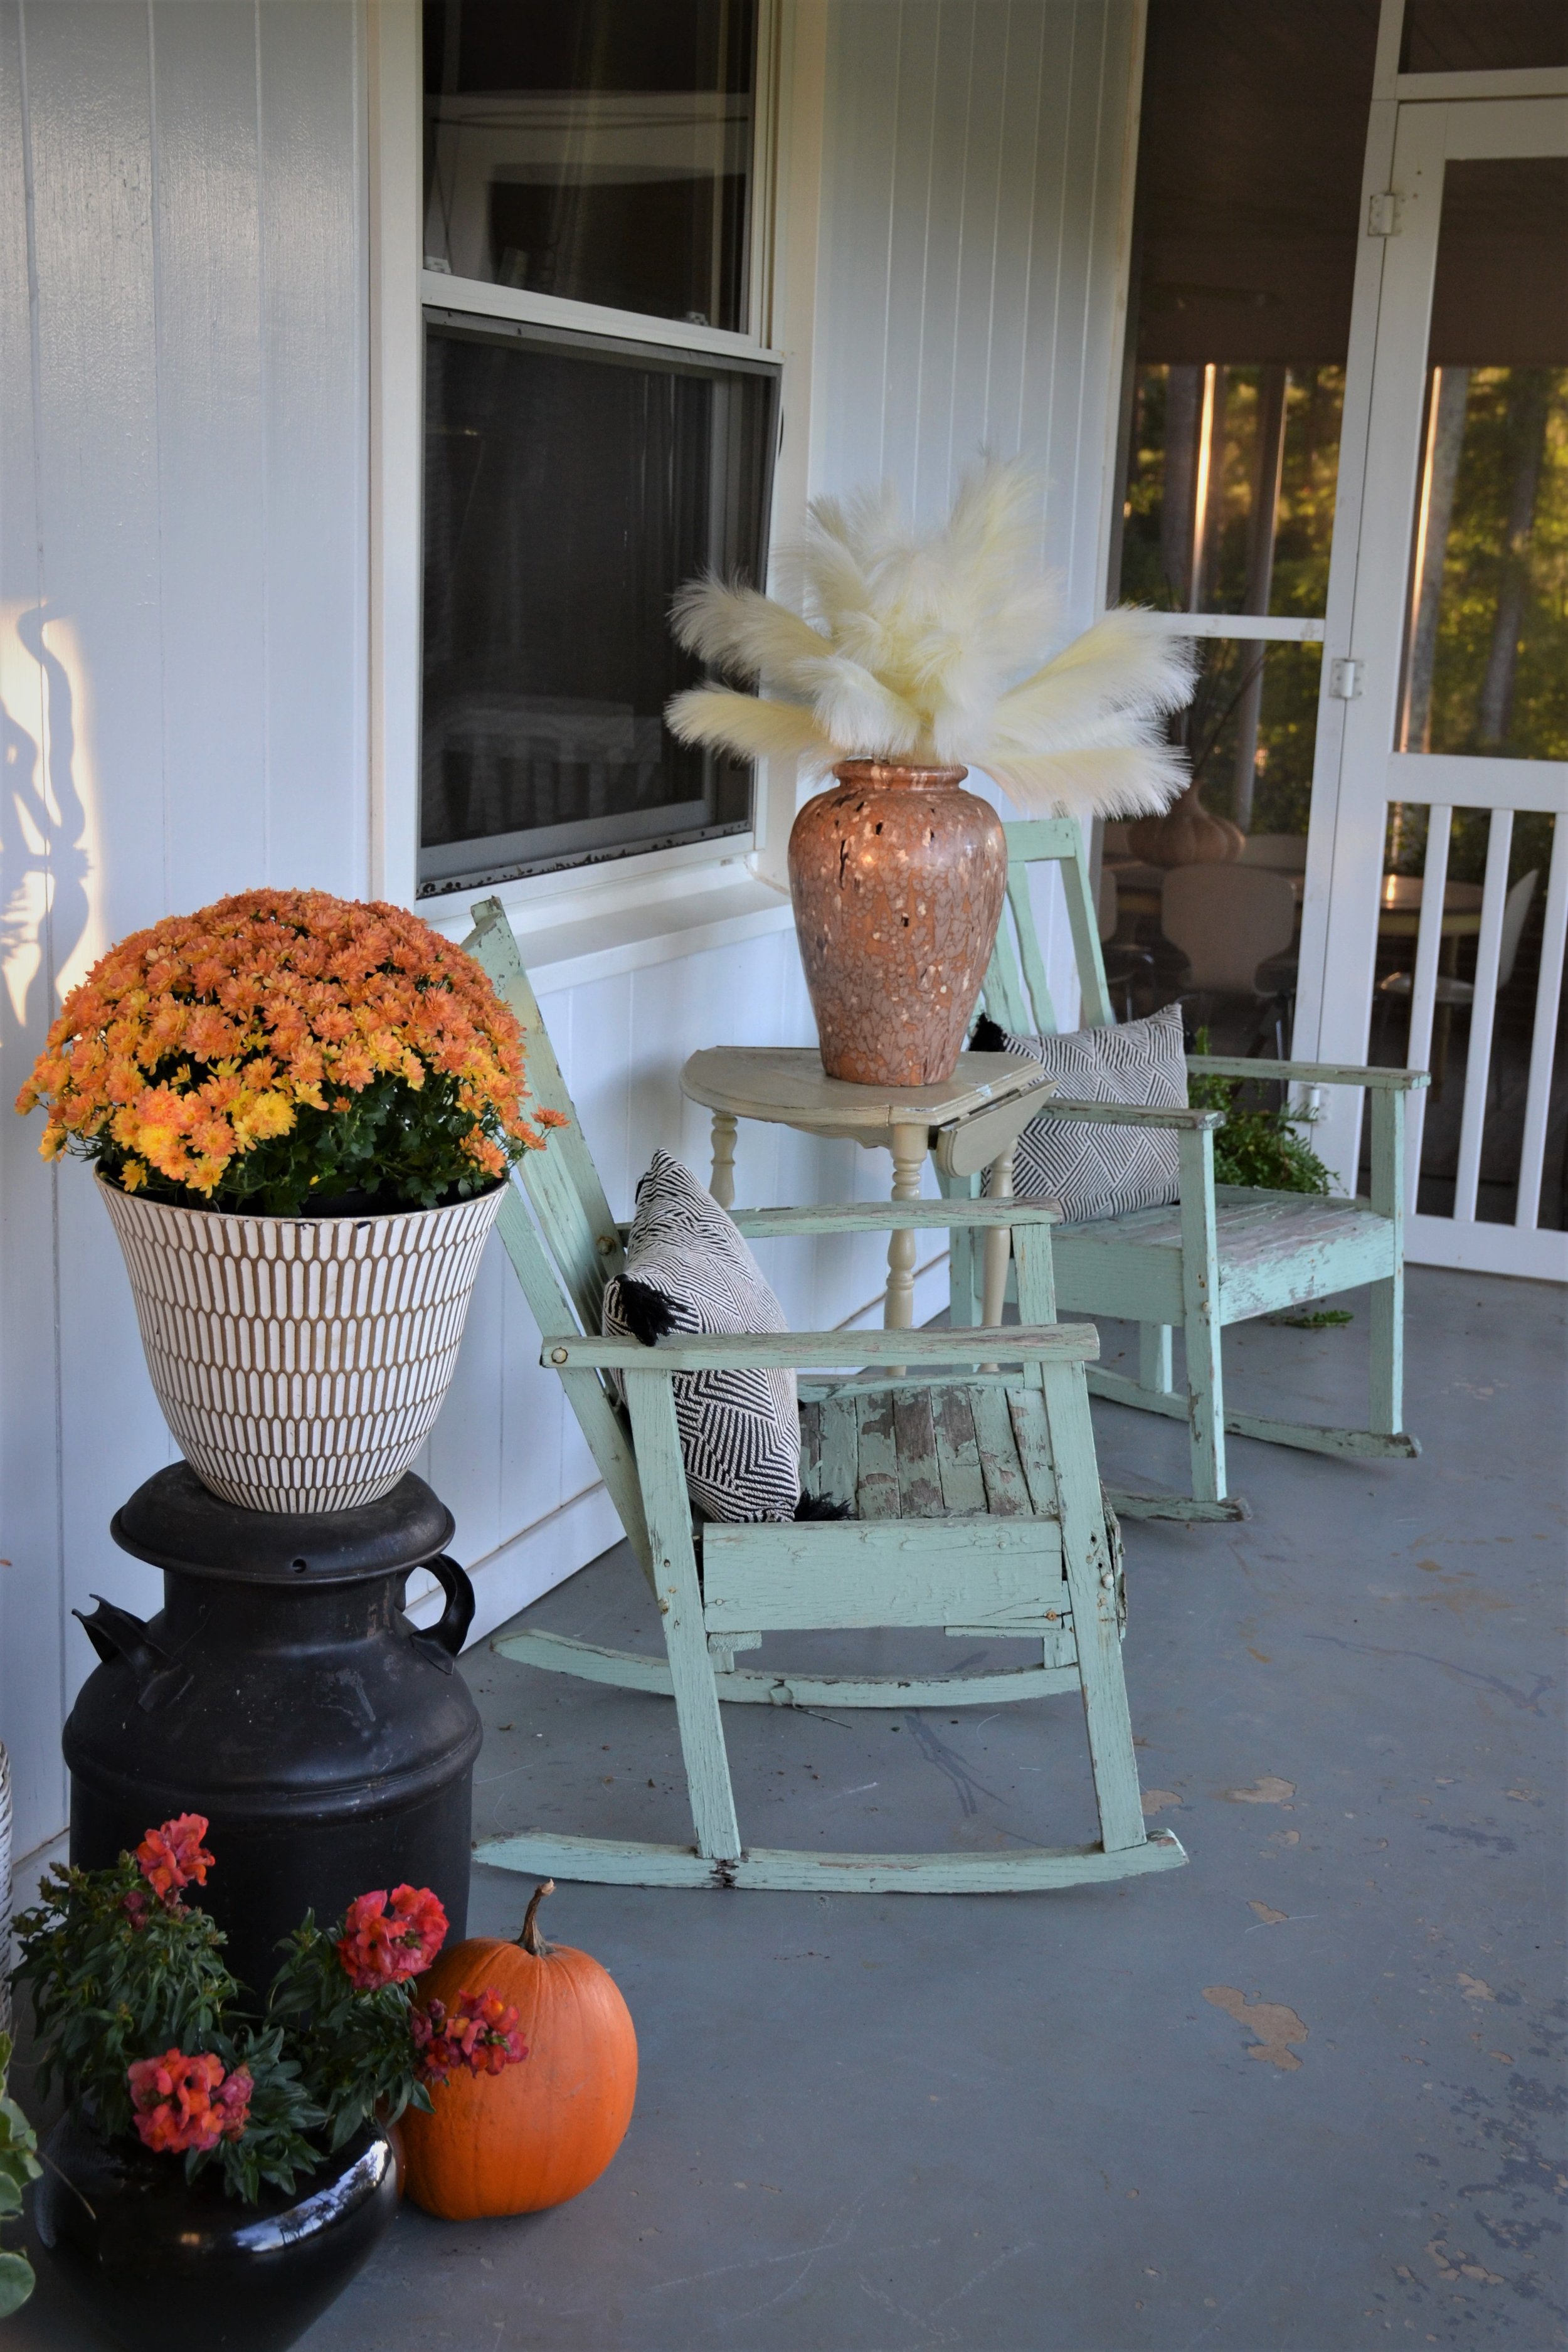
Beautiful Front Porch Fall Decorating Ideas on a Budget
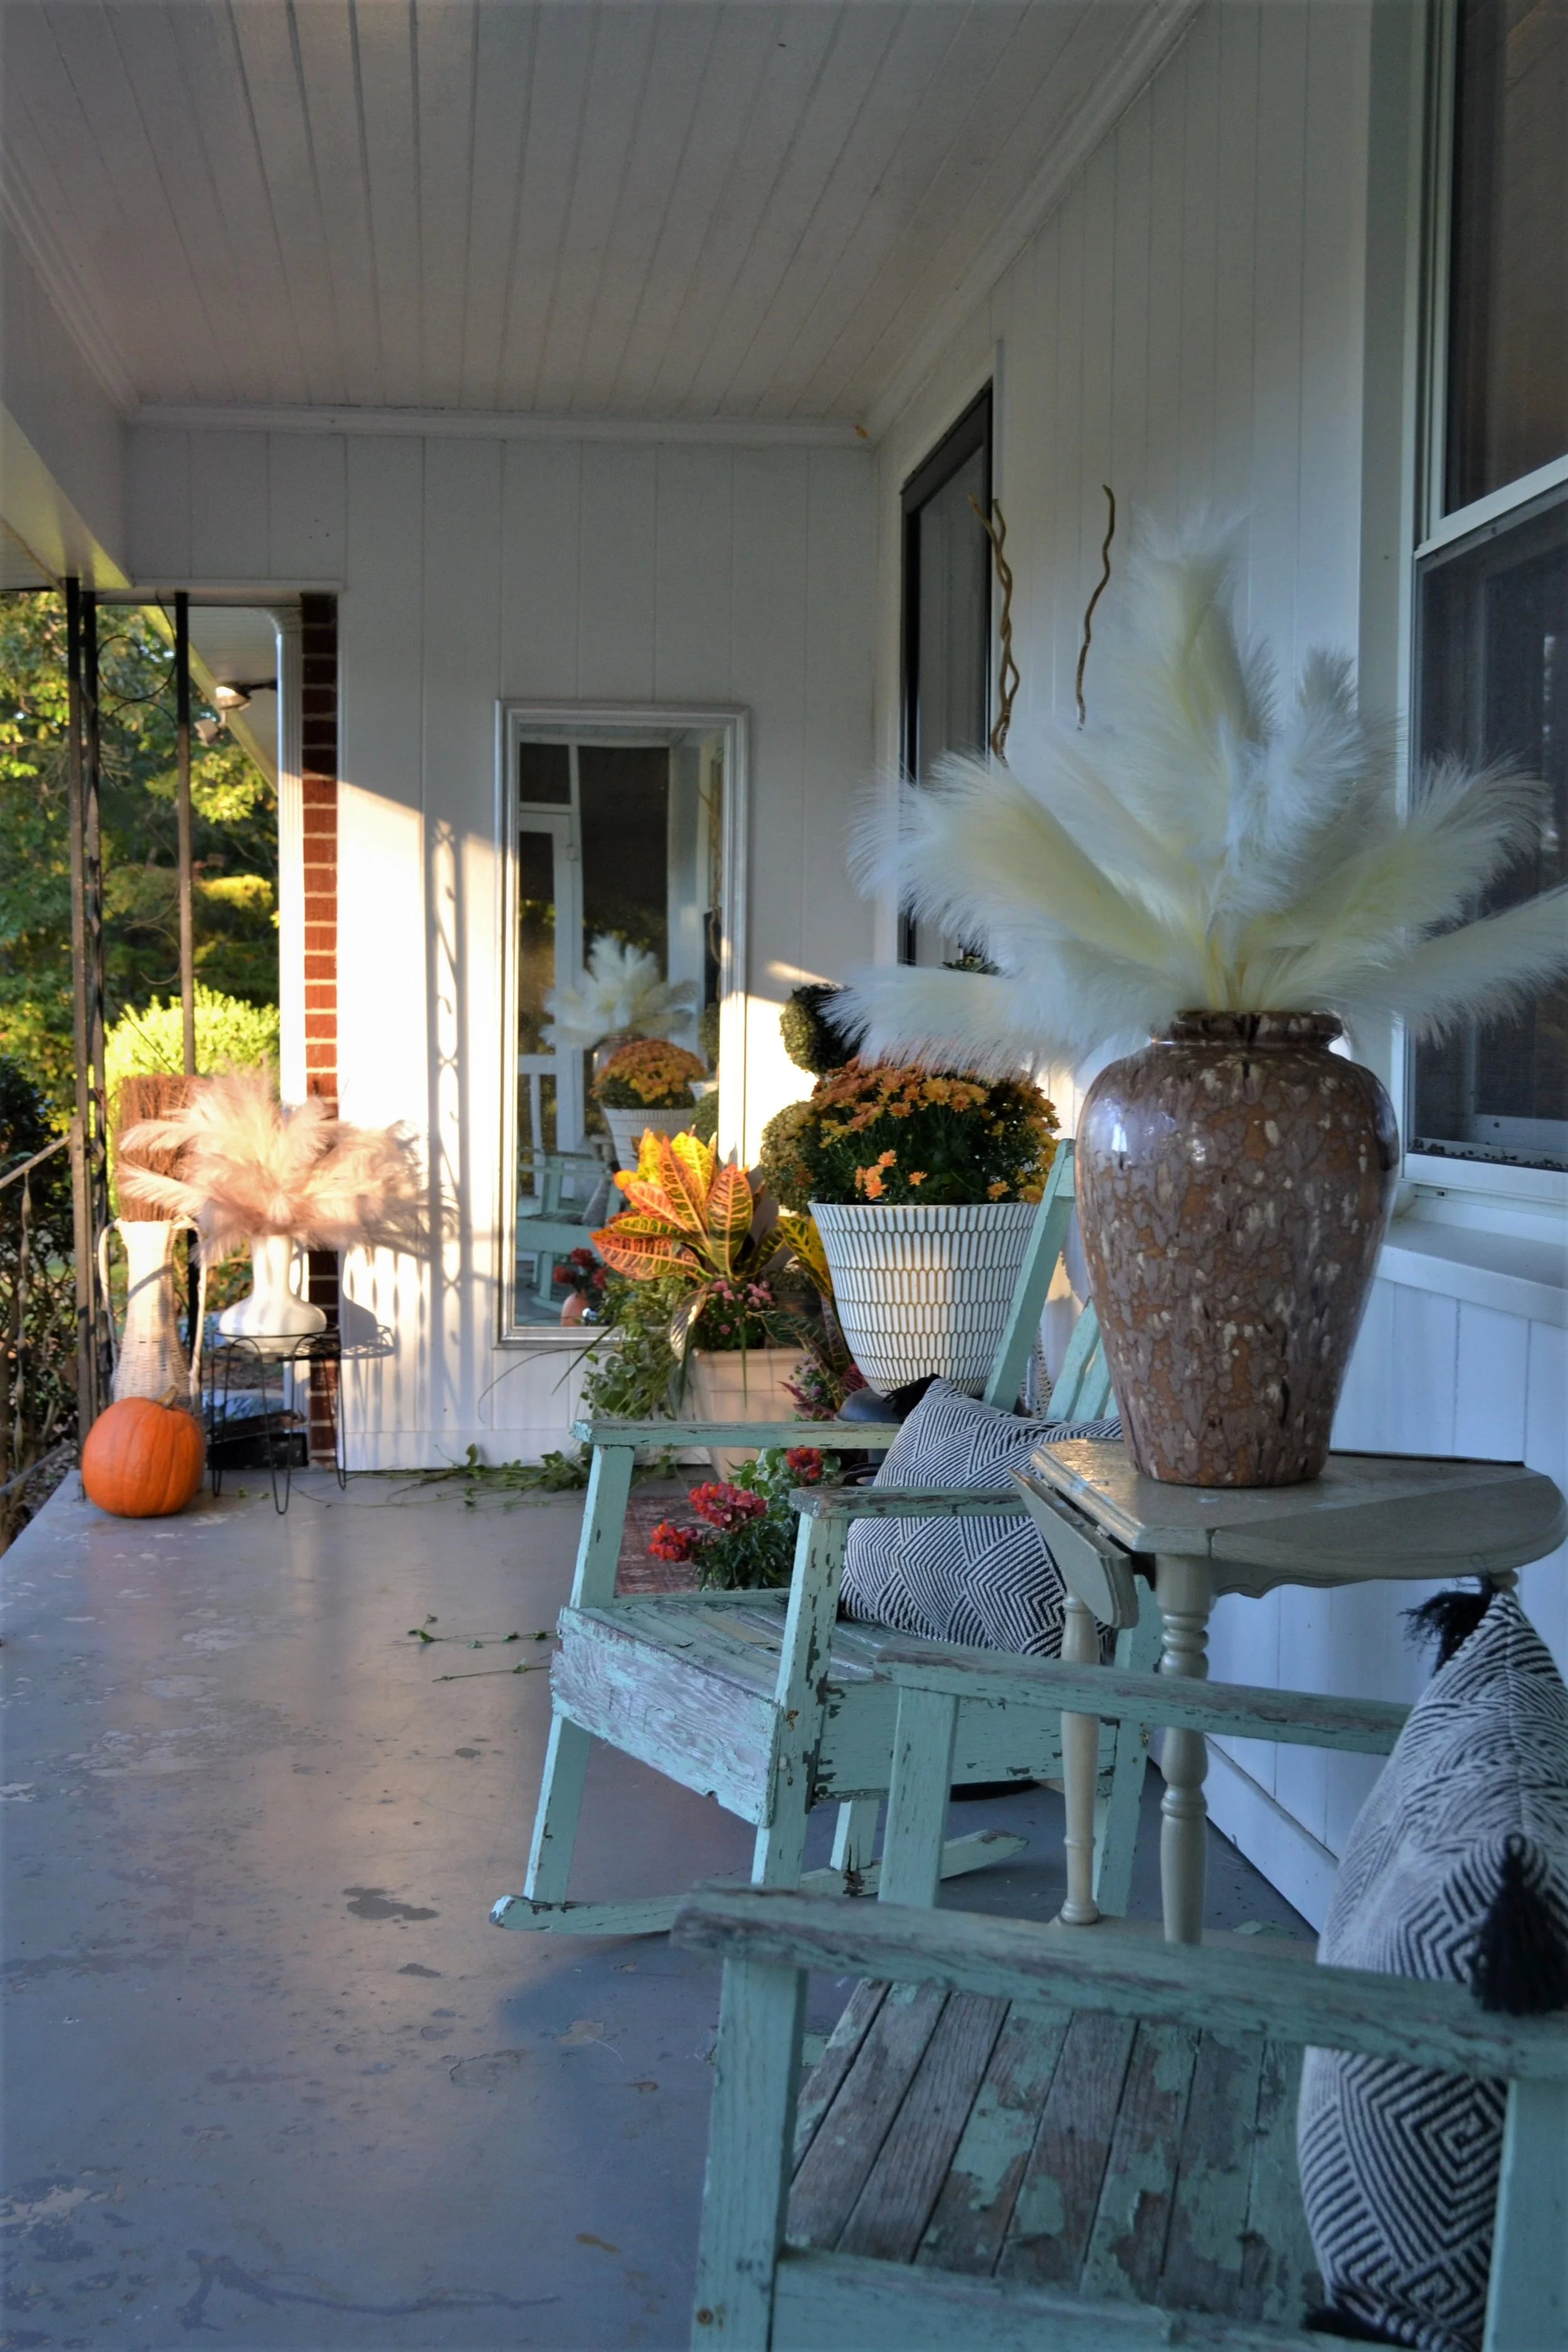
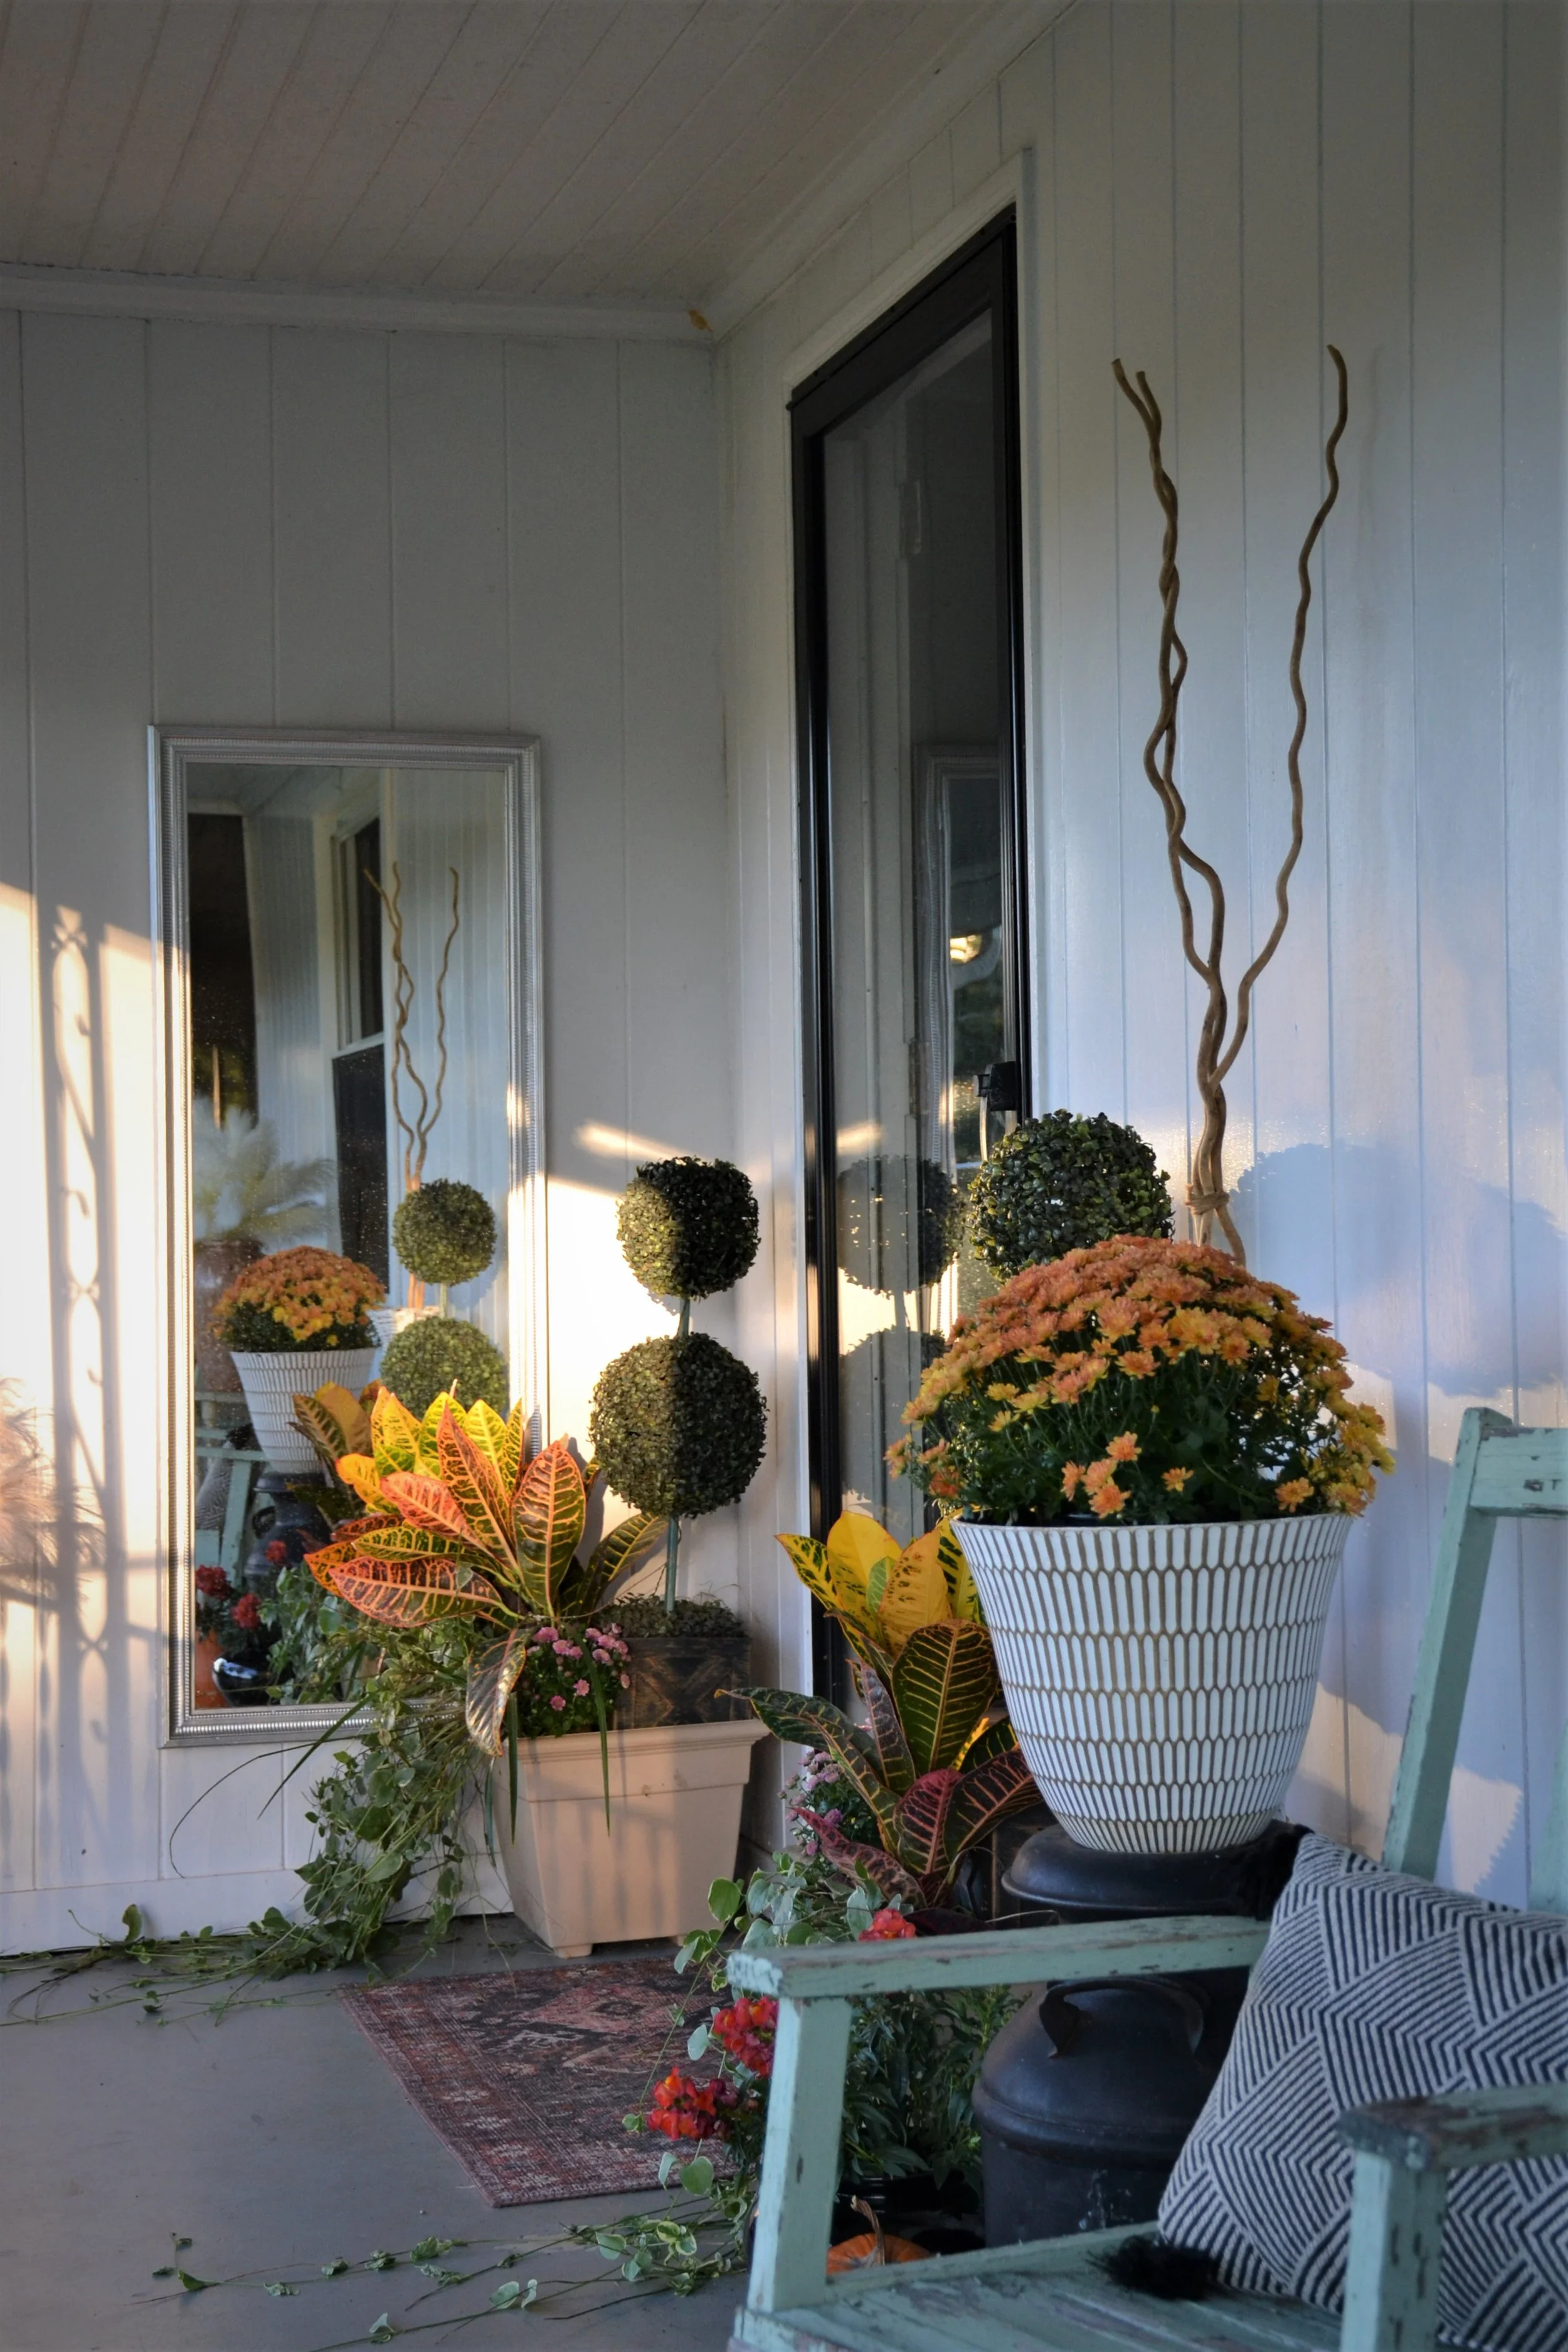
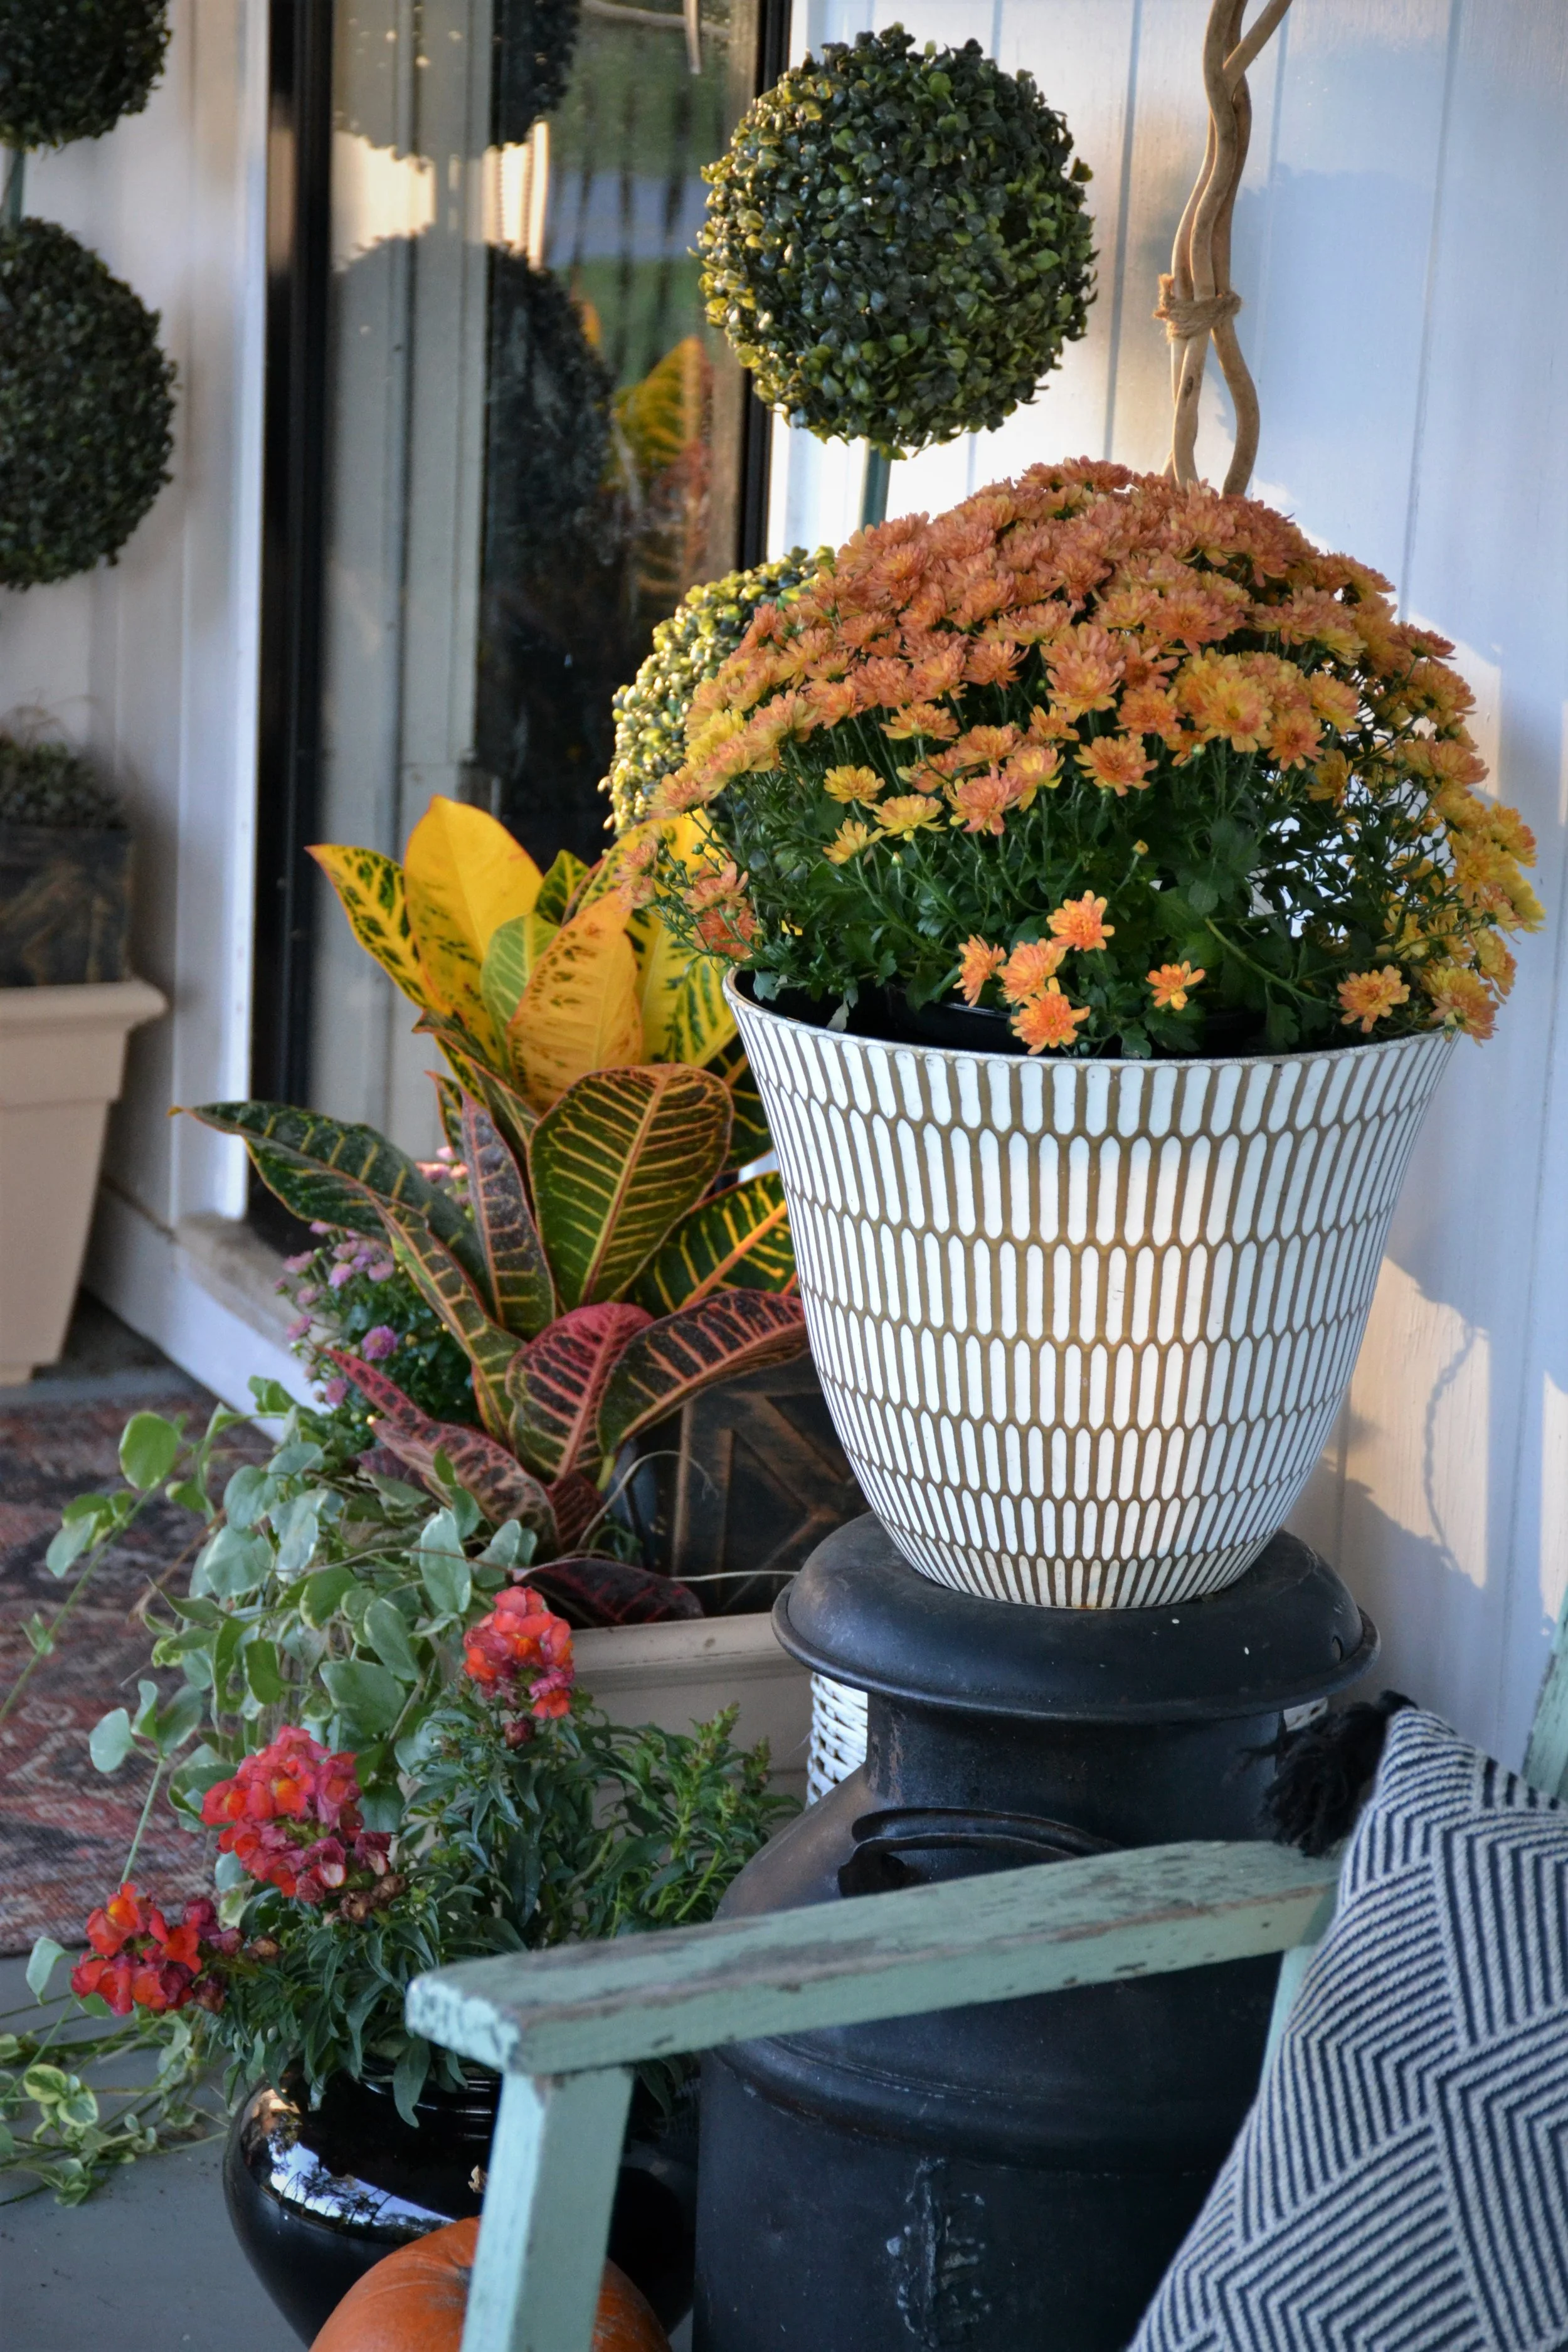
These front porch fall decorating ideas will transform your entryway into a cozy autumn retreat without breaking the bank. According to Better Homes & Gardens, layering natural textures like pumpkins, mums, and rustic elements is the key to stunning fall porch decor. Here are my favorite front porch fall decorating ideas with affordable products you can shop right now.
This post may contain affiliate links. I may earn a small commission at no extra cost to you if you make a purchase through these links. I only recommend products I personally use and love.
Affordable Front Porch Fall Decorating Ideas to Recreate
Recreate this look with these affordable front porch fall decorating ideas and decorating essentials:
Artificial Fall Mums (12 Bundles) – UV resistant faux mums for outdoor fall decorating: Shop on Amazon
Fall Wreath for Front Door (20″) – Handcrafted autumn wreath with pumpkins and maple leaves: Shop on Amazon