Last updated: June 5, 2026 · By Anna Katherine Page
This post contains affiliate links. If you buy through them I may earn a small commission, at no extra cost to you. I only recommend products I actually use.
Quick answer: Here are the spray paint tips that matter most: warm the can in water before you start, shake it well, and apply the paint in short, light, sweeping strokes that begin and end past the edges of your object. Thin coats beat thick ones every single time.
If your spray paint projects come out drippy, splattered, or uneven, the problem usually is not the paint. It is the prep and the technique. I have spray painted a lot of thrifted furniture, and the difference between a blotchy finish and a smooth, professional one comes down to a handful of small habits. Here are the spray paint tips I use on every project.
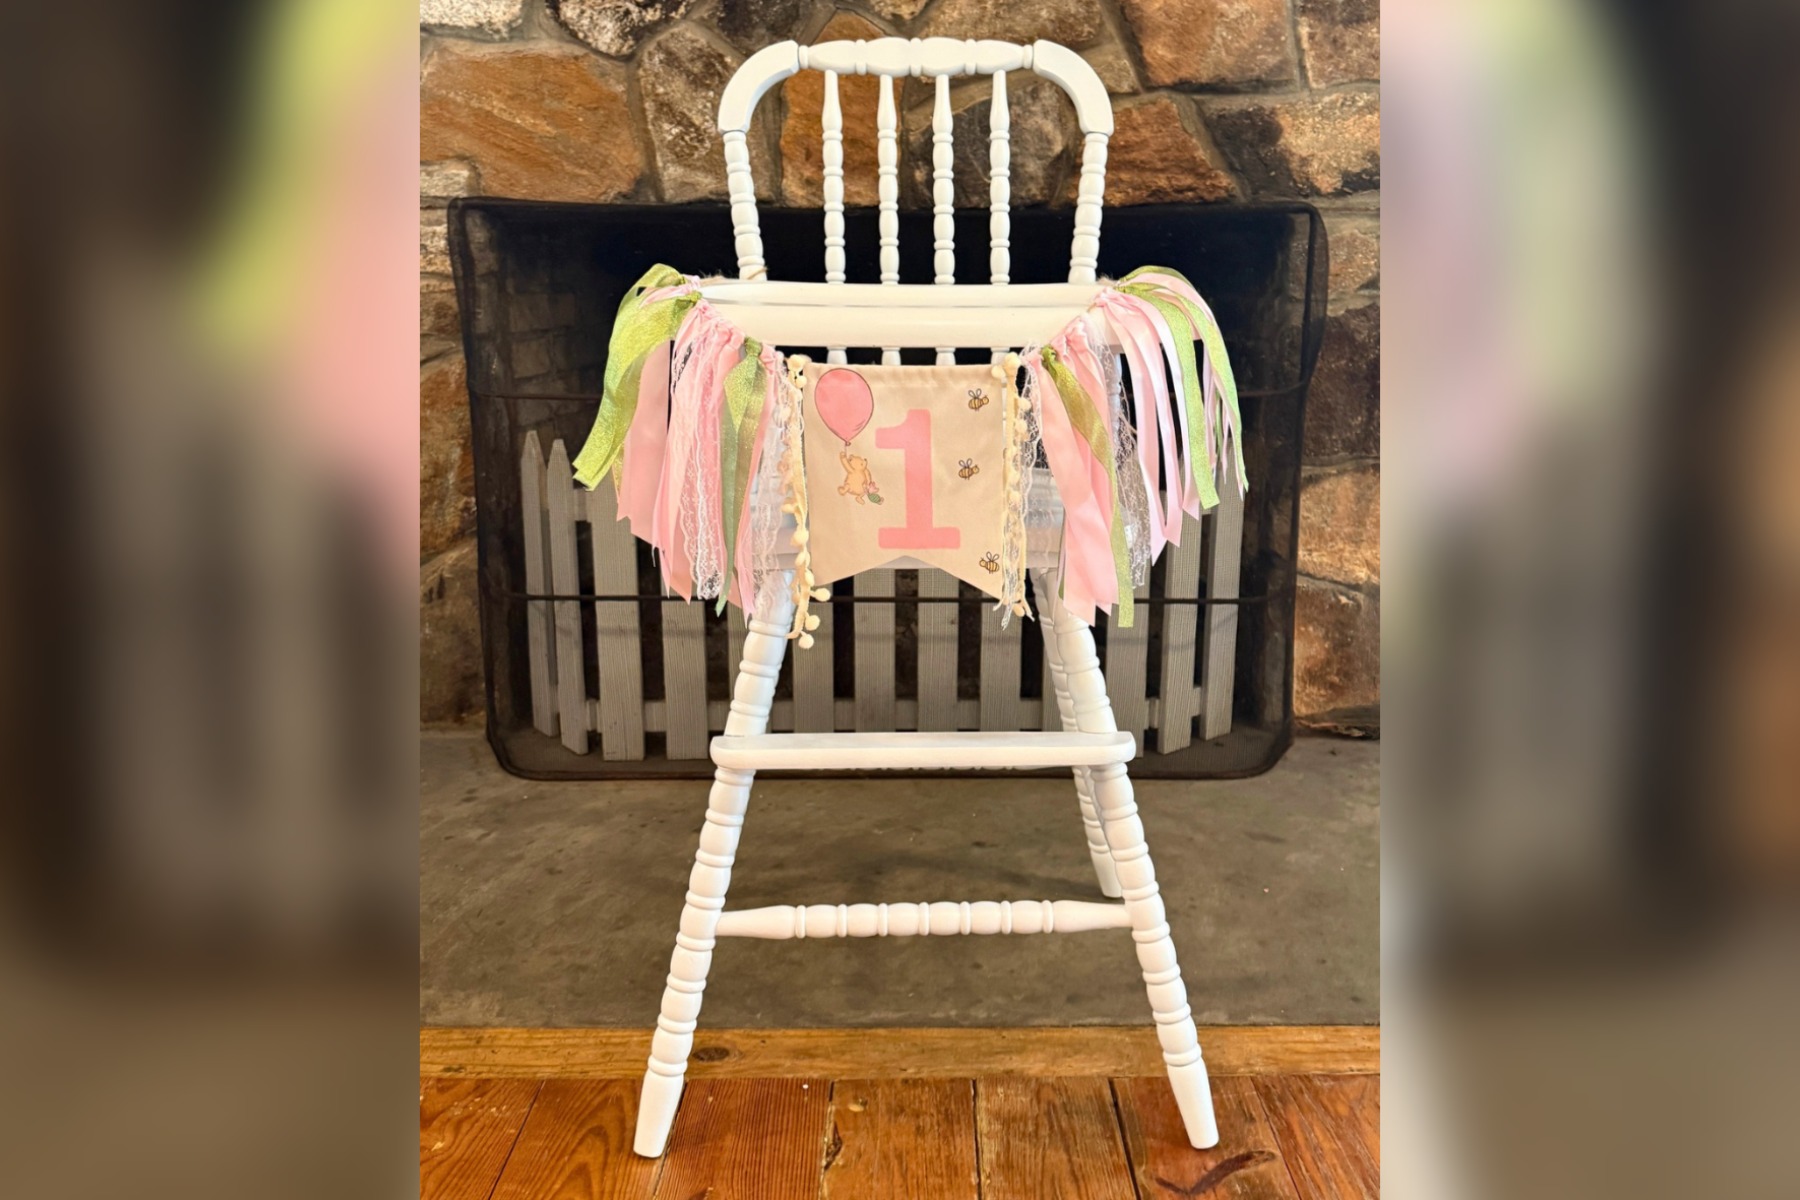
A bit of context: I filmed these tips while repainting a vintage 1980s Jenny Lind high chair, refinishing it from black back to white to use as a rental piece for my event rental business. If you want the full backstory, I wrote up the whole Jenny Lind high chair makeover separately.
Most uneven finishes trace back to two mistakes: paint that is too thick or unevenly mixed, and a spraying motion that lingers too long in one spot. When you hold the can still over one area, paint pools and runs. When the paint itself is cold or poorly shaken, it sprays in a rough, spattered pattern. Fix those two things and the finish takes care of itself.
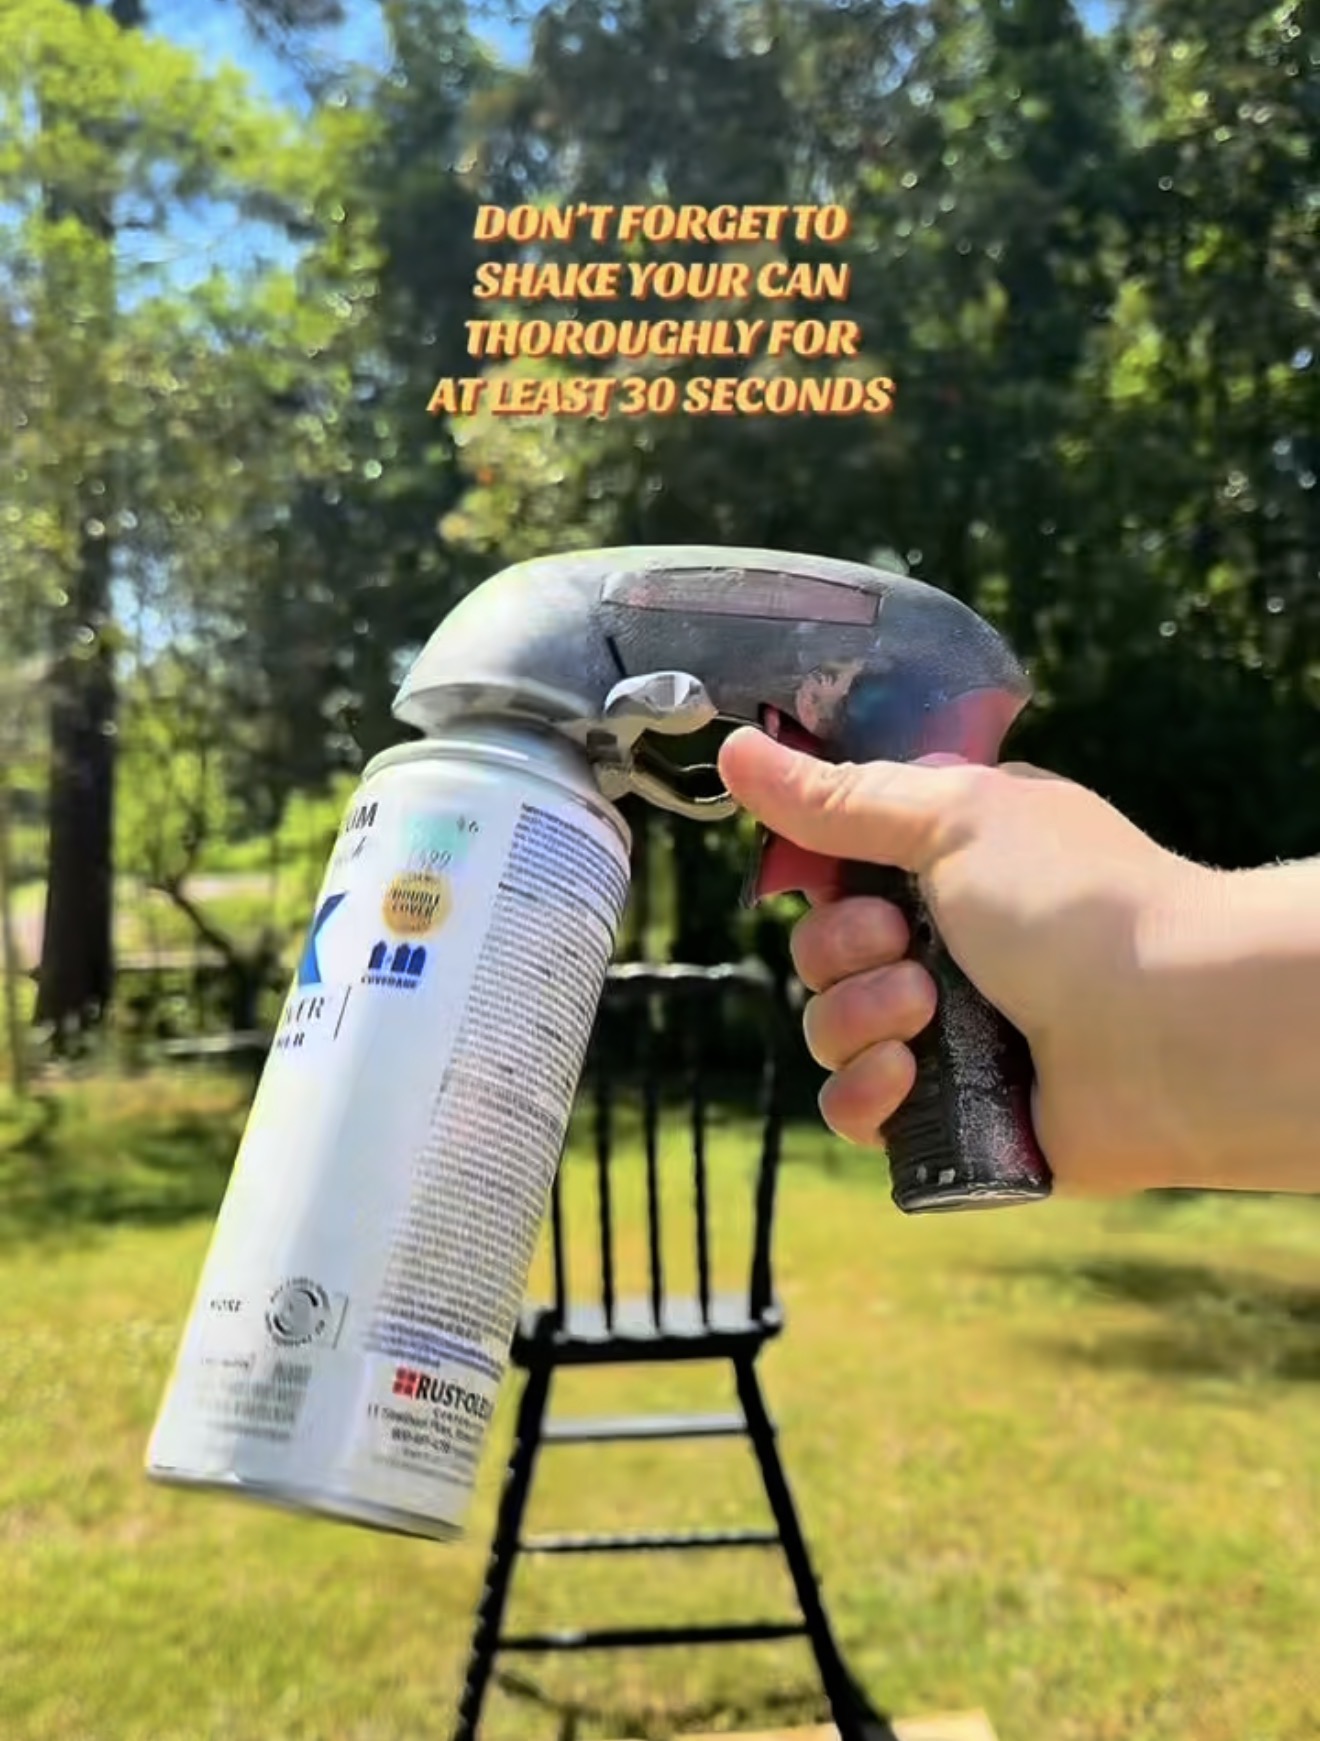
A spray paint trigger handle. This clips onto the can and makes your strokes far steadier. I use the Rust-Oleum Comfort Grip trigger.
A drop cloth and a well-ventilated space.
The two tools that do the heavy lifting: Rust-Oleum satin spray paint and the Comfort Grip trigger.
Spray paint tips: how to get a smooth finish, step by step
Warm the can in water. Set the can in a bucket of warm water for about 60 seconds. This brings the paint to a smoother, more even consistency before it ever leaves the nozzle. Use warm water only, never hot, and never heat an aerosol can any other way.
Attach a trigger handle. Clip the trigger attachment onto the top of the can, lined up centered so it snaps on properly. A trigger gives you far more control than pressing the tip with one finger.
Shake well. Shake the can for a good 30 seconds so the paint is fully mixed.
Start your stroke past the object. Begin spraying just off to the side of your object, not directly on it. Starting straight on the piece leaves an uneven, splattered patch where the spray first bursts out.
Use short, smooth, sweeping strokes. Move the can in short, consistent passes. Never hold it in one spot. Keep the motion light and steady all the way across.
Finish past the object too. Carry each stroke all the way off the far edge before you release. Start past it, end past it. That is what keeps the coat even from edge to edge.
Build up thin coats. Apply one light coat, then let it dry for about 30 minutes to an hour. Come back and add the next thin layer. Thin coats stacked slowly always beat one thick, drippy pass.
Spray paint tips: how many coats do you need?
It depends on the color and the surface, but plan on several thin coats rather than two heavy ones. On my high chair project I used three full cans of satin white to reach a clean, even finish. Keep adding light layers until the color looks solid and consistent, letting each one dry in between. Manufacturers agree on the light-coat approach: Krylon notes that most aerosol spray paints are dry to the touch in roughly 20 to 25 minutes and ready to handle in about an hour.
Mistakes to avoid
Spraying a cold, under-shaken can. Warm it, shake it, then spray.
Holding the can in one place. This is the number one cause of drips and runs.
Starting or stopping your stroke on the object. Always begin and end past the edges.
Loading on thick coats to save time. Thick coats stay tacky, sag, and ruin the finish.
Painting in high humidity. Damp air slows drying and can cloud the finish.
Key takeaways
Warm the can in water and shake it for 30 seconds before spraying.
A trigger handle gives you steadier, smoother strokes.
Start and finish every stroke past the edges of the object.
Build the finish with several thin coats, drying 30 to 60 minutes between each.
Frequently asked questions
Why should you put spray paint in warm water?
Warming the can for about a minute brings the paint to a smoother consistency, so it sprays more evenly and is less likely to spatter. Use warm water, never hot, and never heat an aerosol can directly.
How long should spray paint dry between coats?
About 30 minutes to an hour for a light coat. Manufacturer guidance from Krylon puts most aerosol paints at dry to the touch in 20 to 25 minutes, but drying time varies with paint and humidity, so check the can before recoating.
How do you avoid drips when spray painting?
Keep the can moving in short sweeping strokes, never pausing in one spot, and apply thin coats. Drips happen when paint pools, which is caused by lingering too long or spraying too heavily.
Do you really need a spray paint trigger handle?
It is not required, but it makes a real difference. A trigger steadies your hand, reduces finger fatigue, and helps you keep an even, consistent stroke across the whole piece.
What temperature should you spray paint in?
Aim for a mild, dry day, roughly 65 to 85 degrees with low humidity. Cold air and damp conditions both slow drying and can leave a rough or cloudy finish.
Why is my spray paint coming out rough or spotty?
The usual causes are a cold or under-shaken can, holding the can too long in one area, or spraying in high humidity. Warm the can, shake it well, and keep your strokes light and moving.
About Anna Katherine
I refresh thrifted furniture and home decor on a budget and share the real, hands-on process. Follow along for honest DIY projects and the small techniques that make them look professional, on TikTok and YouTube.
Want to see these strokes in action? Watch on TikTok, or replay the YouTube Short above.
Last updated: June 5, 2026 · By Anna Katherine Page
This post contains affiliate links. If you buy through them I may earn a small commission, at no extra cost to you. I only link to products I actually use in my own garden.
Quick answer: Here is how to cold stratify milkweed seeds: fold them into a damp paper towel, seal it in a labeled plastic bag, and refrigerate for about two weeks before planting. This mimics winter and tells the seeds it is safe to germinate. Skip this step and most milkweed seeds stay dormant, which means fewer blooms and fewer monarch butterflies in your yard.
Every spring I plant milkweed to bring monarch butterflies into my garden, and there is one step almost everyone skips that makes the biggest difference in whether those seeds actually come up. It is called cold stratification, it takes less than five minutes of hands-on work, and it costs nothing. This year I am starting five different varieties of milkweed, and I prep every single one the same way. Here is exactly how to cold stratify milkweed seeds, why it matters, and the simple paper-towel method I use.
What is cold stratification, and why do milkweed seeds need it?
Cold stratification is a period of cold, moist conditions that a seed needs before it will germinate. Milkweed is native to North America, and in nature its seeds drop in the fall, sit on the ground through the cold, damp winter, and sprout in spring. That winter chill is a signal. It tells the seed that the dangerous cold has passed and it is safe to grow.
When you start milkweed seeds straight from a packet without that cold period, you are skipping the signal. The seeds do not know winter is over, so a large share of them simply stay dormant. If your milkweed seeds have ever failed to come up, this is the most likely reason. Conservation groups agree on the fix: the Xerces Society notes that germination is significantly improved by a period of cold, moist stratification before sowing. Get this step right and reliable milkweed is what fills a yard with monarchs.
Milkweed in my own garden, doing exactly what it is meant to do: feeding pollinators.
A zip-top plastic bag (any freezer-style bag works)
A marker for labeling
That is it. No special equipment, no greenhouse, no grow lights. Just a spot in your refrigerator.
How to cold stratify milkweed seeds, step by step
Dampen the paper towel. Wet the paper towel, then squeeze out the extra water. You want it moist and damp, not dripping or soaking. Too much water is one of the easiest ways to ruin the process.
Fold it in half. A single fold gives you a clean surface to lay seeds on.
Add your seeds. Spread the milkweed seeds across one side of the towel. Keep them all together on the same side rather than scattering them, which makes them far easier to peel off later.
Fold it up. Fold the towel over the seeds a few more times, keeping the seeds gathered in one spot. Avoid rolling the towel and tucking seeds in at different points; they will be a nightmare to separate.
Re-check the moisture. Give it a quick feel. If it has dried out, dip it lightly again, keeping it damp but never soaked.
Bag and label it. Slide the folded towel into a zip-top bag and write the date on the bag with a marker. Labeling matters more than it sounds. In two weeks you will not remember when you started.
Refrigerate for about two weeks. Put the bag in your refrigerator and set an alarm or calendar reminder on your phone for 14 days out.
Plant. When the two weeks are up, take the seeds out and plant them. They are now ready to germinate.
One small tip: hang on to your original seed packets. They carry the planting depth and spacing instructions you will want when stratification is done.
How long do milkweed seeds need to be cold stratified?
About two weeks in the refrigerator is a dependable window, and it is the timing I use. Monarch conservation groups, including the Xerces Society, recommend going longer for the highest possible germination rates, in the range of 30 to 40 days of cold, moist conditions. Longer never hurts. The key is that the seeds spend that whole time cold and consistently damp, which is exactly what the paper-towel-in-a-bag method gives you.
When should you start?
Count backward from your last spring frost. Begin cold stratifying about two to three weeks before you intend to plant, so the seeds finish chilling right as your planting window opens. I start mine in early March, which lines the seeds up perfectly for spring planting in my area. Milkweed variety does not change the timing. Showy, common, swamp, or butterfly weed all get the same chill.
Common mistakes to avoid
Too much water. A soaking towel can rot seeds. Damp is the target.
Scattering seeds through a rolled towel. Keep them in one spot so you can actually retrieve them.
Not labeling the bag. Two weeks is long enough to completely forget your start date.
Skipping stratification entirely. This is the big one. It is the difference between a few sad sprouts and a yard full of milkweed.
What it looks like when it works
Get the seed-starting step right and milkweed becomes one of the hardest-working plants in the garden. A few months after planting, mine is covered in pollinators from morning to evening, as you can see in this clip from my own garden.
Yes. Every milkweed variety benefits from it, and the process is identical for all of them. Seeds bought fresh from a packet have not been through a natural winter, so they need the cold period before they will reliably germinate.
Can you cold stratify milkweed seeds in the freezer instead of the fridge?
Use the refrigerator, not the freezer. The goal is cold and damp, like winter ground, not frozen solid. The fridge holds the right temperature range.
What happens if you don’t cold stratify milkweed seeds?
Most of them stay dormant. You may get a few sprouts, but germination rates drop sharply, which means far fewer plants and fewer monarchs.
How long can stratified seeds stay in the fridge before planting?
Two weeks is the target, but leaving them a little longer does not harm them. Just plant them once your outdoor conditions are ready.
Can you cold stratify milkweed by planting seeds outdoors in fall?
Yes. Sowing milkweed seeds outdoors in fall lets the natural winter handle the cold, moist stratification for you. The refrigerator method simply gives you the same result on your own schedule when spring planting.
Does cold stratification work for other flower seeds?
Yes. Many native perennials such as coneflowers and lupine need the same treatment. The paper-towel-and-fridge method carries straight over.
About Anna Katherine
I am a South Carolina gardener documenting a real cut-flower and pollinator garden, season by season. I share what works, what flops, and the small steps like this one that make the biggest difference. You can follow the garden on TikTok and YouTube.
If you have ever scrolled 1stDibs and felt like the prices live in a parallel universe, the Saturday Sale is when that universe gets quietly accessible. The event is running now with discounts up to 60% off on vintage furniture, lighting, and decorative objects from designers and dealers around the world. I went through it the way I would go through any sale: looking for pieces I would actually live with, not pieces that just photograph well.
Quick answer: The 1stDibs Saturday Sale runs discounts of up to 60 percent off vintage furniture, lighting and decorative objects from dealers around the world. I pulled the seven pieces I would actually live with, including a circa 1950 Italian bamboo and linen table lamp and a Yule Paige lacquered brass North Star candlestick lamp.
This post contains affiliate links. I earn a small commission if you purchase through my link, at no extra cost to you. The 1stDibs Saturday Sale runs through this weekend.
Here are the seven pieces I would put in my own home if the budget allowed, grouped by what they would actually do in a room. If you saw my furniture flip work or spring home refresh, the through line will look familiar. Quiet luxury, mid-century roots, organic textures, and a willingness to splurge on the right anchor piece.
Lighting: Two Lamps That Anchor a Vignette
Lighting is where I would spend first in any room. The right table lamp does what art does, but with the lights on.
Louis Sognot Mid-Century Bamboo and Linen Table Lamp (circa 1950). Italian, vintage, with the slatted bamboo cage construction that reads as both architectural and organic. Place it on a console behind a sofa, on a writing desk in a quiet corner, or as the bedside companion to a clean linen quilt. This is the kind of piece that quietly elevates everything around it.
Yule Paige Lacquered Brass North Star Candlestick Buffet Lamp. Twenty-one inches of sculptural brass. The candlestick silhouette is having a moment for a reason. Use it on a sideboard, flanking a bed, or paired with a vintage mirror in an entry. Brass takes on a patina over years, which is the whole point.
Seating: The Anchor Pieces
If you are going to splurge during this sale, splurge here. These three pieces all carry pedigree, and pedigree holds value.
Cassina LC7 Leather Swivel Arm Chair by Le Corbusier, Perriand, and Jeanneret. A piece of design history at a price you can actually buy. The LC7 is one of the most enduring chair designs of the 20th century, and a leather Cassina edition is the version that holds. Put one in a corner with a reading lamp. Put two in a primary bedroom flanking a fireplace. Either way, it works.
White Eames EA208 Leather Soft Pad Chairs by Herman Miller (Set of 4). The dining or conference chair I would buy if I had a long table waiting. Eames soft pads in white leather are the rare design icon that scales: four of them around a walnut table look intentional, not staged. Authenticated Herman Miller editions only.
Franco Albini Mid-Century Rattan and Bamboo Round Ottoman (Italy, 1960s). The accent piece that pulls a room together. Use it as a side table next to a low sofa, as extra seating when guests arrive, or as a footrest in front of a reading chair. Franco Albini is one of the great Italian designers of the era, and rattan has officially come back around.
Decorative Objects: The Finishing Touches
The pieces that turn a styled room into a real one. Both of these are small in scale and big in personality.
Mid-Century Curved Leather Italian Picture Frame by Adnet (1970s). Adnet’s leather work is the kind of thing collectors quietly hunt. A curved leather frame on a bedside table, holding a vintage photo or a small piece of art, reads like you have been collecting for decades. The patina alone is worth the price.
Cenedese Pair of Mid-Century Italian Round Black and Clear Murano Glass Vases (1970s). Murano glass is having a sustained moment, and Cenedese is one of the names that holds value. This pair in black and clear can sit on a mantel, on a console, or split between rooms. Fill them with branches in winter, hydrangeas in summer, nothing at all the rest of the year.
If You Can Only Buy One Thing
Louis Sognot Bamboo Lamp. Highest character per dollar in this list. A real designer piece at a price that lets you actually buy it.
Cenedese Murano Vases (Pair). Two pieces, multiple staging options across rooms and seasons. The accessory layer most people skip.
Cassina LC7 Swivel Chair. The long game. Pedigree, design history, and a piece that gains value over time instead of losing it.
Why Vintage at 1stDibs Works for an Organic Modern Home
The organic modern look (linen, stone, oak, brass) reads expensive because of materials, not maximalism. Vintage pieces from designers like Franco Albini, Charlotte Perriand, and Jacques Adnet sit in this aesthetic naturally because the originals were built from the same material vocabulary 60 years ago. Mixing one or two real vintage pieces into a room of newer furniture is the easiest way to make a space read collected rather than ordered-on-the-same-day.
If you want to browse beyond my picks, the full 1stDibs Saturday Sale runs through this weekend. I keep my favorite vintage picks in my ShopMy collection, and I will be adding more from this sale through the weekend. Save this post on Pinterest if you want to come back to it, and DM me on Instagram if you want help picking between two pieces. I respond to every one.
There is a specific kind of weekend that signals the season has shifted. The back door stays open all afternoon. The first real dinner gets eaten outside. Someone says the word “tomatoes” with feeling. That weekend is here, and it is almost always the moment I start thinking about how I want the house to live for the next four months.
Quick answer: The Studio McGee Memorial Day Sale 2026 runs up to 30 percent off sitewide. I went through the entire sale and pulled the 15 pieces I would spend my own money on: four outdoor anchors and eleven smaller accessories. The largest single saving is the Pomeroy Outdoor Sofa at $2,308.60, down from $3,298.00.
If you saw my outdoor patio finds last month, you already know Studio McGee is one of the brands I keep coming back to. Their Memorial Day sale just opened with up to 30% off sitewide, and I went through the entire thing and pulled the 15 pieces I would actually spend my own money on. I organized them by how steep the discount is, because if you are going to buy something at any price point, the 30% tier is where it bites the most. This post contains affiliate links. I earn a small commission if you purchase through my link, at no extra cost to you. Sale runs through May 26.
30% Off Picks: The Deepest Discount Tier
This is where the real math is. Most of the Pomeroy outdoor pieces, all of the indoor bedding, the colorful pillows, the small accessories. Eleven of my fifteen picks fall here, which is unusual for a Memorial Day sale and the reason I am writing about this one specifically.
The Outdoor Anchors
If you are the kind of person who plans a patio the way other people plan a kitchen, this is the corner of the sale to read first.
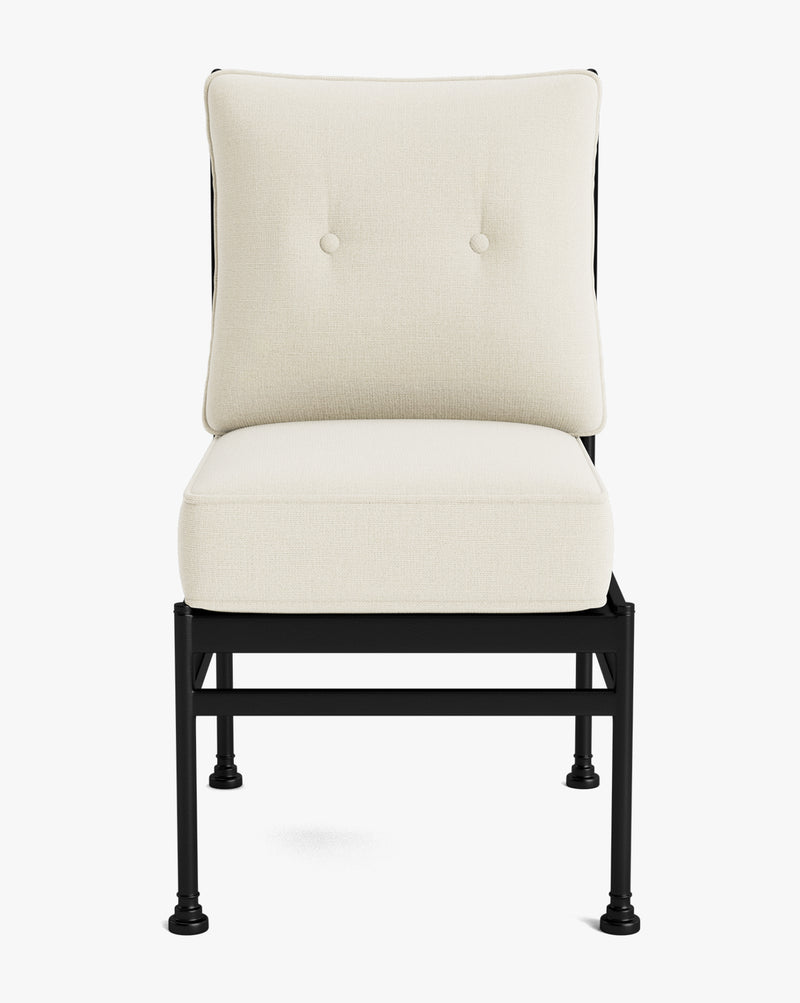
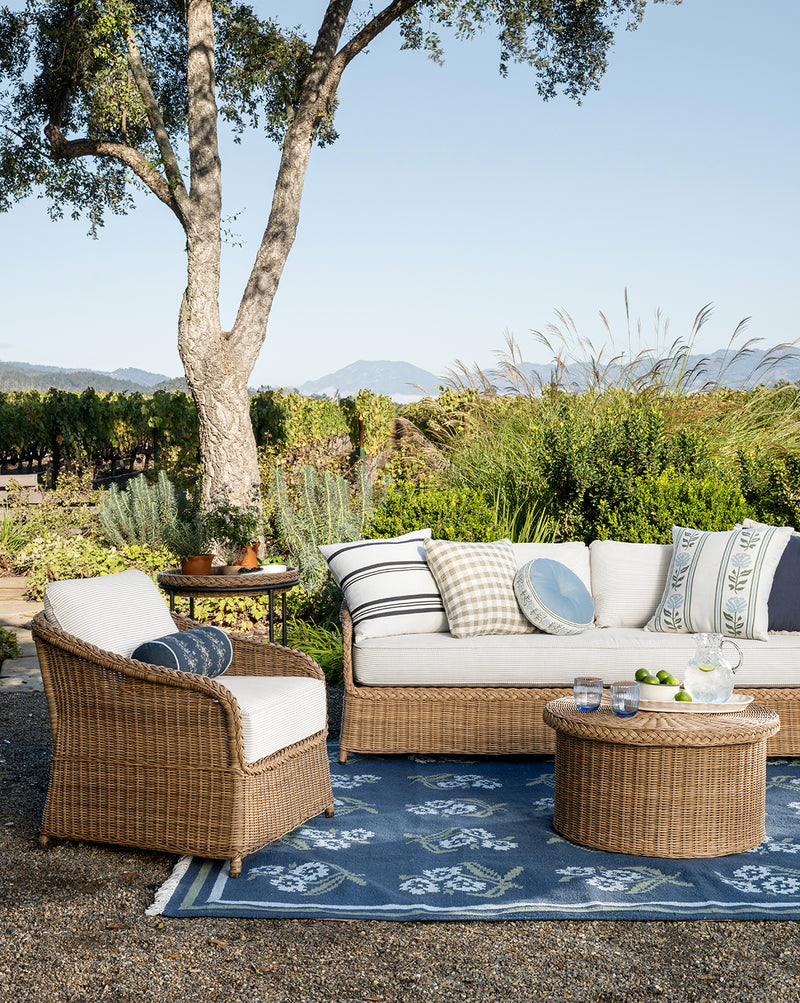
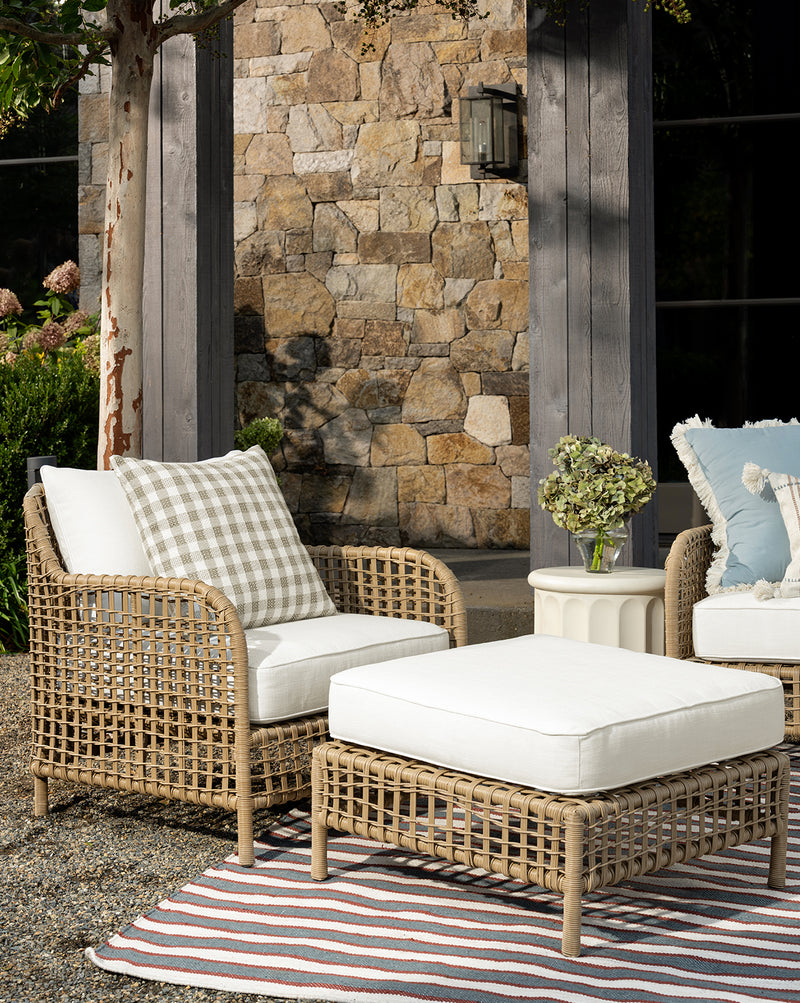
Pomeroy Outdoor Sofa 81.5″. $2,308.60, down from $3,298.00. The flagship. Made to order, which is why the 30% bites so hard at $989 off. I keep coming back to this silhouette because it does what most outdoor sofas cannot: it sits low enough to feel relaxed, deep enough to actually nap on, and the frame reads architectural instead of patio-set. If I were starting an outdoor living room from zero, this is what I would build around.
Pomeroy Outdoor Lounge Chair. $1,048.60, down from $1,498.00. Buy them as a pair. Most outdoor seating arrangements fail because a single sectional eats the space and forces everyone to sit facing the same direction. Two of these flanking a coffee table reads like a real room, not a setup.
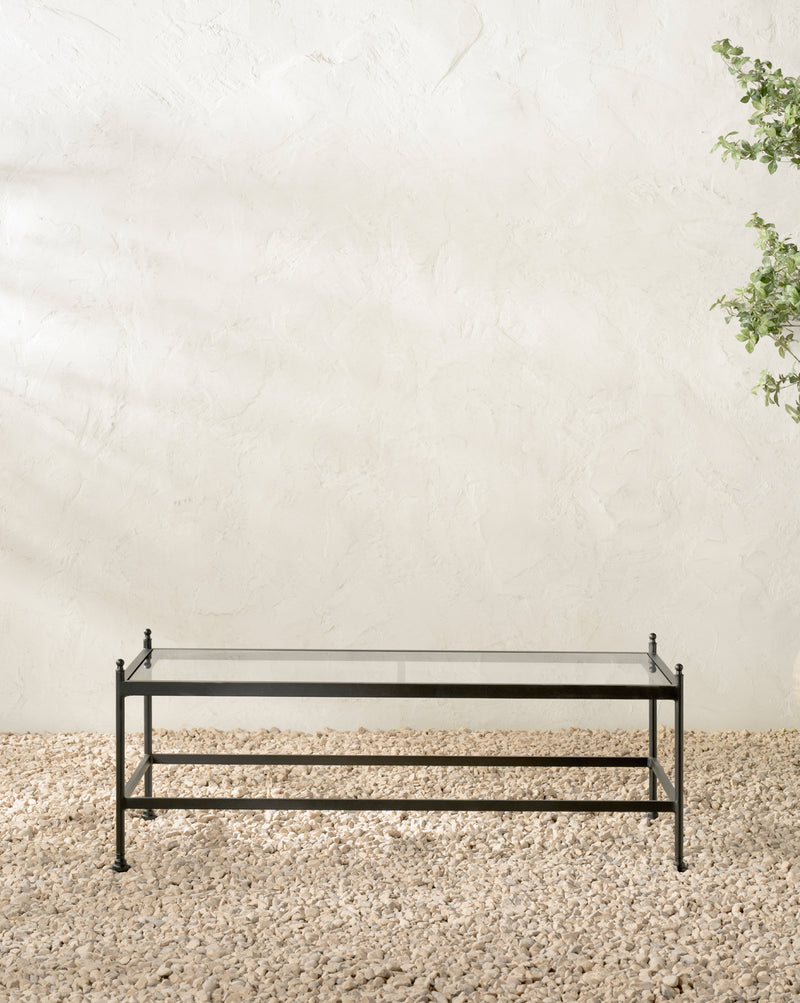
Pomeroy Outdoor Coffee Table. $488.60, down from $698.00. This is the piece that pulls the whole outdoor vignette together. Black metal frame, low profile, the right scale for a pair of lounge chairs. If you are buying the Pomeroy seating, do not skip this.
Pomeroy Outdoor Dining Chair. $278.60, down from $398.00. The outdoor dining chair for the people who do actually host outdoor dinners. Buy four for a real table, six if you have the linear footage. They stack but they do not look like they stack, which is the whole trick.
The Bedroom Refresh
Studio McGee told me directly that bedding is their hottest demand right now, and after looking at what made the sale, I understand why. Both of these are at 30%, which is the version of a McGee bedding discount you do not normally see.
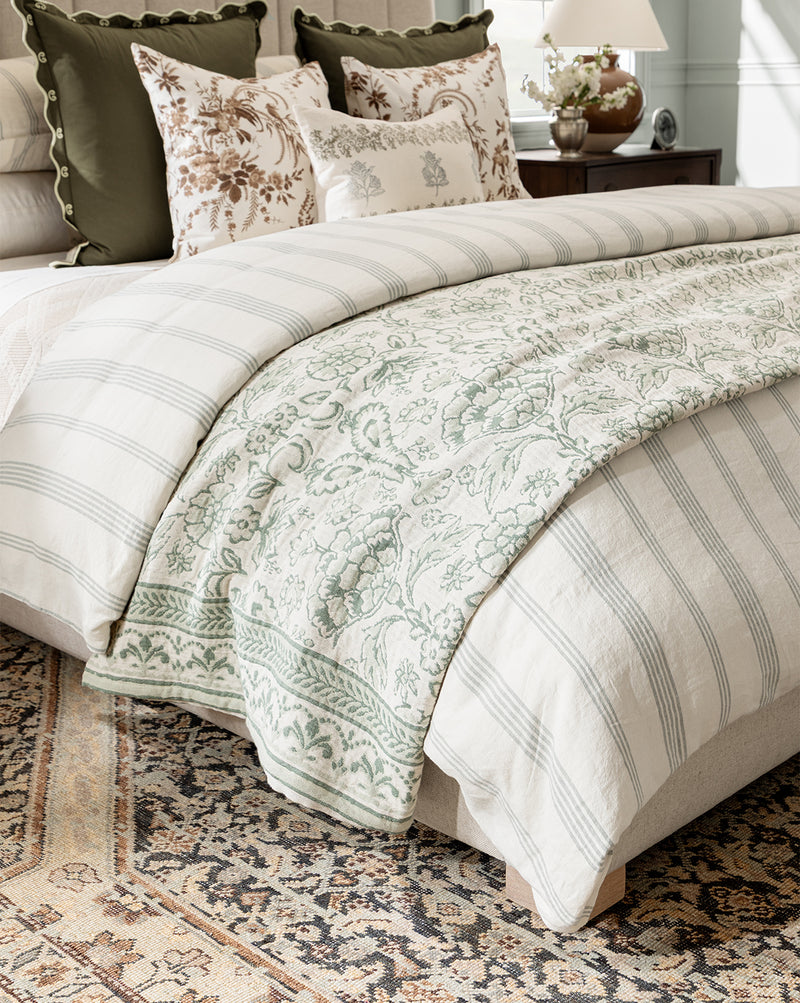
Ellerby Linen Stripe Duvet Cover. $320.60, down from $458.00. Stripe bedding is one of those things that sounds risky and then settles in like it was always there. The Ellerby is a soft natural stripe on linen, which means it gets better with every wash. If your bed has been white-on-white for two years and you are ready to layer in a quiet pattern, this is the easy entry.
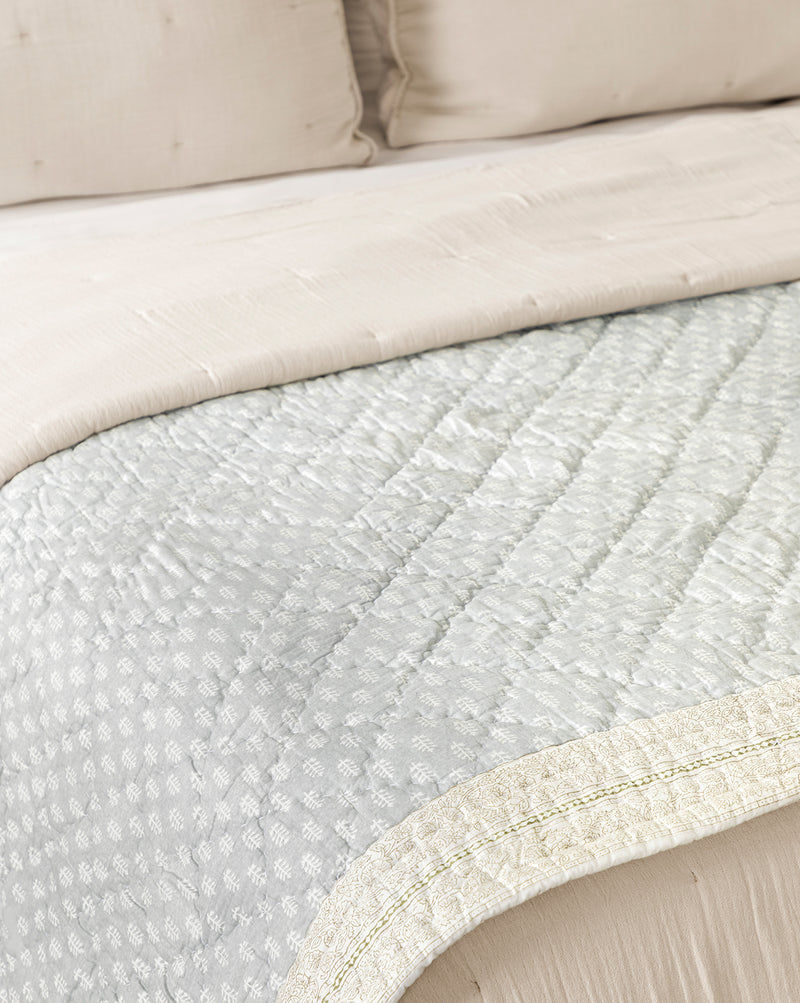
Regatta Block Print Quilt. $243.60, down from $348.00. Block print is pattern without committing to wallpaper. The Regatta reads multi-color but the palette is grounded enough that it works over white sheets, over the Ellerby stripe, folded at the foot of a guest bed. I would put this in a kids room and a primary bedroom in the same house and not blink.
The Colorful Pillows and Rug
This is the section that exists because not everything beautiful is beige. Three picks under $100 that bring real pattern into the room.
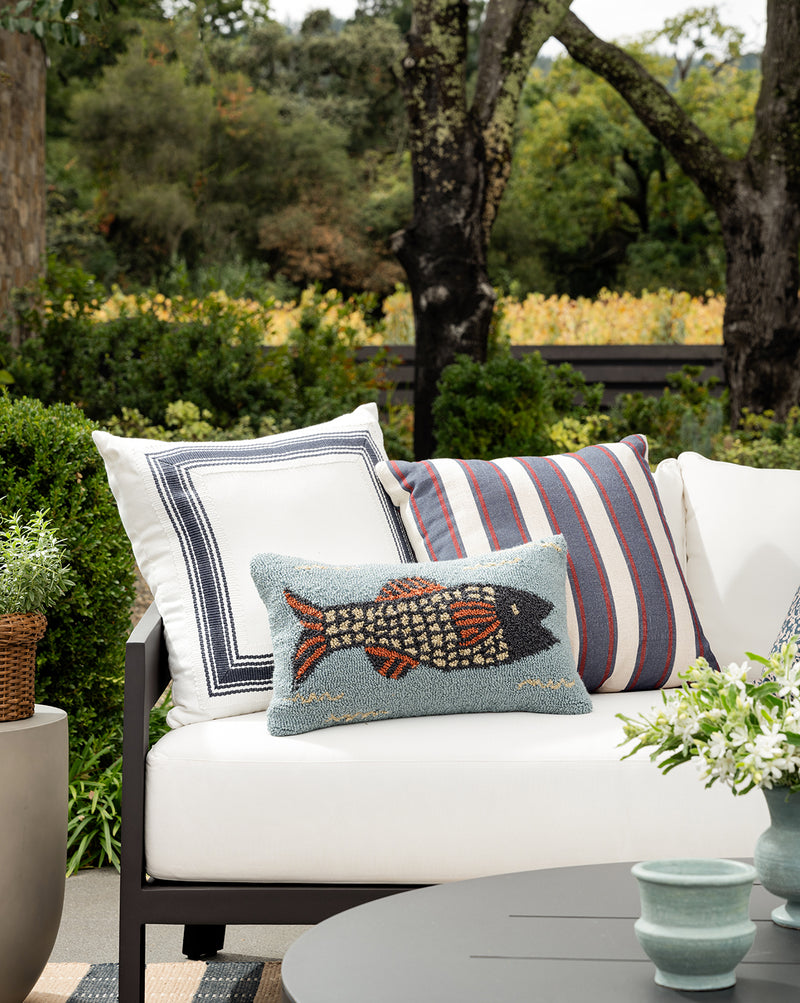
Poisson Indoor/Outdoor Pillow. $51.80, down from $74.00. The Poisson is a fish-pattern pillow in rust, sage, and cream, and it is the highest personality per dollar in the entire sale. Throw it on an outdoor lounge chair, throw it on an indoor sofa, throw it in the back of a porch swing. People will ask where it is from.
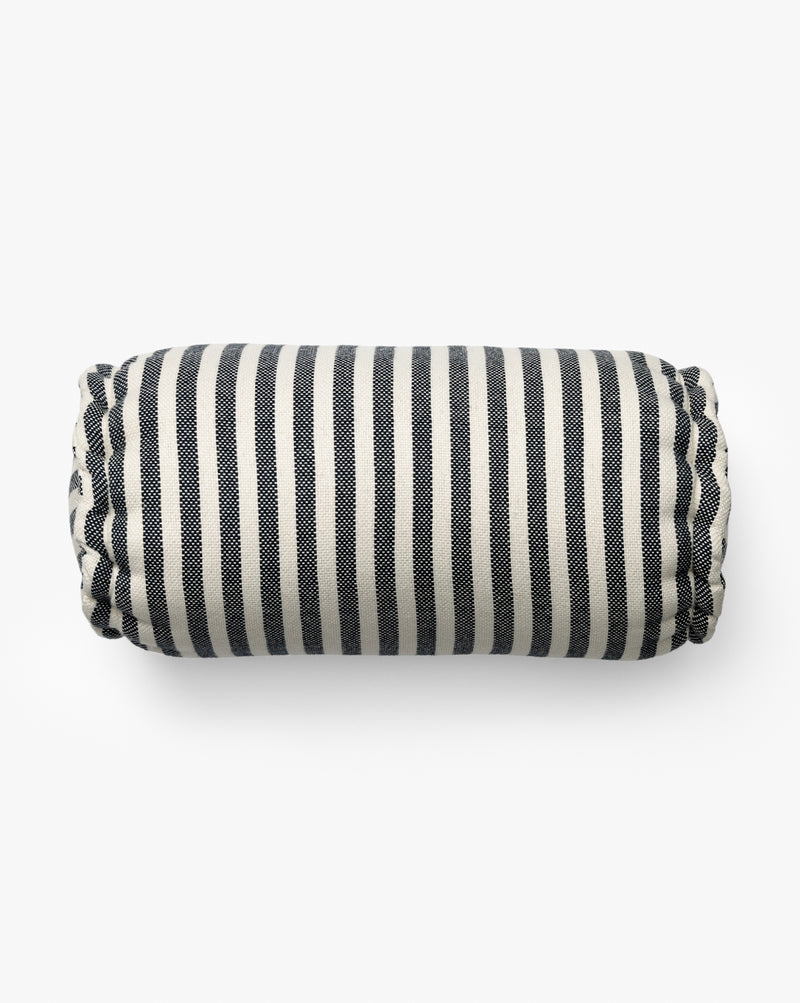
Striped Indoor/Outdoor Bolster Pillow. $61.60, down from $88.00. Navy and cream stripe, classic shape. Use it on a bench, the foot of an outdoor sofa, or as a back rest on a daybed. The bolster shape reads more curated than a square pillow, which is why I keep reaching for it.
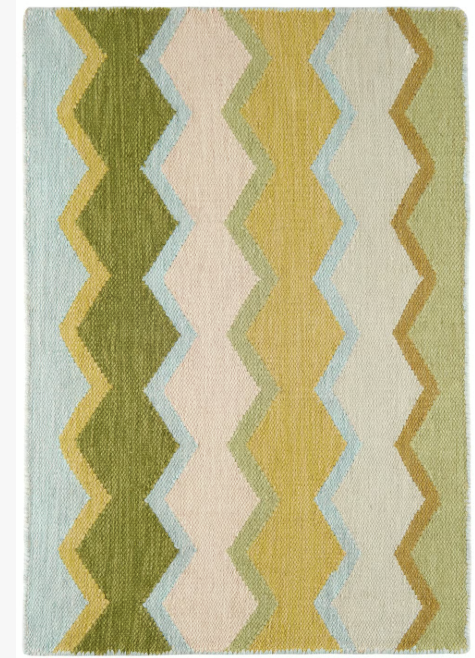
Greek Key Handwoven Indoor/Outdoor Rug. $47.60, down from $68.00. The price is absurd in the best way. Blue and cream Greek key pattern on a real handwoven indoor-outdoor weave. Use it in a kitchen, a bathroom, the threshold of a back door. It is the kind of rug that looks like it cost four times what it does.
The Small Upgrades
Two picks that are not glamorous on paper and absolutely earn their spot in real rooms.
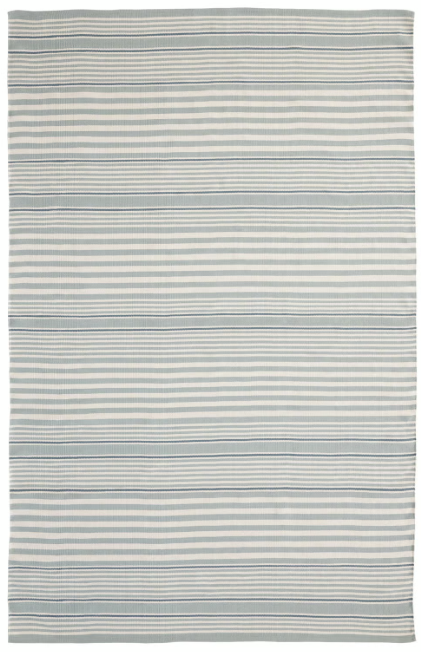
Aldridge Handwoven Indoor/Outdoor Rug. $208.60, down from $298.00. The runner-sized real-room outdoor rug for a covered porch, a screened-in patio, or the hallway from a back door to a mudroom. Tonal natural fiber, made to survive humidity. The version of an outdoor rug that does not announce itself.
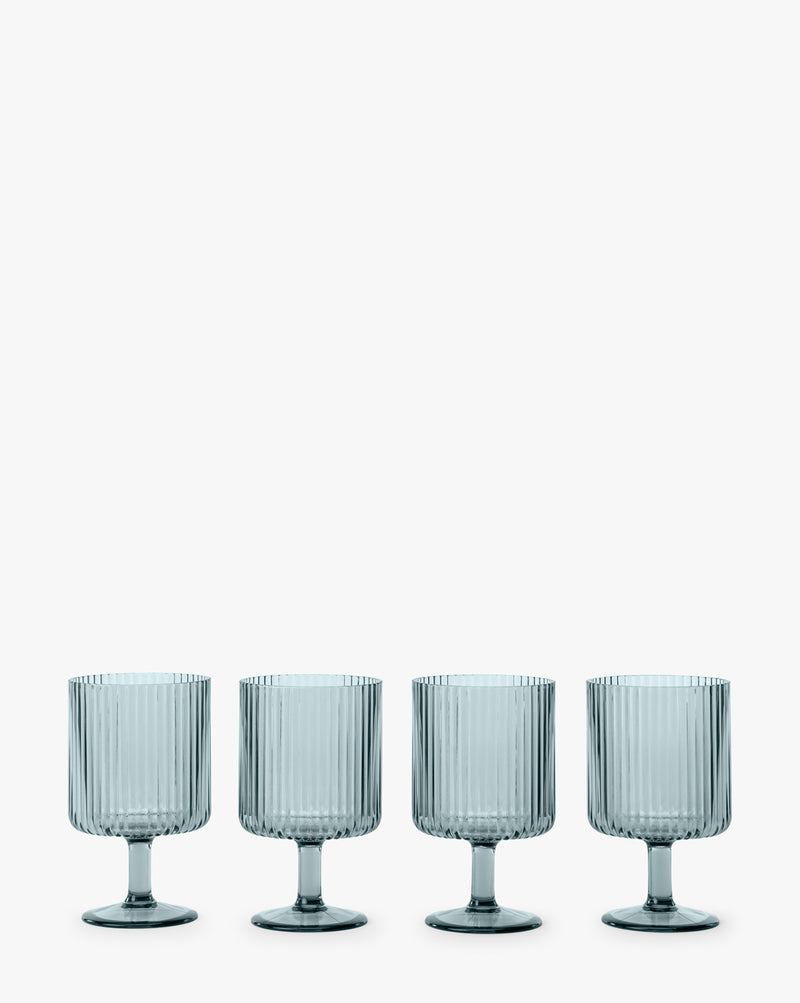
Sanibel Acrylic Goblets (Set of 4). $29.40, down from $42.00. Outdoor dining without the wedding-crystal anxiety. The Sanibel set in green is on my counter all summer. Use them for cocktails, water, whatever you are drinking out of a goblet because the night called for it.
20% Off Picks: Ready-to-Ship Outdoor
The Pomeroy collection is made to order, which is why it is at 30%. The Glenwood collection ships fast, which is why it is at 20% and worth its own section if you do not want to wait six weeks for a sofa.
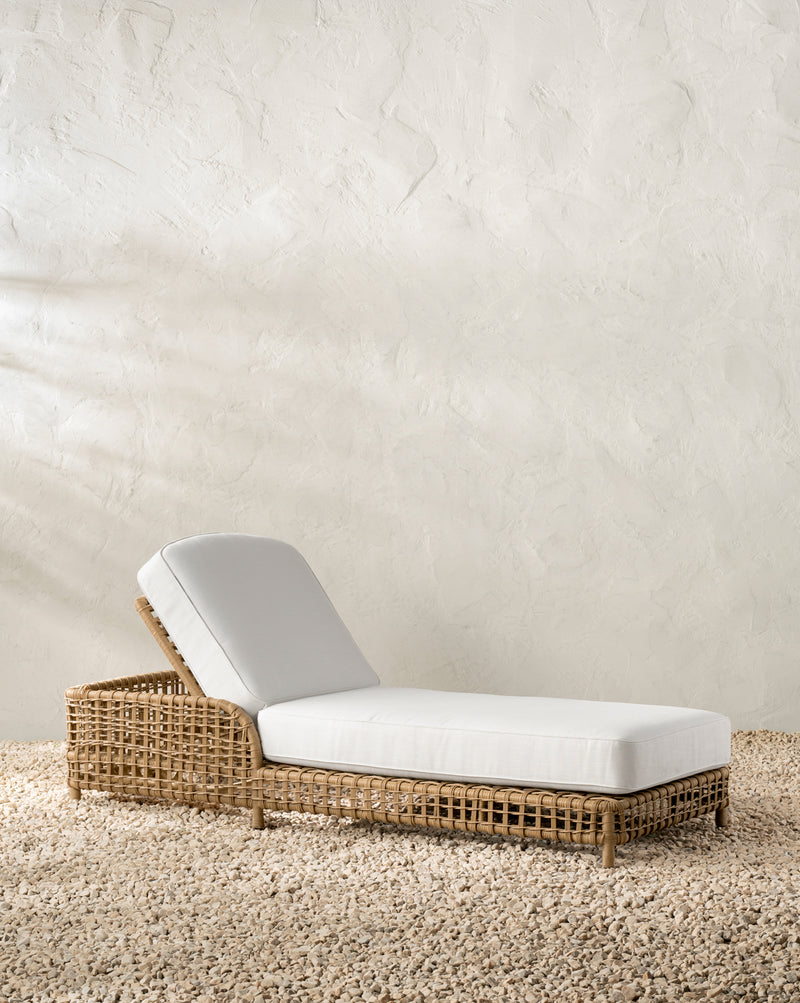
Glenwood Outdoor Chaise. $1,998.40, down from $2,498.00. Ready-to-ship single-piece statement. If you only buy one big outdoor thing this summer, this is the version that arrives at your door first. Cream cushion, woven rattan frame, the silhouette that makes any covered porch look like it was photographed for a magazine.
Glenwood Outdoor Lounge Chair (Ready to Ship). $1,118.40, down from $1,398.00. Lower profile than the Pomeroy, which makes it the right answer for shorter porches and rooms where sight lines matter. Same rattan-and-cream language as the chaise, ships in a normal amount of time.
15% Off Picks: The Small Indoor Refreshes
Two pieces that are not at the deepest discount but earn the spot because of what they do for a room.
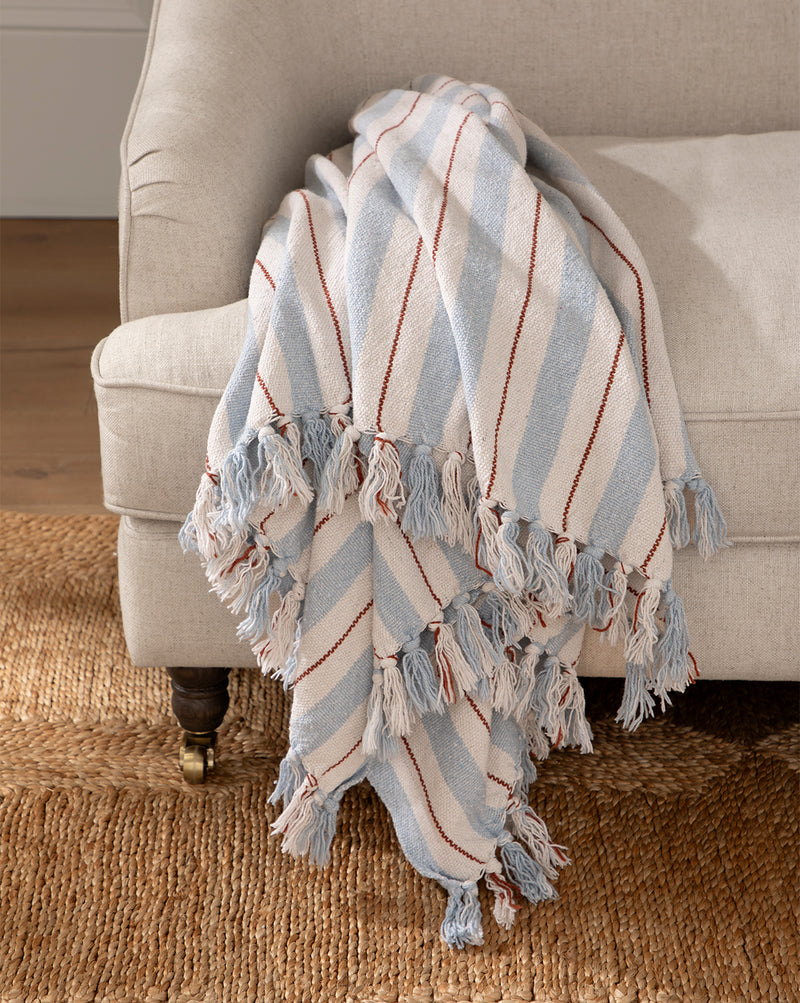
Two-tone Striped Cotton Throw. $49.30, down from $58.00. Blue and cream two-tone stripe cotton throw at fifty bucks. Drape it over a sofa arm, fold it at the foot of a bed, throw it in a basket near the back door for unexpectedly cool evenings. The kind of textile you stop noticing because it is already part of the room.
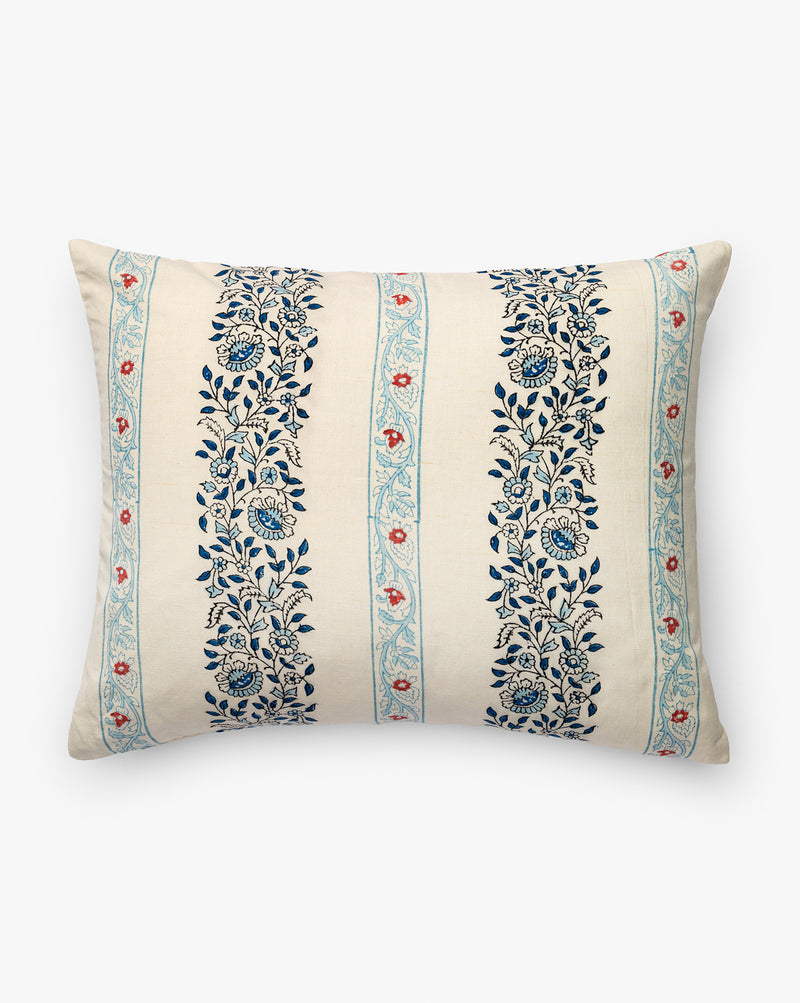
Betsy Pillow Cover. $74.80, down from $88.00. Blue patterned indoor pillow with enough movement to keep a neutral sofa from going flat. The Betsy adds depth without going floral, which is the line I find myself navigating most often. Two of these on a sofa, one on a reading chair, done.
If You Can Only Buy One Thing
Three picks ranked, because decision fatigue is real and the sale runs through Tuesday.
Poisson Indoor/Outdoor Pillow ($51.80 at 30% off). For the highest personality per dollar in the entire sale. The fish pattern is the conversation piece. If you have never bought from McGee, start here.
Regatta Block Print Quilt ($243.60 at 30% off). For the easiest summer bedroom refresh with real color. Wash it once, layer it over white sheets, done. The piece that turns a flat bed into a styled bed.
Pomeroy Outdoor Lounge Chair ($1,048.60 at 30% off). For the long game. This is the piece you will still be glad you bought in 2031. Made to order, so it takes time, which is also why the 30% off is the version you want to catch.
Shop the Sale
If you want to browse beyond my picks, the full Studio McGee Memorial Day sale runs through May 26 with discounts up to 30% off across outdoor, bedding, lighting, and decor. I keep all my favorite Studio McGee picks (including these 15) in my ShopMy collection, and I will be adding more to it as the sale runs. Save this post on Pinterest if you want to come back to it, and feel free to DM me on Instagram if you want help picking between two pieces. I respond to every one.
This post contains affiliate links. I earn a small commission if you purchase through my link, at no extra cost to you.
Here are three pieces I've been reaching for lately, all chosen for the same vibe: weekend getaway. Each one stands on its own but they work even better together.
1. Orange Flower Euroflax™ Premium Linen Mini Dress , $298
Embrace effortless charm in the Orange Flower Euroflax™ Premium Linen Mini Dress by FARM Rio. This playful piece features an asymmetrical neckline that beautifully frames the silhouette, while the shapeable flower detail at the bust adds a sculptural and versatile touch. The vibrant orange floral patterns dance across breathable Euroflax™ linen, a sustainable, GMO-free fabric celebrated for its softness and natural thermoregulation. Light and airy, this dress effortlessly blends Brazilian spirit with conscious comfort, inviting joyful movement wherever you go. Closure: Invisible Zipper At Center Back Sleeve type: Sleeveless I love how it slots into the weekend getaway feel without trying too hard.
Breathe in timeless elegance with this Off-White Beautiful Nature Eyelet Midi Dress. Crafted in delicate eyelet fabric, it showcases a sweetheart neckline adorned with playful ruffles and charming floral appliqué straps. The dress features a harmonious blend of intricate blue botanical patterns, flowing into a gently flared midi silhouette that moves with grace. This piece radiates warmth and whimsy, inviting you to embrace effortless beauty under the sun. Sleeve type: Sleeveless I love how it slots into the weekend getaway feel without trying too hard.
Light Blue Satin Small Scarf Bag captures the joyful spirit of FARM Rio with its vibrant floral print blending soft blues, lush greens, and bursts of warm hues. The unique carved wooden handle, shaped like a fish, adds an artisanal touch that feels both playful and elegant. Its fluid scarf-like silhouette flows effortlessly, inviting you to carry a piece of tropical warmth and soulful charm wherever you go. I love how it slots into the weekend getaway feel without trying too hard.
This post contains affiliate links. If you purchase through my links, I may earn a small commission at no extra cost to you. Thank you for supporting my work!
Quick answer: A European garden look comes down to four anchors: a cast stone tiered fountain, wrought iron seating, climbing roses or vines given something to climb, and layered stone planters. This is the curated list of pieces I would actually buy myself, organised by anchor so you can build the look one piece at a time.
There is something deeply romantic about a European garden. The way a stone fountain catches the afternoon light, the curve of a wrought-iron bench tucked beneath climbing roses, the sound of water trickling over carved tiers while you sit with a glass of wine at golden hour. It feels like something out of a French chateau or an Italian villa, but here is the thing: you can recreate that same feeling right in your own backyard.
I put together this curated list of my absolute favorite garden pieces, all sourced from Wayfair, that bring that stately, old-world European aesthetic to any outdoor space. Whether you have a sprawling yard, a modest courtyard, or a formal side garden, these finds will help you build something truly beautiful. I have organized everything into six categories so you can shop by what your space needs most.
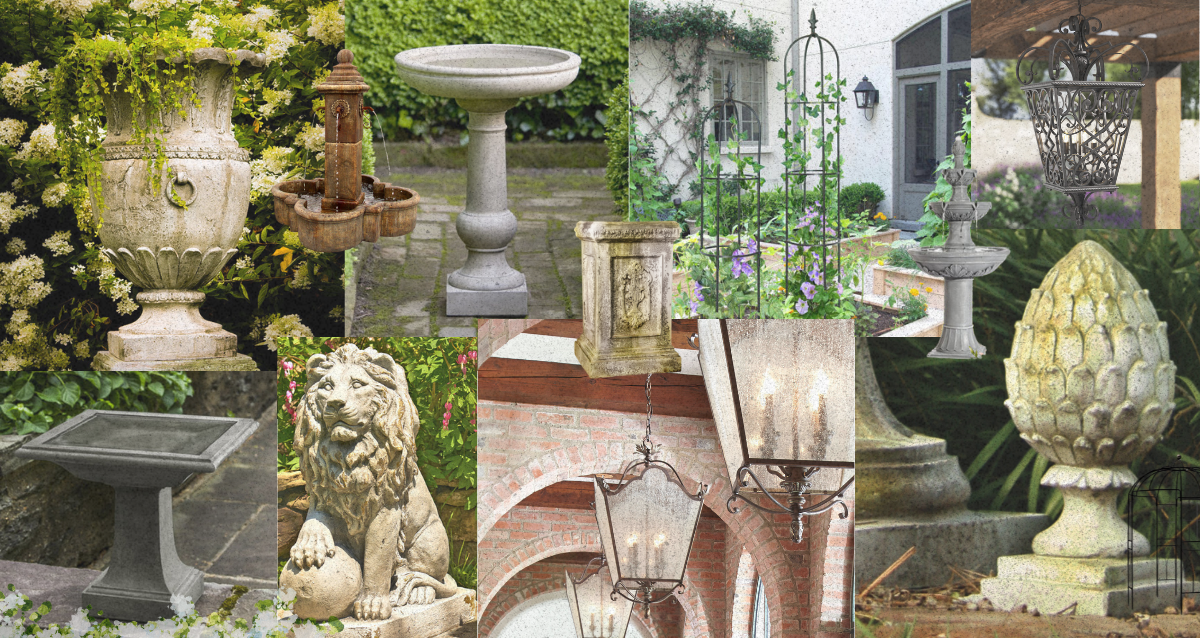
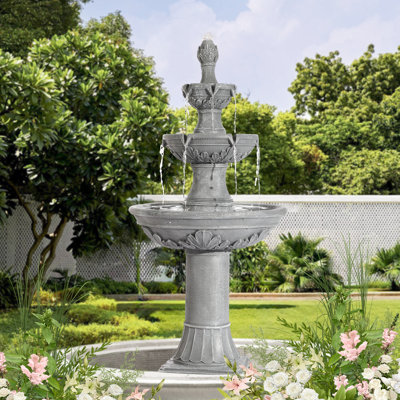
Nothing establishes the mood of a European garden quite like the sound of running water. A fountain is the anchor of the whole design, the piece everything else orbits around. These are my top picks for fountains that feel genuinely handcrafted and timeless rather than mass-produced.
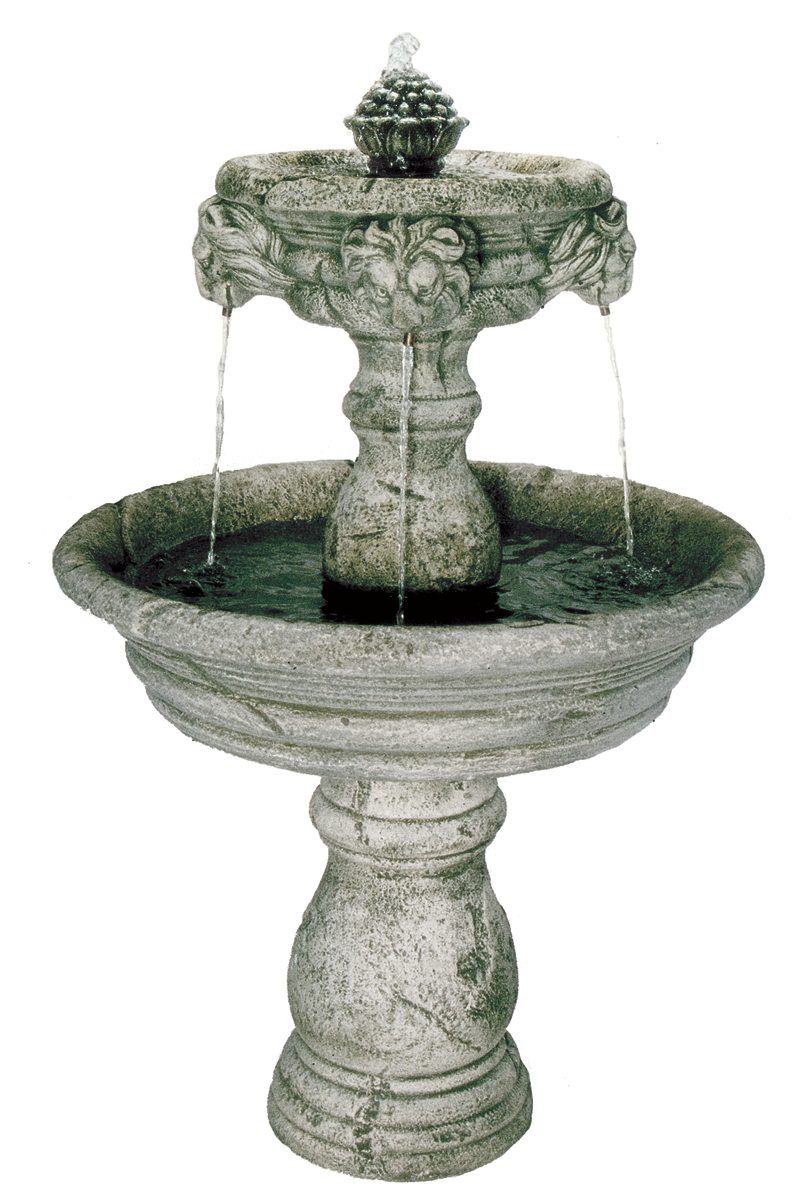
This handcrafted piece feels like it belongs in the courtyard of a European villa. The cast stone finish develops a gorgeous patina over time, and the scale is substantial enough to serve as a true centerpiece.
Elegant tiers and sculptural curves give this fountain a timeless look that feels both Italian and romantic. The name says it all. Place it at the end of a garden path or in the center of a formal parterre for maximum impact.
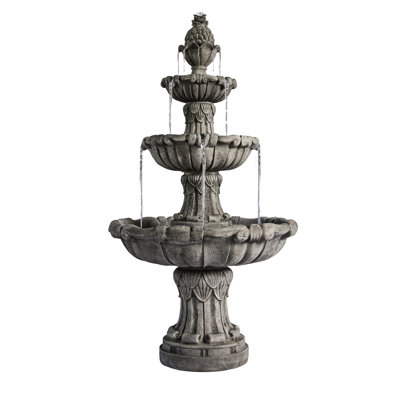
Three cascading tiers create a soothing sound that makes your entire garden feel peaceful and refined. The GFRC construction means it is weather-resistant and far lighter than true stone, which makes installation much more manageable.
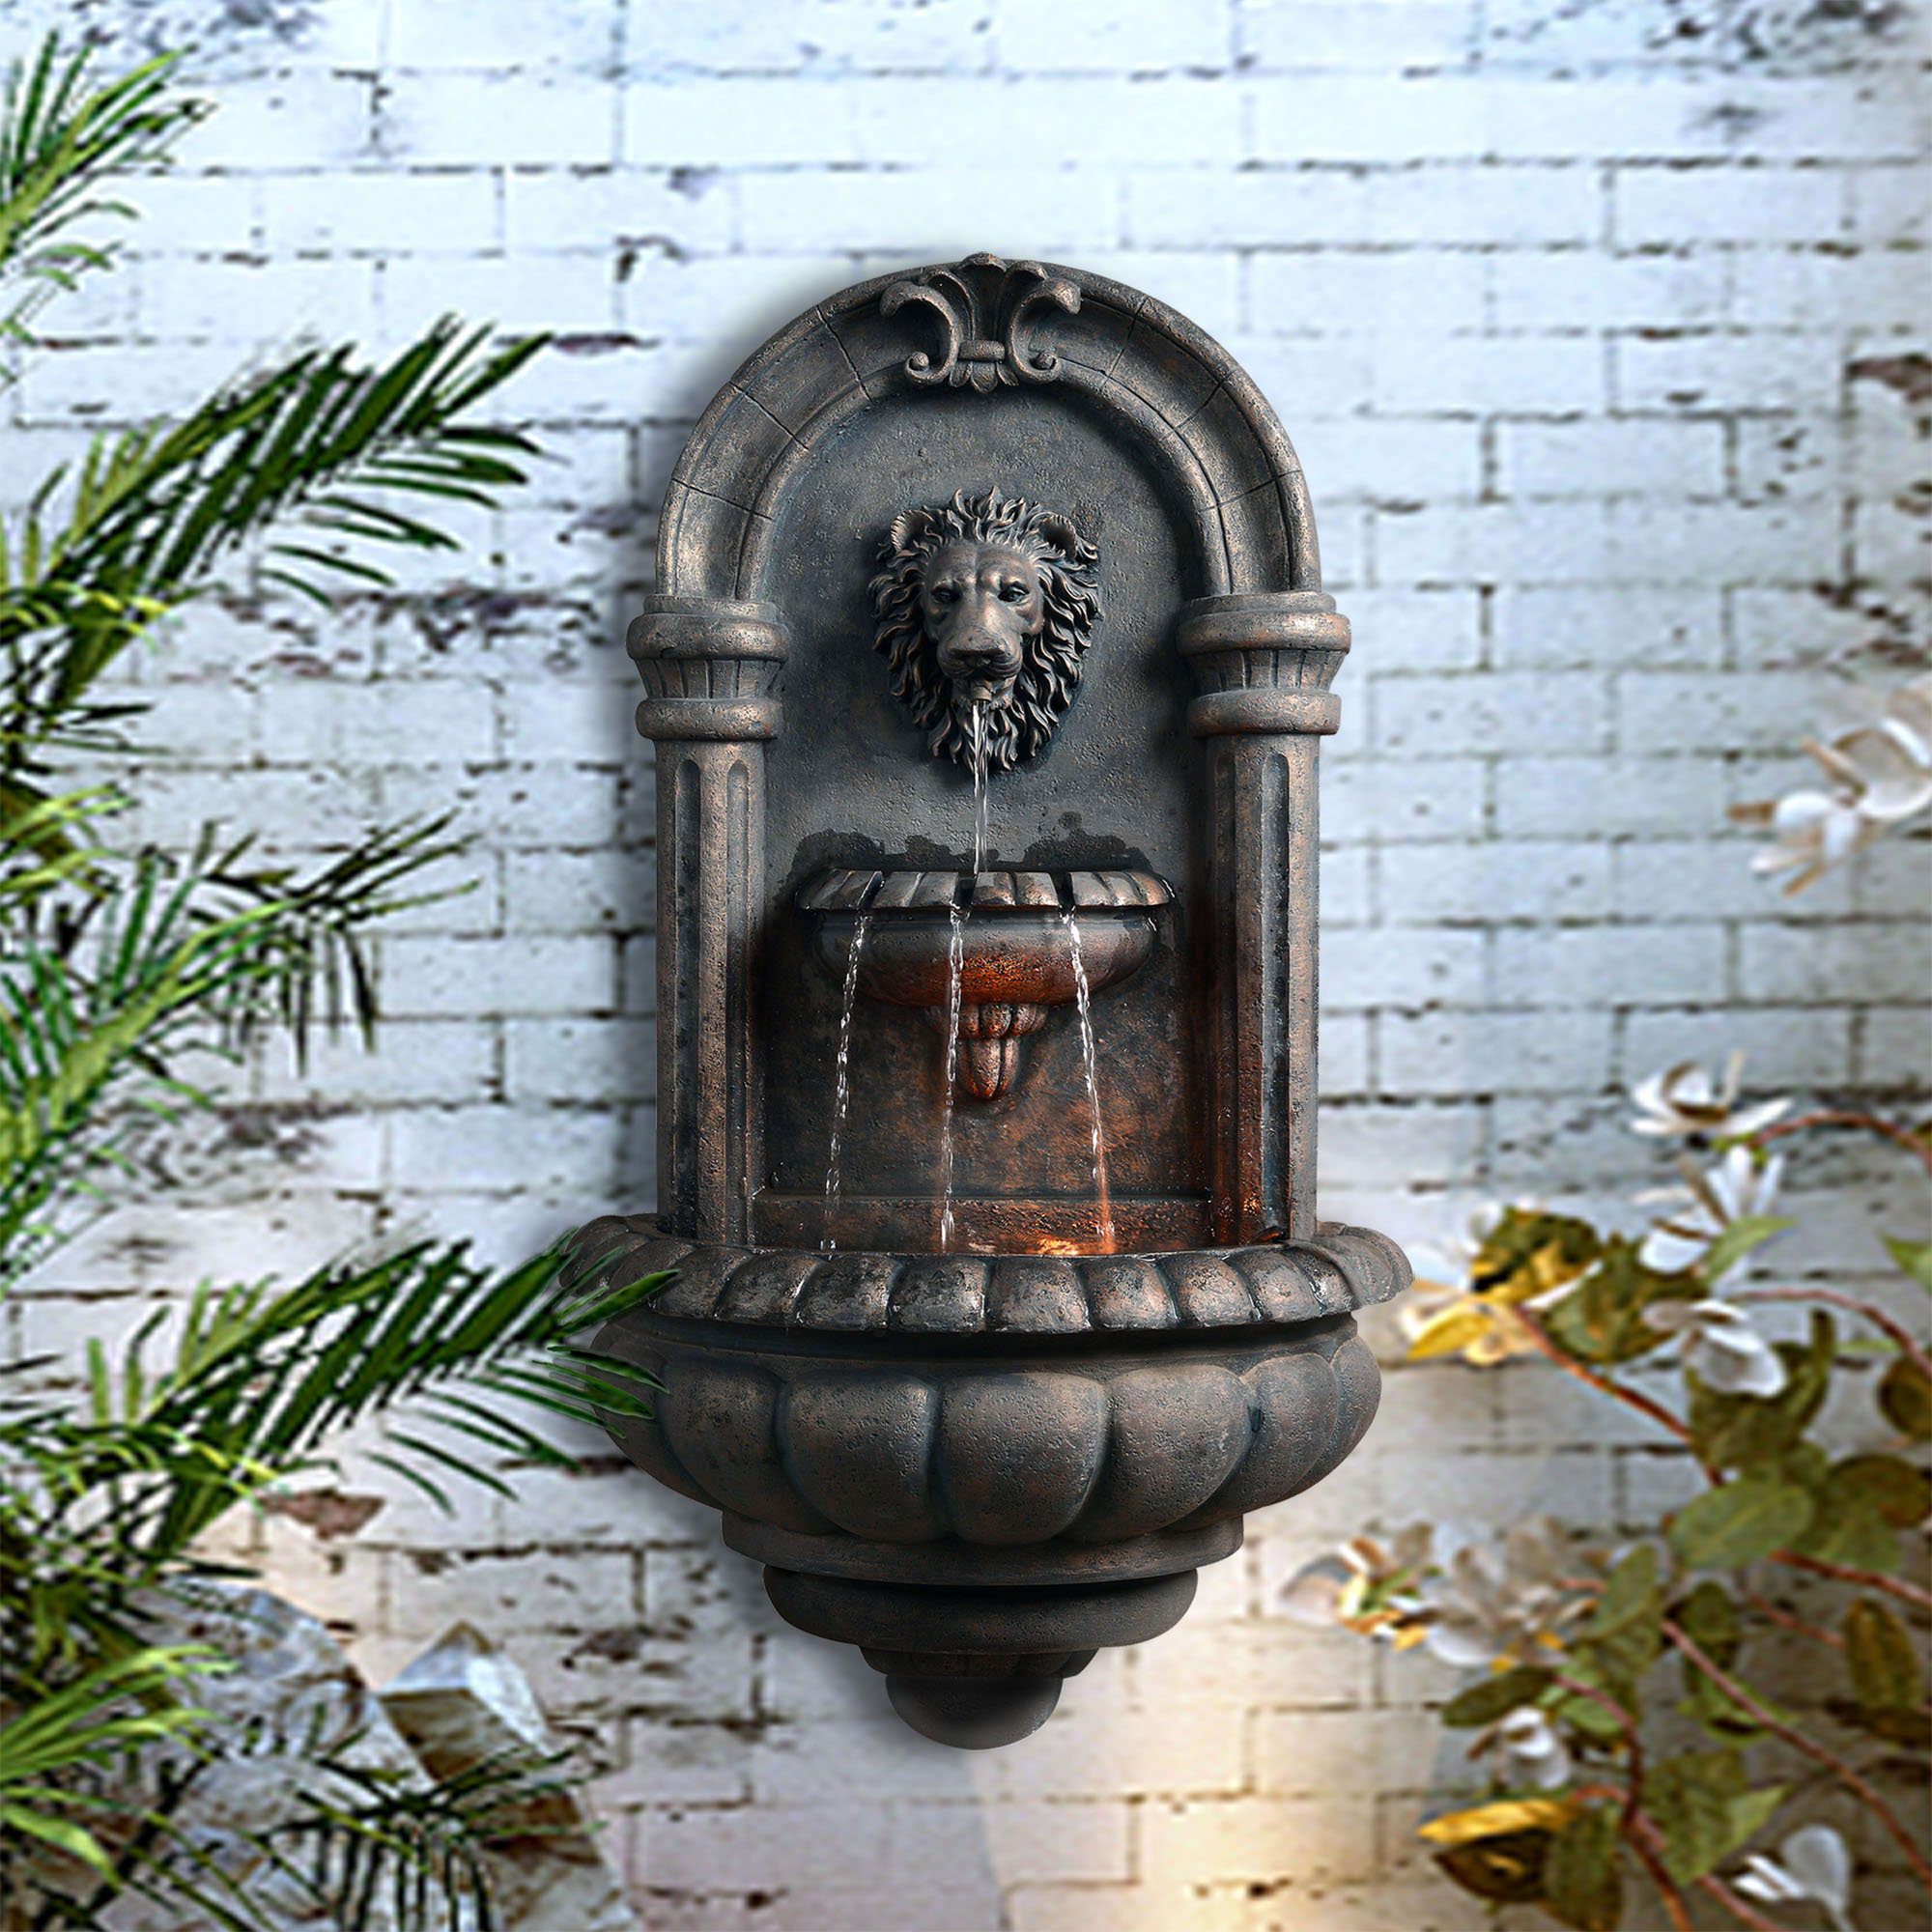
A dramatic statement piece with illuminated lion heads, this one is for those who want their garden to have an undeniable presence. The LED lighting means it looks stunning even after dark.
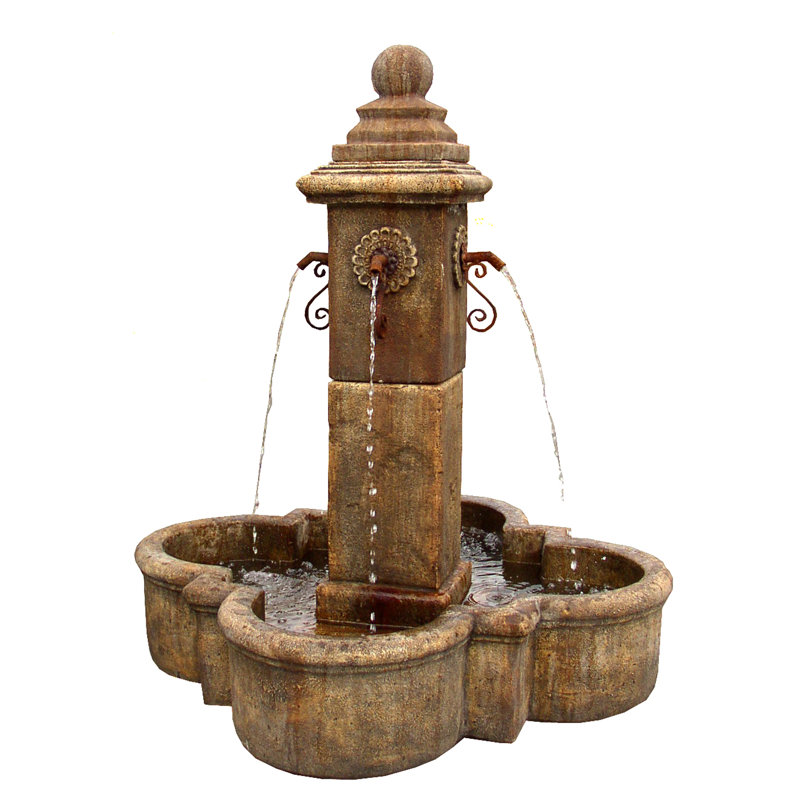
Inspired by Italian courtyards, this fountain’s shape and scale make it ideal as a grand centerpiece. At nearly four and a half feet tall, it commands attention without overwhelming a mid-sized space.
Formal European gardens have always used sculpture as punctuation, a way to mark transitions, frame views, and add vertical interest. These three pieces are my favorites for adding that architectural layer to your garden design.
Guard your entrance or walkway with these stately lion sentries. Placed flanking a gate, a doorway, or the start of a garden path, they immediately elevate the entire property. The magnesium construction means they hold up beautifully through the seasons.
This decorative finial adds architectural balance to planters, stairways, or corners. The artichoke motif has been a beloved symbol in classical garden design for centuries, and this piece captures that tradition beautifully.
Perfect on its own or topped with an urn or statue, this pedestal gives your garden a layered, formal look. It creates that sense of hierarchy and intention that separates a designed garden from a collection of plants.
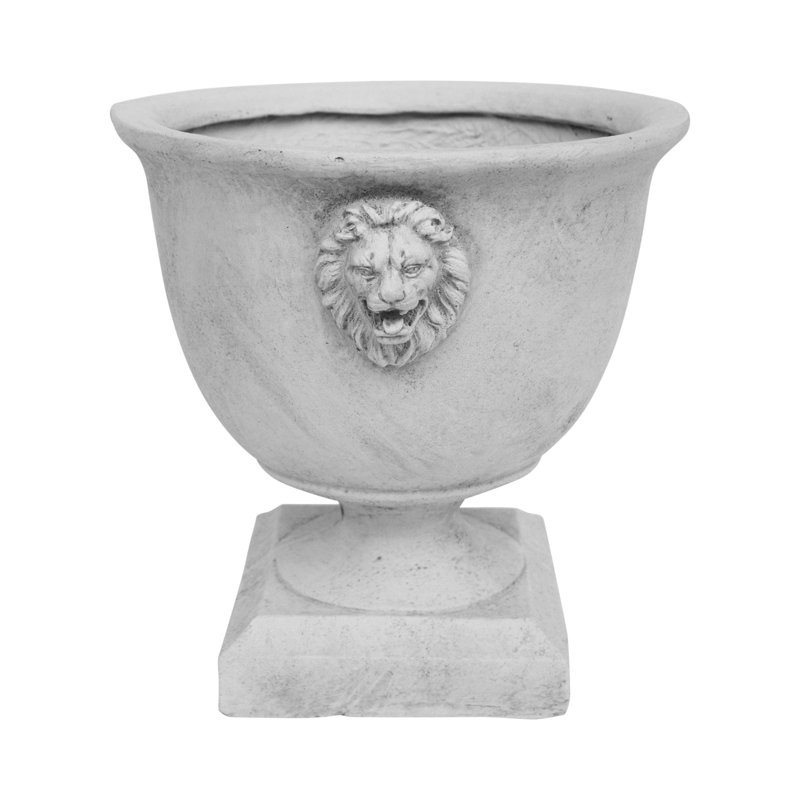
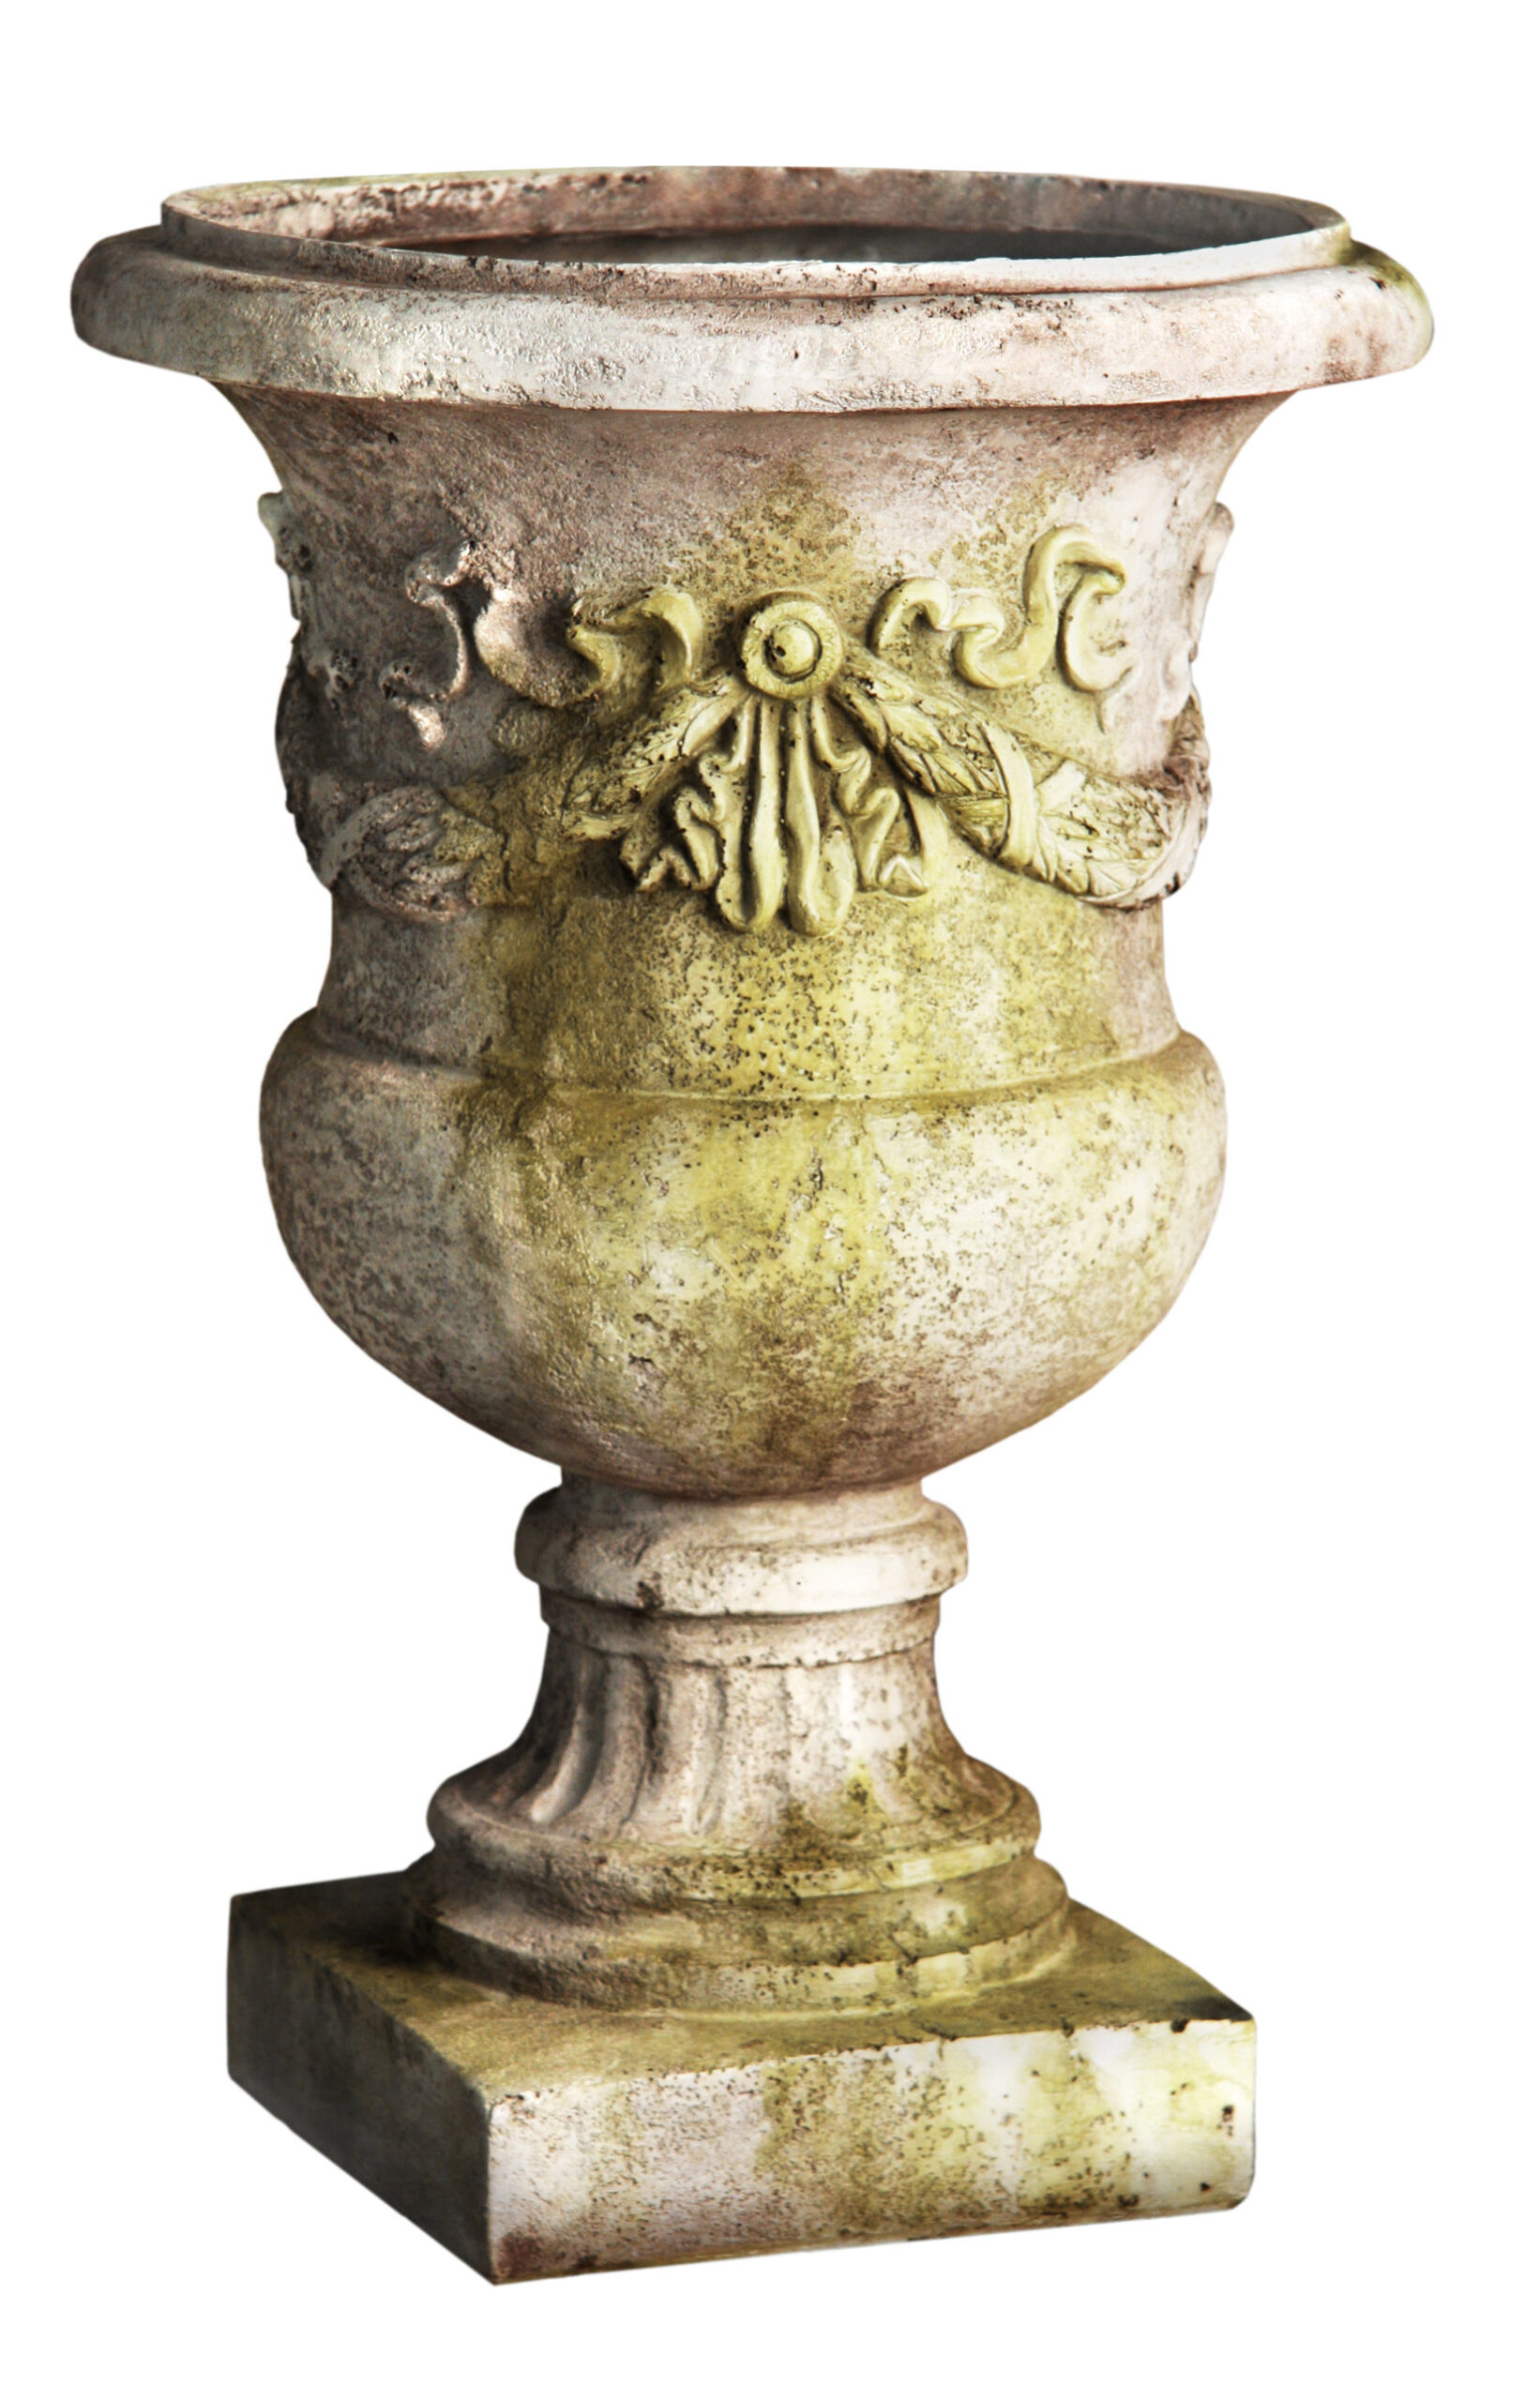
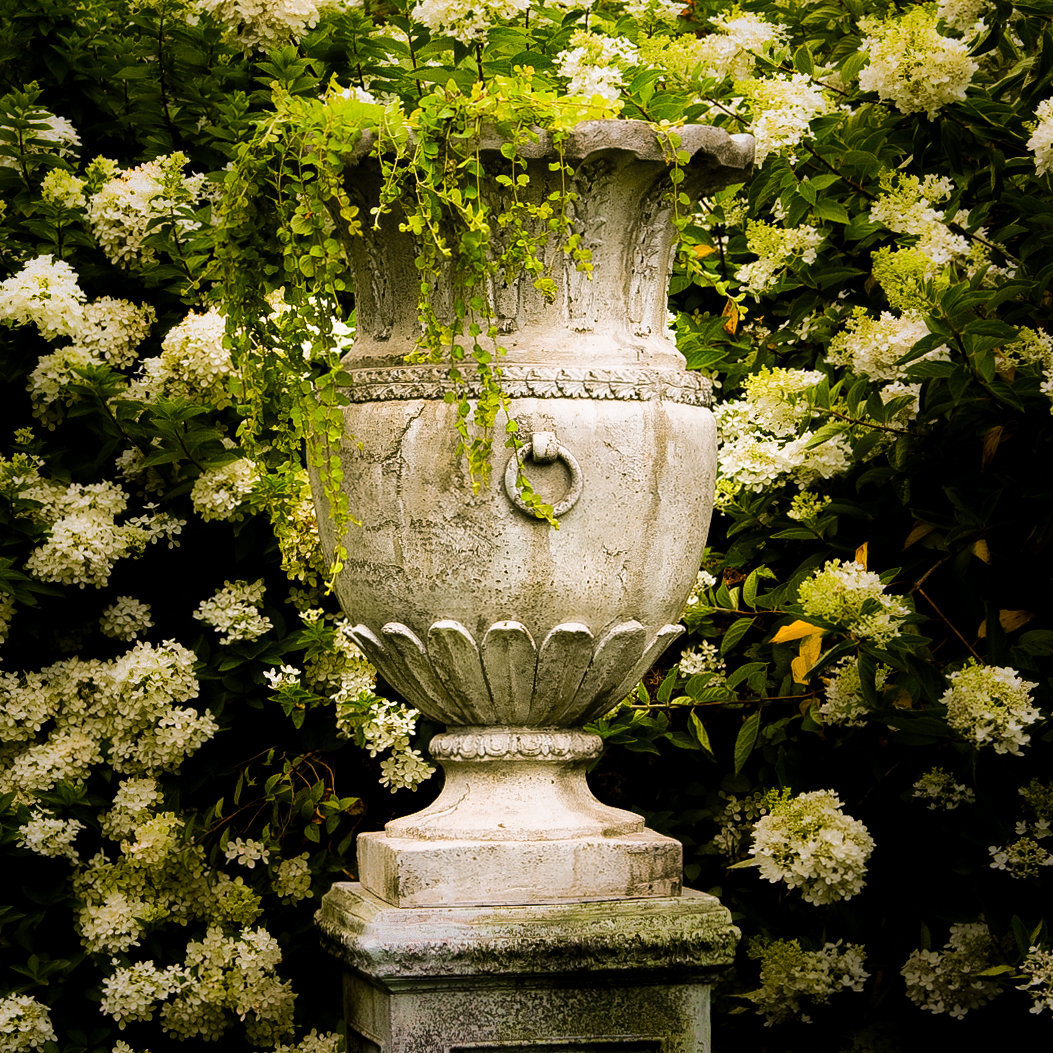
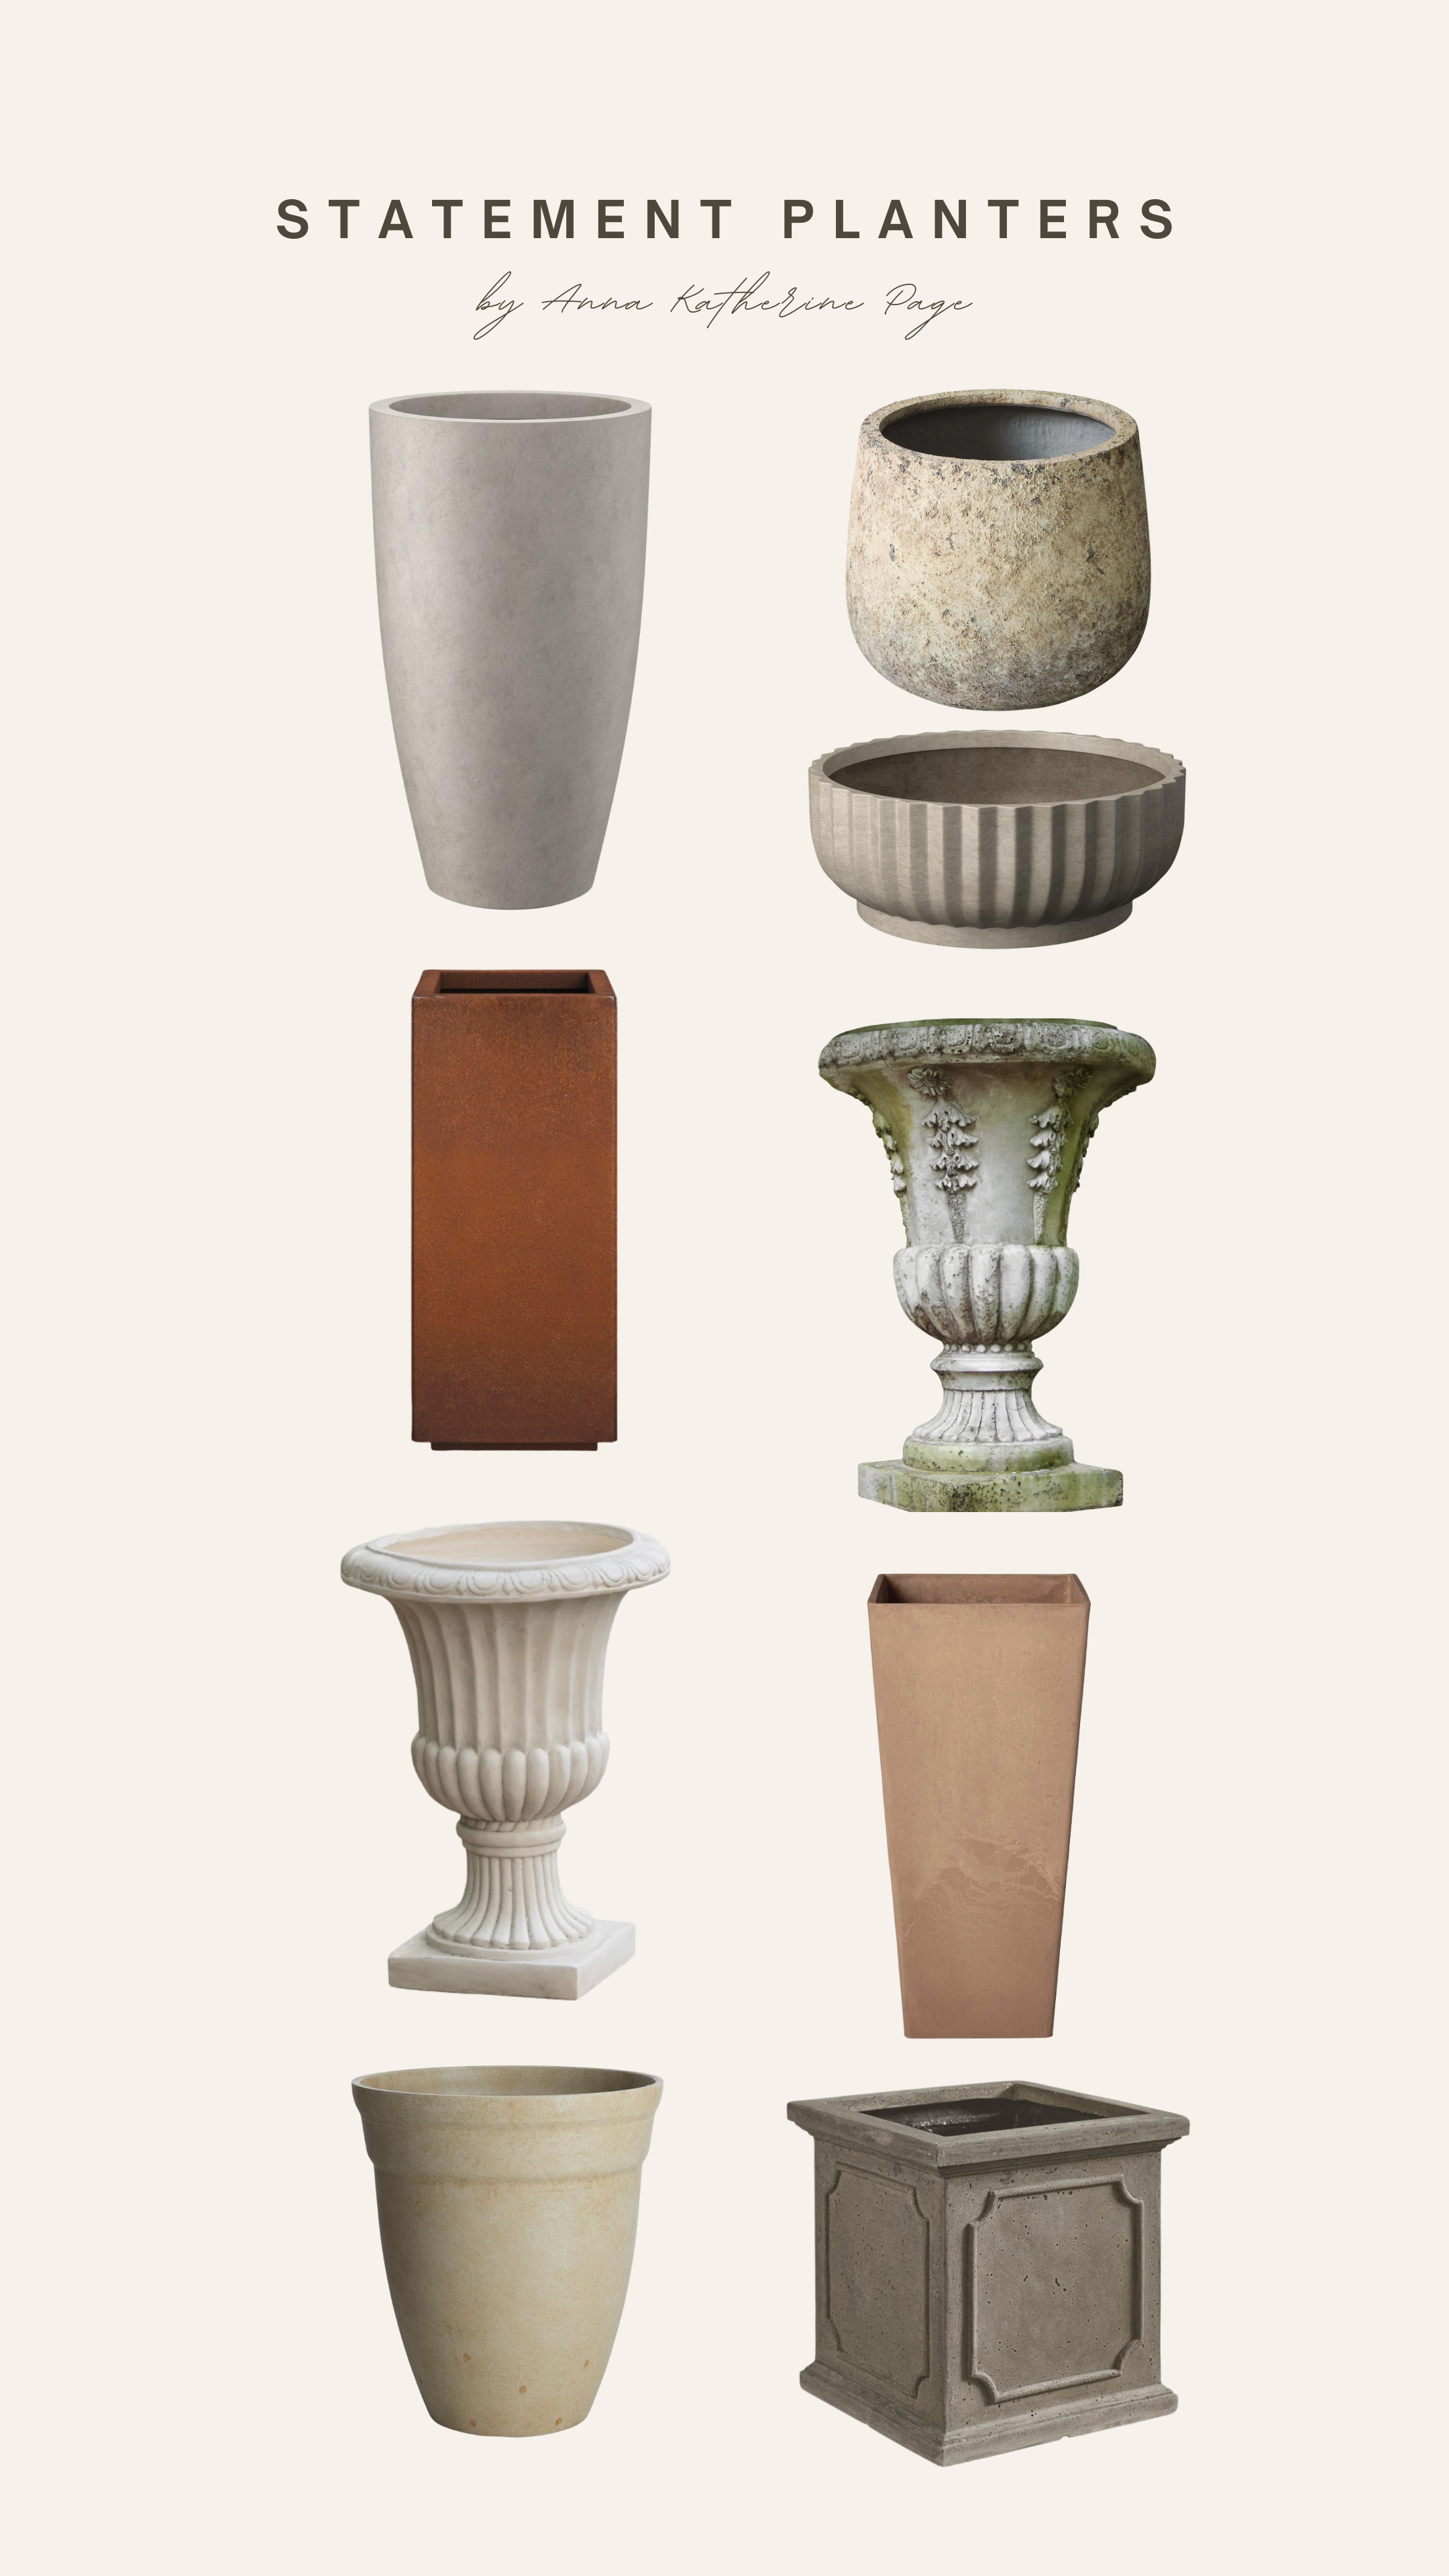
The urn is one of the oldest and most enduring symbols of the formal garden. Whether filled with dramatic topiaries, cascading ivy, or left empty as pure architectural objects, these planters bring immediate sophistication to any outdoor setting. Eight favorites here, from lightweight fiberstone to authentic cast stone.
A beautifully sculpted urn with intricate detailing. It looks stunning filled with boxwoods or roses, and the fiberstone construction means it will not crack or chip through freeze-thaw cycles the way cheaper materials do.
Lightweight yet substantial, this urn feels like an heirloom from an old European courtyard. I love it flanking a front door or at the top of garden steps.
Its smooth curves and classical shape make it versatile enough for any outdoor space. This is one of those pieces that works just as well in a modern garden as it does in a traditional one.
This lightweight concrete planter offers traditional elegance and long-lasting durability. It is the kind of piece that looks like it has been in the garden for decades, even when brand new.
A subtle patina and sculpted detailing make this planter look antique, even when new. It pairs beautifully with lush greenery and gives any corner of the garden an instant sense of history.
This bold, fluted urn makes a beautiful statement near fountains or entryways. The vertical lines draw the eye upward and give it a particularly regal presence.
Crafted from cast stone for true authenticity. Campania International is one of the gold standards for garden stonework, and this piece is designed to last for decades. If you are investing in one urn, make it this one.
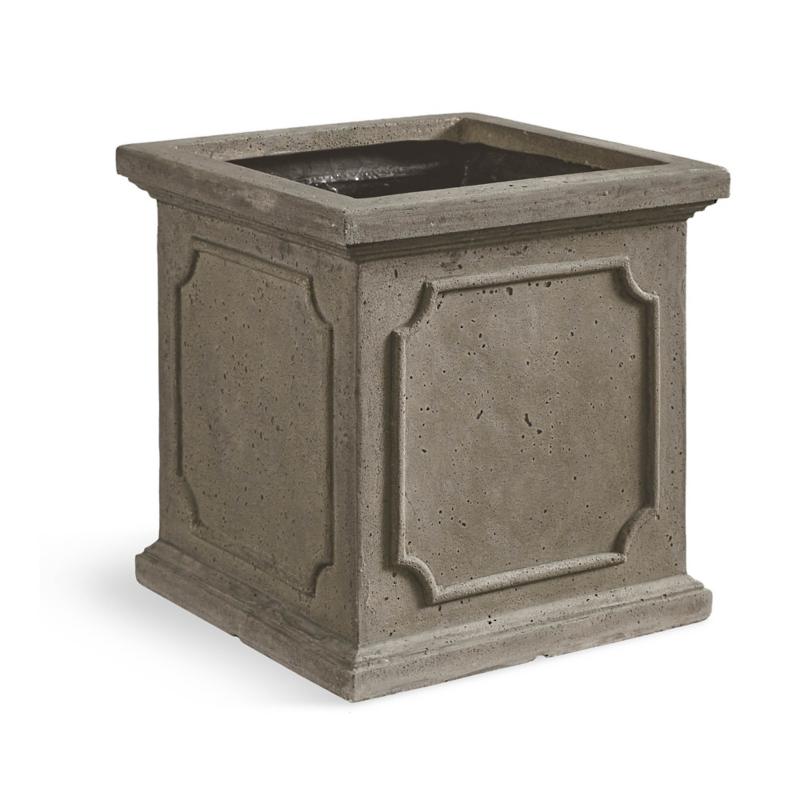
This piece pairs beautifully with manicured hedges and limestone pavers for a refined, old-world look. The cast stone surface weathers to a soft grey over time that only makes it more beautiful.
A European garden is meant to be lived in, not just looked at. The right seating transforms a beautiful space into a place you actually want to spend time. From intimate bistro sets for morning coffee to grand dining sets for hosting dinner under the stars, these are the pieces I keep coming back to.
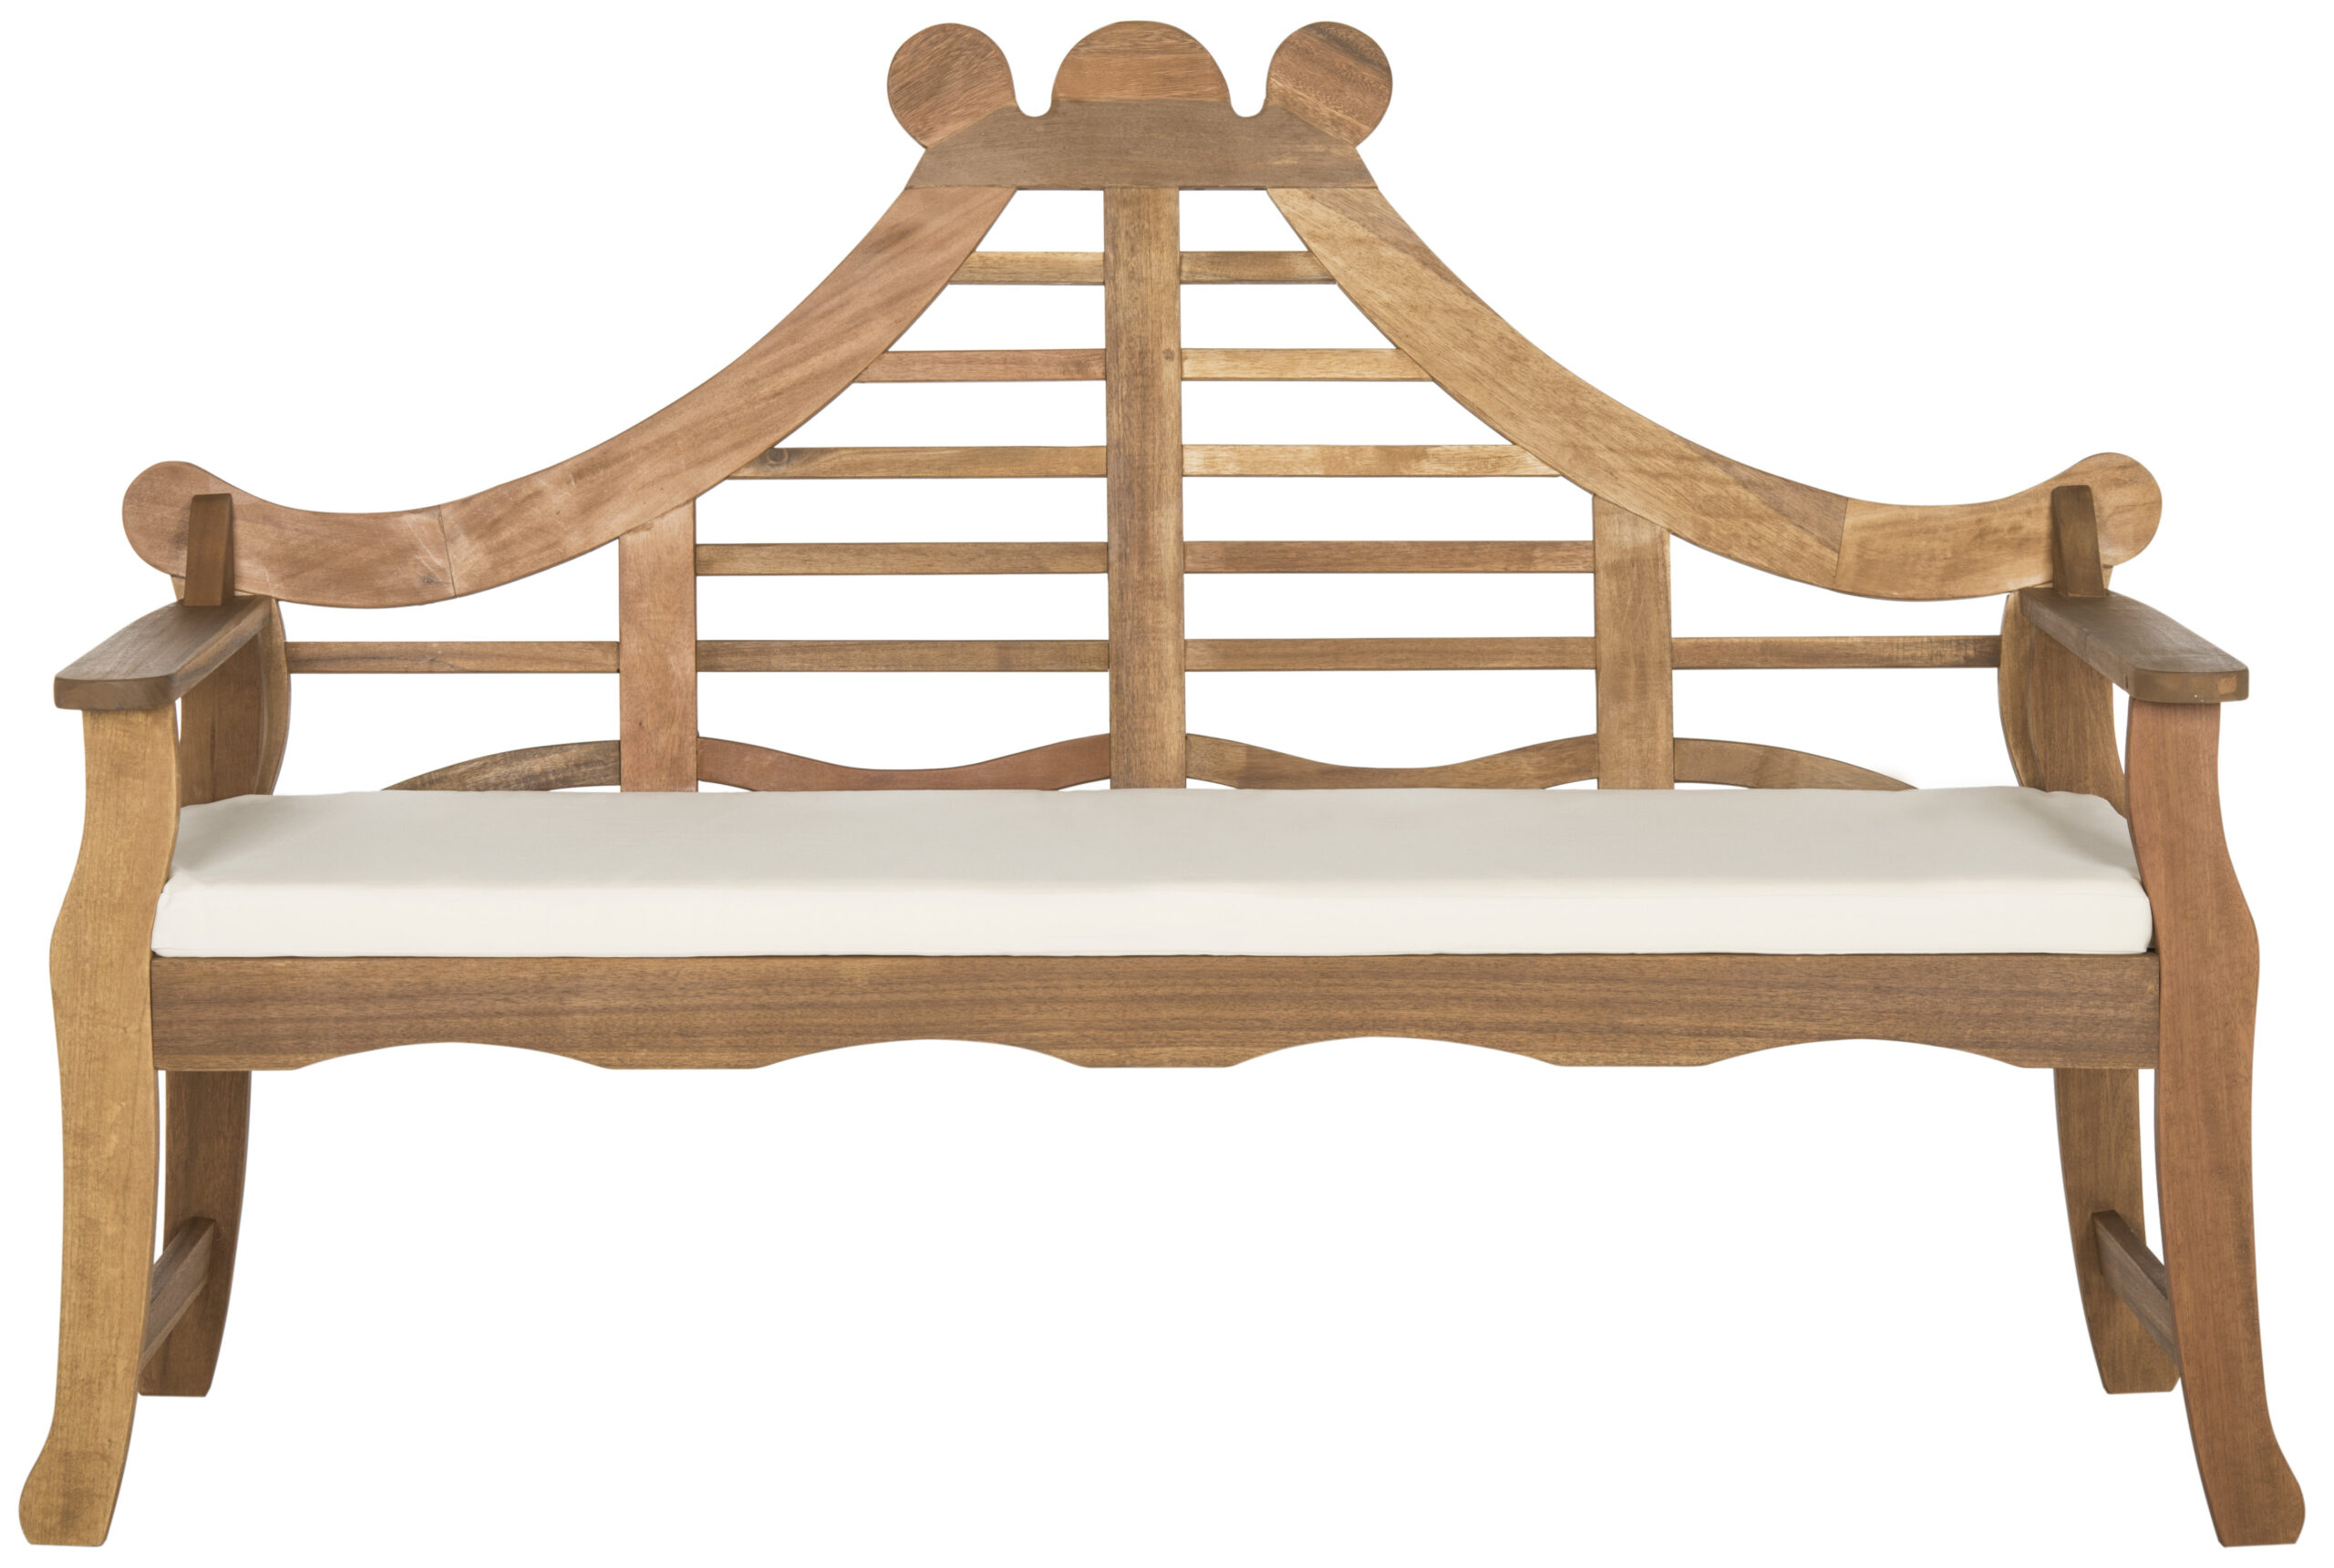
The natural wood tones bring warmth and contrast to stone-heavy garden designs. Tuck this beneath a flowering arch or at the end of a garden path and it instantly becomes the most inviting spot in the yard.
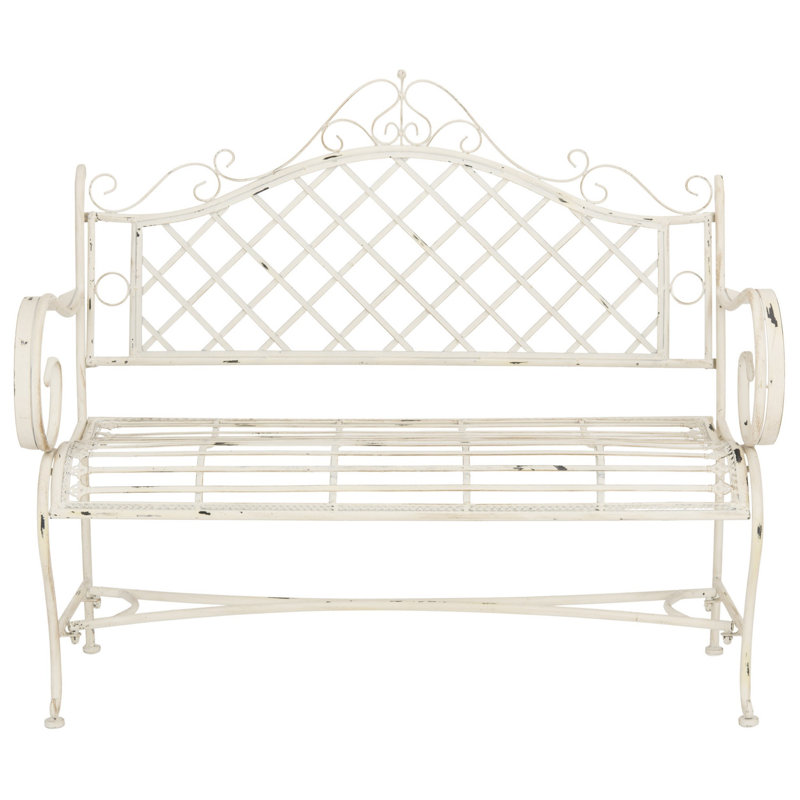
Wrought iron and graceful lines make this a classic garden piece that never goes out of style. It looks equally at home in an English cottage garden or a formal French parterre.
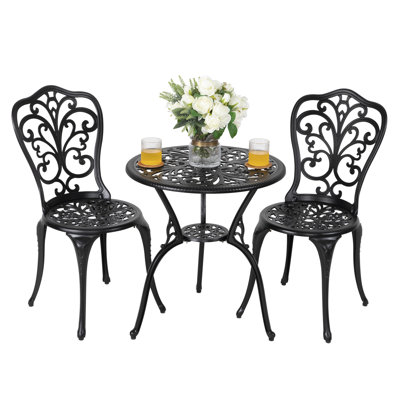
Perfect for morning tea or evening wine. This set instantly gives a European cafe vibe and works beautifully on a small patio, balcony, or tucked into a garden corner.
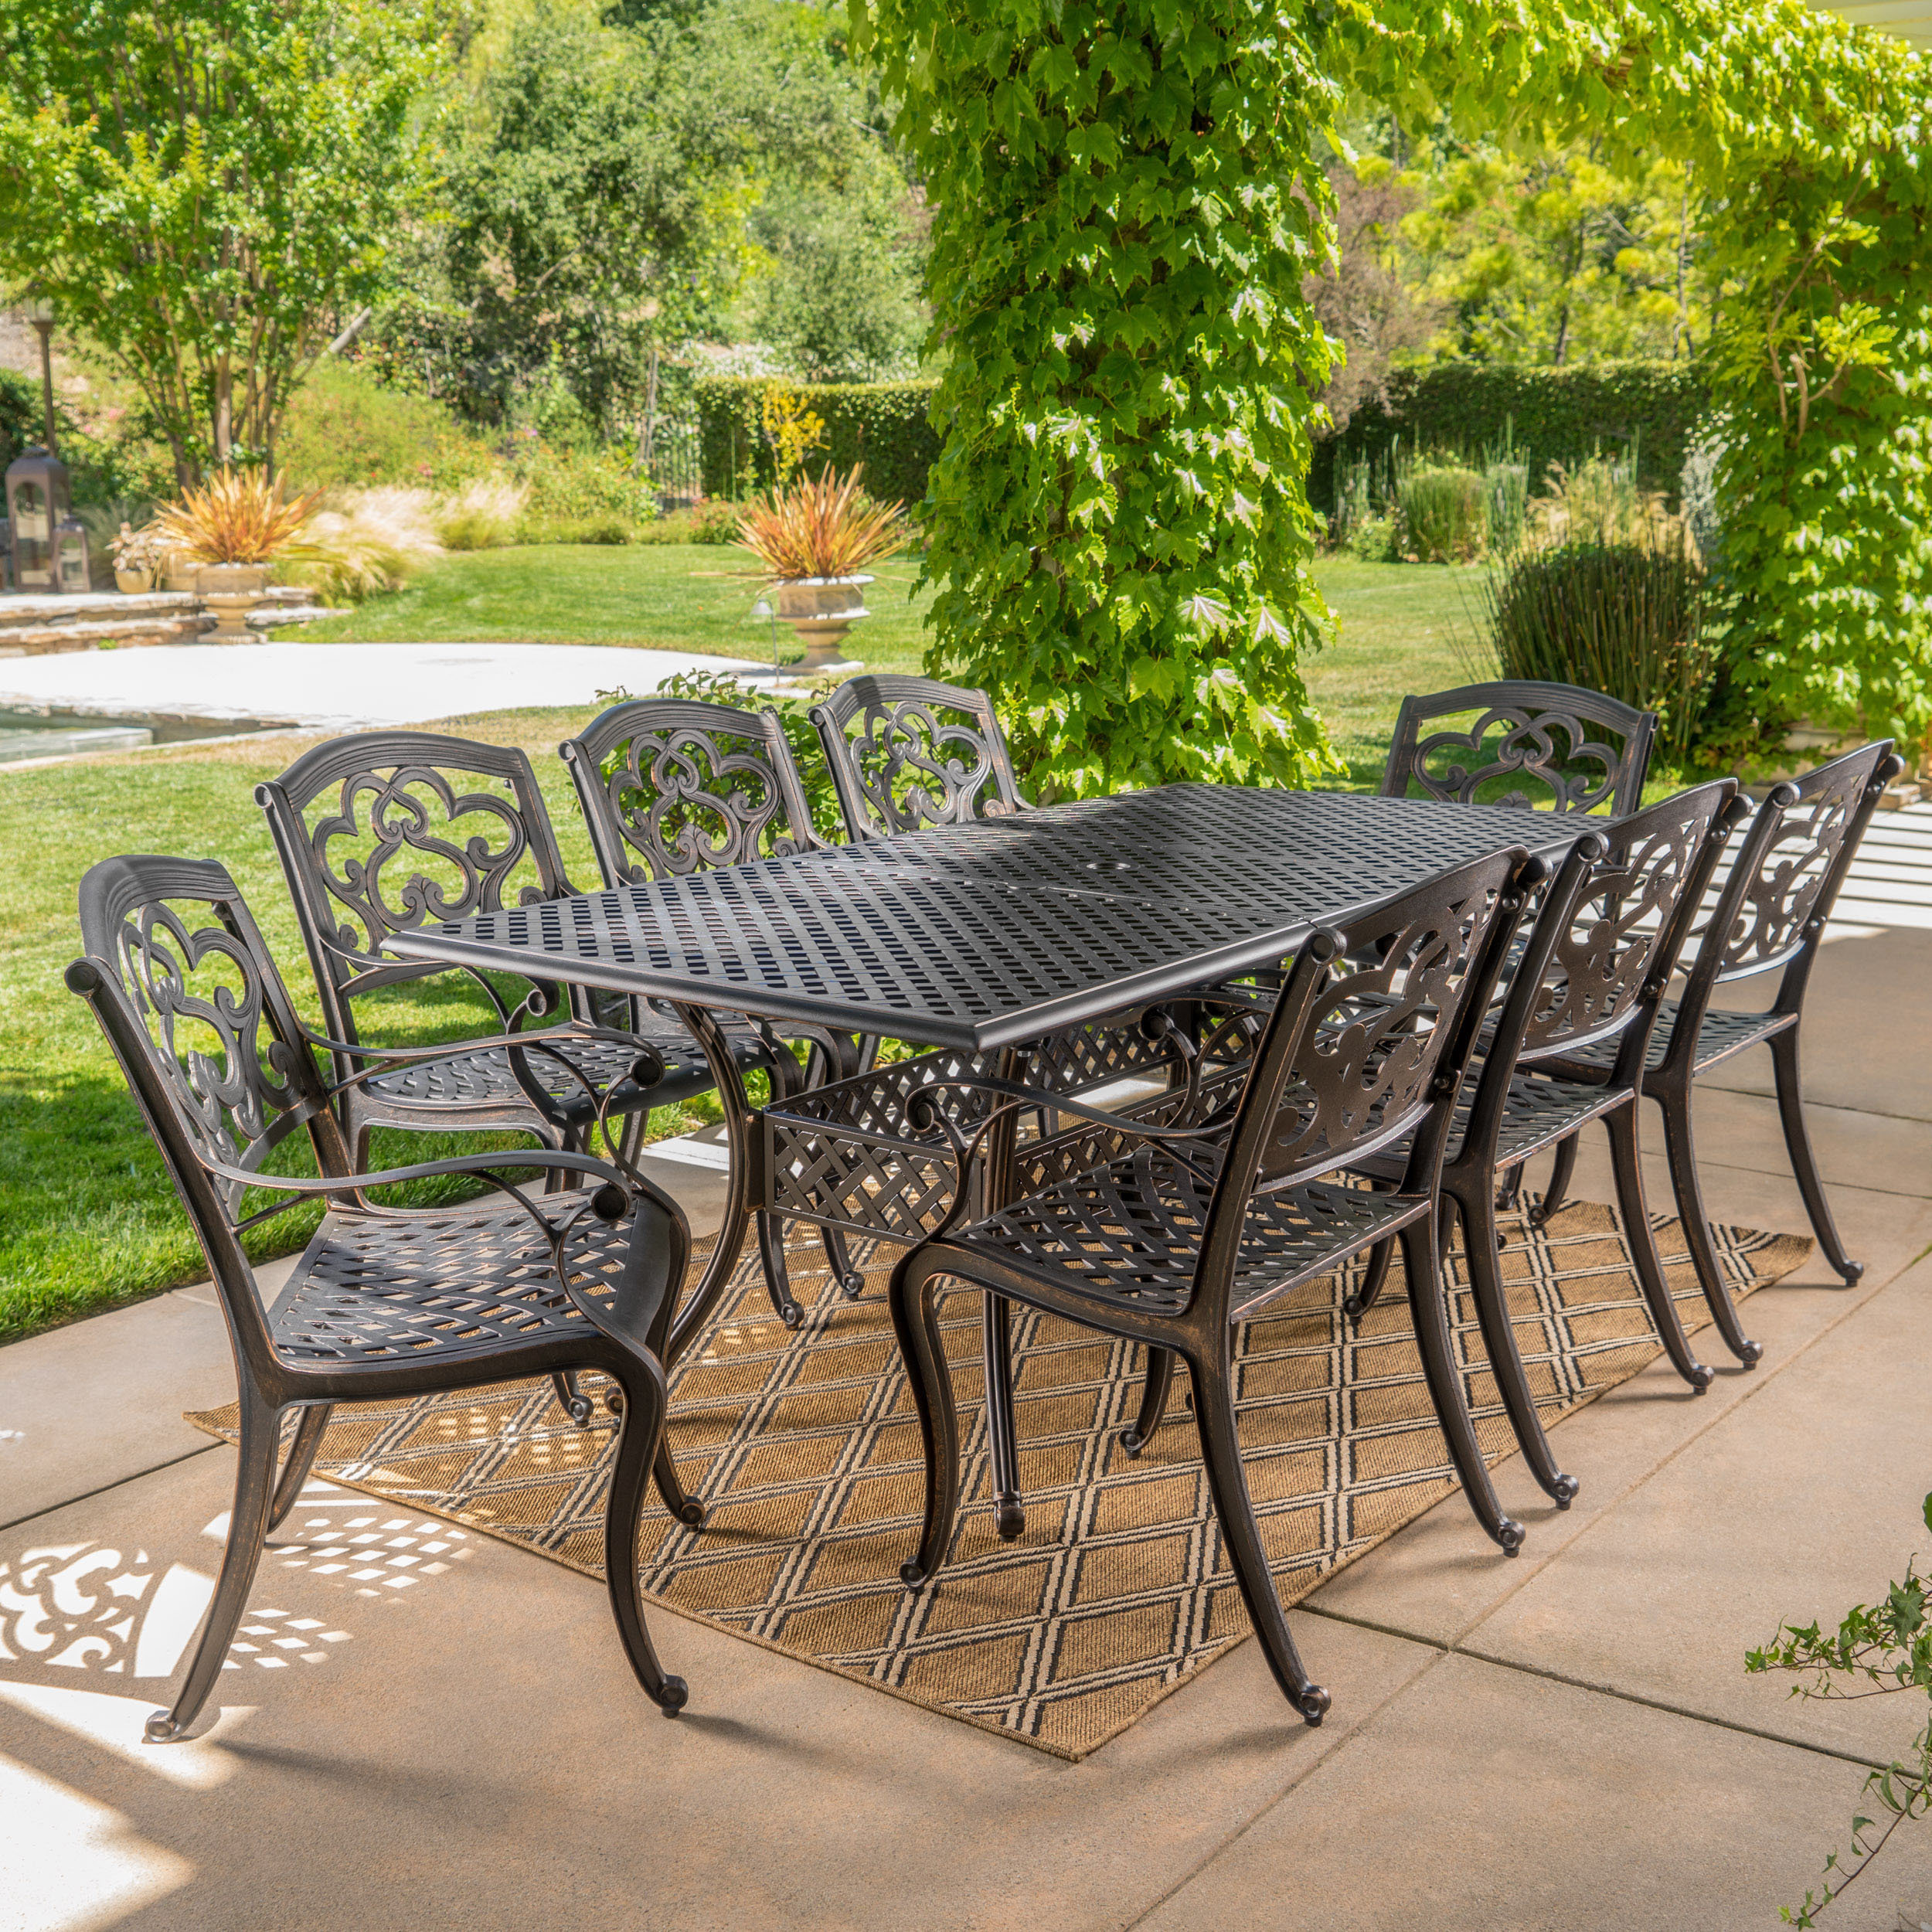
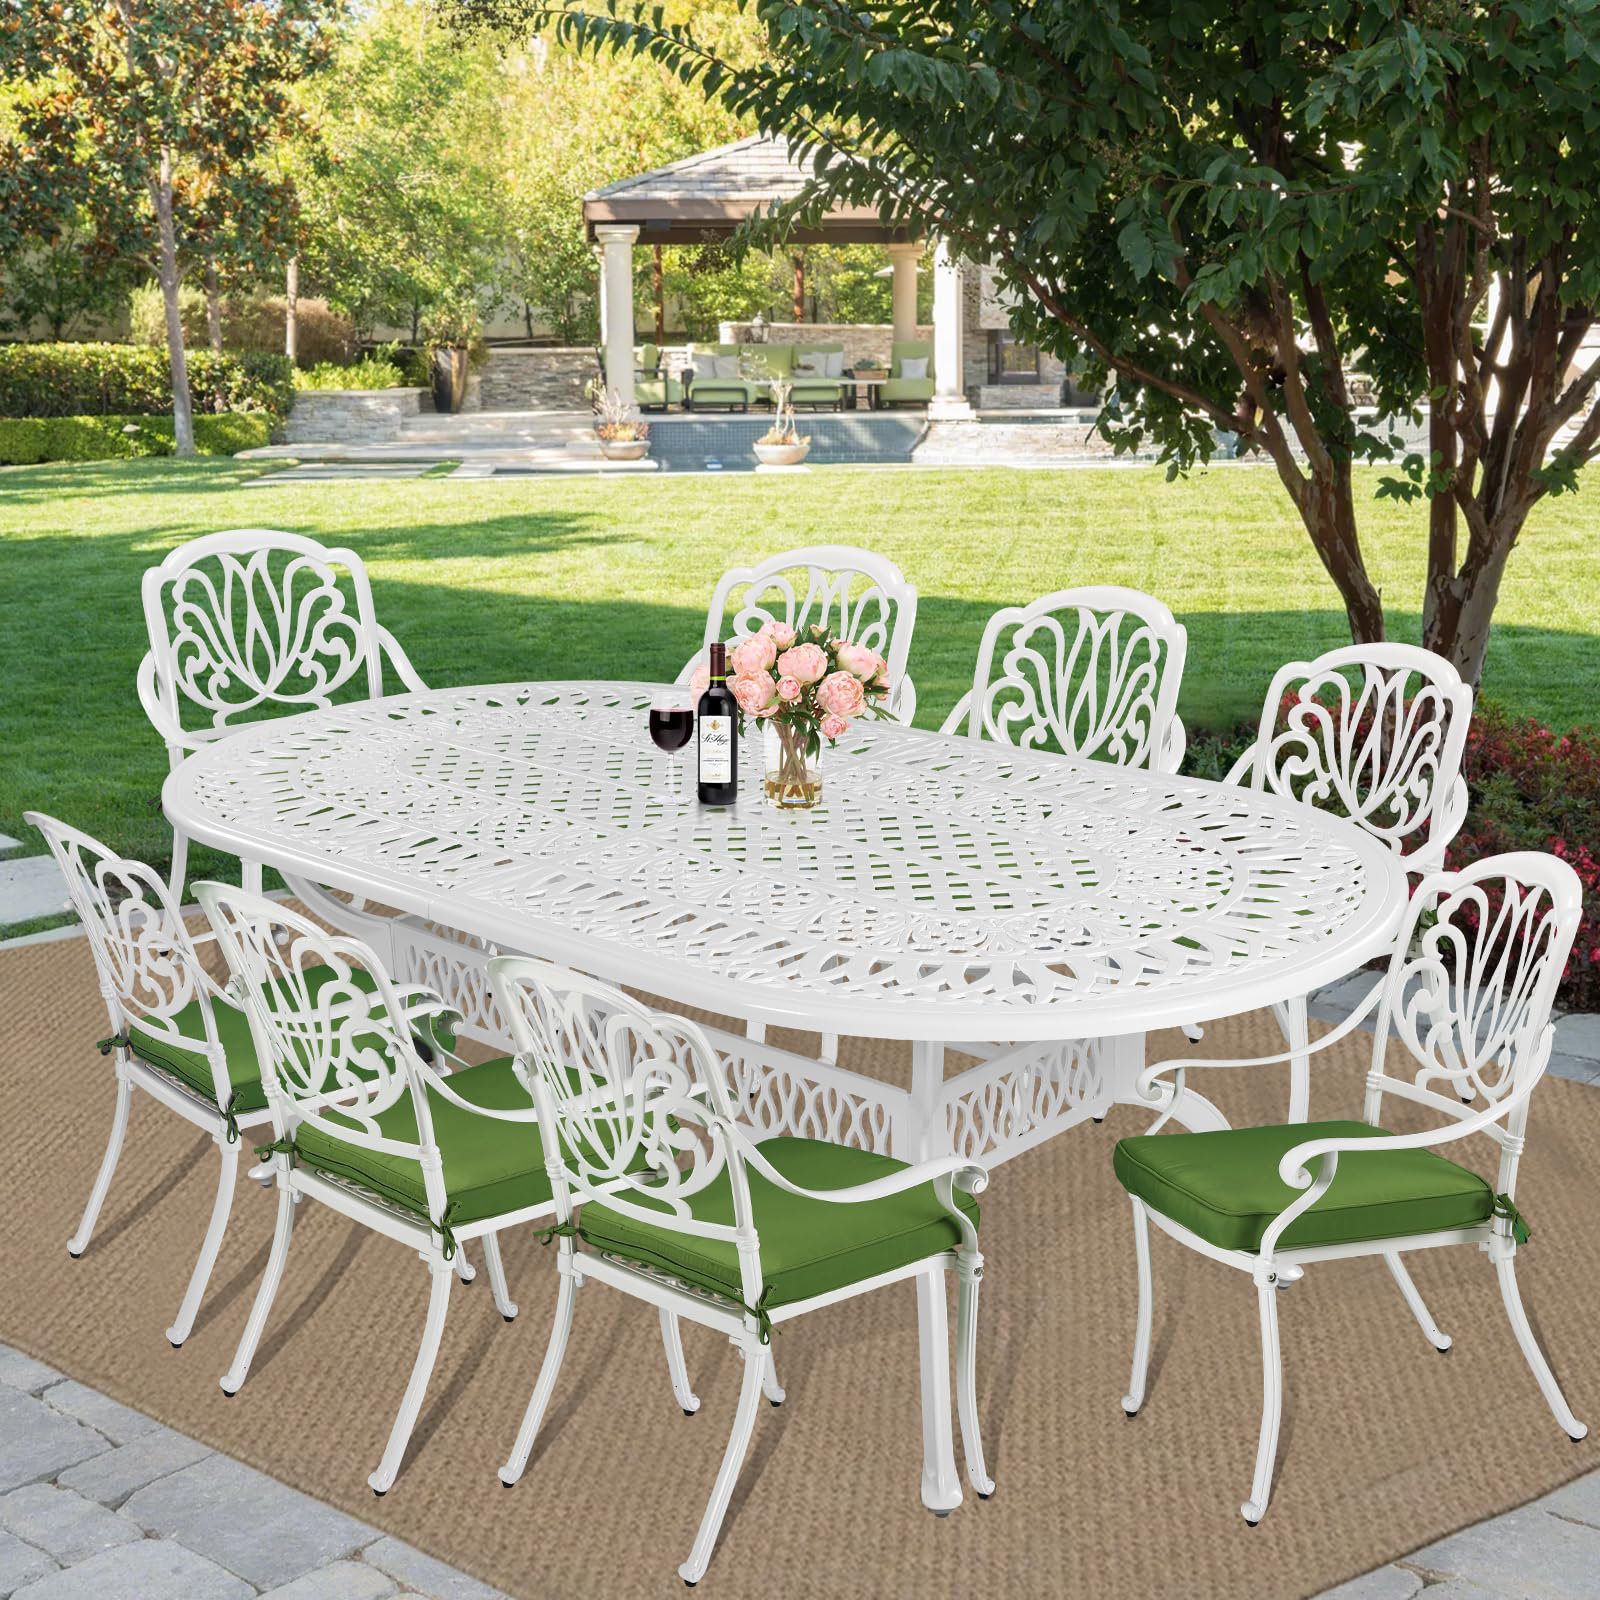
Refined and regal, this full dining set is ideal for hosting large garden dinners. Eight cushioned chairs around an oval cast aluminum table in crisp white , the kind of setup that makes every outdoor meal feel like an occasion.
Elegant, spacious, and perfect for outdoor entertaining on a grand scale. The extendable rectangular table gives you flexibility for smaller gatherings and larger ones alike.
Vertical elements and wildlife accents are what give a European garden its layered, living quality. Climbing roses need something to climb. Wisteria needs something to drape. And a classical birdbath adds both movement and sound as birds visit throughout the day.
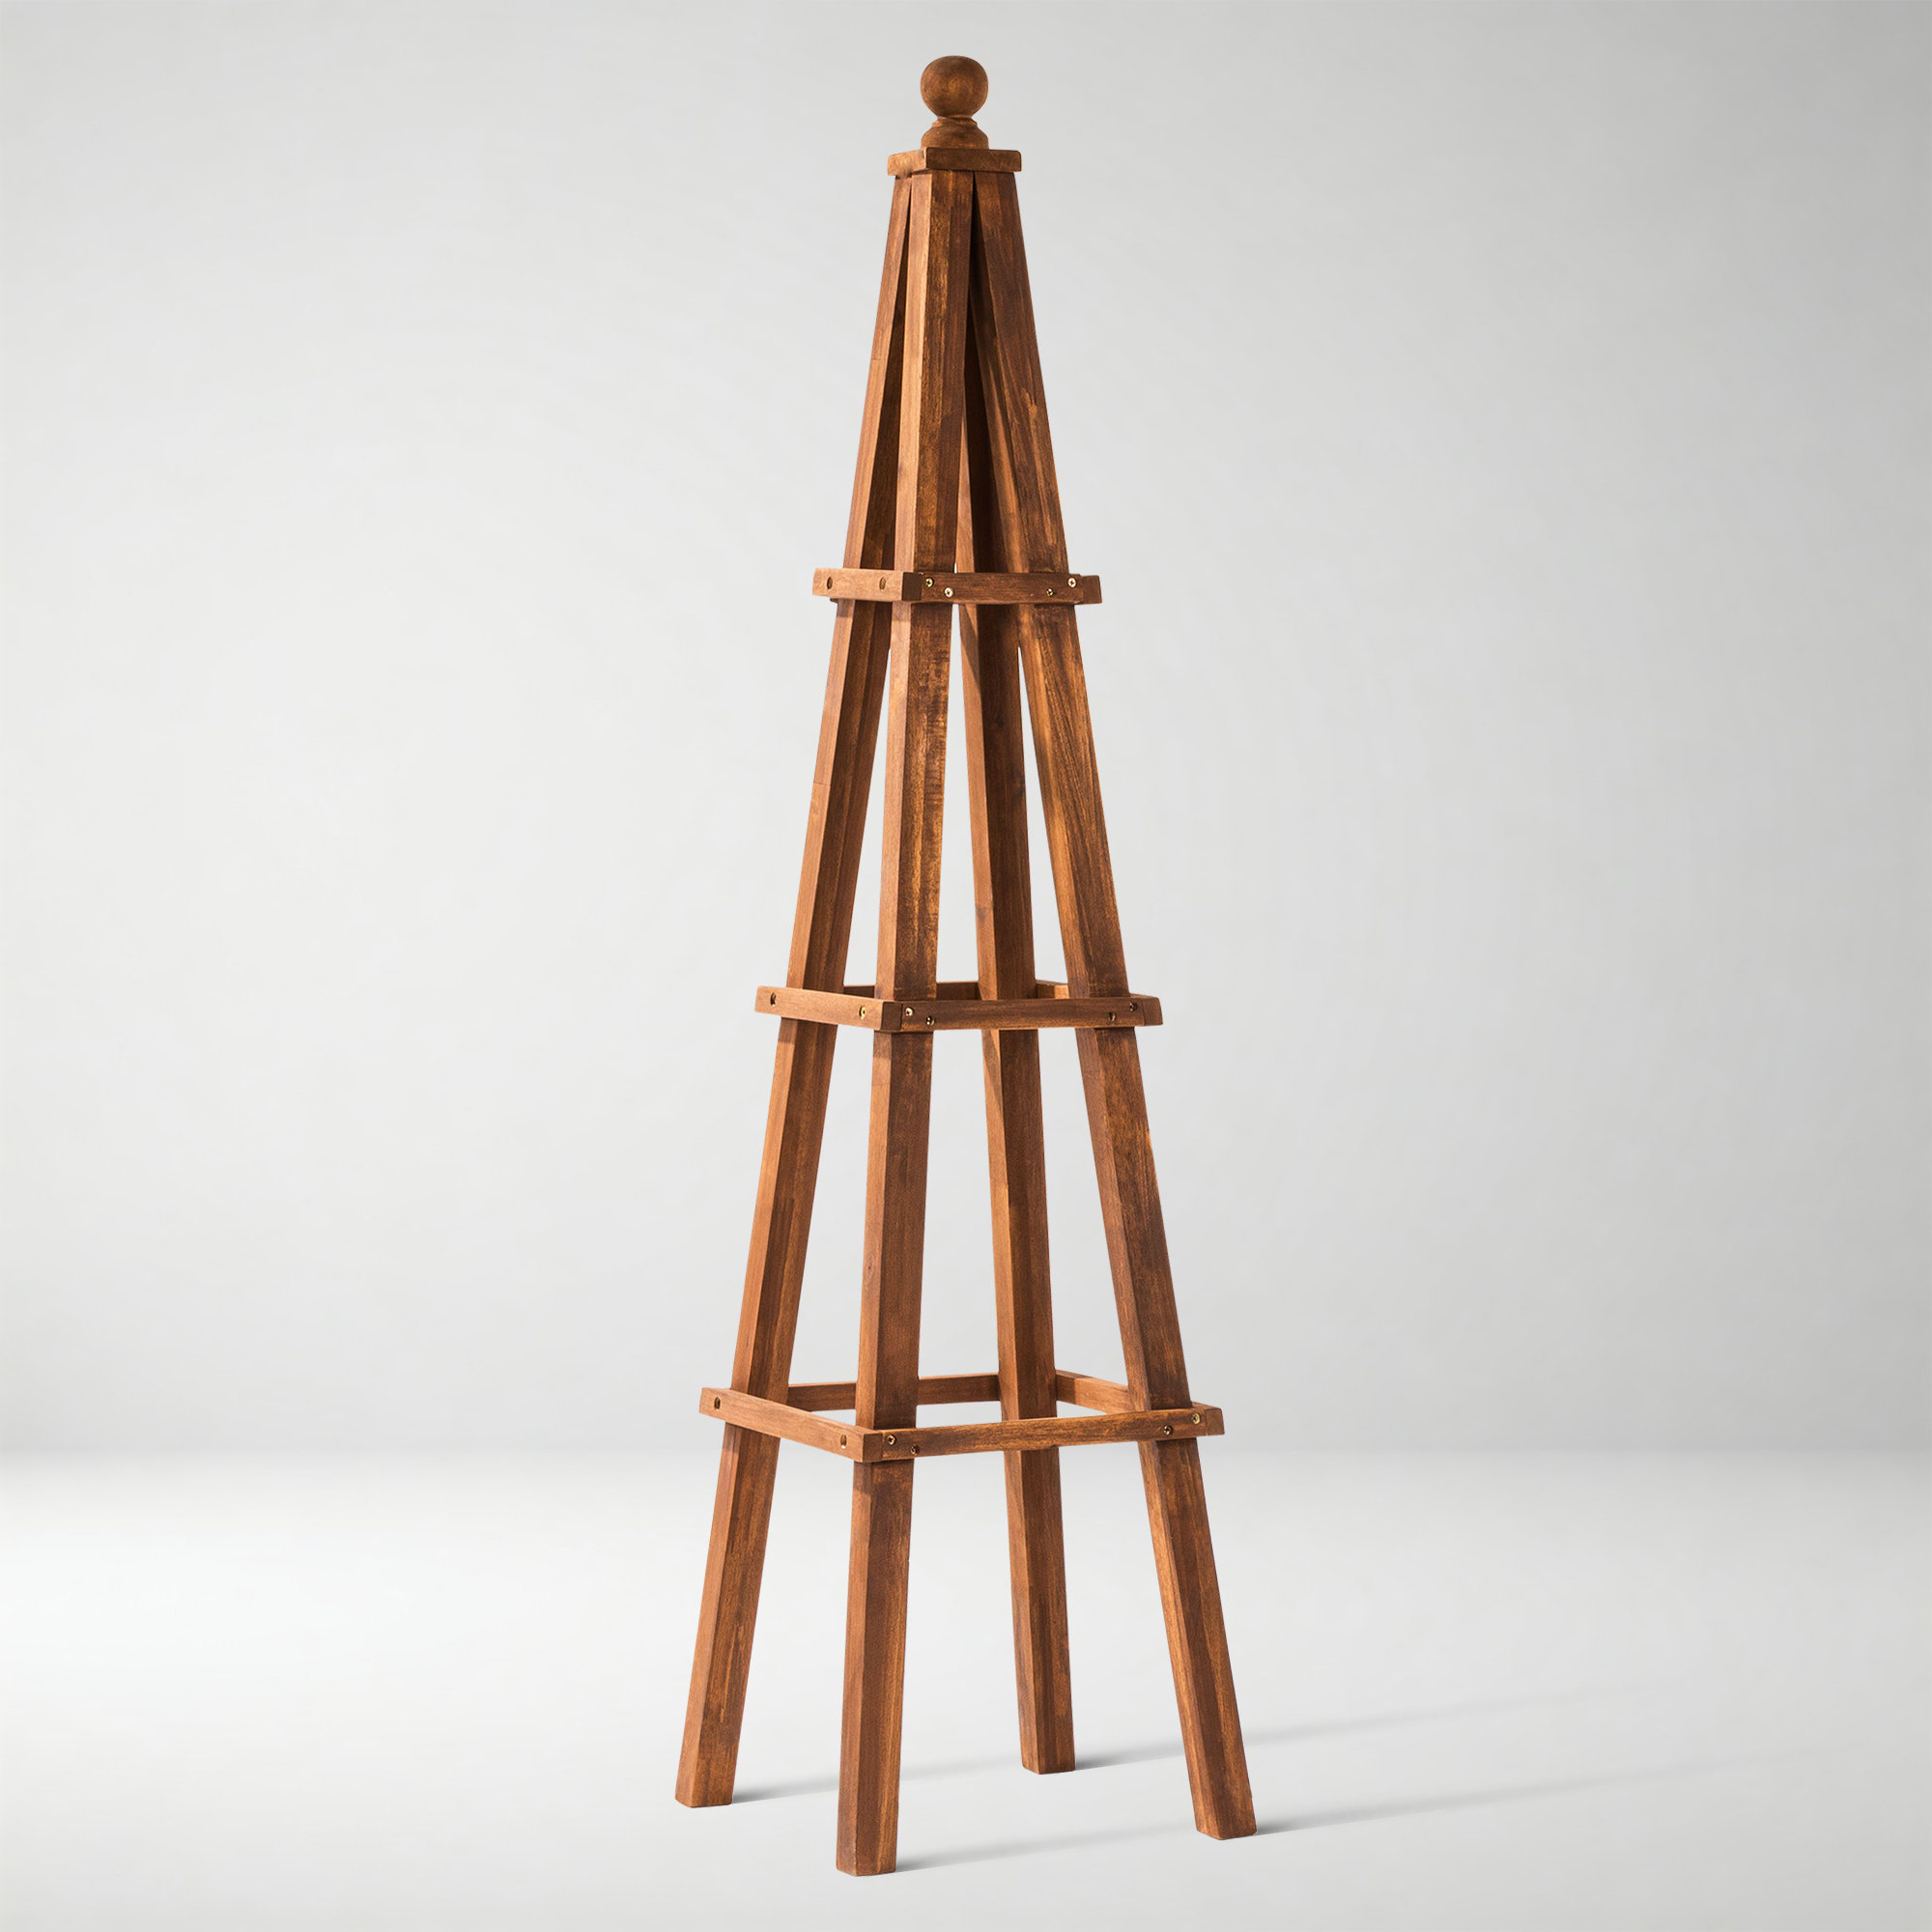
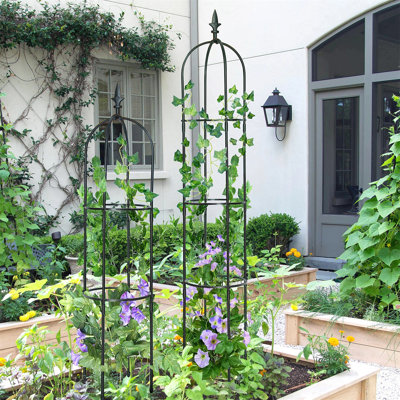
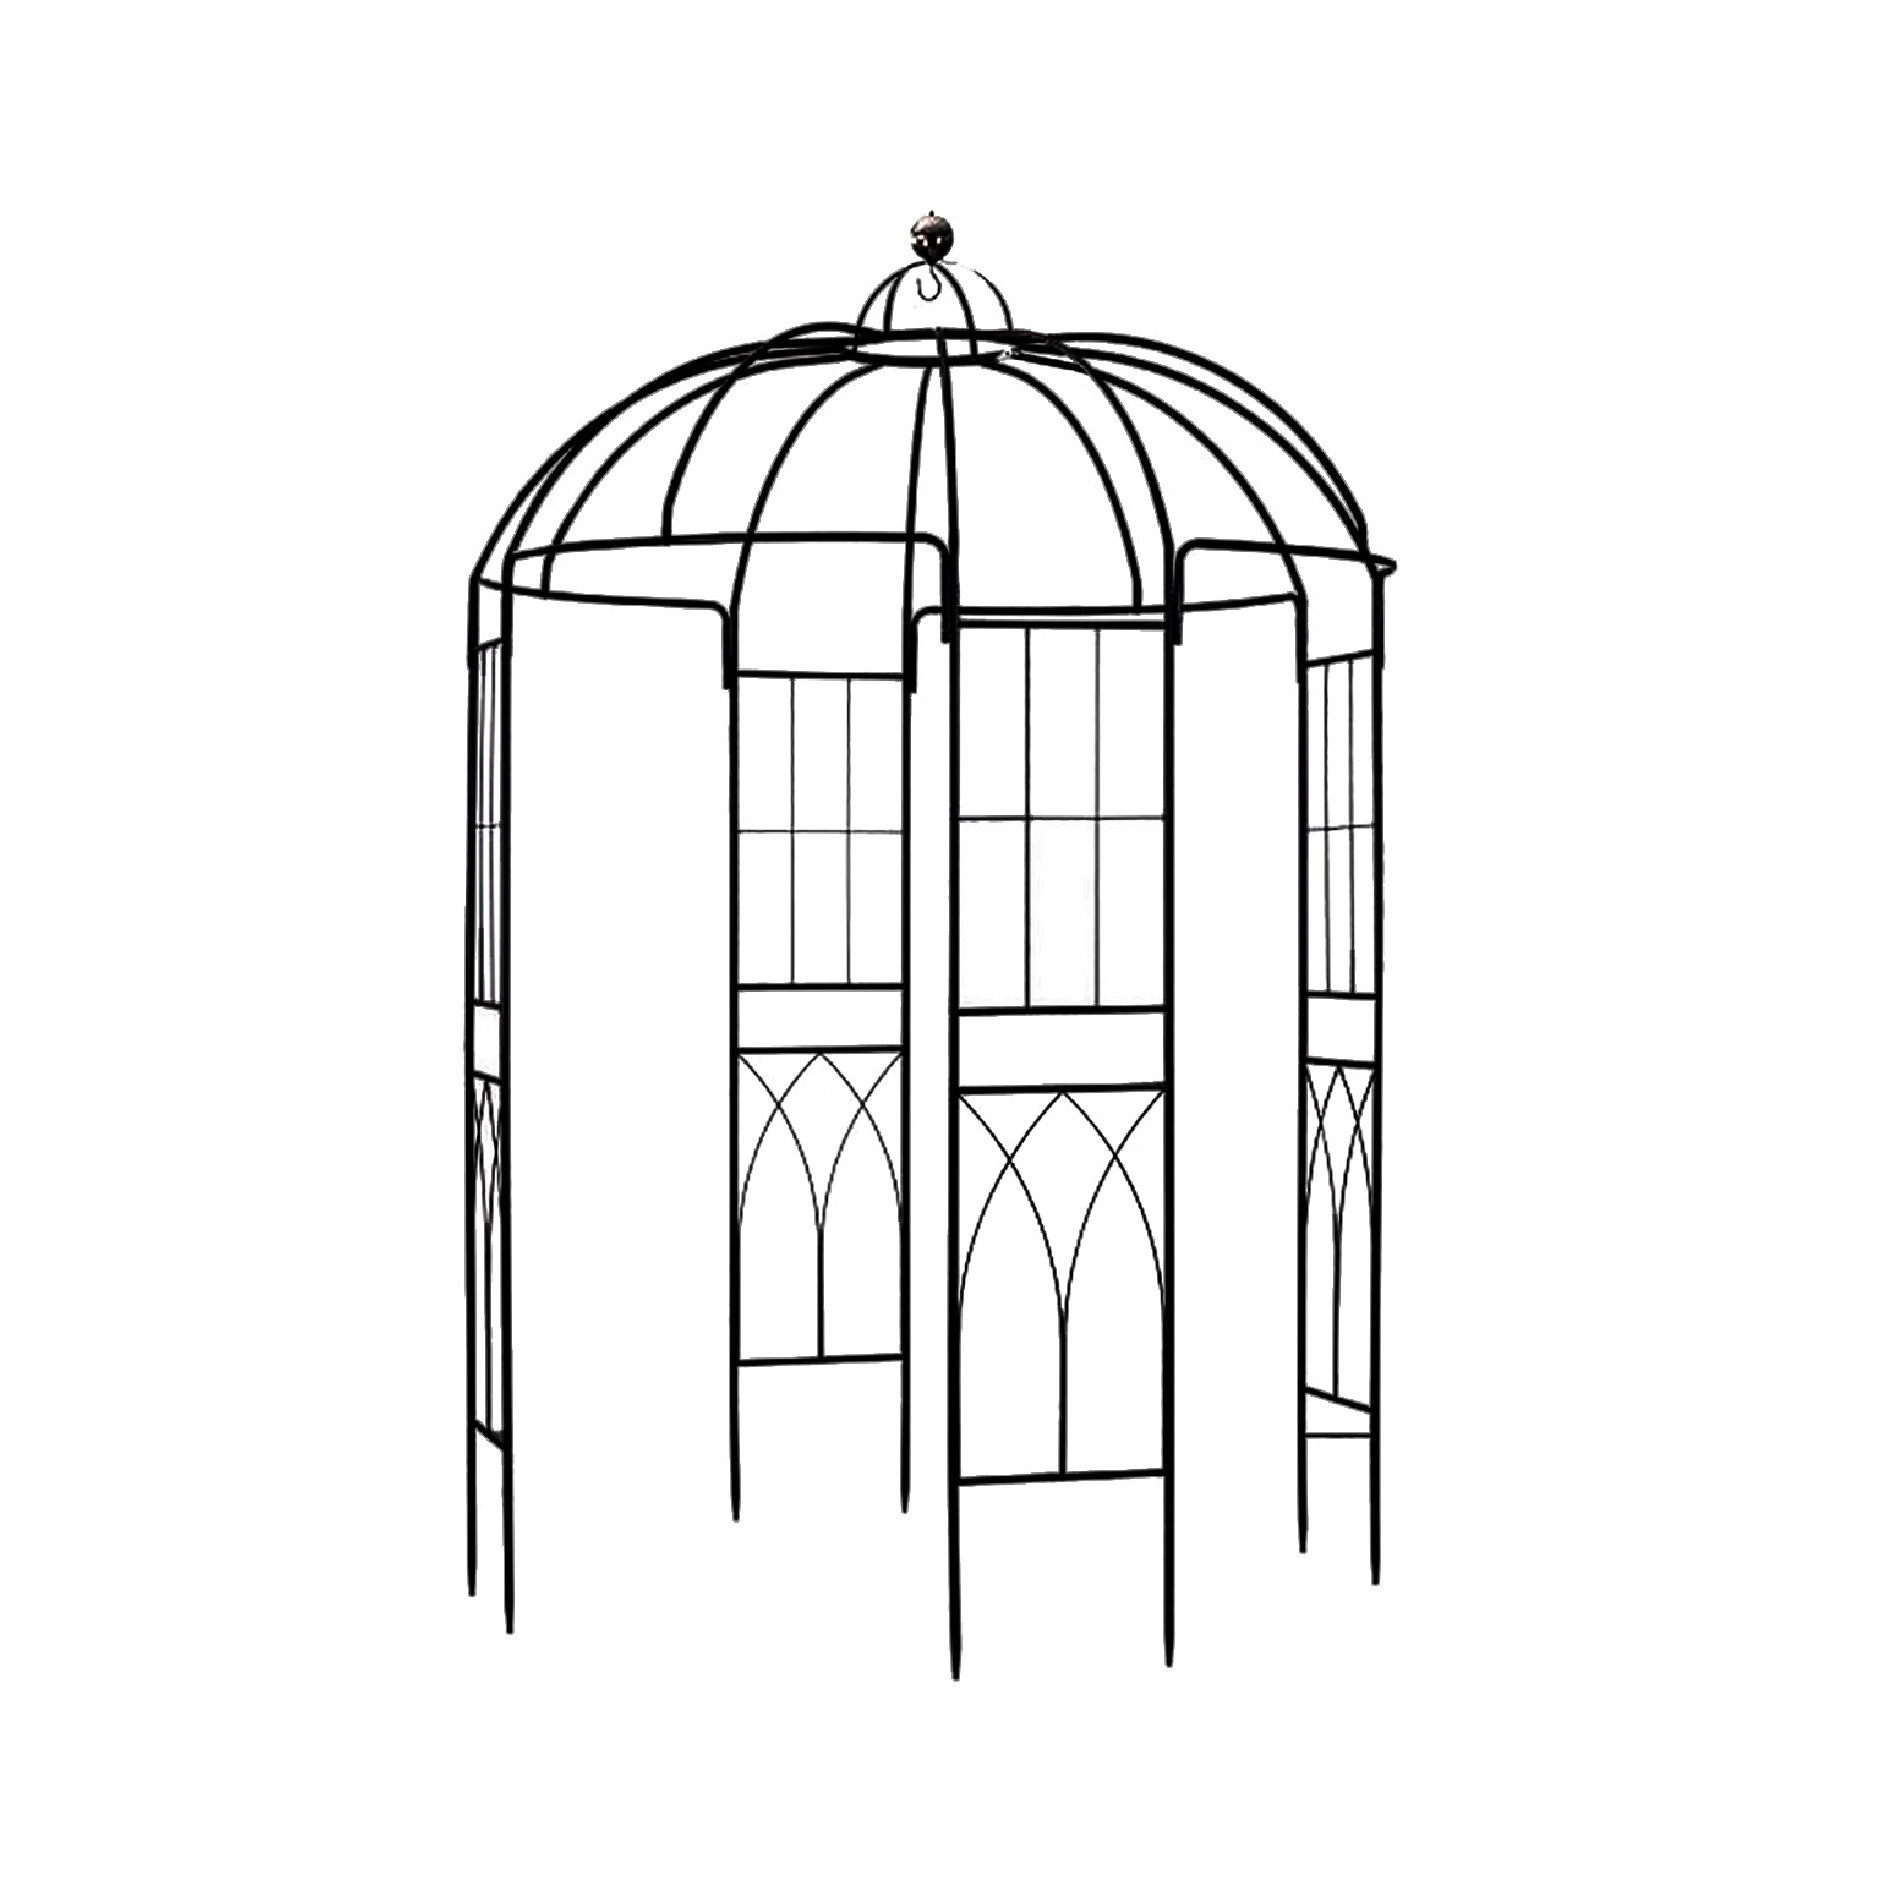
A grand wrought-iron structure perfect for climbing roses or wisteria. At nine feet tall and nearly seven feet wide, this creates a genuine architectural moment in the garden. Plant something to grow over it and watch the transformation happen over a single season.
Strong and graceful, this trellis adds height and structure to flowerbeds. Use it to train a clematis or sweet pea, and it becomes a living vertical sculpture through the growing season.
A beautiful way to guide vines upward and add instant architecture to your space. The warm metal tones give it a slightly more organic look compared to painted black options, which I love for more natural garden styles.
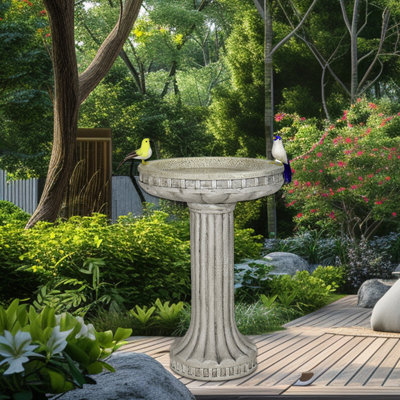
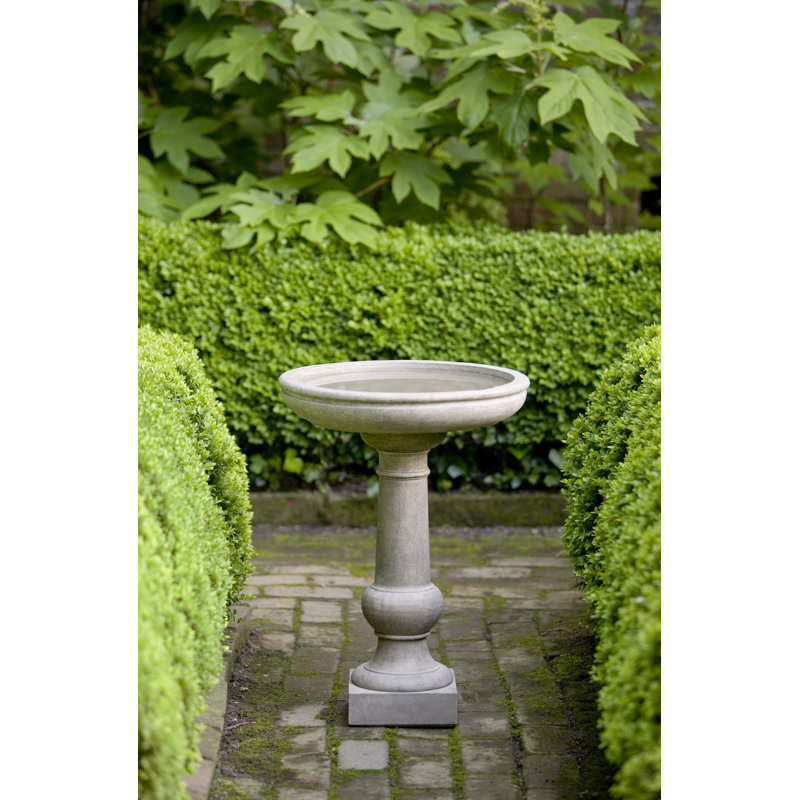
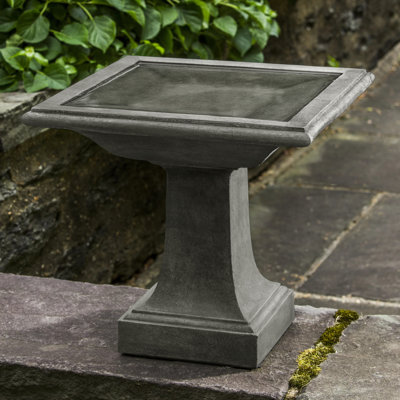
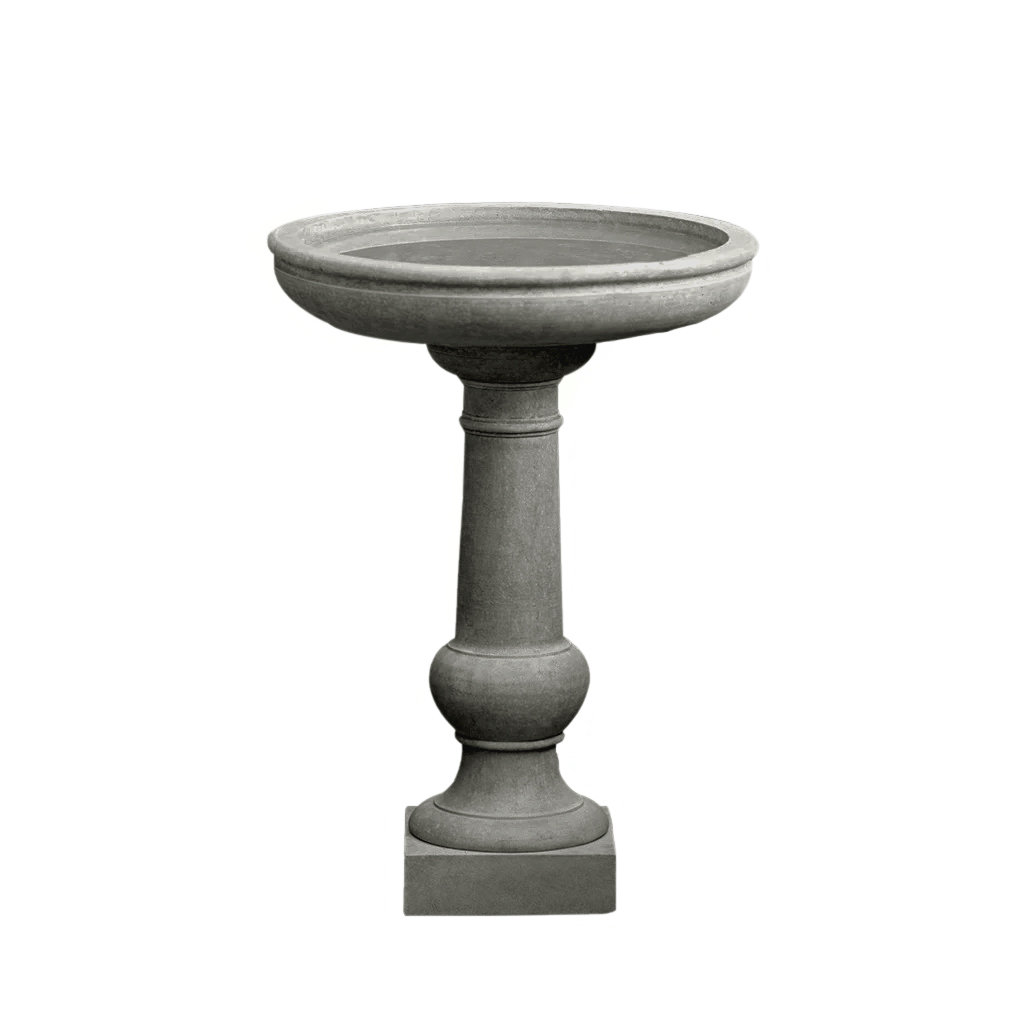
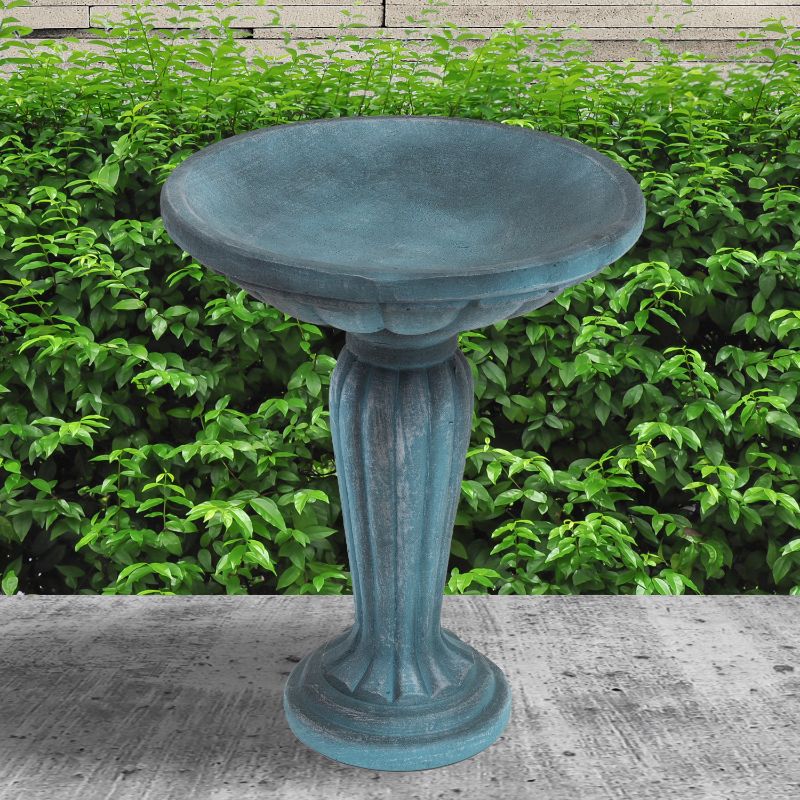
A timeless accent that attracts birds and gives life to your garden corners. Campania’s cast stone ages to a beautiful weathered finish, and this birdbath’s clean lines make it work in almost any garden style.
Classic European lines make this a lovely focal point among plantings. It has that perfect balance of being simple enough to blend into the garden and sculptural enough to earn a second look.
Detailed like a small piece of architecture, this birdbath blends perfectly into formal garden designs. The Grecian column base gives it serious elegance, and the glass fiber reinforced concrete means it is built to last outdoors year-round.
The right lighting is what transforms a beautiful daytime garden into something truly magical after dark. These two lanterns bring a warm, old-world glow that feels completely at home in a European-inspired outdoor space. Think: dinner parties that stretch on past sunset, quiet evenings with a book, and that golden candlelit quality that makes everyone look their best.
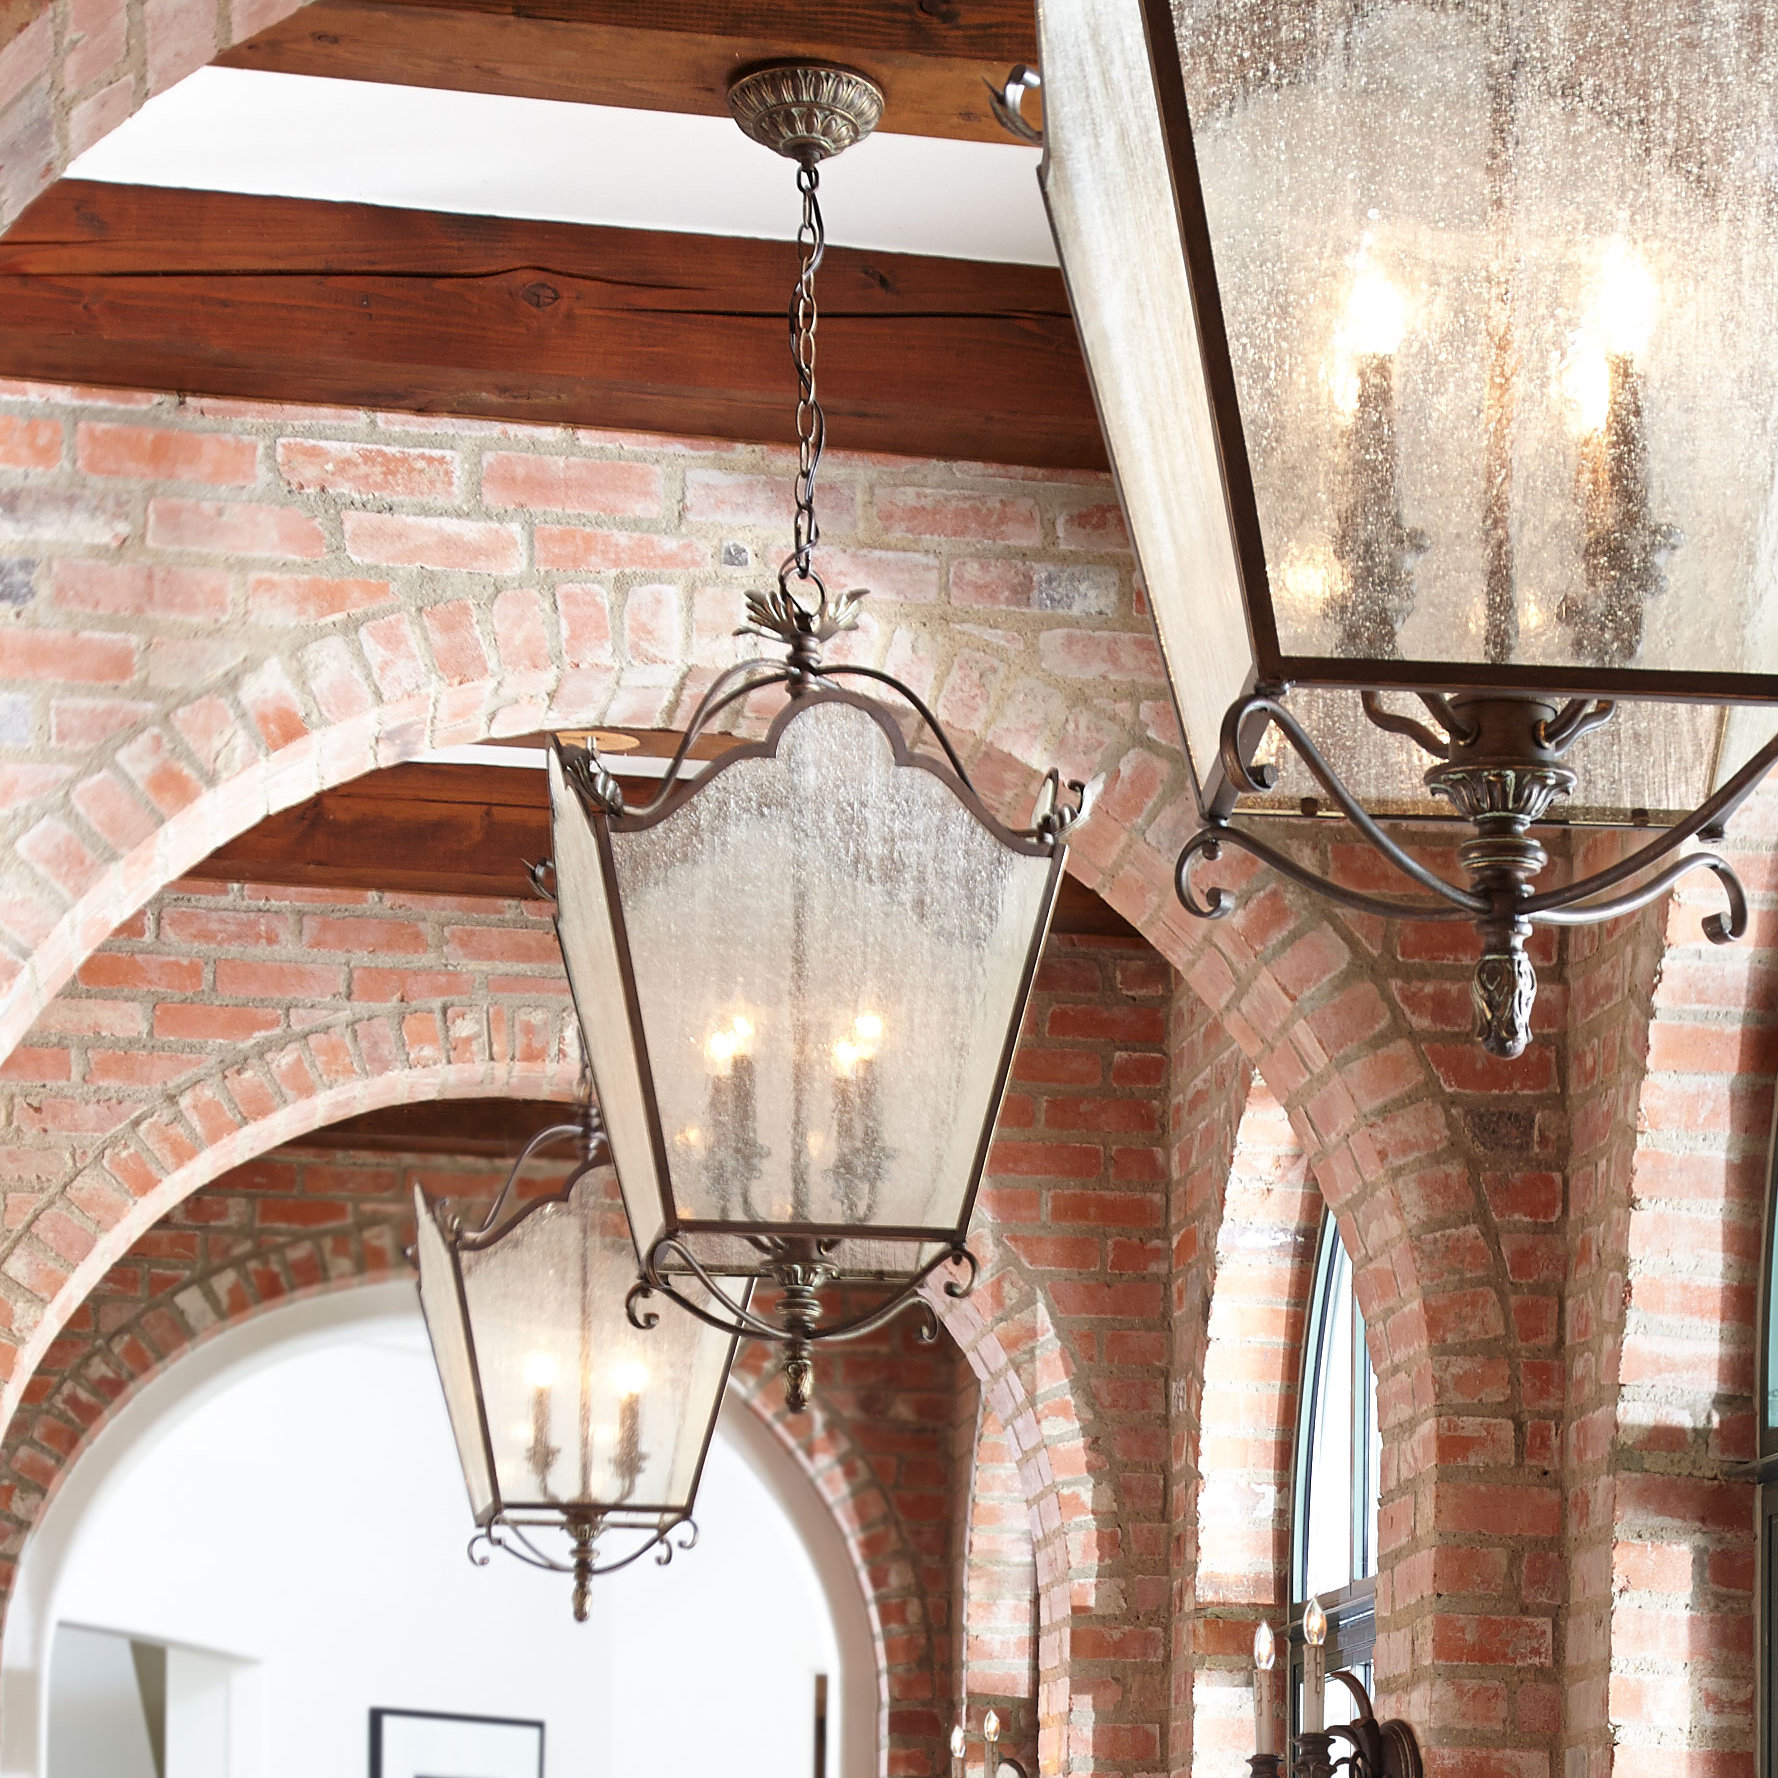
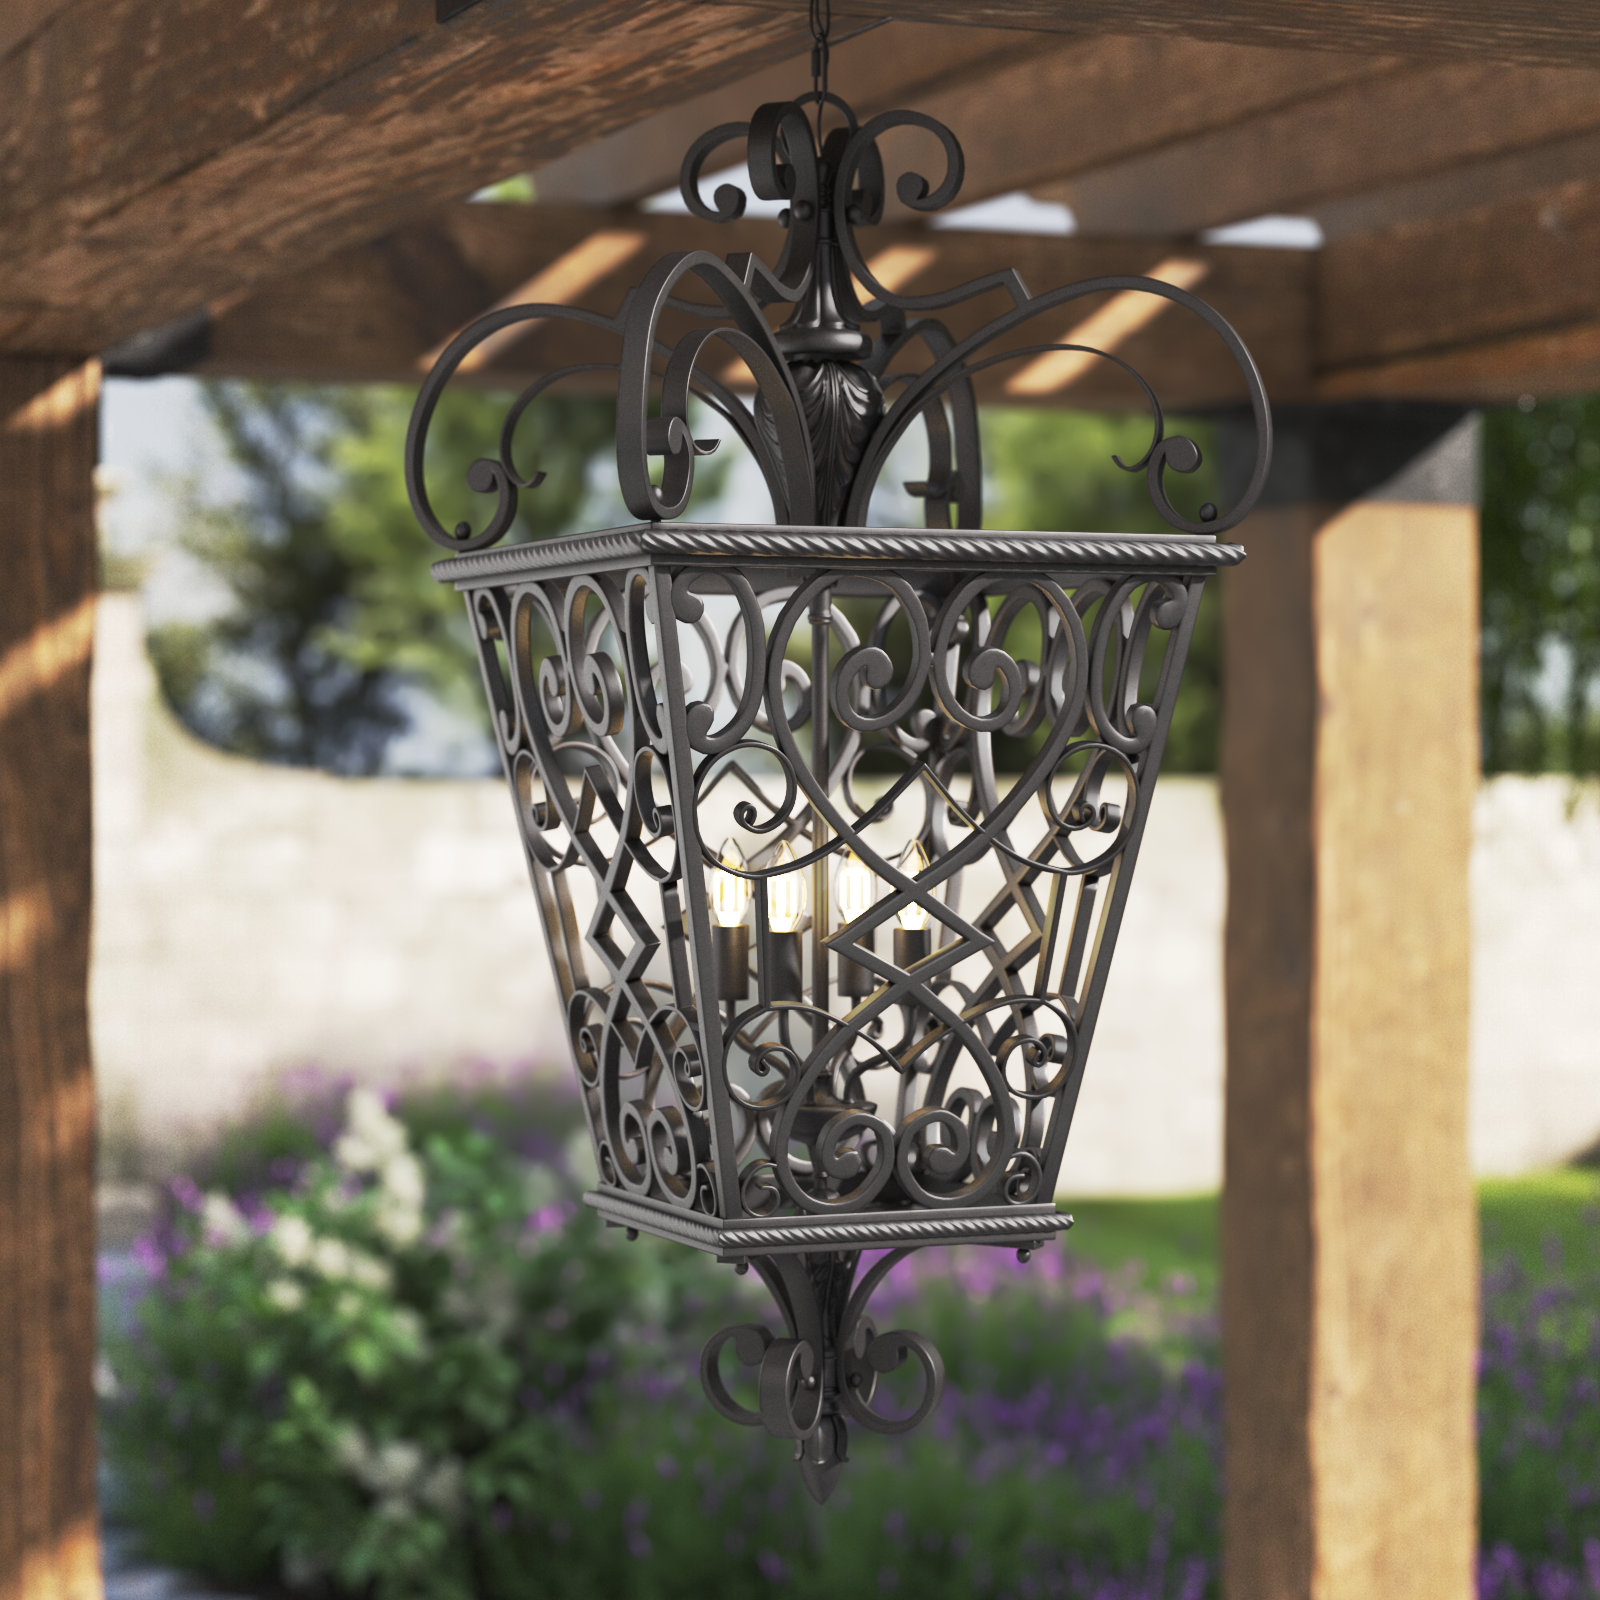
Elegant and timeless, this lantern adds old-world charm to porches or pergolas. The scrollwork detailing and dark metal finish give it a look that would not be out of place in the south of France.
A refined copper finish and geometric design make this perfect for evening glow in a covered outdoor area. Hang it over an outdoor dining table and it becomes the centrepiece of every evening gathering.
Creating a European-inspired garden does not require a massive budget or a landscape architect. It starts with one anchor piece, usually a fountain or a significant urn, and builds from there. Layer in seating that invites you to linger. Add a trellis or arch for vertical interest. Dot the beds with birdbaths and sculptural accents. And finish it all off with lighting that makes the space just as beautiful at 9pm as it is at noon.
Every piece on this list is available through Wayfair, which means fast shipping, easy returns, and a wide range of price points to work with. I have linked everything above so you can shop directly. If you end up adding any of these to your garden, I would genuinely love to see it. Tag me or drop a comment below.
This post contains affiliate links. I may earn a commission at no cost to you.
Quick answer: A spring home refresh does not need a renovation. Ten swaps do most of the work, including a heavier throw blanket with real drape, a tall hurricane vase that gives a single stem presence, and layered lighting. These are the ten pieces I rotate in every spring, and every one of them is smartly priced.
Spring has a way of making me want to reset every room in my house. But here’s what I’ve learned after years of seasonal refresh cycles: you don’t need a renovation or a complete overhaul to make your home feel like a whole new space. The right ten swaps, the kind that quietly signal quality without announcing themselves, can transform a room entirely. These are the pieces I’ve been rotating in this spring: things that earn their keep year-round but feel especially right when the windows are open and the light is changing. Every single one is smartly priced, and every single one looks like it should cost considerably more. Pin this post to save it for your spring refresh weekend, you’ll want to come back to it.
1. A Linen Accent Pillow That Looks Like It Belongs in a Boutique Hotel
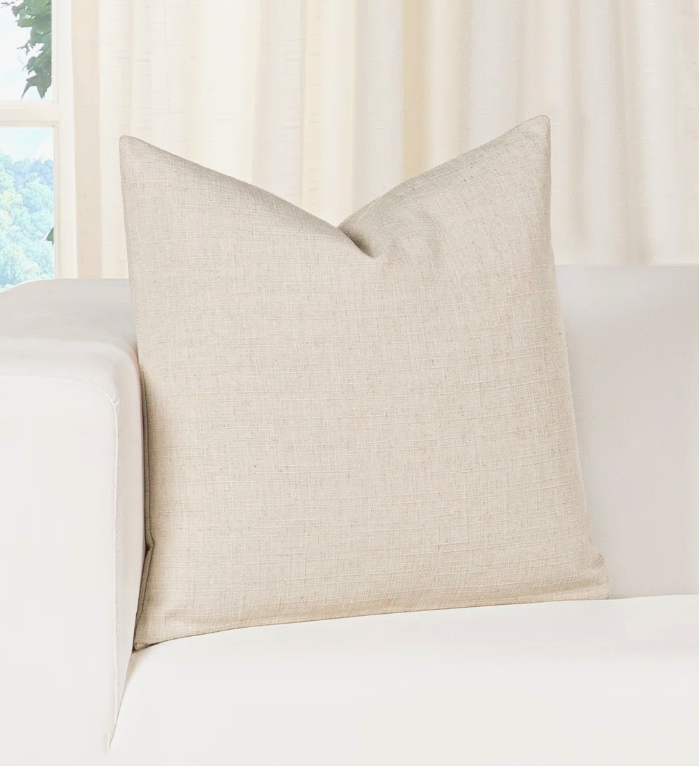
Pillow covers are the fastest room reset I know. Swap them out and the whole sofa reads different. This Indy Faux Linen Accent Pillow from Joss & Main has that lived-in linen texture that looks effortlessly curated, the kind of pillow that makes a sofa look like someone with good taste put it together intentionally. The weight and drape are just right. I have a version of this in both my living room and my bedroom and I don’t think they’re going anywhere anytime soon. Order it today and your sofa looks different by the weekend. See the exact one I have →
2. A Tall Hurricane Vase That Makes Every Stem Look Like a Florist Did It
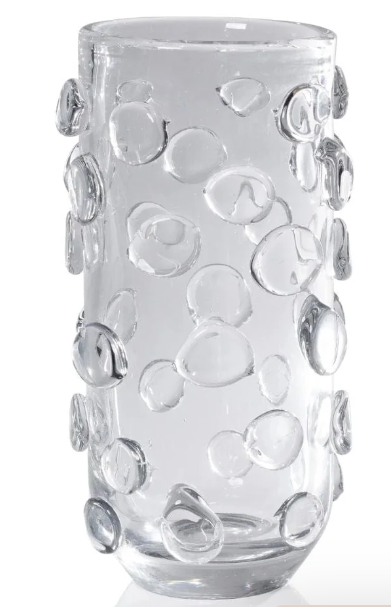
Most vases shrink your flowers. A tall hurricane vase does the opposite, it gives a single stem or a loose handful of branches real presence in a room. The Celeste Tall Vase Hurricane is the one I keep coming back to. The silhouette is architectural without being cold, and the height means it works on a console, a dining table, or a floor corner just as naturally. Put three pampas stems in it and it looks like a design decision. Put nothing in it and it still looks intentional. One of those pieces that looks like it was expensive, and it wasn’t. Find it here →
3. A Woven Jute Placemat That Instantly Warms Up Your Table
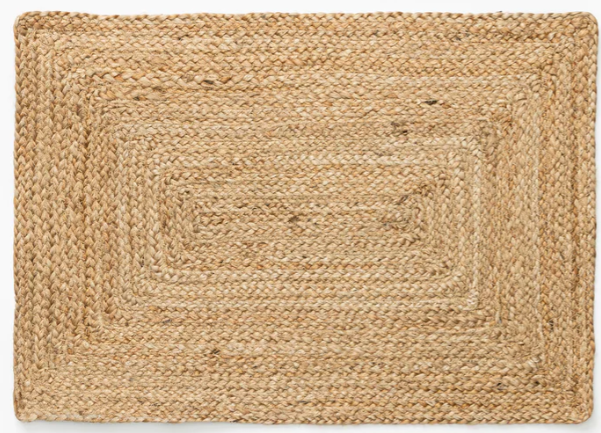
The table is where spring entertaining actually lives, and the fastest way I know to dress it up is a set of woven jute placemats. The Ewing Jute Woven Placemat from McGee & Co. has that natural, slightly imperfect texture that makes a table feel curated rather than set. The weave is tight and well-finished, these are the kind of placemats that hold up to actual use while still looking like they belong in a styled photo. They layer beautifully under white ceramic and pair naturally with wood. I’ve seen cheaper versions fall apart after one season; these haven’t. Shop the placemat →
4. A Barefoot Dreams Waffle Throw That You Will Never Want to Take Off Your Sofa
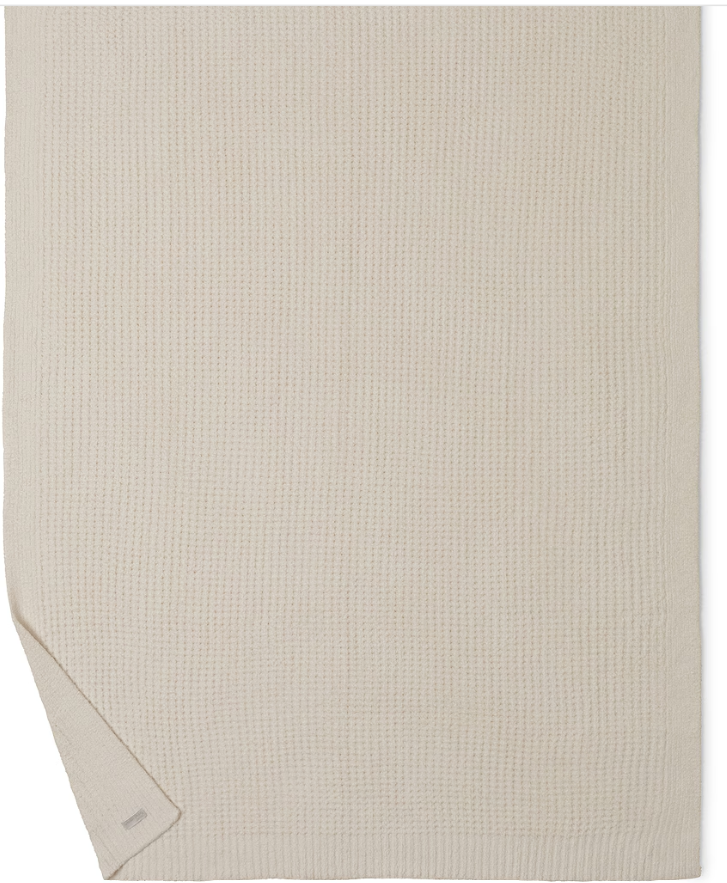
I’ll be honest: I resisted Barefoot Dreams for a long time because everyone talks about them and I assumed the hype was overblown. It is not overblown. The CozyChic Waffle Throw is genuinely, absurdly soft, the kind of soft that makes you understand why people have strong feelings about blankets. The waffle texture gives it visual interest without bulk, the oatmeal colorway works with everything, and it drapes into that perfect effortless rumple that looks styled but actually just happens. Worth every penny, and then some, I’d buy it again without hesitation. Get it here →
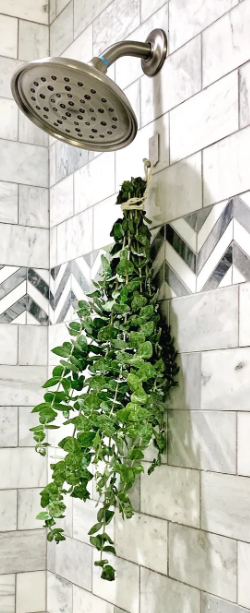
5. A Fresh Eucalyptus Bundle That Makes Your Bathroom Feel Like a Spa
Tie a bundle of fresh eucalyptus to your showerhead with a rubber band. That’s it. The steam activates the oils and the whole bathroom smells incredible, clean and mentholated and genuinely spa-adjacent. I’ve been doing this for years and it never gets old. This eucalyptus shower bundle comes in multiple sizes, ships fast, and lasts a solid 2–3 weeks. One of those small investments with an outsized return on how your mornings feel. Grab a bundle before they sell out of the large size. Shop the eucalyptus bundle →
Love these picks? Get The AK Edit in your inbox every Tuesday.
My weekly home, garden, and beauty finds, the exact products I’m using and recommending right now. No fluff. Just the good stuff.
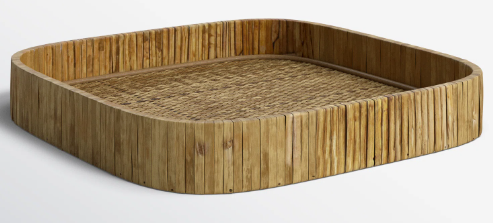
6. A Birch Lane Rattan Tray That Organizes Every Surface It Touches
A tray turns a cluster of objects into a vignette. I use trays everywhere, coffee table, ottoman, bathroom counter, kitchen island, and this rattan tray from Birch Lane is one I keep coming back to. The weave has that handmade quality that makes it look more considered than its price point, and the proportions are right for most surfaces. Style your candle, a small vase, and one or two objects on it and watch the whole table settle into something that looks like you meant it. Find the tray →
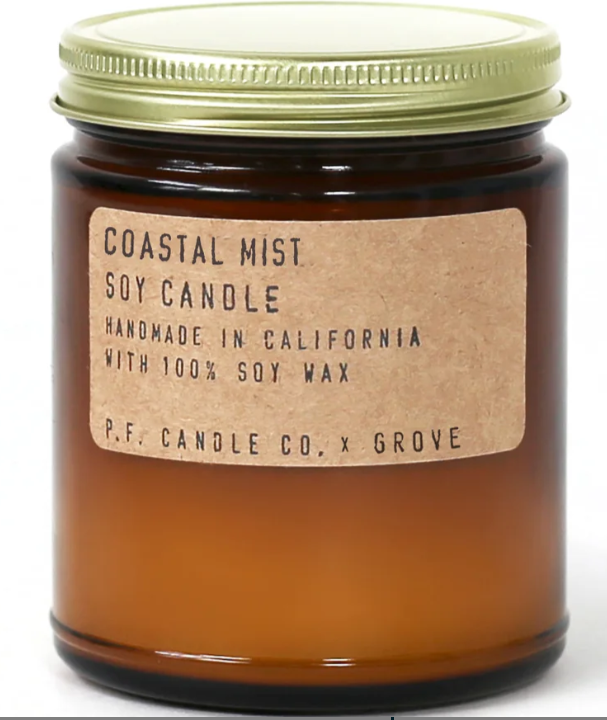
7. A PF Candle Co. Soy Candle That Makes Your Home Smell Like the Best Version of Spring
PF Candle Co. is the brand I recommend to anyone who asks me about candles, and Coastal Mist is the scent I reach for when the weather starts to turn. The Coastal Mist Soy Candle is clean and slightly oceanic, sea salt, white tea, a little musk, the kind of scent that makes a room feel airy and pulled-together without announcing itself. The amber glass vessel looks good on any surface, and it burns clean and even. Light it in the afternoon and the whole room shifts. Shop Coastal Mist →
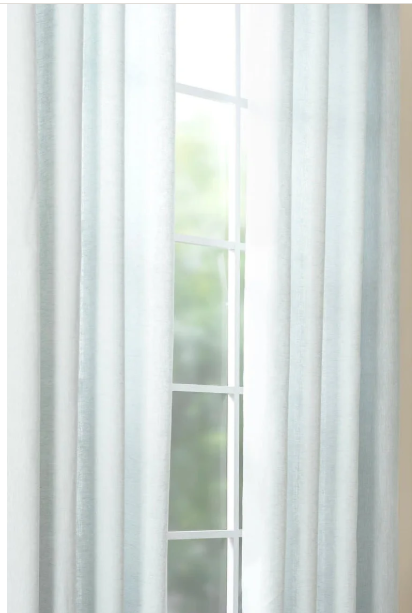
8. Linen Curtain Panels That Make Every Room Feel Like It Has Better Bones
Nothing signals spring to me like linen curtains moving in a breeze. These Lush Linen Curtain Panels in Sky from Megan Molten are the ones I keep recommending, the fabric is proper linen with that soft blue-gray tone that reads almost neutral in natural light but adds depth in a way that ivory never quite does. Hang them high and wide (always hang them high and wide) and the whole room gains a foot of ceiling height. The Sky colorway is particularly good for spring, fresh without trying, calm without being cold. This is a non-negotiable if you want the room to feel taller, hang them ceiling to floor and watch the whole space open up. See the curtain panels →
9. A Round Wood Mirror That Makes a Statement Without Saying a Word
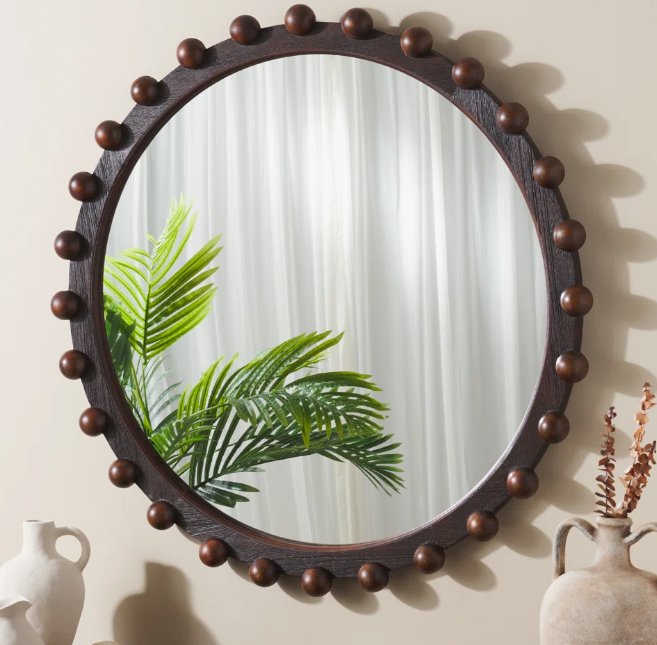
Not every mirror has to be arched and brass. The Larina Solid Wood Round Mirror from AllModern is the one I’m recommending now, the warm natural wood frame is grounded and versatile, and the clean round silhouette works in every room from entryway to bedroom. Hang it above a console or a dresser and it instantly becomes the focal point. Both size options are worth knowing about, pick the one that fits your wall.
10. A Snake Plant That Looks Architectural and Thrives on Neglect
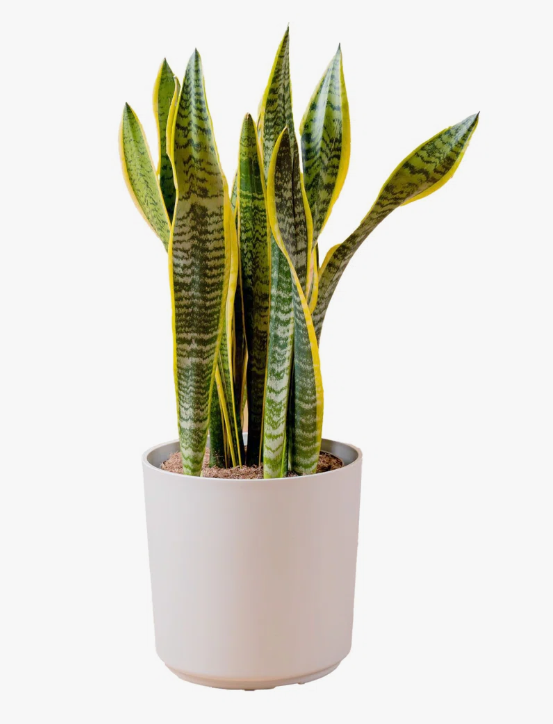
Real plants make a room feel lived in, cared for, and alive in a way nothing else quite replicates. The snake plant is my recommendation for anyone who wants that but genuinely doesn’t have time to think about plants, it tolerates low light, infrequent watering, and near-total neglect with equal composure. The Costa Farms Sansevieria Laurentii from AllModern arrives full and healthy, with those characteristic dark green leaves edged in gold. It reads architectural in a corner, sculptural on a shelf, and quietly alive anywhere you put it. One of those investments that only gets better over time. Find it on AllModern →
FAQ: Spring Home Refresh
What’s the fastest way to refresh a room for spring without redecorating?
Swap your throw pillow covers, add one living plant, and bring in a candle with a seasonal scent. Those three moves alone shift the energy of a room more than most people expect. You don’t need new furniture, you need new texture and a little life. Start with this linen accent pillow, this snake plant, and the Coastal Mist soy candle, that’s a complete room refresh right there.
What plants are easiest to keep alive for beginners?
Snake plants are genuinely the answer. They tolerate low light, irregular watering, and benign neglect with equal composure, and unlike most beginner plants, they look genuinely architectural and intentional, not like a concession to practicality. Other excellent options: ZZ plants, pothos, and heartleaf philodendrons. The Costa Farms Sansevieria Laurentii is the one I keep recommending, it arrives full and healthy.
How do I make a small space feel bigger with decor?
Three things: hang your curtains as high as possible (ceiling height if you can), add a mirror that catches light, and keep surfaces minimal using trays to organize what does live out. Height and light are your tools in a small space. These linen curtain panels hung high, the Larina round mirror, and this rattan tray are three of the most effective moves I know for making a room feel larger.
Final Thoughts
The best spring refreshes don’t announce themselves, they just make your home feel like the version of itself you always intended. These ten swaps are what I’d prioritize: things that earn their place, layer naturally with what you already have, and hold up long after the season changes. I hope a few of them find their way into your home this spring.
Trying any of these? Drop a comment below, I’d love to hear what you think. And if you’re refreshing your outdoor spaces too, my gardening tools guide is a great companion to this one. Save this post to your Pinterest home decor board so you can come back to it all season.
Disclosure: This post contains affiliate links. If you purchase through my links, I may earn a small commission at no extra cost to you. I only recommend products I genuinely believe in. Thank you for supporting annakatherinepage.com!
Quick answer: You need about ten gardening tools, not a garage full of gadgets. The core kit is a hand tool set (trowel, cultivator, transplanter, weeder), a good pair of bypass pruning shears, and a hose you do not fight with. This list covers all ten and separates the beginner buys from the upgrades.
Save this list before your next garden shopping trip.
You don’t need a garage full of gadgets to have a beautiful, productive garden. You just need the right gardening tools. This is the no-fluff list of must-have gardening tools that are actually worth buying, whether you’re a complete beginner or ready to upgrade what you already have.
If you’ve ever stood in the garden tool aisle feeling completely overwhelmed, same. The truth is, you only need a handful of high-quality tools to completely transform your gardening experience. More tools doesn’t mean better results.
And when you pair the right tools with an efficient watering setup, everything clicks.
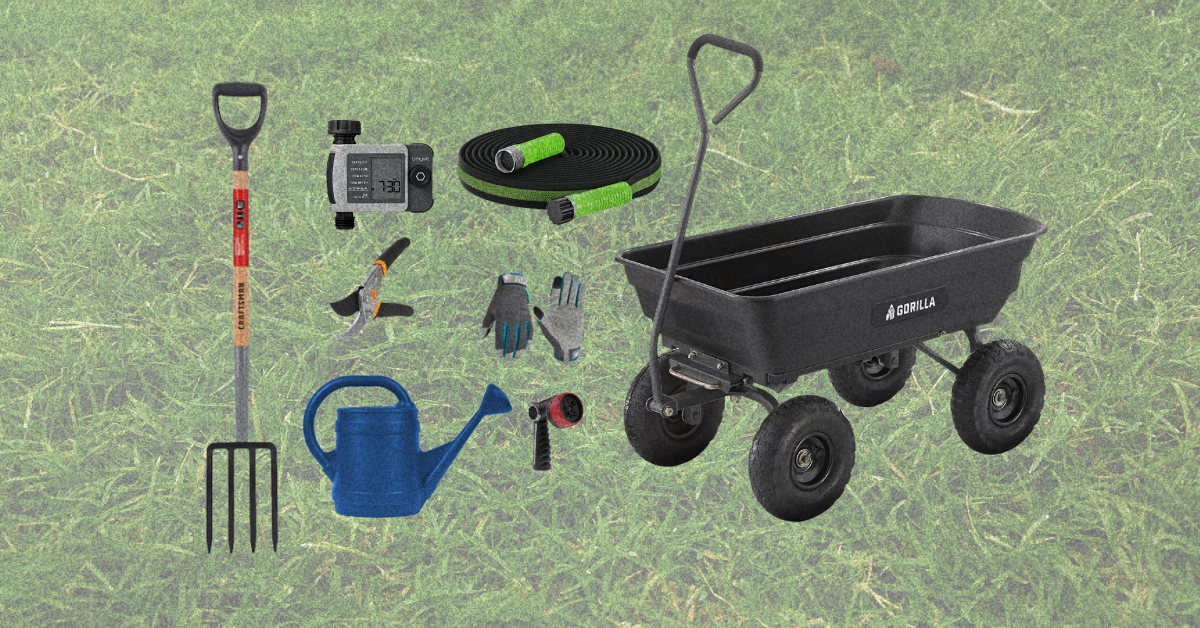
A complete garden hand tool set covers your core needs right out of the gate, trowel, cultivator, transplanter, and weeder all in one purchase. No guessing, no piecemeal buying.
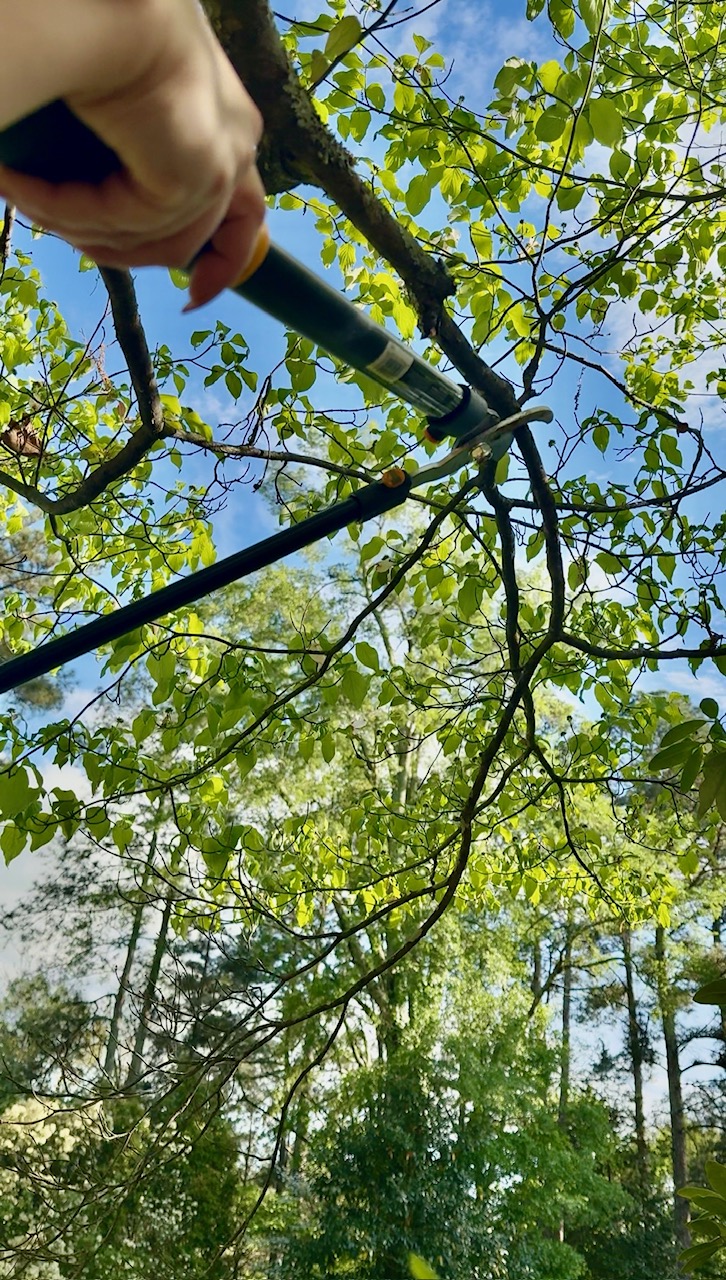
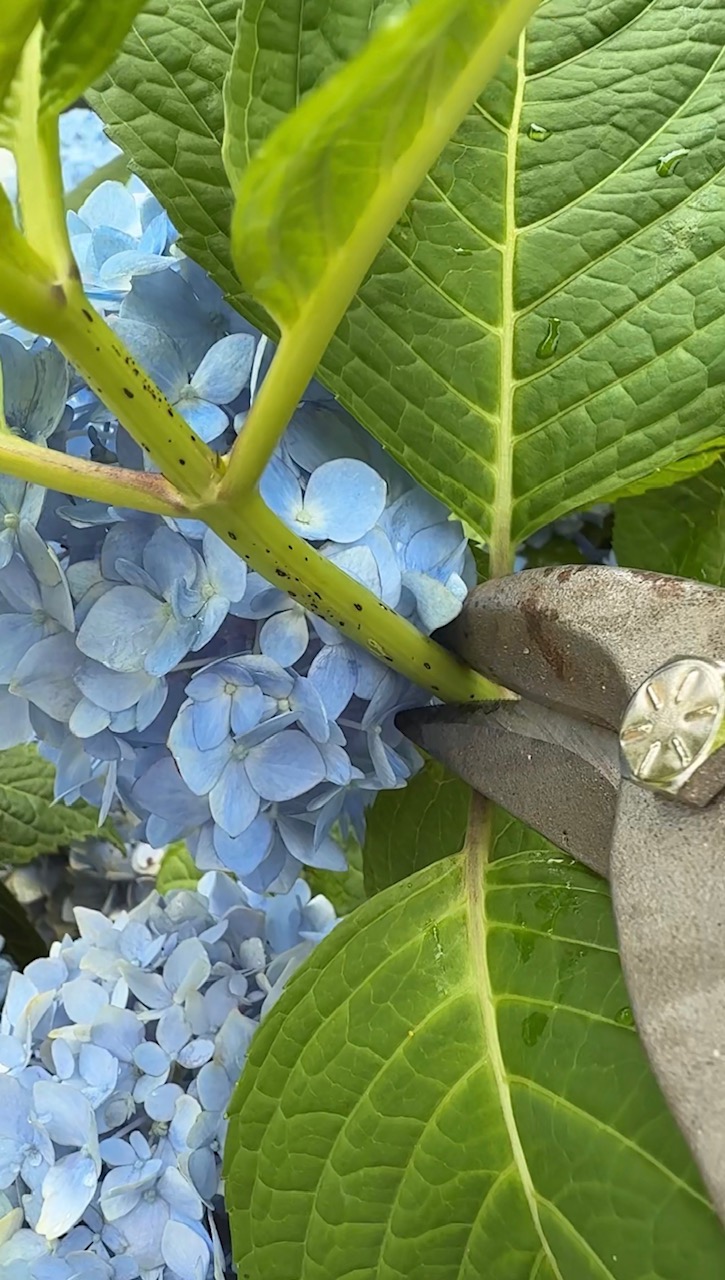
Clean cuts mean healthier plants. A quality pair of bypass pruning shears is one of the most-used gardening tools you’ll own, from deadheading flowers to trimming back herbs and small branches.
This is where most gardeners lose the most time and effort. Set up a watering system once, and let it work for you. Manual watering every day adds up fast, and it’s usually inconsistent, which hurts your plants.
Recommended watering options:
Drip irrigation systems, most efficient, delivers water directly to roots
Soaker hoses, simplest to install, great for garden rows
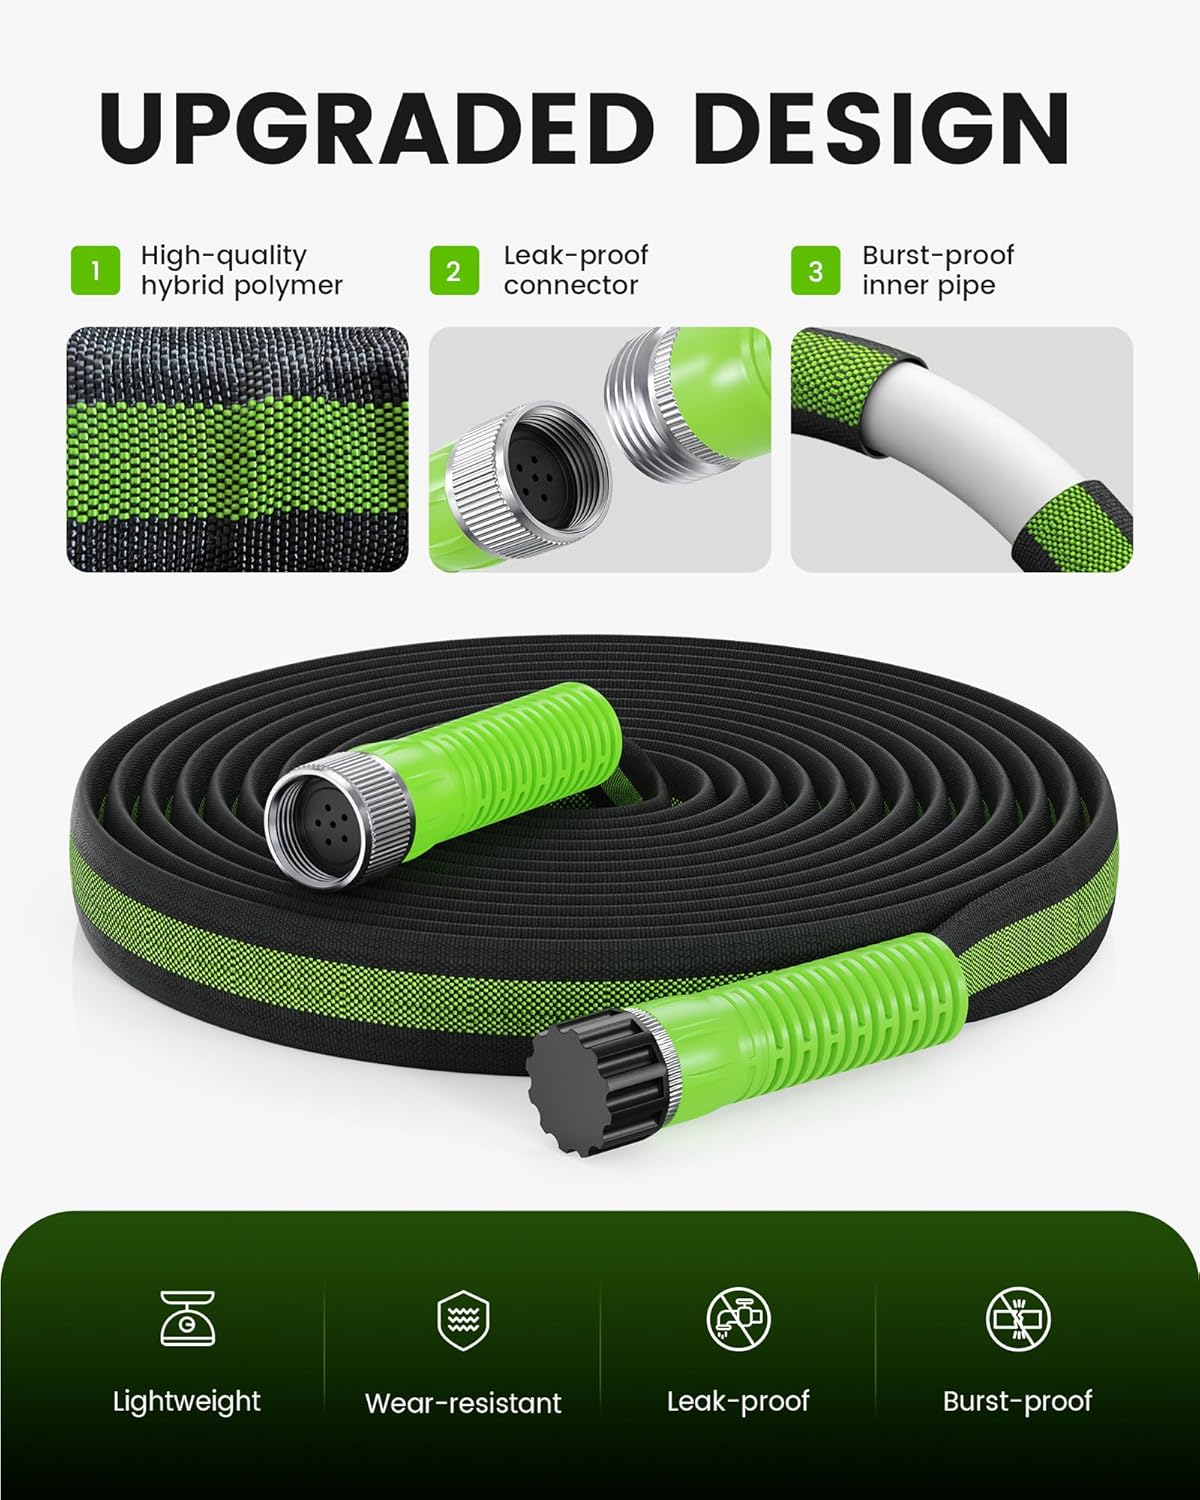
A good garden hose is the backbone of your whole watering setup. Look for something lightweight, kink-free, and built to last multiple growing seasons without cracking.
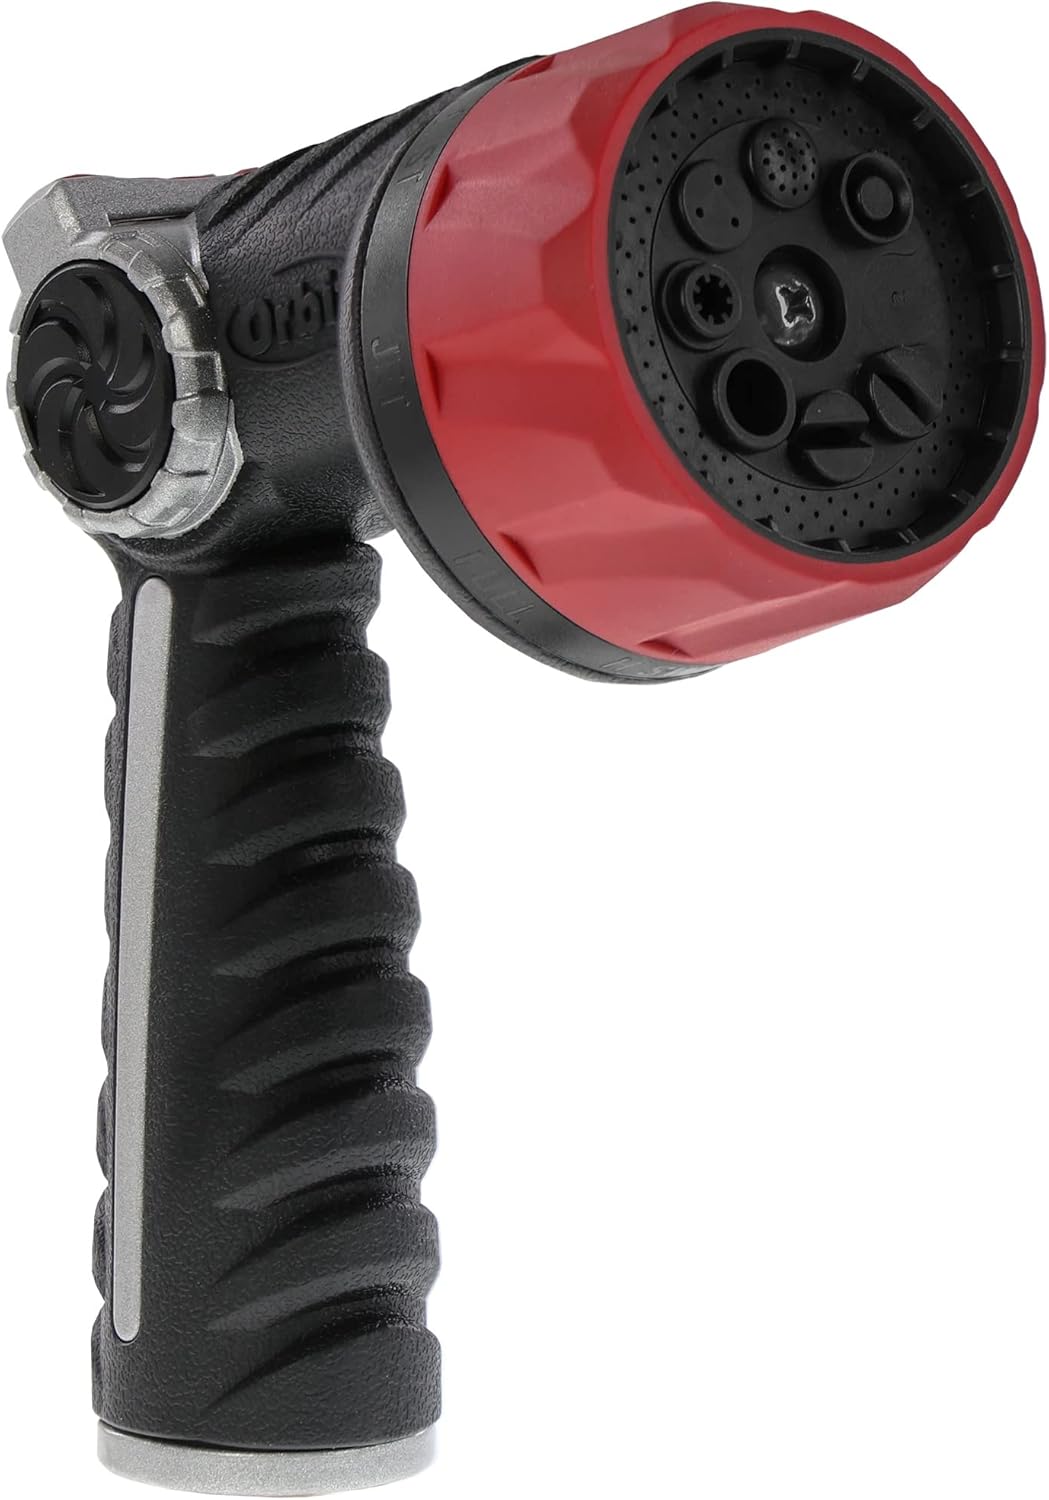
Don’t sleep on your nozzle. The right hose nozzle sprayer gives you control from a gentle mist for seedlings to a strong jet for patio cleanup, all in one tool.
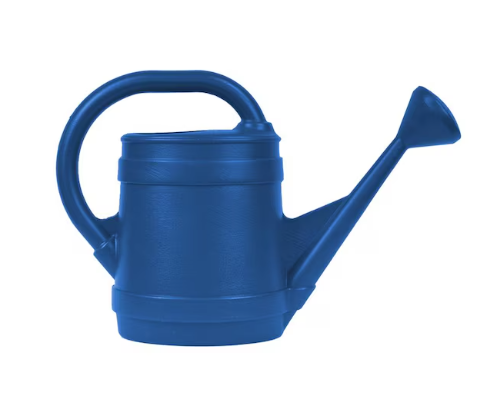
Simple, essential, and useful even when you have an irrigation system set up. A watering can is perfect for seedlings, potted plants, and targeted watering where a hose would be overkill.
Your hands are your most important garden tool. A quality pair of gardening gloves that actually fits well will protect against thorns, blisters, and soil irritation season after season.
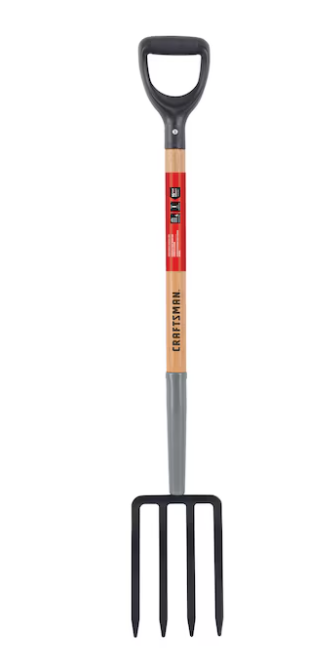
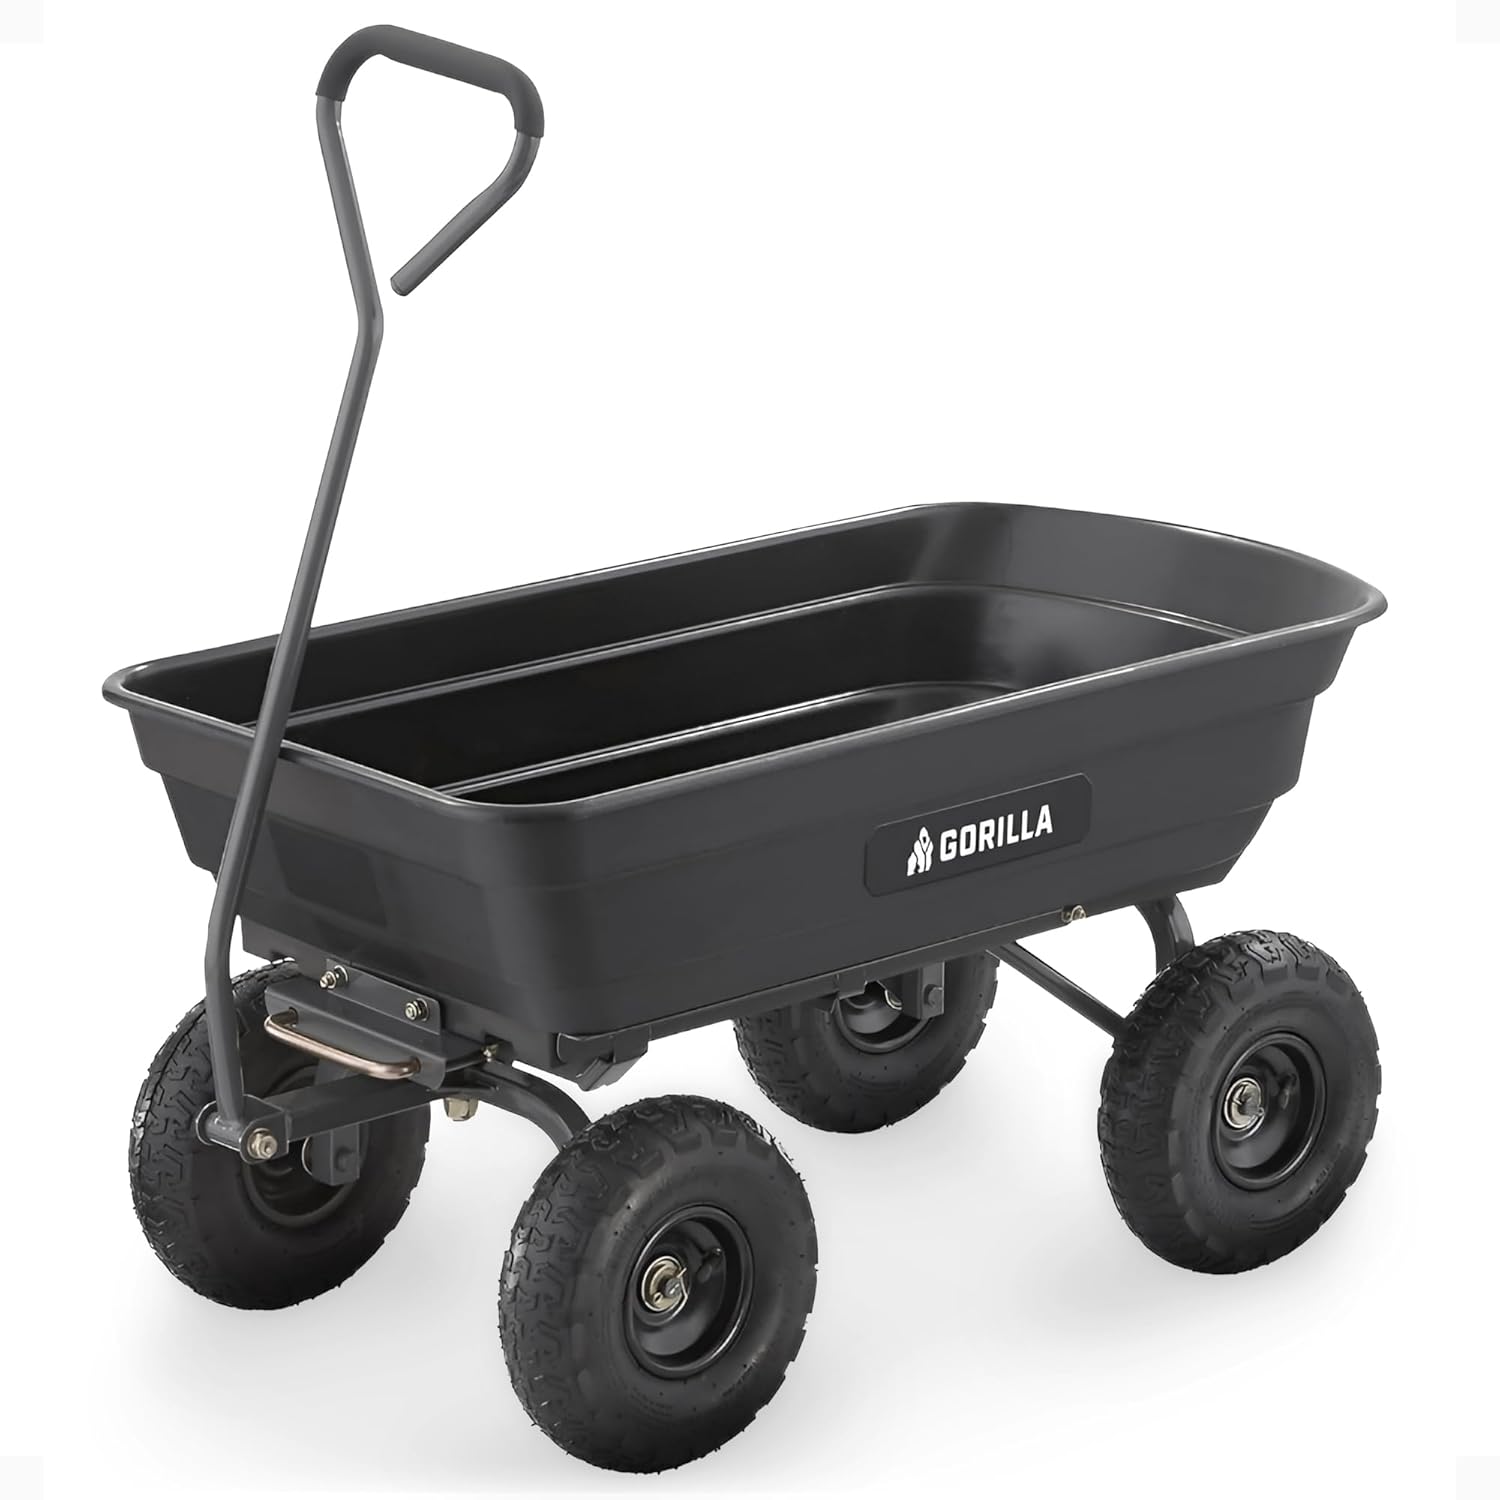
If you’re hauling soil, mulch, compost, or garden debris, a solid garden cart or wheelbarrow will save your back and cut your work time in half. This is the tool people wish they’d bought sooner.
A garden tool organizer keeps everything accessible and protects your investment. No more hunting around the garage for a missing trowel, and your tools last years longer when stored properly.
Cheap plastic tools, they snap after a few uses and end up costing more in replacements
Overcomplicated gadgets, if you need a manual to figure it out, you won’t use it
Do-everything multi-tools, they rarely do anything well; buy dedicated tools instead
Beginner Gardening Tool Kit: Start Simple
You don’t need to buy everything at once. Here’s the essential beginner gardening toolkit that covers 90% of what you’ll need in your first season:
A quality hand tool set (trowel, cultivator, weeder)
Pruning shears for trimming and deadheading
A watering system, drip irrigation or soaker hose
A reliable garden hose and nozzle
Gardening gloves that actually fit
Basic tool storage to keep everything organized
That’s all you need to get started effectively. You can build from there as your garden grows.
Frequently Asked Questions About Gardening Tools
What gardening tools does a beginner need?
A beginner needs five core tools: a hand tool set (trowel, cultivator, weeder), pruning shears, a watering system (drip irrigation or soaker hose), a garden hose with a nozzle, and a good pair of gardening gloves. This covers planting, pruning, watering, and soil work for any garden size.
What is the most important gardening tool?
An efficient watering system is the single most impactful tool you can invest in. Manual watering is the biggest time drain in gardening and is usually inconsistent. Setting up a drip irrigation kit or soaker hose with a timer saves hours every week and produces healthier plants.
Are expensive gardening tools worth it?
Mid-range tools offer the best value for most gardeners. Avoid the cheapest plastic tools (they break fast), but you don’t need to buy the most expensive either. Brands like Fiskars, Corona, and Flexzilla hit the sweet spot of durability and affordability for home gardeners.
How do I maintain my gardening tools?
Clean soil off tools after each use, dry them to prevent rust, and store them in a covered organizer or garage rack. Sharpen pruning shears once or twice a season, and oil metal parts before winter storage. Proper maintenance can double or triple the life of your tools.
Final Thoughts on Must-Have Gardening Tools
Gardening doesn’t have to be complicated or expensive to start. With the right tools and a solid watering system in place, everything gets easier, faster, and a lot more enjoyable.
Start with the beginner kit above, invest in quality where it counts, and skip the gimmicks. Your future garden self will thank you.
Disclosure: This post contains affiliate links. If you purchase through my links, I may earn a small commission at no extra cost to you. I only recommend products I genuinely believe in. Thank you for supporting annakatherinepage.com!
Quick answer: The most efficient way to water a home garden is a soaker hose or drip irrigation system on a timer, run early in the morning at soil level. Midday overhead watering loses up to 50 percent to evaporation. This guide ranks the systems by effectiveness, from a simple soaker hose to a fully automated drip setup.
Pin this for later.. your garden (and your water bill) will thank you.
Tired of dragging a hose around every day just to watch your plants struggle anyway? Watering your garden efficiently isn’t just about saving time – it’s about giving your plants exactly what they need to thrive while cutting your water bill in half.
This guide breaks down the best garden watering systems for home gardens, from simple soaker hoses to fully automated drip irrigation setups, so you can spend less time watering and more time actually enjoying your yard.
If you’re still hand-watering your garden every day, you’re working way harder than you need to. With rising temperatures, packed schedules, and water bills climbing, more homeowners are switching to smarter watering systems that save time and actually improve plant health.
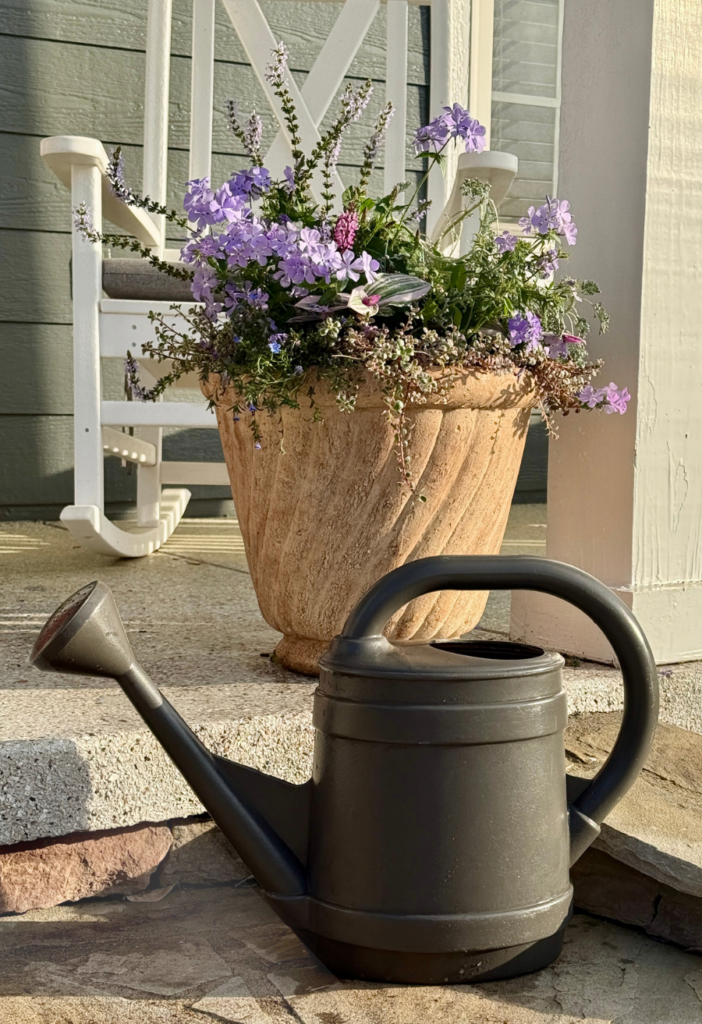
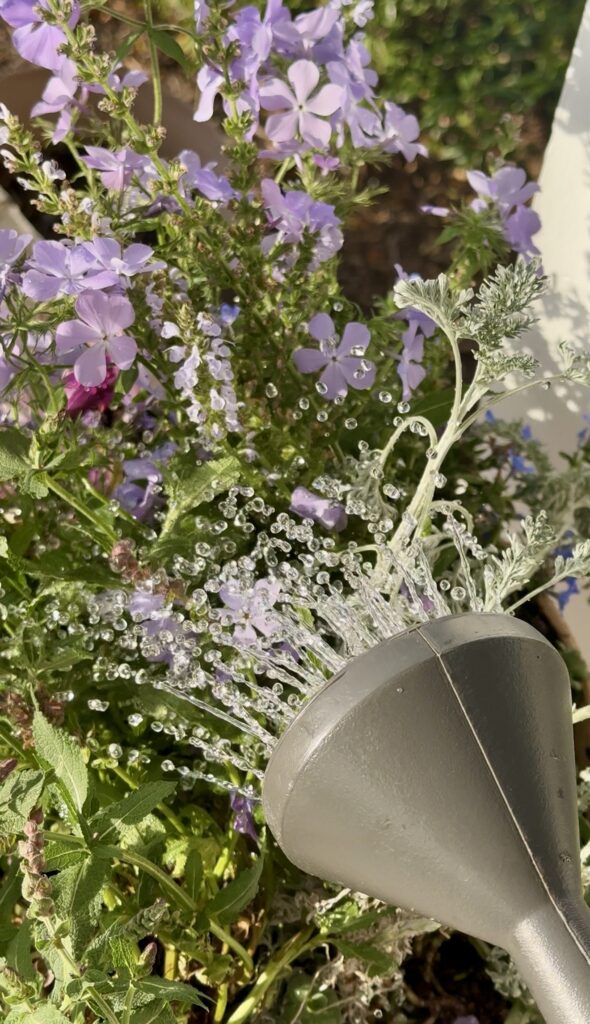
The Bloem Deluxe Watering Can – a stylish and functional pick for everyday garden watering.
What You’ll Learn in This Guide
The most efficient ways to water your garden (ranked by effectiveness)
Beginner-friendly watering systems you can set up in under an hour
What actually works – and what wastes your time and money
Pro tips for reducing water waste and improving plant health
Why Your Garden Watering Method Matters
Learning the art of watering your garden efficiently starts with understanding why method matters as much as frequency.
Most gardeners make the same watering mistakes without realizing it:
Overwatering or underwatering – both stress plants and stunt growth
Watering at the wrong time of day – midday watering loses up to 50% to evaporation
Losing water to evaporation before it ever reaches the roots
Surface watering instead of reaching the root zone where it counts
The result? Weak plants, disease, and lower yields. The goal of efficient garden watering is simple: deliver water directly to the roots, consistently, with minimal waste.
Best Garden Watering Systems for Watering Your Garden Efficiently
1. Drip Irrigation – Best Overall Garden Watering System
Drip irrigation sends water straight to the root zone through a network of tubing and emitters, making it the most efficient watering system you can install. It uses up to 90% less water than traditional sprinklers.
Benefits of drip irrigation:
Dramatically reduces water waste (up to 90% more efficient than sprinklers)
Promotes stronger, healthier root systems
Fully customizable to any garden layout – beds, containers, or rows
Reduces weed growth by only watering target plants
Soaker hoses slowly seep water along their entire length, delivering moisture directly to the soil. They’re simple, affordable, and surprisingly effective for garden beds and rows.
Best for:
Beginners who want a no-fuss setup
Garden rows and raised beds
Budget-friendly watering solutions under $30
Pro tip: Cover your soaker hose with 2–3 inches of mulch to maximize moisture retention and reduce evaporation even further.
Sprinklers work great for large open areas like lawns, but they’re not ideal for garden beds where precision matters. They lose more water to evaporation and wind than drip or soaker systems.
Best use cases:
Grass lawns and wide turf areas
Large coverage areas where precision isn’t critical
4. Smart Watering Systems – Best for Busy Schedules
Automated smart watering systems take the guesswork completely off your plate. Pair a smart timer with drip irrigation or soaker hoses and your garden waters itself on the perfect schedule.
Best for:
Busy homeowners who forget to water
Greenhouses and raised bed gardens
Anyone who wants consistent results without the daily effort
5. Garden Hose – The Foundation of Every Watering Setup
Every efficient watering setup starts with a reliable garden hose. Look for something lightweight, kink-free, and built to last multiple seasons without cracking or leaking.
Pair your hose with the right nozzle sprayer and you get a completely different watering experience. A quality nozzle gives you control from a gentle mist for seedlings all the way to a strong jet for cleanup.
Gentle watering keeps delicate blooms healthy – no heavy spray needed.
When Is the Best Time to Water Your Garden?
The best time to water your garden is early morning, ideally between 6–9 AM. The cooler temperatures and calmer winds mean more water reaches the roots before evaporating.
Times to avoid watering:
Midday (10 AM–2 PM) – water evaporates before reaching roots, wasting up to 50%
Late evening – wet foliage overnight increases disease risk like fungal infections
Water deeply 2 to 3 times per week instead of a light sprinkle every day. Deep watering encourages roots to grow deeper, making plants more drought-resistant over time.
Pro Tips for Watering Your Garden Efficiently
Mulch your beds with 2–3 inches of organic mulch (wood chips, not rubber) to lock in moisture
Combine drip systems with smart timers for a completely hands-off watering setup
Group plants by water needs (hydrozoning) so nothing gets over or under-watered
Use raised beds for better drainage, soil control, and more efficient water use
Check soil moisture before watering – stick your finger 2 inches into the soil; if it’s damp, skip the water
According to the University of Minnesota Extension, understanding your soil type is the foundation of watering your garden efficiently.
You don’t need an expensive irrigation system to water your garden efficiently. Here’s the simple starter kit that covers everything:
A hose splitter (lets you run multiple lines from one spigot)
A drip irrigation kit or soaker hose (your main watering system)
A basic hose timer (automates your schedule)
Mulch (locks in moisture and reduces watering frequency)
That’s it. This setup costs under $100 total and will save you hours every week while giving your plants consistently better results.
Frequently Asked Questions About Watering Your Garden Efficiently
How often should I water my garden?
Most gardens do best with deep watering 2–3 times per week rather than light daily watering. Deep watering encourages roots to grow deeper into the soil, making plants more resilient during hot weather. Check soil moisture before watering – if the top 2 inches are still damp, wait another day.
What is the most efficient way to water a garden?
Drip irrigation is the most efficient garden watering method, using up to 90% less water than traditional sprinklers. It delivers water directly to the root zone where plants need it most, reducing evaporation and runoff. Soaker hoses are a close second and easier to set up for beginners.
Is it better to water plants in the morning or evening?
Morning watering (6–9 AM) is best. The cooler temperatures mean less evaporation, and leaves have all day to dry, which prevents fungal diseases. Evening watering can leave foliage wet overnight, creating ideal conditions for mold, mildew, and root rot.
How much water does a garden need per week?
Most vegetable gardens and flower beds need about 1–1.5 inches of water per week, including rainfall. In hot summer weather, you may need to increase that to 2 inches. Using a rain gauge or moisture meter helps you track exactly how much water your garden is receiving.
Final Thoughts on Watering Your Garden Efficiently
Watering your garden shouldn’t feel like a daily chore. The right system – whether it’s a simple soaker hose or a full drip irrigation setup – saves water, saves time, and produces noticeably better results with almost no extra effort once it’s in place.
Start with the beginner setup above, and upgrade as your garden grows. Your plants (and your water bill) will thank you.
This post may contain affiliate links. I may earn a small commission at no extra cost to you if you make a purchase through these links. I only recommend products I personally use and love.
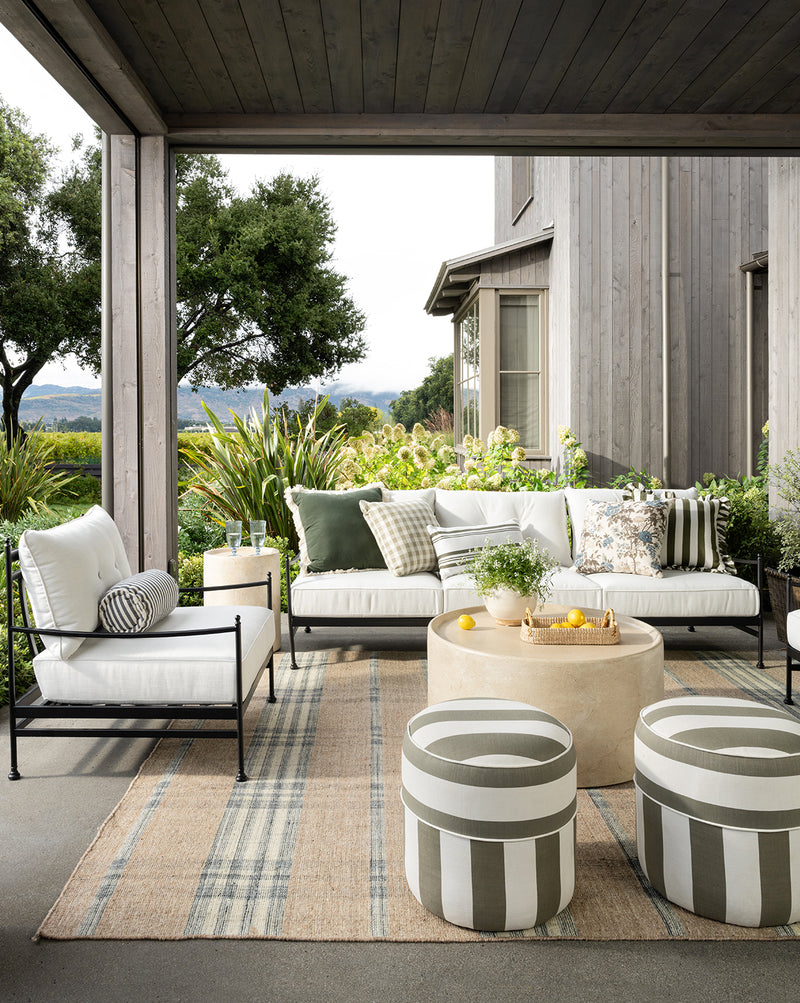
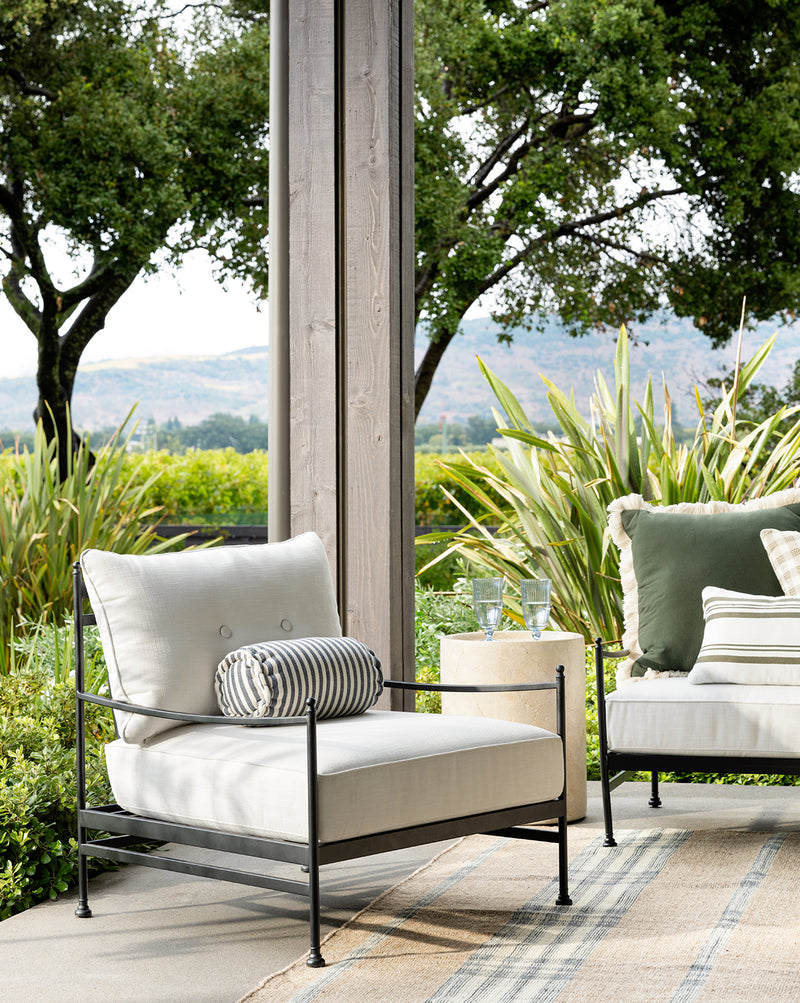
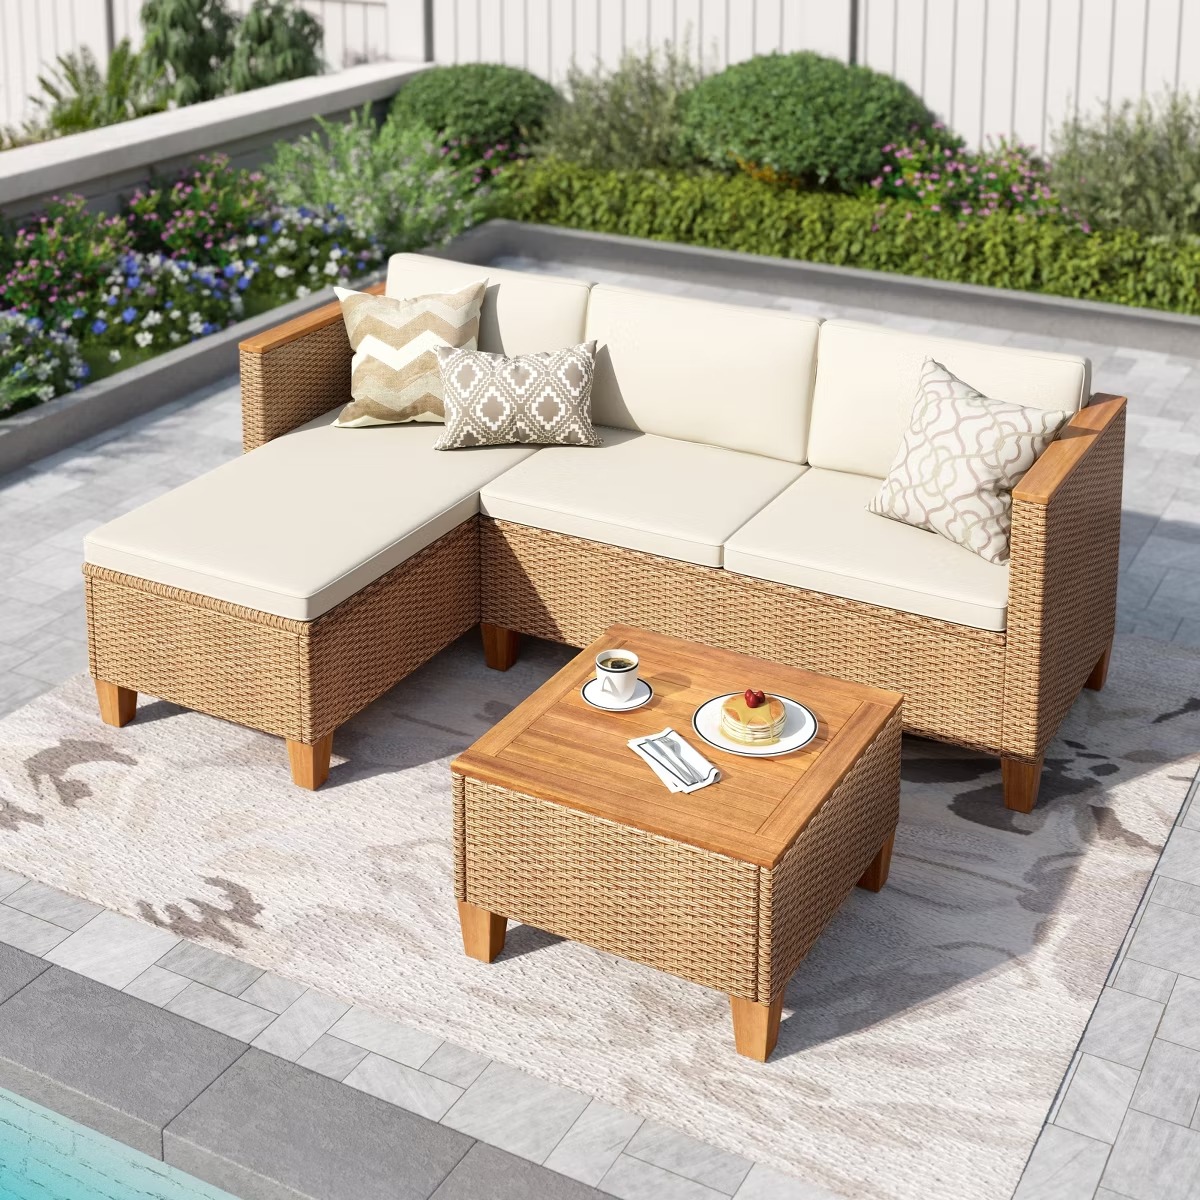
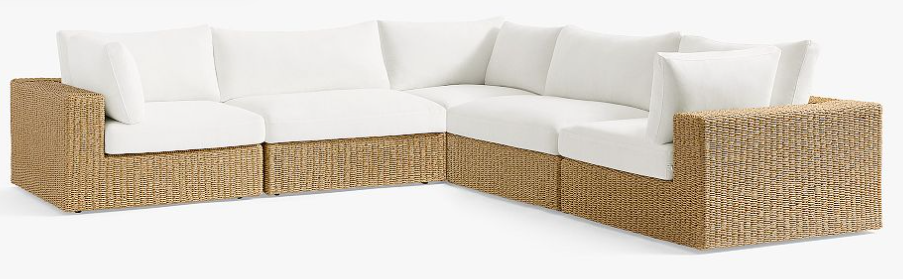
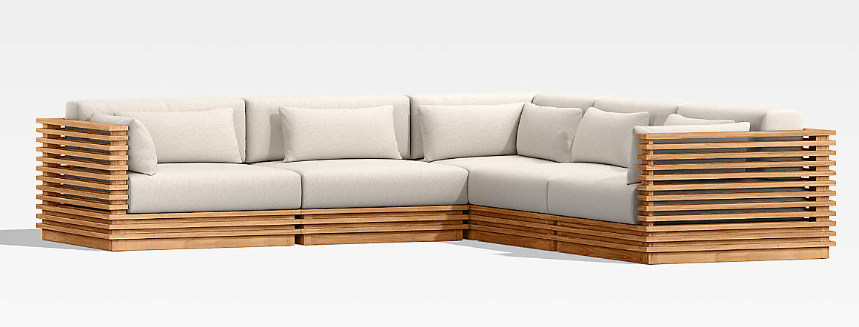
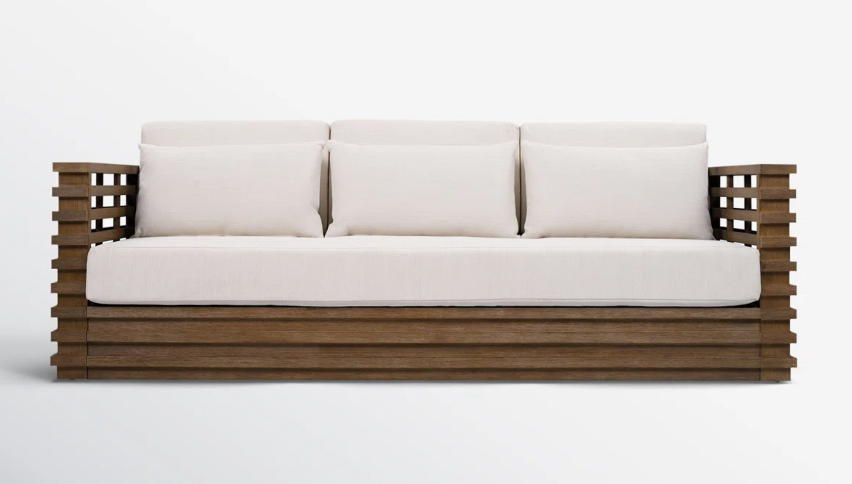
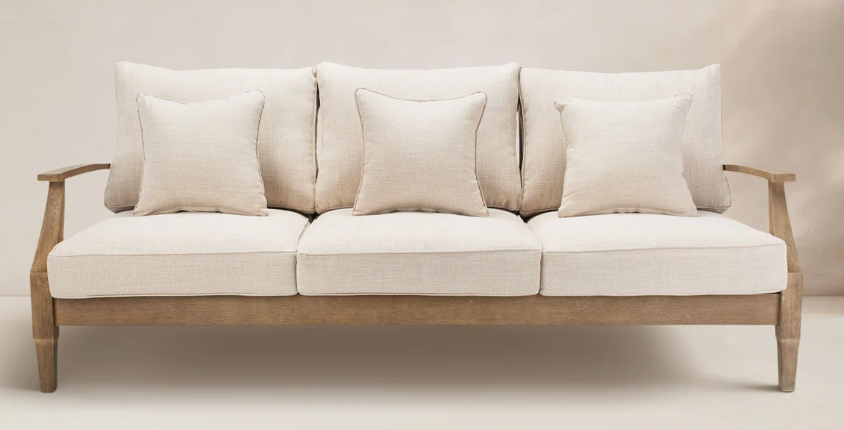
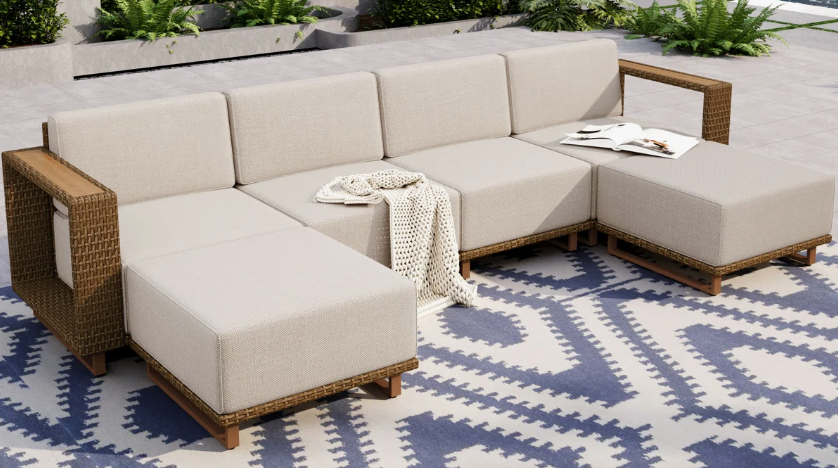
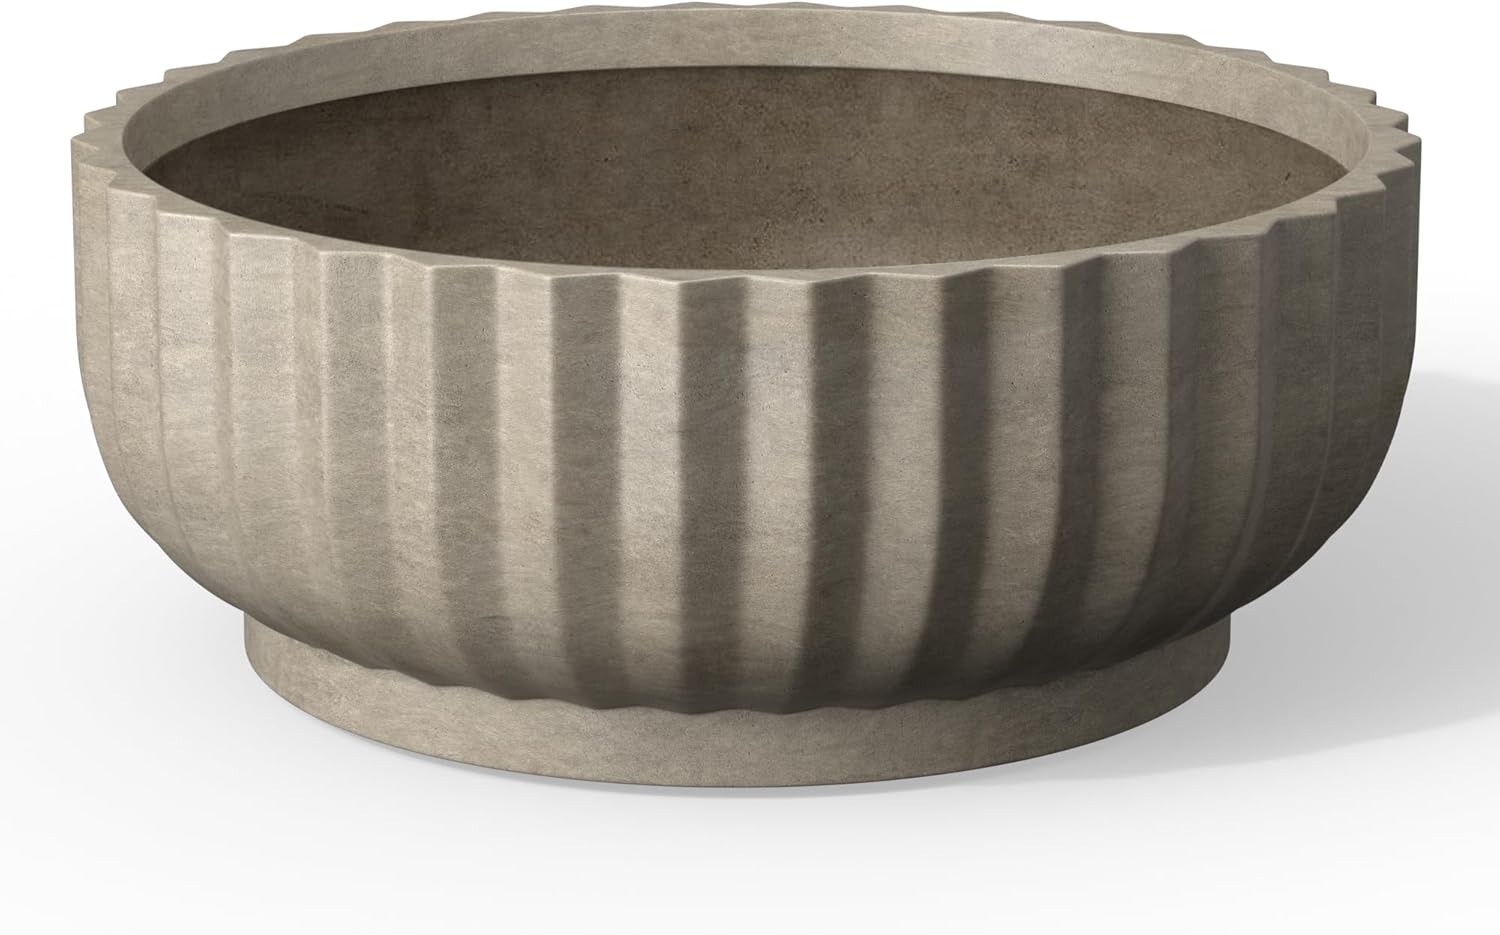
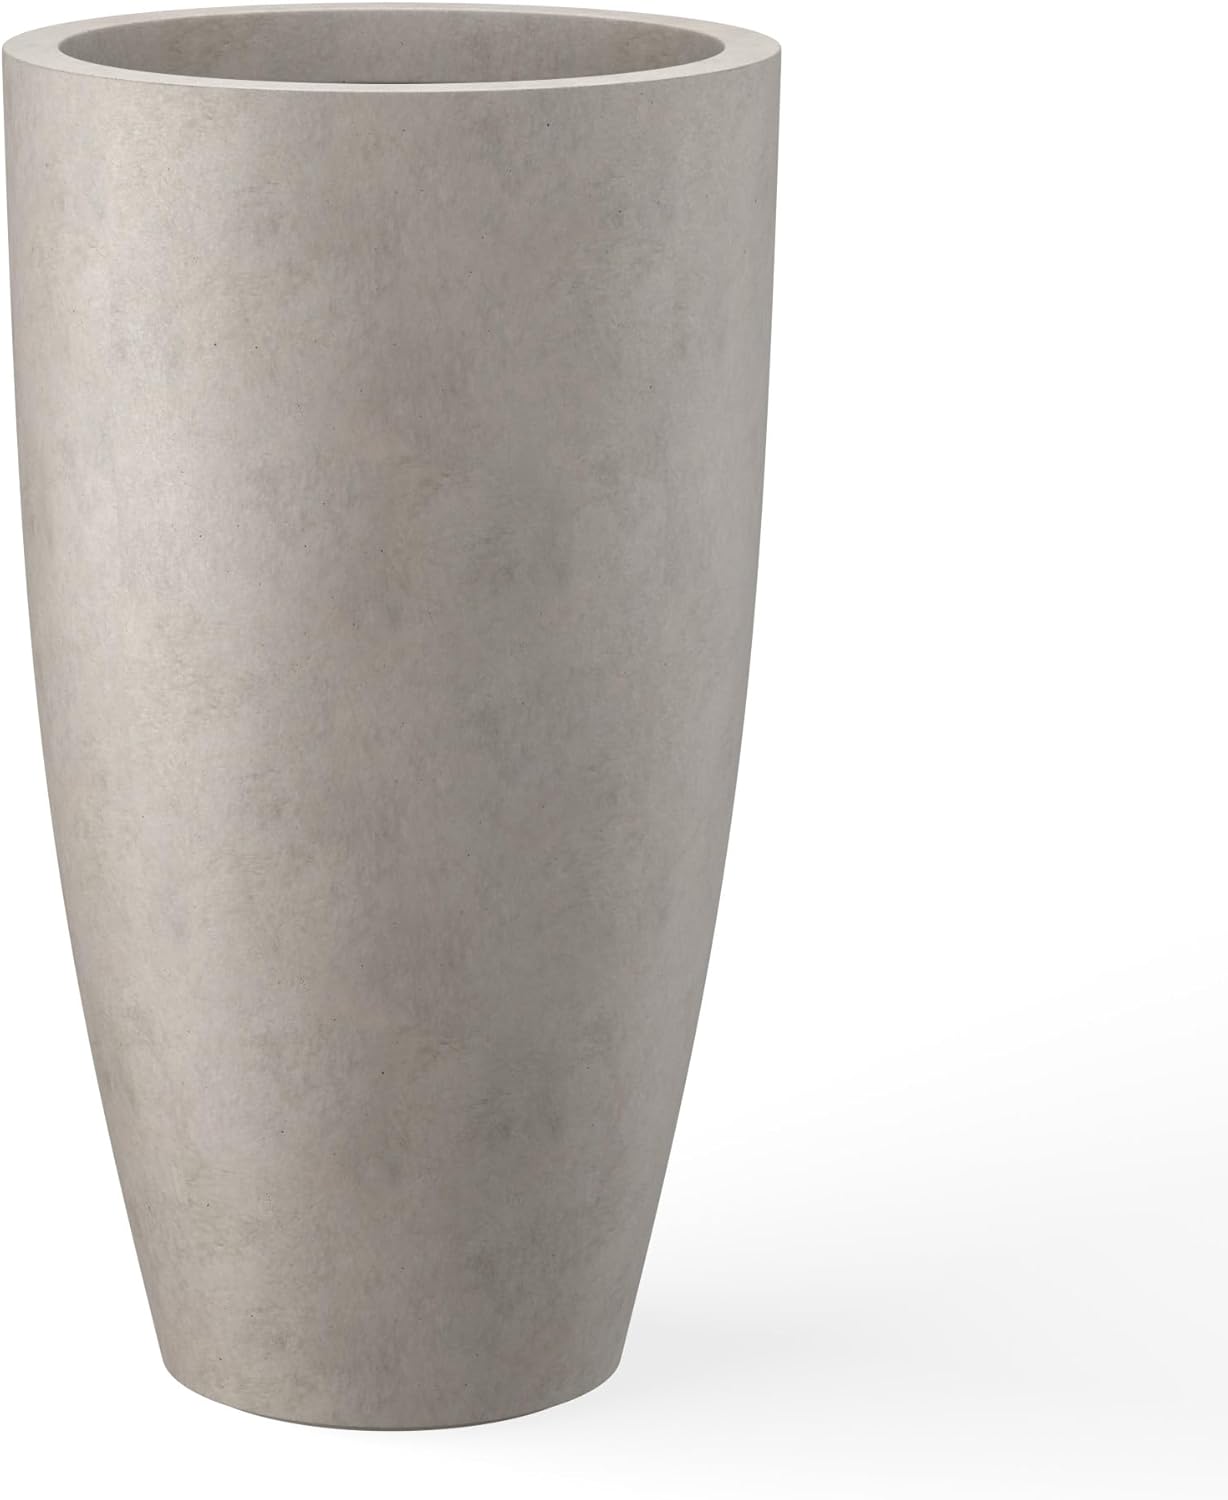
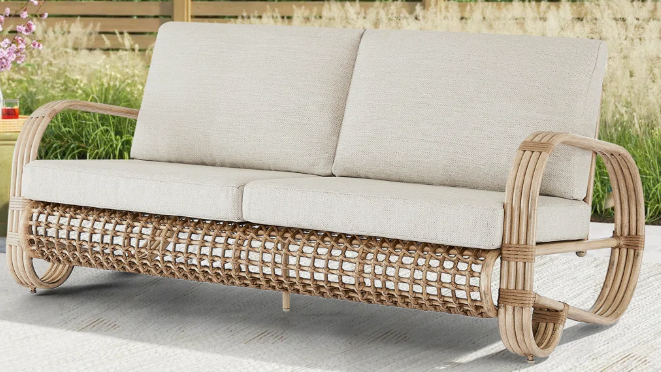
Quick answer: Outdoor spaces read as high end because of structure and layering, not price. The upgrades that do the most work are a defined seating area, layered rugs and cushions, warm lighting after dark, planters at varied heights, and a cohesive neutral palette with one accent tone. All seven are here, and none require a renovation.
7 Outdoor Setup Ideas That Actually Look High-End
Looking for outdoor setup ideas that look truly high-end without the designer price tag? You don’t need to spend thousands to create a backyard or patio that feels like a designer retreat. According to the University of Minnesota Extension, thoughtful outdoor design starts with structure and layering, not price tags. These 7 intentional upgrades will transform your outdoor space into something that looks far more considered than it actually cost.
If your outdoor space feels unfinished – like something is off but you can’t pinpoint what – it’s probably not the size. It’s not even the furniture. It’s a few missing elements that tie everything together.
I went through this exact thing with my own patio last spring. I had a basic seating set, a couple of plants on the ground, and that was it. It looked fine during the day but completely disappeared at night. And “fine” is not the vibe we’re going for.
The good news: you don’t need a full renovation. You need a handful of intentional upgrades that change how the space looks and feels immediately.
What Makes These Outdoor Setup Ideas Actually Look High-End
A defined seating area that feels like a room, not just chairs on concrete. Layered textures through rugs, cushions, and throws. Warm lighting that transforms the atmosphere after dark. Balanced height with planters and decor at different levels. And a cohesive color palette – neutrals with intentional accent tones.
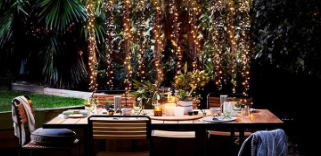
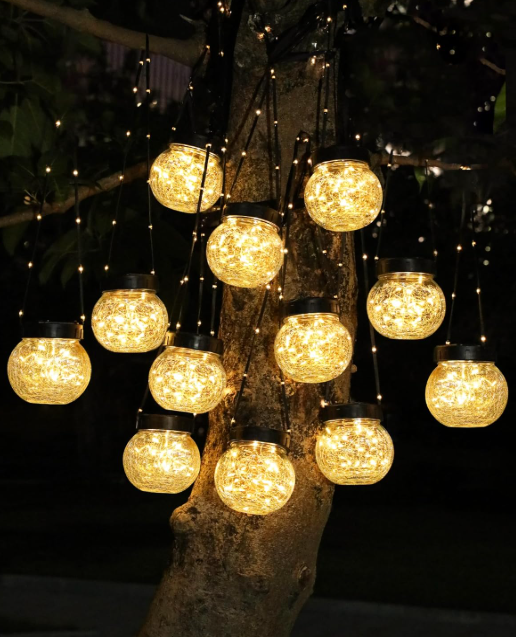
If your outdoor space doesn’t have its own lighting, it essentially doesn’t exist after sundown. String lights are the most impactful, affordable upgrade you can make.
Commercial Patio String Lights, Warm White LED – Costco
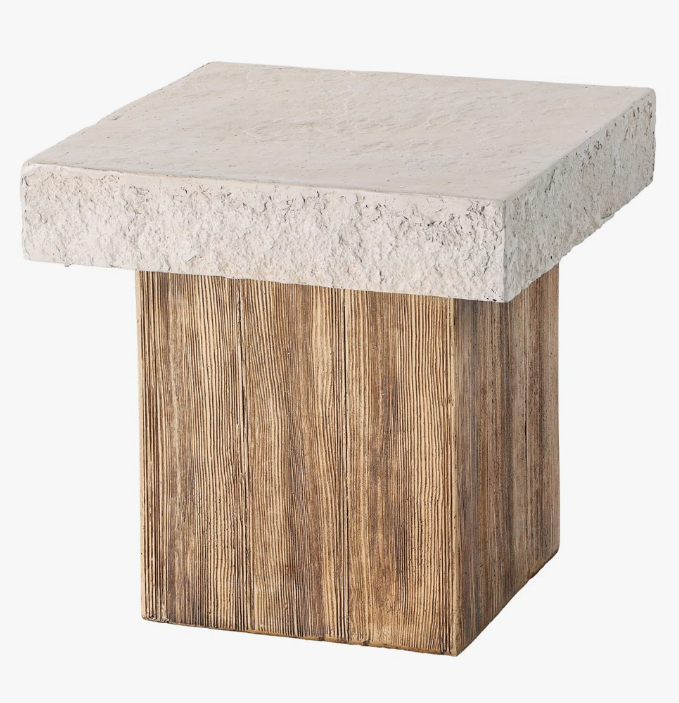
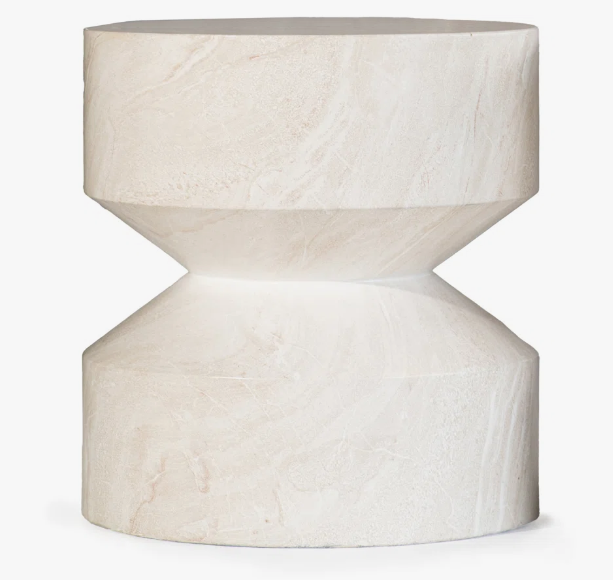
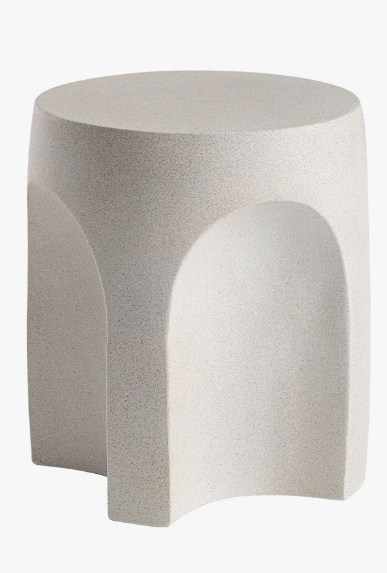
5. Outdoor Side Tables That Anchor the Whole Setup
An outdoor side table is the upgrade that turns a “we have chairs out here” setup into something that actually looks designed. You need somewhere to set a drink, a candle, a book, and the right table carries enough visual weight to balance your seating. The three I’d buy this week:
Bay Isle Home Cleeman Round Wood Side Table – Wayfair – $90
Nothing transforms an outdoor space like fire. Even a small tabletop fire pit changes the vibe immediately. These outdoor setup ideas prove that a stunning, designer-worthy outdoor space is within reach for any homeowner.
Cagney Concrete Propane Fire Pit Table – Joss & Main – $1,020
These six categories cover the full transformation. You don’t need all of them at once – even adding two or three of these elements will make a noticeable difference in how your outdoor space looks and feels.
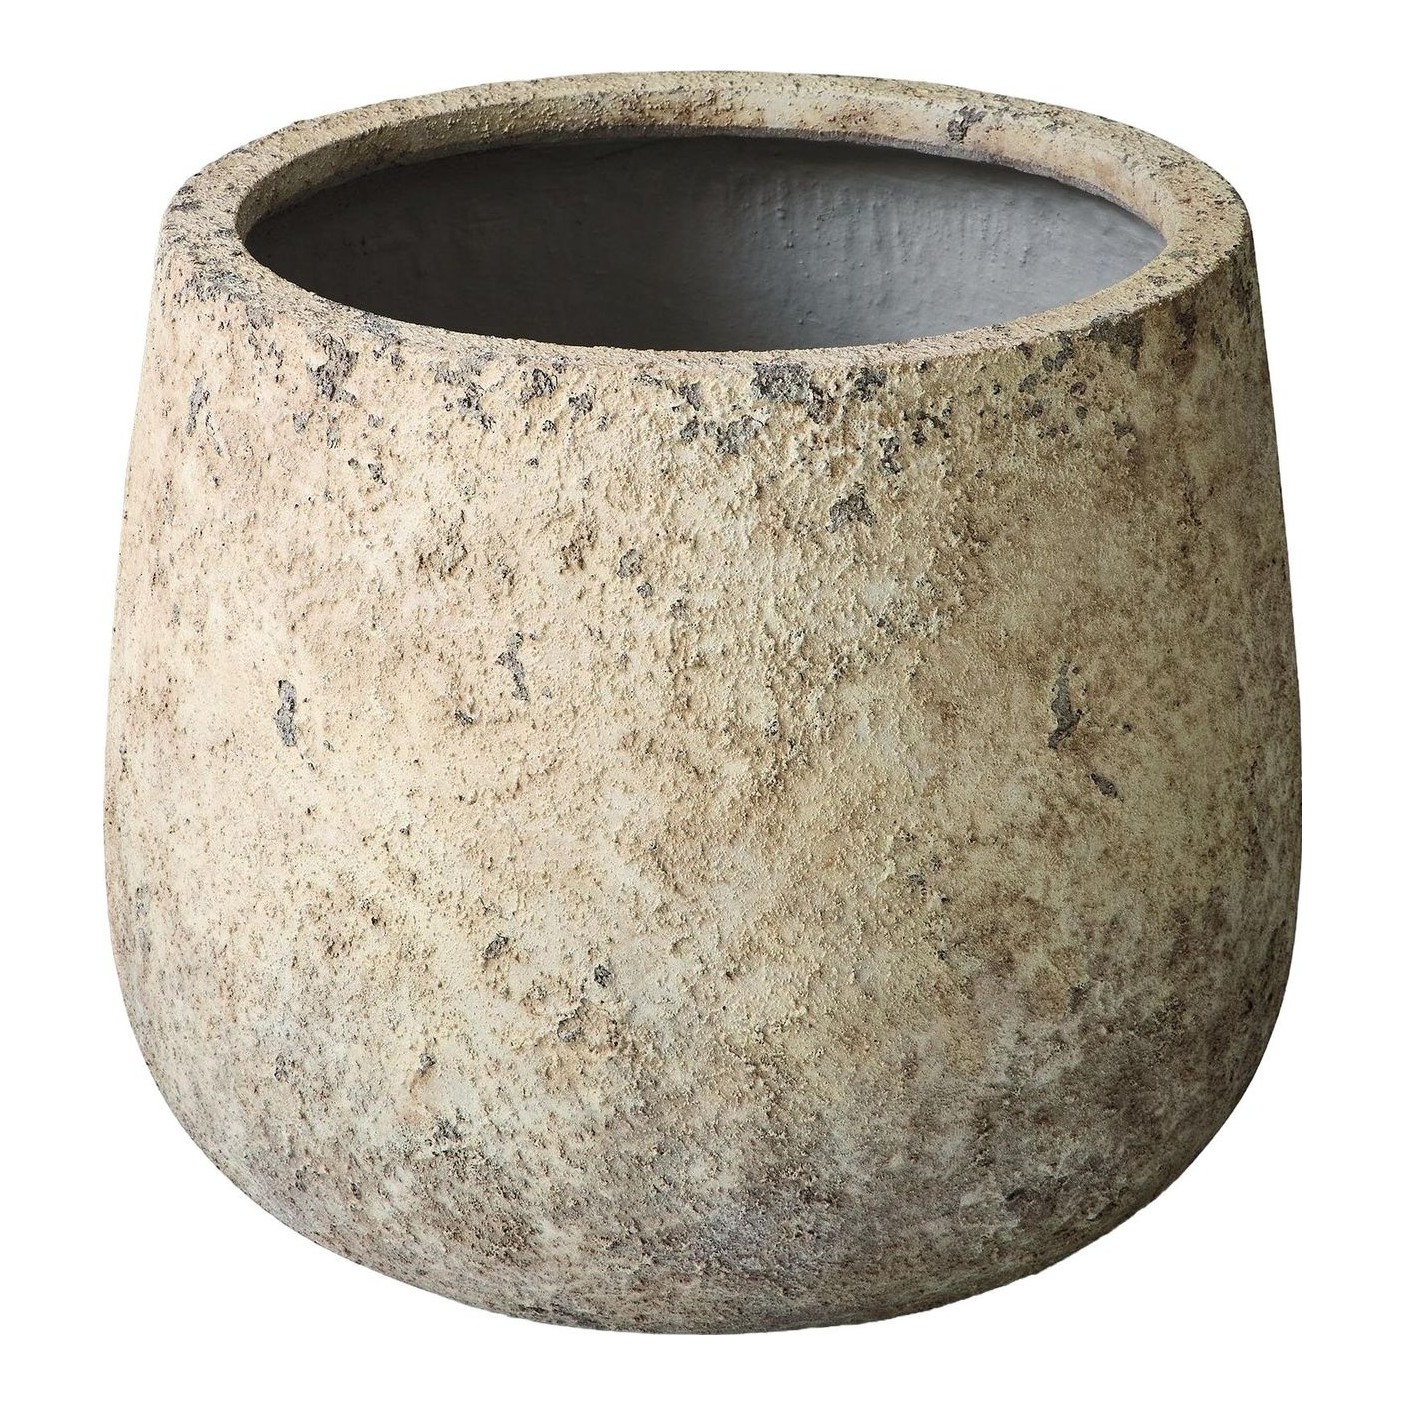
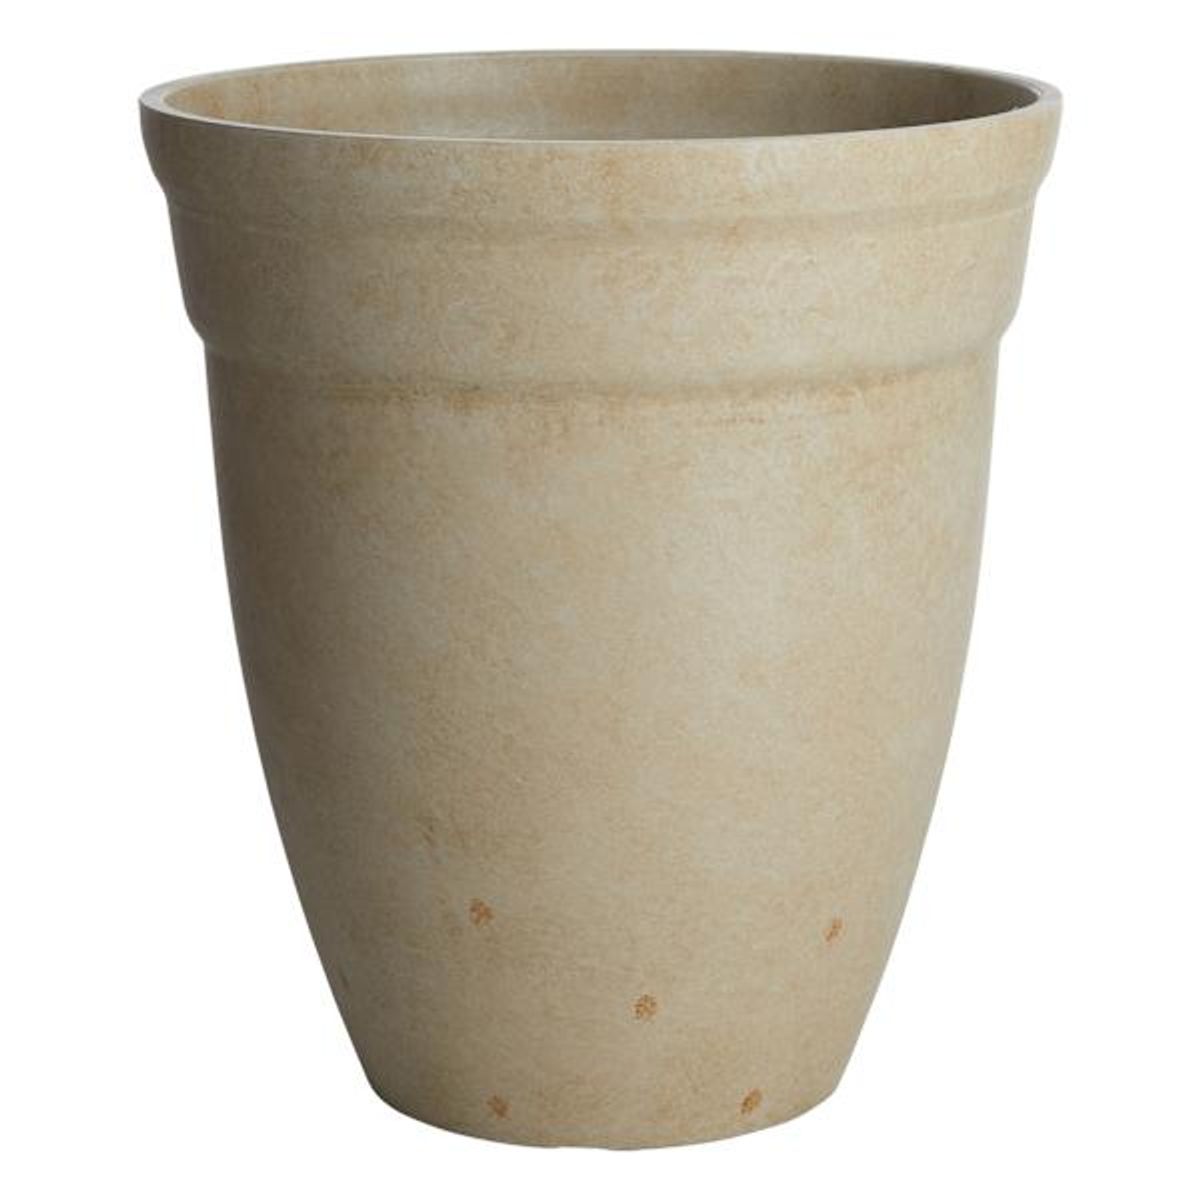
Under $200 Picks to Start Your Outdoor Refresh
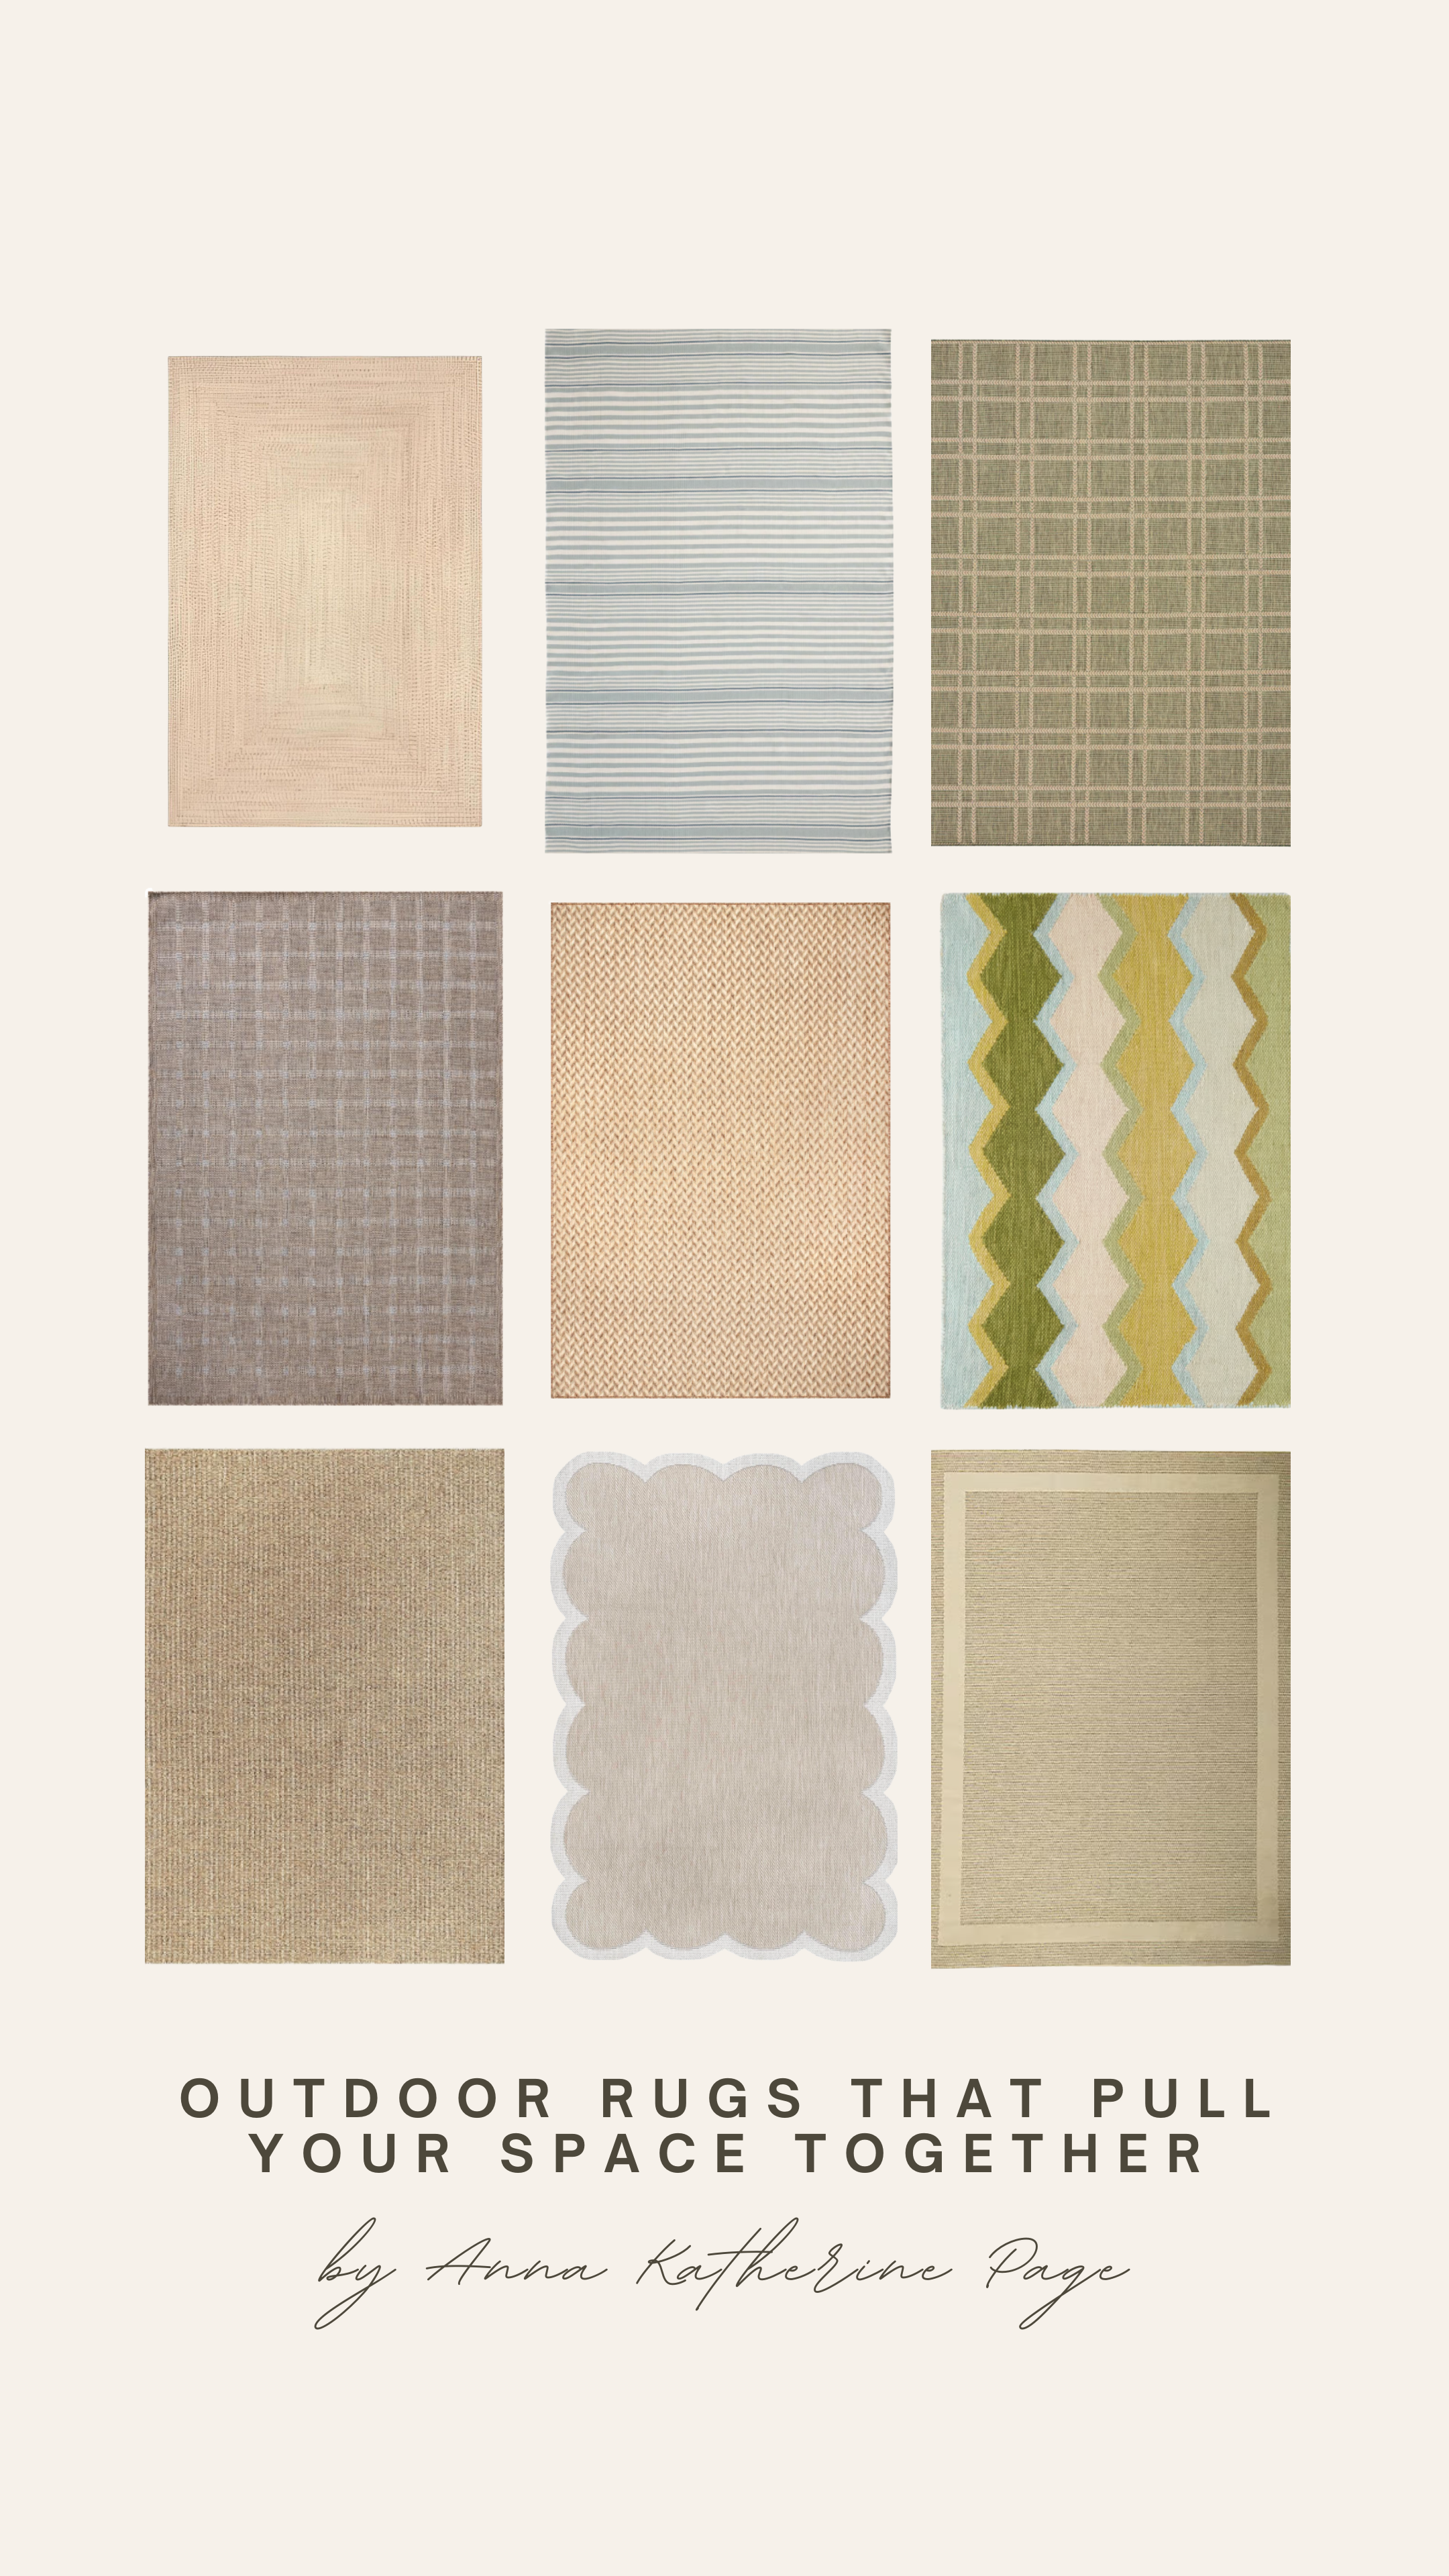
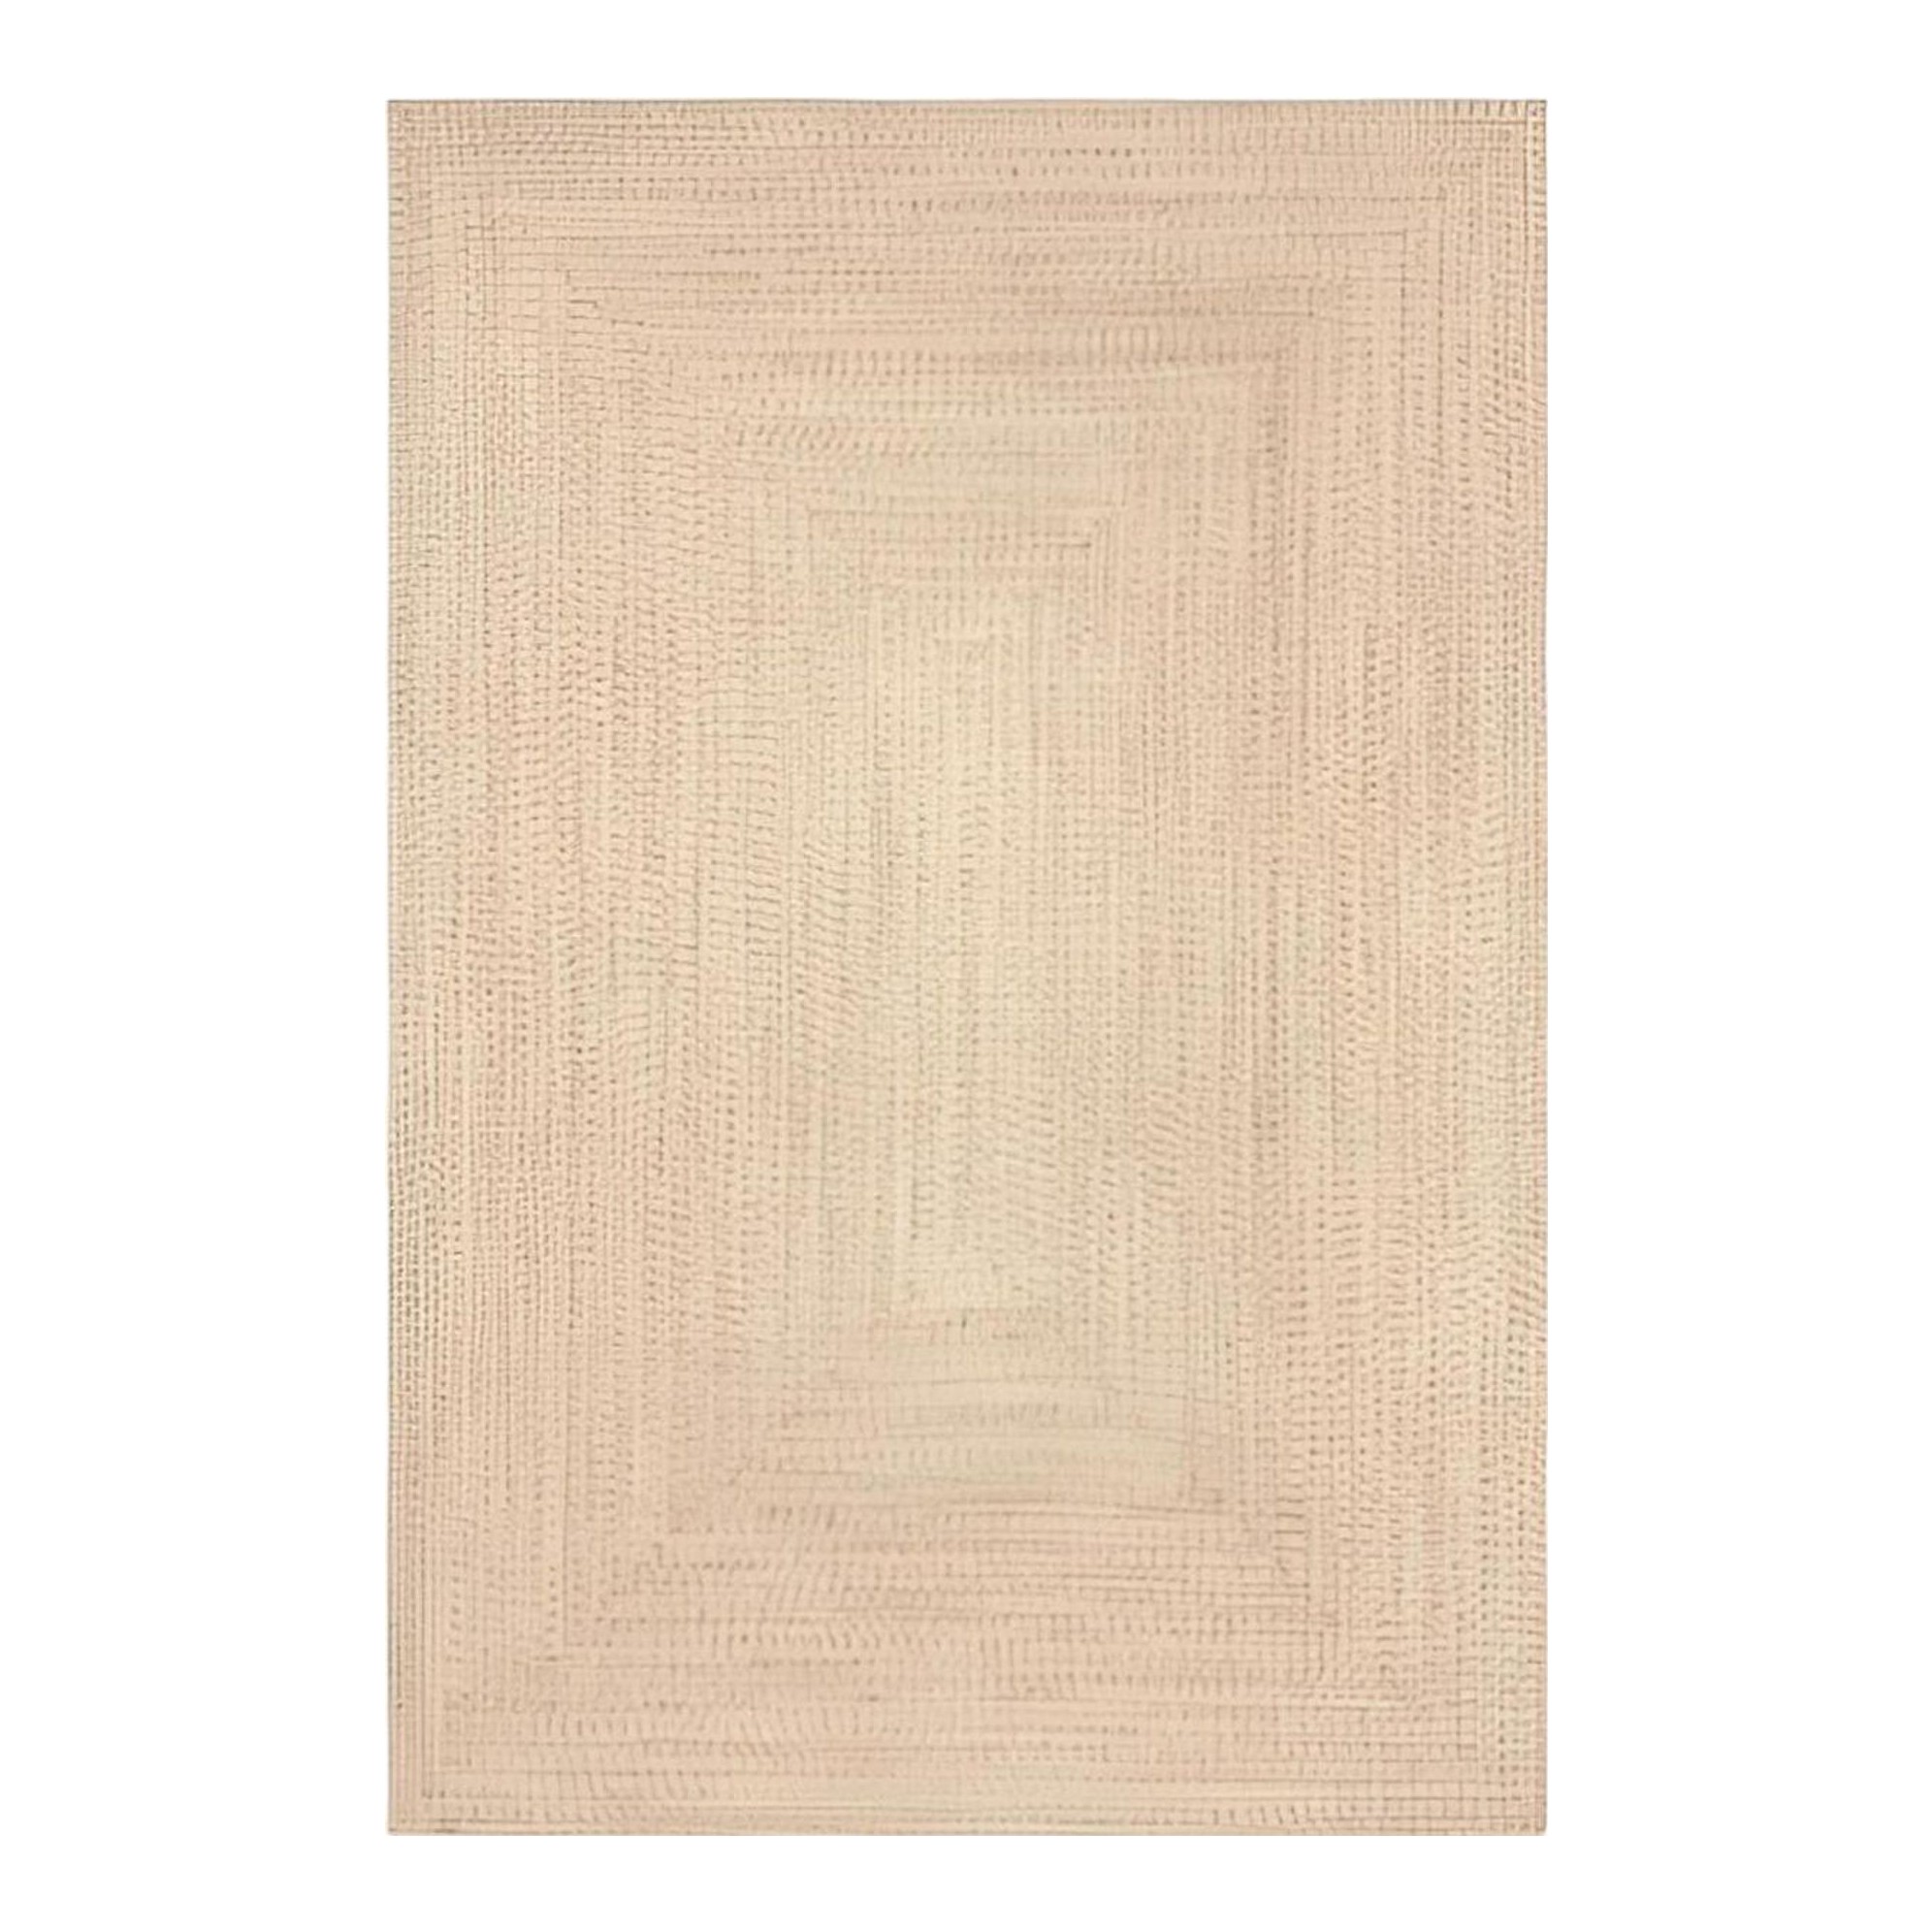
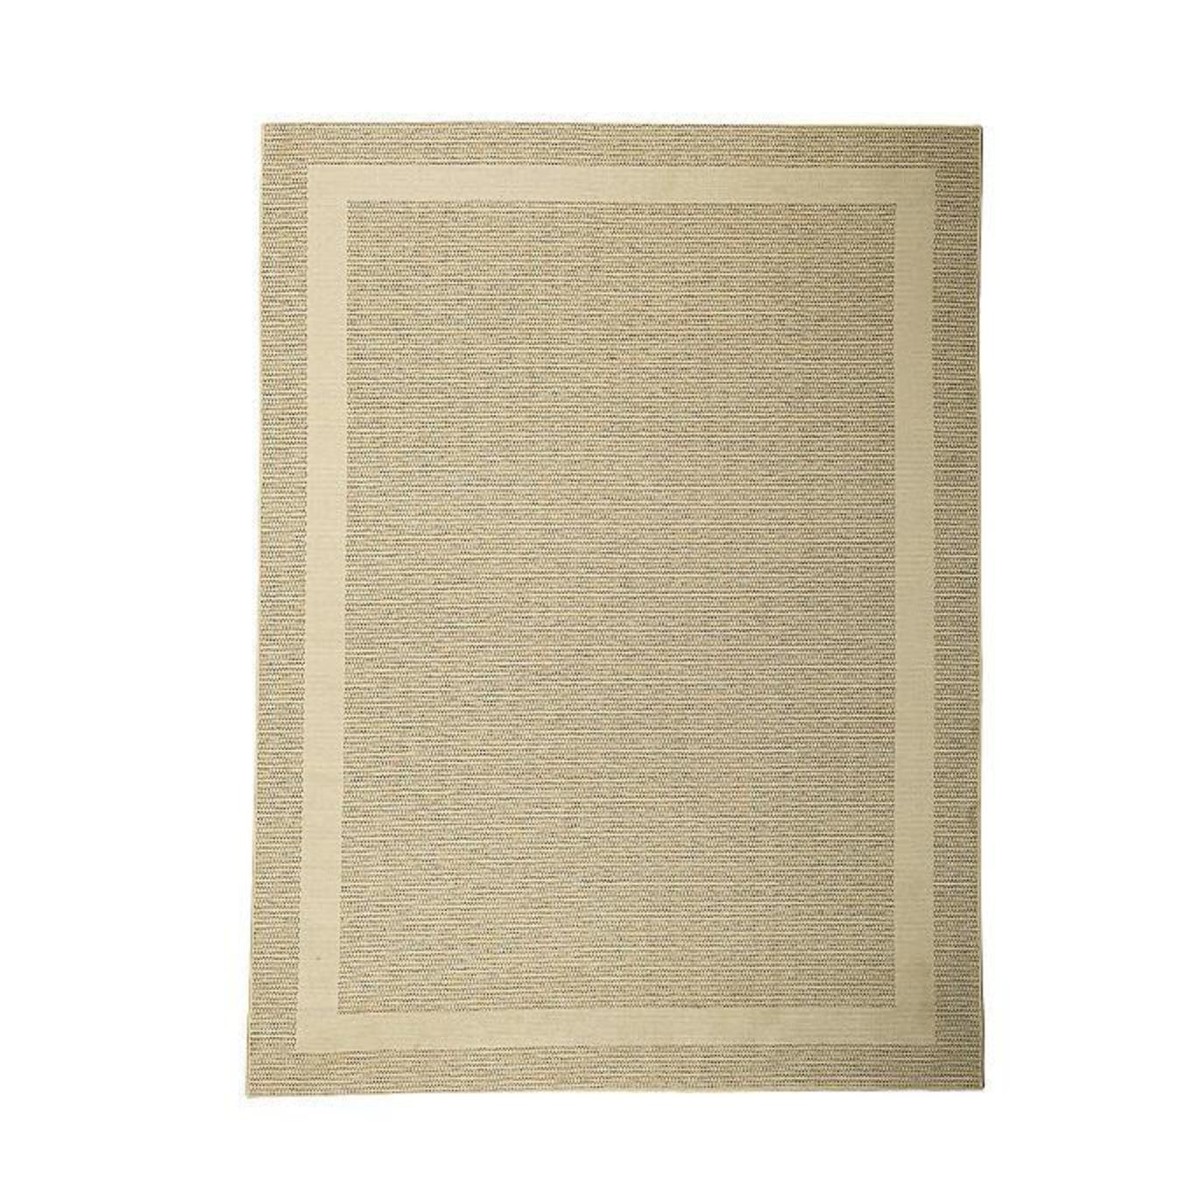
You do not need to overhaul everything at once. These are the pieces that make the biggest visual impact for the smallest investment. An outdoor rug instantly defines the space, a planter adds height and structure, string lights completely change the evening mood, and a few throw pillows pull the whole look together. Start with one or two and build from there.