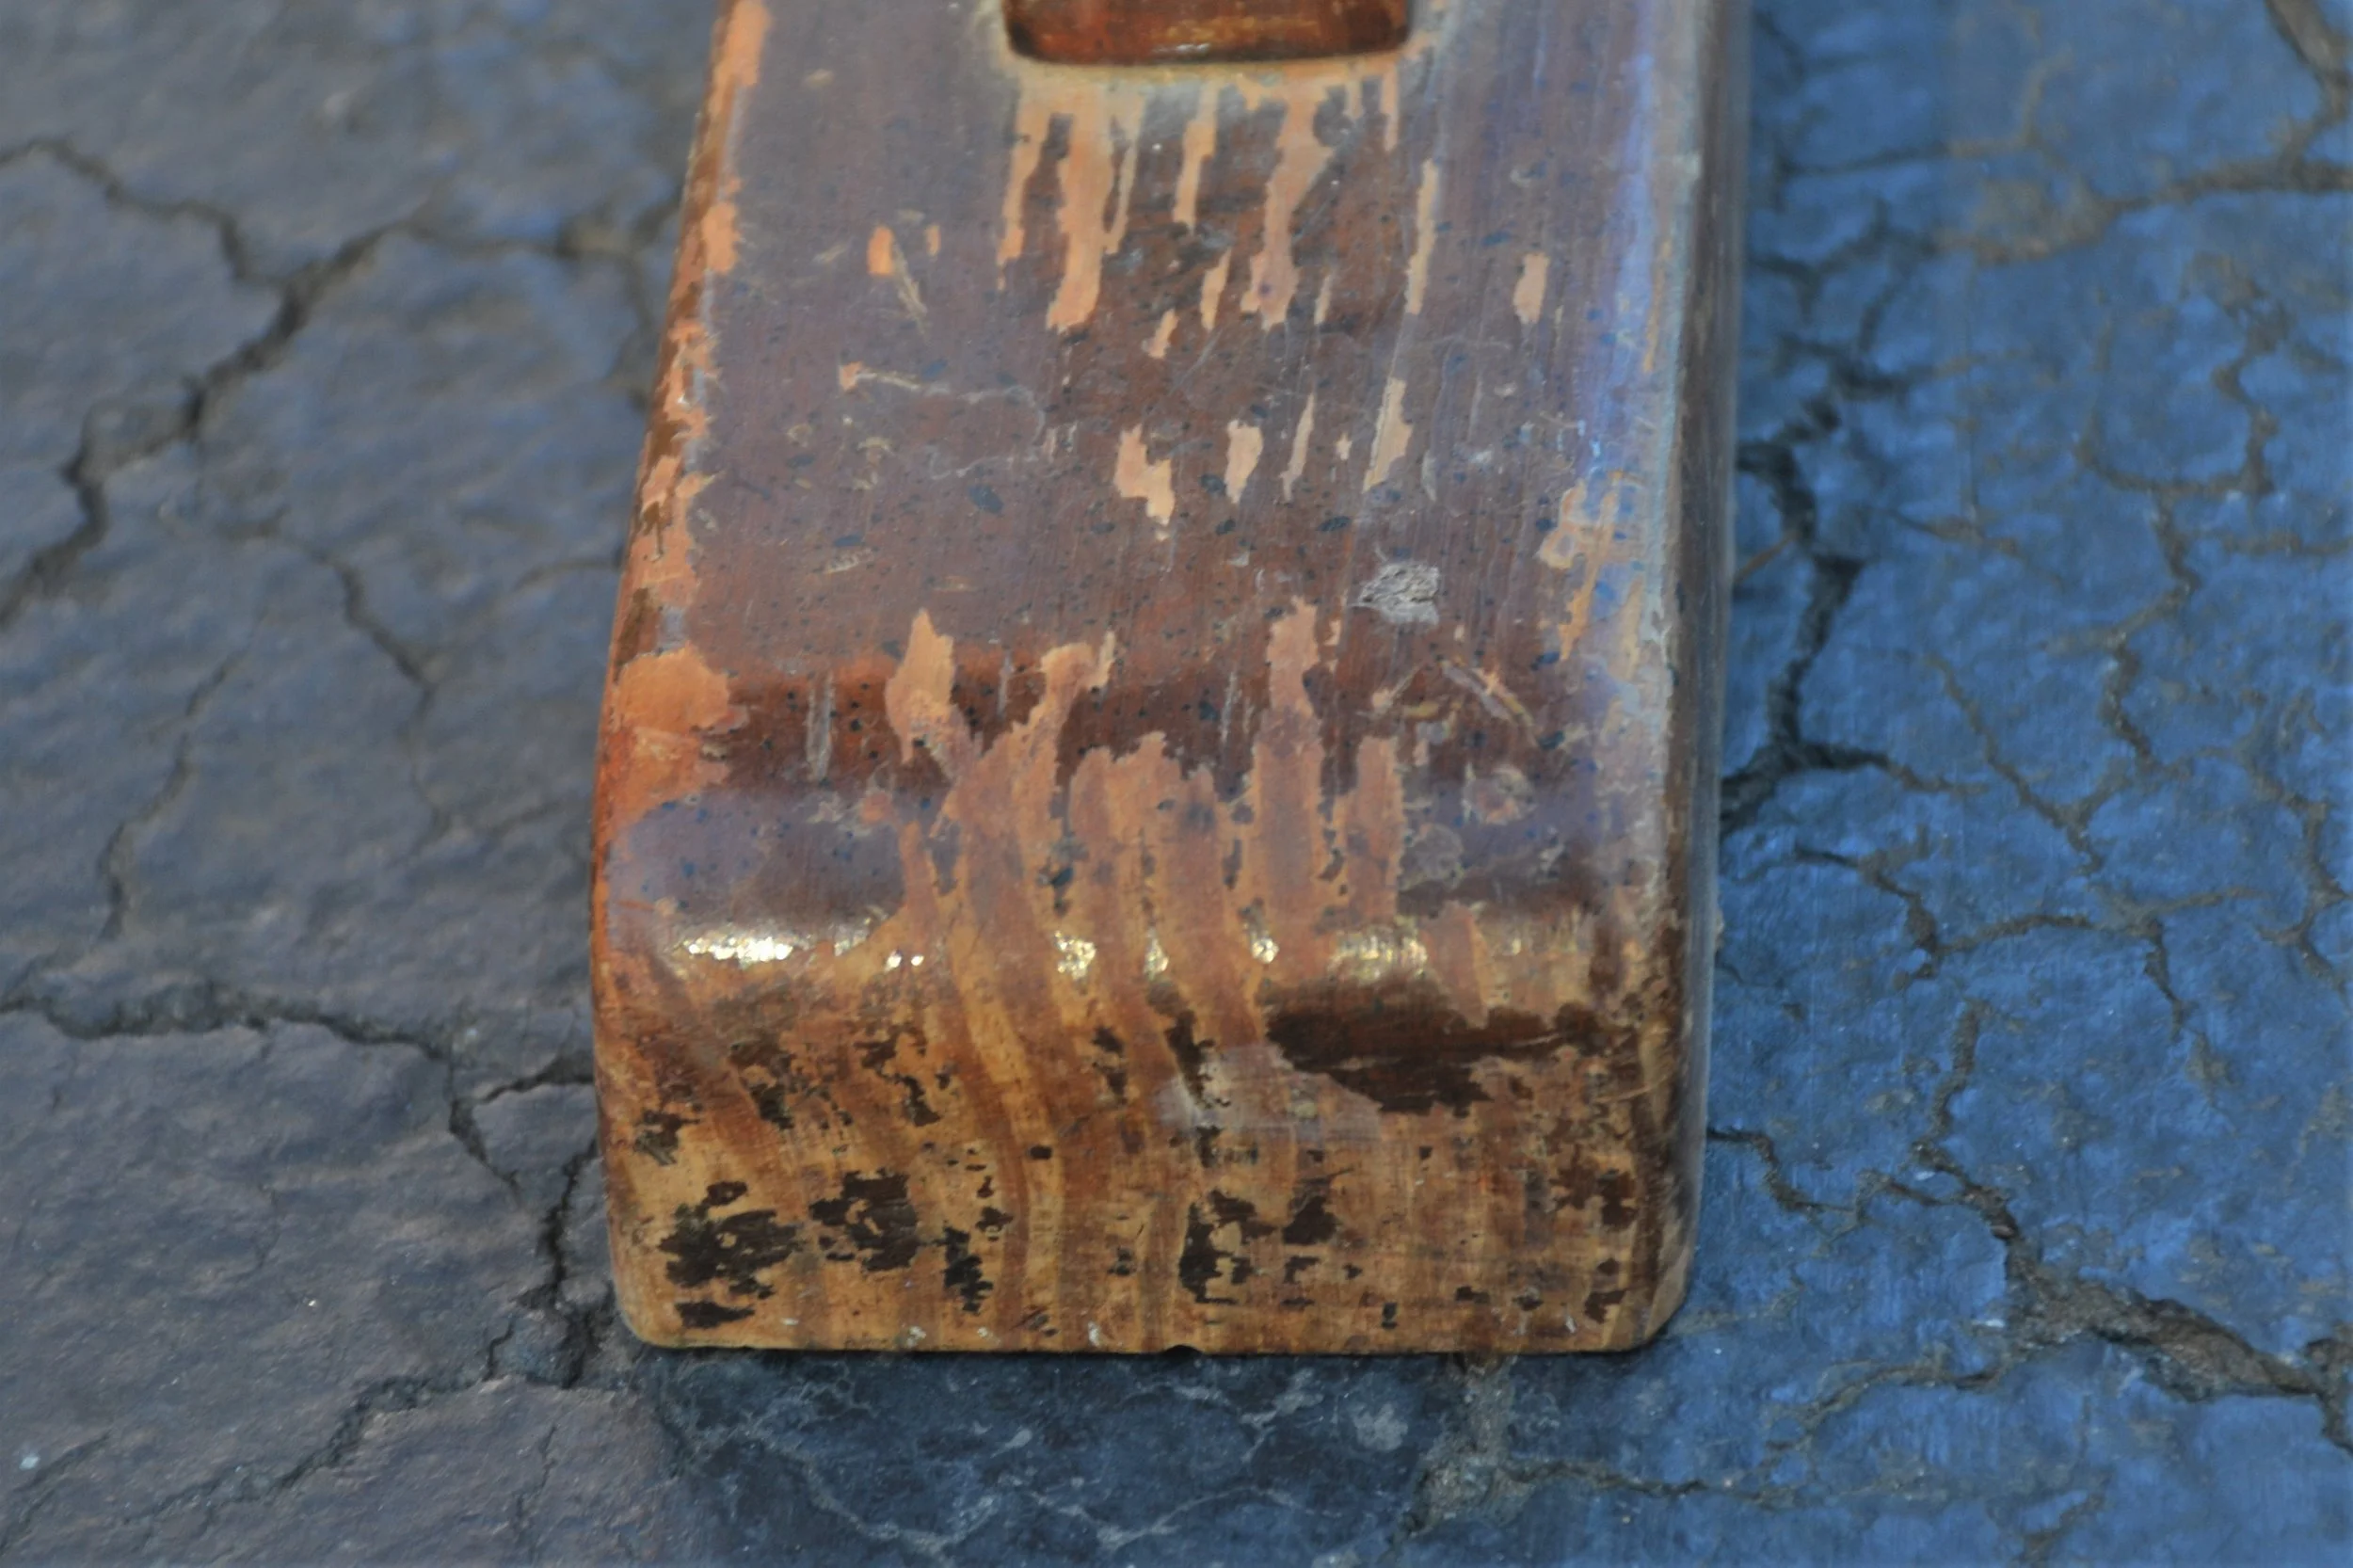
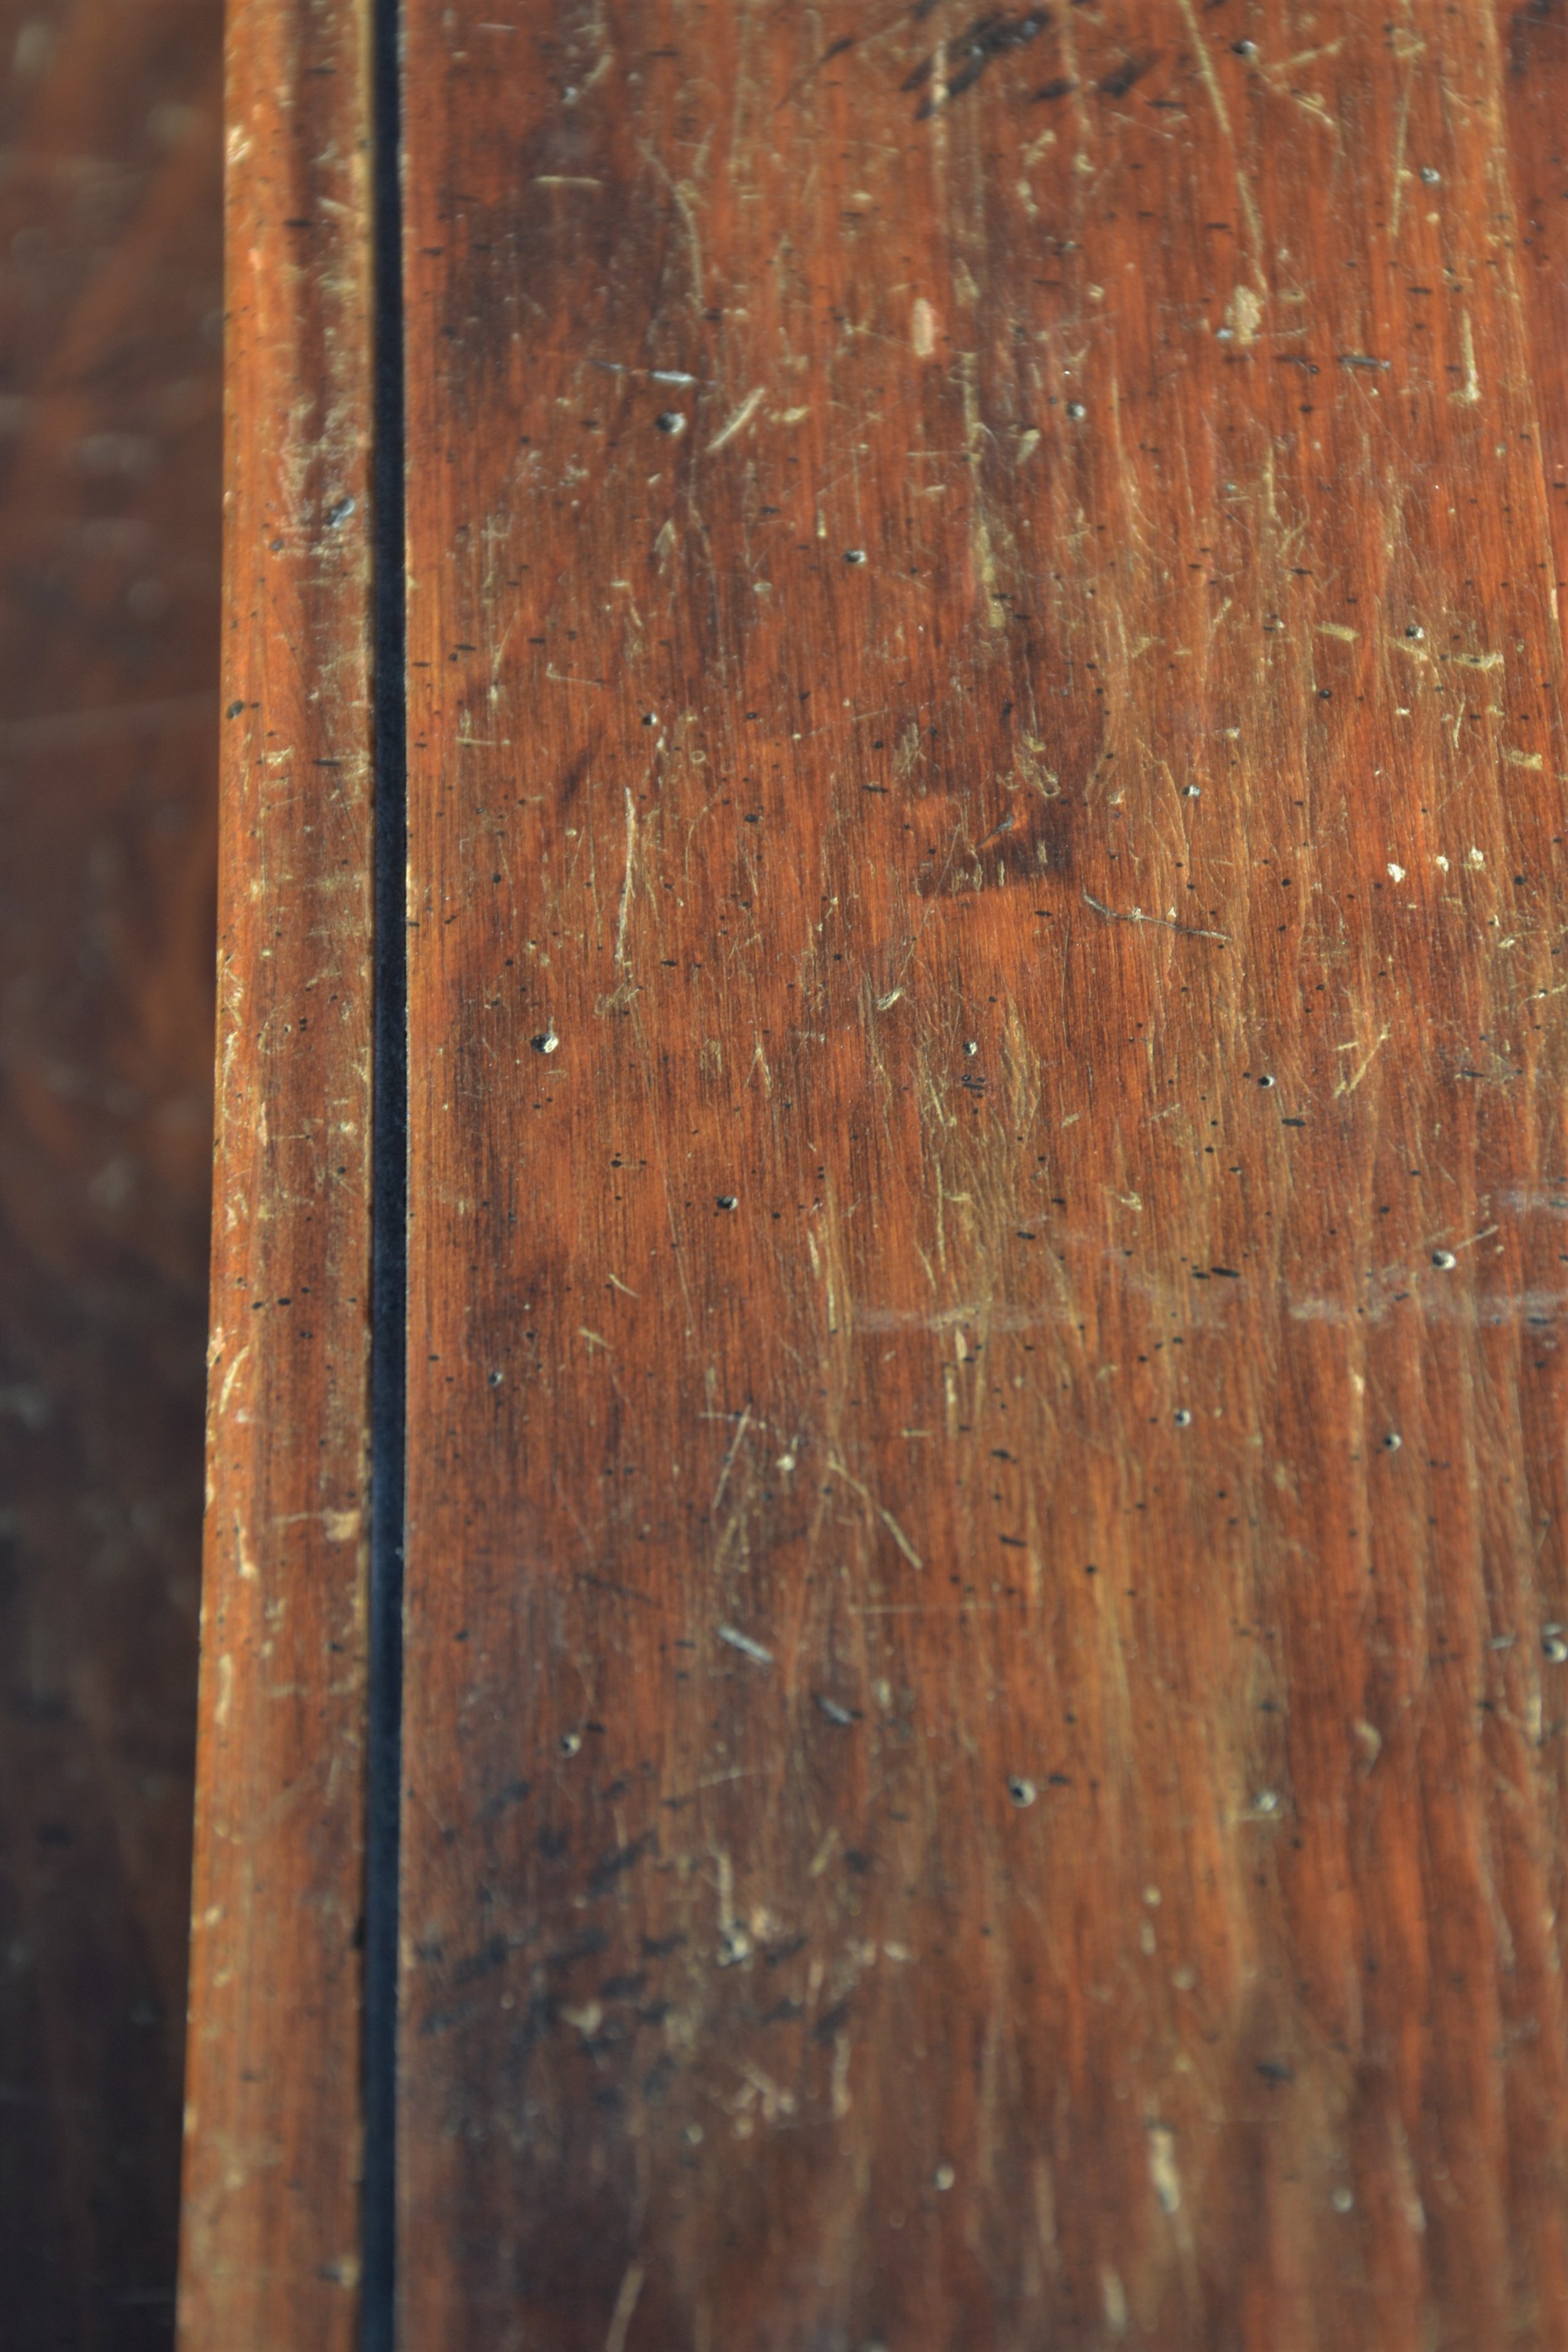
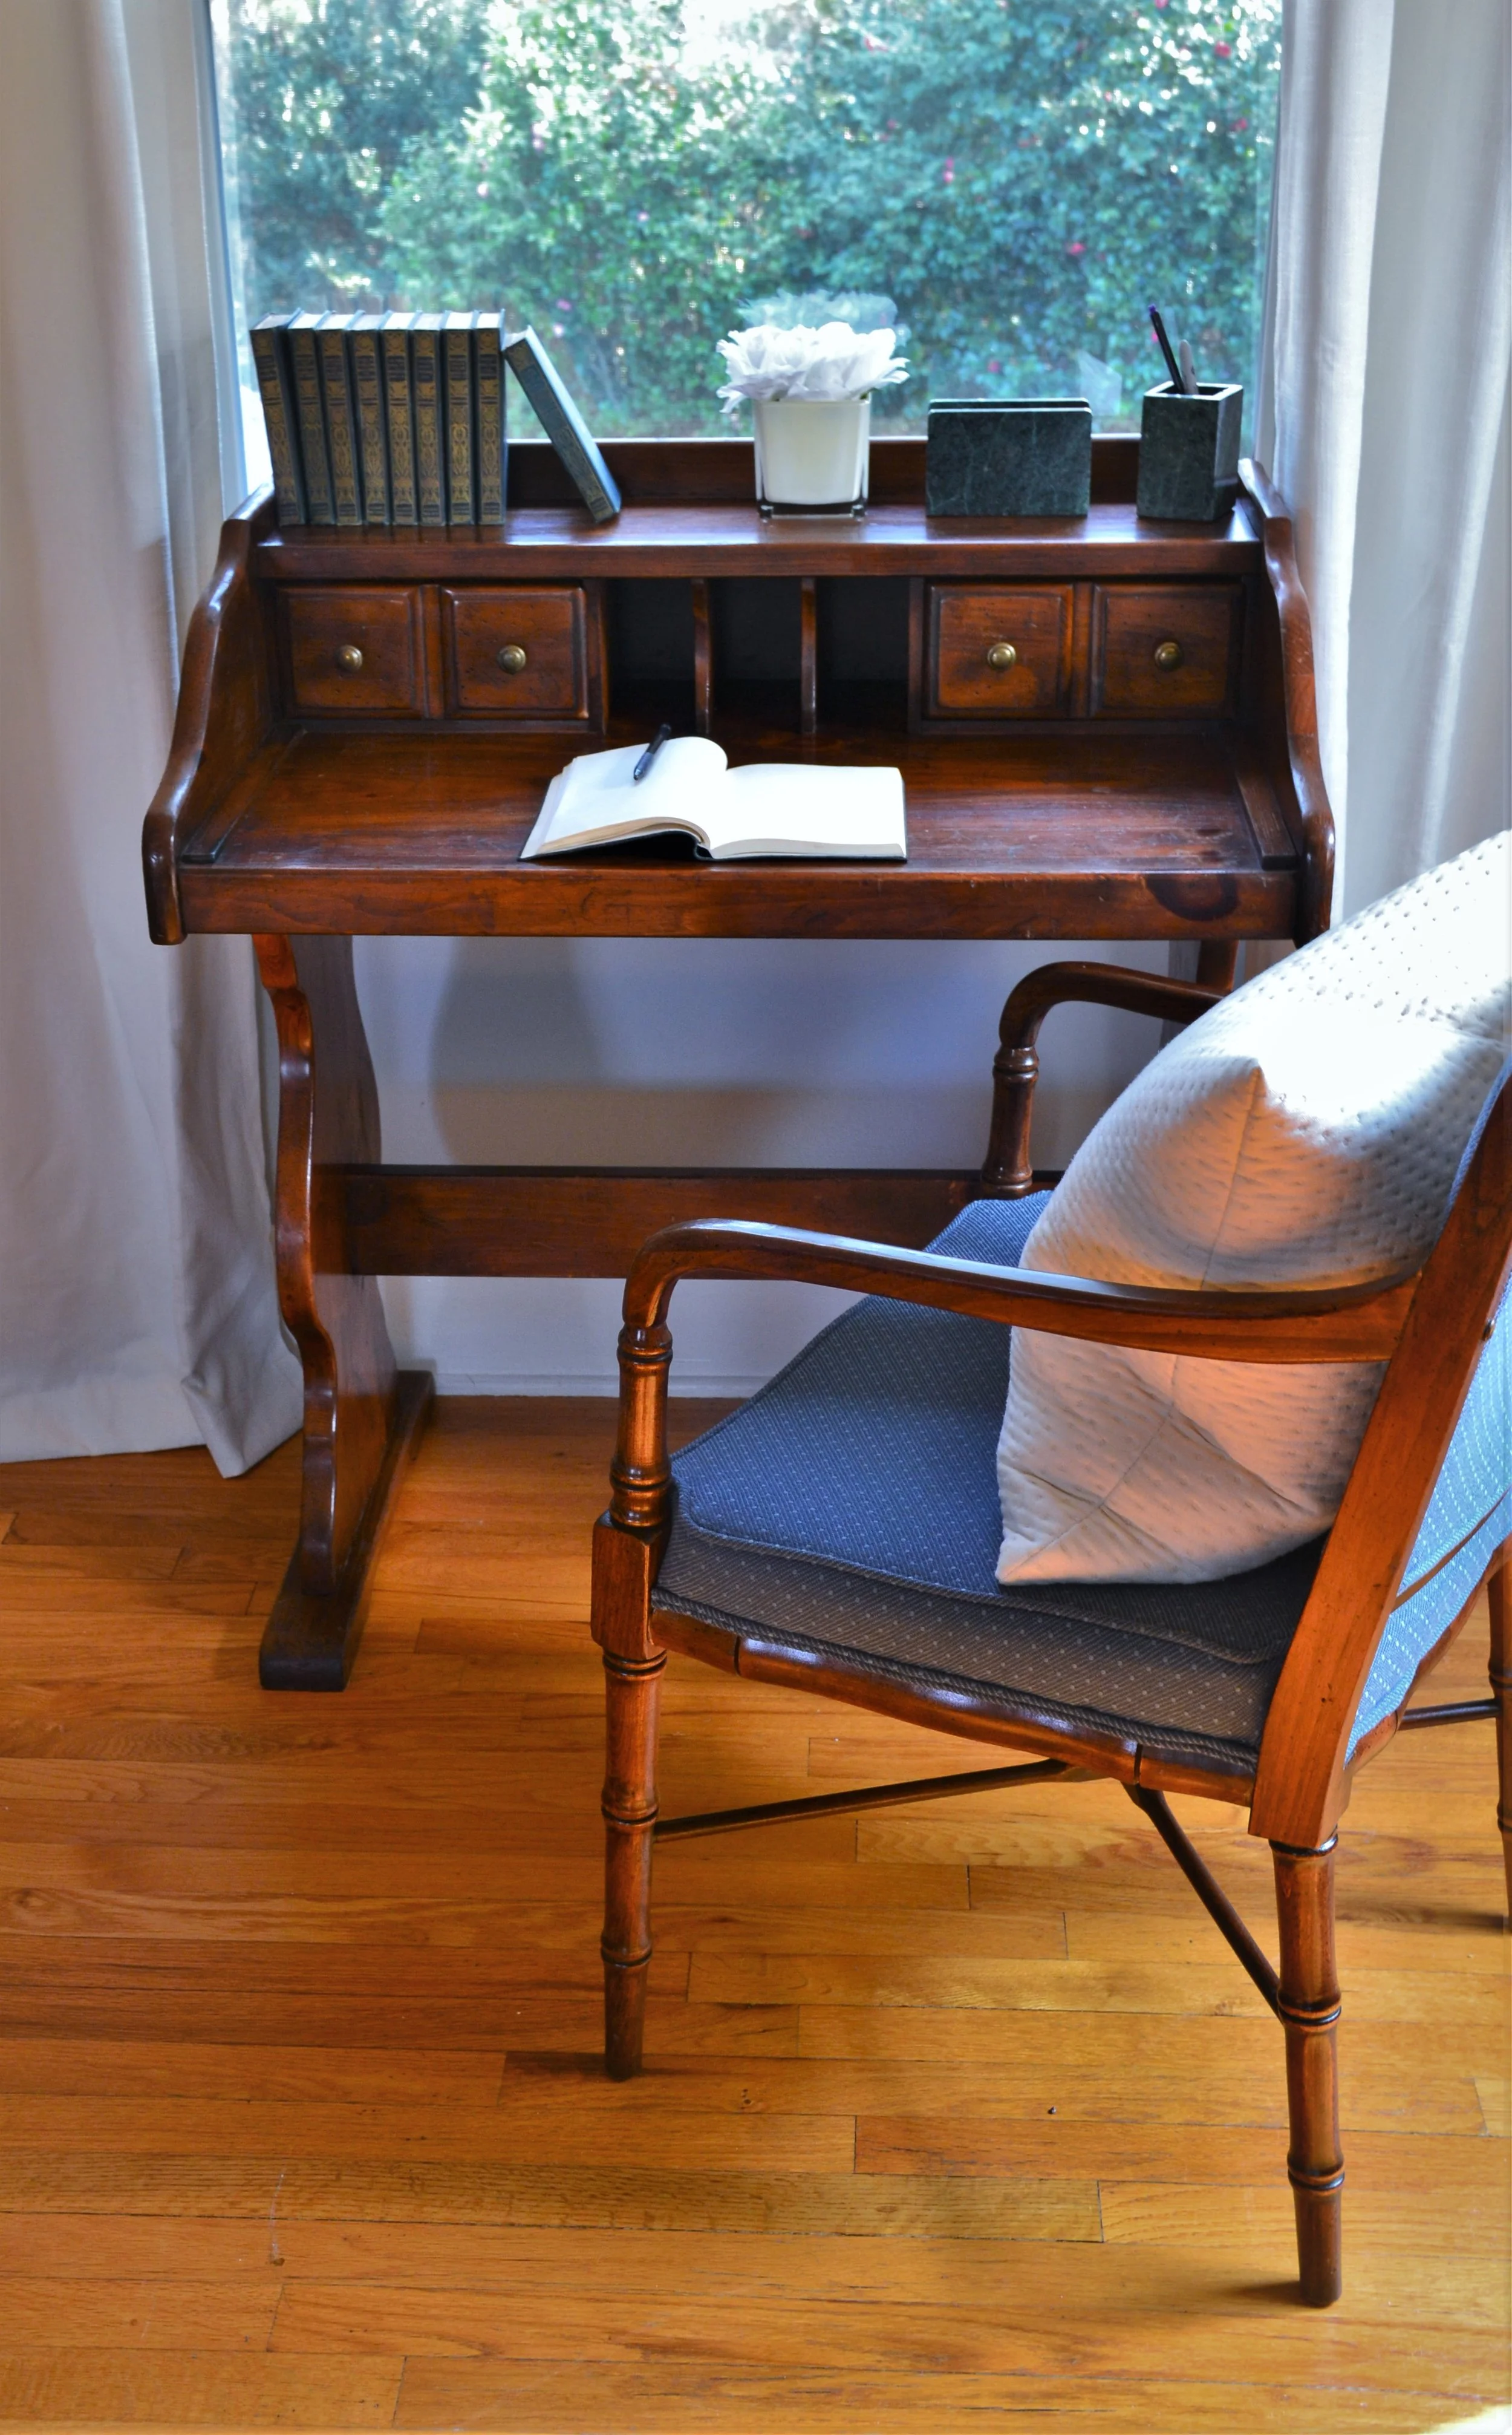
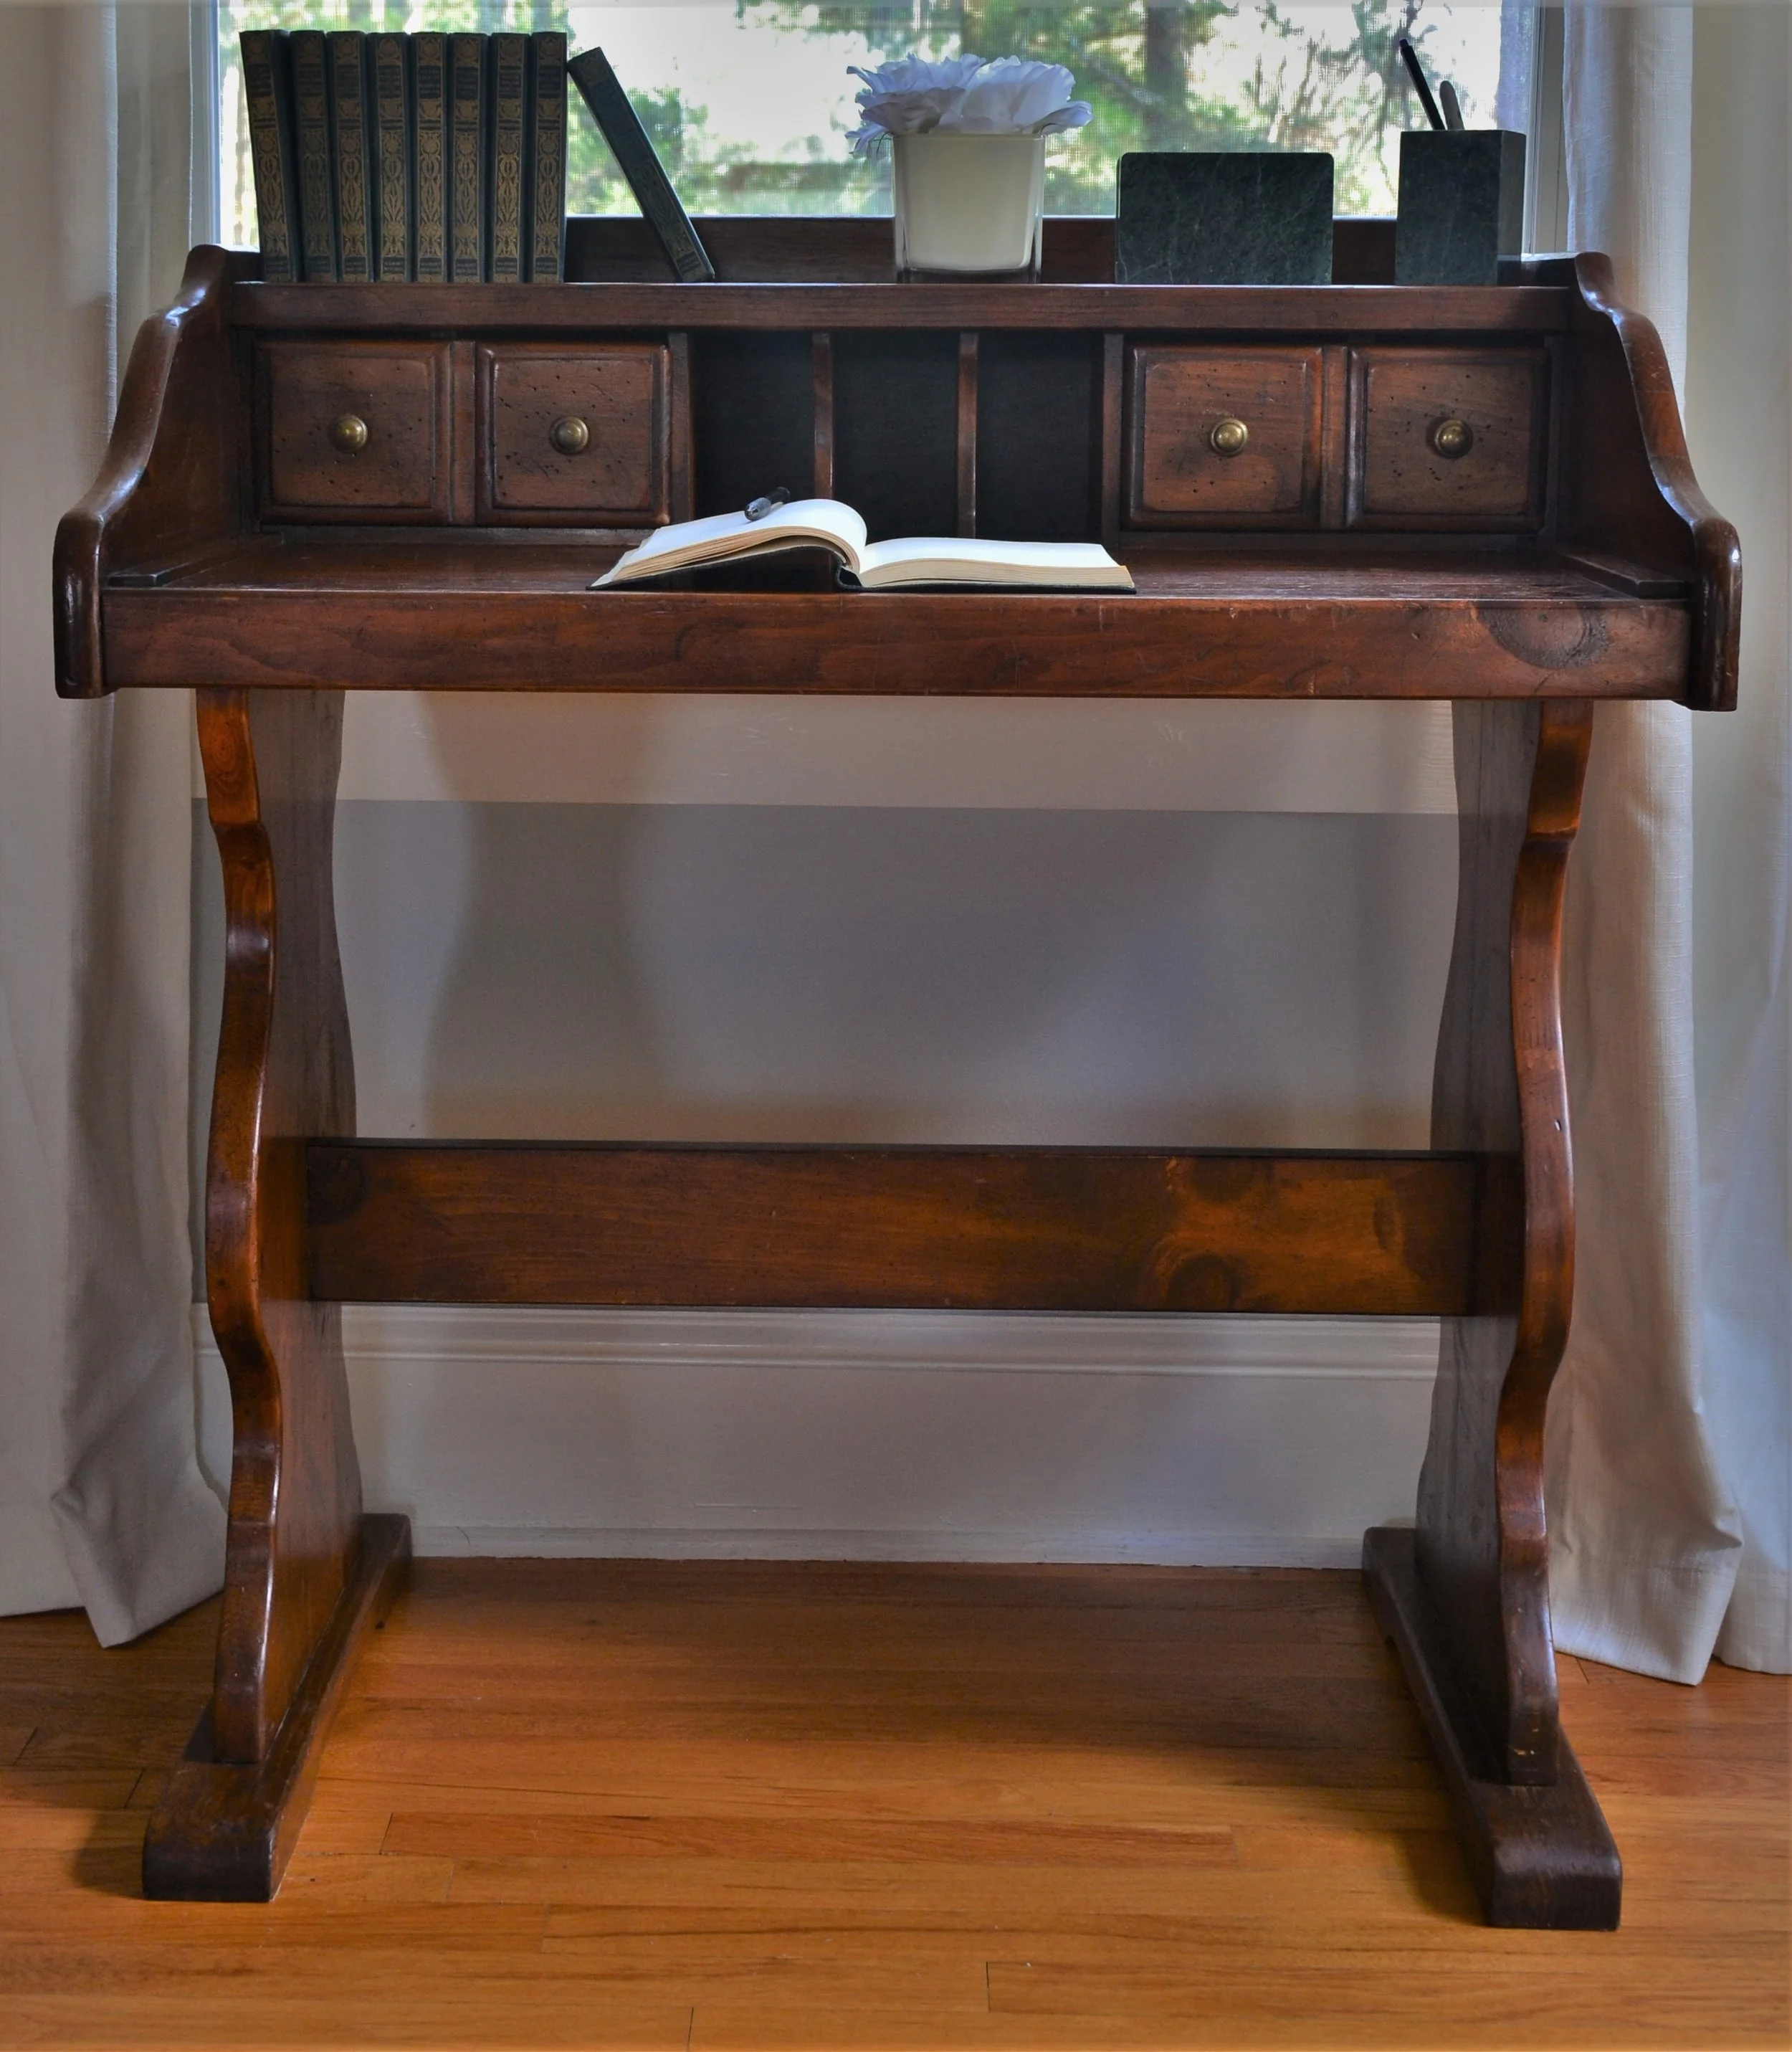
This post contains affiliate links. If you buy through them I may earn a small commission, at no extra cost to you. I only recommend products I actually use.
Quick answer: Here is how to remove stains from vintage furniture: mix equal parts warm water, white vinegar, all-purpose cleaner, and a small amount of dish soap in a spray bottle. Spray the stained area, let it soak for 10 to 15 minutes, then gently agitate with a plastic bristle brush. Wipe with a microfiber towel. For deep cracks and crevices, use a toothbrush dedicated to cleaning (not the one in your bathroom).
Most thrifted and vintage furniture has stains. Water rings on tables, ink on dresser tops, food on chair seats, mildew at the base of legs from a damp garage. These are not deal-breakers. They are the reason you can buy a $400 piece for $40. The trick is knowing how to read each stain and which solution to use without damaging the original finish.
This is the exact cleaning solution and process I use on every vintage piece I bring home. It works on most wood finishes, painted furniture, and upholstery. The handful of cases where you should not use this method are at the end of the post.
The all-purpose cleaning solution I use
One mixture handles 90 percent of vintage furniture stains. Mix these four ingredients in a clean spray bottle and shake to combine:
Dawn dish soap — a small squeeze (about 1 teaspoon)
This combination lifts most surface stains, neutralizes odors, and is gentle enough not to strip vintage wood finishes when applied lightly and wiped quickly.
The tools you actually need
Three tools handle almost every stain scenario. Skip the specialty cleaners and brushes until you find a stain that needs them.
A multi-pack of cleaning toothbrushes — for crevices, carving, hardware, and corners. Do not reuse a toothbrush from your bathroom. The cleaners we use are not safe to put back in your mouth.
Microfiber cleaning cloths — for wiping away the lifted stain. Cotton rags work but microfiber holds more.
How to remove stains from vintage furniture: step-by-step
Step 1 — Identify the surface
Before you spray anything, identify what you are working with. Raw wood, sealed wood (varnish or polyurethane), painted wood, veneer, laminate, leather, and fabric all respond differently. The all-purpose mixture is safe on sealed wood, painted wood, laminate, and most upholstery. For raw wood or oil-finished wood, dilute it further and test in a hidden spot first.
Step 2 — Spray the stained area thoroughly
Hold the spray bottle 6 to 8 inches from the surface and apply enough solution to coat the stain. You want it wet but not pooling. On vertical surfaces like chair legs, apply less and re-spray as needed.
Step 3 — Let the solution soak for 10 to 15 minutes
This is the most-skipped step and the one that makes the biggest difference. The dwell time is what gives the cleaning agents time to penetrate and lift the stain. Set a timer. Walk away. Come back.
Step 4 — Agitate gently with a plastic brush
When I say agitate, I do not mean scrub aggressively. I mean small circular motions with light pressure. The goal is to lift the stain to the surface, not grind it deeper. On vintage finishes, aggressive scrubbing strips the finish faster than the stain comes out.
Step 5 — Use a toothbrush for cracks and crevices
For carved details, joinery, around hardware, and along the seams of upholstered furniture, a toothbrush is the right tool. The smaller bristles reach where a regular brush cannot, and the toothbrush angle gives you finer control.
Step 6 — Wipe with a microfiber towel
Lift the dirty solution off the surface with a clean microfiber cloth. Use a dabbing motion first to absorb, then a wiping motion to clear. Replace the cloth as it gets dirty. Leaving the dissolved stain on the surface lets it set back in as it dries.
Step 7 — Repeat if needed
Most stains lift in one pass. Old ink, deep water rings, and 20-year-old grease may need two or three rounds. Repeat the spray, soak, agitate, wipe cycle. If the third pass produces no further lifting, the stain has set into the material and likely needs spot refinishing instead.
Stain-by-stain quick reference
Water rings on wood
Spray the all-purpose mixture lightly. Let soak 10 minutes. Agitate with a toothbrush. Wipe. If the ring persists, try a paste of equal parts baking soda and white toothpaste applied with a microfiber cloth in circular motions for 60 seconds.
Ink stains on wood or laminate
Spray, soak 15 minutes, agitate with a toothbrush. For stubborn ink, dab a small amount of rubbing alcohol on a cotton swab and roll it over the stain (do not scrub). Wipe immediately.
Food and grease stains
The all-purpose mixture handles these well. The dish soap and Simple Green cut grease while the vinegar neutralizes odor. Two passes usually clears them.
Mildew or musty smell on wood
Spray, soak 15 minutes, agitate, wipe. Then leave the piece in direct sunlight for 2 to 4 hours. UV light kills surface mildew the cleaner cannot reach. Repeat once if the smell returns.
Sticker and adhesive residue
Spray the residue, let soak 15 minutes, then peel with a plastic scraper or fingernail (not metal, which gouges finish). For stubborn residue, follow with a small amount of olive oil on a microfiber cloth, then re-clean with the all-purpose mixture to remove the oil.
Pet urine on upholstered seats
Skip the all-purpose mixture for this one. Use an enzyme-based pet odor eliminator instead. Enzymes break down the proteins in urine that vinegar cannot reach.
What to do after the stain is out
Once the stain is lifted and the surface is dry, finish the restoration with one of two products depending on the wood’s condition.
For surface scratches and dull finish
Apply Howard Restor-A-Finish in the matching wood tone with a soft cloth. It restores the existing finish without stripping or sanding. This is the closest thing to a magic restoration product I have ever used.
For dry, thirsty wood
Follow with a wood feed wax like Howard Feed-N-Wax. Apply with a soft cloth, let soak 20 minutes, buff with a clean cloth. Brings the wood back to a deep, healthy luster.
When to skip this method
True antique pieces. Anything pre-1900 or museum-quality should be evaluated by a professional restorer before cleaning.
Original milk paint or shellac finishes. Water-based cleaners damage these. Use a soft dry brush only.
Veneer that is lifting or bubbling. Liquid cleaners worsen lift. Re-glue first, clean second.
Painted pieces with chalking or crazing. Test in a hidden spot. Old chalk paint can soften.
Key takeaways
One mixture handles most vintage furniture stains: warm water + vinegar + Simple Green + dish soap.
Dwell time is the secret. Let the solution sit 10 to 15 minutes before agitating.
A toothbrush is the best tool for crevices, hardware, and joinery.
Wipe with microfiber, not paper towels, to fully remove dissolved stain.
Refinish dull wood with Howard Restor-A-Finish or Feed-N-Wax after cleaning.
Skip this method on true antiques, milk paint, lifting veneer, or chalking paint.
Frequently asked questions
What is the best way to remove stains from vintage furniture?
A mix of warm water, white vinegar, all-purpose cleaner, and a small amount of dish soap handles most stains. Spray, let soak 10 to 15 minutes, agitate gently with a plastic brush, then wipe with a microfiber cloth. Repeat for stubborn stains.
How do I remove water rings from vintage wood?
Light water rings often lift with the all-purpose cleaning mixture after a 10-minute soak and gentle agitation. For deep rings, a paste of baking soda and white toothpaste applied in small circles for 60 seconds is the next step. Wipe and condition with Howard Feed-N-Wax to restore the finish.
Can you use vinegar on vintage wood furniture?
Yes, when diluted. Pure vinegar can damage some finishes. A 1:1 mix of vinegar and water with a small amount of dish soap is safe on sealed wood, painted wood, and laminate. Test in a hidden spot first on oil or wax finishes.
What is the best brush for cleaning vintage furniture?
A medium-stiffness plastic bristle brush for flat surfaces, plus a multi-pack of cleaning toothbrushes for crevices, carving, and hardware. Avoid wire brushes, which scratch most finishes.
How long should you let cleaner sit on vintage furniture stains?
10 to 15 minutes is the sweet spot. Long enough to penetrate and lift the stain, short enough that the solution does not dry on the surface. Set a timer and walk away.
Should you sand a stained vintage piece?
Not first. Always try cleaning before sanding. Sanding removes the original finish and patina that gives vintage pieces their character. Most stains lift with the right cleaning method without losing the finish.
How do you restore wood finish after removing stains?
Apply Howard Restor-A-Finish in a matching wood tone for surface scratches and dull finish, or Howard Feed-N-Wax for dry, thirsty wood. Both restore without stripping or sanding.
Final notes on how to remove stains from vintage furniture
Most people overcomplicate how to remove stains from vintage furniture. One safe cleaning solution, three basic tools, and the right dwell time handles 90 percent of stains without damaging finish. If you remember nothing else about how to remove stains from vintage furniture, remember this: dwell time and gentle agitation beat aggressive scrubbing every single time.
About Anna Katherine
I am Anna Katherine Page. I share furniture restoration, resale, and home care tips from Seneca, South Carolina. I rehab thrifted and vintage furniture as a side hustle and have brought hundreds of pieces back from stained, scratched, and dusty to ready-to-list. Follow along on TikTok and YouTube for more restoration content.
Last updated: June 5, 2026 · By Anna Katherine Page
This post contains affiliate links. If you buy through them I may earn a small commission, at no extra cost to you. I only recommend products I actually use.
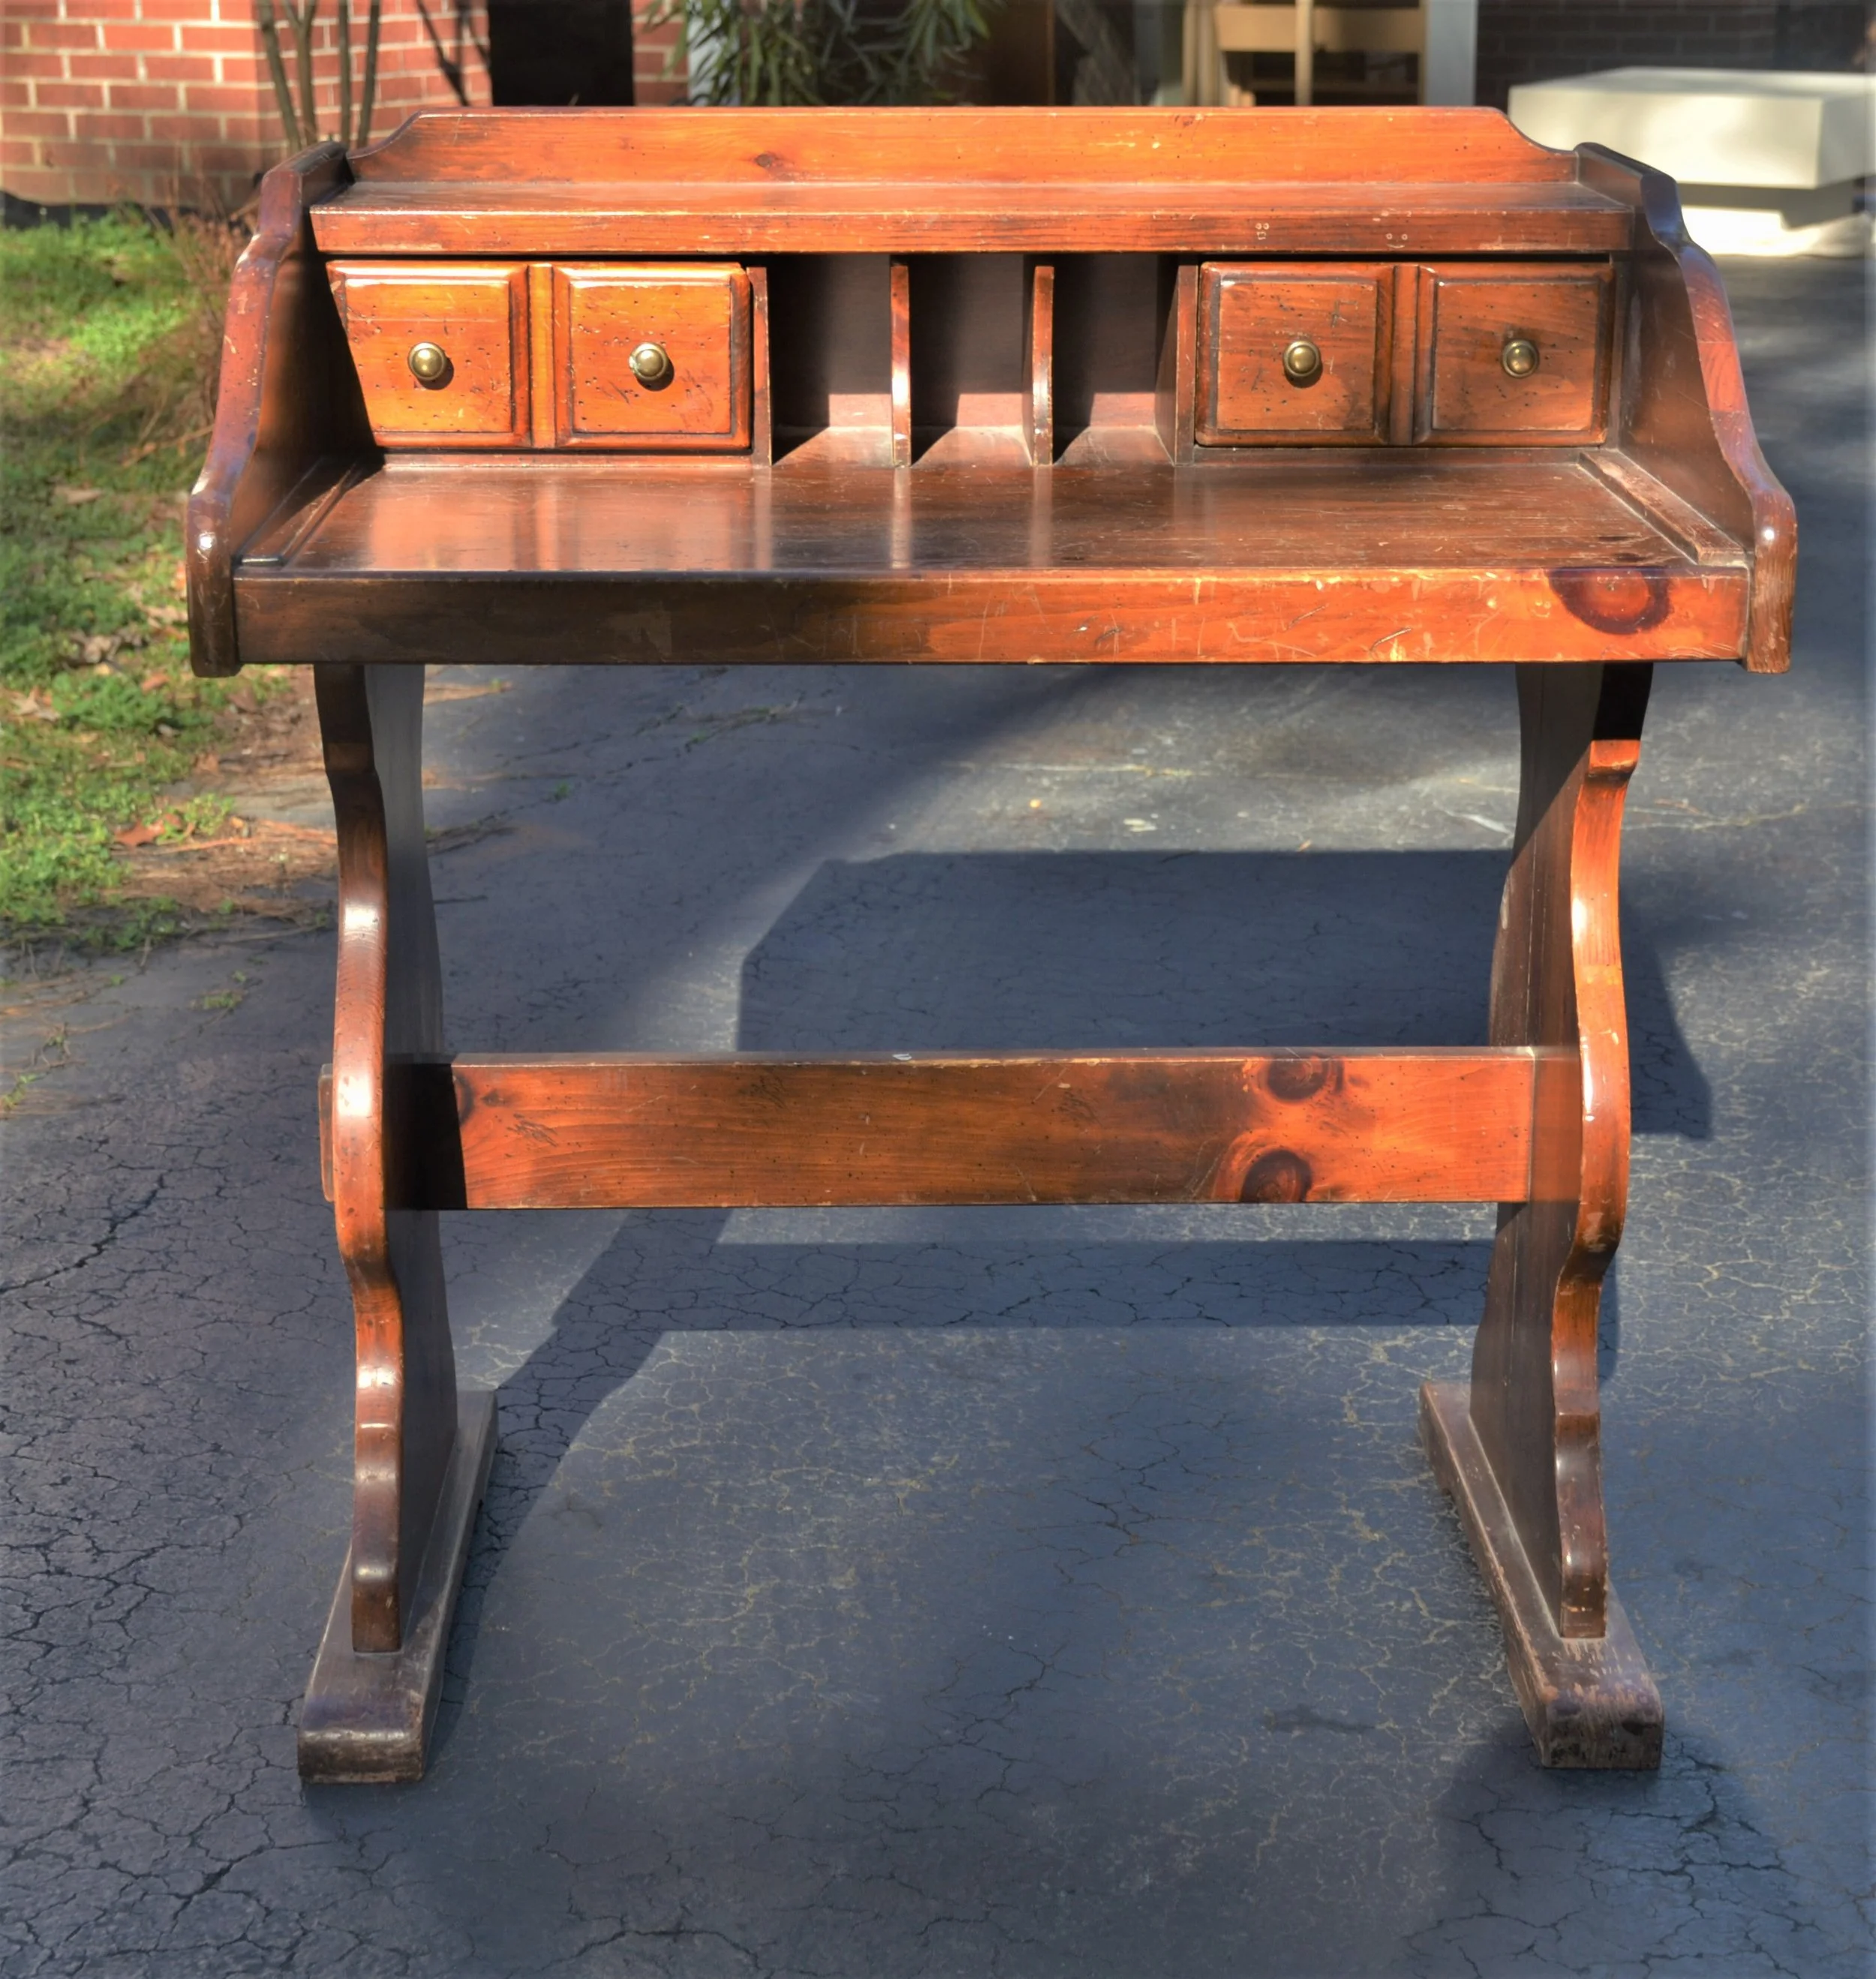
Quick answer: A simple thrifted desk makeover with no paint at all. I picked up a vintage wood desk at a thrift store for $25, cleaned it with Murphy’s Oil Soap, conditioned it with Old English wood oil that has a touch of stain, and sealed it with SC Johnson paste wax. Three easy steps, and the original character of the piece stayed intact.
This thrifted desk makeover started with a $25 score at the thrift store and ended with a piece I love a hundred times more than anything I could have bought new. The whole project uses just three products, no paint, and protects what makes vintage wood furniture special: its grain, color, and the little quirks that come from a piece having a life before you.
Vintage wood desks at thrift stores are some of the best values you can find. Real solid wood, joinery that has already proven itself, and prices a fraction of what you would pay for a comparable new piece. A thrifted desk makeover takes that bargain and turns it into a piece you actually love, often without changing its character at all. You are not building from scratch, you are coaxing what is already good back to the surface.
What you will need for the thrifted desk makeover
Murphy’s Oil Soap. A gentle wood cleaner that lifts grime without stripping the finish. (Find it on Amazon)
Old English wood oil with stain. Conditions dried-out wood and adds a touch of color where it needs it. (Find it on Amazon)
SC Johnson paste wax. Seals and protects with a soft, low-sheen finish. (Find it on Amazon)
Soft cloths or microfiber rags for applying each product.
How to refinish a thrifted wood desk in 3 easy steps
Clean with Murphy’s Oil Soap. Mix according to the bottle directions, dampen a soft cloth, and work it across the whole desk to lift years of grime. Wipe down with a clean damp cloth and let the wood fully dry.
Condition with Old English wood oil. Apply a thin coat of the wood oil with stain, following the grain, and let it soak in. The oil rehydrates dried-out wood and the touch of stain evens out faded or worn spots without covering the grain.
Seal with SC Johnson paste wax. Once the oil has set, rub on a thin layer of paste wax with a clean cloth, then buff to a soft sheen. This protects the surface and gives it a finish that feels like real wood instead of plastic.
That is the entire thrifted desk makeover: clean, condition, seal. No sanding, no painting, no power tools.
Keeping the original character details
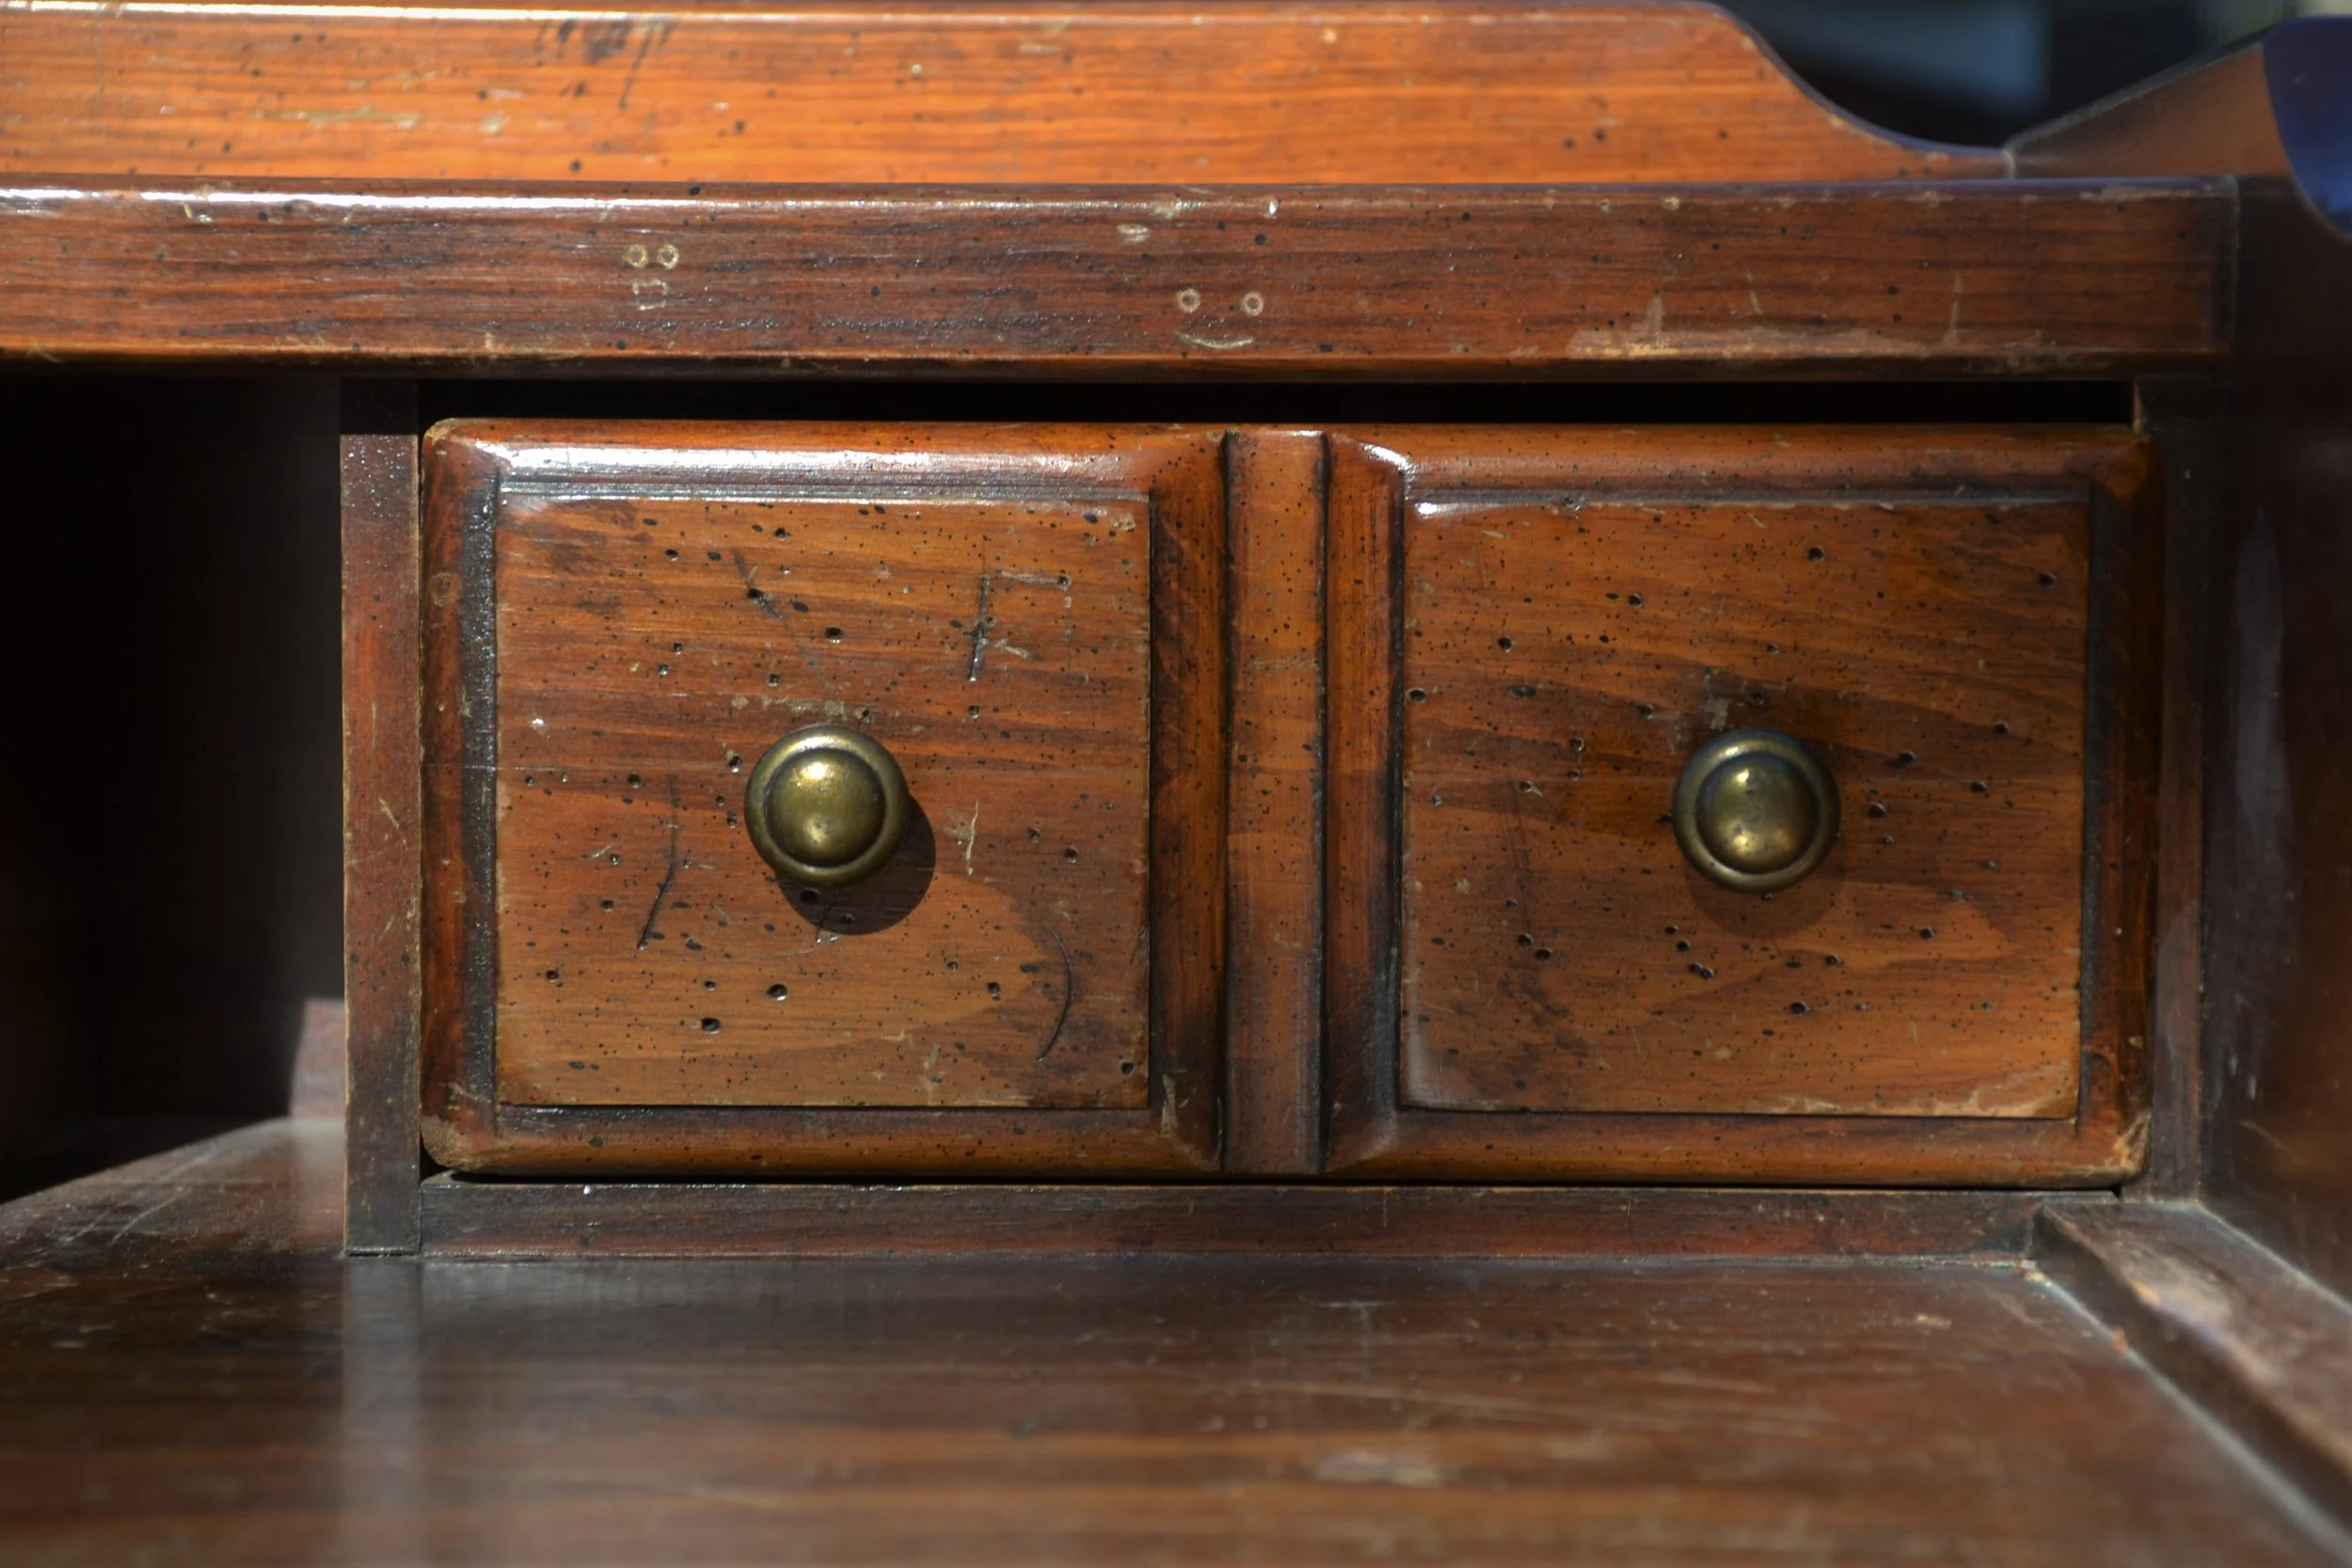
One of the best things about this desk: it had a few original smiley faces carved into it from whoever owned it before. I left them in. A thrifted desk makeover is at its best when you protect the parts that make the piece unique, not erase them. Carvings, original hardware, color variations, the patina on the edges. Those are the details that make a vintage piece feel intentional in a room, not like another mass-produced board.
Why oil and wax instead of paint
Painting a wood desk is fast and dramatic, and there is a time for it (I have done plenty of painted furniture projects too). But on a beautiful piece of real wood, paint covers exactly what makes it valuable. Oil and wax do the opposite. They feed the wood, deepen its color, and protect it without hiding the grain. For a vintage thrifted desk with character, this approach almost always reads better.
Key takeaways
This thrifted desk makeover took three products and three steps.
Clean with Murphy’s Oil Soap, condition with Old English wood oil with stain, seal with paste wax.
No paint, no sanding, no covering up the wood grain.
Original details like carvings and hardware stay intact and add character.
Frequently asked questions
How long does a thrifted desk makeover like this take?
About an afternoon. Cleaning and oil application is the bulk of the time, with drying built in. The paste wax goes on quickly and buffs out in minutes.
Do I need to sand the desk first?
Not for this approach. If the existing finish is intact and the desk just needs cleaning and conditioning, sanding would strip the patina you are trying to keep. Only sand if you are dealing with damaged or peeling finish.
What does Murphy’s Oil Soap actually do?
It is a gentle wood-safe cleaner that lifts dirt, grease, and grime without stripping the existing finish. Perfect first step for any thrifted wood furniture project.
Can I use this method on other wood furniture?
Yes. Any vintage wood piece you want to preserve without painting works with the same three steps. Side tables, dressers, dining chairs, headboards.
How often do I need to rewax the desk?
Once a year is plenty for most pieces. A quick buff with a soft cloth refreshes the finish between waxings.
Is this thrifted desk makeover beginner friendly?
Yes. There are no power tools, no sanding, and the worst case if you over-apply oil or wax is just wiping it back. This is one of the easiest finishes to get right.
About Anna Katherine
I refresh thrifted furniture and home decor on a budget and share the real, hands-on process. Follow along for honest DIY projects and the small techniques that make them look professional, on TikTok and YouTube.
Watch the original makeover and more thrift flips on TikTok.
Last updated: June 5, 2026 · By Anna Katherine Page
This post contains affiliate links. If you buy through them I may earn a small commission, at no extra cost to you. I only recommend products I actually use.
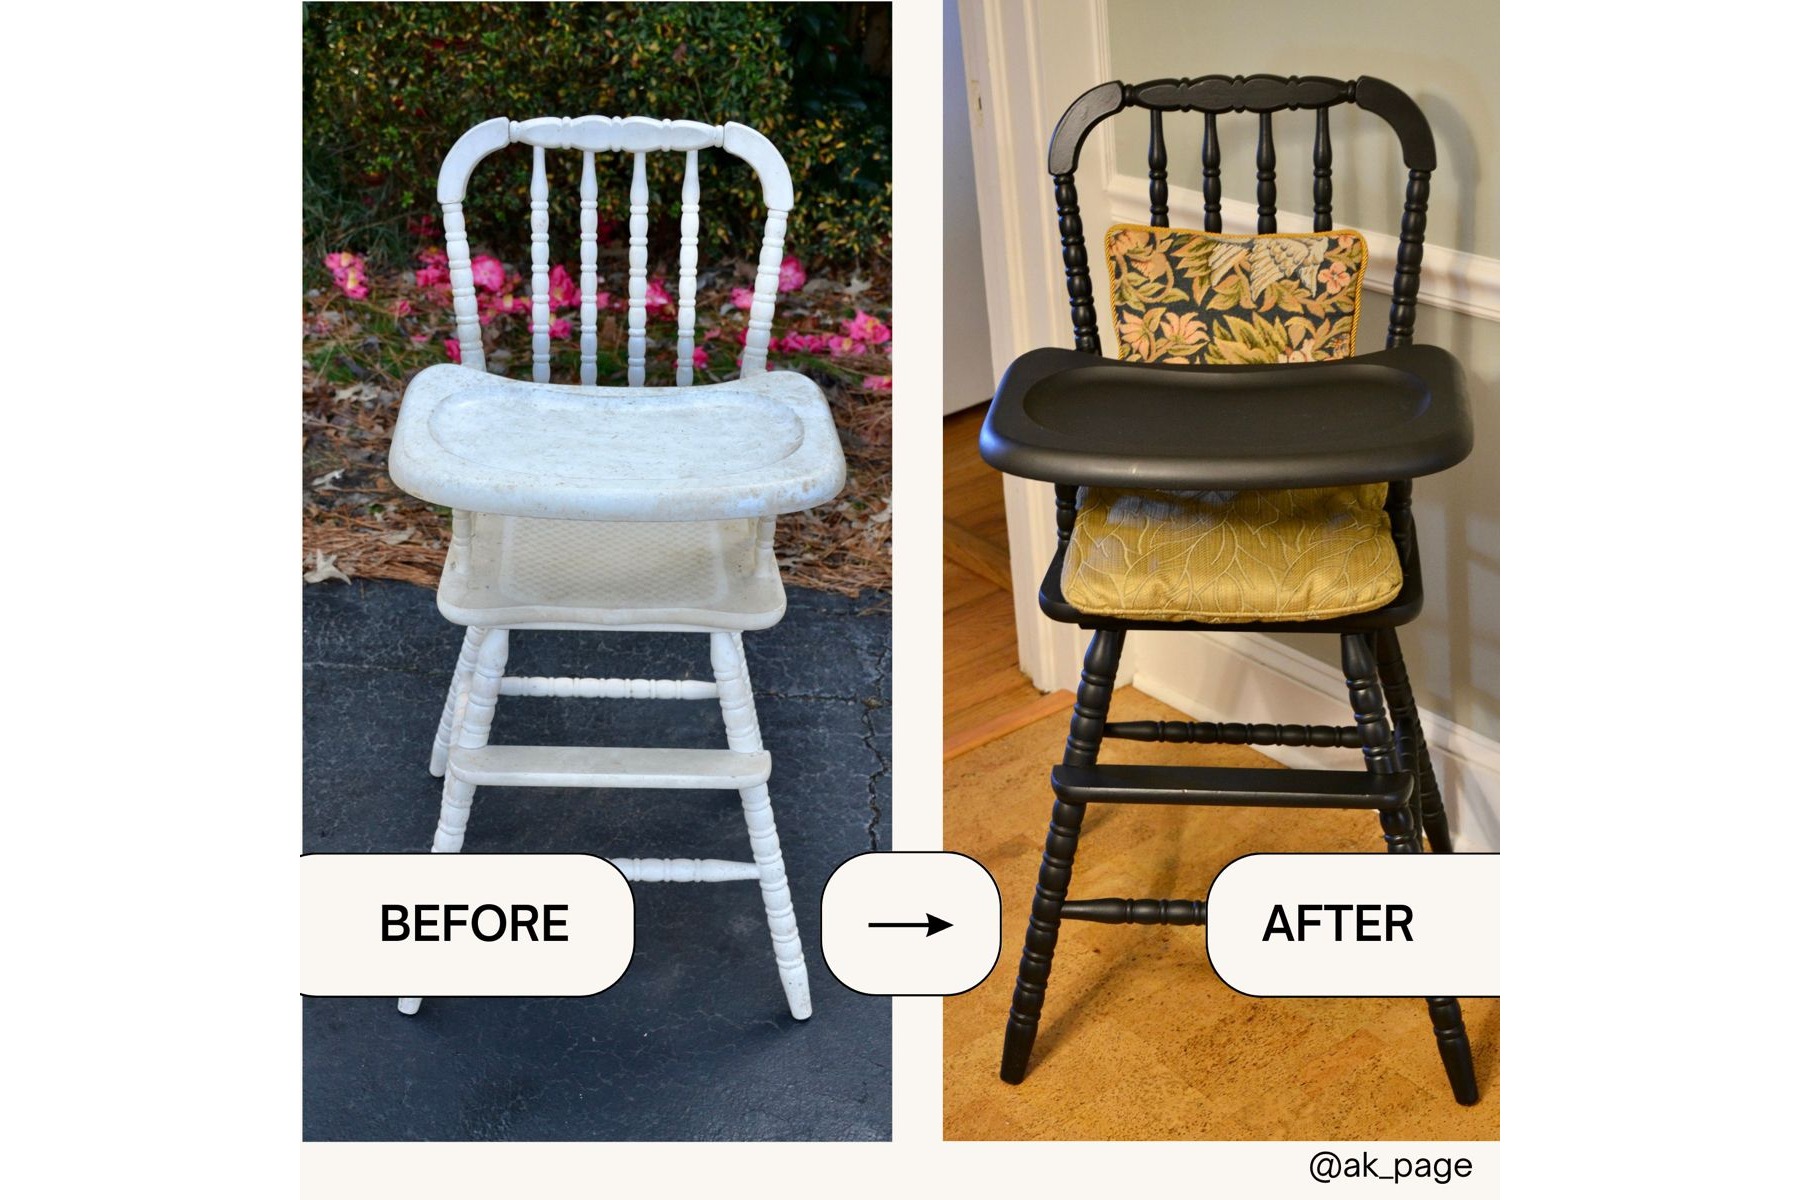
Quick answer: Here is the full Jenny Lind high chair makeover, the multi-year story of one piece. I bought this vintage 1980s chair at a thrift store for $10, painted it black to match my kitchen, then stored it in the barn for years. Recently I refinished it in white to use as a styled rental piece for my event business. This is the full multi-year makeover, paint and all.
Some pieces of furniture have more than one life in them. This vintage Jenny Lind high chair has had at least three. It started as a $10 thrift store gamble, became a black statement piece in my kitchen, sat forgotten in a barn, and is now a freshly painted rental item for first birthday parties. Here is the whole story, and how I refinished it each time.
Years ago I spotted a vintage 1980s Jenny Lind high chair at a thrift store and brought it home for just $10. A Jenny Lind is the classic style with the rows of decorative spindle turnings, and they have a timeless, slightly old-fashioned charm that is hard to find in modern furniture. At $10 it was an easy yes. I documented that very first flip on the blog back then: you can read the original Vintage 1980s Jenny Lind highchair furniture flip, and I filmed it in two parts on YouTube, Part 1 and Part 2.
Round one: painting it black
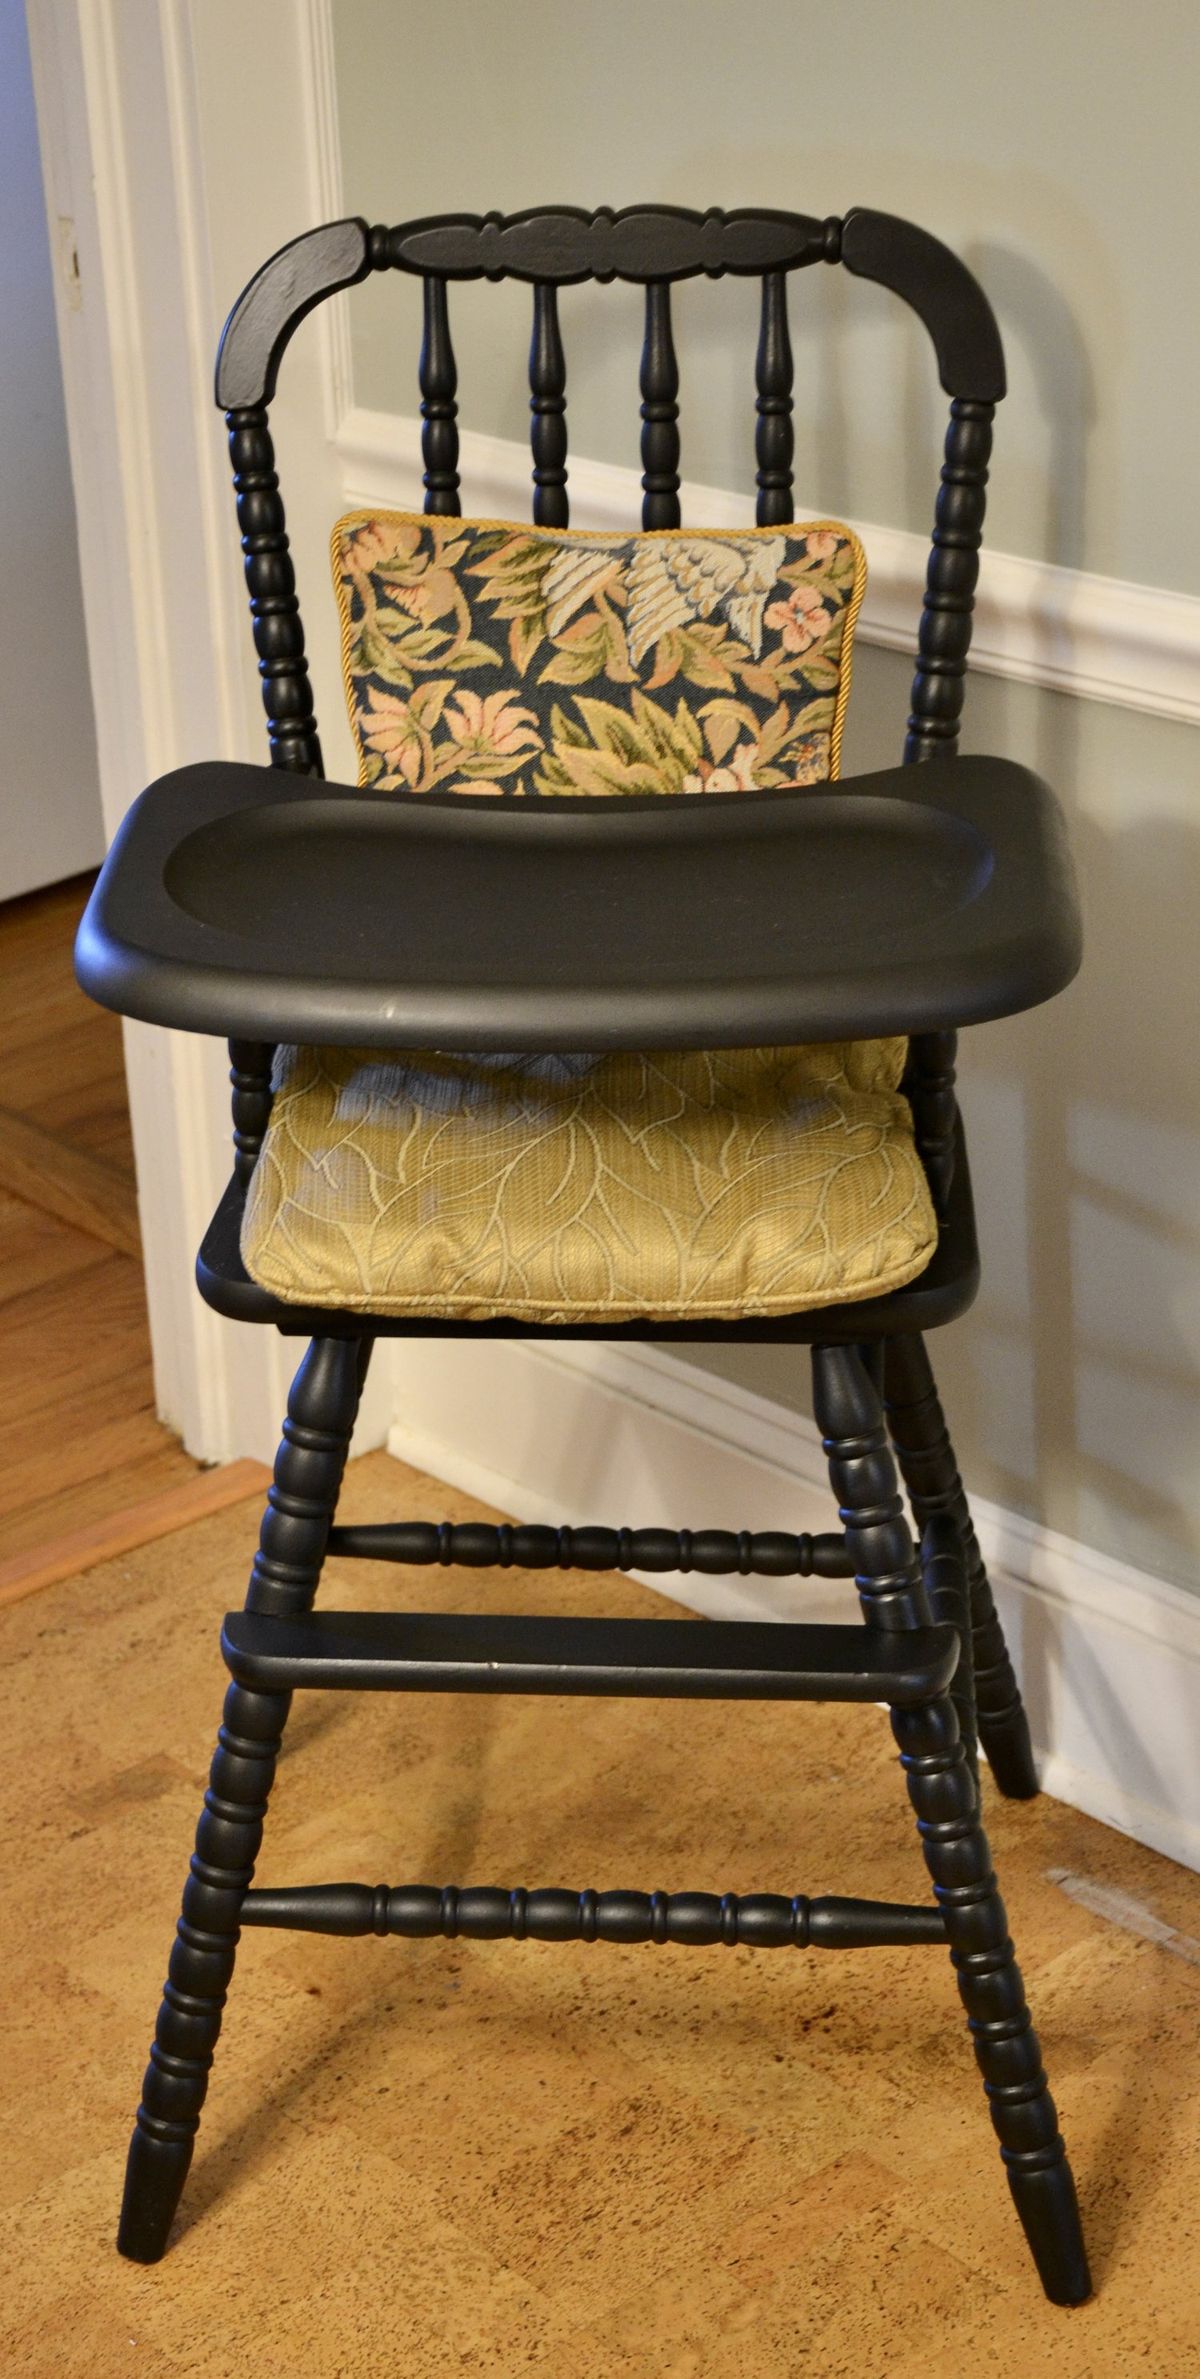
At the time, my kitchen was leaning moody and dark, so I painted the high chair black to match that vibe. It worked beautifully for that season of my home. That is the honest truth about decorating: your taste shifts, and a piece that was perfect one year can feel off the next. The high chair earned its spot for a while, then slowly stopped fitting the space.
Round one: the high chair painted black for a moodier kitchen.
Then it sat in the barn
When my style moved on, the high chair did what a lot of good furniture does. It went out to the barn for storage. It was too charming to give away and too out of step with the house to keep inside. So it waited. For a few years it was just a black vintage high chair under a dust sheet, holding its potential.
Round two: bringing it back in white
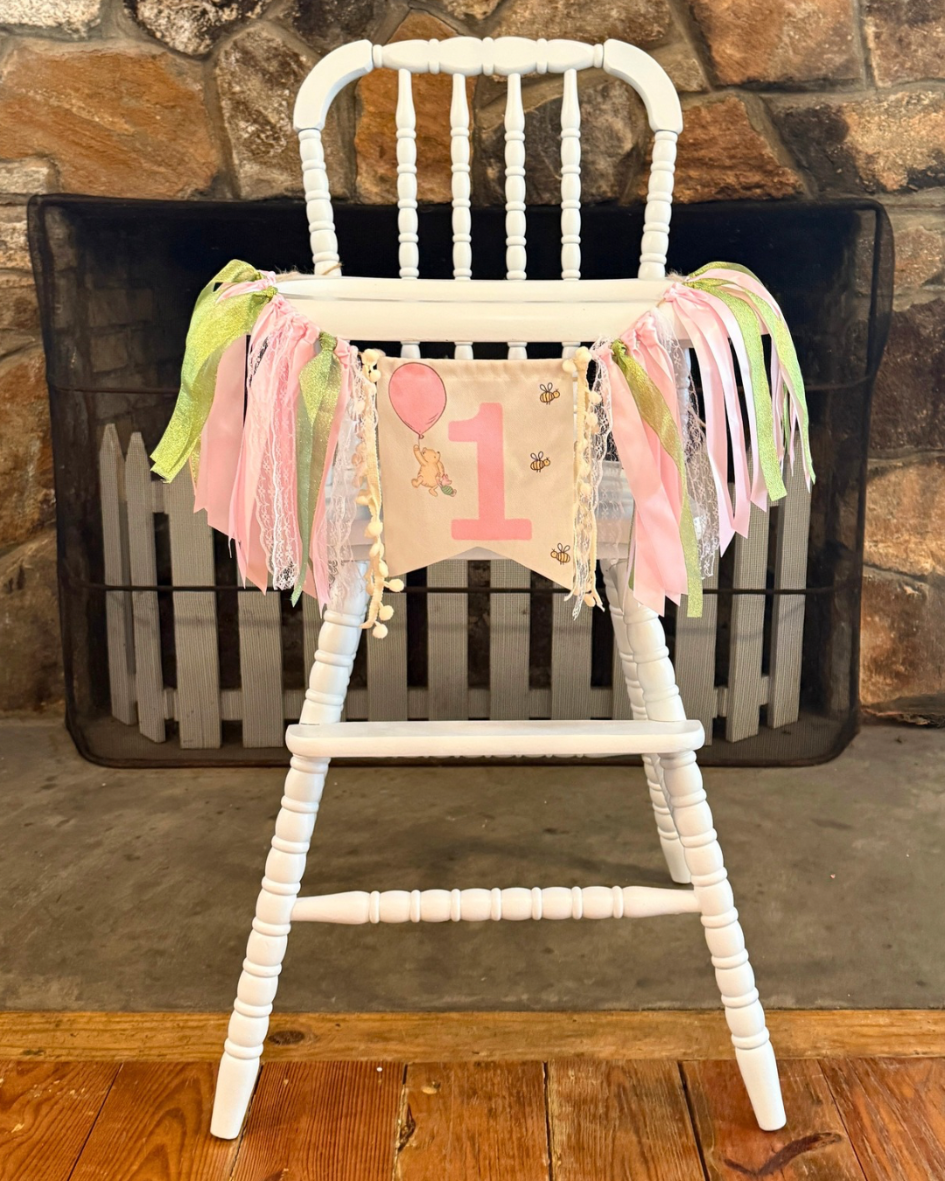
This spring it finally got its third life. I am building an event rental business, and a vintage high chair is exactly the kind of charming, photogenic piece families want for a first birthday celebration. So I pulled it out of the barn and refinished it, this time in a soft white to suit a styled party setup.
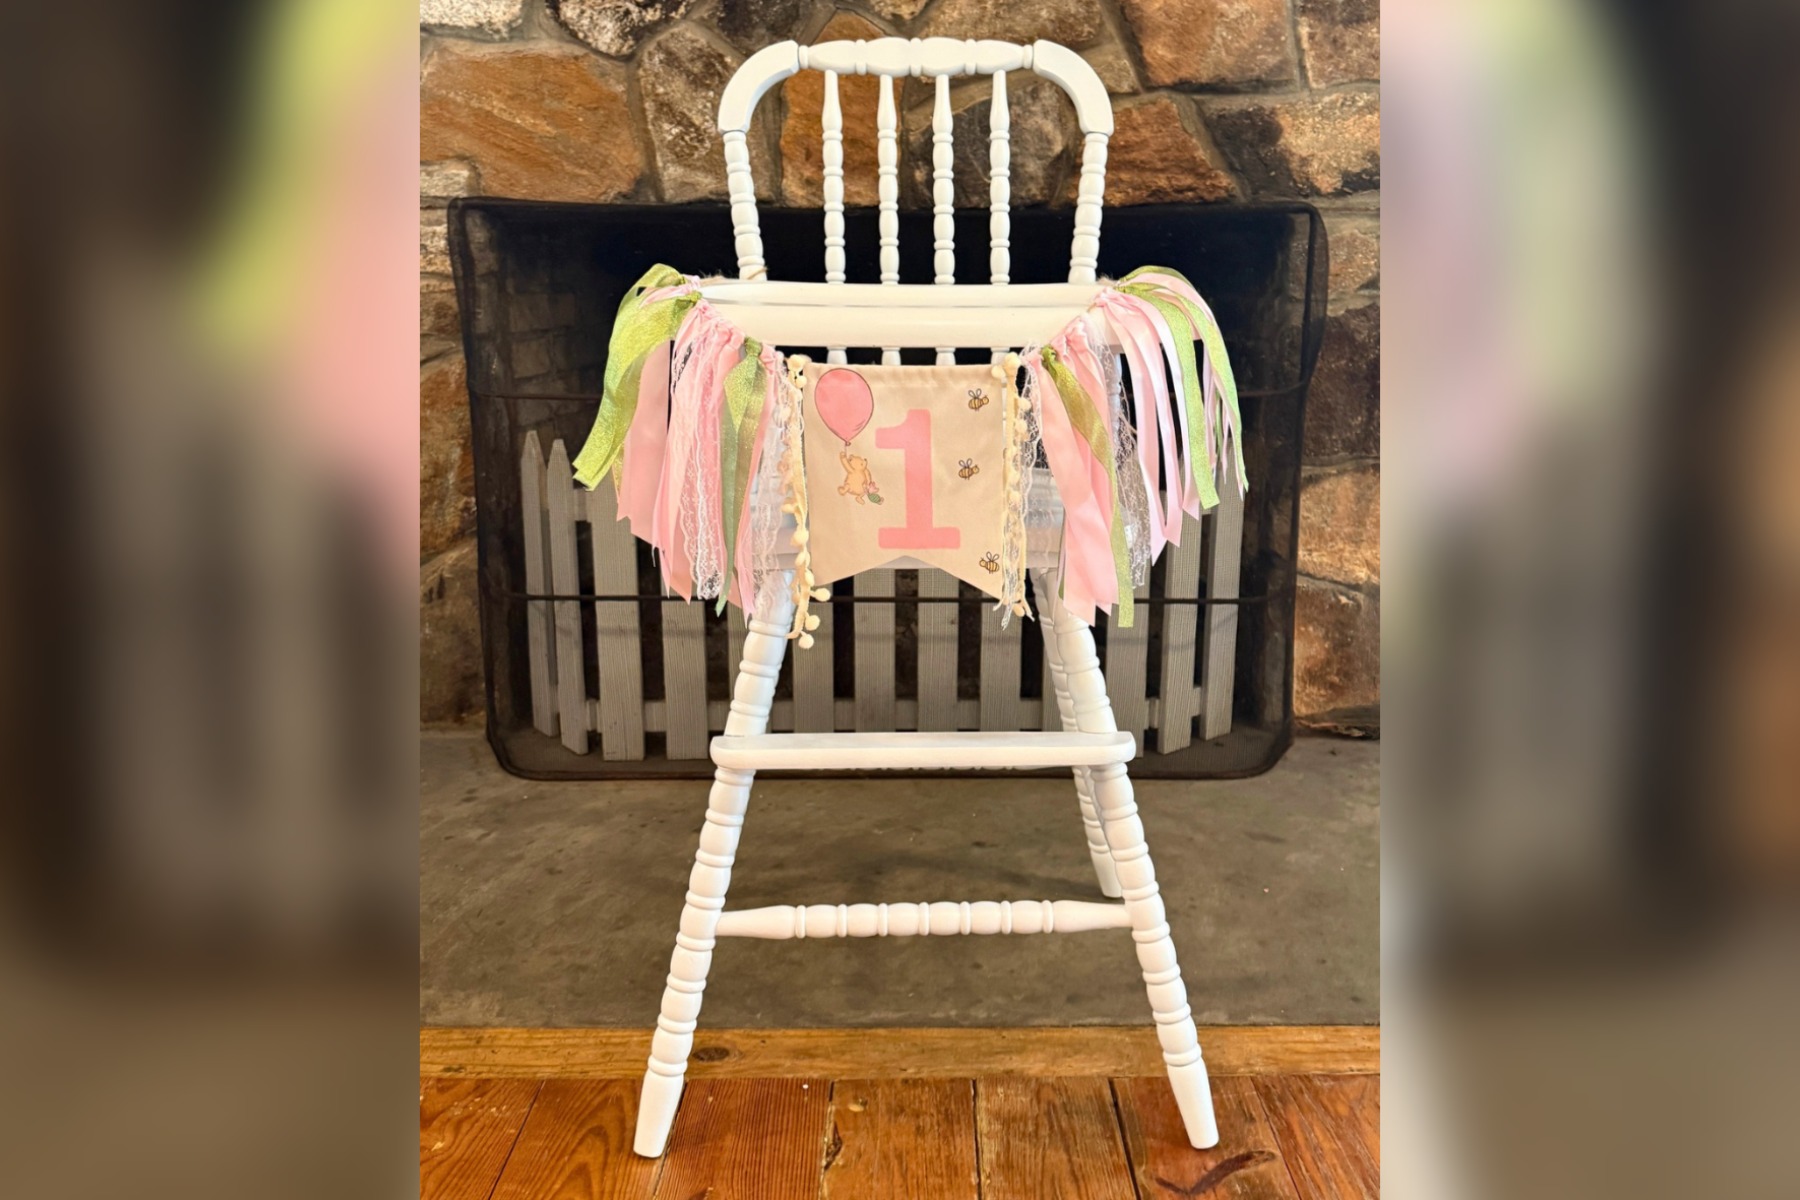
Here is how it turned out: the same $10 thrift store frame, the same charming spindles, now in a fresh white that photographs beautifully against any party backdrop.
The finished high chair in soft white, styled for a first birthday celebration.
Renting it out through Keowee Event Co
The high chair now lives a working life as a rental piece with Keowee Event Co, my event rental business. We rent backyard games and styled pieces that make gatherings feel special across Oconee and Pickens County, South Carolina. A vintage high chair is a perfect example of the kind of charming, photo-ready detail that turns an ordinary first birthday into something memorable, and giving an old piece a new purpose is exactly the point.
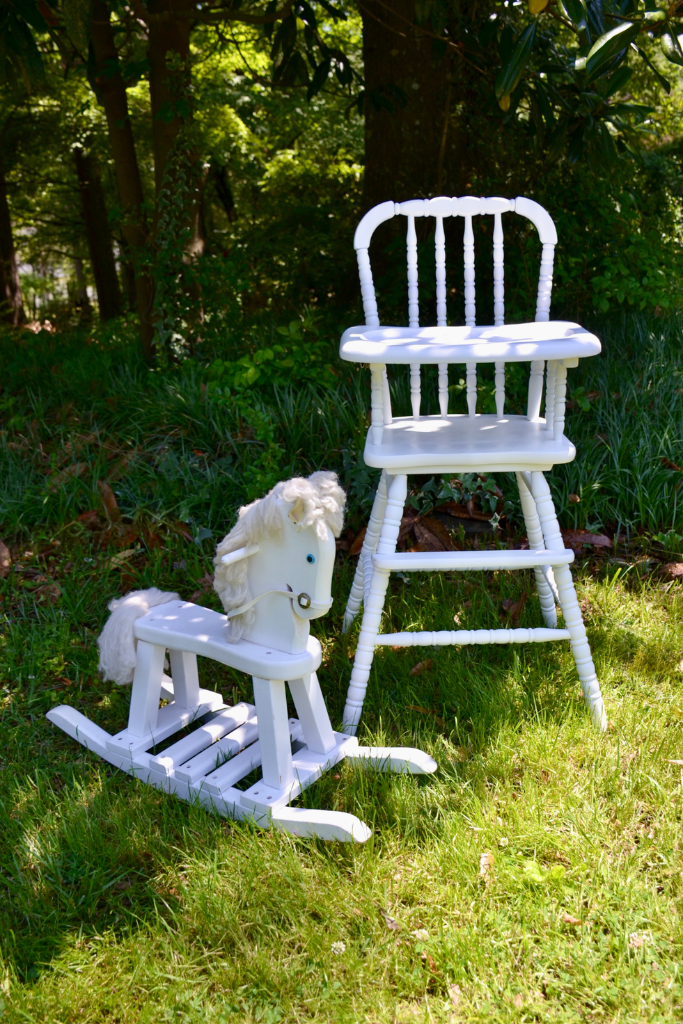
The high chair with a vintage rocking horse, both refinished as event rental pieces.
Pin this Jenny Lind high chair makeover
Saving this for your own thrift flip? Here are the pins from the project.
Key takeaways
A $10 thrifted vintage high chair has been refinished twice over several years.
Round one was black to match a moody kitchen; round two is white for event rentals.
The white refinish took three cans of satin spray paint applied in thin coats.
Old furniture is worth keeping. Its next purpose may just be a paint job away.
Frequently asked questions
What is a Jenny Lind high chair?
A Jenny Lind is a classic style of wooden high chair recognizable by its rows of decorative spindle turnings. The look has been made for generations, and vintage versions like this 1980s one are popular for their old-fashioned charm.
Can you repaint furniture that is already painted?
Yes. You can paint over an existing finish. Clean the piece well, give it a light scuff sand so the new paint grips, and then apply your paint in thin, even coats. This high chair went from raw wood to black to white over its life.
What kind of paint should you use on a wooden high chair?
A satin-finish spray paint works well on a spindled piece like this because it reaches into the turnings evenly. I used a satin enamel spray paint and built the color up with several light coats.
How much does it cost to flip a thrifted high chair?
This one cost $10 at the thrift store. The white refinish added three cans of spray paint, so the whole project stayed inexpensive, which is part of what makes thrift flips so satisfying.
How do you get a smooth finish when spray painting furniture?
Warm the can, shake it well, and use short sweeping strokes that start and end past the edges, building thin coats. The full method is in my spray paint tips guide.
Where can you rent vintage event pieces in Upstate South Carolina?
Keowee Event Co rents backyard games and styled event pieces, including this high chair, across Oconee and Pickens County, South Carolina.
About Anna Katherine
I refresh thrifted furniture, document real makeovers, and run Keowee Event Co, an event rental business in Upstate South Carolina. Follow the flips and the building of the business on TikTok and YouTube.
Follow the makeovers and the rental business on TikTok, or see what we rent at Keowee Event Co.
Last updated: June 5, 2026 · By Anna Katherine Page
This post contains affiliate links. If you buy through them I may earn a small commission, at no extra cost to you. I only recommend products I actually use.
Quick answer: Here are the spray paint tips that matter most: warm the can in water before you start, shake it well, and apply the paint in short, light, sweeping strokes that begin and end past the edges of your object. Thin coats beat thick ones every single time.
If your spray paint projects come out drippy, splattered, or uneven, the problem usually is not the paint. It is the prep and the technique. I have spray painted a lot of thrifted furniture, and the difference between a blotchy finish and a smooth, professional one comes down to a handful of small habits. Here are the spray paint tips I use on every project.
A bit of context: I filmed these tips while repainting a vintage 1980s Jenny Lind high chair, refinishing it from black back to white to use as a rental piece for my event rental business. If you want the full backstory, I wrote up the whole Jenny Lind high chair makeover separately.
Most uneven finishes trace back to two mistakes: paint that is too thick or unevenly mixed, and a spraying motion that lingers too long in one spot. When you hold the can still over one area, paint pools and runs. When the paint itself is cold or poorly shaken, it sprays in a rough, spattered pattern. Fix those two things and the finish takes care of itself.
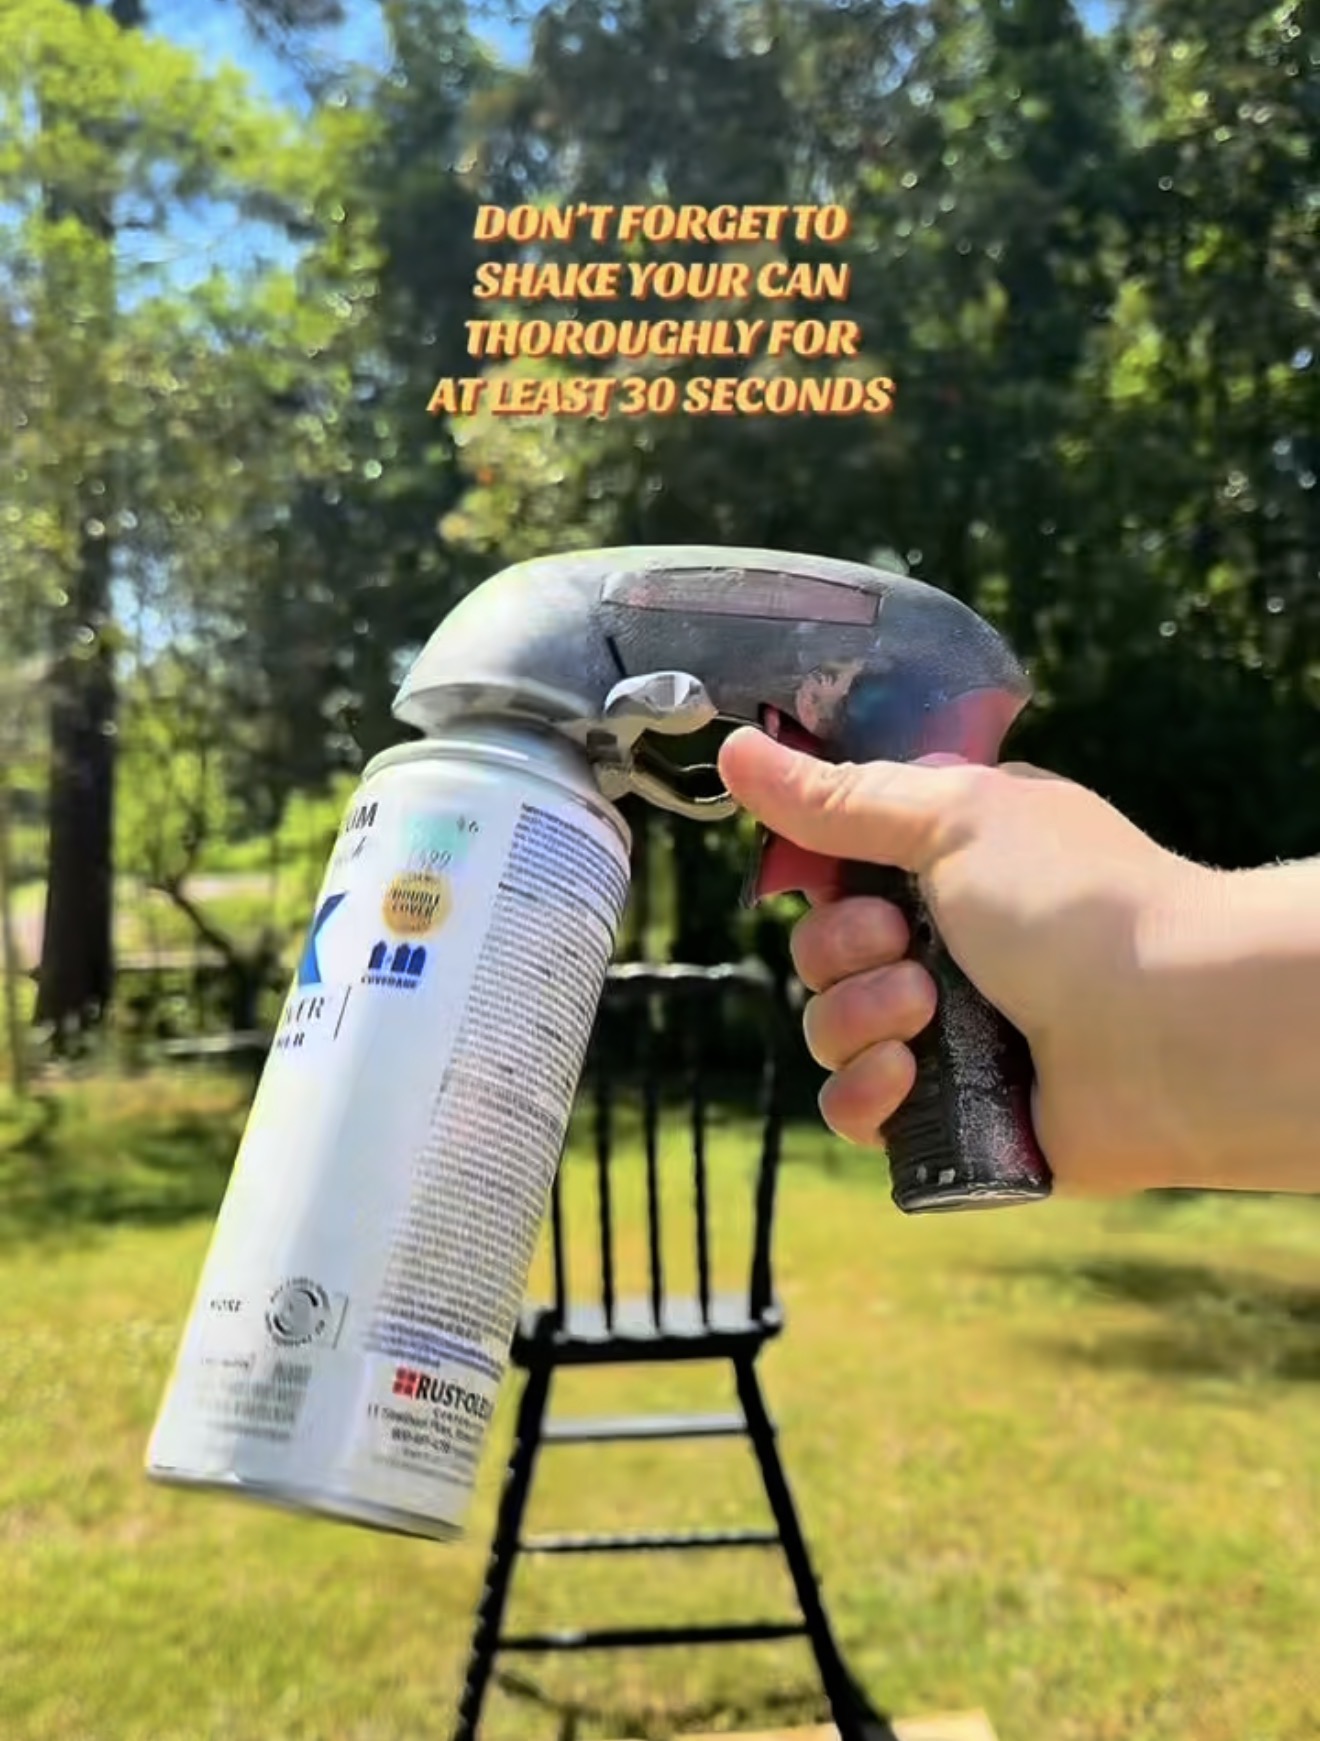
A spray paint trigger handle. This clips onto the can and makes your strokes far steadier. I use the Rust-Oleum Comfort Grip trigger.
A drop cloth and a well-ventilated space.
The two tools that do the heavy lifting: Rust-Oleum satin spray paint and the Comfort Grip trigger.
Spray paint tips: how to get a smooth finish, step by step
Warm the can in water. Set the can in a bucket of warm water for about 60 seconds. This brings the paint to a smoother, more even consistency before it ever leaves the nozzle. Use warm water only, never hot, and never heat an aerosol can any other way.
Attach a trigger handle. Clip the trigger attachment onto the top of the can, lined up centered so it snaps on properly. A trigger gives you far more control than pressing the tip with one finger.
Shake well. Shake the can for a good 30 seconds so the paint is fully mixed.
Start your stroke past the object. Begin spraying just off to the side of your object, not directly on it. Starting straight on the piece leaves an uneven, splattered patch where the spray first bursts out.
Use short, smooth, sweeping strokes. Move the can in short, consistent passes. Never hold it in one spot. Keep the motion light and steady all the way across.
Finish past the object too. Carry each stroke all the way off the far edge before you release. Start past it, end past it. That is what keeps the coat even from edge to edge.
Build up thin coats. Apply one light coat, then let it dry for about 30 minutes to an hour. Come back and add the next thin layer. Thin coats stacked slowly always beat one thick, drippy pass.
Spray paint tips: how many coats do you need?
It depends on the color and the surface, but plan on several thin coats rather than two heavy ones. On my high chair project I used three full cans of satin white to reach a clean, even finish. Keep adding light layers until the color looks solid and consistent, letting each one dry in between. Manufacturers agree on the light-coat approach: Krylon notes that most aerosol spray paints are dry to the touch in roughly 20 to 25 minutes and ready to handle in about an hour.
Mistakes to avoid
Spraying a cold, under-shaken can. Warm it, shake it, then spray.
Holding the can in one place. This is the number one cause of drips and runs.
Starting or stopping your stroke on the object. Always begin and end past the edges.
Loading on thick coats to save time. Thick coats stay tacky, sag, and ruin the finish.
Painting in high humidity. Damp air slows drying and can cloud the finish.
Key takeaways
Warm the can in water and shake it for 30 seconds before spraying.
A trigger handle gives you steadier, smoother strokes.
Start and finish every stroke past the edges of the object.
Build the finish with several thin coats, drying 30 to 60 minutes between each.
Frequently asked questions
Why should you put spray paint in warm water?
Warming the can for about a minute brings the paint to a smoother consistency, so it sprays more evenly and is less likely to spatter. Use warm water, never hot, and never heat an aerosol can directly.
How long should spray paint dry between coats?
About 30 minutes to an hour for a light coat. Manufacturer guidance from Krylon puts most aerosol paints at dry to the touch in 20 to 25 minutes, but drying time varies with paint and humidity, so check the can before recoating.
How do you avoid drips when spray painting?
Keep the can moving in short sweeping strokes, never pausing in one spot, and apply thin coats. Drips happen when paint pools, which is caused by lingering too long or spraying too heavily.
Do you really need a spray paint trigger handle?
It is not required, but it makes a real difference. A trigger steadies your hand, reduces finger fatigue, and helps you keep an even, consistent stroke across the whole piece.
What temperature should you spray paint in?
Aim for a mild, dry day, roughly 65 to 85 degrees with low humidity. Cold air and damp conditions both slow drying and can leave a rough or cloudy finish.
Why is my spray paint coming out rough or spotty?
The usual causes are a cold or under-shaken can, holding the can too long in one area, or spraying in high humidity. Warm the can, shake it well, and keep your strokes light and moving.
About Anna Katherine
I refresh thrifted furniture and home decor on a budget and share the real, hands-on process. Follow along for honest DIY projects and the small techniques that make them look professional, on TikTok and YouTube.
Want to see these strokes in action? Watch on TikTok, or replay the YouTube Short above.
If you have ever scrolled 1stDibs and felt like the prices live in a parallel universe, the Saturday Sale is when that universe gets quietly accessible. The event is running now with discounts up to 60% off on vintage furniture, lighting, and decorative objects from designers and dealers around the world. I went through it the way I would go through any sale: looking for pieces I would actually live with, not pieces that just photograph well.
Quick answer: The 1stDibs Saturday Sale runs discounts of up to 60 percent off vintage furniture, lighting and decorative objects from dealers around the world. I pulled the seven pieces I would actually live with, including a circa 1950 Italian bamboo and linen table lamp and a Yule Paige lacquered brass North Star candlestick lamp.
This post contains affiliate links. I earn a small commission if you purchase through my link, at no extra cost to you. The 1stDibs Saturday Sale runs through this weekend.
Here are the seven pieces I would put in my own home if the budget allowed, grouped by what they would actually do in a room. If you saw my furniture flip work or spring home refresh, the through line will look familiar. Quiet luxury, mid-century roots, organic textures, and a willingness to splurge on the right anchor piece.
Lighting: Two Lamps That Anchor a Vignette
Lighting is where I would spend first in any room. The right table lamp does what art does, but with the lights on.
Louis Sognot Mid-Century Bamboo and Linen Table Lamp (circa 1950). Italian, vintage, with the slatted bamboo cage construction that reads as both architectural and organic. Place it on a console behind a sofa, on a writing desk in a quiet corner, or as the bedside companion to a clean linen quilt. This is the kind of piece that quietly elevates everything around it.
Yule Paige Lacquered Brass North Star Candlestick Buffet Lamp. Twenty-one inches of sculptural brass. The candlestick silhouette is having a moment for a reason. Use it on a sideboard, flanking a bed, or paired with a vintage mirror in an entry. Brass takes on a patina over years, which is the whole point.
Seating: The Anchor Pieces
If you are going to splurge during this sale, splurge here. These three pieces all carry pedigree, and pedigree holds value.
Cassina LC7 Leather Swivel Arm Chair by Le Corbusier, Perriand, and Jeanneret. A piece of design history at a price you can actually buy. The LC7 is one of the most enduring chair designs of the 20th century, and a leather Cassina edition is the version that holds. Put one in a corner with a reading lamp. Put two in a primary bedroom flanking a fireplace. Either way, it works.
White Eames EA208 Leather Soft Pad Chairs by Herman Miller (Set of 4). The dining or conference chair I would buy if I had a long table waiting. Eames soft pads in white leather are the rare design icon that scales: four of them around a walnut table look intentional, not staged. Authenticated Herman Miller editions only.
Franco Albini Mid-Century Rattan and Bamboo Round Ottoman (Italy, 1960s). The accent piece that pulls a room together. Use it as a side table next to a low sofa, as extra seating when guests arrive, or as a footrest in front of a reading chair. Franco Albini is one of the great Italian designers of the era, and rattan has officially come back around.
Decorative Objects: The Finishing Touches
The pieces that turn a styled room into a real one. Both of these are small in scale and big in personality.
Mid-Century Curved Leather Italian Picture Frame by Adnet (1970s). Adnet’s leather work is the kind of thing collectors quietly hunt. A curved leather frame on a bedside table, holding a vintage photo or a small piece of art, reads like you have been collecting for decades. The patina alone is worth the price.
Cenedese Pair of Mid-Century Italian Round Black and Clear Murano Glass Vases (1970s). Murano glass is having a sustained moment, and Cenedese is one of the names that holds value. This pair in black and clear can sit on a mantel, on a console, or split between rooms. Fill them with branches in winter, hydrangeas in summer, nothing at all the rest of the year.
If You Can Only Buy One Thing
Louis Sognot Bamboo Lamp. Highest character per dollar in this list. A real designer piece at a price that lets you actually buy it.
Cenedese Murano Vases (Pair). Two pieces, multiple staging options across rooms and seasons. The accessory layer most people skip.
Cassina LC7 Swivel Chair. The long game. Pedigree, design history, and a piece that gains value over time instead of losing it.
Why Vintage at 1stDibs Works for an Organic Modern Home
The organic modern look (linen, stone, oak, brass) reads expensive because of materials, not maximalism. Vintage pieces from designers like Franco Albini, Charlotte Perriand, and Jacques Adnet sit in this aesthetic naturally because the originals were built from the same material vocabulary 60 years ago. Mixing one or two real vintage pieces into a room of newer furniture is the easiest way to make a space read collected rather than ordered-on-the-same-day.
If you want to browse beyond my picks, the full 1stDibs Saturday Sale runs through this weekend. I keep my favorite vintage picks in my ShopMy collection, and I will be adding more from this sale through the weekend. Save this post on Pinterest if you want to come back to it, and DM me on Instagram if you want help picking between two pieces. I respond to every one.
There is a specific kind of weekend that signals the season has shifted. The back door stays open all afternoon. The first real dinner gets eaten outside. Someone says the word “tomatoes” with feeling. That weekend is here, and it is almost always the moment I start thinking about how I want the house to live for the next four months.
Quick answer: The Studio McGee Memorial Day Sale 2026 runs up to 30 percent off sitewide. I went through the entire sale and pulled the 15 pieces I would spend my own money on: four outdoor anchors and eleven smaller accessories. The largest single saving is the Pomeroy Outdoor Sofa at $2,308.60, down from $3,298.00.
If you saw my outdoor patio finds last month, you already know Studio McGee is one of the brands I keep coming back to. Their Memorial Day sale just opened with up to 30% off sitewide, and I went through the entire thing and pulled the 15 pieces I would actually spend my own money on. I organized them by how steep the discount is, because if you are going to buy something at any price point, the 30% tier is where it bites the most. This post contains affiliate links. I earn a small commission if you purchase through my link, at no extra cost to you. Sale runs through May 26.
30% Off Picks: The Deepest Discount Tier
This is where the real math is. Most of the Pomeroy outdoor pieces, all of the indoor bedding, the colorful pillows, the small accessories. Eleven of my fifteen picks fall here, which is unusual for a Memorial Day sale and the reason I am writing about this one specifically.
The Outdoor Anchors
If you are the kind of person who plans a patio the way other people plan a kitchen, this is the corner of the sale to read first.
Pomeroy Outdoor Sofa 81.5″. $2,308.60, down from $3,298.00. The flagship. Made to order, which is why the 30% bites so hard at $989 off. I keep coming back to this silhouette because it does what most outdoor sofas cannot: it sits low enough to feel relaxed, deep enough to actually nap on, and the frame reads architectural instead of patio-set. If I were starting an outdoor living room from zero, this is what I would build around.
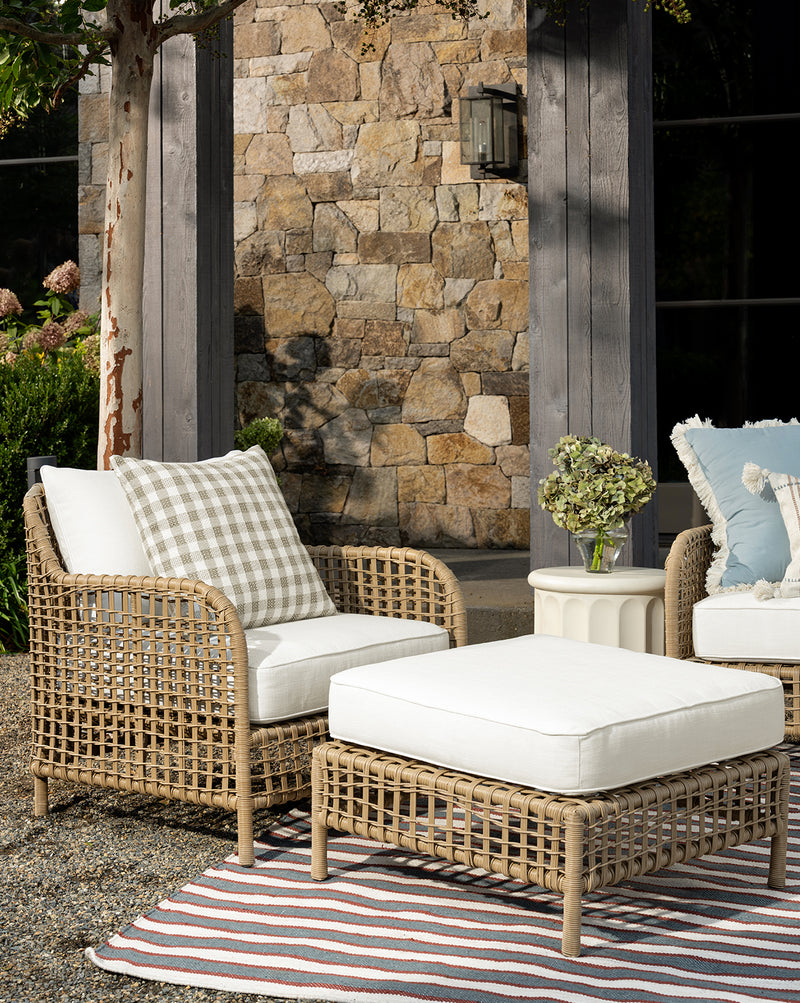
Pomeroy Outdoor Lounge Chair. $1,048.60, down from $1,498.00. Buy them as a pair. Most outdoor seating arrangements fail because a single sectional eats the space and forces everyone to sit facing the same direction. Two of these flanking a coffee table reads like a real room, not a setup.
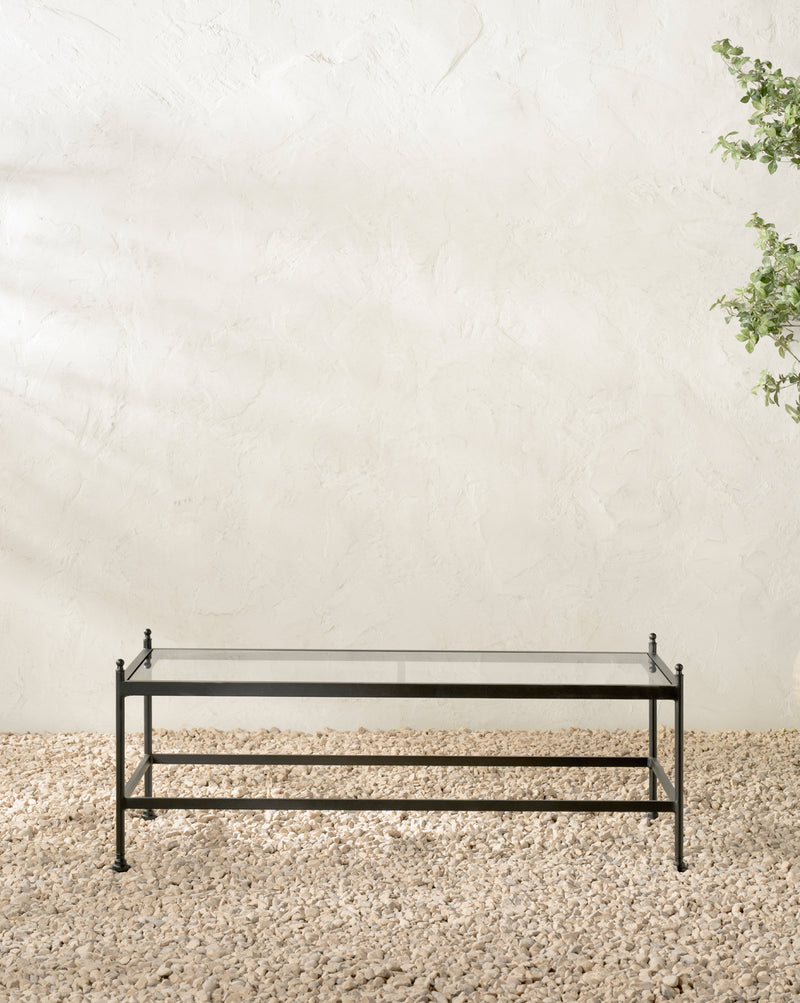
Pomeroy Outdoor Coffee Table. $488.60, down from $698.00. This is the piece that pulls the whole outdoor vignette together. Black metal frame, low profile, the right scale for a pair of lounge chairs. If you are buying the Pomeroy seating, do not skip this.
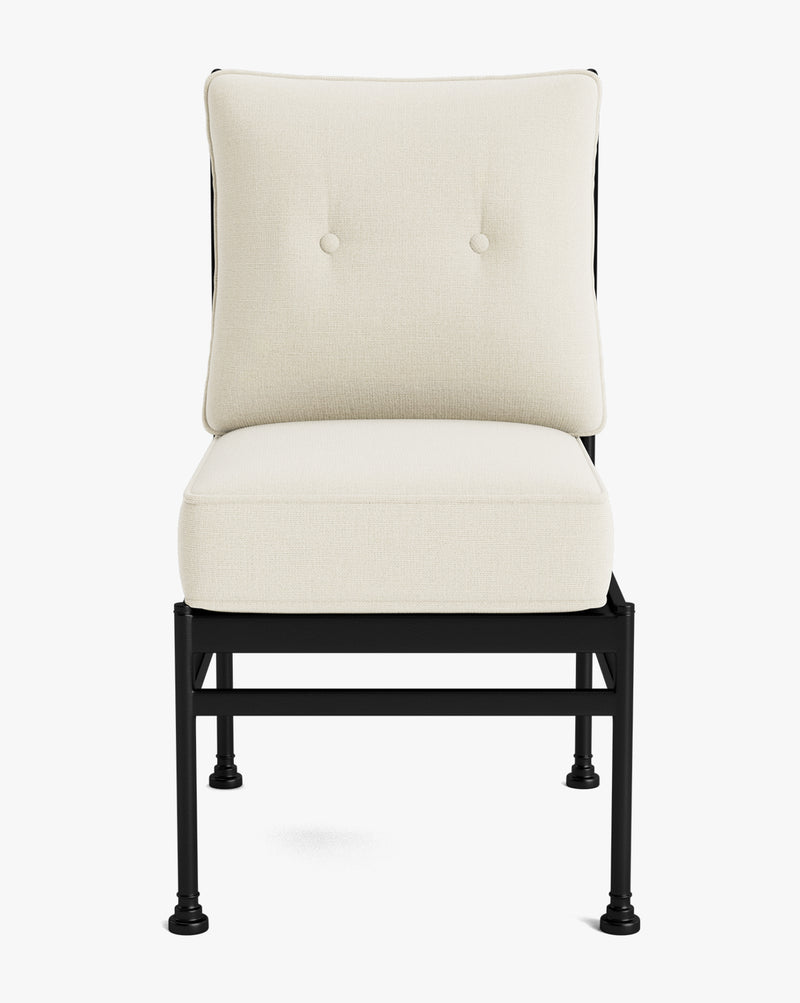
Pomeroy Outdoor Dining Chair. $278.60, down from $398.00. The outdoor dining chair for the people who do actually host outdoor dinners. Buy four for a real table, six if you have the linear footage. They stack but they do not look like they stack, which is the whole trick.
The Bedroom Refresh
Studio McGee told me directly that bedding is their hottest demand right now, and after looking at what made the sale, I understand why. Both of these are at 30%, which is the version of a McGee bedding discount you do not normally see.
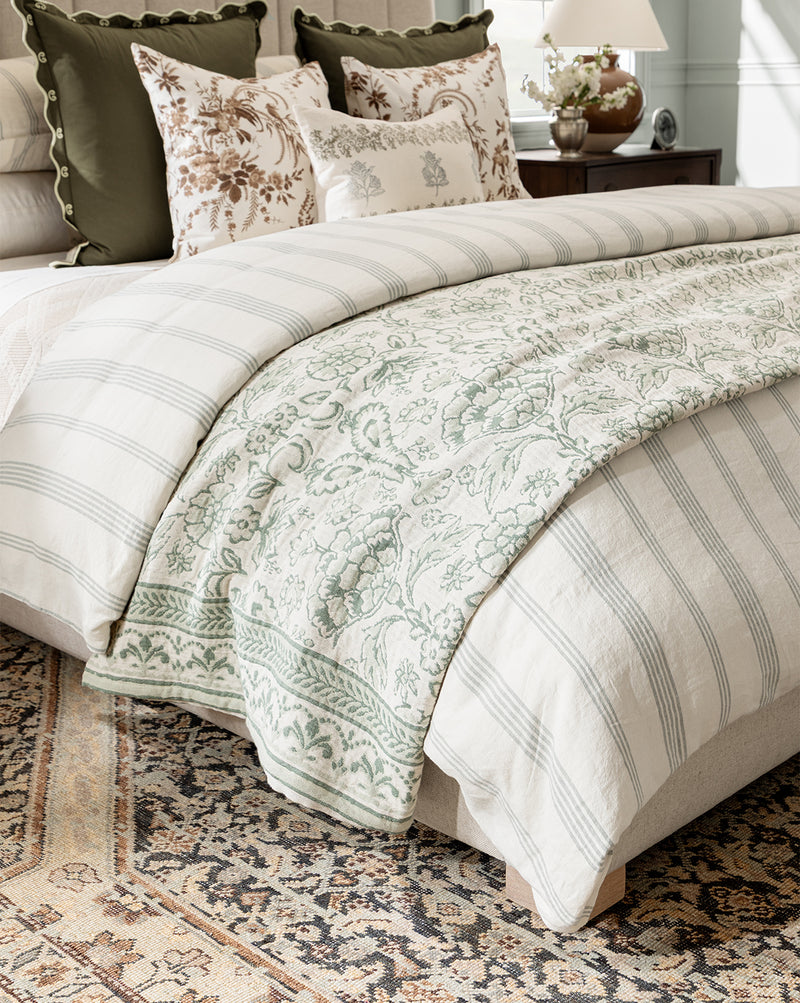
Ellerby Linen Stripe Duvet Cover. $320.60, down from $458.00. Stripe bedding is one of those things that sounds risky and then settles in like it was always there. The Ellerby is a soft natural stripe on linen, which means it gets better with every wash. If your bed has been white-on-white for two years and you are ready to layer in a quiet pattern, this is the easy entry.
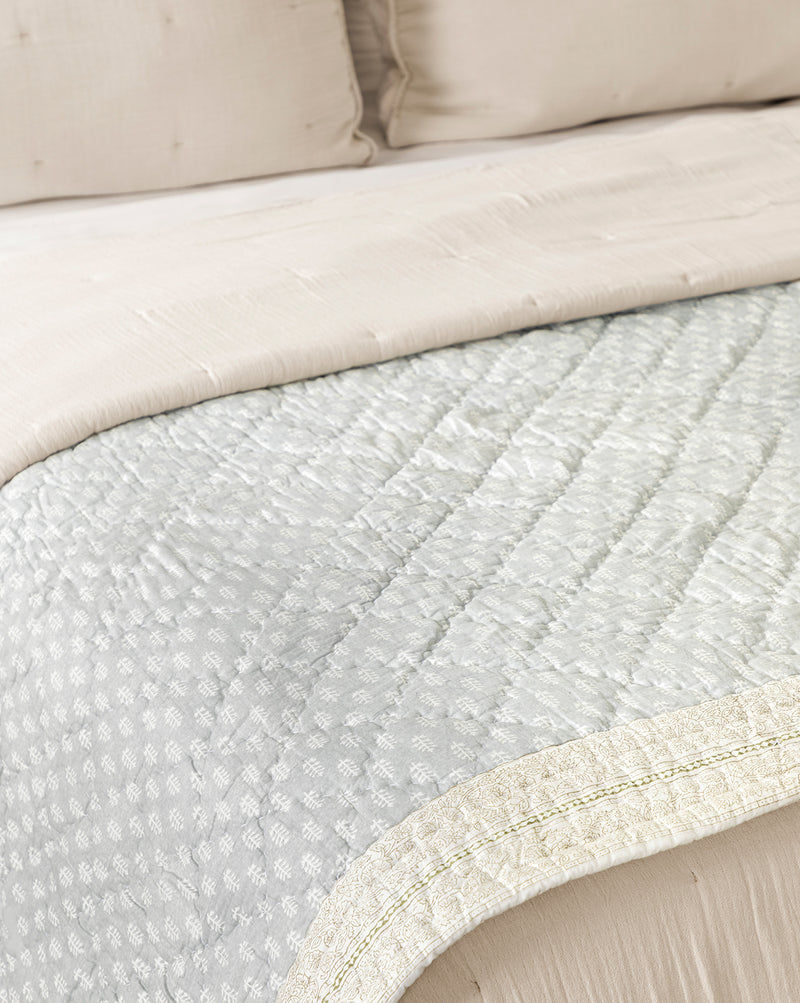
Regatta Block Print Quilt. $243.60, down from $348.00. Block print is pattern without committing to wallpaper. The Regatta reads multi-color but the palette is grounded enough that it works over white sheets, over the Ellerby stripe, folded at the foot of a guest bed. I would put this in a kids room and a primary bedroom in the same house and not blink.
The Colorful Pillows and Rug
This is the section that exists because not everything beautiful is beige. Three picks under $100 that bring real pattern into the room.
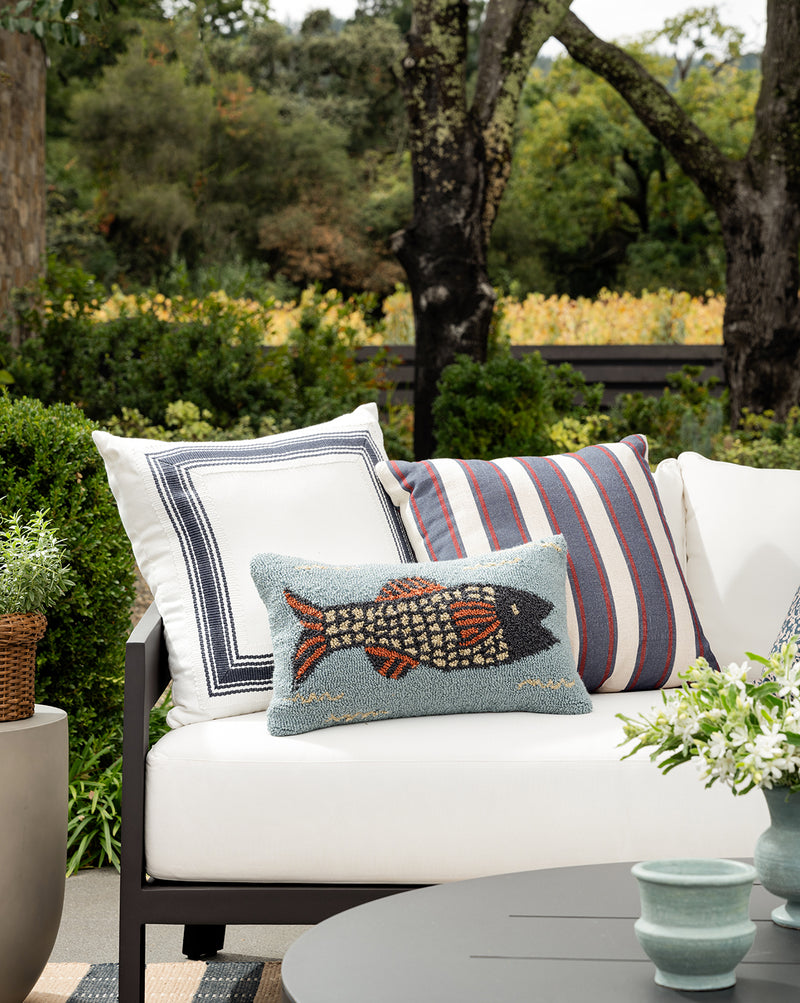
Poisson Indoor/Outdoor Pillow. $51.80, down from $74.00. The Poisson is a fish-pattern pillow in rust, sage, and cream, and it is the highest personality per dollar in the entire sale. Throw it on an outdoor lounge chair, throw it on an indoor sofa, throw it in the back of a porch swing. People will ask where it is from.
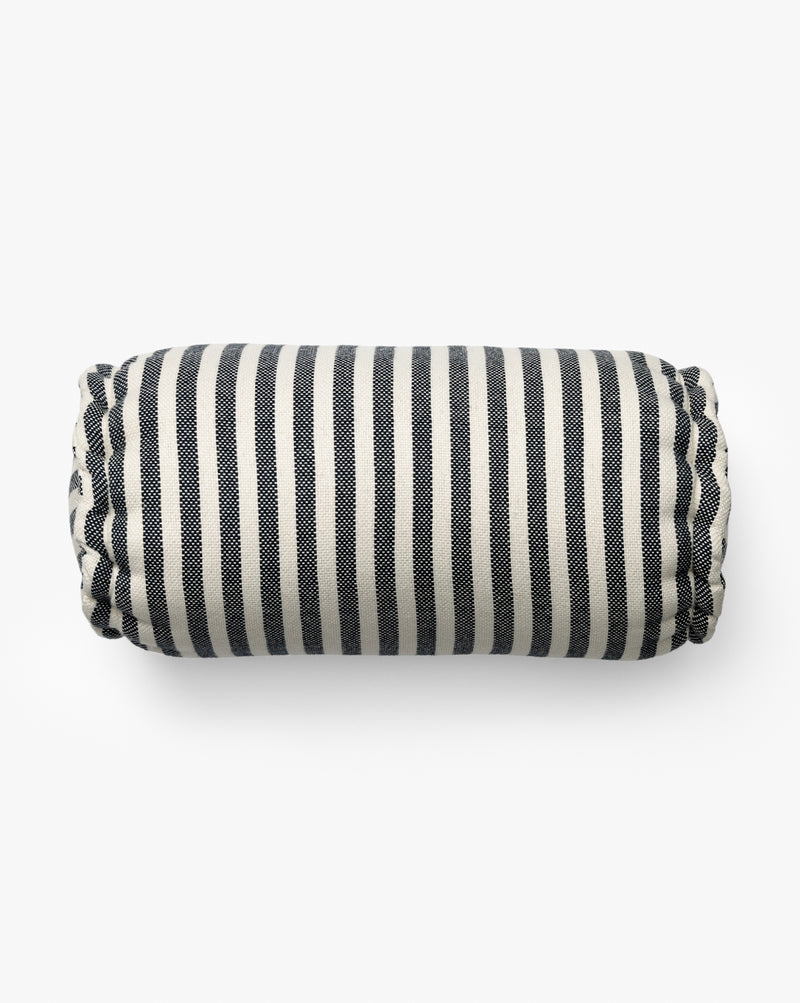
Striped Indoor/Outdoor Bolster Pillow. $61.60, down from $88.00. Navy and cream stripe, classic shape. Use it on a bench, the foot of an outdoor sofa, or as a back rest on a daybed. The bolster shape reads more curated than a square pillow, which is why I keep reaching for it.
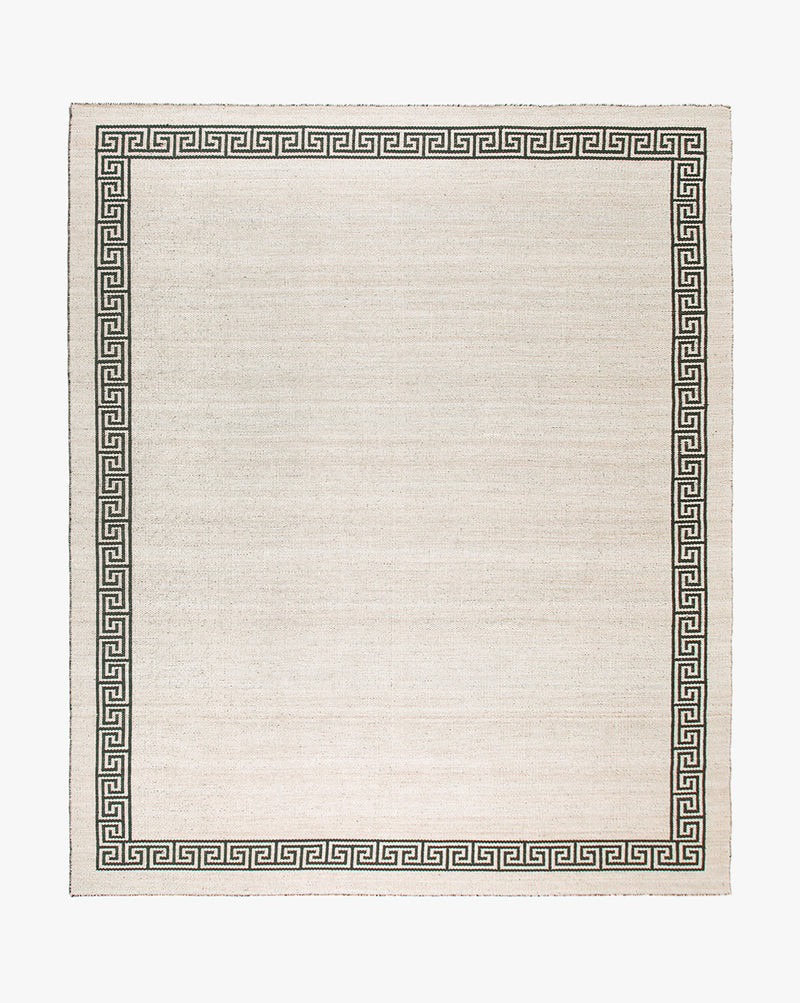
Greek Key Handwoven Indoor/Outdoor Rug. $47.60, down from $68.00. The price is absurd in the best way. Blue and cream Greek key pattern on a real handwoven indoor-outdoor weave. Use it in a kitchen, a bathroom, the threshold of a back door. It is the kind of rug that looks like it cost four times what it does.
The Small Upgrades
Two picks that are not glamorous on paper and absolutely earn their spot in real rooms.
Aldridge Handwoven Indoor/Outdoor Rug. $208.60, down from $298.00. The runner-sized real-room outdoor rug for a covered porch, a screened-in patio, or the hallway from a back door to a mudroom. Tonal natural fiber, made to survive humidity. The version of an outdoor rug that does not announce itself.
Sanibel Acrylic Goblets (Set of 4). $29.40, down from $42.00. Outdoor dining without the wedding-crystal anxiety. The Sanibel set in green is on my counter all summer. Use them for cocktails, water, whatever you are drinking out of a goblet because the night called for it.
20% Off Picks: Ready-to-Ship Outdoor
The Pomeroy collection is made to order, which is why it is at 30%. The Glenwood collection ships fast, which is why it is at 20% and worth its own section if you do not want to wait six weeks for a sofa.
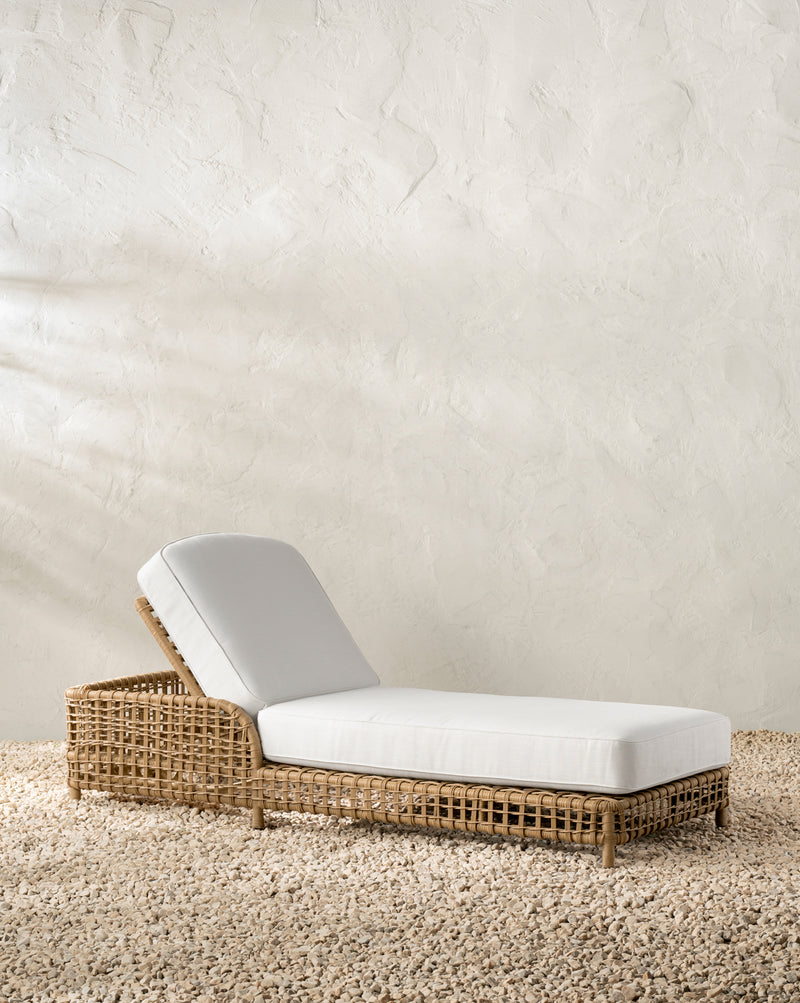
Glenwood Outdoor Chaise. $1,998.40, down from $2,498.00. Ready-to-ship single-piece statement. If you only buy one big outdoor thing this summer, this is the version that arrives at your door first. Cream cushion, woven rattan frame, the silhouette that makes any covered porch look like it was photographed for a magazine.
Glenwood Outdoor Lounge Chair (Ready to Ship). $1,118.40, down from $1,398.00. Lower profile than the Pomeroy, which makes it the right answer for shorter porches and rooms where sight lines matter. Same rattan-and-cream language as the chaise, ships in a normal amount of time.
15% Off Picks: The Small Indoor Refreshes
Two pieces that are not at the deepest discount but earn the spot because of what they do for a room.
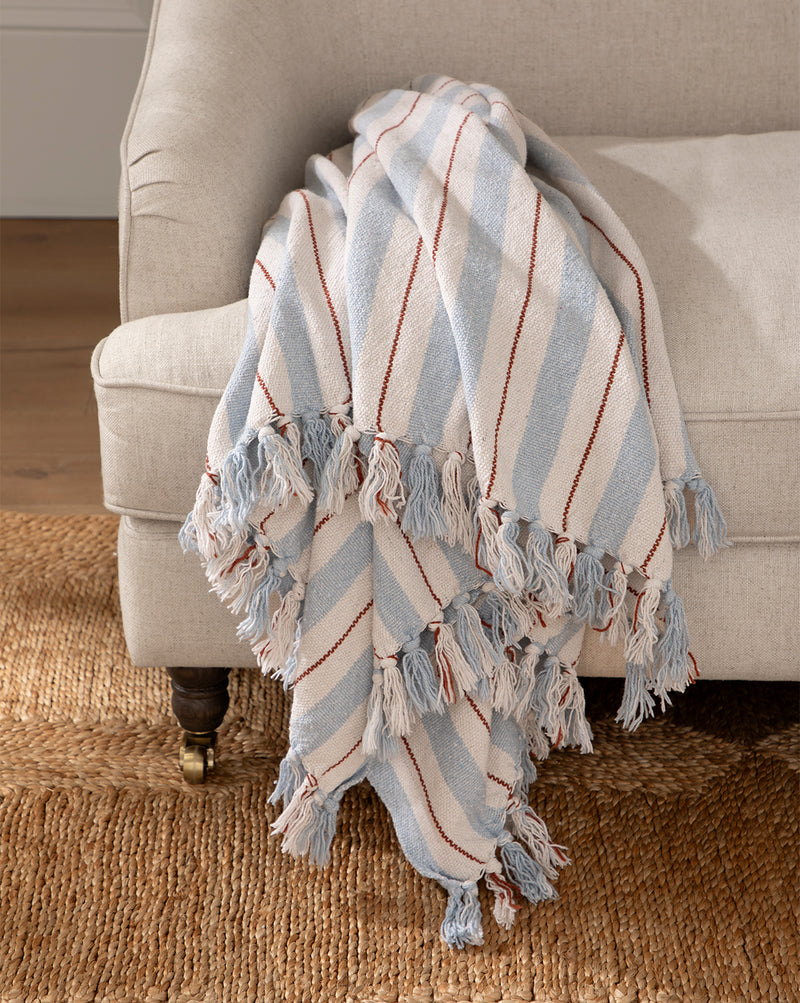
Two-tone Striped Cotton Throw. $49.30, down from $58.00. Blue and cream two-tone stripe cotton throw at fifty bucks. Drape it over a sofa arm, fold it at the foot of a bed, throw it in a basket near the back door for unexpectedly cool evenings. The kind of textile you stop noticing because it is already part of the room.
Betsy Pillow Cover. $74.80, down from $88.00. Blue patterned indoor pillow with enough movement to keep a neutral sofa from going flat. The Betsy adds depth without going floral, which is the line I find myself navigating most often. Two of these on a sofa, one on a reading chair, done.
If You Can Only Buy One Thing
Three picks ranked, because decision fatigue is real and the sale runs through Tuesday.
Poisson Indoor/Outdoor Pillow ($51.80 at 30% off). For the highest personality per dollar in the entire sale. The fish pattern is the conversation piece. If you have never bought from McGee, start here.
Regatta Block Print Quilt ($243.60 at 30% off). For the easiest summer bedroom refresh with real color. Wash it once, layer it over white sheets, done. The piece that turns a flat bed into a styled bed.
Pomeroy Outdoor Lounge Chair ($1,048.60 at 30% off). For the long game. This is the piece you will still be glad you bought in 2031. Made to order, so it takes time, which is also why the 30% off is the version you want to catch.
Shop the Sale
If you want to browse beyond my picks, the full Studio McGee Memorial Day sale runs through May 26 with discounts up to 30% off across outdoor, bedding, lighting, and decor. I keep all my favorite Studio McGee picks (including these 15) in my ShopMy collection, and I will be adding more to it as the sale runs. Save this post on Pinterest if you want to come back to it, and feel free to DM me on Instagram if you want help picking between two pieces. I respond to every one.
Disclosure: This post contains affiliate links, which means I may earn a small commission if you make a purchase through my links, at no extra cost to you.
$25 Thrift Store Furniture Flip – Vintage Wood Desk Transformation
This thrift store furniture flip proves you don’t need a big budget to create something beautiful. I found this vintage wood desk at a local thrift store for just $25 and transformed it into a stunning statement piece. According to the EPA’s guide to reducing waste, furniture restoration and upcycling keeps thousands of tons of wood out of landfills every year , making every thrift store furniture flip a win for your wallet and the planet.
This post may contain affiliate links. I may earn a small commission at no extra cost to you if you make a purchase through these links. I only recommend products I personally use and love.
Before
After the Thrift Store Furniture Flip – The Final Result
This thrift store furniture flip was one of my favorite projects , there’s something incredibly satisfying about giving a forgotten piece of furniture a second life. If you’re looking for your next thrift store furniture flip, keep an eye out for solid wood pieces with good bones. The best thrift store furniture flip candidates are vintage desks, dressers, and side tables made from real hardwood.
Disclosure: This post contains affiliate links, which means I may earn a small commission if you make a purchase through my links, at no extra cost to you.
Quick answer: I restored a 1960s vintage rattan dining table with BEHR paint as my entry to the BEHR To DIY For Season 2 contest. The table had been weathering on my screened porch for almost three years. This walkthrough covers the prep, which is where nearly all of the real work is, and the paint I used.
Vintage Rattan Table Restoration – Bringing a 1960s Dining Table Back to Life
This vintage rattan table restoration project is proof that with the right paint and some patience, you can transform a forgotten piece into a stunning centerpiece. I entered this vintage rattan table restoration into the BEHR “To DIY For” Season 2 contest , and the results speak for themselves. According to This Old House, proper prep work is the key to any successful furniture restoration.
This post may contain affiliate links. I may earn a small commission at no extra cost to you if you make a purchase through these links. I only recommend products I personally use and love.
Here is my official entry posted on TikTok for Challenge #2:
As soon as I saw BEHR’s video on TikTok announcing Challenge #2, I immediately knew which table I was going to tackle for my entry to the contest. Yes, that dirty, old, forgotten 1960’s vintage rattan dining table I had weathering away on my screened in porch is EXACTLY what popped into my head (cobwebs & all).
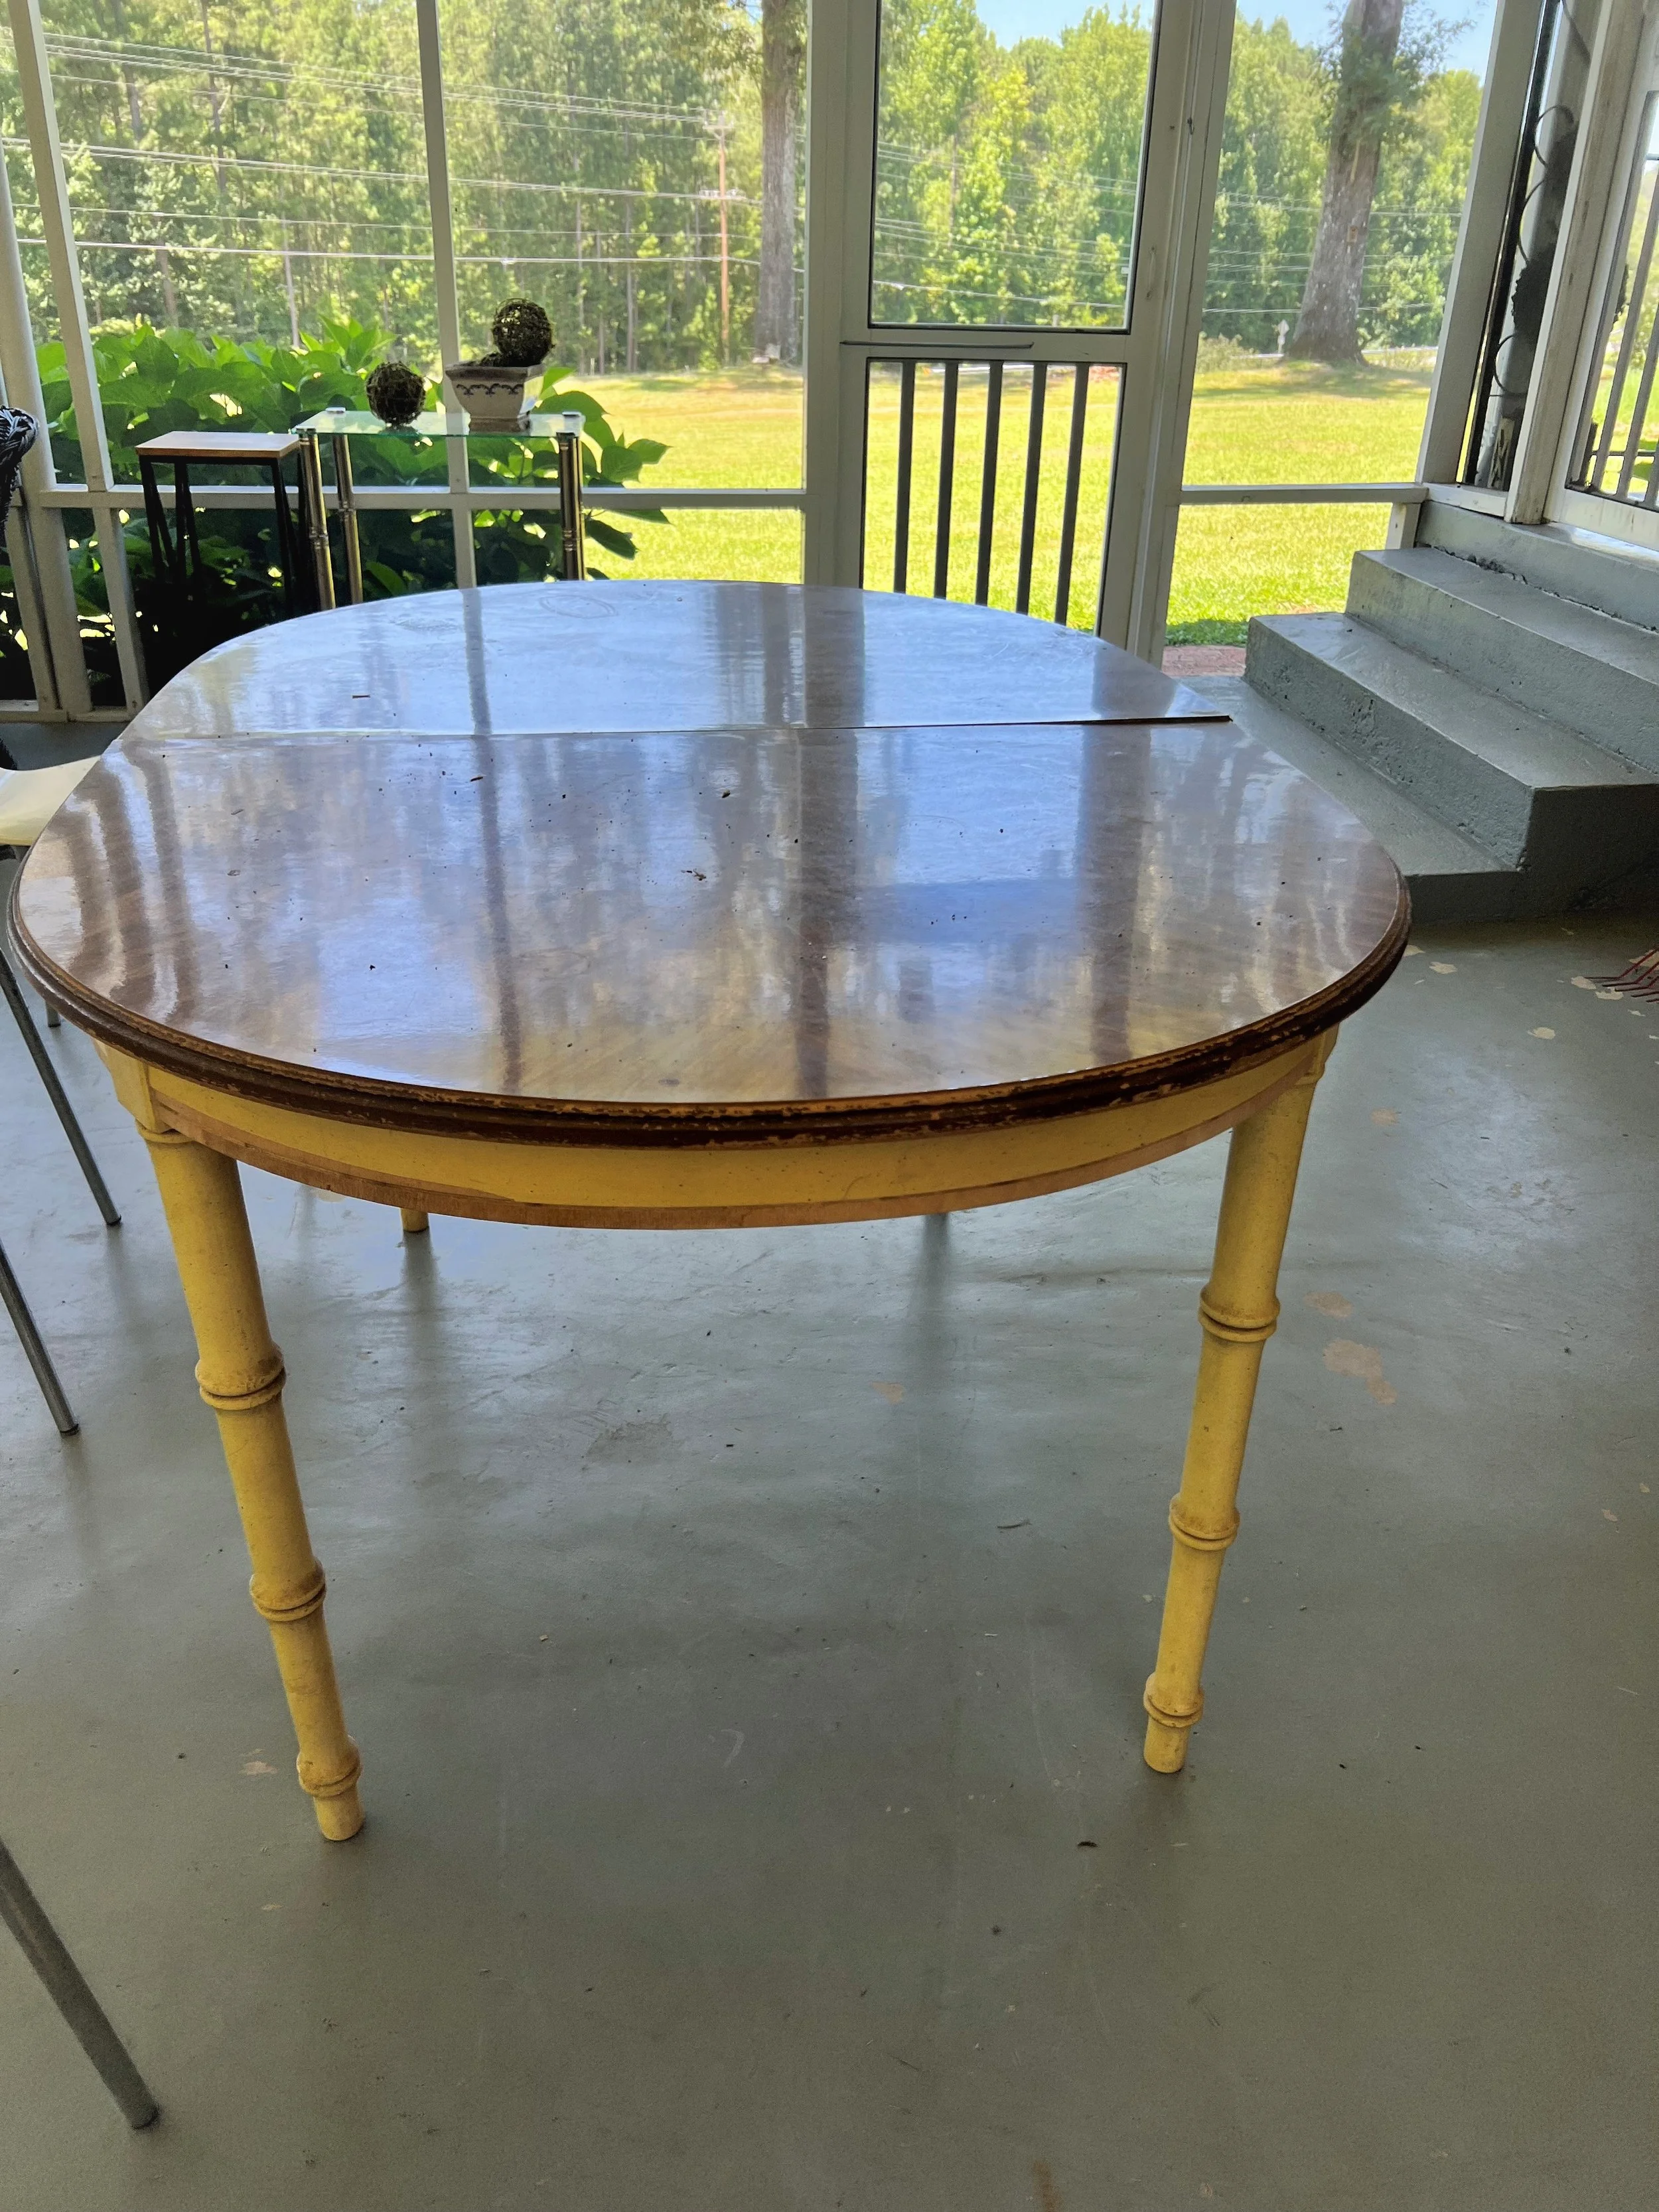
I acquired this table almost 3 years ago at a local rental house going out of business and selling their inventory. It was the last day of the sale that I stopped into the shop & I saw this dining set along with 6 chairs. They had it listed for $100 but when the owner saw me looking at the set, she offered it to me for only $40 for all 10 pieces (1 table, 3 leaflet inserts, & 6 chairs). I quickly obliged and handed her the $40 as quickly as I could. At this time in my life I was still living with my parents but actively looking for a home of my own. I stored the dining set in their garage along with my other thrifted, yard-sale, & flea market second-hand finds for my home. 2 months after purchasing it, I made an offer on a home with a dream of a screened in porch and I knew that this table would make the perfect addition to the large porch area for entertaining. Fast forward to now (2 & 1/2 years later) and I still haven’t gotten around to sprucing up this dining table and it’s been long overdue!
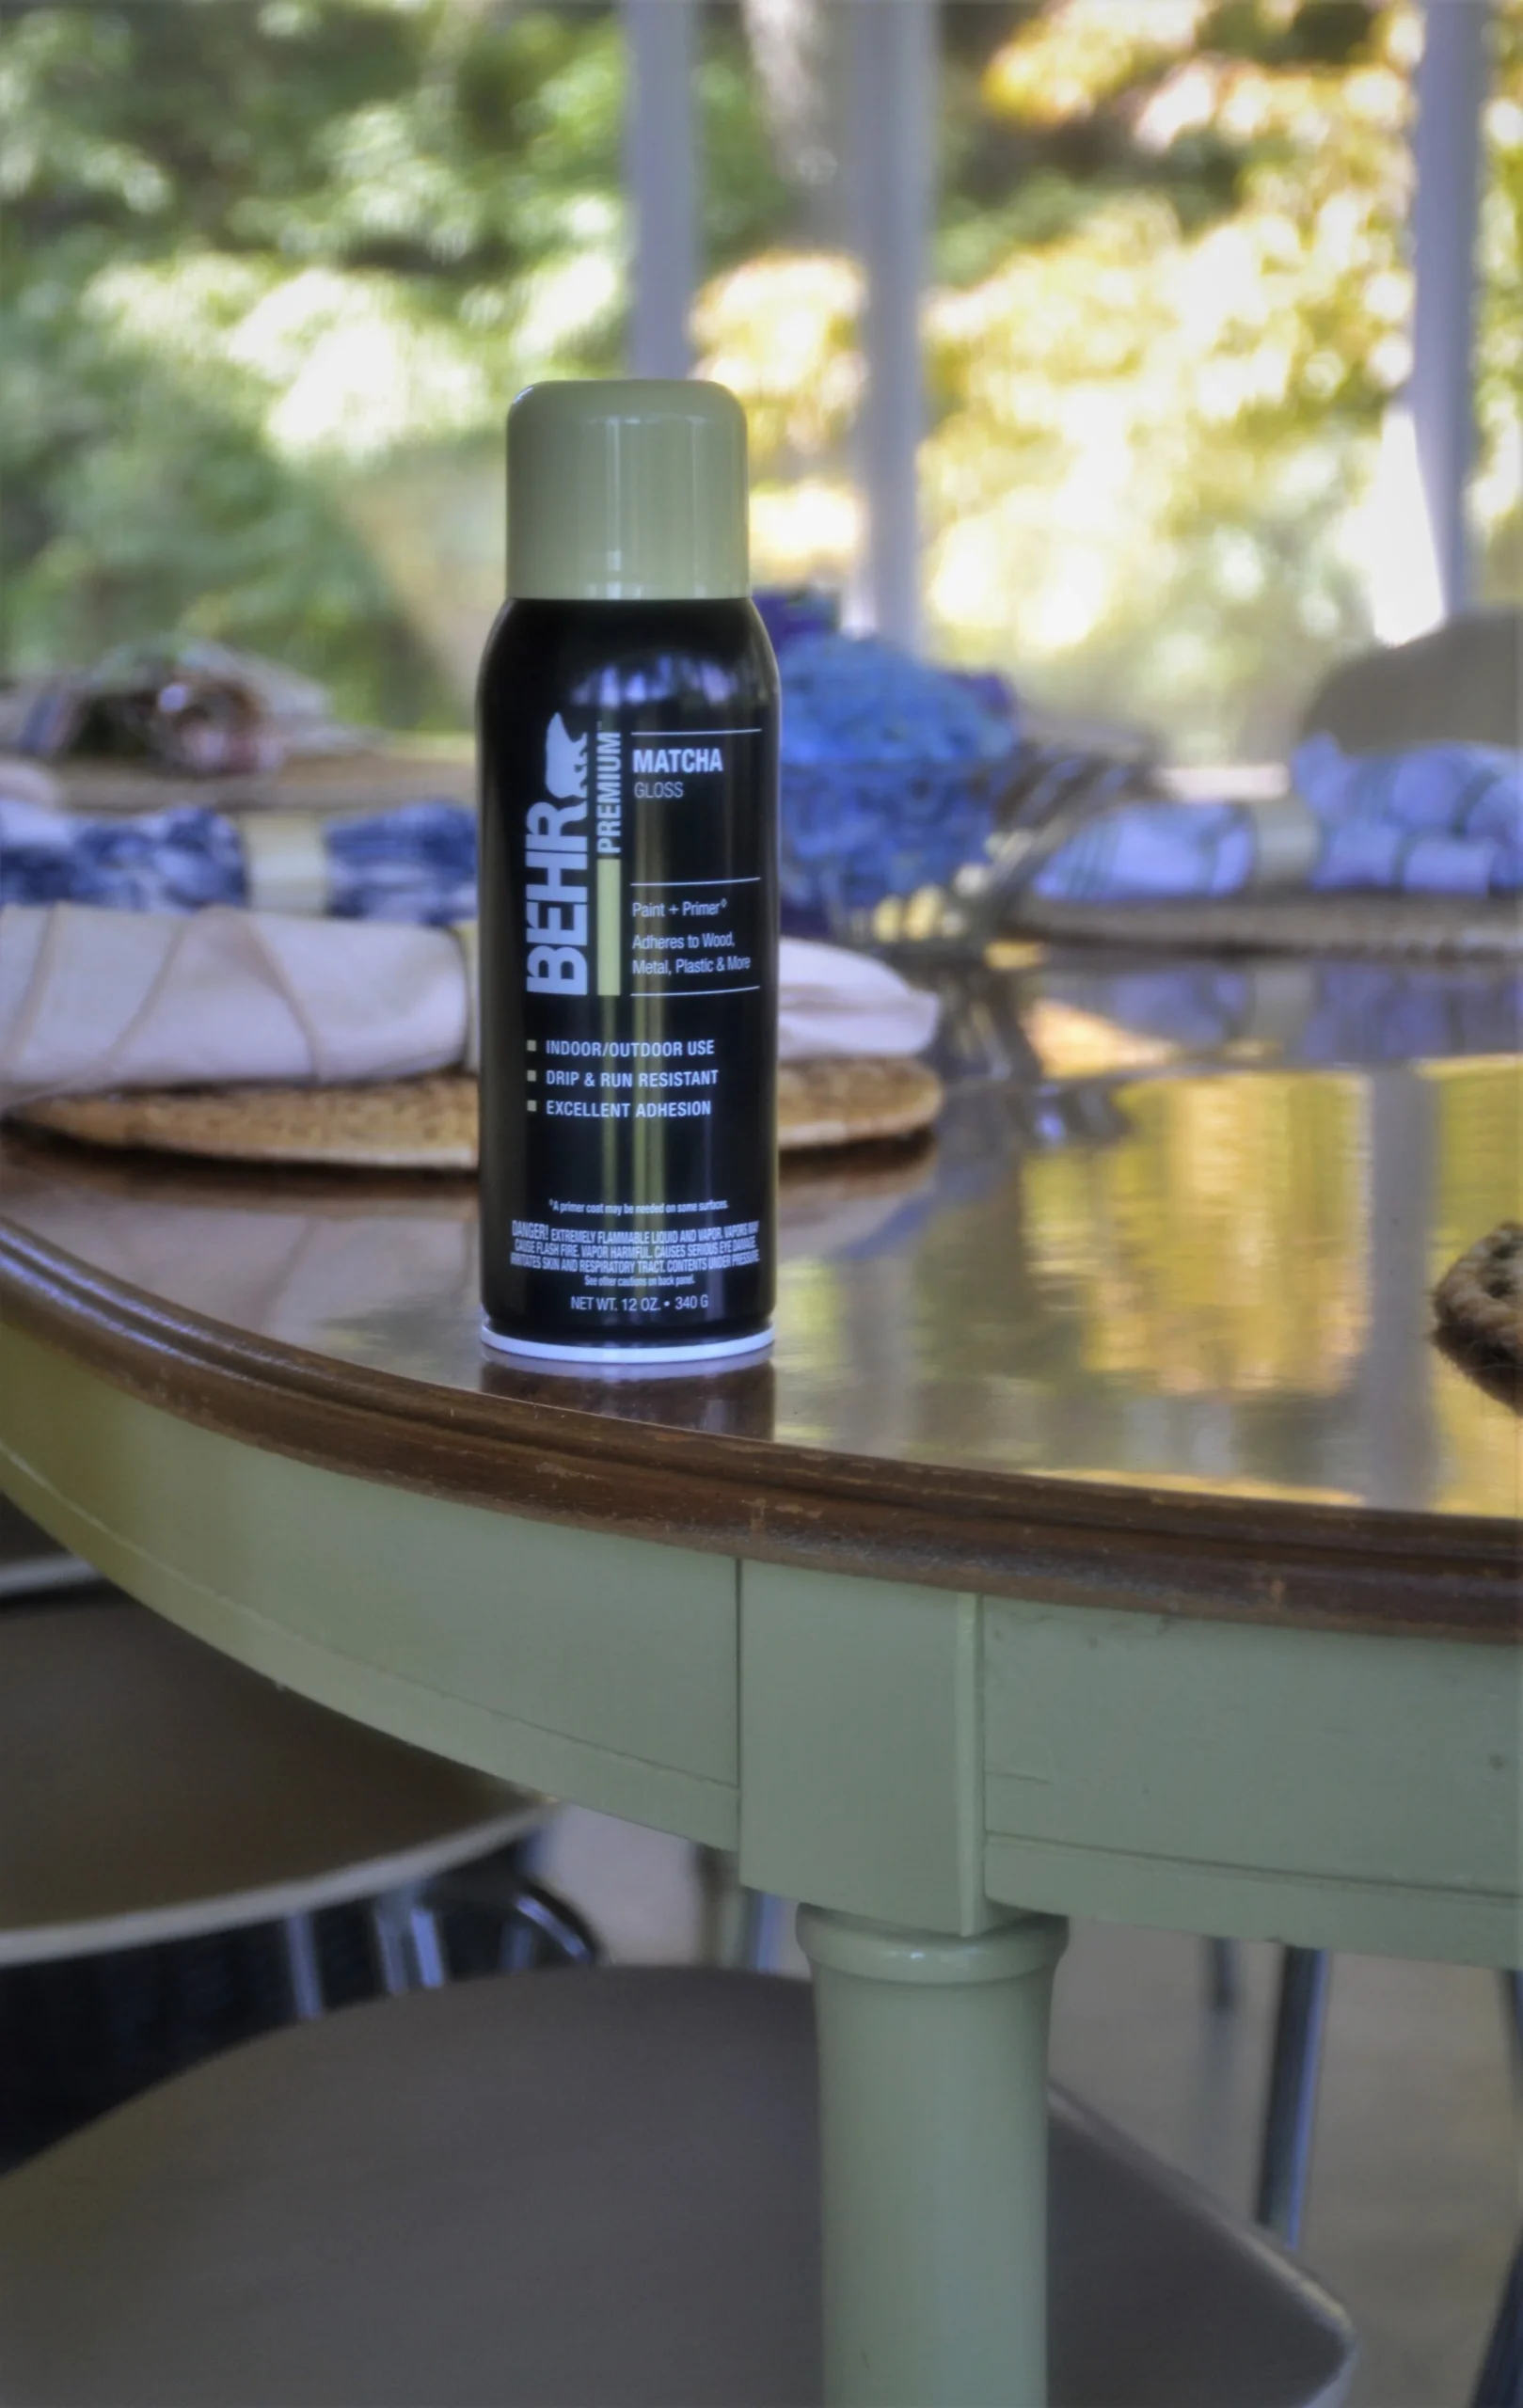
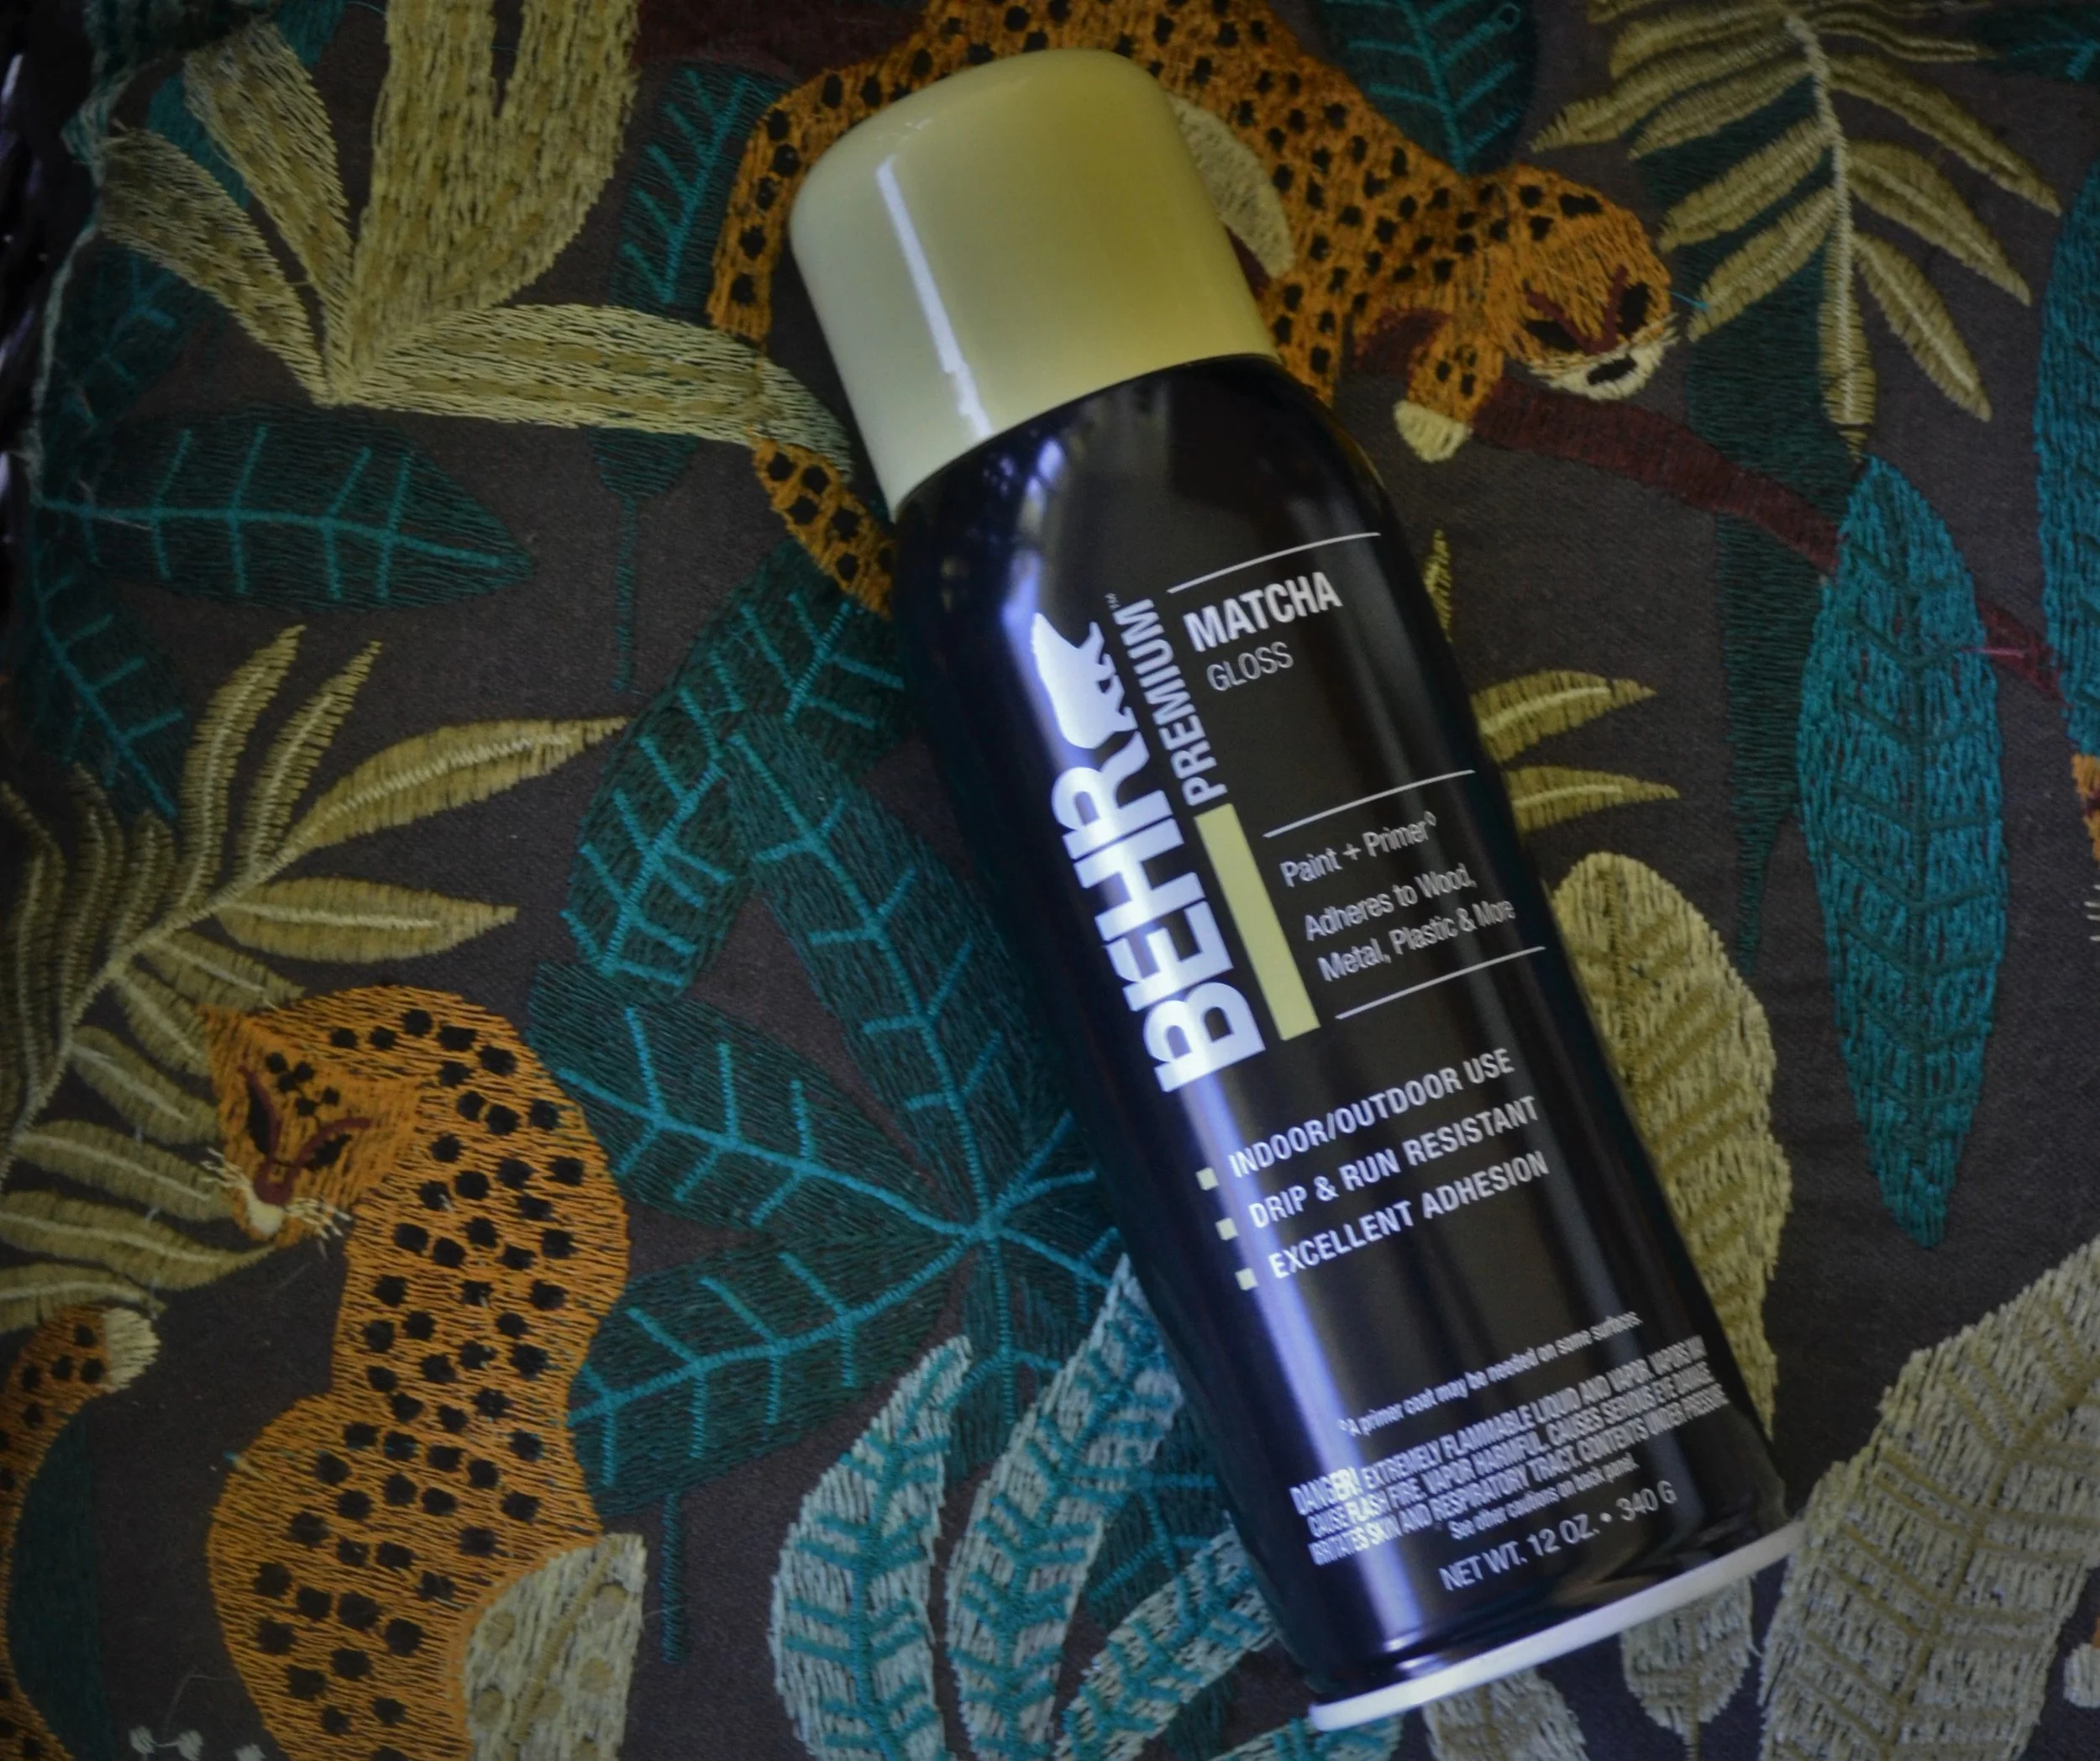
My intent for this table was to never alter the original beauty or integrity of this piece. I knew I wanted to leave the table surface itself alone as it is in decent condition. The only 2 items that required attention were the wood veneer peeling around the round edges below the table’s surface. This was a simple fix and only required me to peel it off by hand and then use a knife for those trickier areas that were more difficult. Lastly, I wanted to add a fresh coat of paint. I like the original yellow color but it didn’t vibe with my color pallet for my porch. When looking through BEHR’s potential color options offered in their spray paint, I was overwhelmed (in a positive way) with the many color options. I was immediately drawn to the color Matcha. I ran to my local Home Depot & went straight to the paint section to grab myself 2 cans of their Premium Matcha Gloss Interior/Exterior Spray Paint.
Check out what this table looked like before..
The Vintage Rattan Table Restoration Process
Here are some of the products I recommend for furniture restoration projects like this one:
KILZ Chalk Spray Paint – Ultra matte finish for upcycling furniture, works on wood, wicker & rattan: Shop on Amazon
Amy Howard Chalky Mineral Spray Paint – No stripping, sanding, or priming needed: Shop on Amazon
Whether you’re tackling your first vintage rattan table restoration or you’re a seasoned DIYer, the BEHR paint line makes it easy to achieve professional-looking results on any budget.
This post may contain affiliate links. I may earn a small commission at no extra cost to you if you make a purchase through these links. I only recommend products I personally use and love.
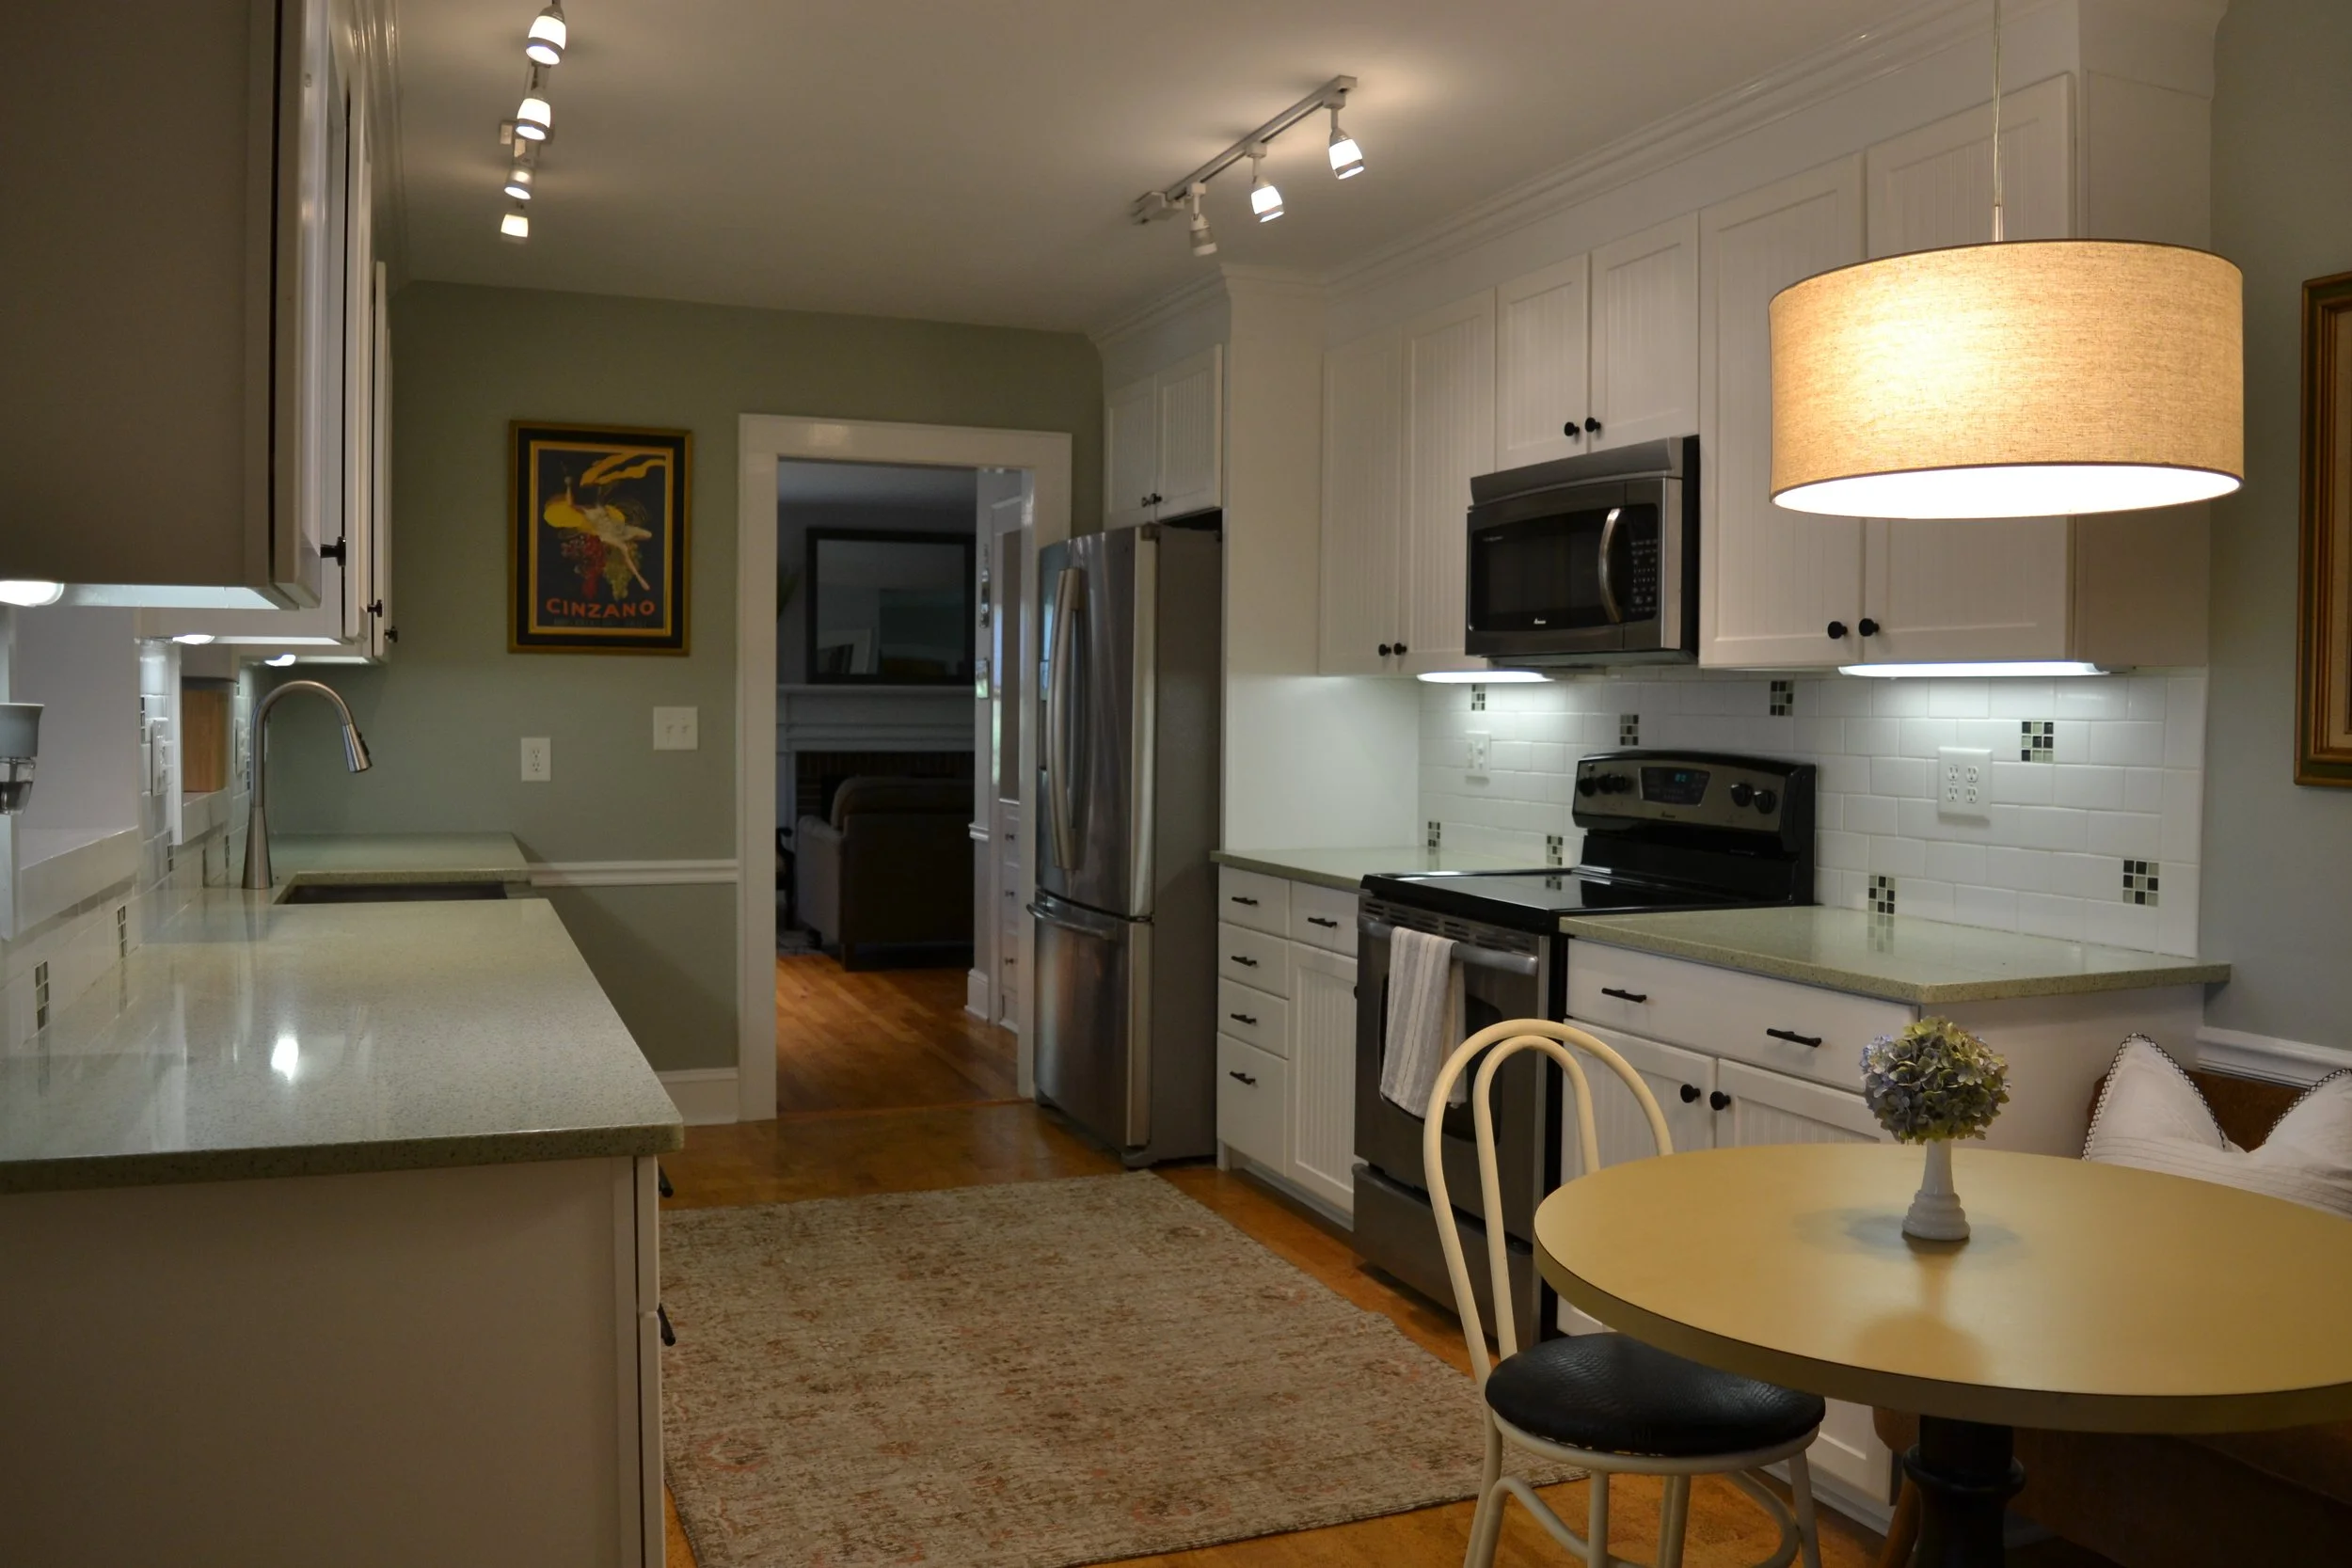
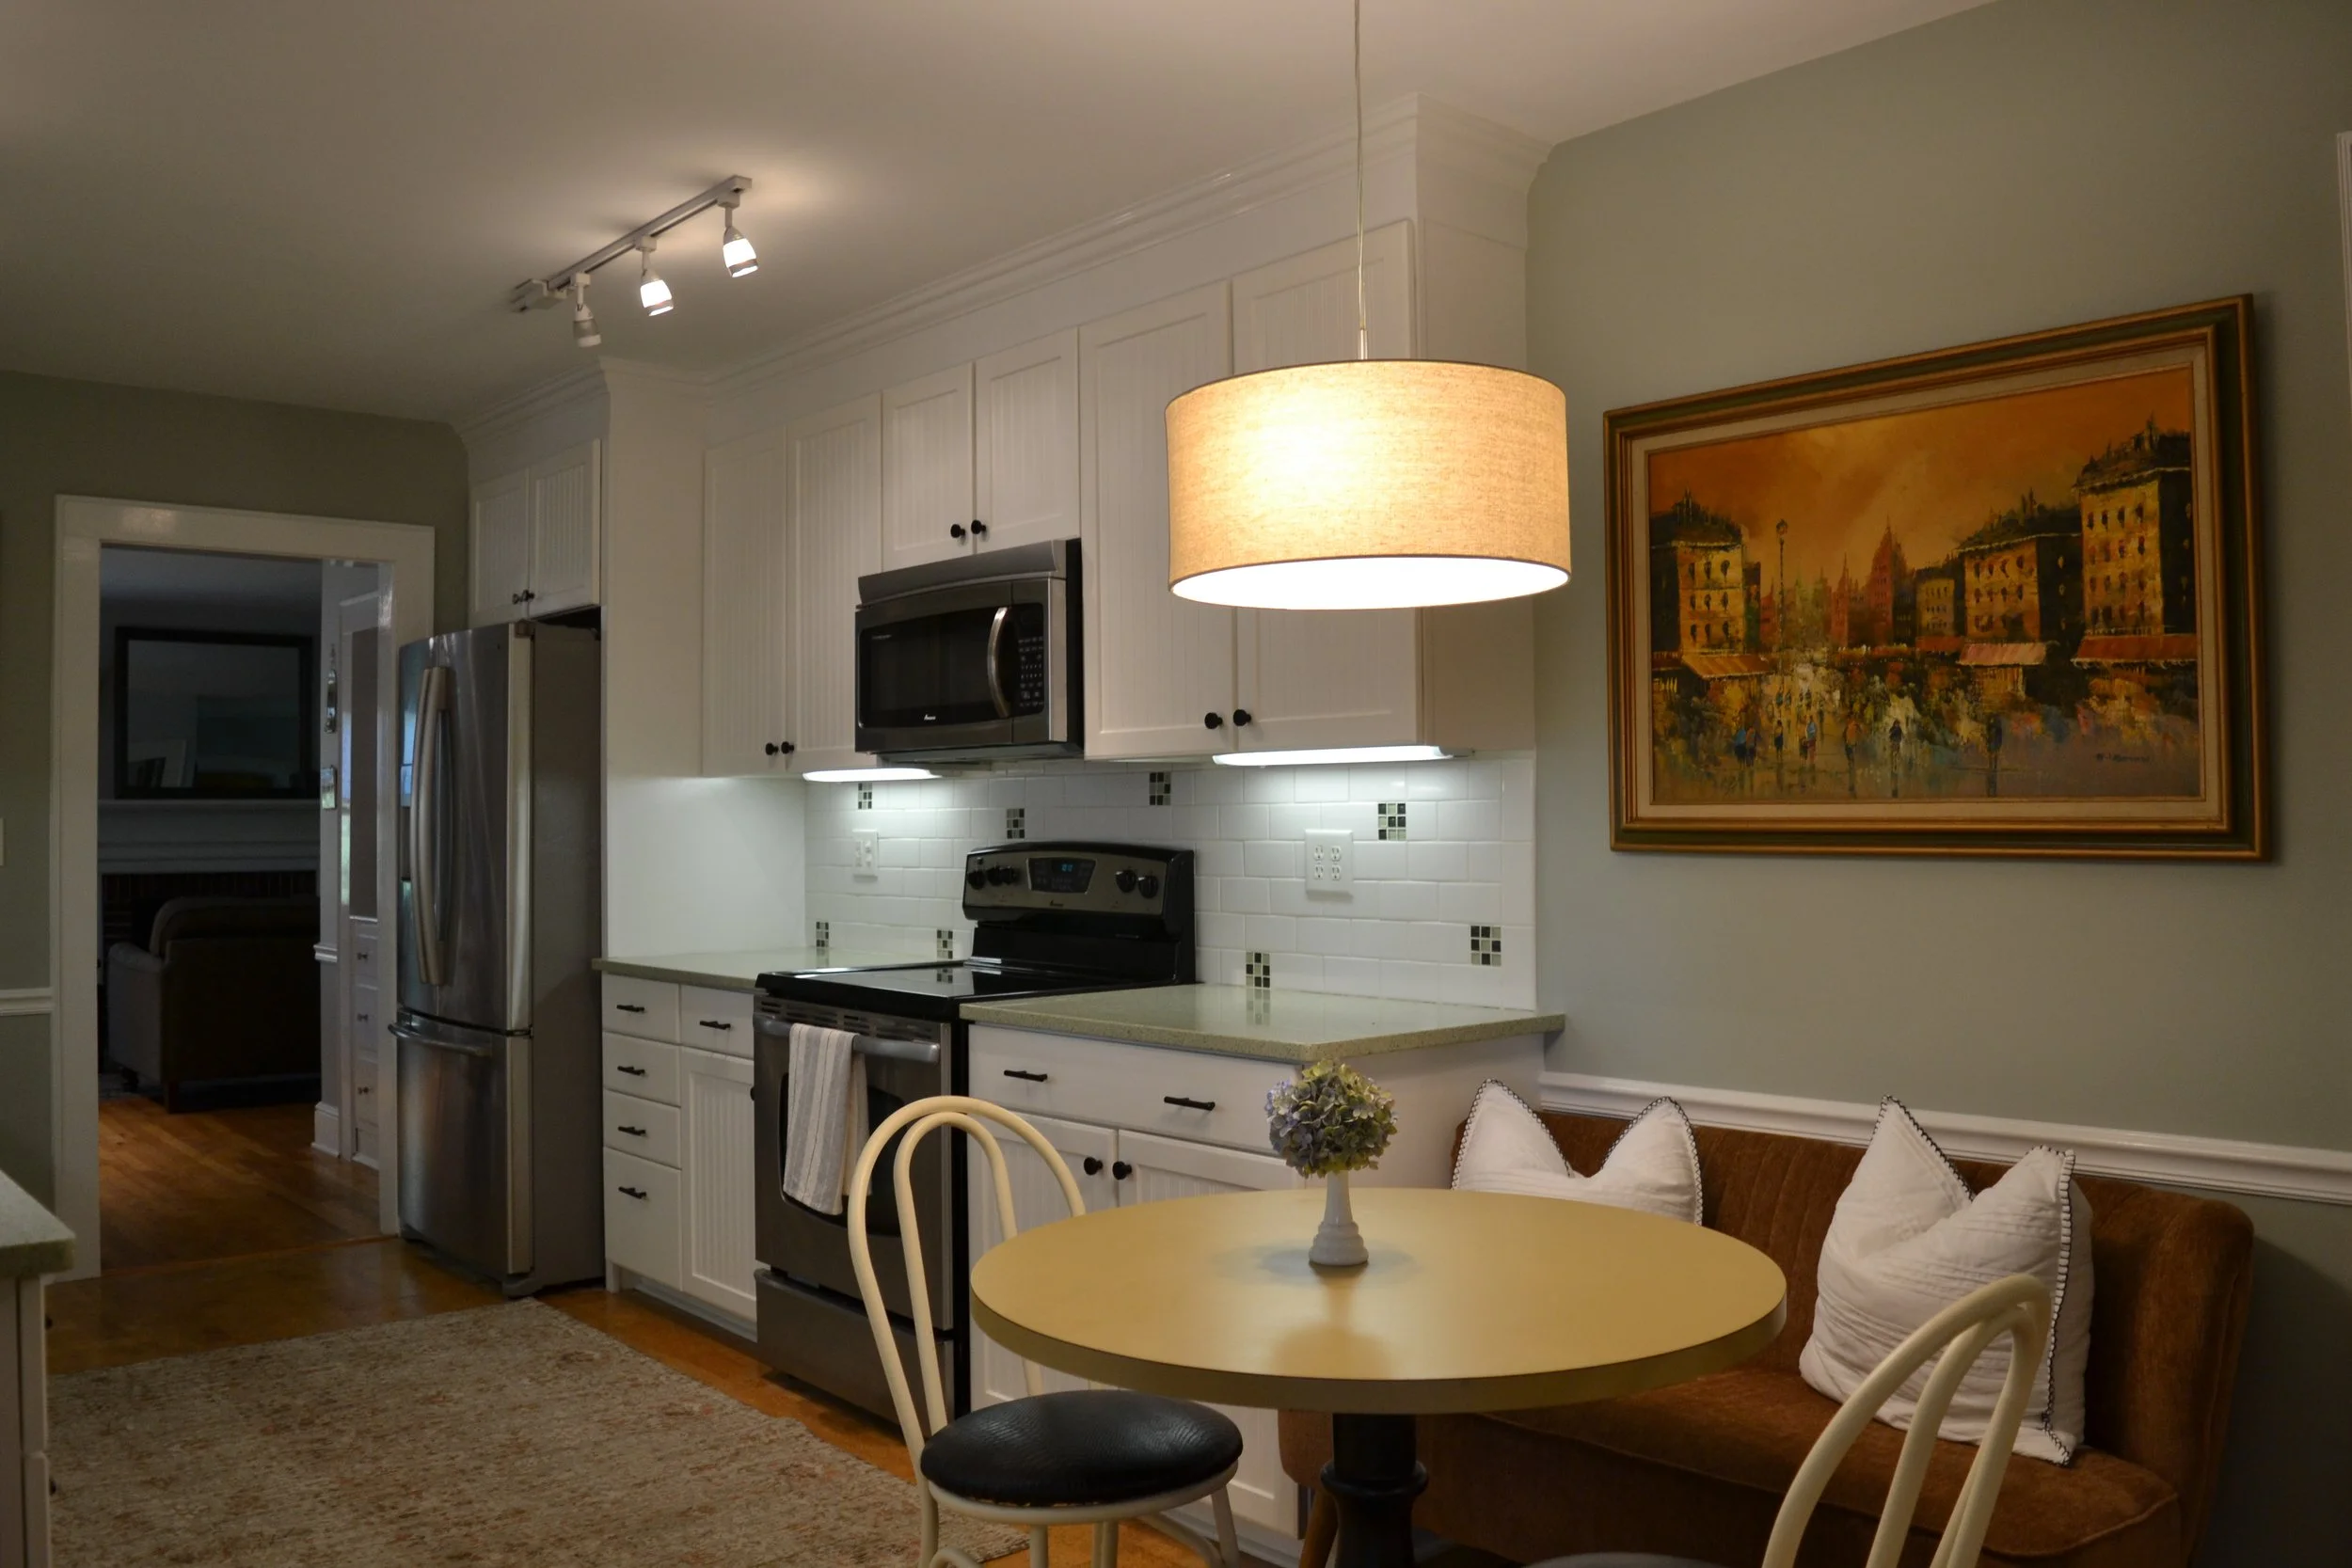
Quick answer: This is my transitional European kitchen, updated over two years with no demo. I bought the house in November 2020 and the kitchen had been renovated within the previous ten years, so the bones were good. The changes were hardware, lighting and curated pieces added gradually, shown here in before and after phases.
Hello & a warm welcome to my kitchen.
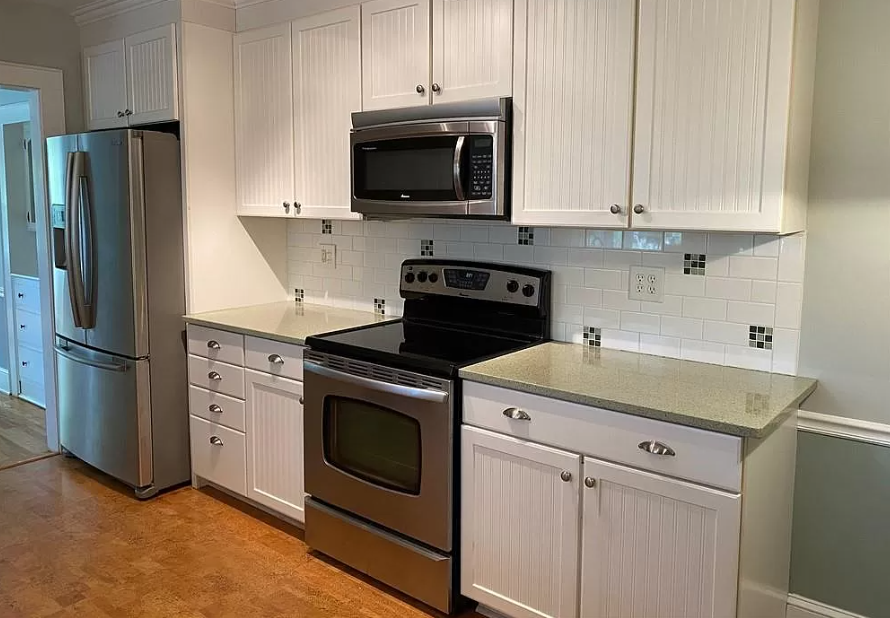
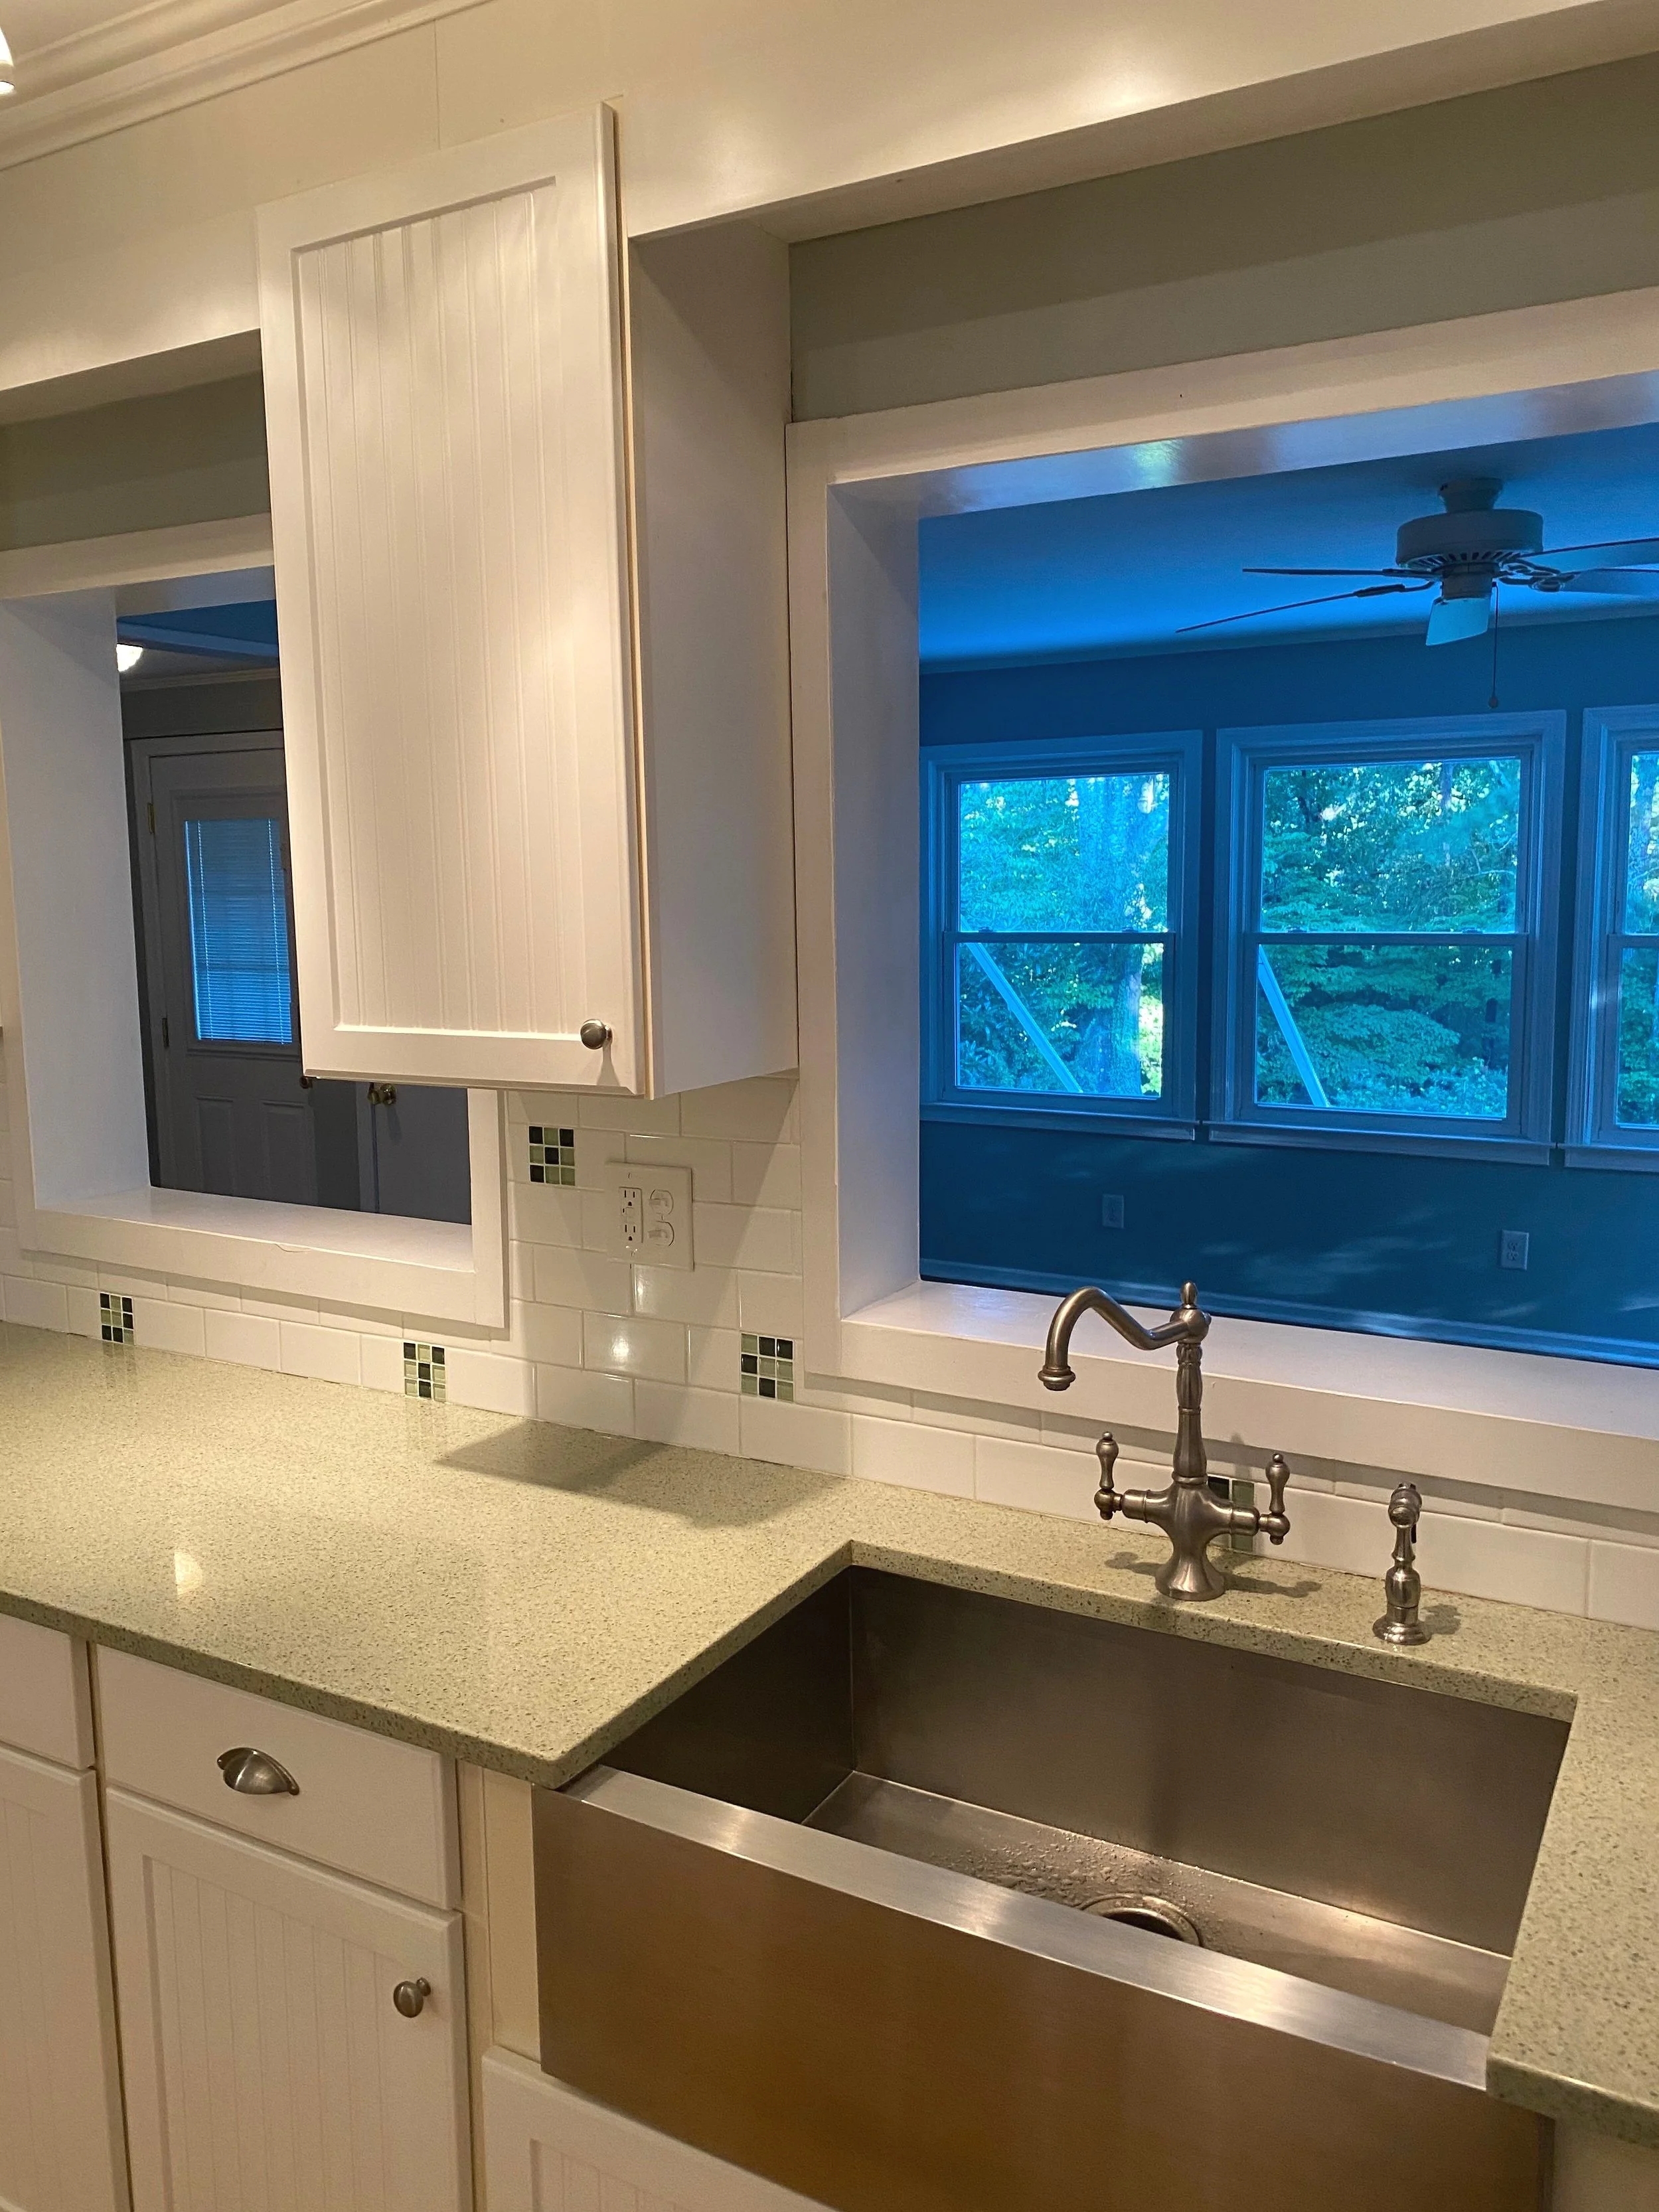
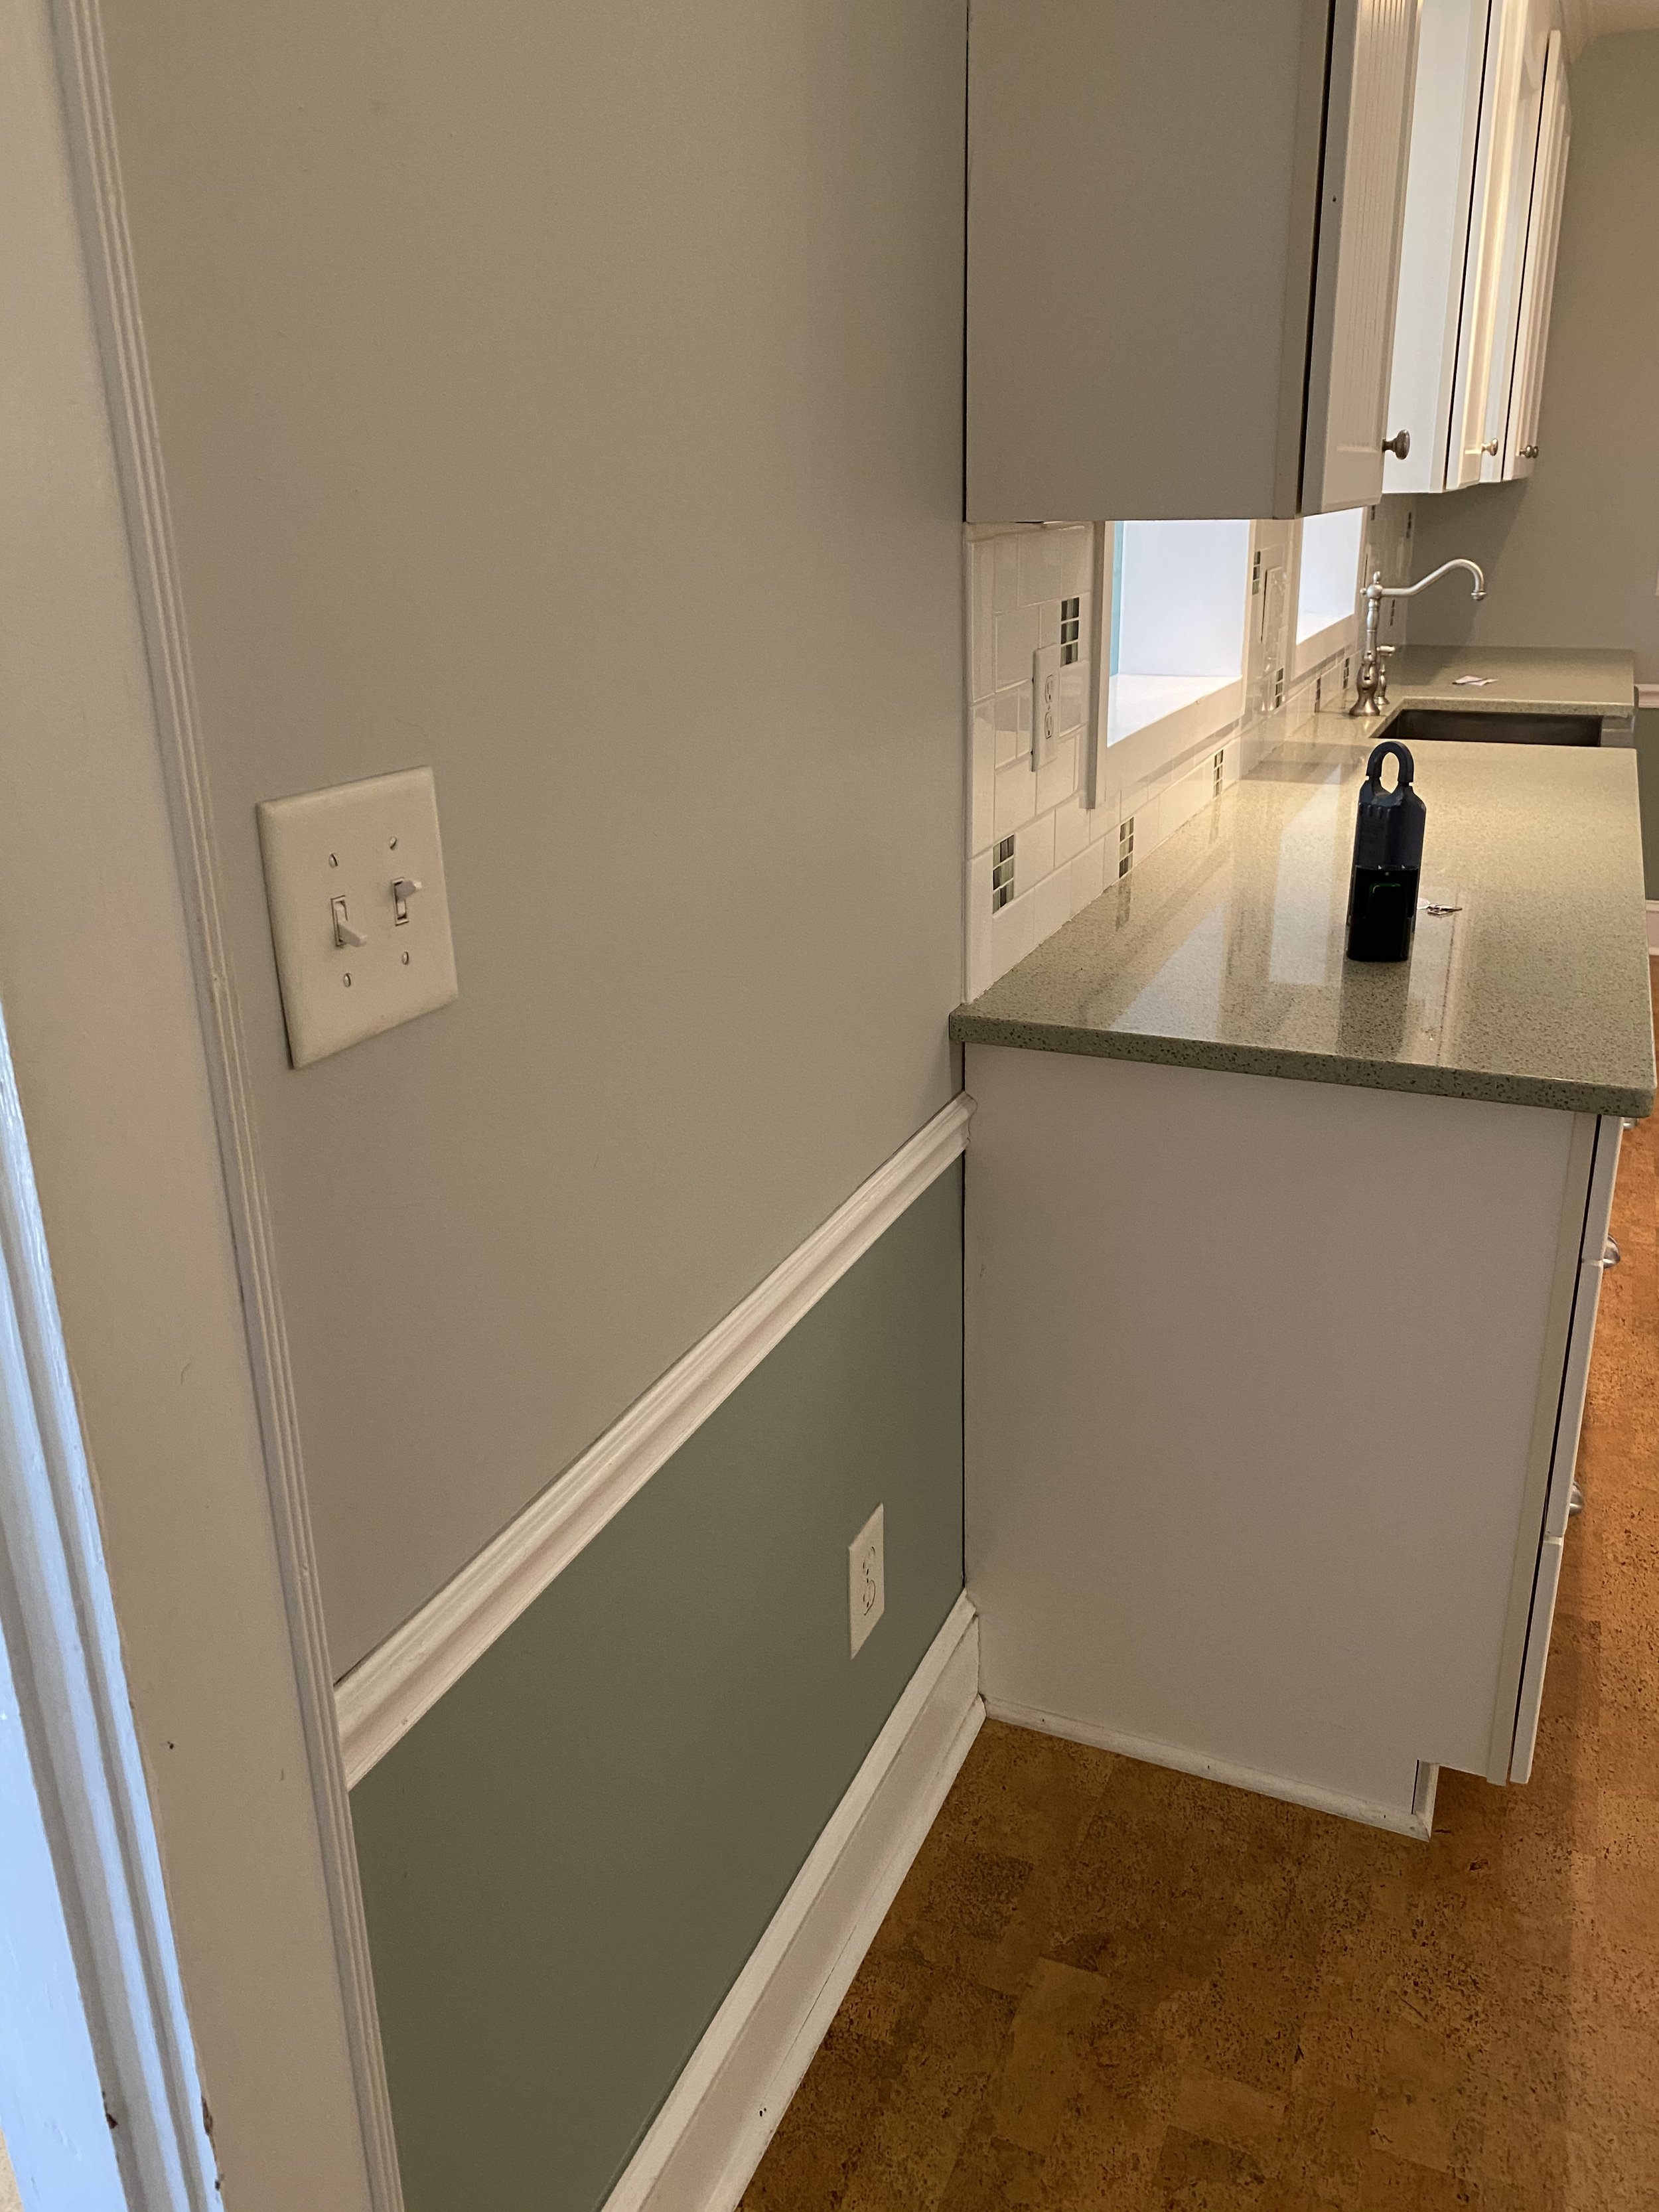
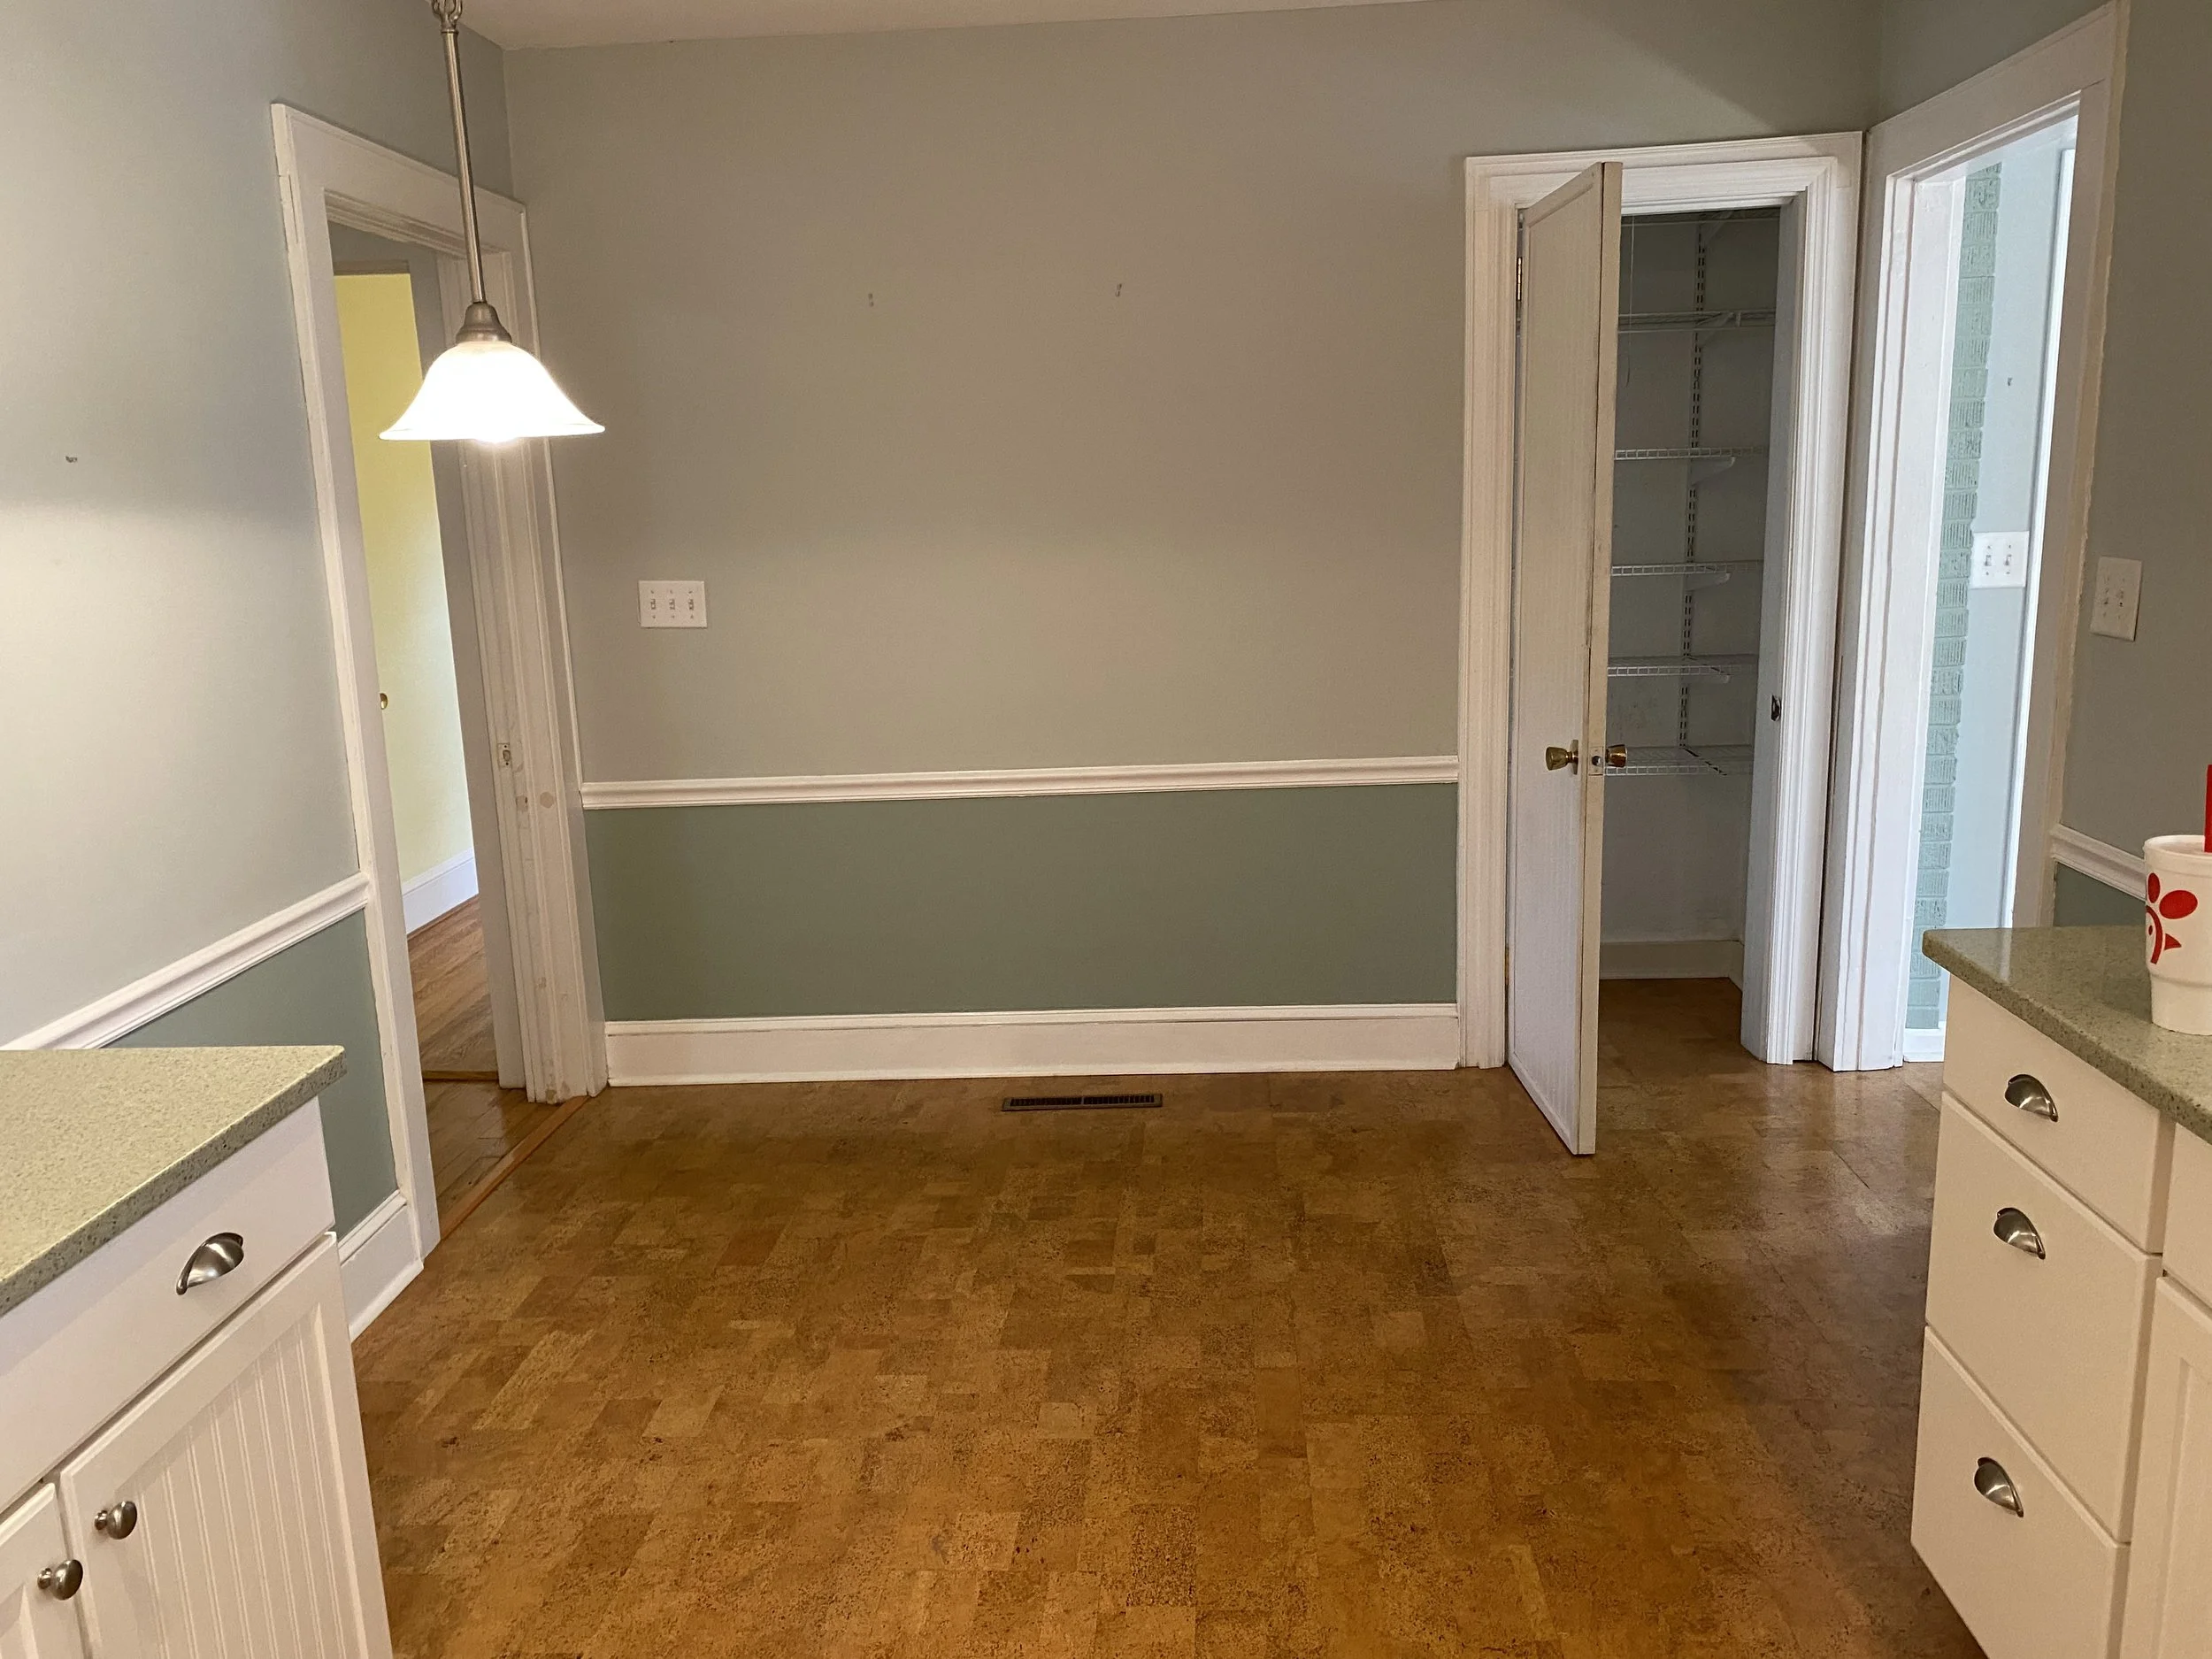
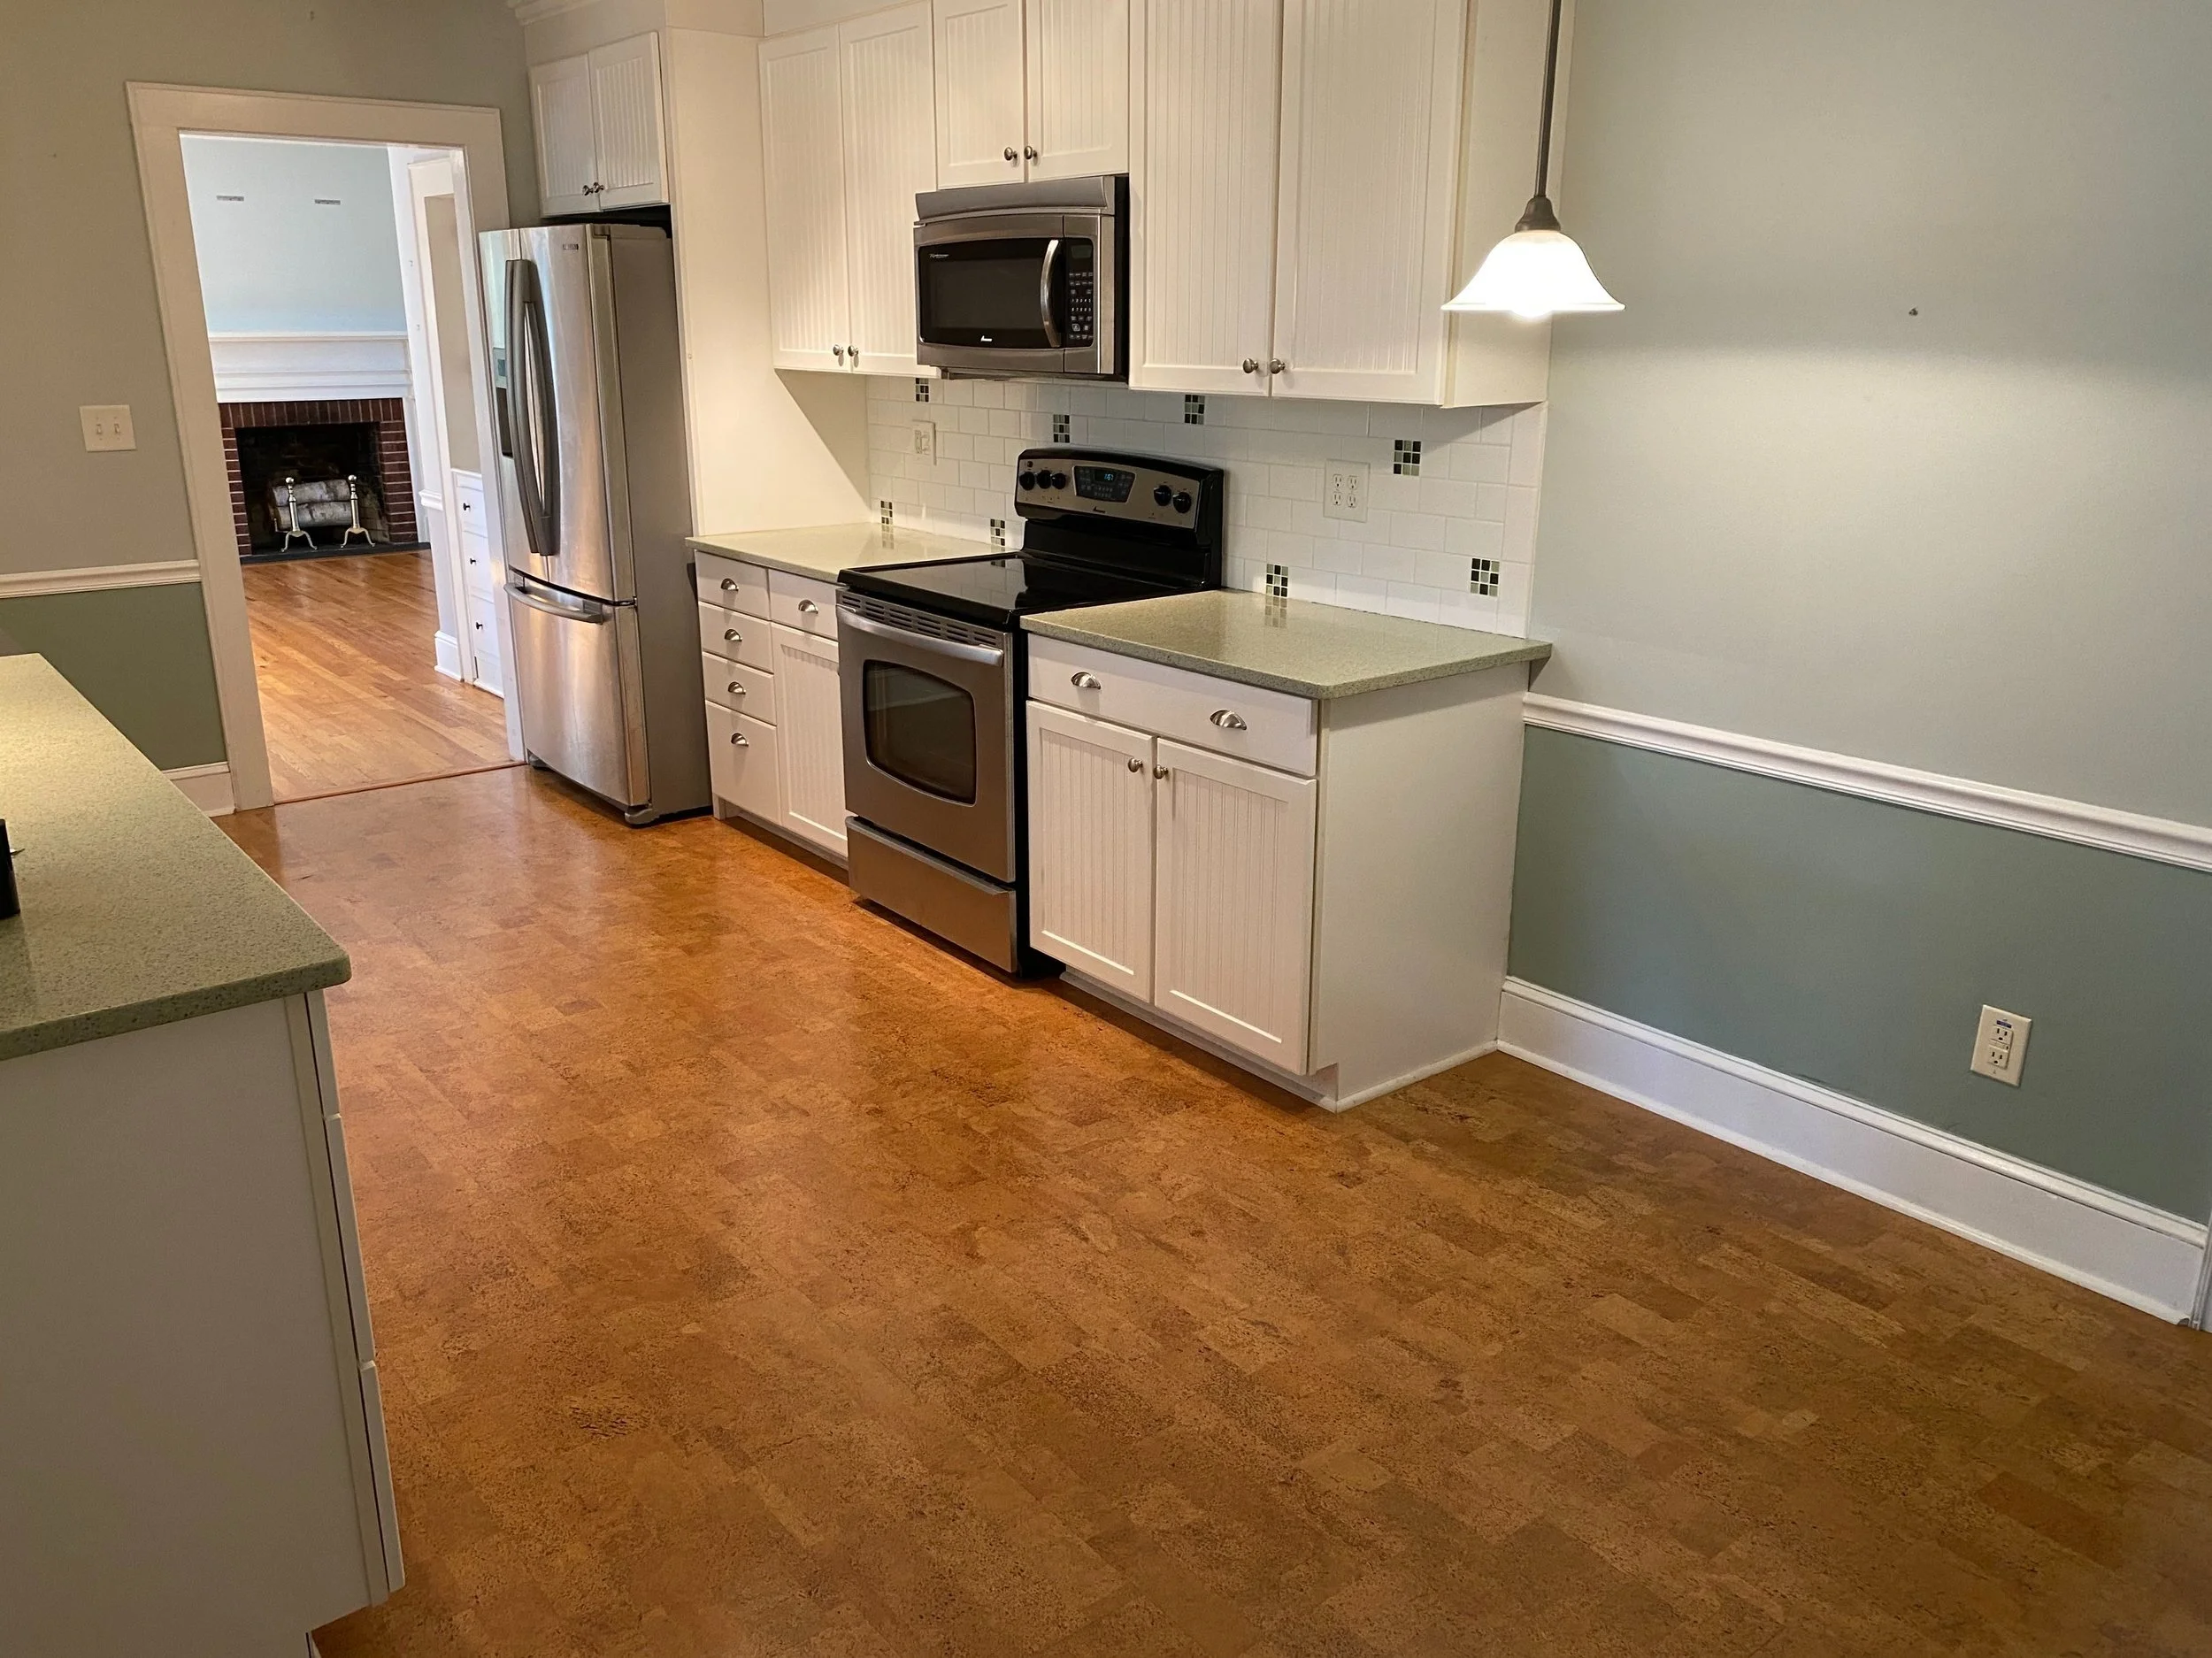
When I purchased my home in the fall of November 2020, this kitchen had been semi-recently renovated within the past 10 years with new countertops, cabinets, appliances, & lighting. Thankfully everything was in great shape and was well maintained and I had good bones to start off with. I knew I wanted to make small changes throughout the kitchen without having to demo it or make any major changes that would cost me a significant amount. Over the past 2 years I have embodied the mindset of slow curating and designing my entire home. I have been in no rush to finish the kitchen let alone any room in my home. My methodology has been based upon continually making improvements to the kitchen as I have had the money in my budget to do so. I went for a long time with no table and seating until I could find the items that perfectly fit my vision. I would find pieces here and there and I gradually began to see a transformation in my kitchen as I added each piece. Below you will find photos of my kitchen starting with the original listing photos for the house and the various stages of the curation process as it has continuously evolved over the past 2 years timespan.
Before Photos Of My Kitchen:
These are the listing photos of my kitchen and also include a few that I took myself before I moved in.
Makeover Phase 1 (First 8-12 Months):
Improvements:
Hardware
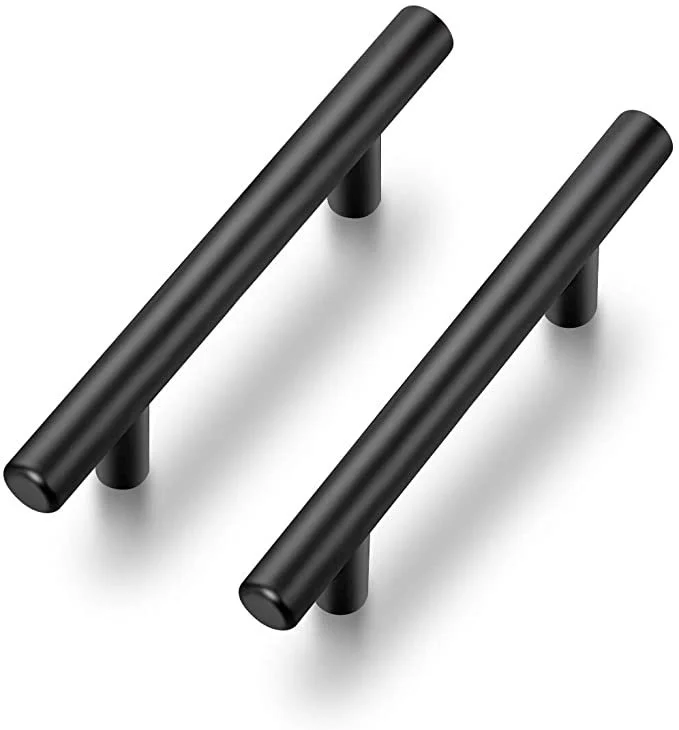
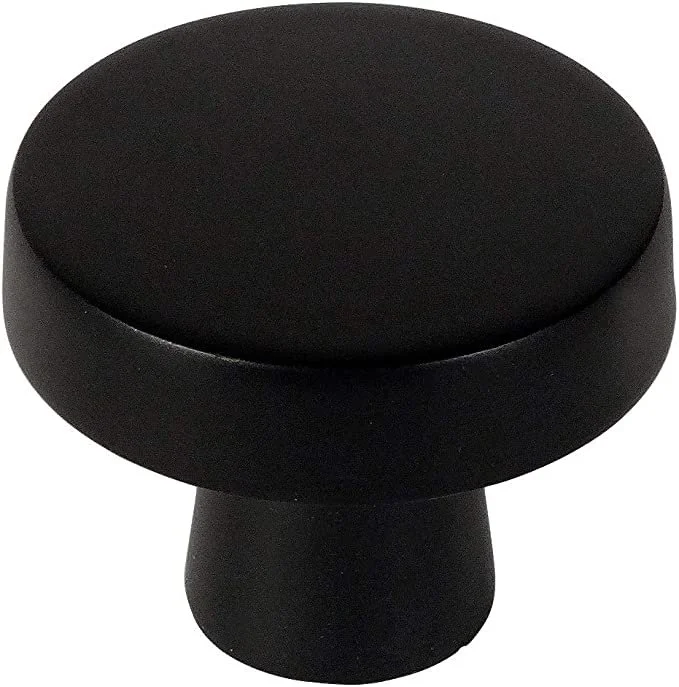
The original silver colored hardware that was on the existing cabinets & drawers when I moved in was easily changed to a matte black more modern style set of knobs & drawer pulls. I ordered both the knobs & pulls on Amazon. I definitely recommend using an electric/battery powered drill when unscrewing the old knobs on your cabinets & installing the new set. It will save you a significant amount of time in the long run.
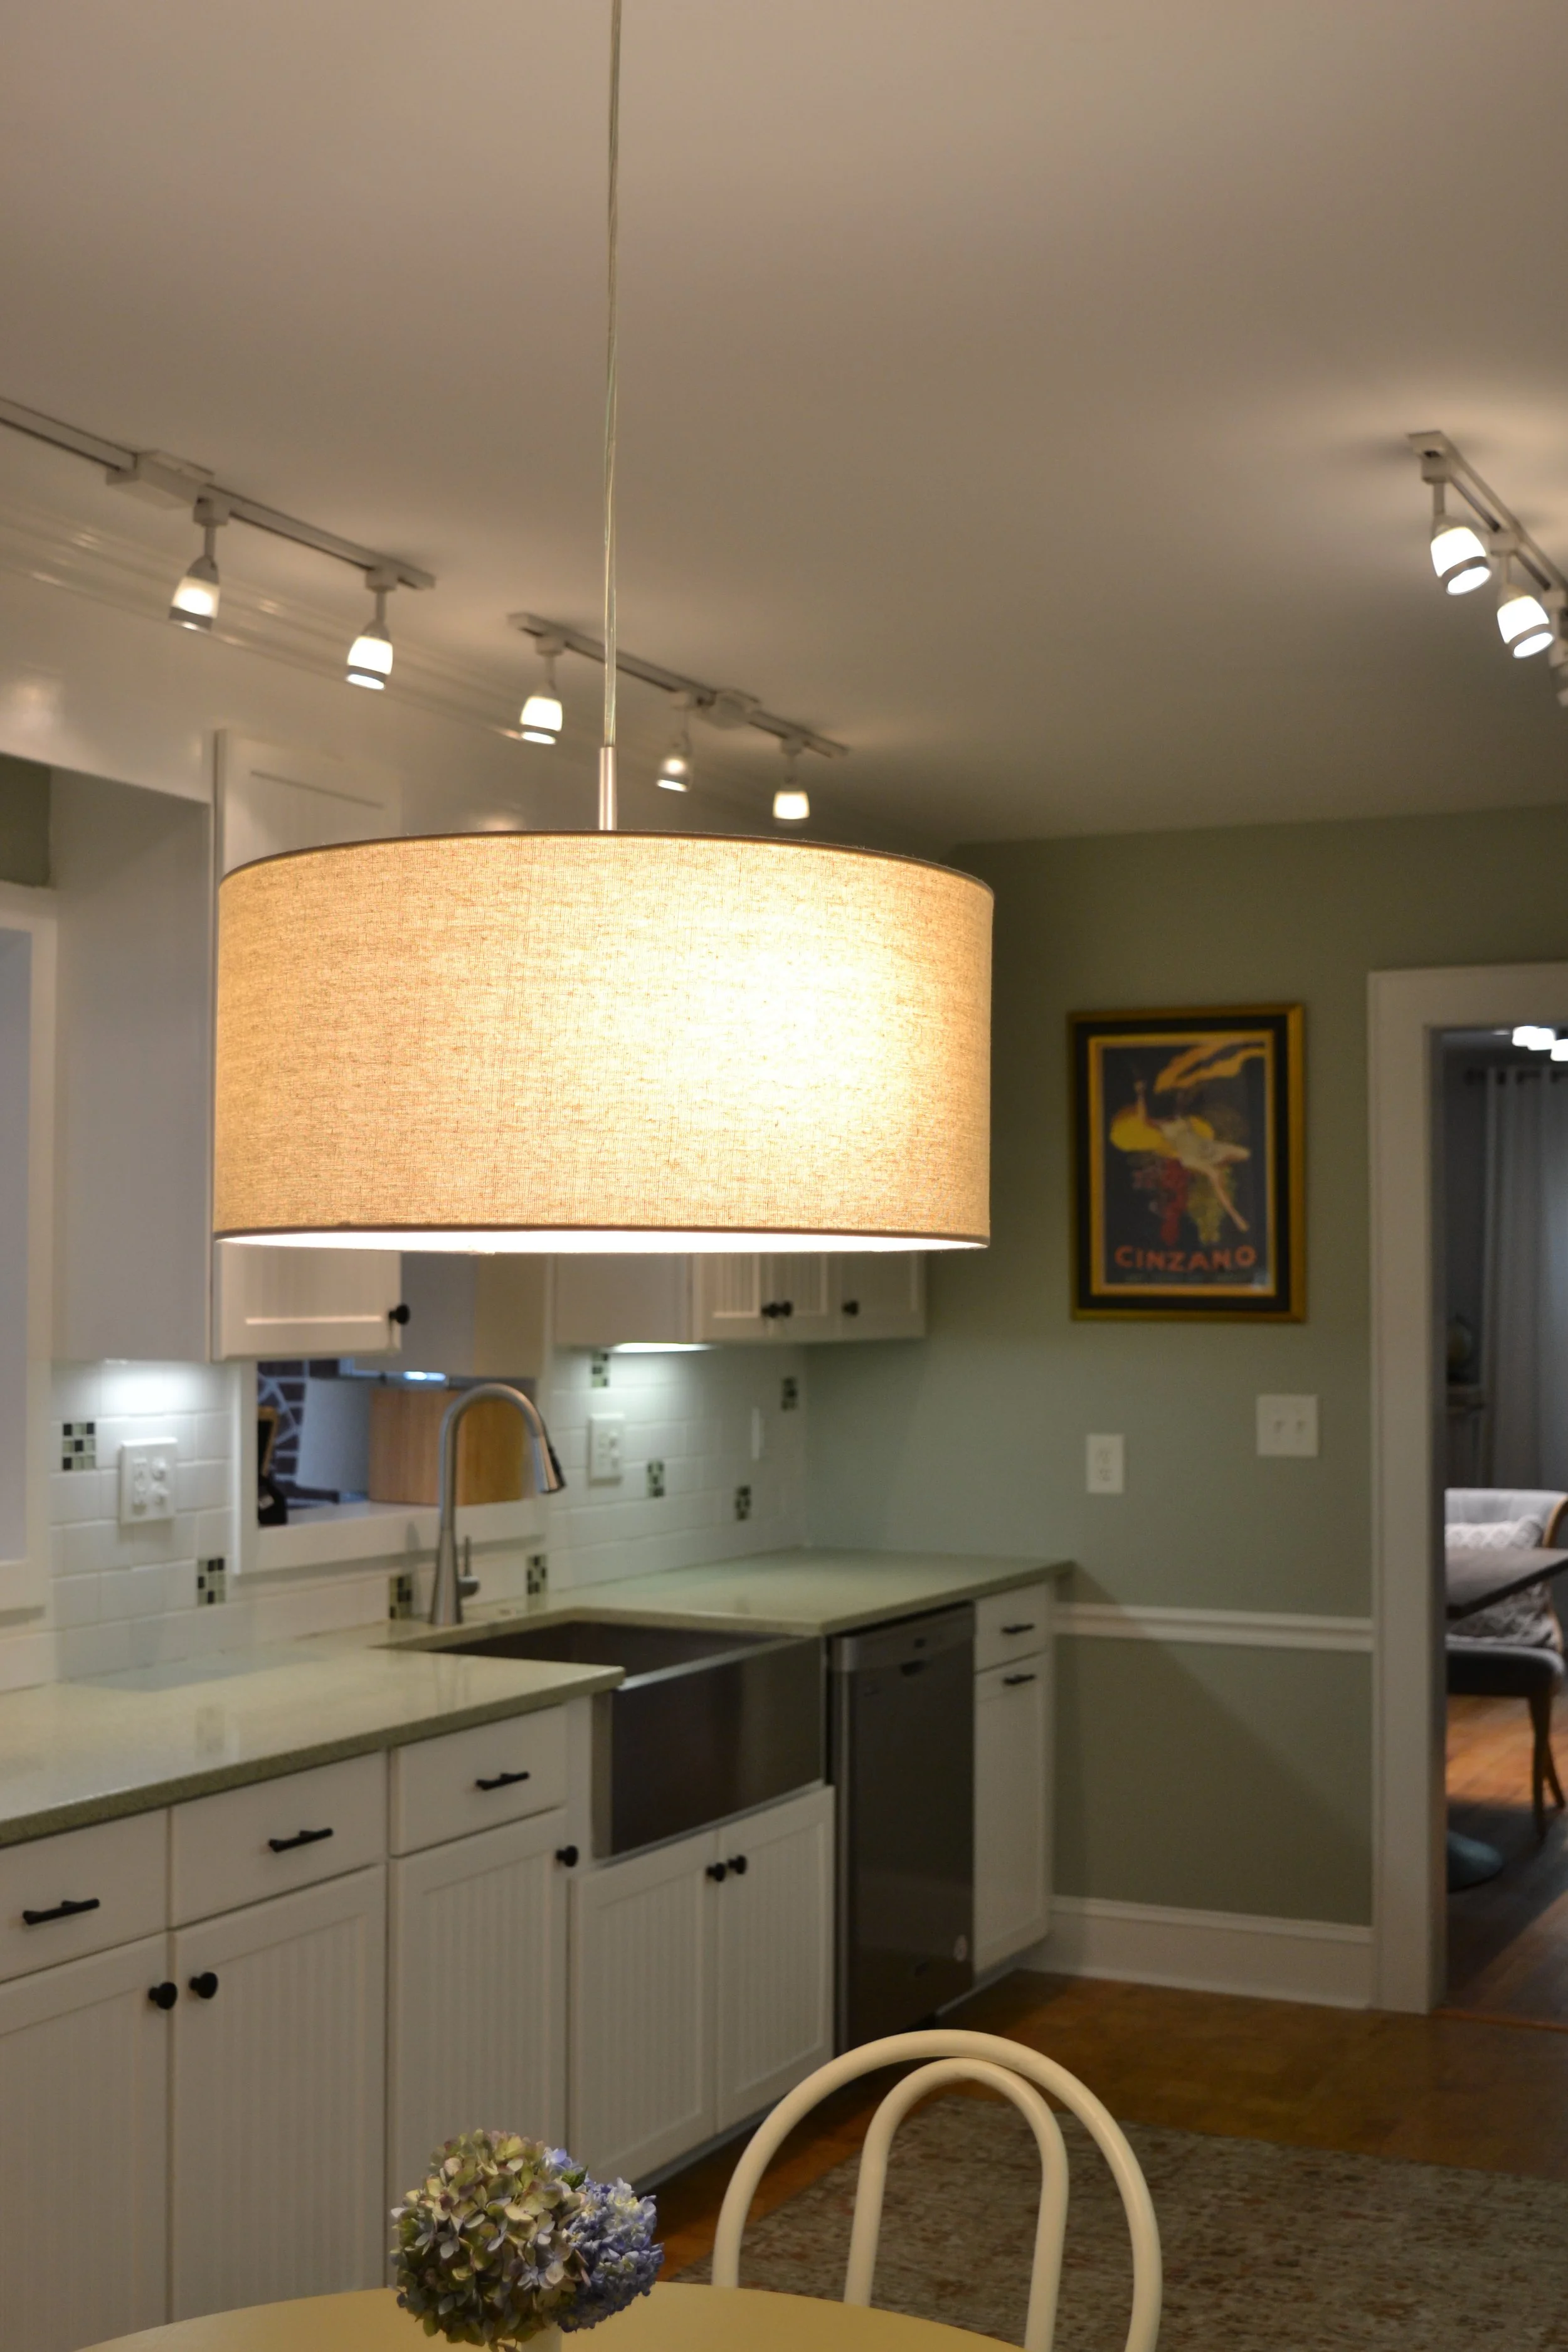
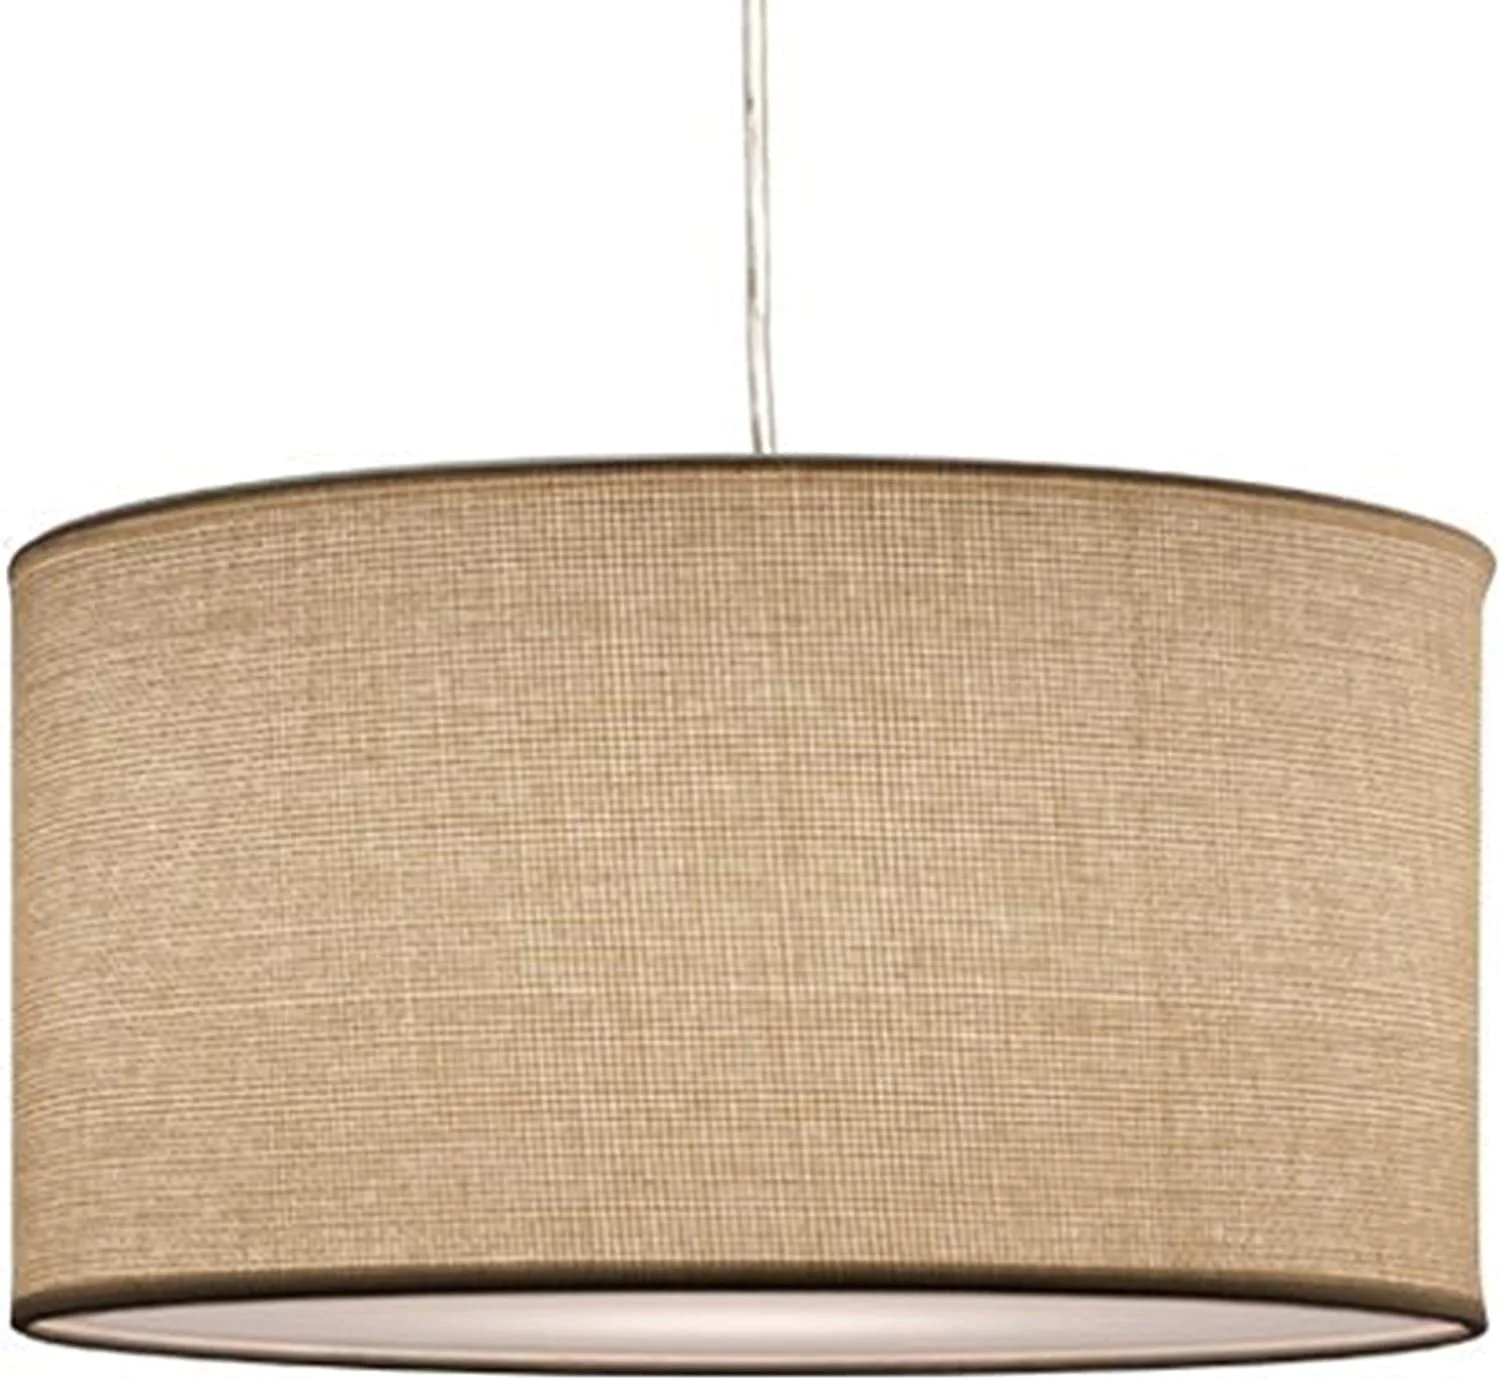
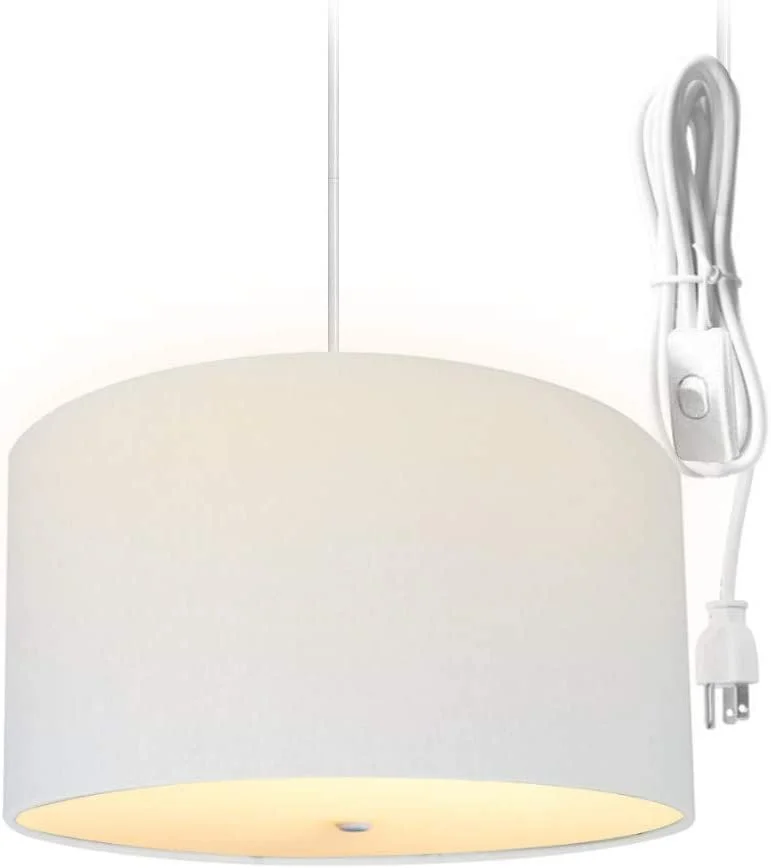
I replaced the pendant that was hanging over the area of the kitchen that I transformed into my version of an English style breakfast nook. I found the pendant on sale at a overstock/returns store that receives items from West Elm, Crate & Barrell, Amazon, Etc. I paid only $25 for the pendant and it cost me an additional $35 to have my handyman remove the old pendant and install the new one. Last item I required for this new shade was a hook to hang the cord from the ceiling (aka swag method/style) I chose a white one that blended in with my ceiling pant color for about $3.
See below for a couple of similar swag style pendants with a barrel drum style fabric shade.
This post may contain affiliate links. I may earn a small commission at no extra cost to you if you make a purchase through these links. I only recommend products I personally use and love.
Total Project Time: 1 Hour
Prep:
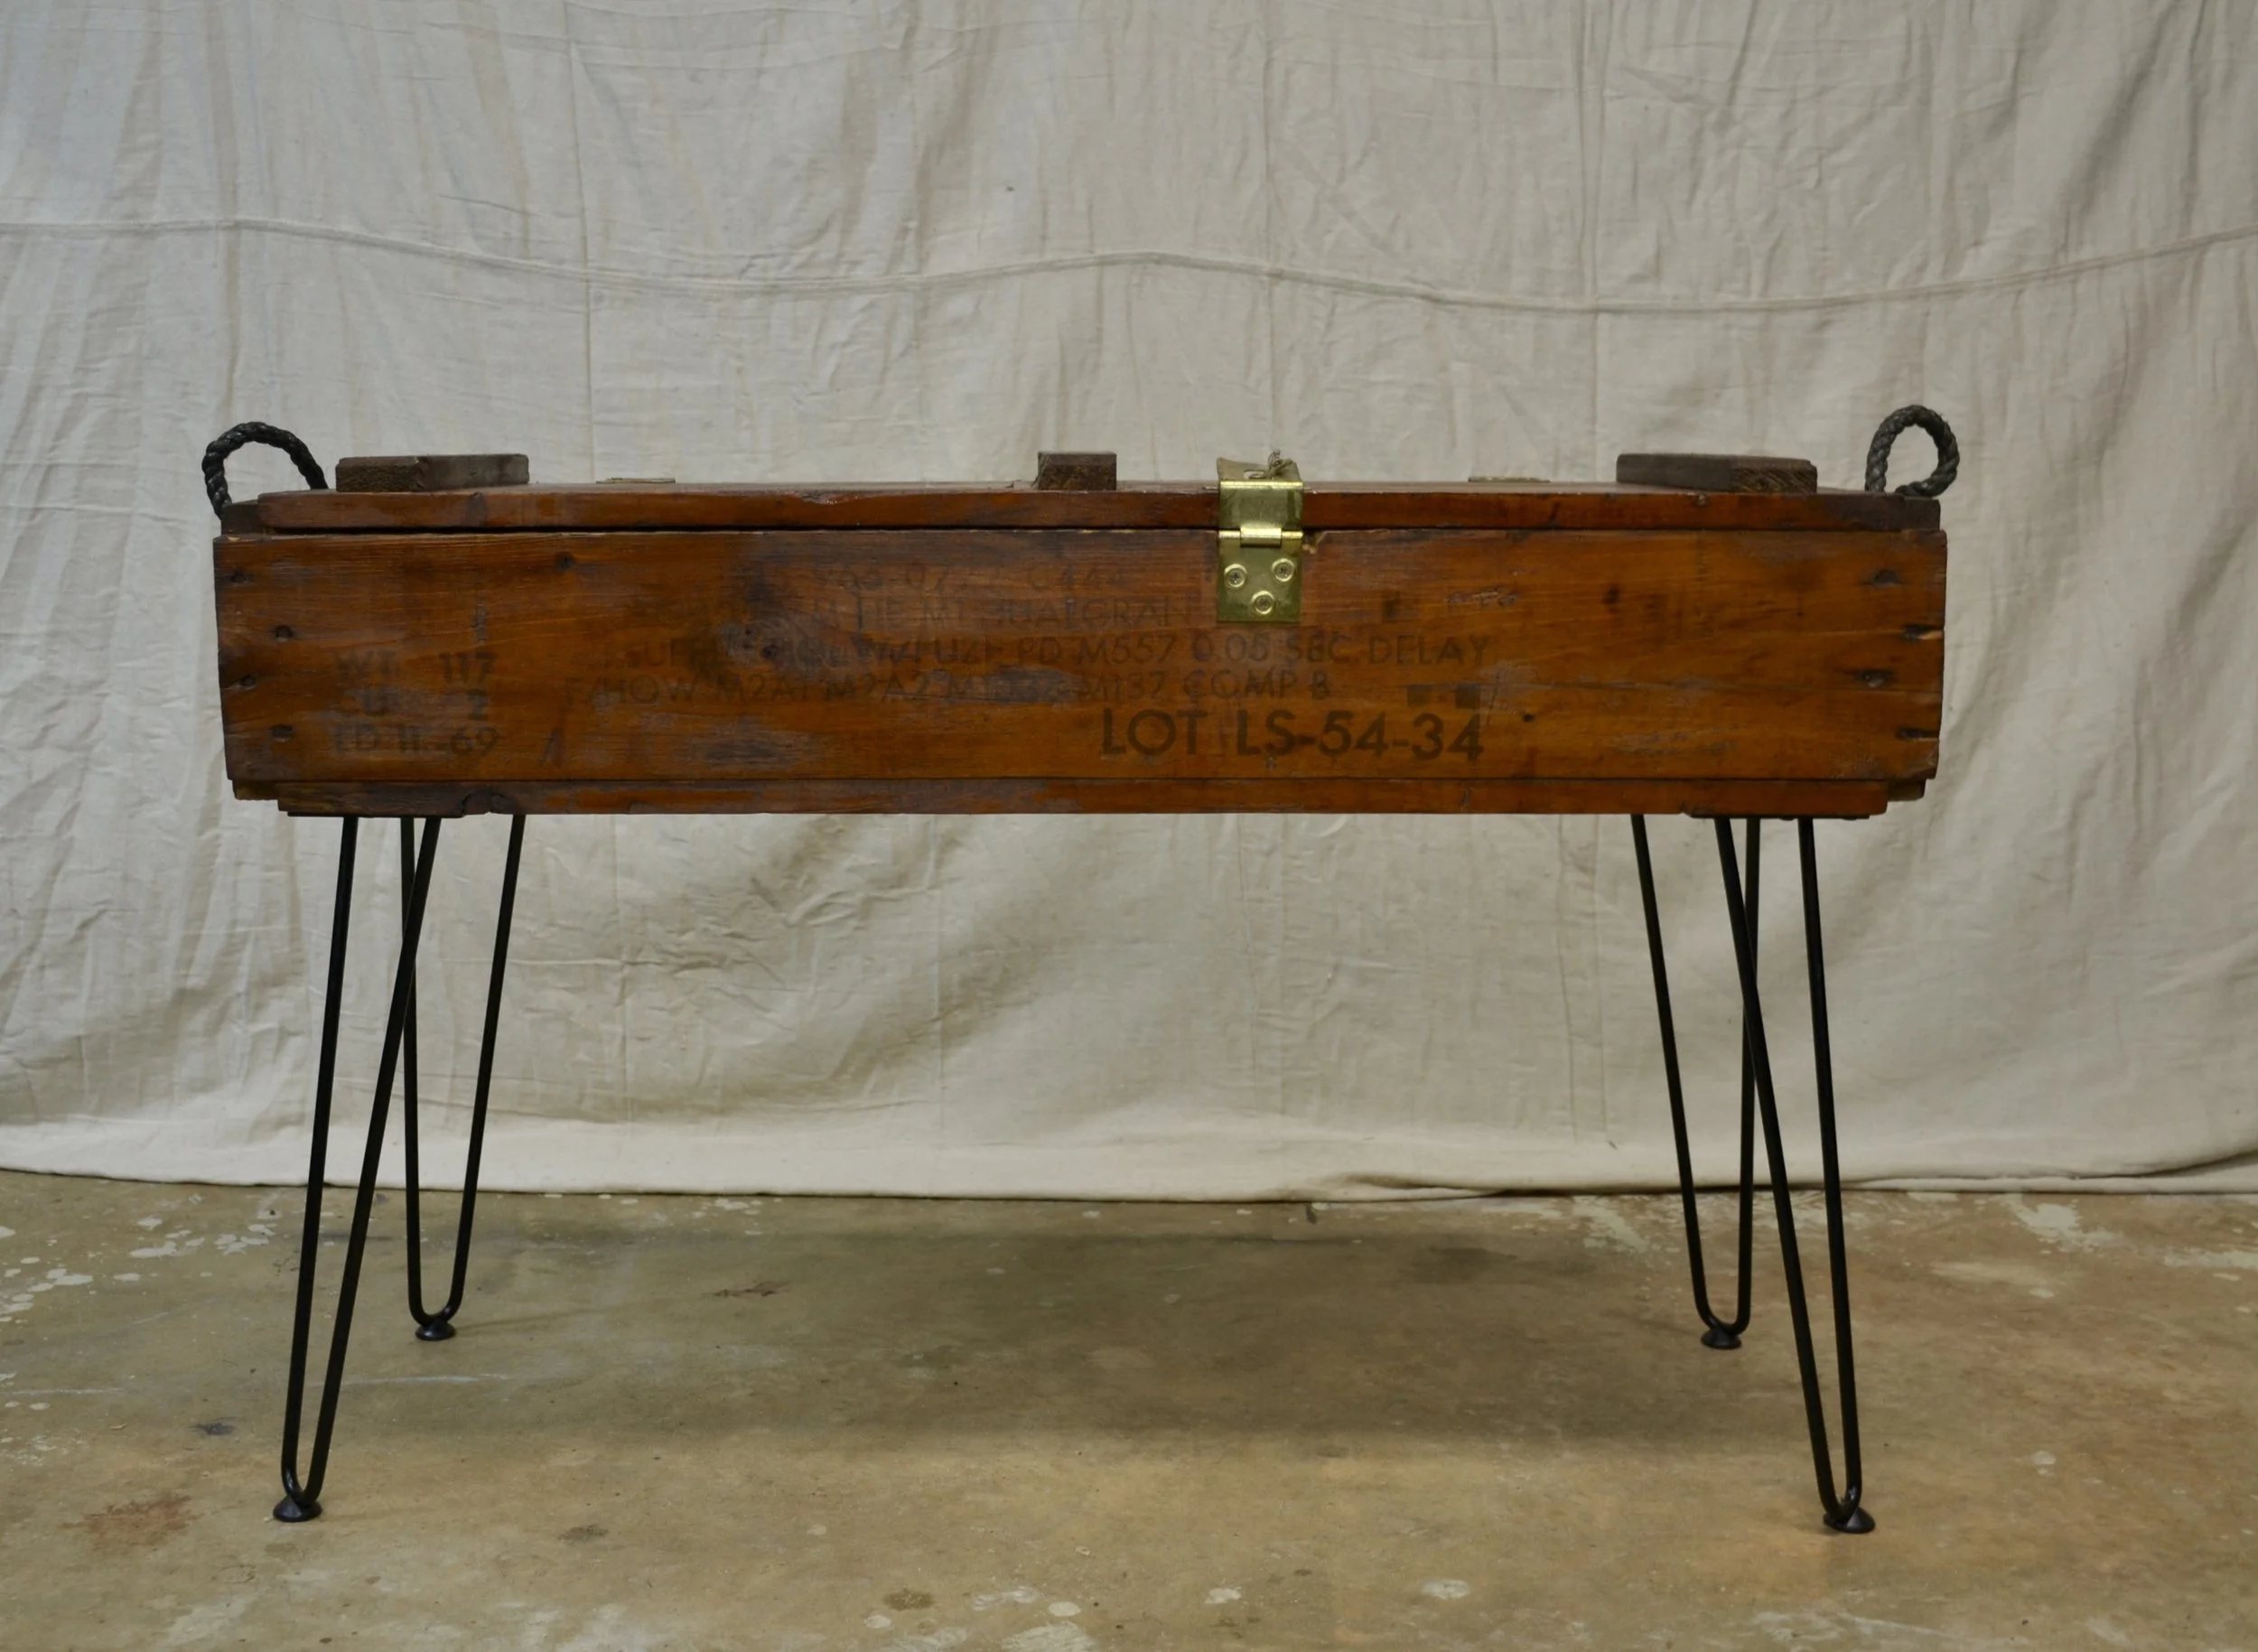
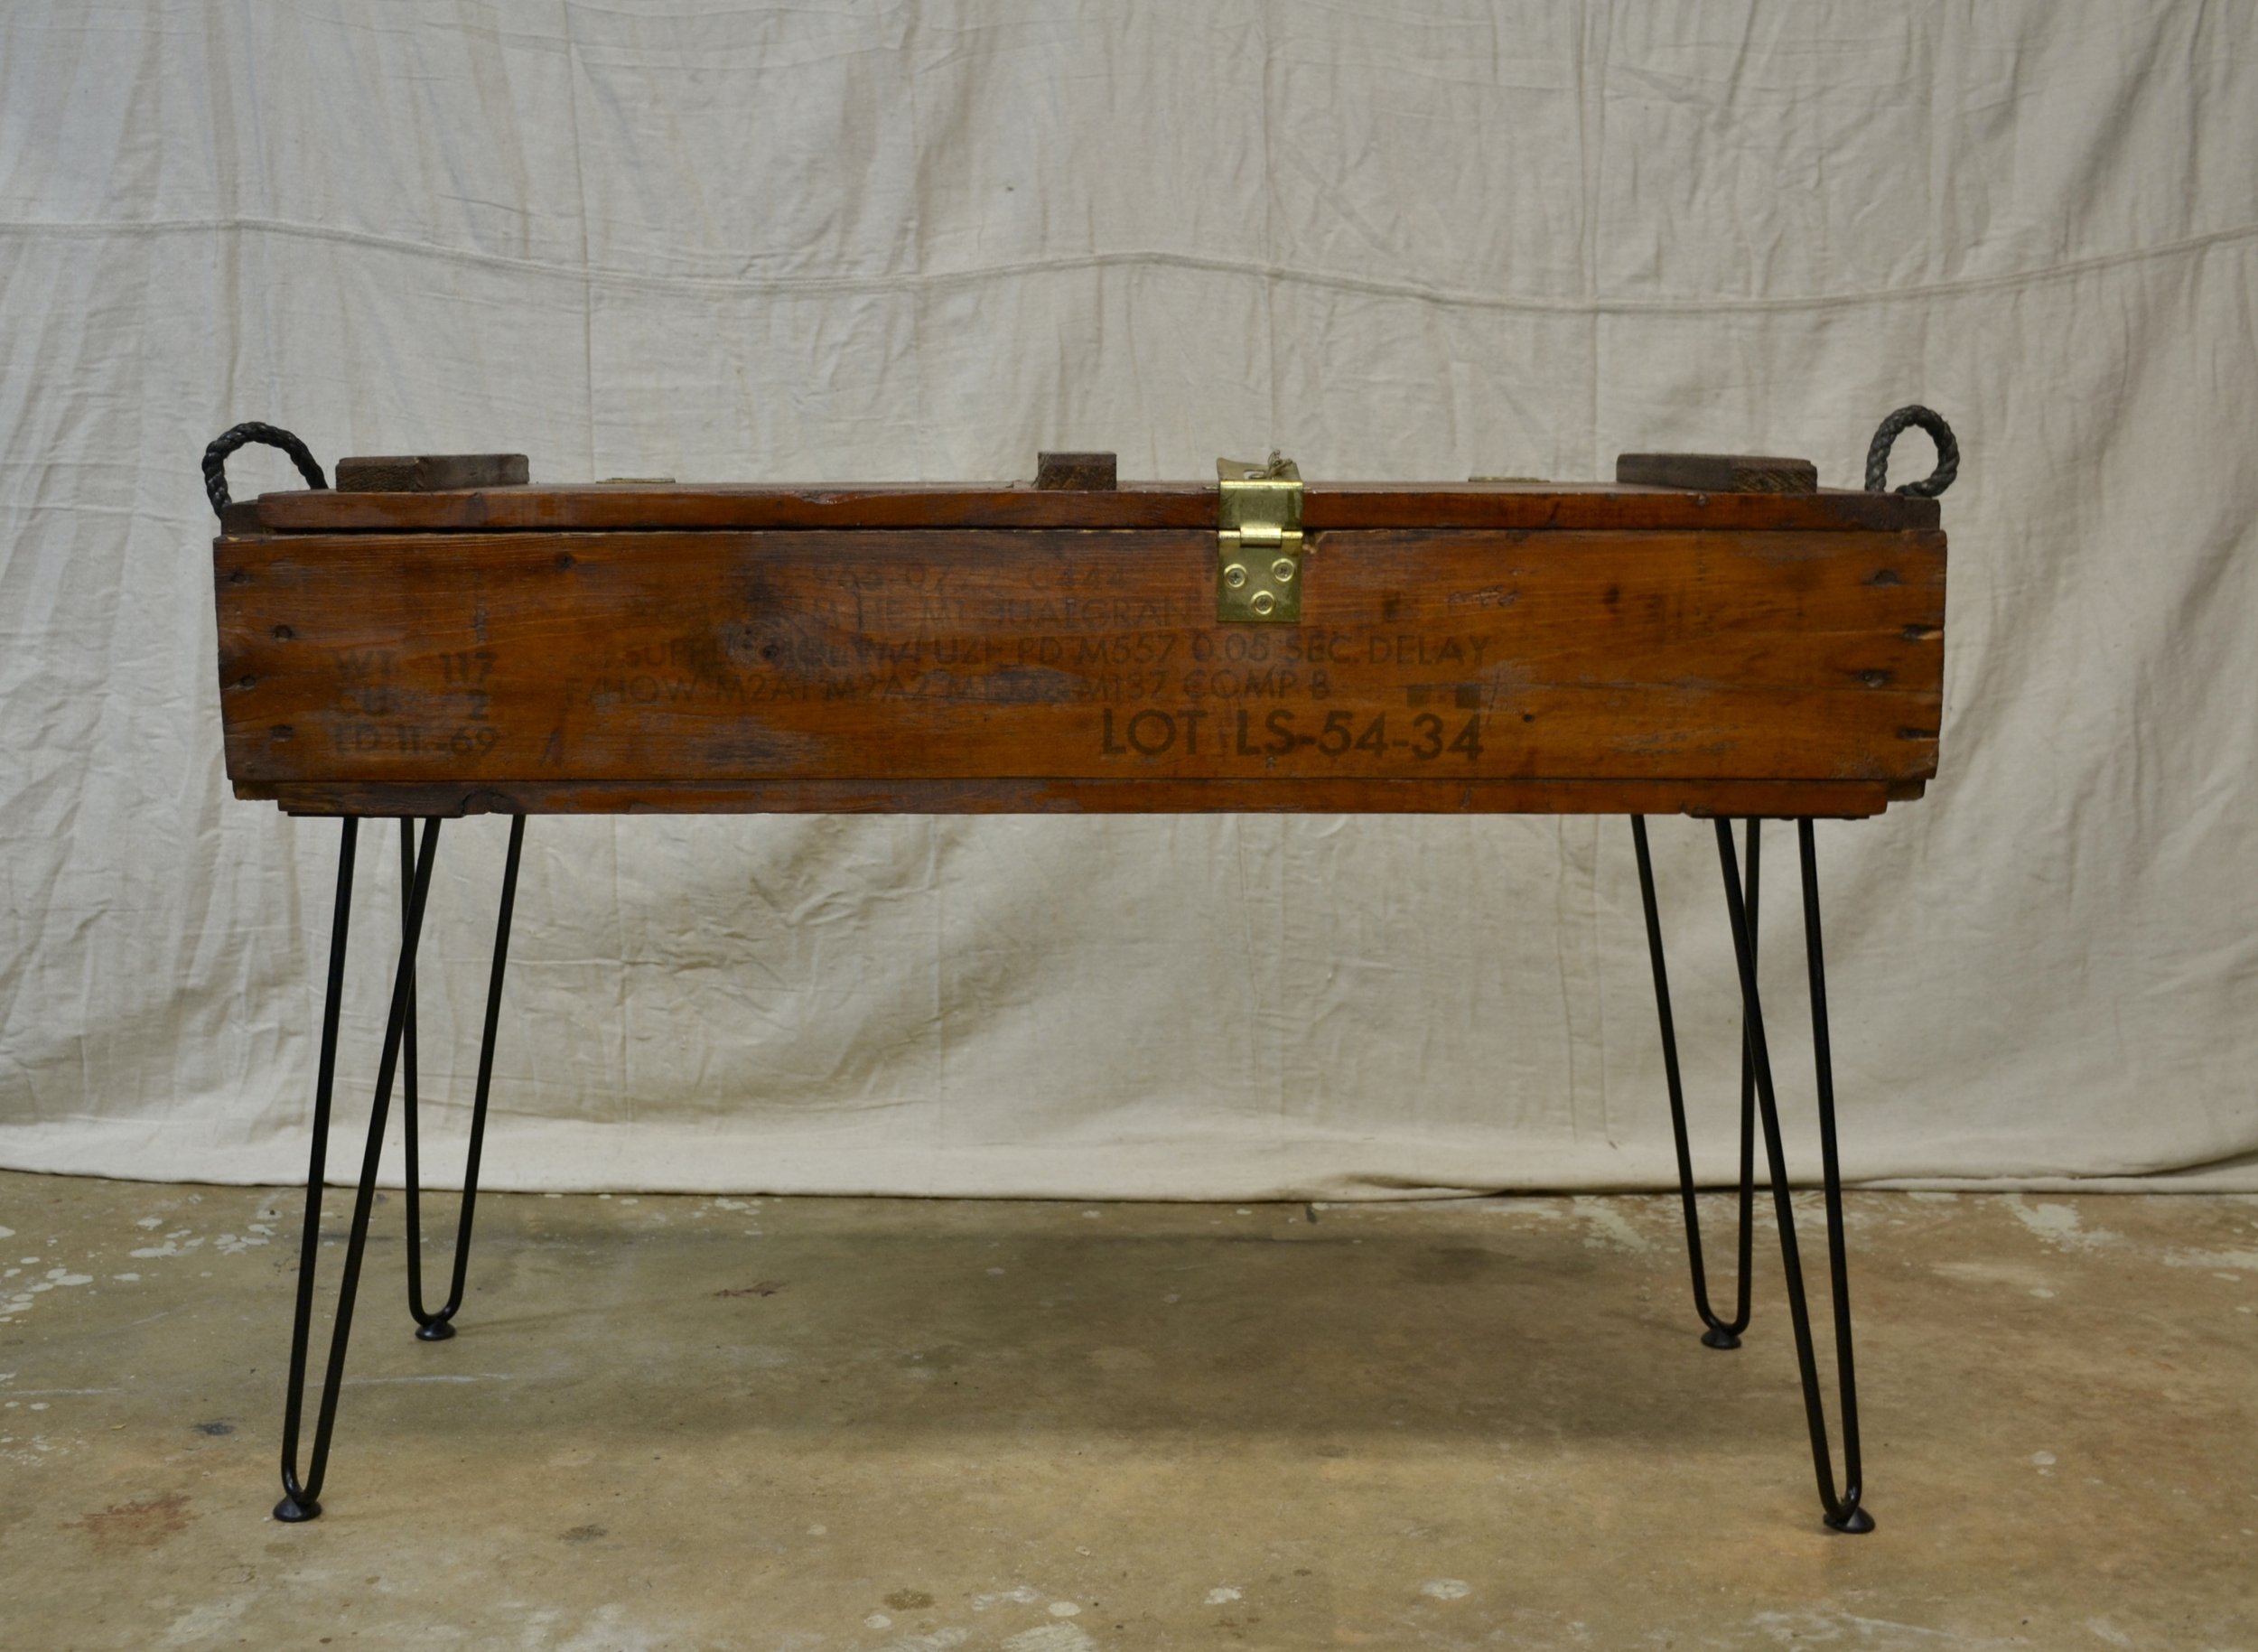
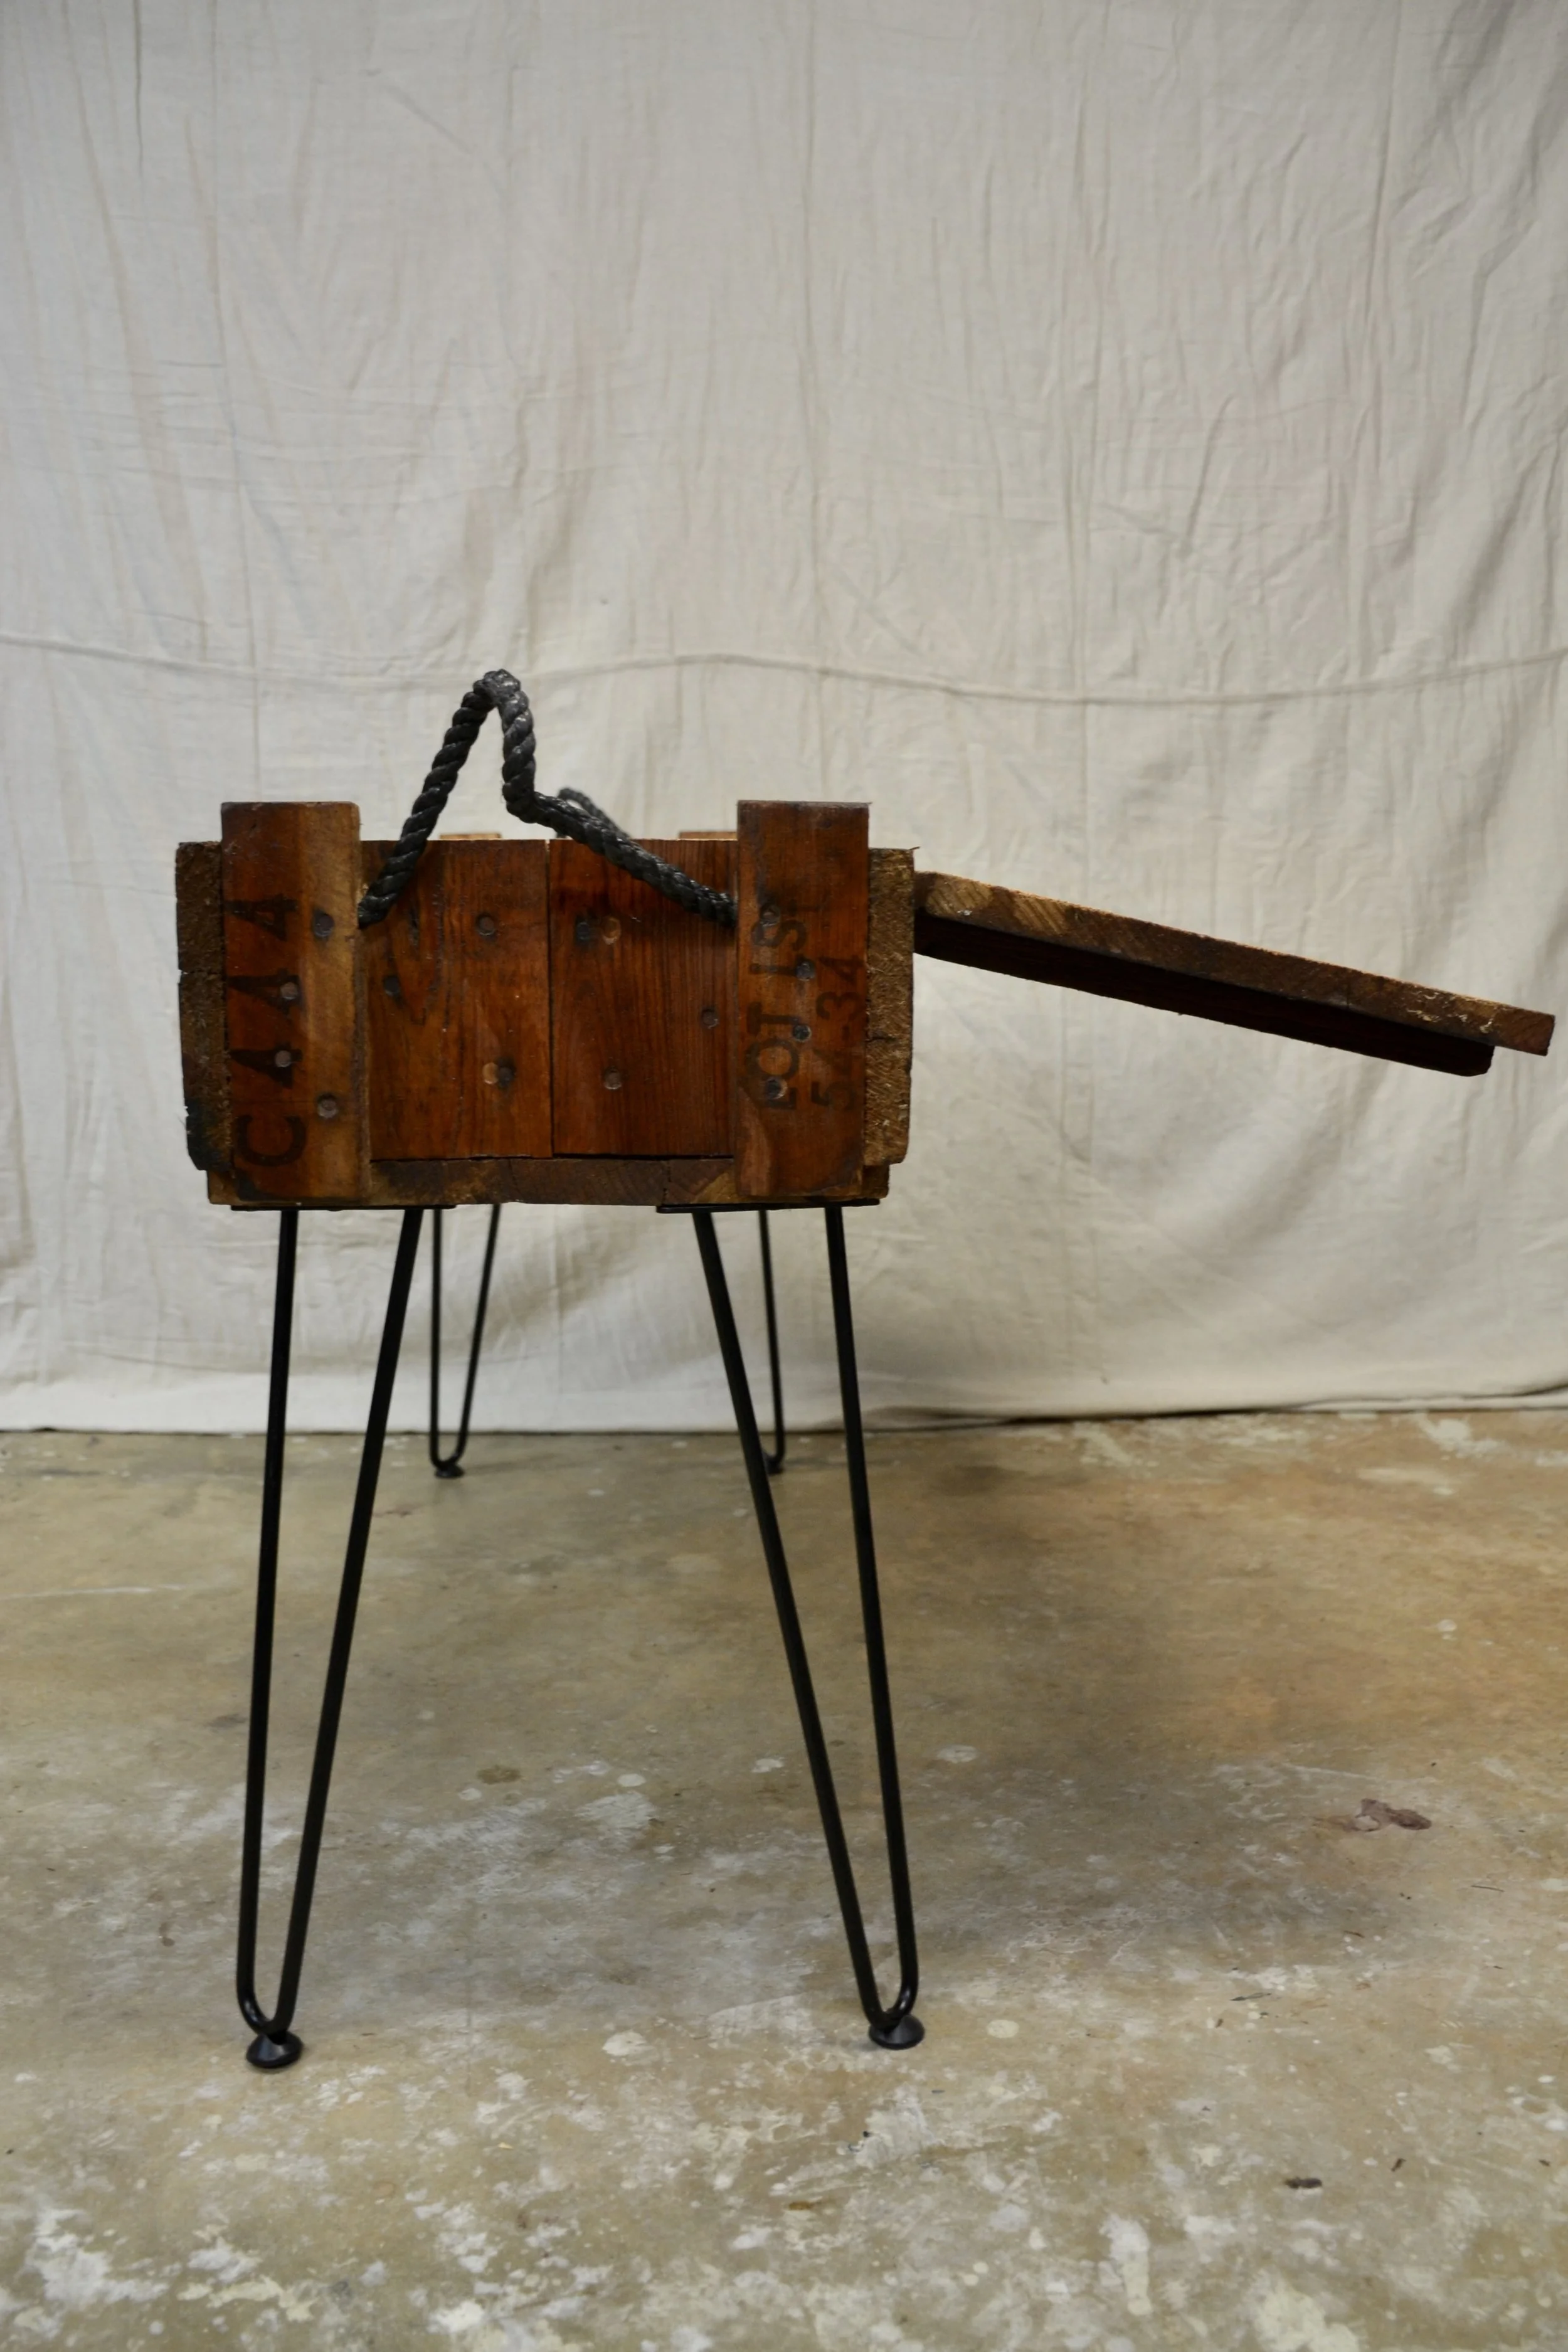
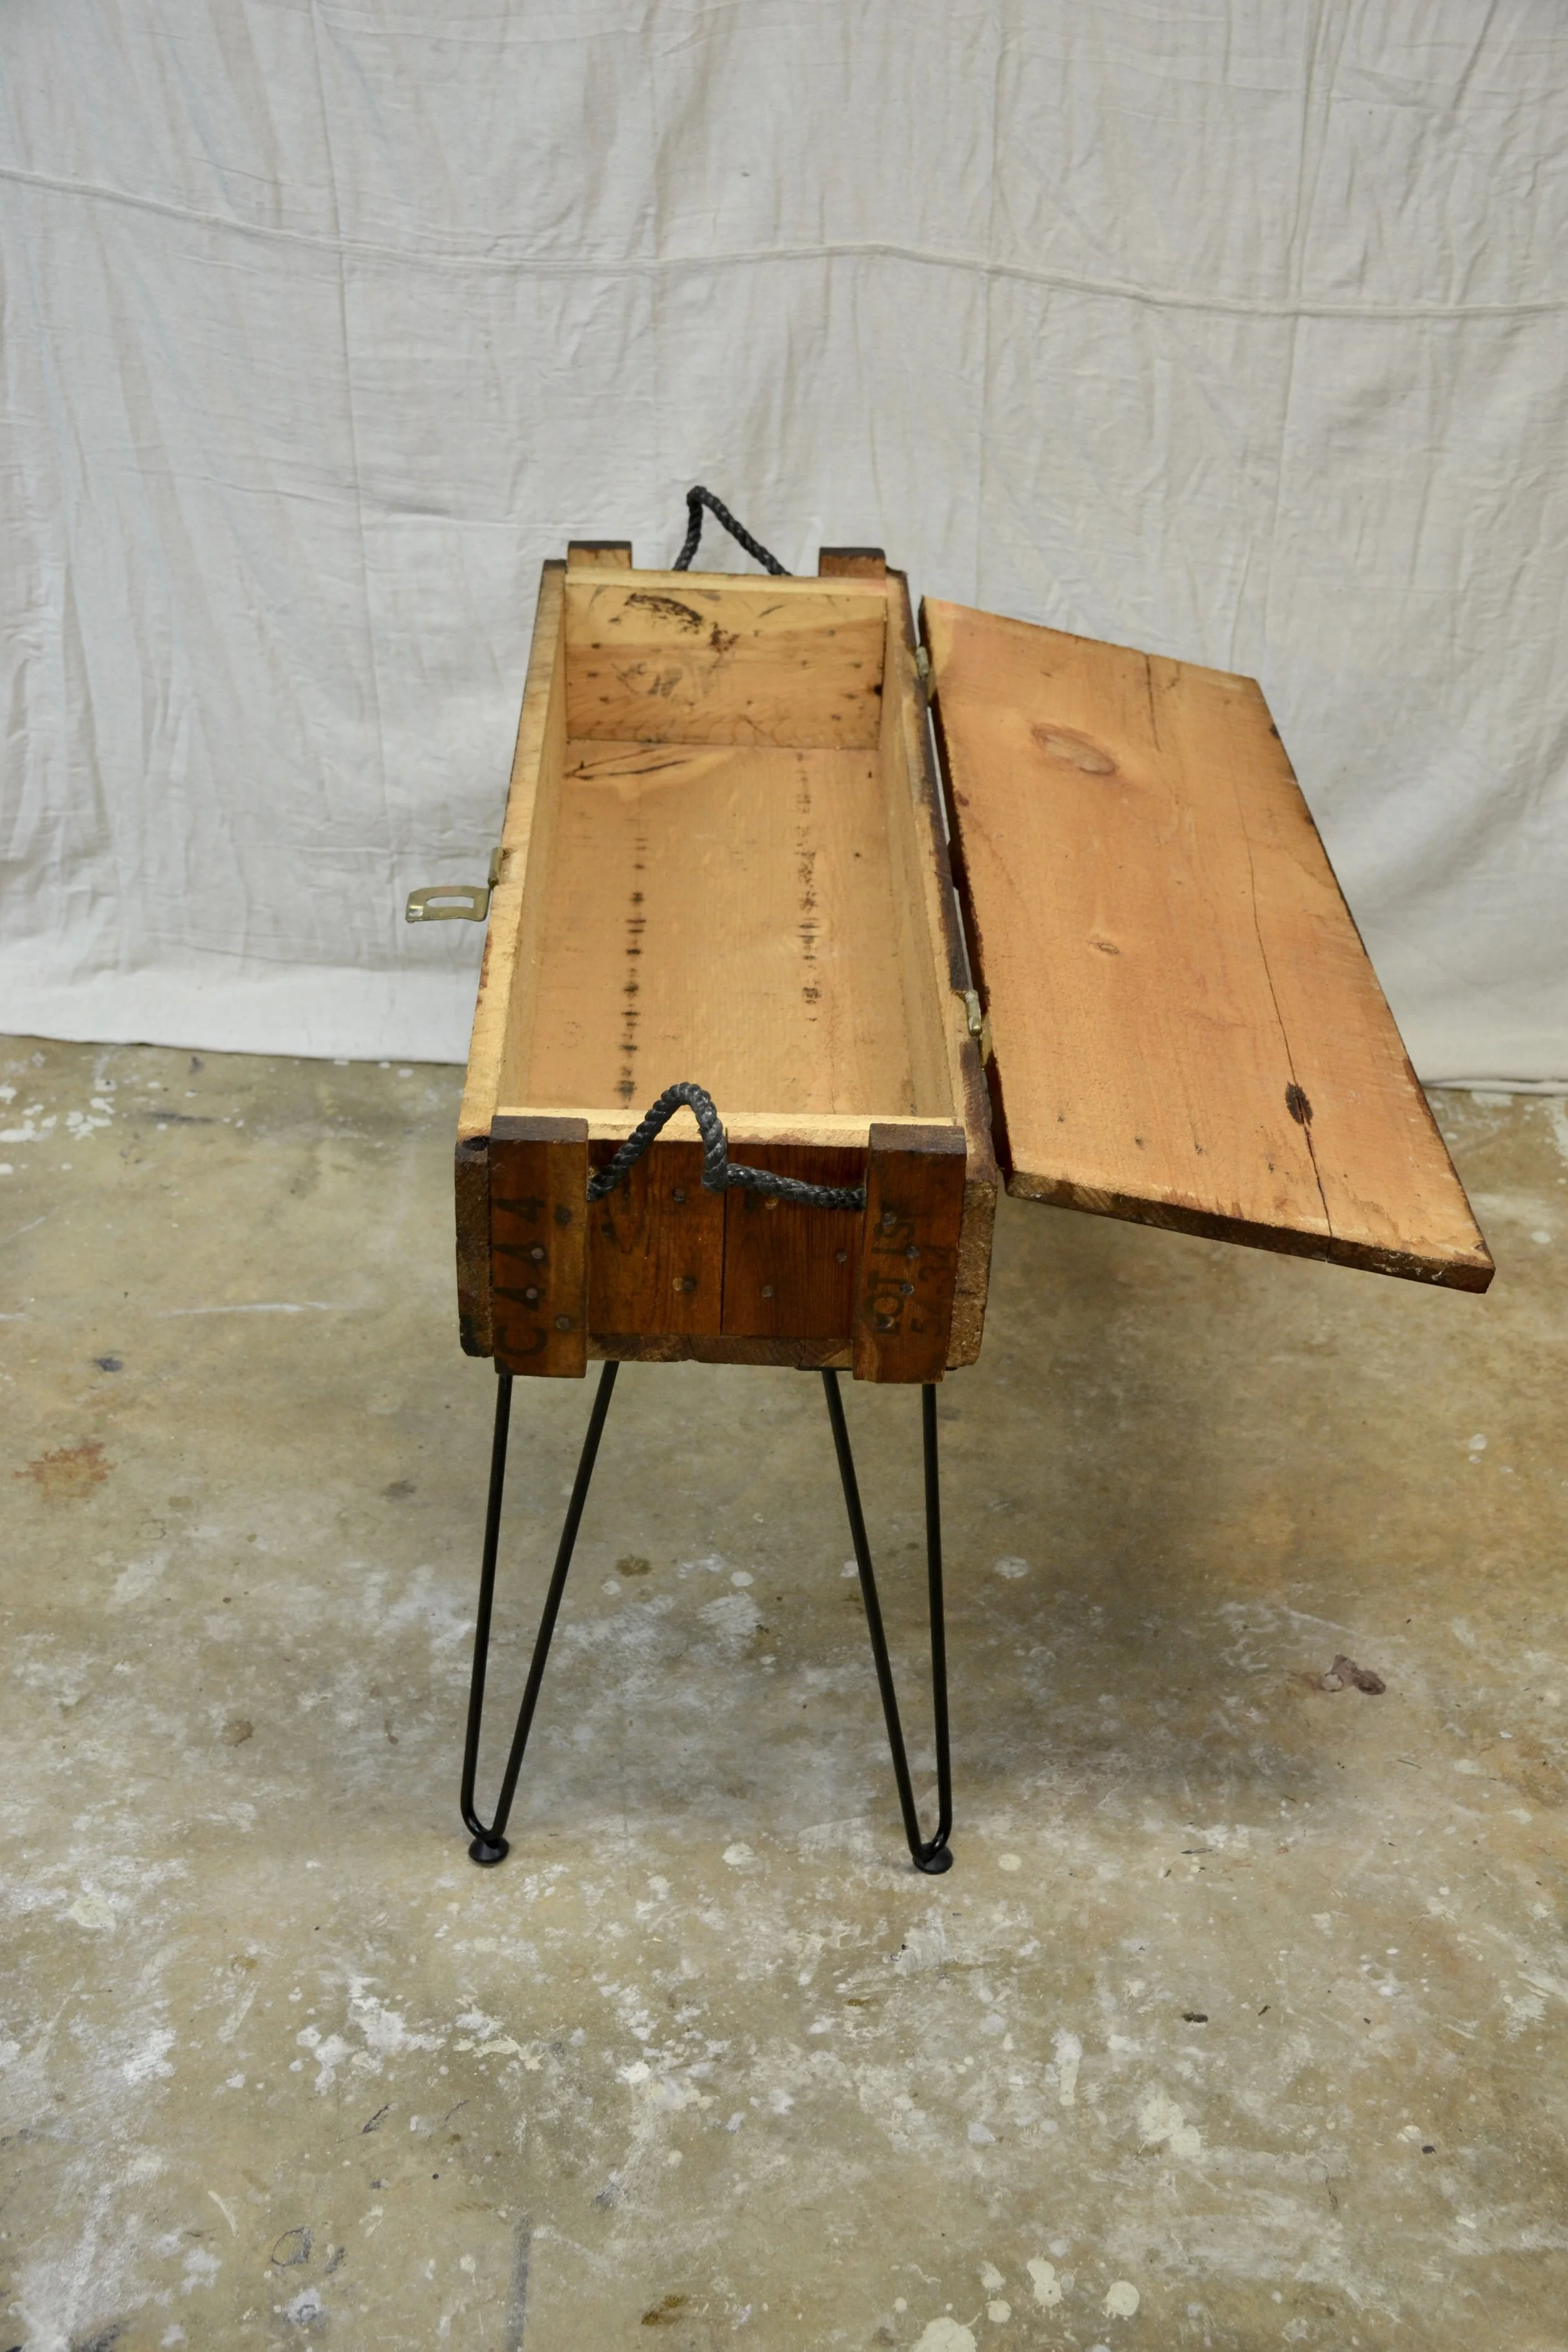
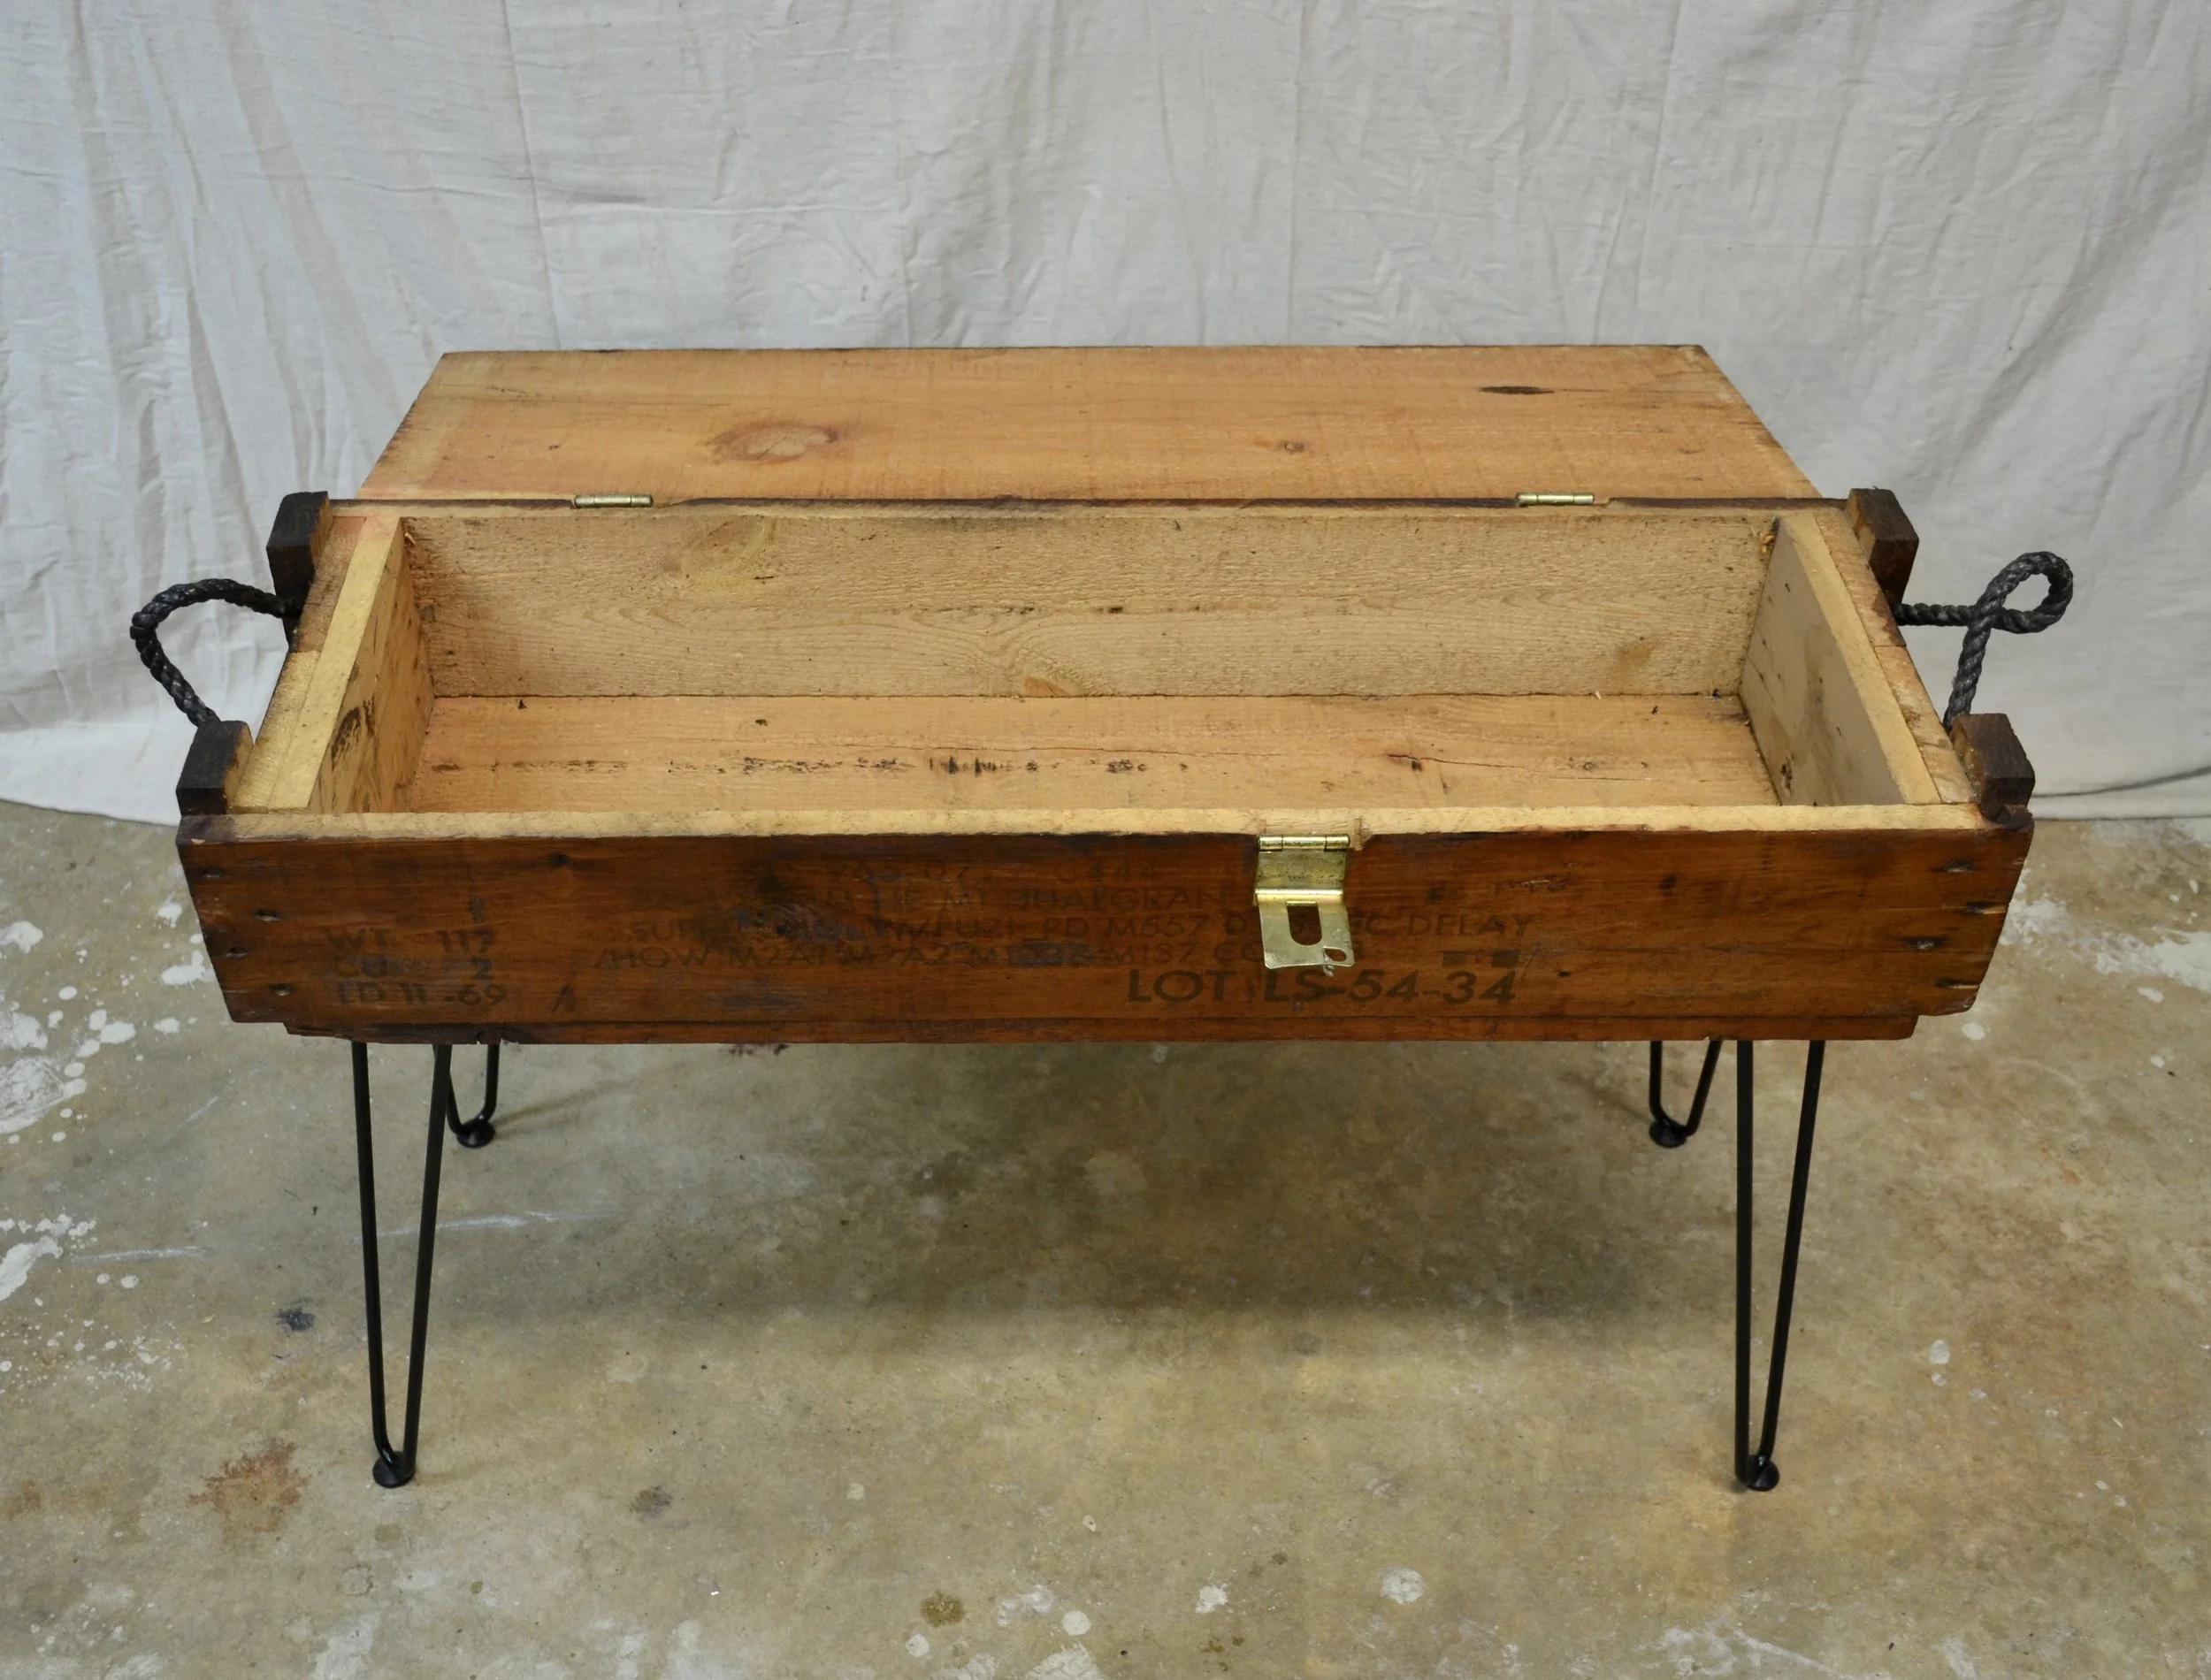
Lightly sand wooden box (remove any watermarks or imperfections). I avoided sanding any areas where there were any letters or numbers stamped onto the wood to ensure that the piece retained as much of its’ historical character.
Clean wood with a gentle wood cleaner using a sponge, paper towel, or rag.
Wait for wood cleaner to be completely dry before applying the stain of your choice. I used MinWax’s 4-in-1 gel stain that includes a polyurethane top coat in the color “Classic Oak”. Utilize a foam brush or sponge to apply the stain. Follow directions for the specific stain type you choose. I applied only 1 coat of stain to this piece so that the stamping would remain visible.
I would let the stain dry for at least 24 hours before applying the metal legs.
Mark where you need to drill your holes for the metal legs & screw in.
Viola! You have an upcycled piece of furniture to gift or add to your own home, that’s sure to be a great conversation starter.
BEFORE:
AFTER:
Shop DIY Supplies
Minwax PolyShades Wood Stain + Polyurethane Finish – Stain and protect in one step: Shop on Amazon
Sanding Blocks for Furniture Restoration – Hook and loop hand sanding pads: Shop on Amazon