If your Whirlpool Duet Sport washer will not drain and you are standing in front of a tub full of water, you are in the right place. This is the exact fix, and it is faster than you think. No repair call, no new machine, just a clogged drain filter that almost anyone can clean out.
Quick answer: A Duet Sport that will not drain is almost always a clogged drain pump filter, also called the coin trap. Open the small access panel at the bottom front, put a low-profile pan under the filter, slowly twist it off to drain the water, pull out the coins and gunk, clean it, and reinstall. That is it.
What you will need
A low-profile bucket or a shallow pan that fits under the filter
A second bucket, since a full undrained cycle can be a lot of water
Towels, because water will come out faster than you expect
An extra set of hands if you can grab one, it really helps
How to fix a Whirlpool Duet Sport that will not drain
Open the small access panel at the bottom front of the washer
Locate the round drain pump filter, also called the coin trap
Slide your low-profile pan underneath it and have your towels ready
Slowly twist the filter off. Water will start pouring out, so let it drain into your pan and swap in the second bucket as needed
Once the water is out, pull the filter the rest of the way. Do not be surprised by what is in there, mine was clogged with coins, screws, lint, and black gunk
Take the filter to the sink, wash it thoroughly, and sanitize it. I bleached mine
Here is the tip most people miss: the top of the filter comes off. Remove it and clean inside, because there is more black gunk hiding in there that you will not see otherwise
Reinstall the filter, close the panel, and run a quick cycle to confirm it drains
Why this happens
The drain filter is designed to catch small items and debris before they reach the pump, coins, screws, hair pins, lint. Over time it clogs, and the machine cannot push water out. Cleaning it every few months keeps your washer draining and can save you from a flooded laundry room.
Frequently asked questions
Why will my Whirlpool Duet Sport not drain?
The most common cause is a clogged drain pump filter, or coin trap. It catches coins, lint, and debris, and once it clogs the washer cannot drain until you clean it out.
Where is the drain filter on a Whirlpool Duet Sport?
Behind the small access panel at the bottom front of the washer. Open the panel and you will see the round filter you twist off.
Will water come out when I open the filter?
Yes, often a lot of it, especially if a cycle did not drain. Have a low-profile pan, a second bucket, and towels ready before you twist it off.
How often should I clean the washer drain filter?
Every few months is a good habit, and any time you notice slow or incomplete draining.
This post contains affiliate links. If you buy through them I may earn a small commission, at no extra cost to you. I only recommend products I actually use.
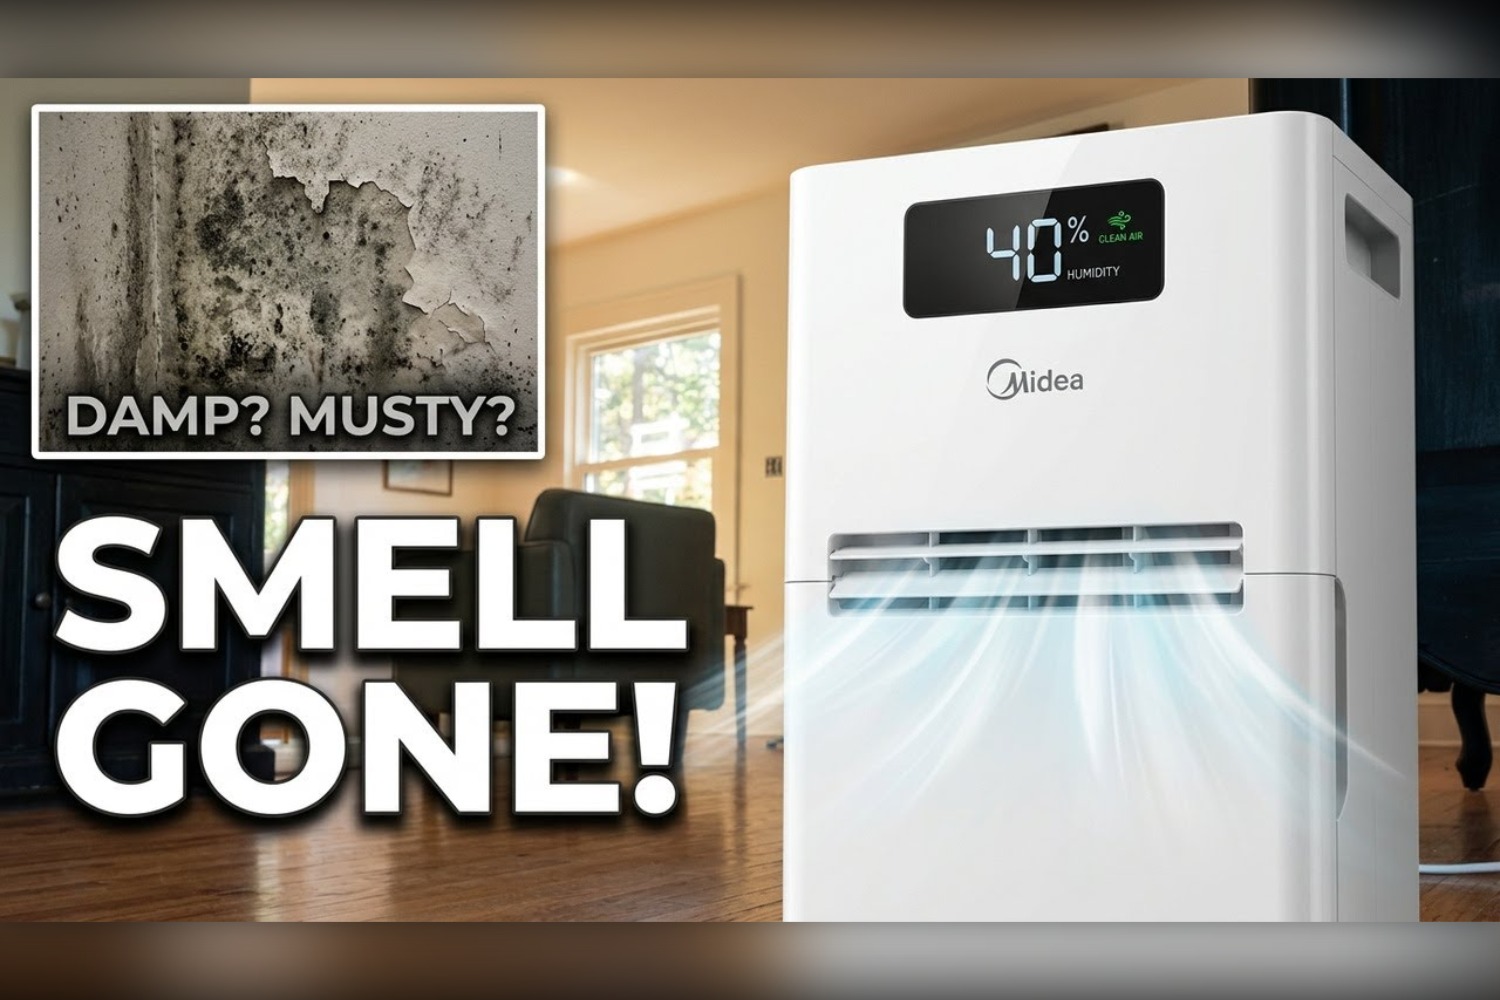
Quick answer: If your home smells like mold, the cause is almost always trapped humidity in the air, especially in older houses. The fastest fix is a portable dehumidifier sized for the room. I run a Midea 50-pint dehumidifier in my 75-year-old house and the musty smell was gone the same day it was plugged in.
My house was built in 1949. I love it. The original hardwoods, the plaster walls, the windows that have been there longer than I have been alive. I do not love what older homes do when summer humidity rolls in.
That damp, musty, slightly-mildew smell that hits you the second you walk in the door is not actually about cleanliness. It is about the air itself holding too much moisture. And once you fix that, the smell disappears.
Why your home smells like mold (and it is not always actual mold)
That smell is microbial growth that thrives in damp air. It can come from spores on baseboards, behind walls, inside upholstery, or in the crawl space underneath the house. In a well-sealed older home, humidity gets trapped indoors with nowhere to go. The relative humidity climbs above 60 percent, and the smell follows.
The fix is not just deodorizing. Sprays mask the smell for a few hours. To make it go away, you have to pull the moisture out of the air. That is what a dehumidifier does.
How to get rid of the mold smell in your home
Step 1 — Check your indoor humidity
Before buying anything, check what your humidity actually is. A small indoor hygrometer tells you the relative humidity in any room. Anything above 55 percent is the danger zone for mold growth and musty smell. The target is 40 to 50 percent.
Step 2 — Run a dehumidifier sized for the room
A dehumidifier pulls water out of the air and collects it in a tank or drains it through a hose. I use a Midea 50-pint dehumidifier in my living room. The 50-pint size handles up to a 4,500 square foot space, which is overkill for one room but means it runs less often and is quieter. For one room or a basement, a 20 to 35-pint model is plenty.
The Midea has features I would not give up now that I have used them:
Wheels on the base. Easy to move room to room without lifting.
Washable filter. No replacement filters to buy. Rinse it in the sink with dish soap.
Easy-pull water tank. One hand removal even when full.
Auto humidistat. Set the target humidity and the unit cycles itself.
Step 3 — Decide between tank or hose drainage
You have two options for the water it pulls out. Empty the tank twice a day, or run a drain hose kit from the unit to a sink or floor drain so it self-empties. I picked the tank because the unit lives in my living room, nowhere near a drain. I save the water and use it for my plants.
Step 4 — Address the air leaks
A dehumidifier solves the symptom. To stop the problem from coming back, look at where the moisture is getting in. In older homes the usual suspects are the crawl space, an un-vented bathroom fan, an HVAC return that pulls humid attic air, and old windows that condensate. Fix what you can.
My honest Midea dehumidifier review
Within an hour of plugging the Midea in, the air in my living room felt different. By the end of the first day, the musty smell I had lived with for two summers was gone. I empty the tank twice a day in peak summer, less in spring and fall, and almost never in winter. The water it pulls out is shocking. It is genuinely gallons per day from one room.
I give it 10 out of 10 for an older home. The price is reasonable for what it replaces (a whole-house dehumidification system runs thousands), and I have not had to buy a single replacement part.
How often should you run a dehumidifier?
Run it whenever indoor humidity is above 55 percent. In humid climates, that is most of the year. Set the target to 45 percent on the unit and let it cycle itself. The auto-humidistat shuts it off when the target is hit and restarts when humidity climbs back.
Signs your home has a humidity problem
Musty smell that returns no matter how often you clean. The smell is in the air, not on the surfaces.
Condensation on windows. A clear sign the air is holding more moisture than it can carry.
Wood floors feel slightly tacky. Surface moisture pulled from humid air.
Allergy symptoms indoors. Mold spores thrive in humid air and trigger reactions.
Visible mildew at baseboards or grout. Far past the early warning stage.
Key takeaways
Mold smell is a moisture problem first, a cleaning problem second.
A portable dehumidifier sized for the room is the fastest fix.
The Midea 50-pint has wheels, a washable filter, and an auto humidistat.
Address air leaks and ventilation to keep humidity down long term.
Frequently asked questions
Why does my home smell like mold but I cannot see any?
Most musty smell in a home comes from microbial growth in damp air, baseboards, behind walls, or in the crawl space, not from visible mold colonies. The smell can be present long before mold is visible. Reduce humidity below 50 percent and the smell typically clears within 24 to 48 hours.
What is the best dehumidifier for an old house?
For most older homes, a 50-pint portable dehumidifier handles a full main floor without running constantly. The Midea 50-pint is a strong pick because of the wheels, washable filter, and auto humidistat. For just one room or a basement, a 20 to 35-pint model is enough.
How long until a dehumidifier removes mold smell?
Most people notice a difference within hours of plugging it in. The musty smell is usually gone within 24 to 48 hours of running the unit, assuming the source is humidity and not a hidden water leak.
Where should a dehumidifier be placed?
In the room with the worst smell or highest humidity, usually a basement, bathroom-adjacent room, or living area in an older home. Keep it at least 6 inches from walls so air can circulate around the intake.
Can a dehumidifier replace a HVAC system?
No. It dehumidifies the air but does not heat or cool it. It works alongside your HVAC by reducing how hard the AC has to work, since dry air feels cooler than humid air at the same temperature.
Is the water from a dehumidifier safe to drink?
No. It is not filtered or treated and can contain bacteria from the coils. It is fine for watering non-edible plants, which is how I use mine.
Final notes if your home smells like mold
If your home smells like mold and you have ruled out a visible water leak, the cause is almost always trapped indoor humidity. A portable dehumidifier sized for the room is the single fastest fix. Pair it with a hygrometer so you can confirm the humidity level drops below 50 percent. If your home smells like mold even after the humidity drops, look at the crawl space and HVAC return next.
About Anna Katherine
I am Anna Katherine Page. I share home care, furniture restoration, and resale tips from my 1949 home in Seneca, South Carolina. Follow along on TikTok and YouTube for more.
Last updated: June 5, 2026 · By Anna Katherine Page
This post contains affiliate links. If you buy through them I may earn a small commission, at no extra cost to you. I only recommend products I actually use in my own home.
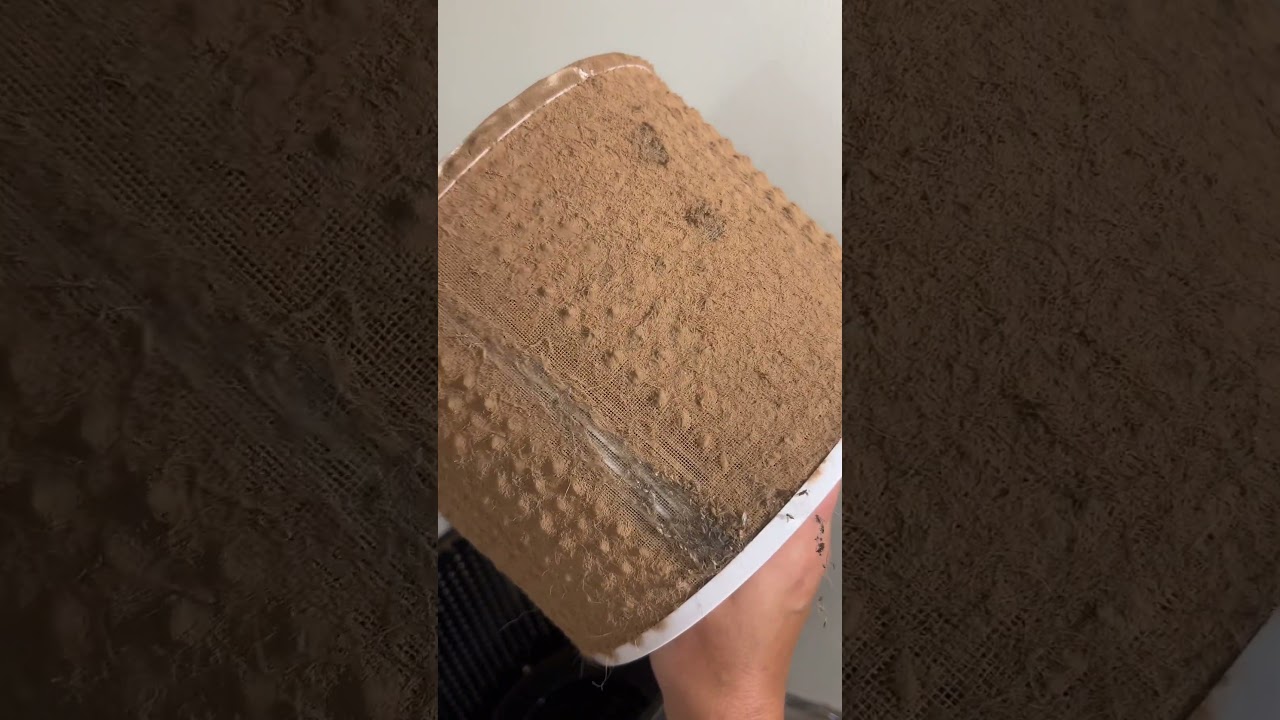
Quick answer: Here is the truth about an air purifier filter: within a few months of normal use, it visibly fills with dust, pet dander, pollen, and microscopic particles. That gunk is what you would otherwise be breathing all day. Once you see a working filter, the case for owning an air purifier stops being theoretical.
The most convincing argument for an air purifier filter is the filter itself, after a few months of running. Mine came out looking unrecognizable from the white-ish disc that went in. This post is the visual that finally made me a believer, plus what is actually getting trapped, how often to swap the filter, and what to look for if you do not own one yet.
The filter in the video is the same one that started crisp and white. After a few months of running in normal everyday living, with dust, hair, cooking, candles, pets, and seasonal pollen, it looks unmistakably brown and matted. That is not a flaw with the filter. That is the filter doing exactly what an air purifier is designed to do: pull airborne particles out of the air before they end up in your lungs.
What an air purifier filter actually captures
A quality HEPA-grade air purifier filter is engineered to trap a wide range of airborne particles, including:
Dust and dust mite debris
Pet dander and hair
Pollen
Mold spores
Smoke particles from cooking, candles, and wildfires
Many bacteria and virus-sized particles
That is why HEPA filters are the standard reference point. They are required to capture at least 99.97 percent of particles 0.3 microns in size, which is the toughest particle size to filter. Anything larger and anything smaller is actually easier to trap.
Most HEPA-style air purifier filters need to be replaced every 6 to 12 months under normal home use, sometimes sooner if you have heavy pet shedding, allergies, or run the unit continuously. Pre-filters that catch the largest particles can usually be rinsed and dried monthly to extend the life of the main filter. The fastest way to know it is time: look at it. If the filter looks anything like the one in the video, it is overdue.
What to look for in an air purifier
True HEPA rating. Not HEPA-type or HEPA-like. True HEPA captures 99.97 percent of 0.3 micron particles.
CADR rating that matches your room size. Clean Air Delivery Rate tells you how much air the unit can clean per hour in a given square footage.
Replacement filter availability. An air purifier you cannot get filters for is a one-season tool.
Quiet operation modes. Especially if it will run in a bedroom.
An activated carbon stage if odors and VOCs are a concern, on top of the HEPA layer.
Where to put one in your home
Bedrooms are the highest-impact placement because you spend roughly a third of your life there with the door closed. Living rooms or family rooms with high foot traffic and pet activity are next. If you only own one unit, put it where you sleep. If you own two, the bedroom and the room where the family lives during the day.
Key takeaways
The visible state of an air purifier filter after a few months is the most convincing argument for owning one.
HEPA-grade filters capture dust, dander, pollen, mold, smoke, and many tiny pathogens.
Replace HEPA filters every 6 to 12 months under normal use.
Place units where you spend the most time: bedrooms and high-traffic family rooms.
Frequently asked questions
How long does an air purifier filter last?
Most HEPA-grade air purifier filters last 6 to 12 months in normal home use, sometimes shorter with heavy pet shedding or continuous operation.
Are air purifiers worth it?
If you have allergies, pets, asthma, cooking smoke, candles, or live in a wildfire-affected area, yes. Most people who run one for a few months and look at the filter become converts.
What does an air purifier filter actually capture?
Dust, pet dander, pollen, mold spores, smoke particles, and many bacteria and virus-sized particles. True HEPA captures at least 99.97 percent of particles 0.3 microns in size.
Where is the best place to put an air purifier?
The bedroom is the highest-impact spot because you spend so much time there with the door closed. Living rooms with pet activity and foot traffic are next.
Should I get a HEPA or HEPA-type air purifier filter?
Choose true HEPA. HEPA-type, HEPA-like, and similar marketing terms do not meet the same particulate-capture standard.
How big of an air purifier do I need?
Match the unit to your room size using its CADR rating. Most manufacturers list room size on the box.
About Anna Katherine
I document the real version of caring for a home and a small business on a budget. Honest picks, no sponsored hype. Follow on TikTok and YouTube.
Disclosure: This post contains affiliate links, which means I may earn a small commission if you make a purchase through my links, at no extra cost to you.
Quick answer: This is the DIY roach routine I actually run in my own home, using affordable products from Amazon and no exterminator. It has kept my house roach free for over a year and a half. Cockroaches are one of the most common household pests and can trigger asthma and allergies, according to the EPA.
How to Get Rid of Roaches DIY – A Step-by-Step Routine That Actually Works
If you’re wondering how to get rid of roaches DIY, you’re not alone. According to the U.S. Environmental Protection Agency (EPA), cockroaches are one of the most common household pests and can trigger asthma and allergies. This proven DIY routine shows you exactly how to get rid of roaches DIY using affordable products from Amazon , no exterminator needed.
This post may contain affiliate links. I may earn a small commission at no extra cost to you if you make a purchase through these links. I only recommend products I personally use and love.
Roaches in your home? I understand your pain and please reassure yourself and know that you are not alone! When I first moved into my first home almost three years ago, I was faced with an overwhelming roach infestation in my home. After much trial and error, countless hours of research, and testing out dozens of methods and products I have developed a routine that allowed me to finally feel comfortable in my home without seeing a pesky roach for over the past year and a half. Below you will find a list of the products and step-by-step routine I use to help keep the cockroaches out of my house & then to kill any that are currently living in your home.
Before I begin, if you haven’t already viewed my video on Tiktok as a response to Grace O’Malley who’s new apartment in NYC was infested with roaches then go ahead and view it now via the Youtube video below.
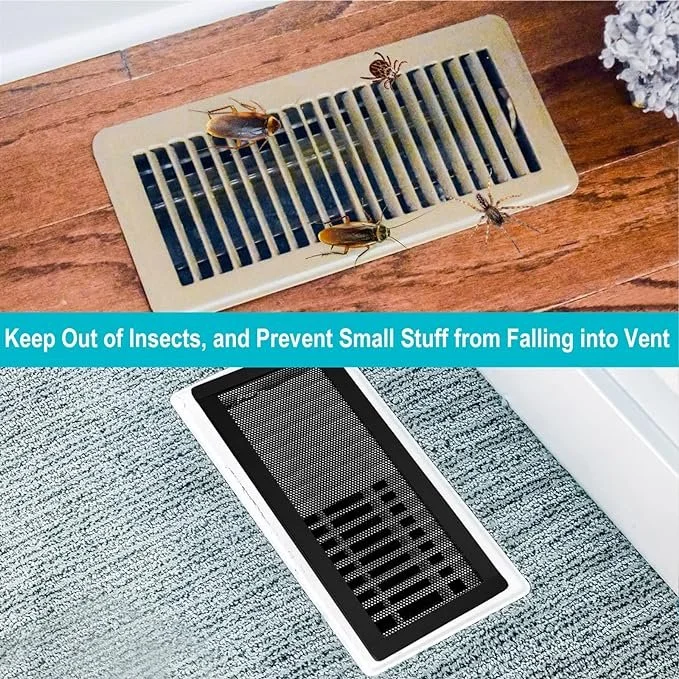
The most important tip I can give you is that if you don’t seal up their points of entry then they will definitely continue to find their way in your apartment. But not to fear! It’s easier than you think. Caulk any crevices or holes, cover your air vents, close your drains at nighttime (bathroom sink, tub/shower, & kitchen sink) and literally they won’t be able to get into your space!
Don’t give up! You’ve got this & I promise you are going to eliminate and overcome these roaches once and for all so that you can finally feel comfortable in your home!
Disclosure: This post contains affiliate links, which means I may earn a small commission if you make a purchase through my links, at no extra cost to you.
Quick answer: Tree removal is one of the hidden costs of homeownership that most budgets miss, and it can run into thousands of dollars. This guide breaks down the expenses to plan for, why financial preparedness matters before a tree comes down on its own, and how to find a licensed and insured local tree service.
What Every Homeowner Needs to Know About Tree Removal Cost
Understanding tree removal cost as a homeowner can save you thousands of dollars and prevent dangerous situations on your property. According to the International Society of Arboriculture, regular tree assessment is one of the most overlooked aspects of home maintenance. In this guide, we break down the real tree removal cost homeowner expenses you should budget for and how to find reliable professionals.
This post may contain affiliate links. I may earn a small commission at no extra cost to you if you make a purchase through these links. I only recommend products I personally use and love.
Hey there, friend! Today, I want to share a personal experience that taught me a valuable lesson about the hidden costs of homeownership. As a first-time homeowner, I was prepared for the usual expenses like monthly mortgage payments and utility bills. Little did I know, there was a lurking expense waiting to surprise me: tree removal. In this blog post, I’ll shed light on the importance of being financially secure enough to handle these unforeseen costs and provide you with a quick guide to finding licensed and insured local tree removal experts. So, let’s dive in!
Expecting the Unexpected:
The Hidden Costs of Homeownership: Tree Removal Cost Breakdown
Owning a home is a dream come true, but it comes with responsibilities beyond the regular bills. It’s crucial to anticipate and plan for unexpected expenses, such as tree removal, repairs, and maintenance. By understanding these hidden costs, you can avoid financial stress down the road.
The Significance of Financial Preparedness:
Being financially secure is the key to managing tree removal cost as a homeowner and to managing the surprise expenses that arise as a homeowner. Establishing an emergency fund specifically for home-related costs is a smart move. Aim to save at least 1-2% of your home’s value annually to cover potential maintenance, repairs, and unforeseen tree removal expenses.
Finding Reliable Tree Removal Experts in Your Area:
When it comes to tree removal, understanding tree removal cost is crucial, and hiring professionals who are licensed, insured, and skilled in their craft. Here’s a quick guide to help you find the right experts:
a. Ask for Recommendations: Seek referrals from friends, family, or neighbors who have dealt with similar issues. Personal recommendations can provide valuable insights and trustworthy leads.
b. Online Directories and Reviews: Utilize online directories and review platforms to find local tree removal experts. Pay attention to ratings, customer reviews, and feedback regarding their professionalism and pricing.
c. Verify Credentials: Ensure that the tree removal experts you consider are licensed, insured, and qualified for the job. A reputable contractor will gladly provide proof of insurance and necessary certifications.
Analyzing Quotes from Tree Removal Contractors:
Once you’ve shortlisted potential tree removal contractors, it’s essential to analyze their quotes thoroughly. Consider the following tips:
a. Request Multiple Quotes: Reach out to several contractors to get a range of quotes. This allows you to compare prices and services offered, ensuring you make an informed decision.
b. Beware of Lowball Offers: While affordability is important, be cautious of significantly low quotes. They might indicate a lack of experience, subpar equipment, or shortcuts that could compromise the safety and quality of the job.
c. Assess the Scope of Work: Ensure that the quotes include details about the scope of the work, such as tree removal, cleanup, stump grinding, and debris disposal. Clear communication and transparency are key.
Being a homeowner is a fulfilling experience, and understanding tree removal cost, but it’s crucial to be financially prepared for the unexpected. By acknowledging the hidden costs and planning accordingly, you can avoid unpleasant surprises and ensure your home remains a safe and pleasant place to live. Remember to find reputable tree removal experts by asking for recommendations, checking online reviews, and verifying credentials. When assessing quotes, prioritize quality and safety over the lowest price. Here’s to responsible homeownership and a well-maintained property!
Remember, being a homeowner means being proactive about tree removal cost and prepared. Start saving for those hidden costs today, and you’ll thank yourself later. Stay tuned for more insights and personal stories on homeownership.
This post may contain affiliate links. I may earn a small commission at no extra cost to you if you make a purchase through these links. I only recommend products I personally use and love.
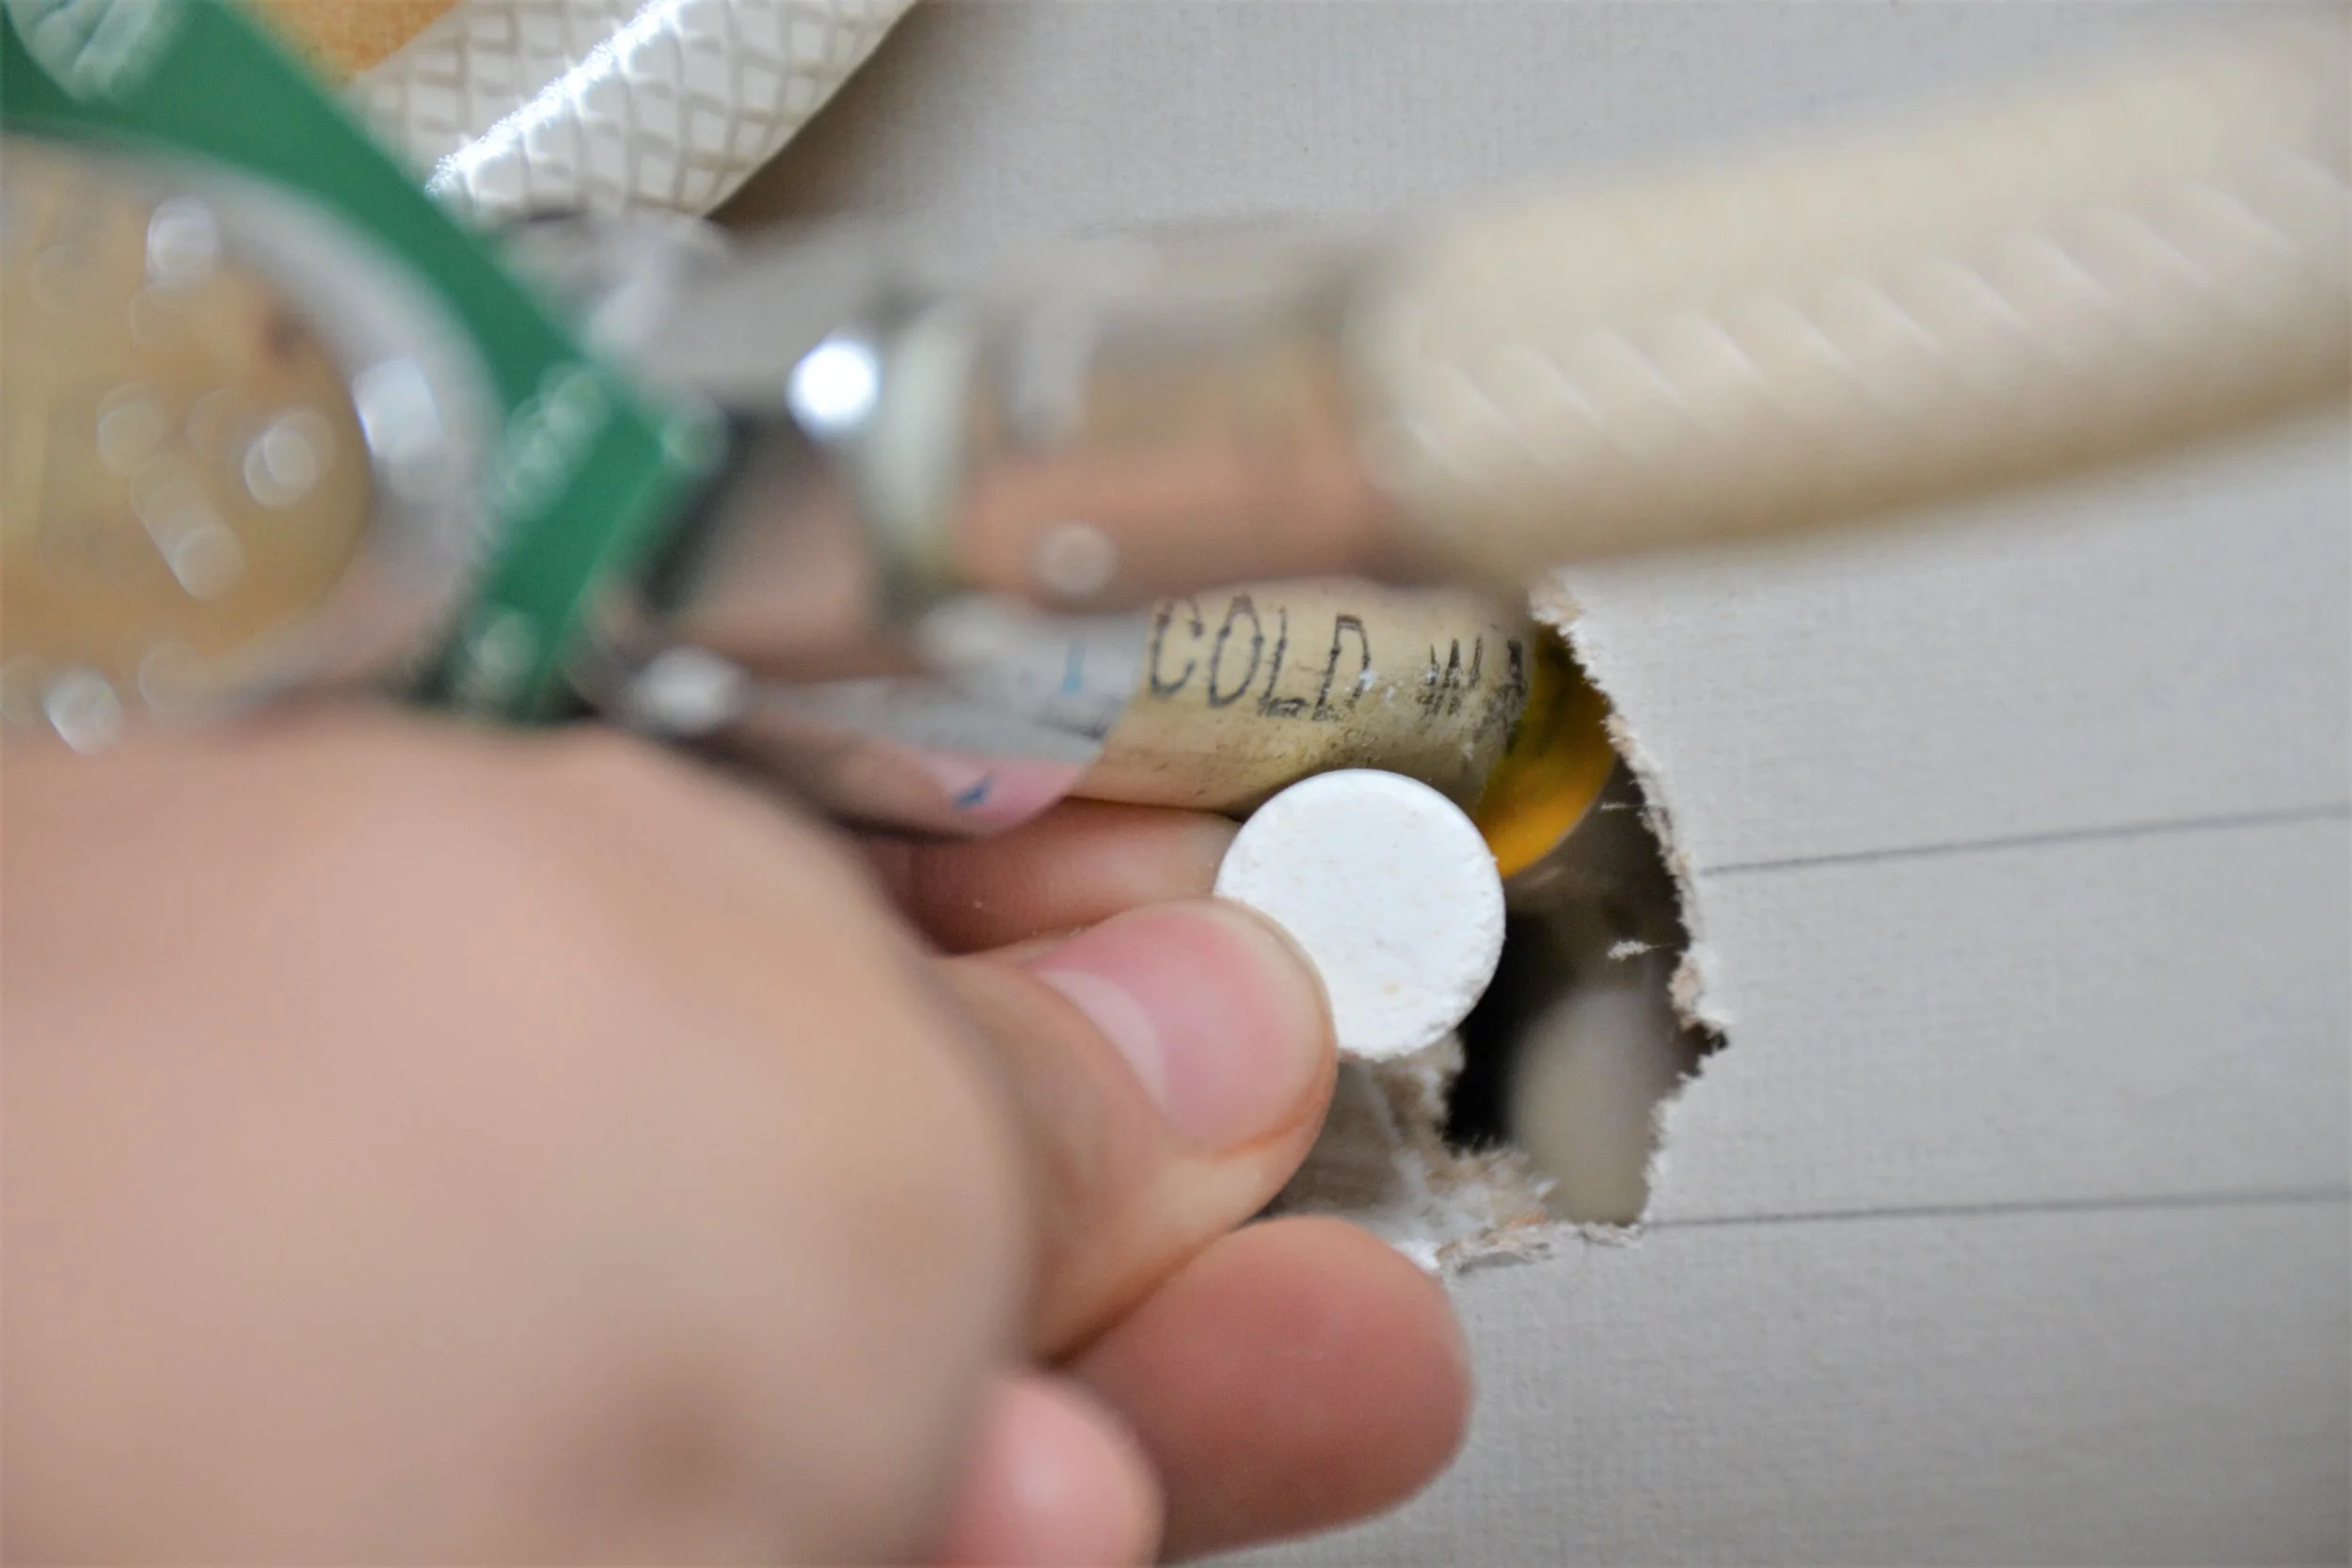
Try this budget friendly product, Harris Famous Roach Tablets, to eliminate roaches in your home once & for all! One box cost under $6 & will treat your entire home!
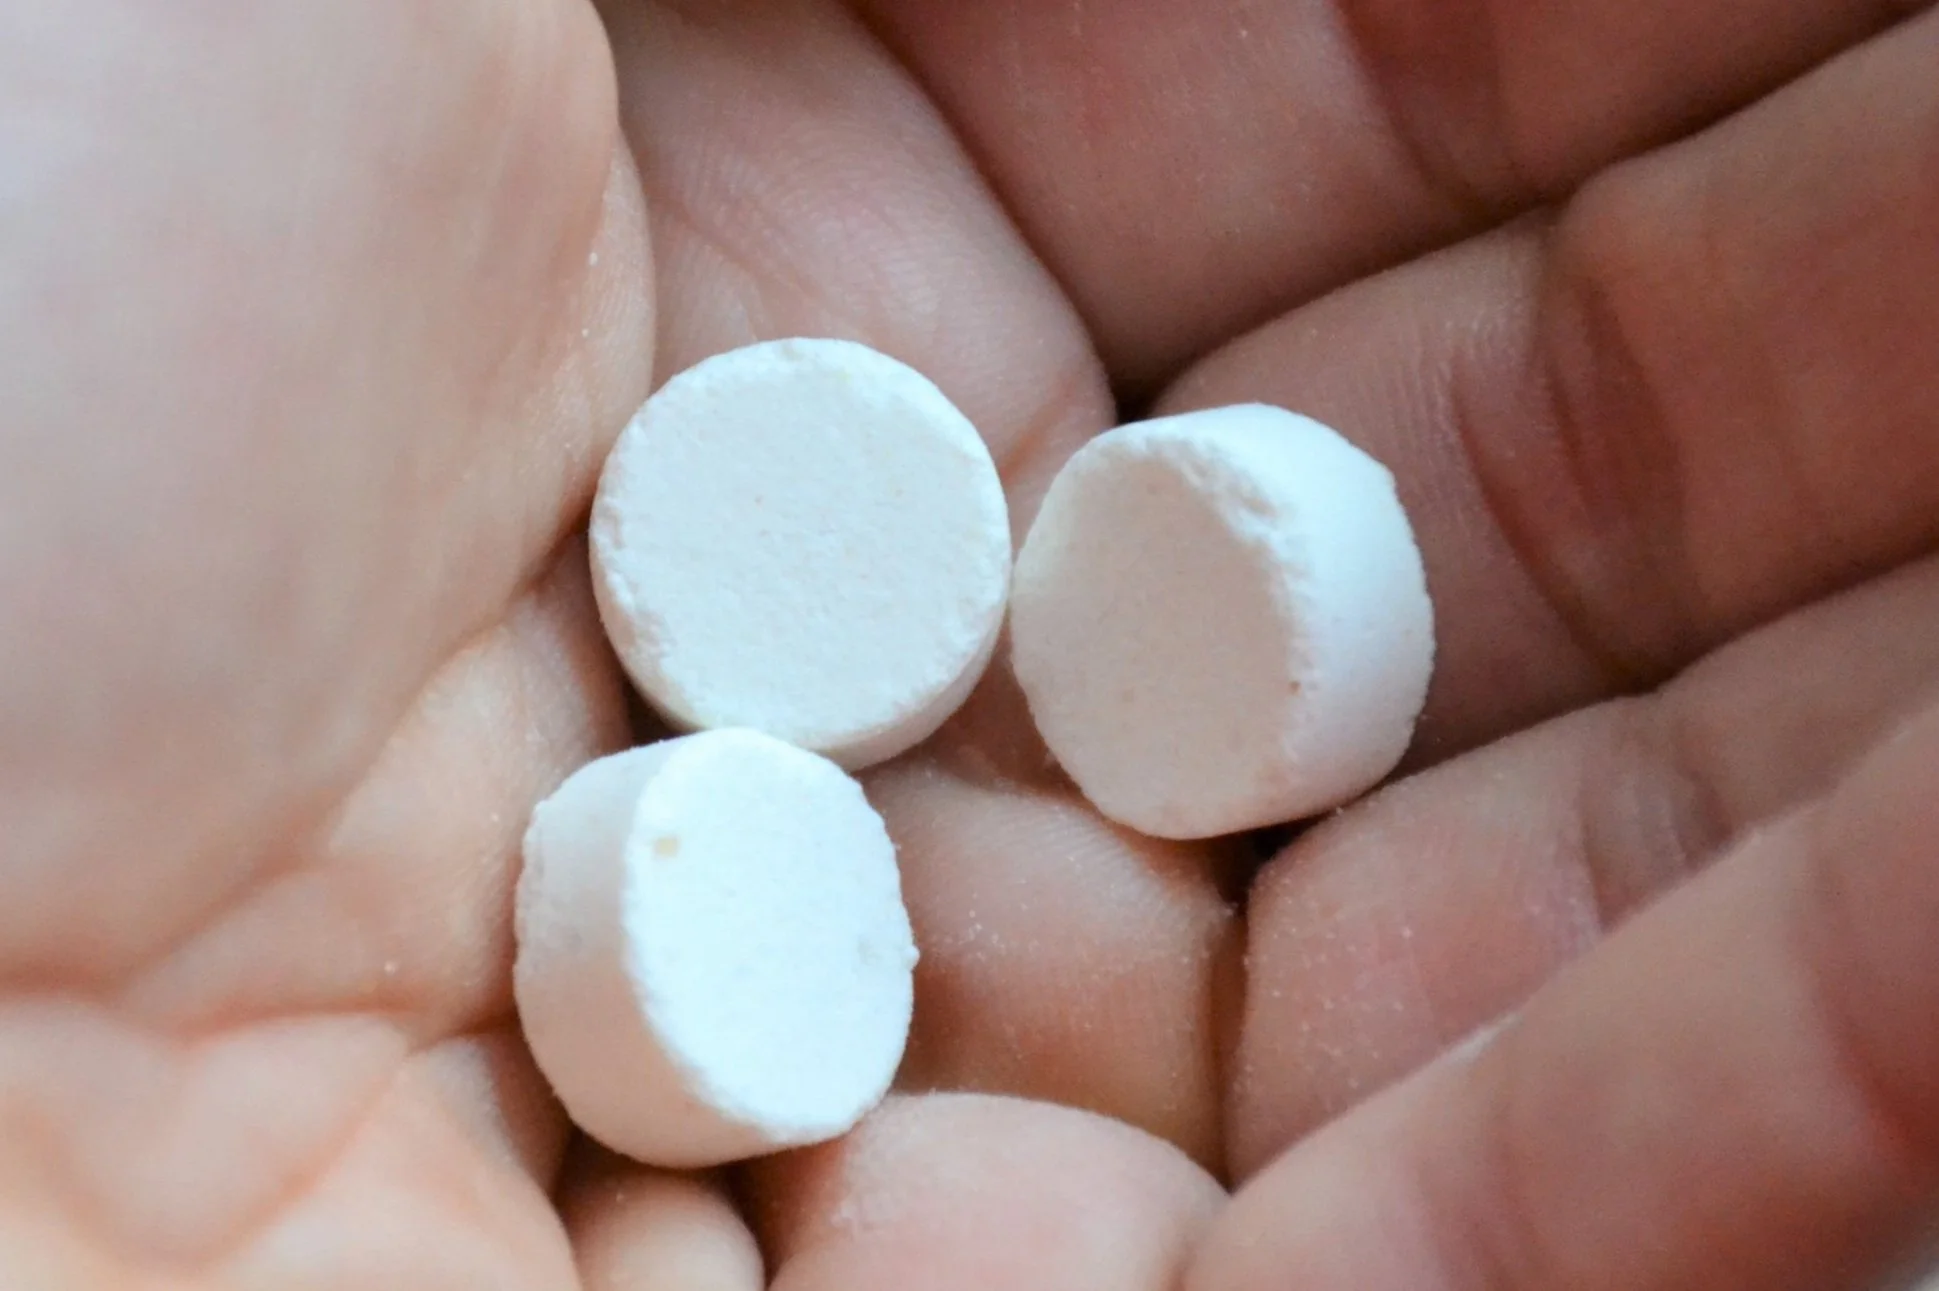
Harris Famous Roach Tablets has been killing roaches since 1922! Just place tablets in out-of-the-way areas where roaches travel & roaches will find them. One box can treat an entire house, making it one of the most efficient and cost-effective ways to kill roaches & keep them GONE!
What Does It Do?
Harris Tablets work on controlling American Roaches, German Roaches, Waterbugs, Silverfish and Ants
Irresistible to Roaches – Active ingredient 40% boric acid w/ our formulated lure to attract roaches
Kills the Entire Colony – Roaches carry boric acid back to their nests to kill the entire infestation
How-To Use:
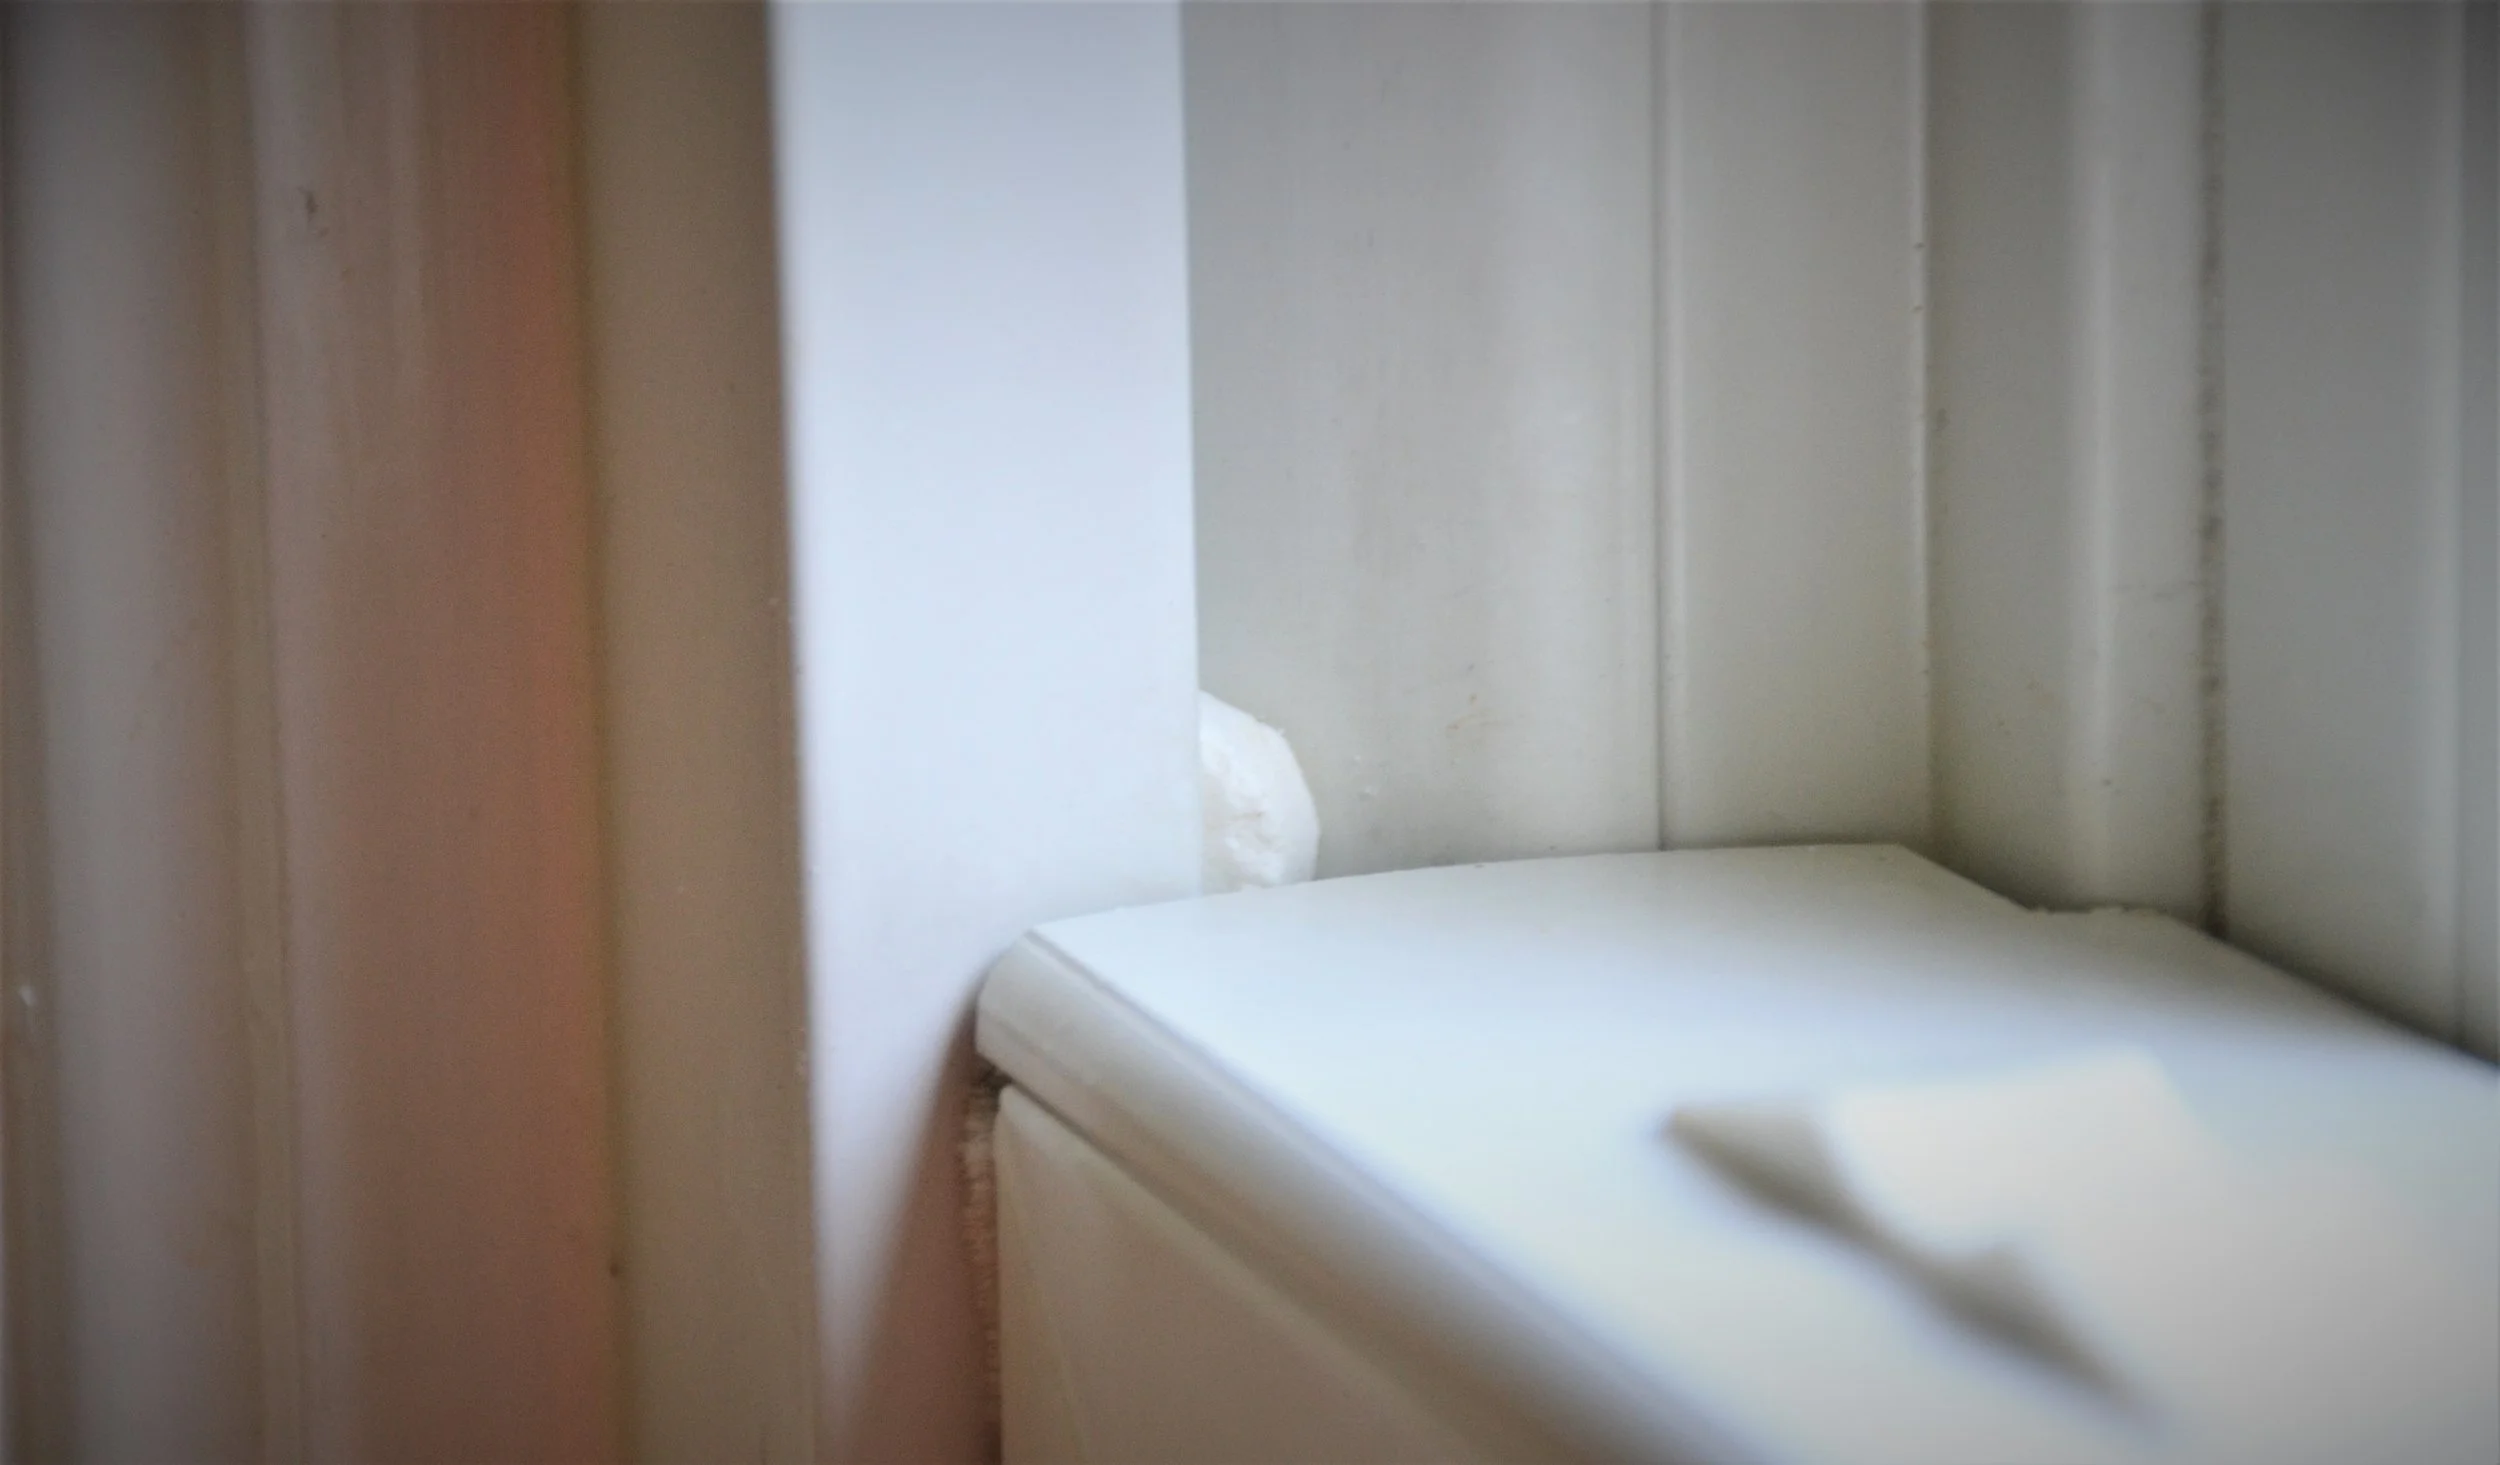
Tablet shown was placed in a crevice of a window sill in my living room.
You will want to place the tablets in out of the way spots that roaches like to hide and live.
Place tablets under and behind the refrigerator, stove, sinks, tubes, dishwashers, anywhere there is moisture and warmth.
You can place the tablets in cracks and crevices along the basements and also in the corners of cabinets, and closets. Make sure that pets and children will not have access to these areas.
To treat cabinets, dresser that have an infestation you can place behind the drawers or inside the drawer wells.
You can re-apply as necessary, they will remain active for up to 2 years if they remain dry and free of contaminants, such as insecticide sprays. Harris Experts recommend you put fresh tablets out every 12 months.
Product Benefits:
Long lasting when kept dry
Easy to Conceal
Use in hidden areas – under drawers, appliances and cabinets
EPA registered and approved in all 50 states
Product has been around for over 100 YEARS!
Safe in homes with pets and children
You will want to make sure that application is in areas where they will not have access.
This post may contain affiliate links. I may earn a small commission at no extra cost to you if you make a purchase through these links. I only recommend products I personally use and love.
Do I have tips? I’ve got plenty. After my journey cleaning my fireplace, I honestly started to consider a career in cleaning chimneys and cleaning fireplaces. Let’s get started.
First we’re going to talk about the products I used.
Second we’re going to talk about the different tools and I’m going to link everything here on this blog post.
My fireplace in my living room was a coal burning fireplace back in the late 50s. And I don’t know the last time it was used but it is now closed off. I don’t think it’s ever been cleaned since then, 70 plus years later.
Spray down your fireplace with Dawn dish soap spray or if you don’t have the spray version you can just add regular style dish soap to the bowl of warm water and make a mixture of warm soapy water.
Spray a couple of layers of Easy-Off Oven Cleaner and or rotating with an all purpose cleaner such as Simple Green on the brick as well so that the chemicals can help to lift up some of the dirt, debris, and soot.
One of the products that I had the best results from was Hydrogen Peroxide.
Lastly, after applying product to the fireplace I recommend going in small sections with the Bissell SteamShot and spray the section with the steam then take your Scrub Daddy or the drill brush head attachments and really work in the cleaning products and scrub your heart out.
Before / After
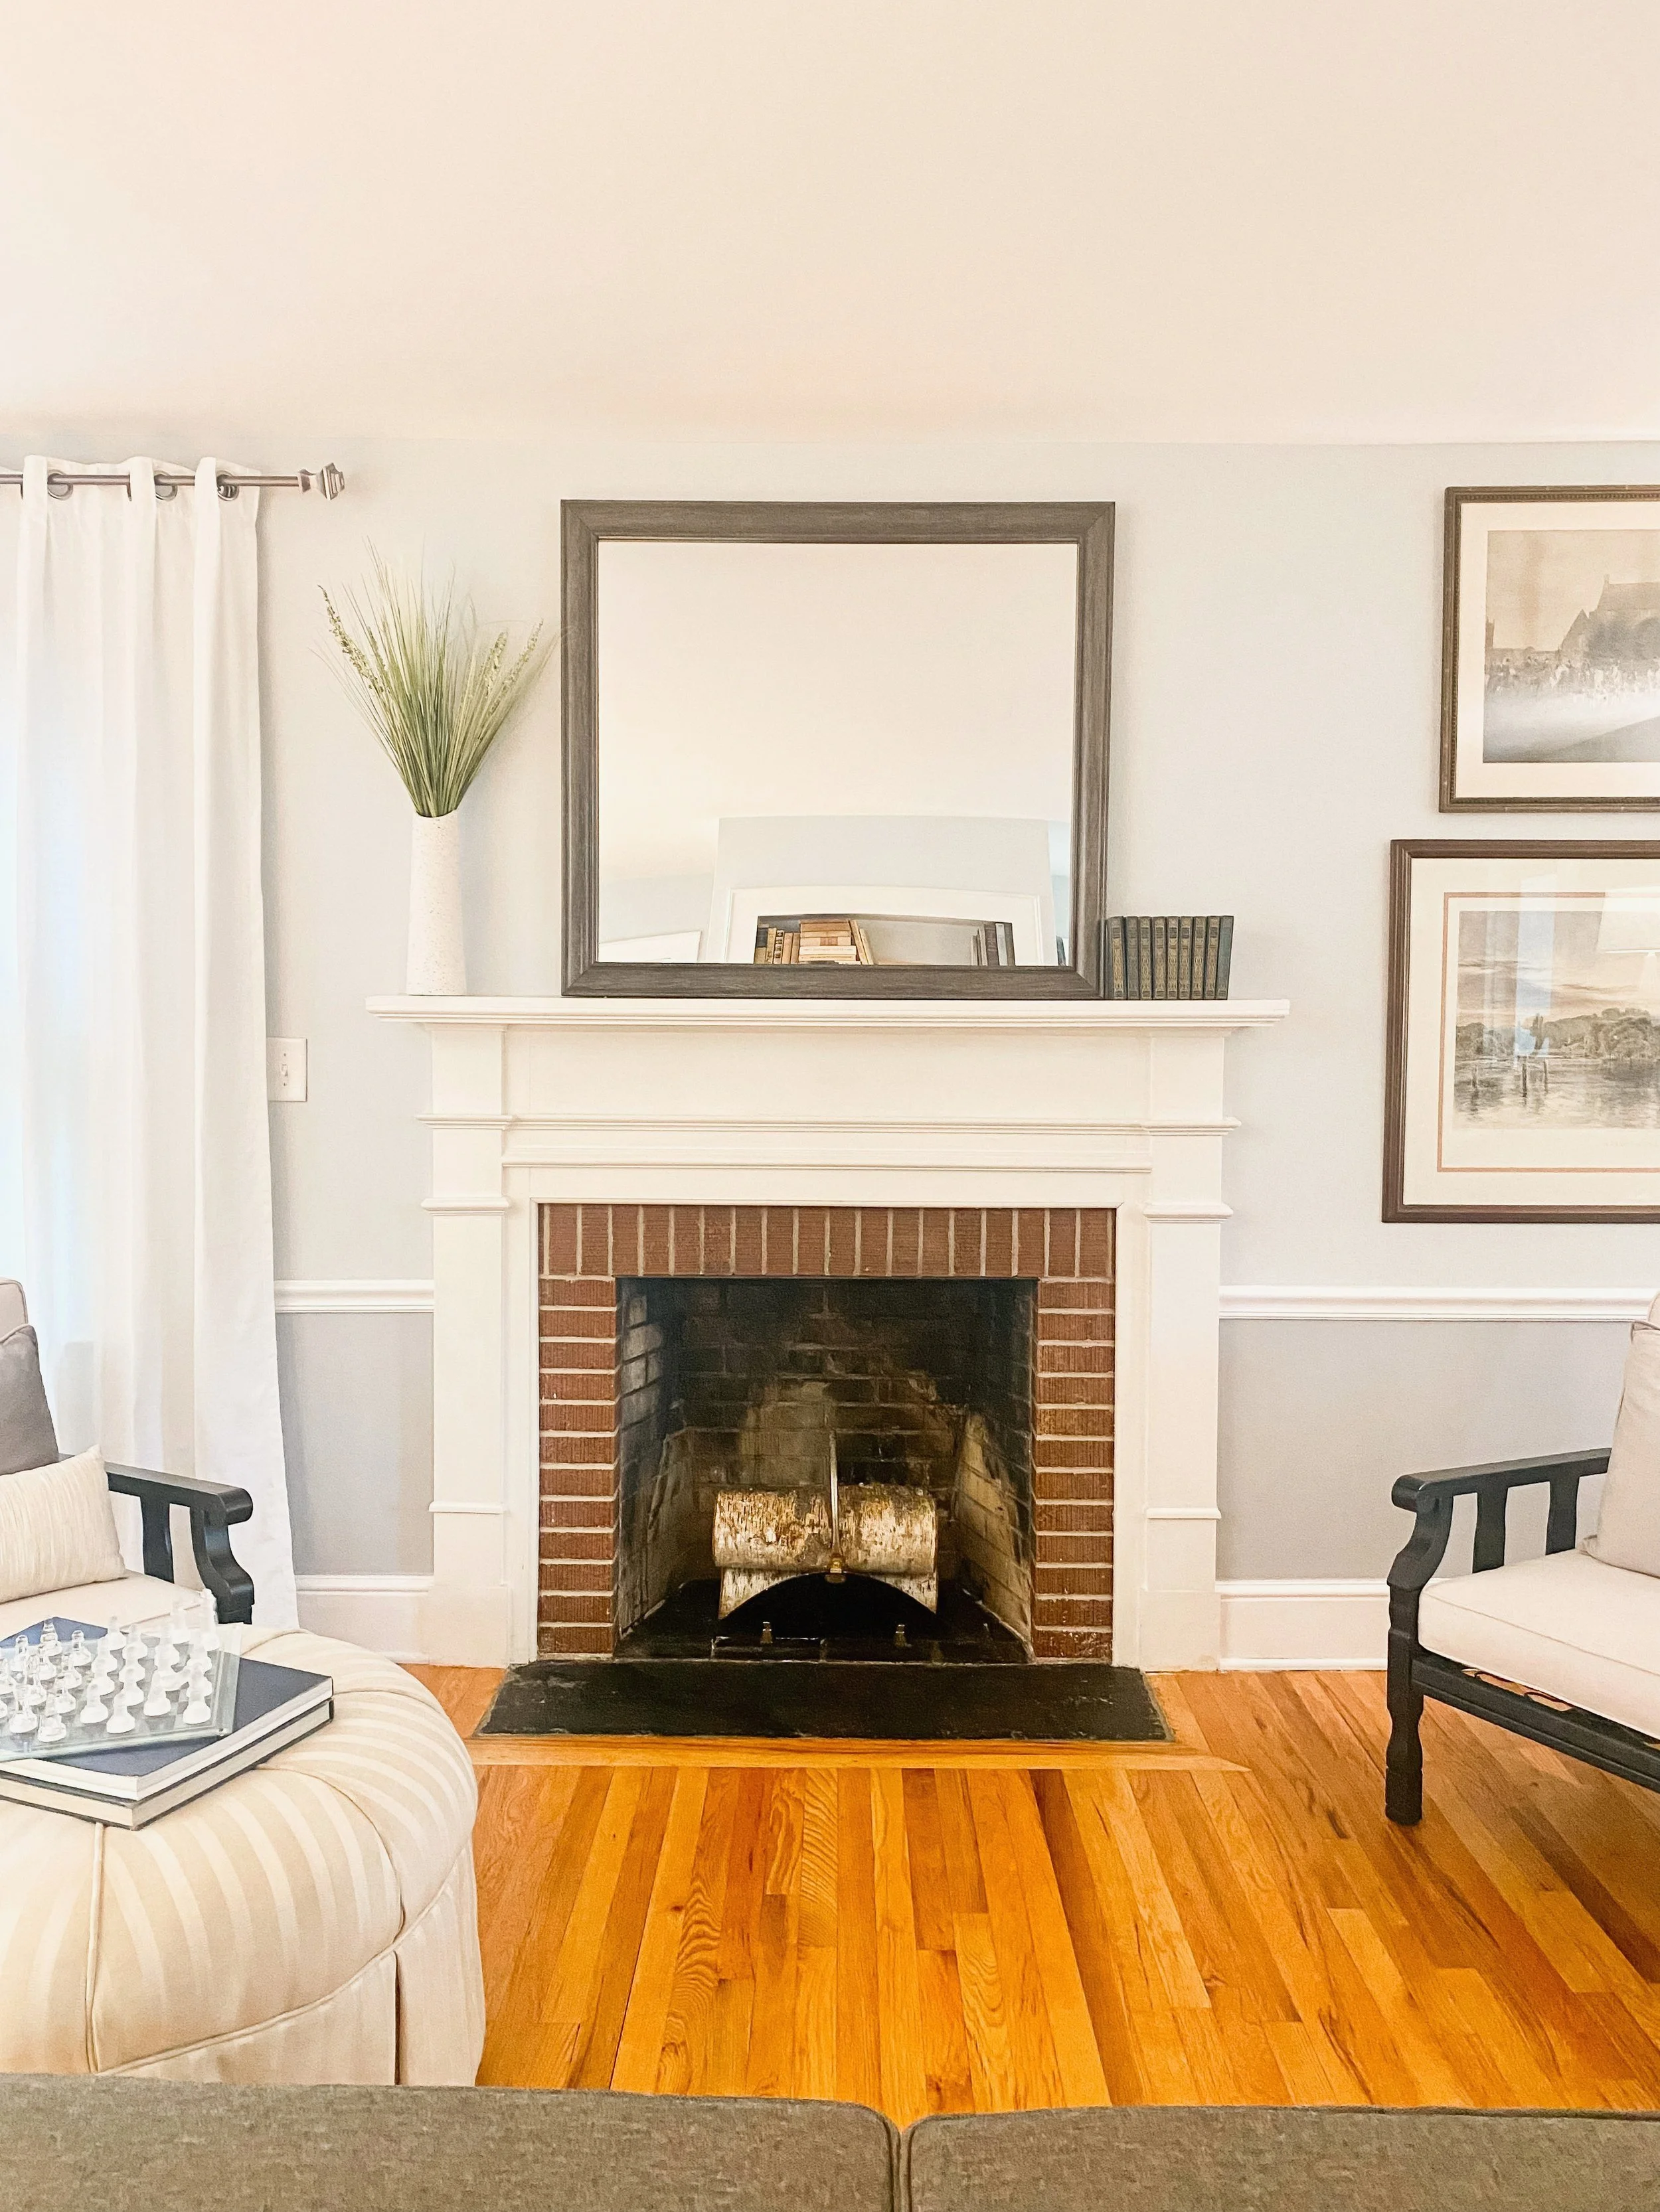
Before deep cleaning & scrubbing my 1950’s old coal burning fireplace.
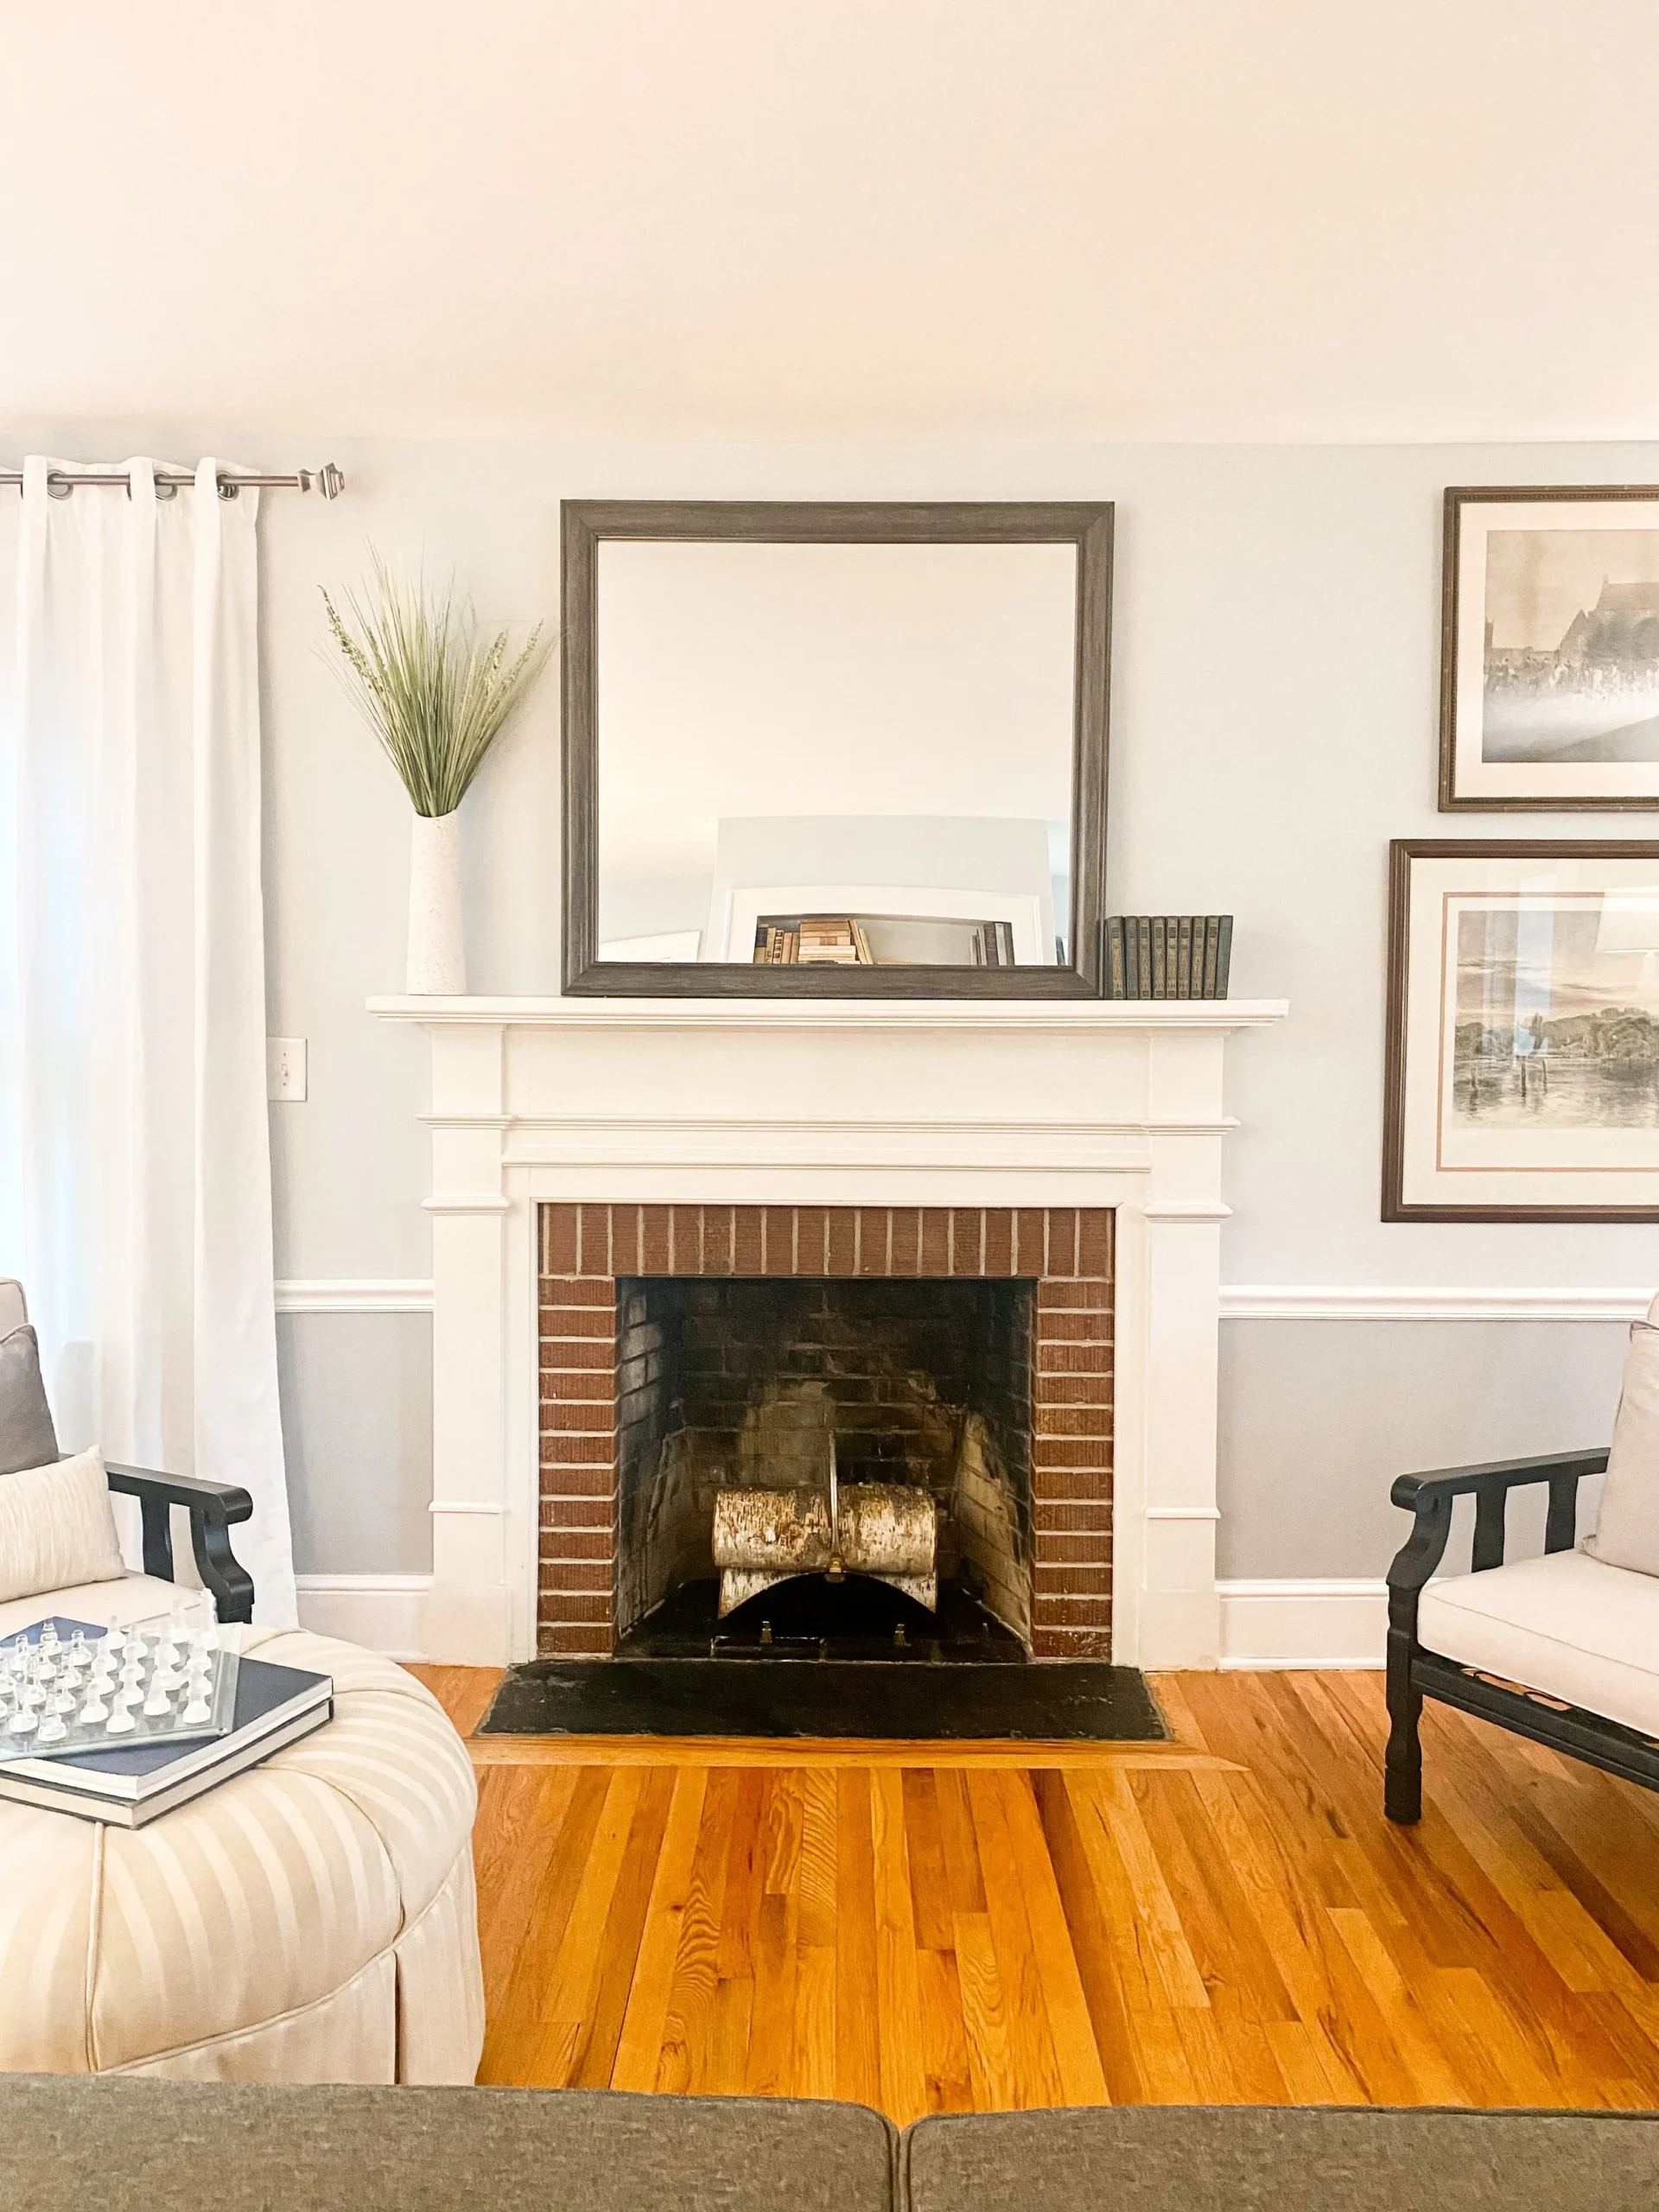
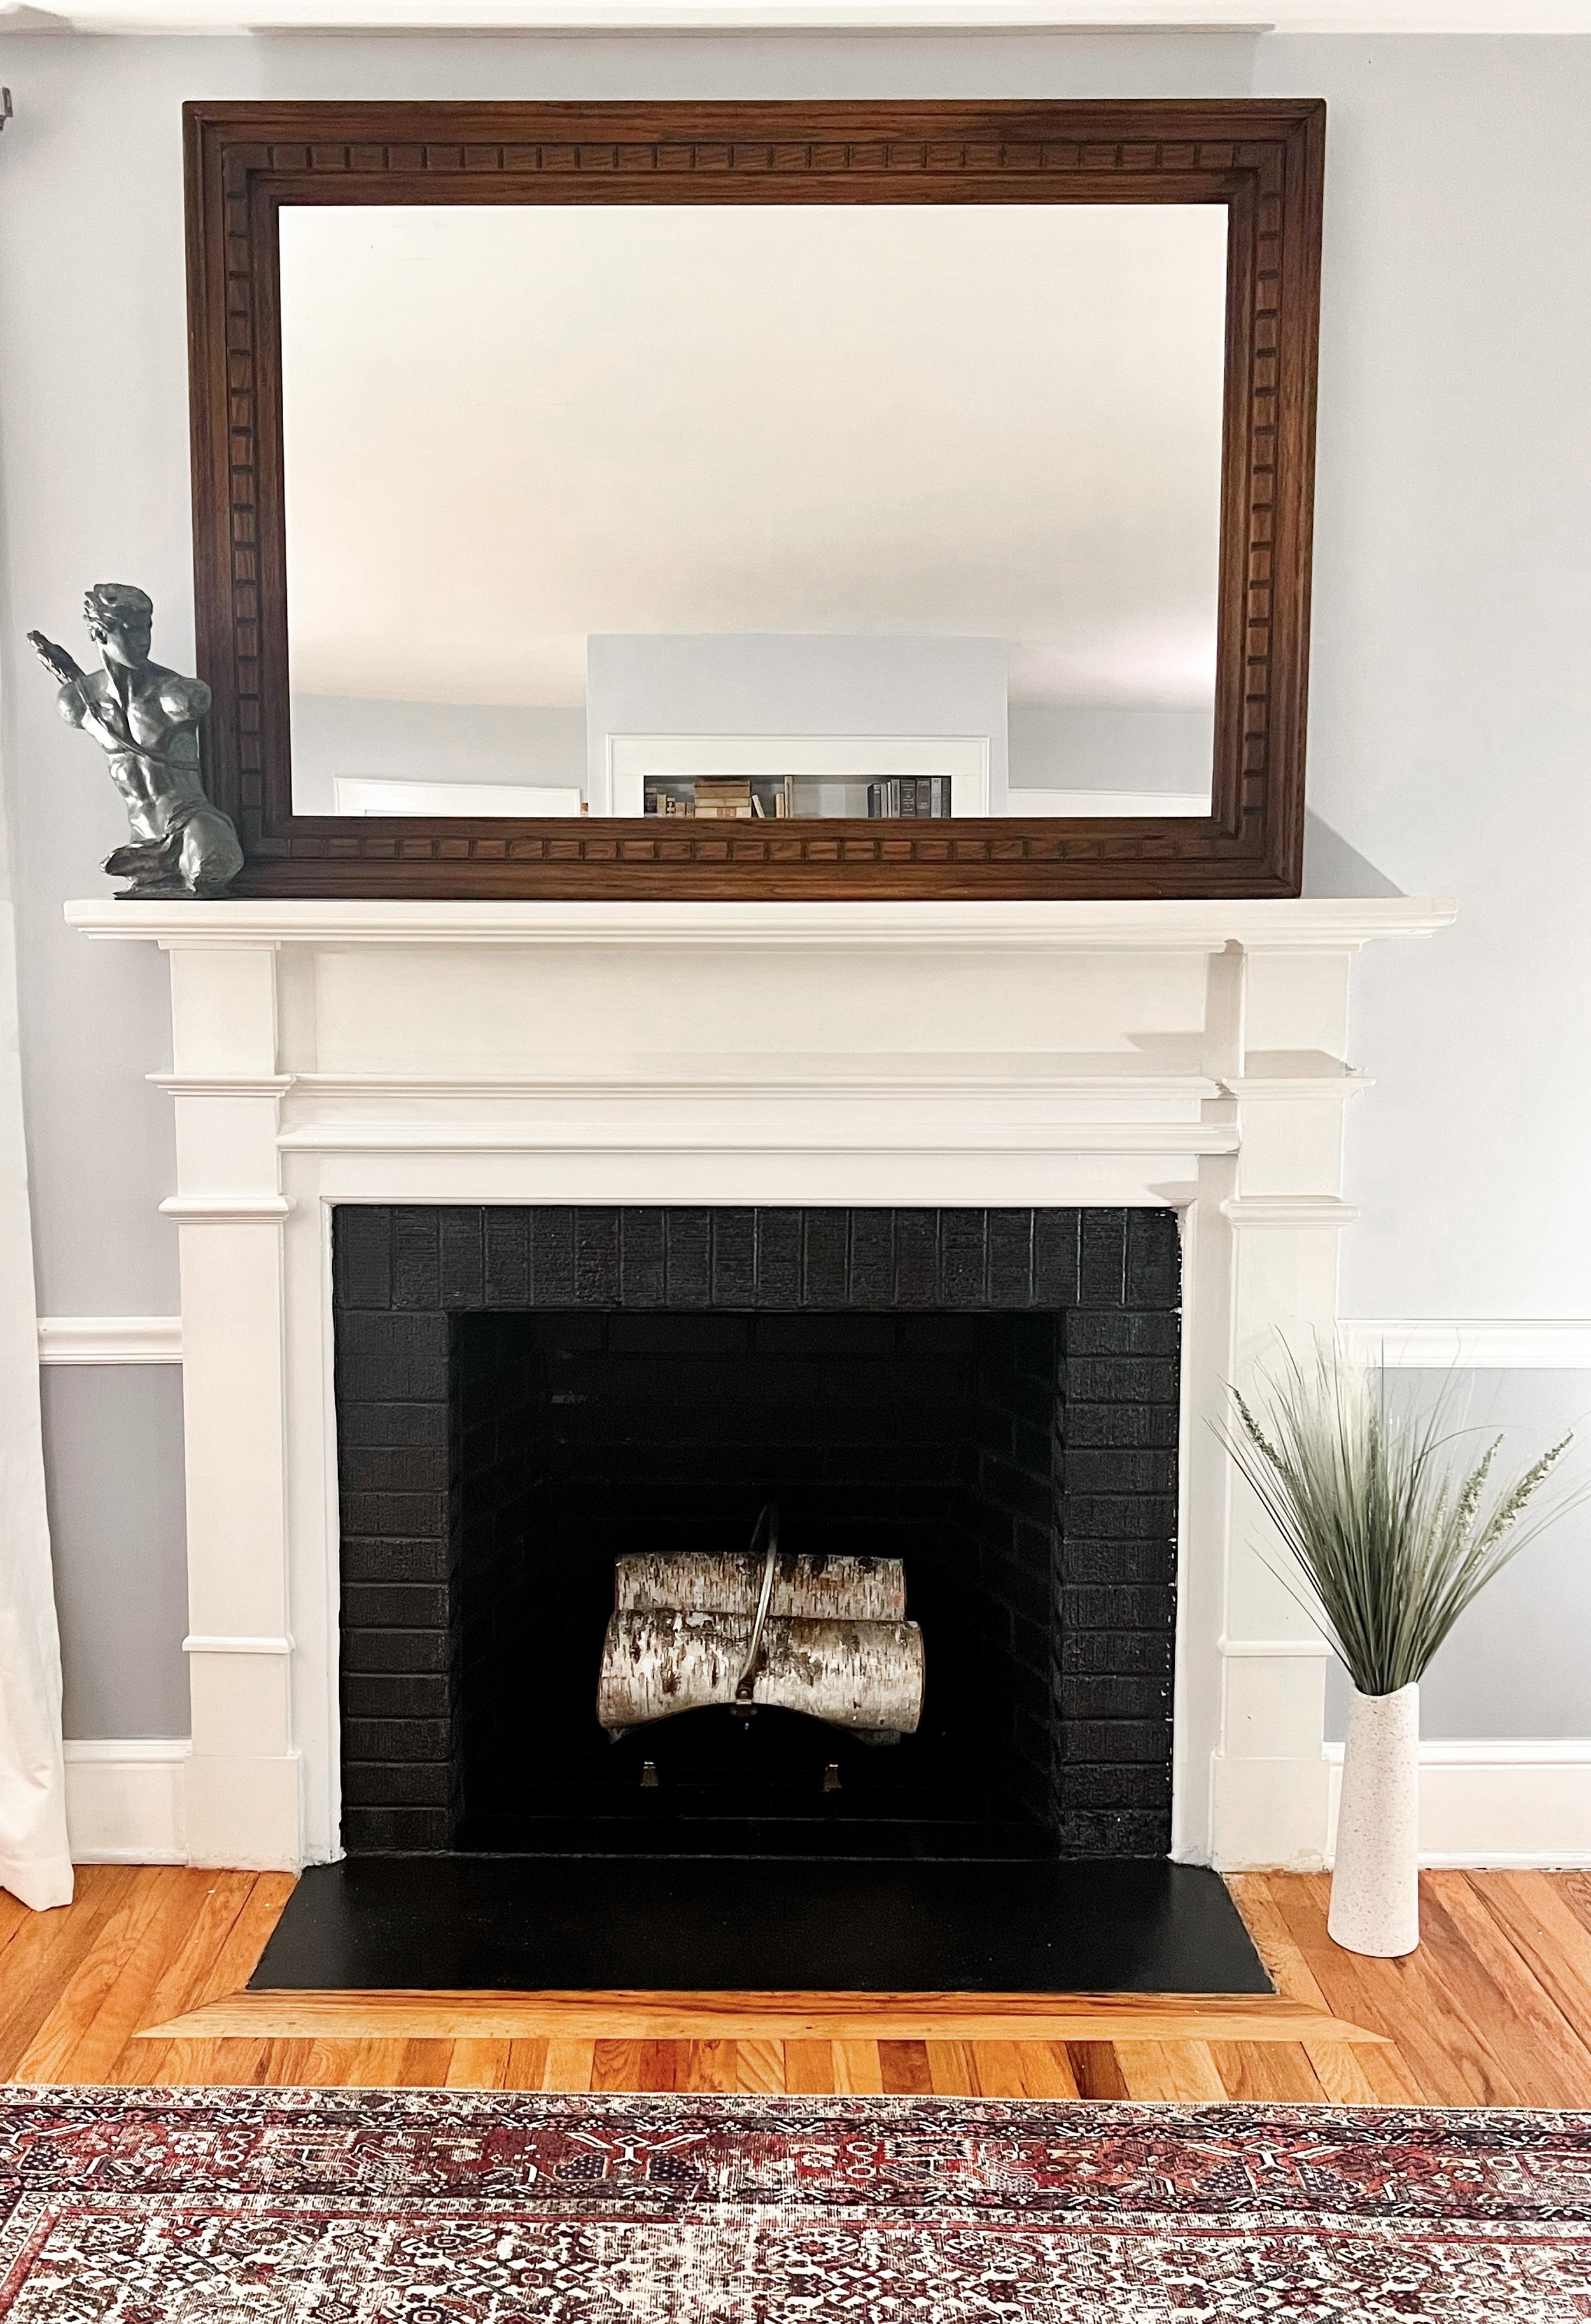
This is my freshly painted fireplace (after 1 coat).
This post may contain affiliate links. I may earn a small commission at no extra cost to you if you make a purchase through these links. I only recommend products I personally use and love.
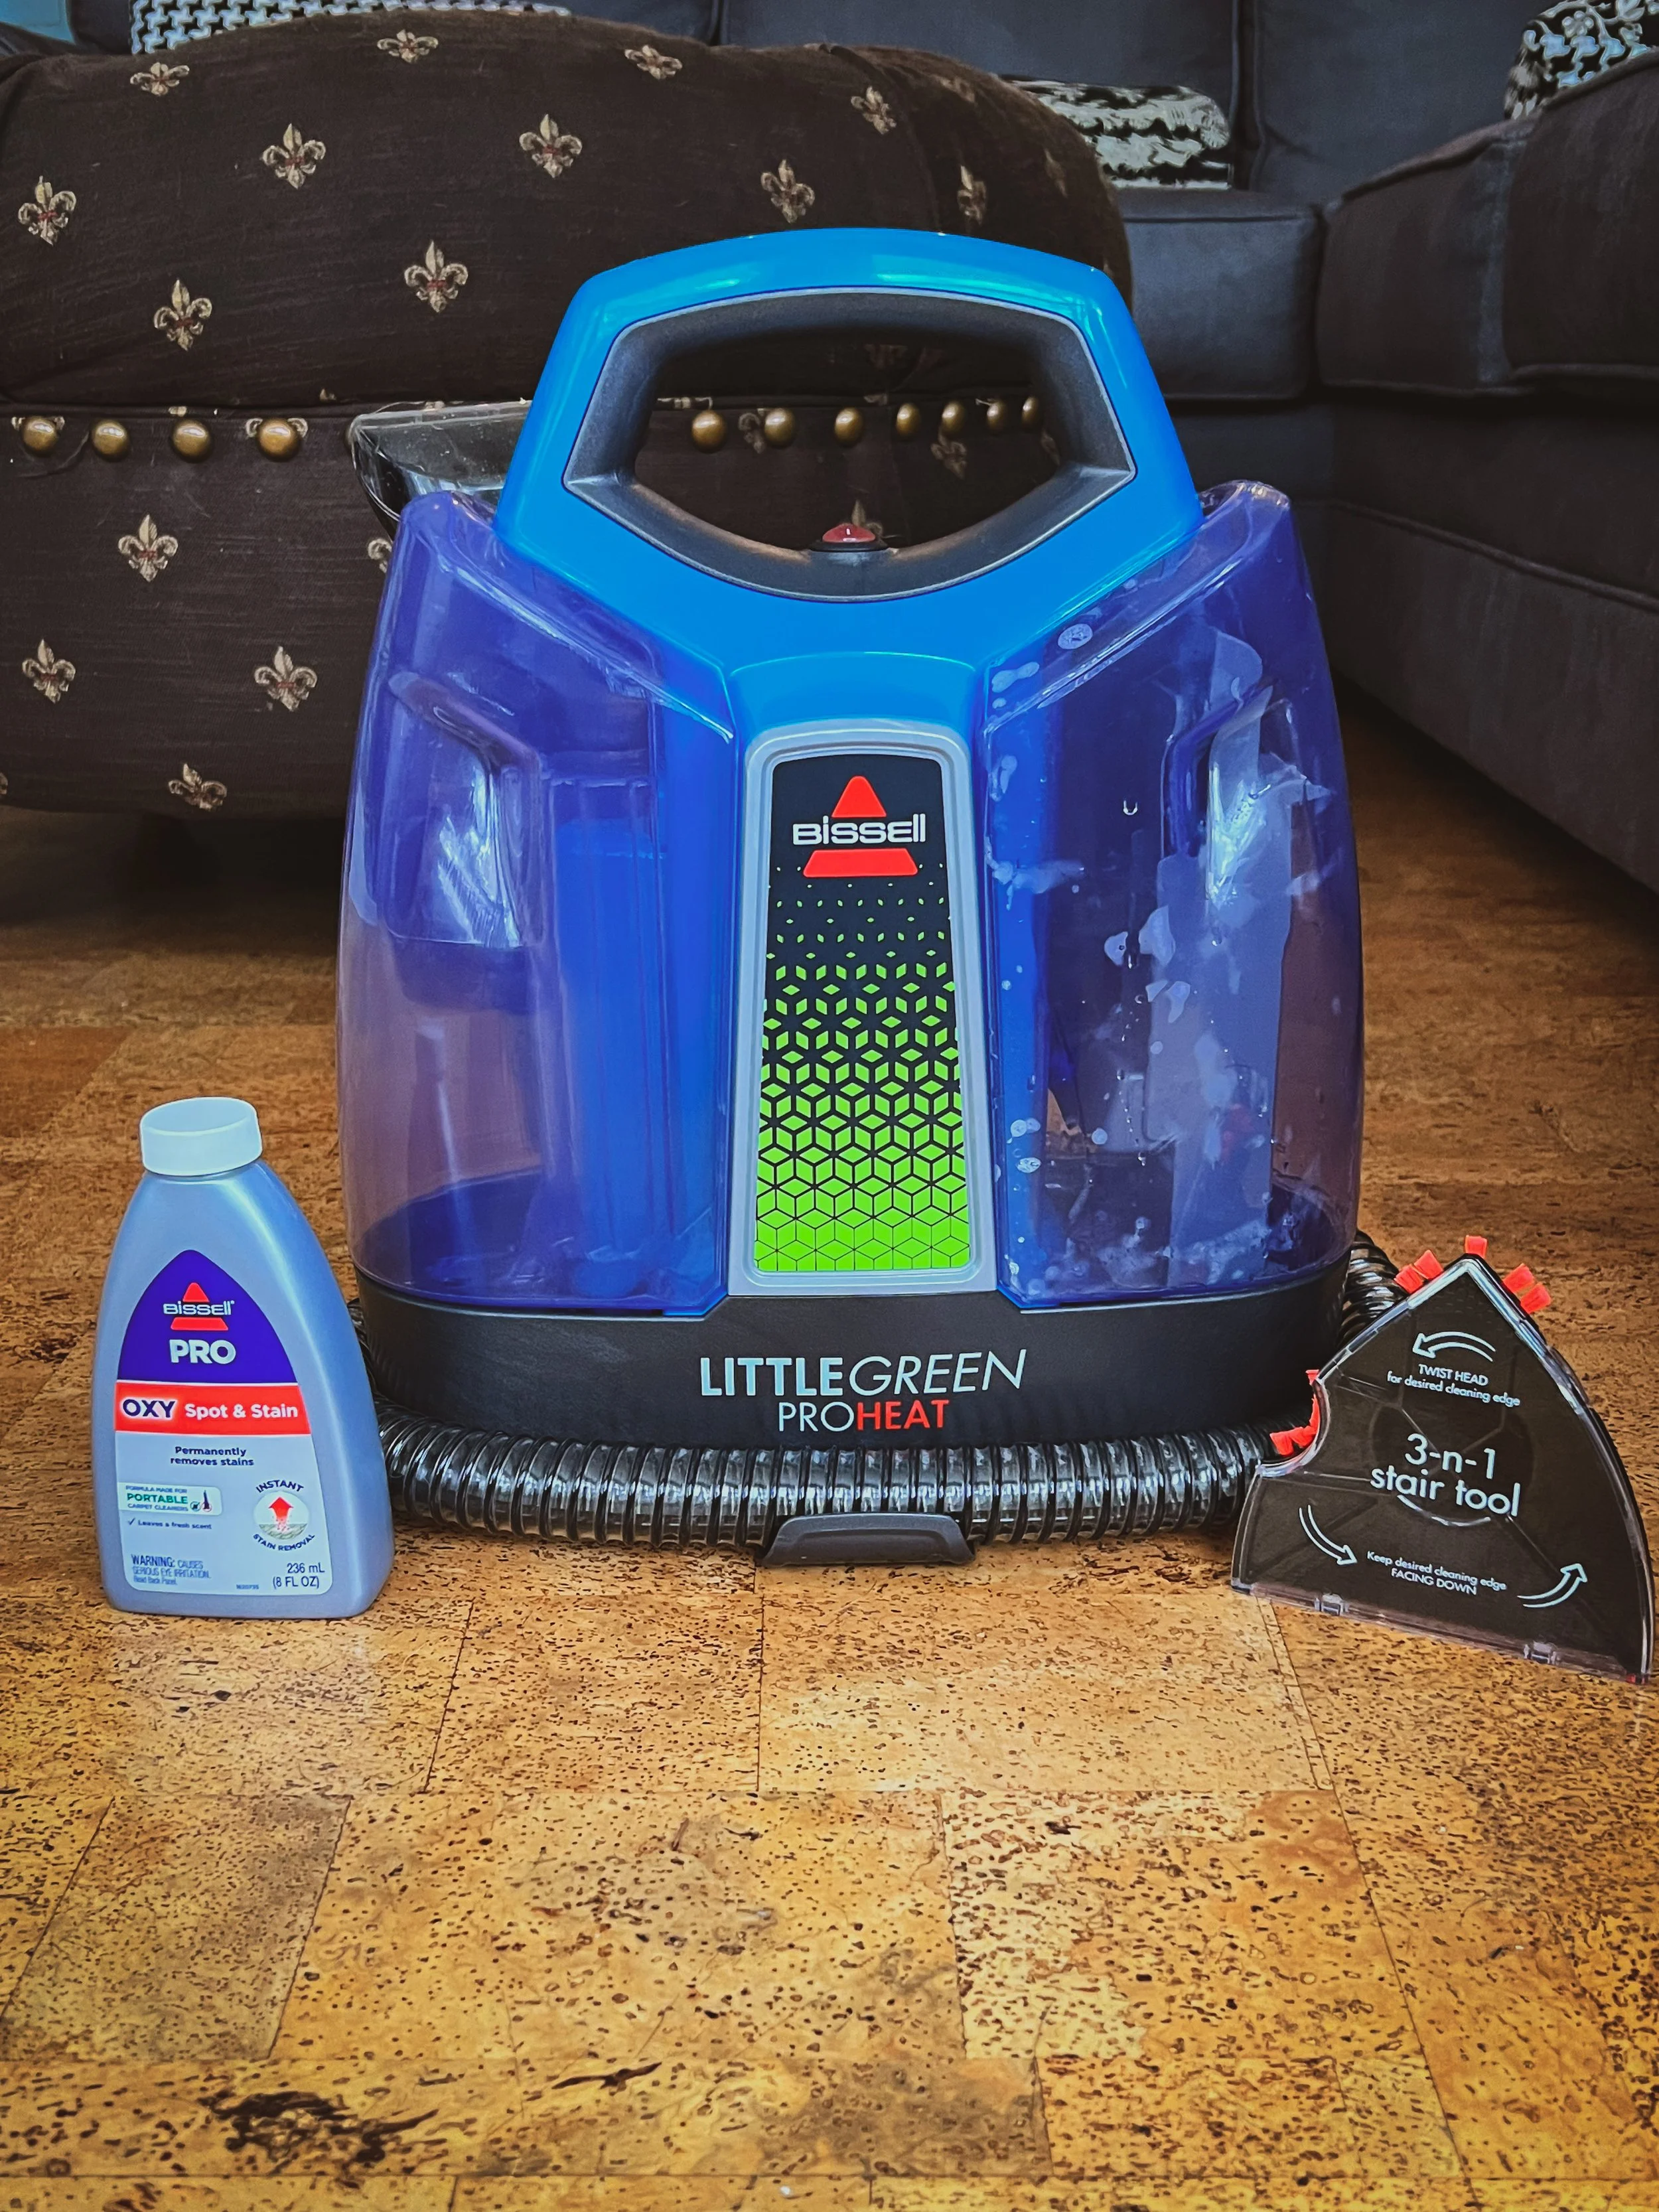
I was first introduced to the Bissell Little Green Machine over 1.5 years ago via a viral cleaning trend on TikTok & ever since I have been absolutely OBSESSED with Bissell’s line of upholstery and carpet cleaning machines and am now trying out my 3rd one, the LittleGreen ProHeat!
With now 5 dogs in our home, it is an absolute MUST for me to clean the couch like this at least every couple of weeks. Even when I had only 1 dog, I was surprised at how much dirt and debris the vacuum would remove each time and I swear I will forever be using the Bissell line of upholstery & carpet cleaning machines religiously for my entire life.
Final Rating 10/10!
Bissell LittleGreen ProHeat Overall Review:
Lightweight & easy to move around due to it’s smaller size
Tanks stand up by themselves (unlike the Bissell Little Green Portable Spot and Stain Cleaner)
The HydroRinse cleaning tool is such a great asset to ensure you’re properly maintaining the machine!
Spray entire surface of couch with the machine as a pre-coat before vacuuming.
Begin vacuuming couch and be sure to use the vacuum portion only to suck in any remaining water you have previously sprayed. This may take multiple vacuum run-throughs per area to ensure you suck out as much water as possible.
Repeat process until the dirty tank water is clear enough to your desire.