(function(){try{var q=window.location.search;var m=q.match(/[?&]akp_notrack=([01])/);if(m){document.cookie='akp_notrack='+m[1]+';path=/;max-age='+(m[1]==='1'?15552000:0)+';SameSite=Lax';}var armed=/(^|; )akp_notrack=1(;|$)/.test(document.cookie)||(m&&m[1]==='1');if(armed&&!window.fbq){var n=function(){};n.queue=[];n.loaded=true;n.version='2.0';n.callMethod=function(){};window.fbq=n;window._fbq=n;}}catch(e){}})();
https://annakatherinepage.com/wp-content/plugins/burst-statistics/assets/js/timeme/timeme.min.js
var breeze_prefetch = {"local_url":"https://annakatherinepage.com","ignore_remote_prefetch":"1","ignore_list":["/?wc-api=wc_facebook_get_feed_data&secret=1760aef9e5a5d06e2a1f0f642c457ce5","/cart/","/checkout/","/my-account/","wp-admin","wp-login.php"]};
//# sourceURL=breeze-prefetch-js-extra
https://annakatherinepage.com/wp-content/plugins/breeze/assets/js/js-front-end/breeze-prefetch-links.min.js
https://annakatherinepage.com/wp-includes/js/jquery/jquery.min.js
https://annakatherinepage.com/wp-includes/js/jquery/jquery-migrate.min.js
https://annakatherinepage.com/wp-content/plugins/woocommerce/assets/js/jquery-blockui/jquery.blockUI.min.js
var wc_add_to_cart_params = {"ajax_url":"/wp-admin/admin-ajax.php","wc_ajax_url":"/?wc-ajax=%%endpoint%%","i18n_view_cart":"View cart","cart_url":"https://annakatherinepage.com/checkout/","is_cart":"","cart_redirect_after_add":"no"};
//# sourceURL=wc-add-to-cart-js-extra
https://annakatherinepage.com/wp-content/plugins/woocommerce/assets/js/frontend/add-to-cart.min.js
https://annakatherinepage.com/wp-content/plugins/woocommerce/assets/js/js-cookie/js.cookie.min.js
var woocommerce_params = {"ajax_url":"/wp-admin/admin-ajax.php","wc_ajax_url":"/?wc-ajax=%%endpoint%%","i18n_password_show":"Show password","i18n_password_hide":"Hide password"};
//# sourceURL=woocommerce-js-extra
https://annakatherinepage.com/wp-content/plugins/woocommerce/assets/js/frontend/woocommerce.min.js
window.__wc_fb_page_generated = 1793011566;
!function(f,b,e,v,n,t,s){if(f.fbq)return;n=f.fbq=function(){n.callMethod?
n.callMethod.apply(n,arguments):n.queue.push(arguments)};if(!f._fbq)f._fbq=n;
n.push=n;n.loaded=!0;n.version='2.0';n.queue=[];t=b.createElement(e);t.async=!0;
t.src=v;s=b.getElementsByTagName(e)[0];s.parentNode.insertBefore(t,s)}(window,
document,'script','https://connect.facebook.net/en_US/fbevents.js');
window.FacebookSignals = window.FacebookSignals || {
_held: false,
_releasing: false,
_pixelInitialized: false,
_pixelId: null,
_pixelUserInfo: {},
_pixelOptions: {},
_pendingPixelEvents: [],
_queue: [],
_config: {},
_attribution: {},
_seenEventIds: {},
_fbclid: (function() {
try {
var m = window.location.search.match(/[?&]fbclid=([^&]*)/);
return m ? decodeURIComponent(m[1]) : null;
} catch(e) { return null; }
})(),
init: function(config) {
config = config || {};
this._config = config;
this._attribution = config.attribution || {};
var cookieState = this._getCookie('wc_facebook_signals_state');
this._held = cookieState ? cookieState === 'held' : !!config.held;
this._fbclid = this._fbclid || null;
if (typeof fbq === 'function') {
fbq('consent', this._held ? 'revoke' : 'grant');
}
try {
var raw = window.sessionStorage.getItem('wc_facebook_signals_seen_event_ids');
this._seenEventIds = raw ? JSON.parse(raw) : {};
} catch (e) {
this._seenEventIds = this._seenEventIds || {};
}
},
initPixel: function(pixelId, userInfo, options) {
this._pixelId = pixelId;
this._pixelUserInfo = userInfo && typeof userInfo === 'object' && !Array.isArray(userInfo) ? userInfo : {};
this._pixelOptions = options || {};
if (!this._held) {
this._runPixelInit();
}
},
_runPixelInit: function() {
if (this._pixelInitialized || !this._pixelId || typeof fbq !== 'function') return;
fbq('init', this._pixelId, this._pixelUserInfo, this._pixelOptions);
this._pixelInitialized = true;
this._flushPendingPixelEvents();
},
_flushPendingPixelEvents: function() {
var pending = this._pendingPixelEvents;
this._pendingPixelEvents = [];
for (var i = 0; i < pending.length; i++) {
var ev = pending[i];
this._firePixelEvent(ev.name, ev.params, ev.method, ev.eventId);
}
},
_fireOrQueuePixelEvent: function(name, params, method, eventId) {
if (!this._pixelInitialized) {
this._pendingPixelEvents.push({
name: name, params: params || {}, method: method || 'track', eventId: eventId || null
});
return;
}
this._firePixelEvent(name, params || {}, method || 'track', eventId || null);
},
_firePixelEvent: function(name, params, method, eventId) {
method = method || 'track';
if (eventId) {
fbq(method, name, params || {}, { eventID: eventId });
} else {
fbq(method, name, params || {});
}
},
queueEvent: function(eventData) {
if (!eventData || !eventData.event_name) return;
var originalId = eventData.event_id || null;
if (originalId && this._seenEventIds[originalId]) return;
if (!this._held) {
this._fireOrQueuePixelEvent(eventData.event_name, eventData.custom_data || {}, eventData.method || 'track', originalId);
return;
}
eventData = this._cloneEventData(eventData);
eventData.event_id = this._generateEventId();
eventData.event_time = eventData.event_time || Math.floor(Date.now() / 1000);
this._queue.push(eventData);
var idToMark = originalId || eventData.event_id;
if (idToMark) {
this._seenEventIds[idToMark] = 1;
try {
window.sessionStorage.setItem(
'wc_facebook_signals_seen_event_ids',
JSON.stringify(this._seenEventIds)
);
} catch (e) {}
}
},
trackEvent: function(name, params, userData, method, eventId) {
method = method || 'track';
eventId = eventId || (params && params.eventID) || null;
if (this._held) {
this.queueEvent({
event_name: name,
custom_data: params || {},
event_id: eventId,
event_time: Math.floor(Date.now() / 1000),
method: method
});
} else {
this._fireOrQueuePixelEvent(name, params || {}, method, eventId);
}
},
release: function() {
var self = this;
if (!self._held || self._releasing || !self._config.ajaxUrl) {
return Promise.resolve({ success: true, data: { sent_count: 0 } });
}
self._releasing = true;
var attribution = self._collectAttribution();
var payload = JSON.stringify({
events: self._queue,
attribution: {
fbp: attribution.fbp || null,
fbc: attribution.fbc || null
},
fbclid: self._fbclid || null
});
var url = self._config.ajaxUrl +
(self._config.ajaxUrl.indexOf('?') === -1 ? '?' : '&') +
'action=' + encodeURIComponent(self._config.action);
return new Promise(function(resolve, reject) {
var xhr = new XMLHttpRequest();
xhr.open('POST', url, true);
xhr.setRequestHeader('Content-Type', 'application/json');
xhr.onload = function() {
if (xhr.status >= 200 && xhr.status < 300) {
try {
var resp = JSON.parse(xhr.responseText);
self._handleReleaseResponse(resp.data || {}, attribution);
resolve(resp);
} catch(e) { self._releasing = false; reject(e); }
} else {
self._releasing = false;
reject(new Error('Signal release AJAX failed: ' + xhr.status));
}
};
xhr.onerror = function() { self._releasing = false; reject(new Error('Network error')); };
xhr.send(payload);
});
},
_handleReleaseResponse: function(data, attribution) {
this._syncAttributionCookies(data || {}, attribution);
// Override cached user_info with fresh data from the release response.
if (data.user_info && typeof data.user_info === 'object' && !Array.isArray(data.user_info)) {
this._pixelUserInfo = data.user_info;
}
this._held = false;
this._releasing = false;
fbq('consent', 'grant');
this._runPixelInit();
var queue = this._queue;
for (var i = 0; i < queue.length; i++) {
var ev = queue[i];
this._fireOrQueuePixelEvent(ev.event_name, ev.custom_data || {}, ev.method || 'track', ev.event_id || null);
}
this._queue = [];
},
_collectAttribution: function() {
var clientParams = {};
if (typeof clientParamBuilder !== 'undefined') {
try {
clientParams = clientParamBuilder.processAndCollectParams(this._getAttributionUrl()) || {};
} catch (e) {}
}
var fbp = this._getCookie('_fbp') || clientParams._fbp || (typeof clientParamBuilder !== 'undefined' ? clientParamBuilder.getFbp() : null);
var fbc = this._getCookie('_fbc') || clientParams._fbc || (typeof clientParamBuilder !== 'undefined' ? clientParamBuilder.getFbc() : null);
if (!fbc && this._fbclid) {
fbc = 'fb.1.' + Date.now() + '.' + this._fbclid;
}
return { fbp: fbp || null, fbc: fbc || null };
},
_syncAttributionCookies: function(data, attribution) {
var fbp = data.fbp || (attribution && attribution.fbp) || null;
var fbc = data.fbc || (attribution && attribution.fbc) || null;
if (fbp) {
this._setAttributionCookie('_fbp', fbp, data.fbp_domain || null);
}
if (fbc) {
this._setAttributionCookie('_fbc', fbc, data.fbc_domain || null);
}
},
_setAttributionCookie: function(name, value, domain) {
if (!value) return;
var domainAttr = domain ? ';domain=' + domain : '';
document.cookie = name + '=' + encodeURIComponent(value) + ';path=/;max-age=7776000' + domainAttr + ';SameSite=Lax';
},
_getCookie: function(name) {
var match = document.cookie.match(new RegExp('(?:^|;\\s*)' + name.replace(/[.*+?^${}()|[\]\\]/g, '\\$&') + '=([^;]*)'));
if (!match) return null;
try { return decodeURIComponent(match[1]); } catch(e) { return null; }
},
_cloneEventData: function(eventData) {
var clone = {};
for (var key in eventData) {
if (Object.prototype.hasOwnProperty.call(eventData, key)) {
clone[key] = eventData[key];
}
}
return clone;
},
_generateEventId: function() {
if (window.crypto && typeof window.crypto.randomUUID === 'function') {
return window.crypto.randomUUID();
}
return 'xxxxxxxx-xxxx-4xxx-yxxx-xxxxxxxxxxxx'.replace(/[xy]/g, function(c) {
var r = Math.random() * 16 | 0;
return (c === 'x' ? r : (r & 0x3 | 0x8)).toString(16);
});
},
_getAttributionUrl: function() {
if (!this._fbclid) return window.location.href;
try {
var url = new URL(window.location.href);
if (!url.searchParams.get('fbclid')) {
url.searchParams.set('fbclid', this._fbclid);
}
return url.toString();
} catch (e) {
return window.location.href;
}
}
};
FacebookSignals.init({
held: false,
ajaxUrl: "https:\/\/annakatherinepage.com\/wp-admin\/admin-ajax.php",
action: 'facebook_release_signals',
pixelId: "5552345558112956",
attribution: {}
});
FacebookSignals.initPixel(
"5552345558112956",
{},
{"agent":"woocommerce_0-11.2.1-3.7.8"} );
document.addEventListener( 'DOMContentLoaded', function() {
document.body.insertAdjacentHTML( 'beforeend', '<div class=\"wc-facebook-pixel-event-placeholder\"></div>' );
}, false );
Skip to content
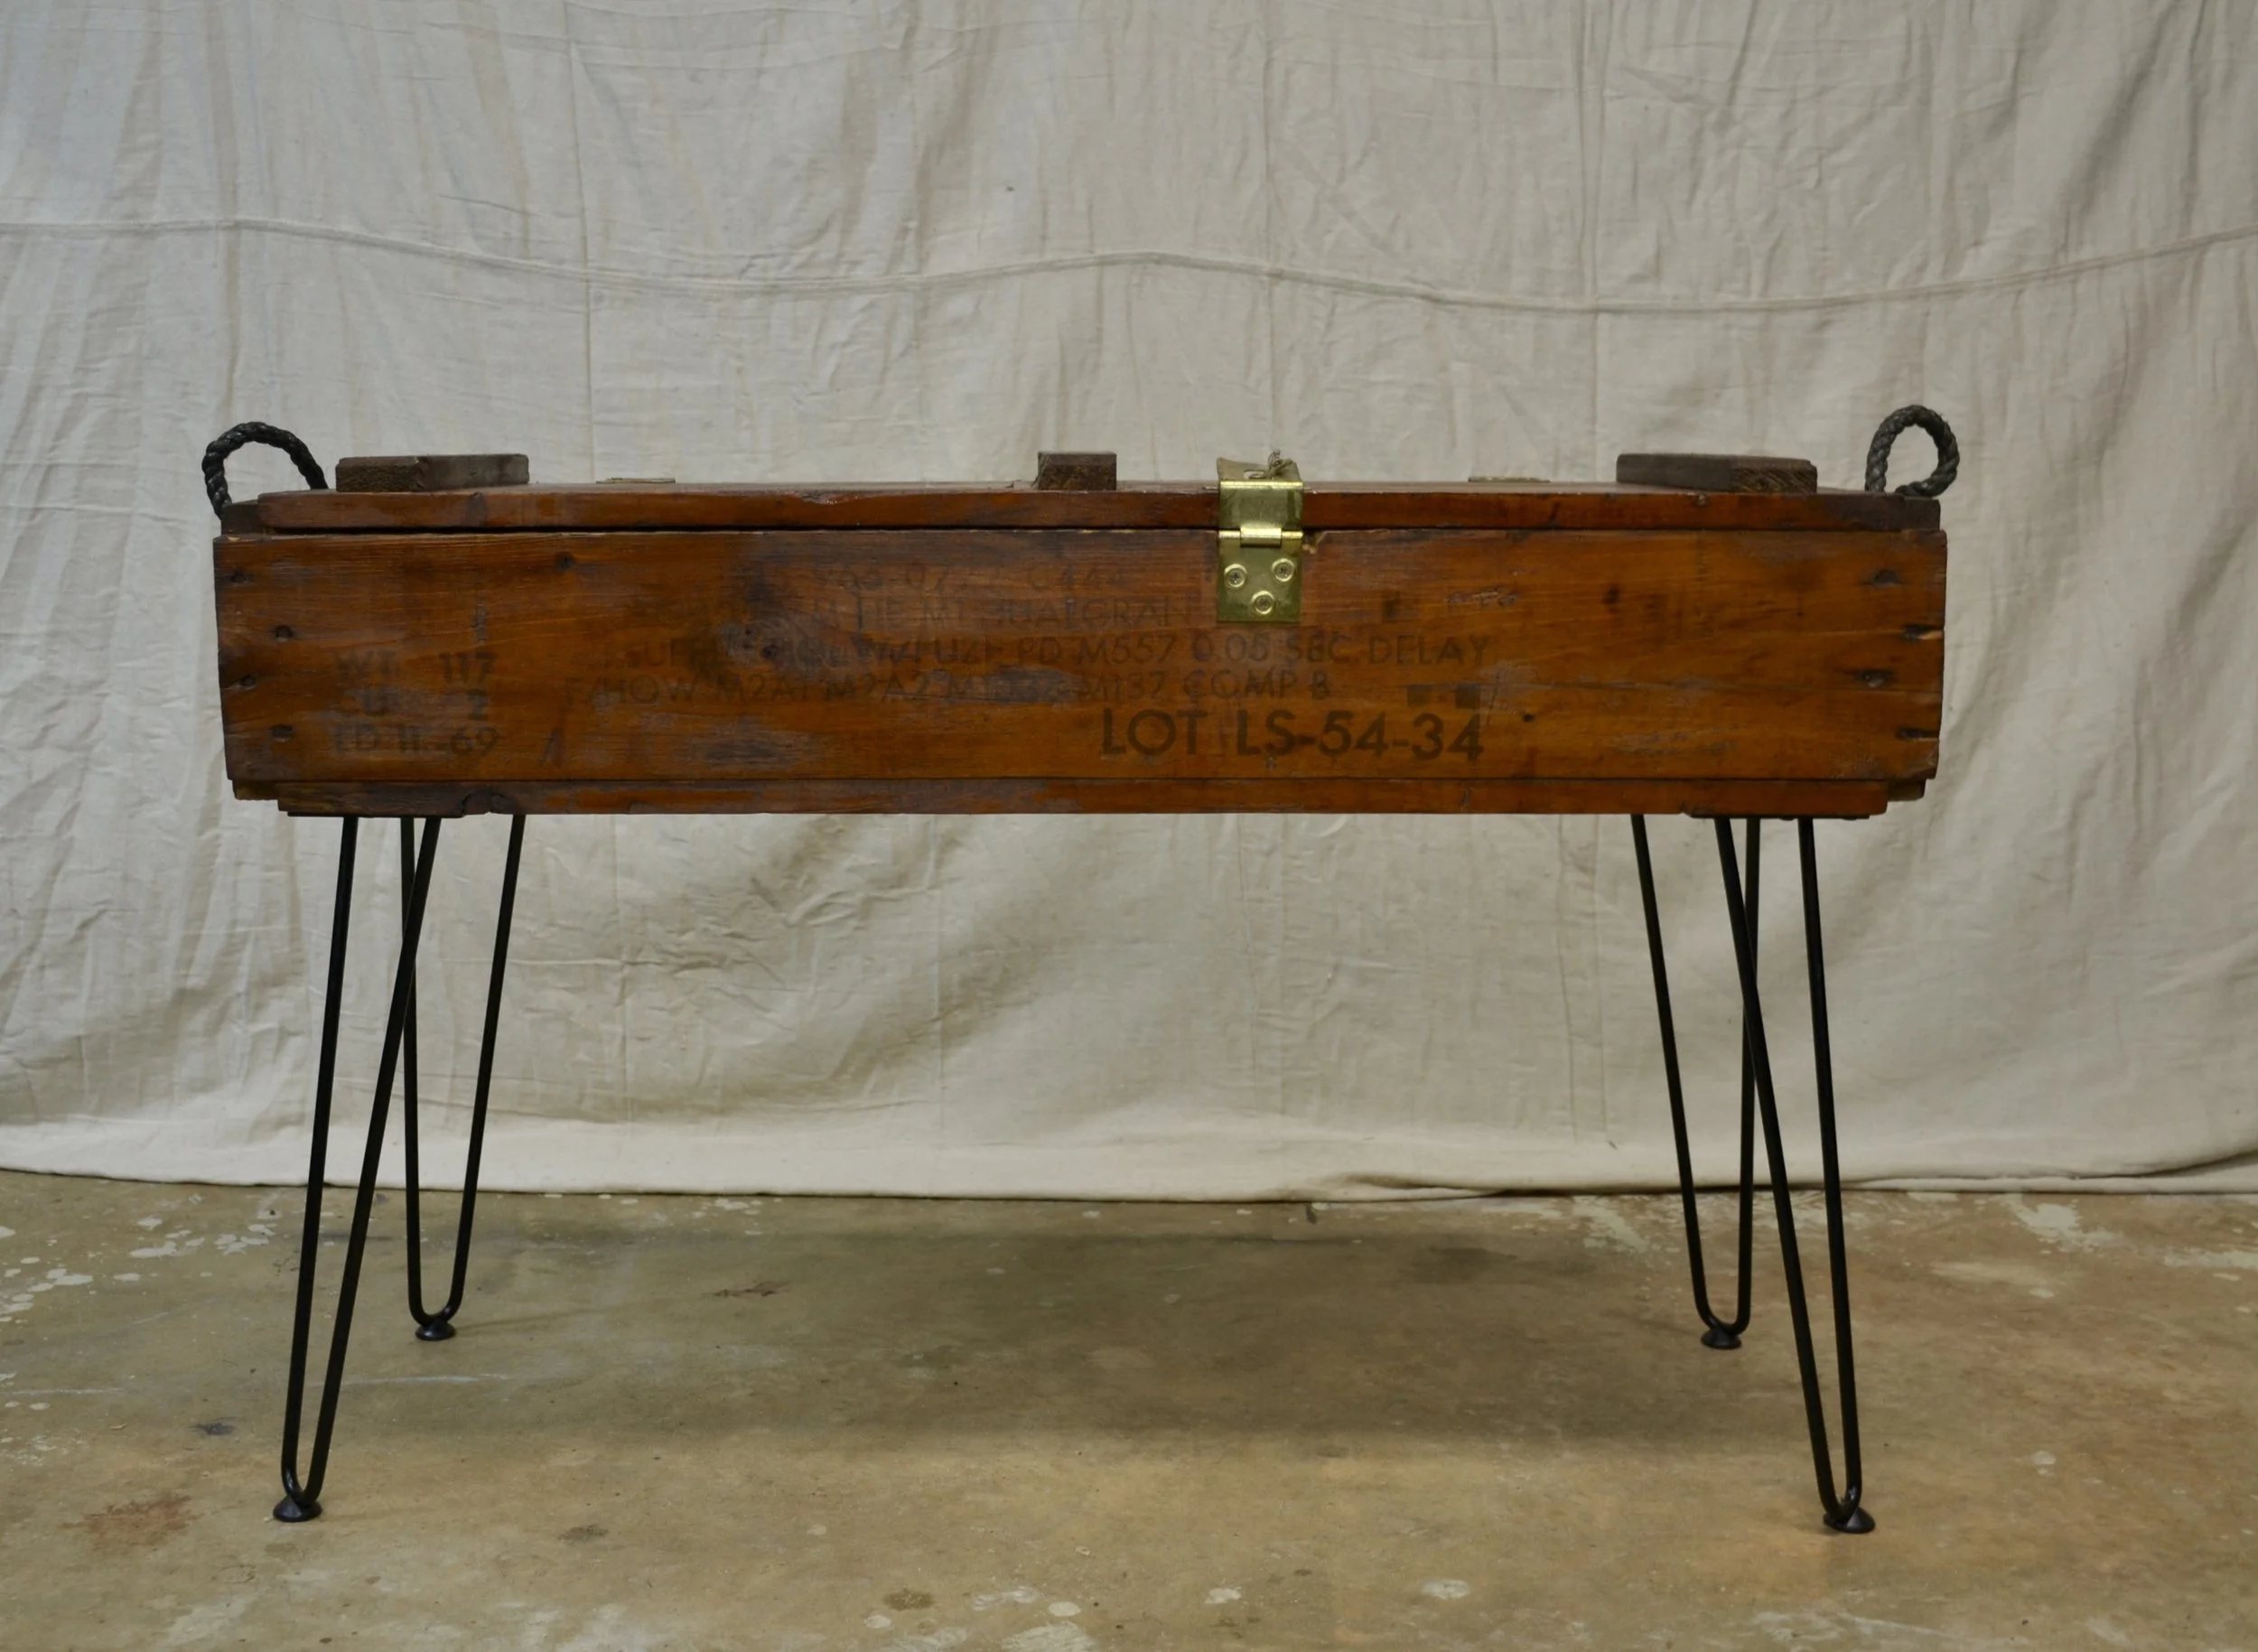
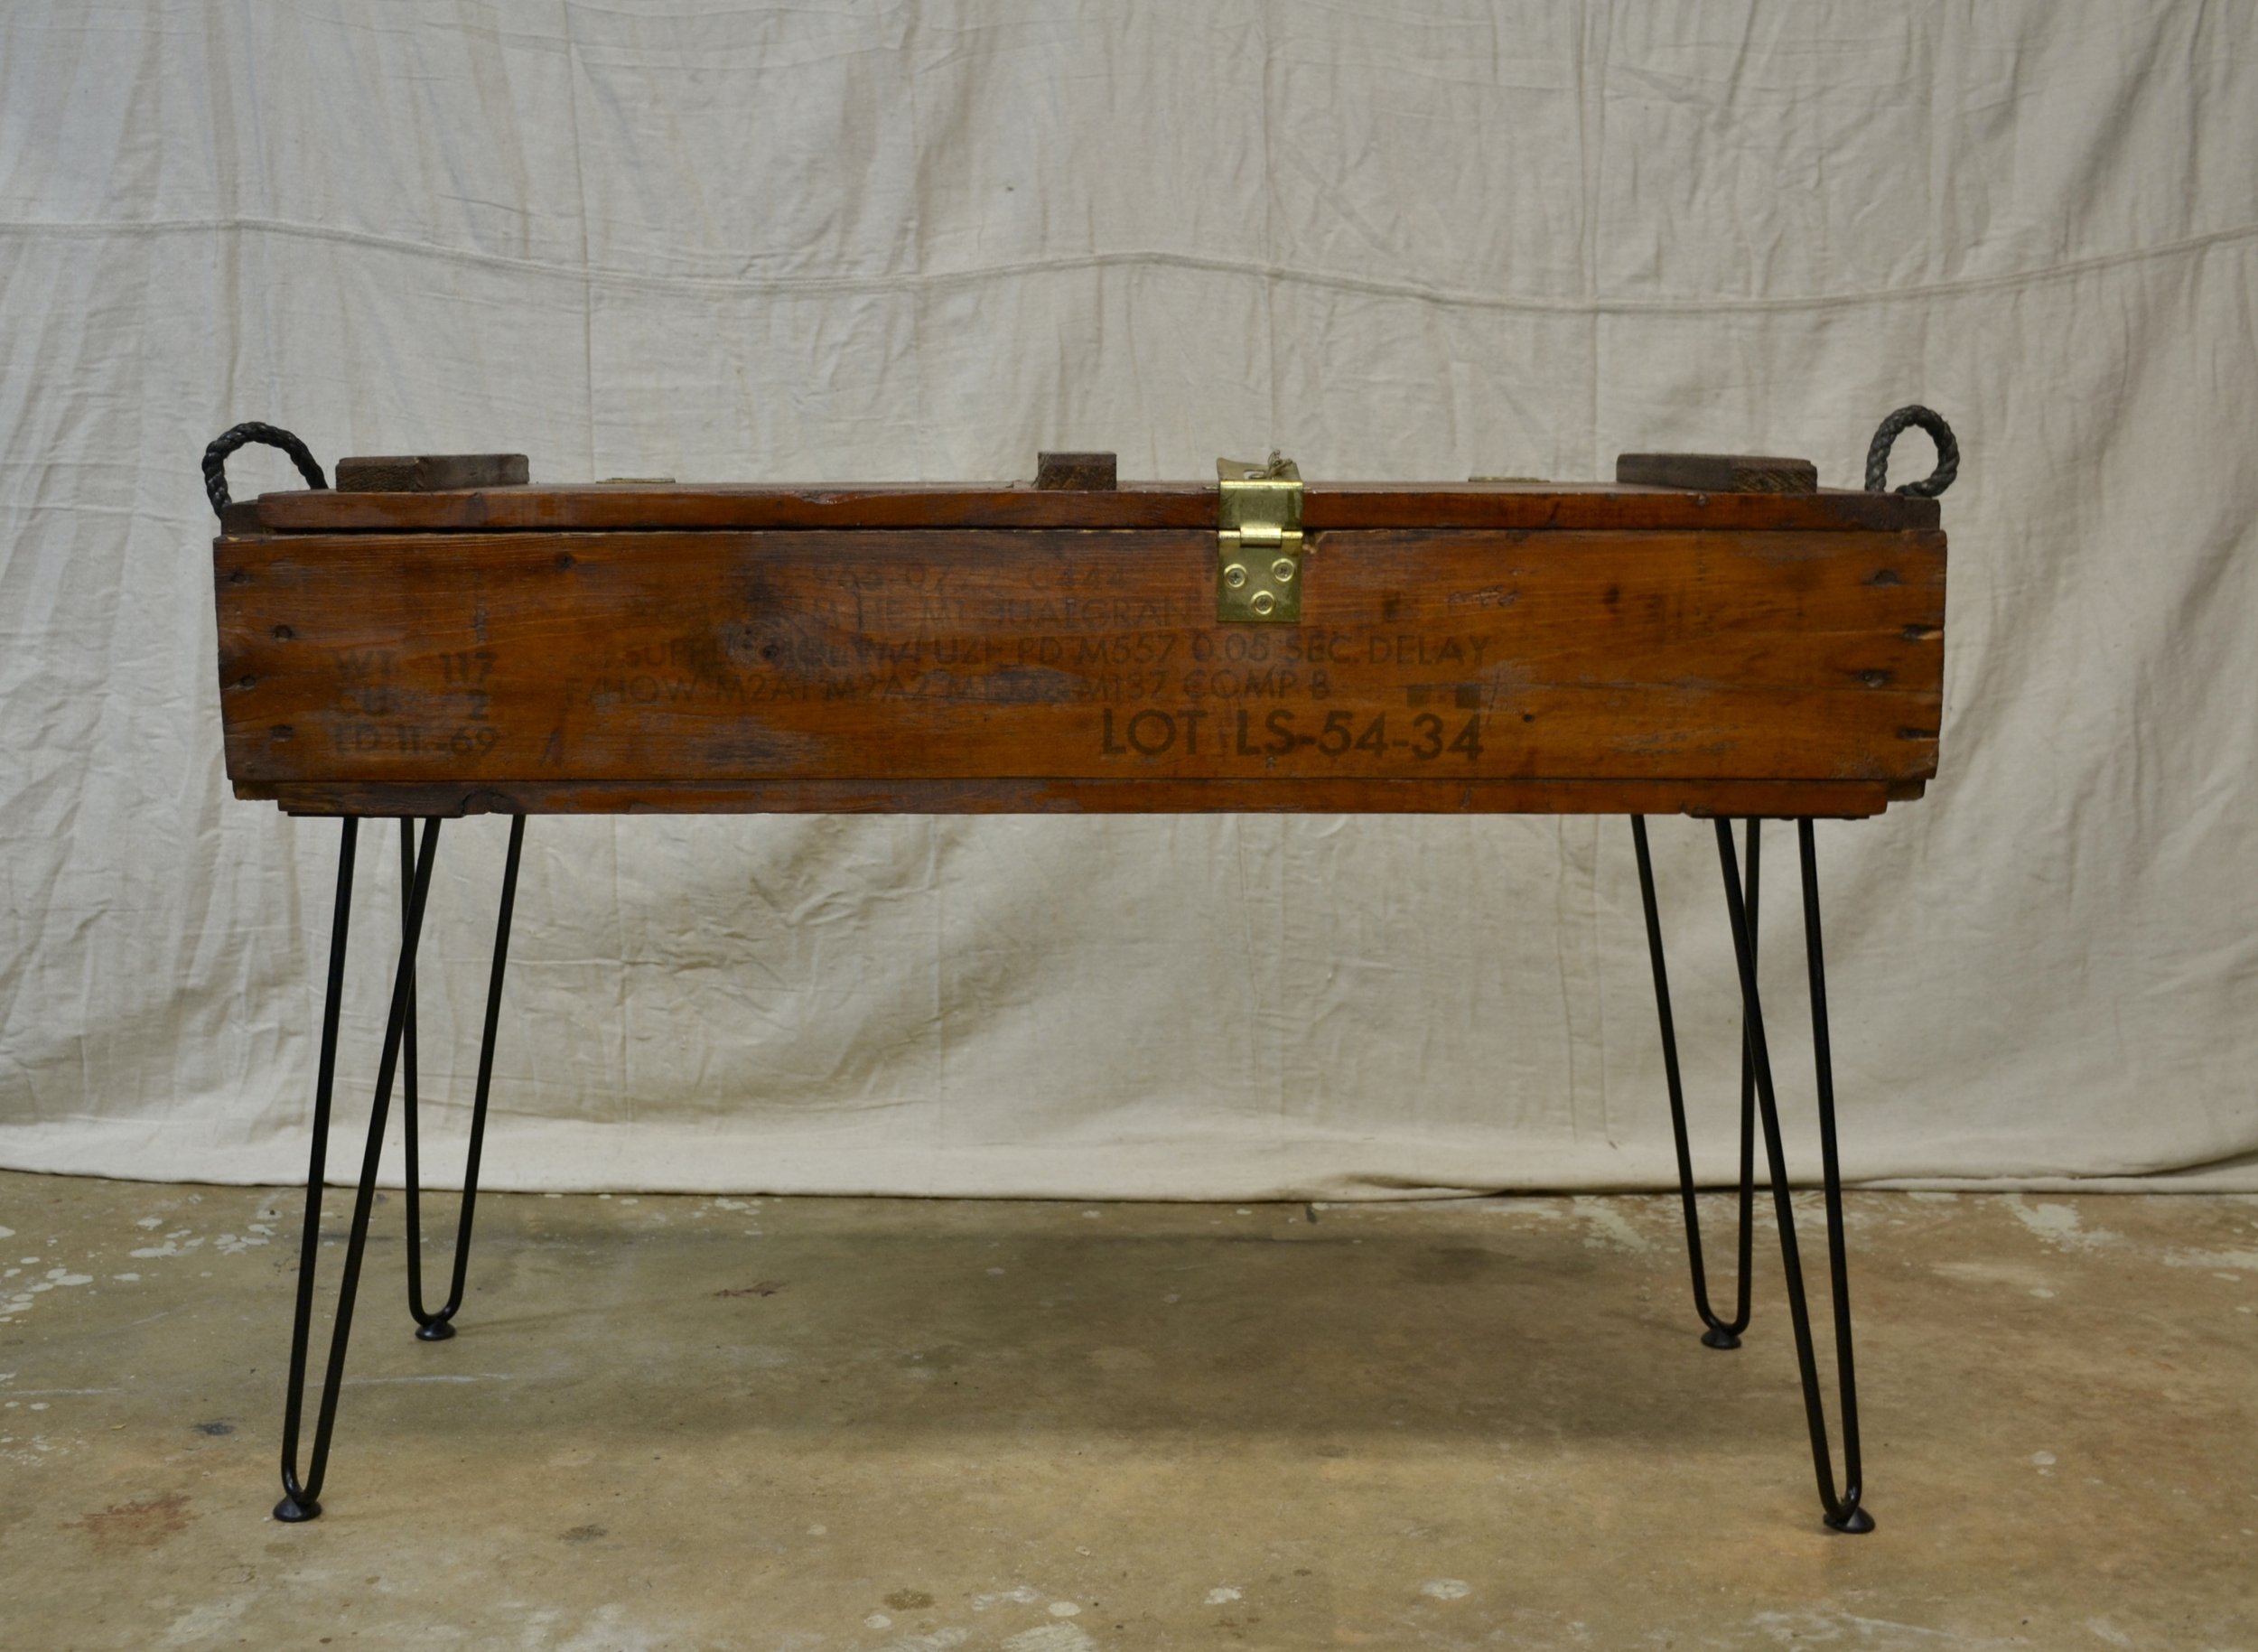
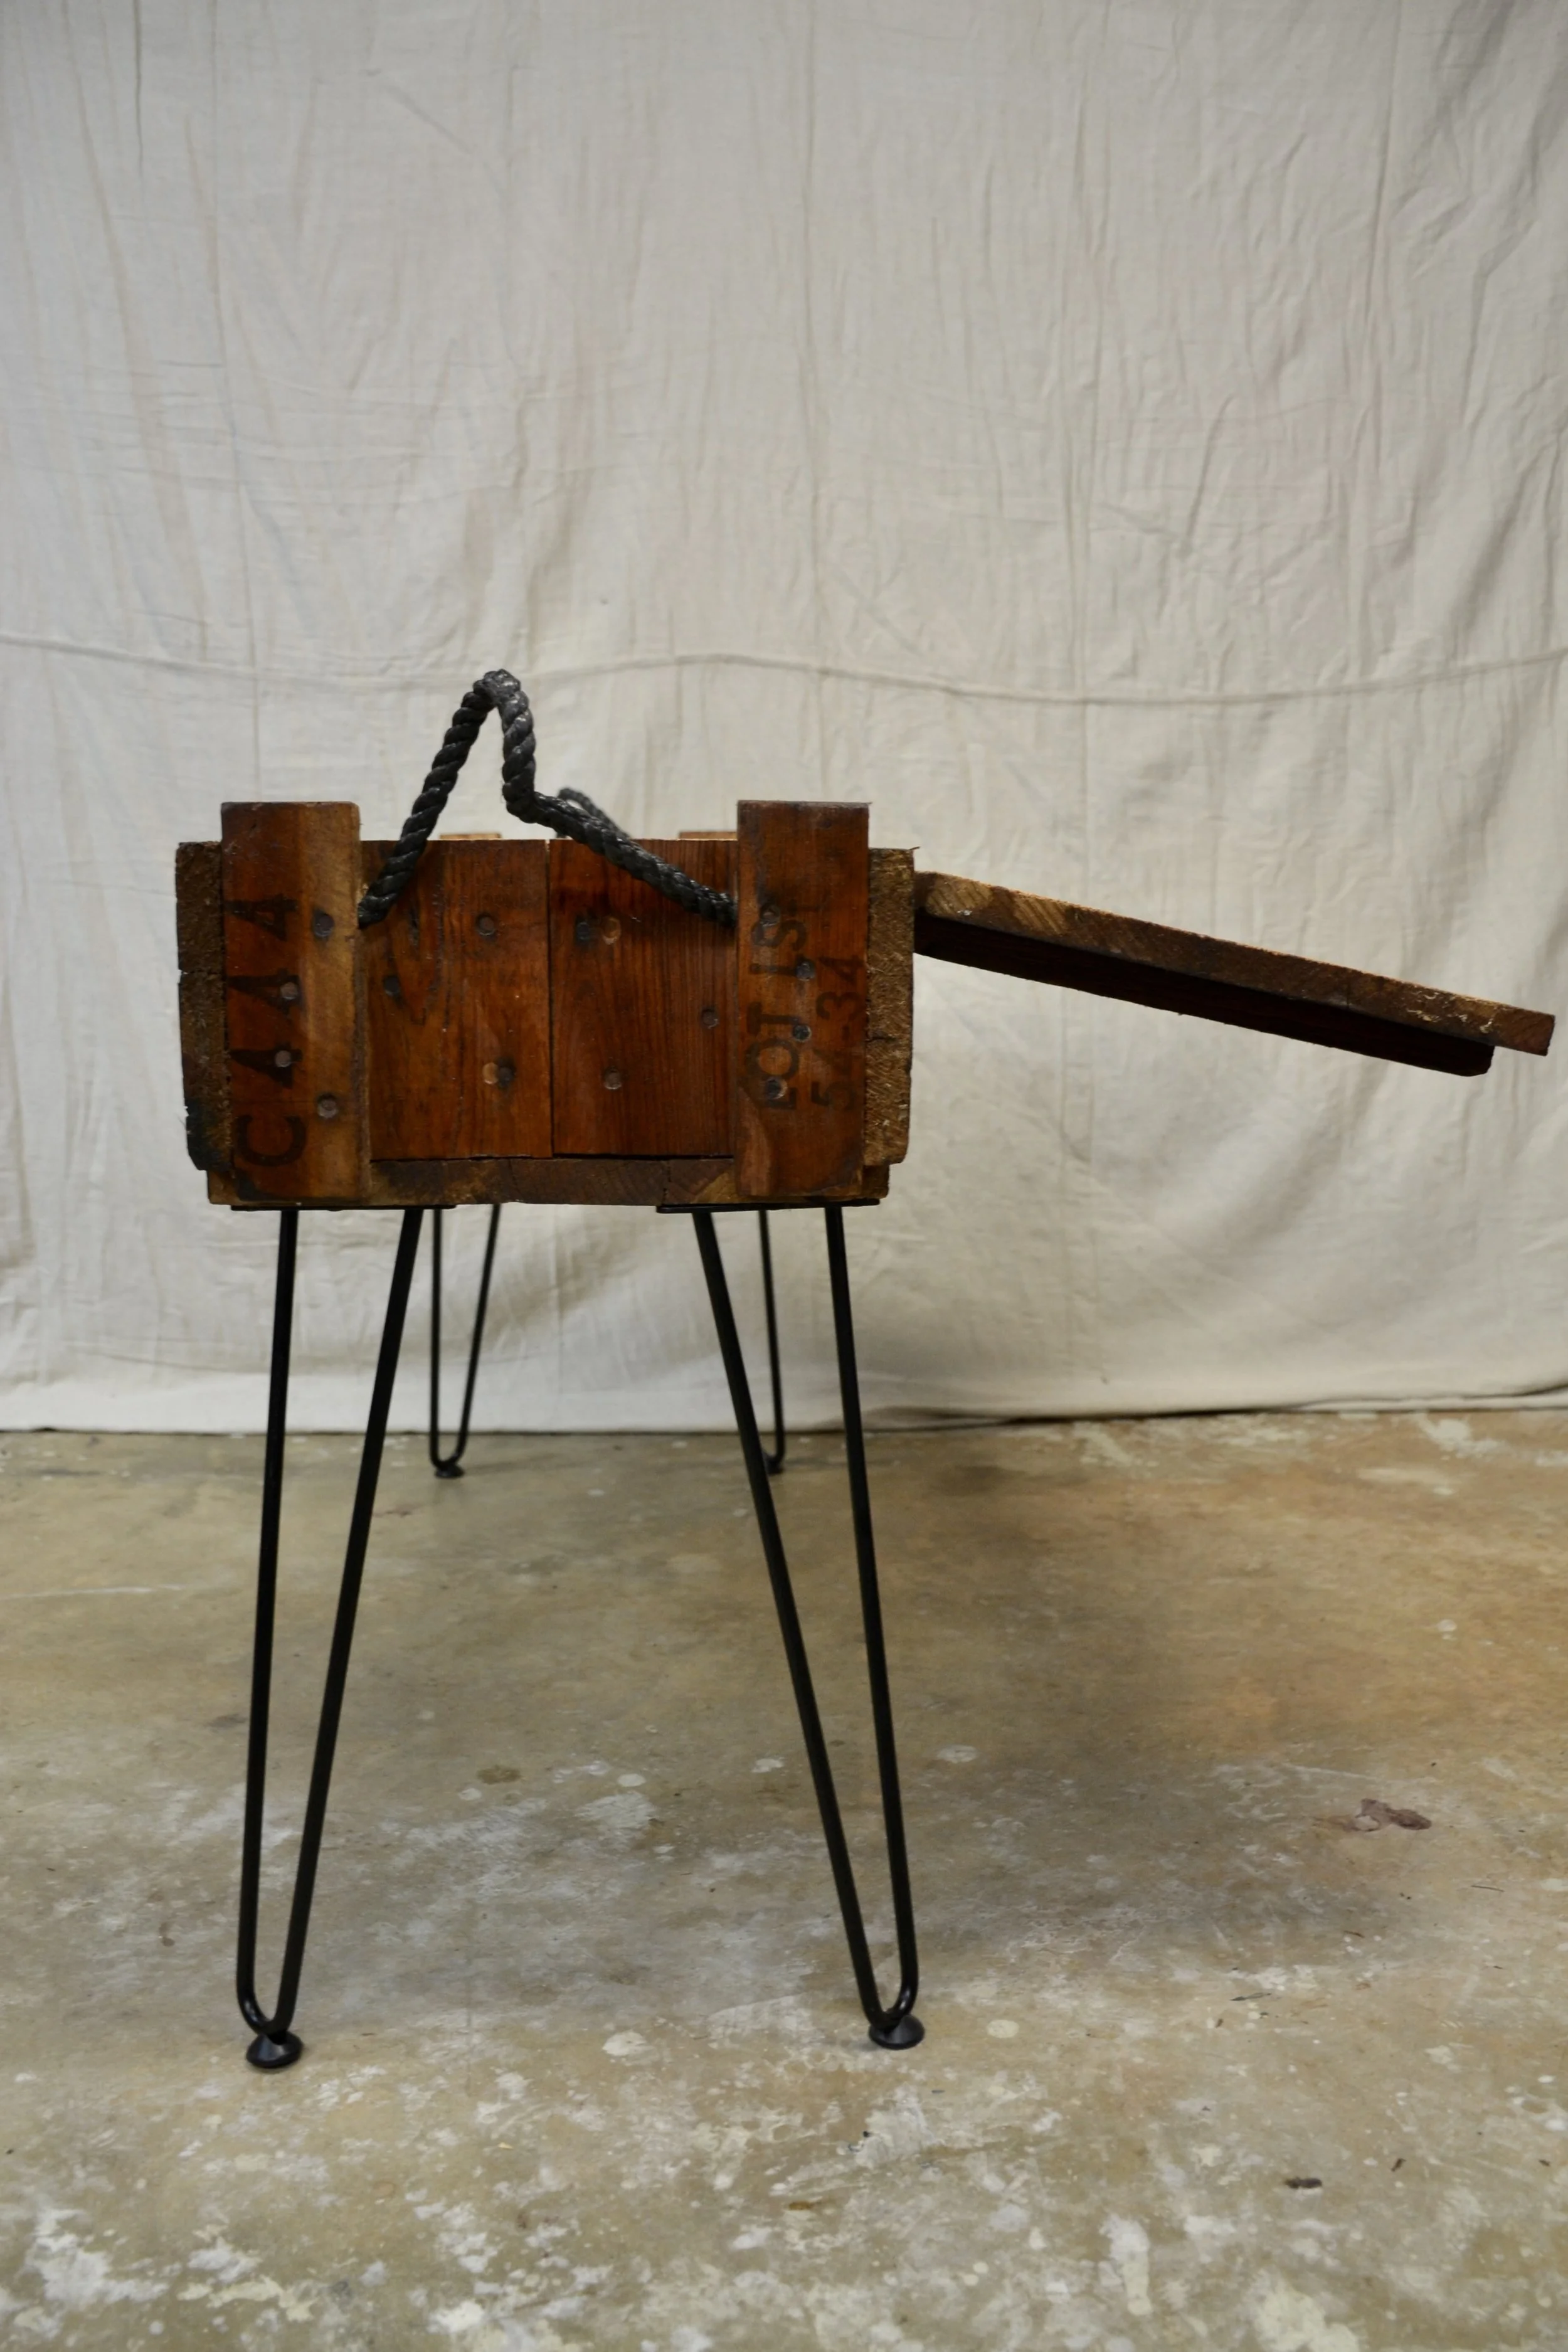
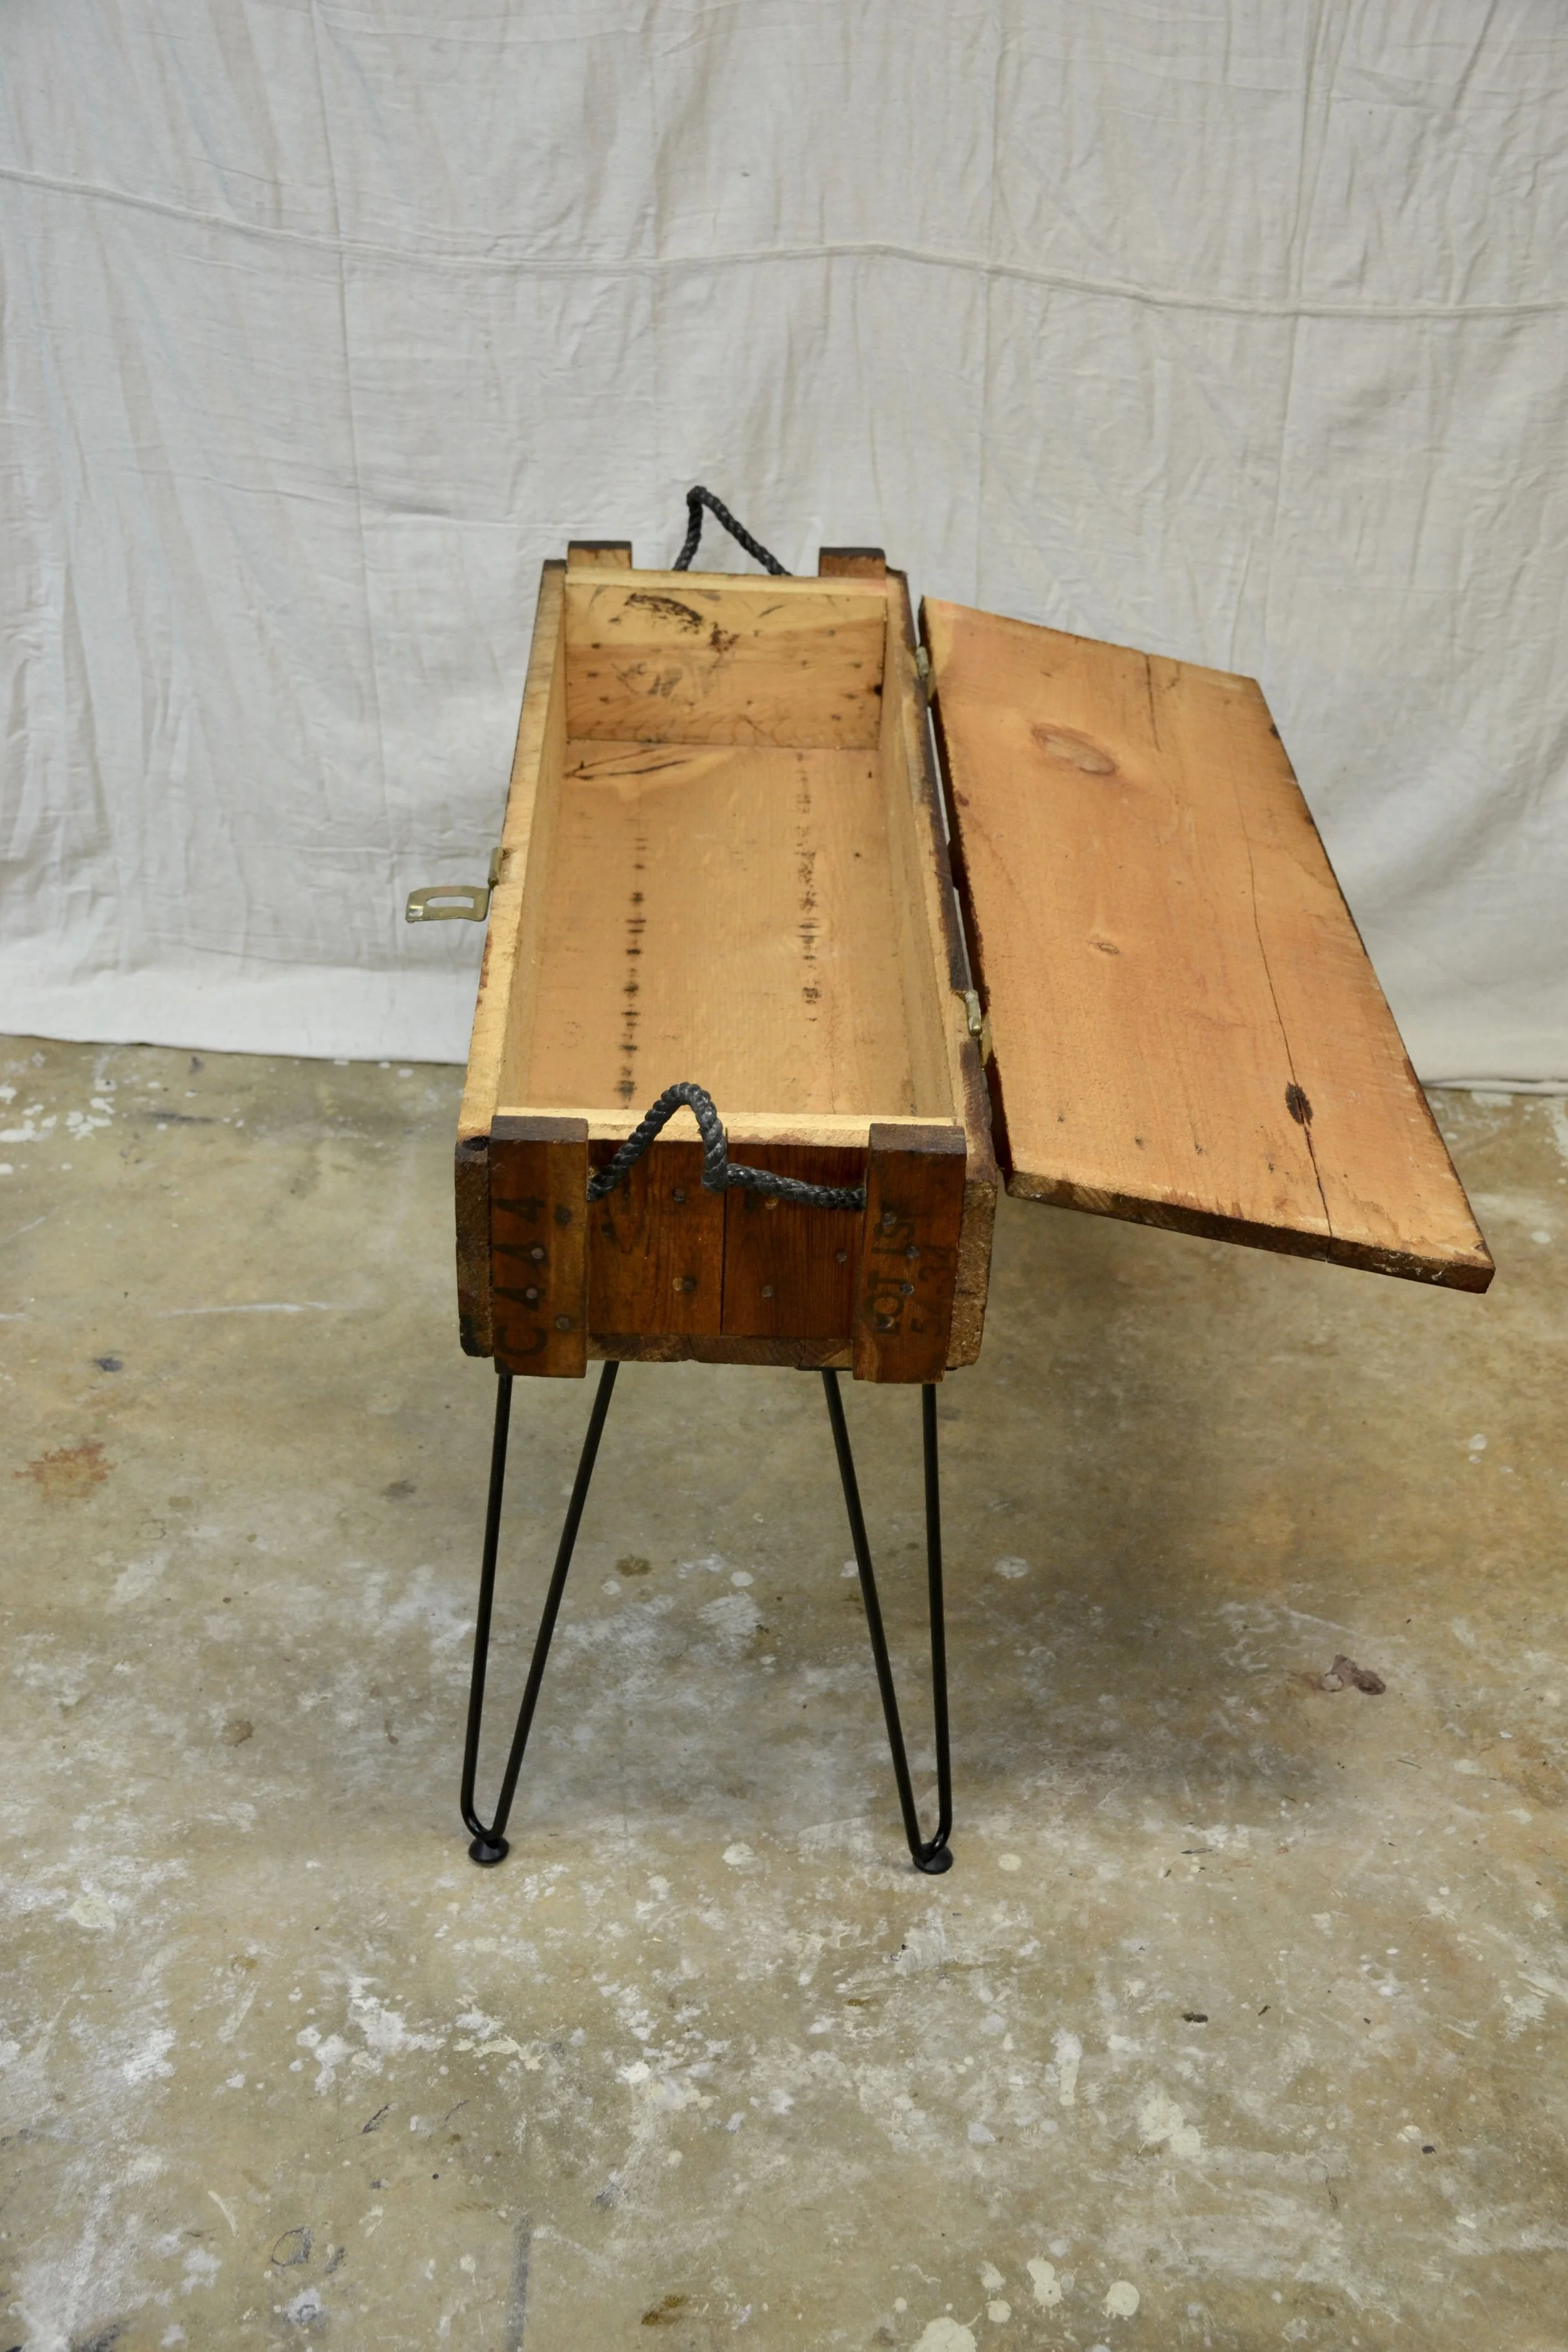
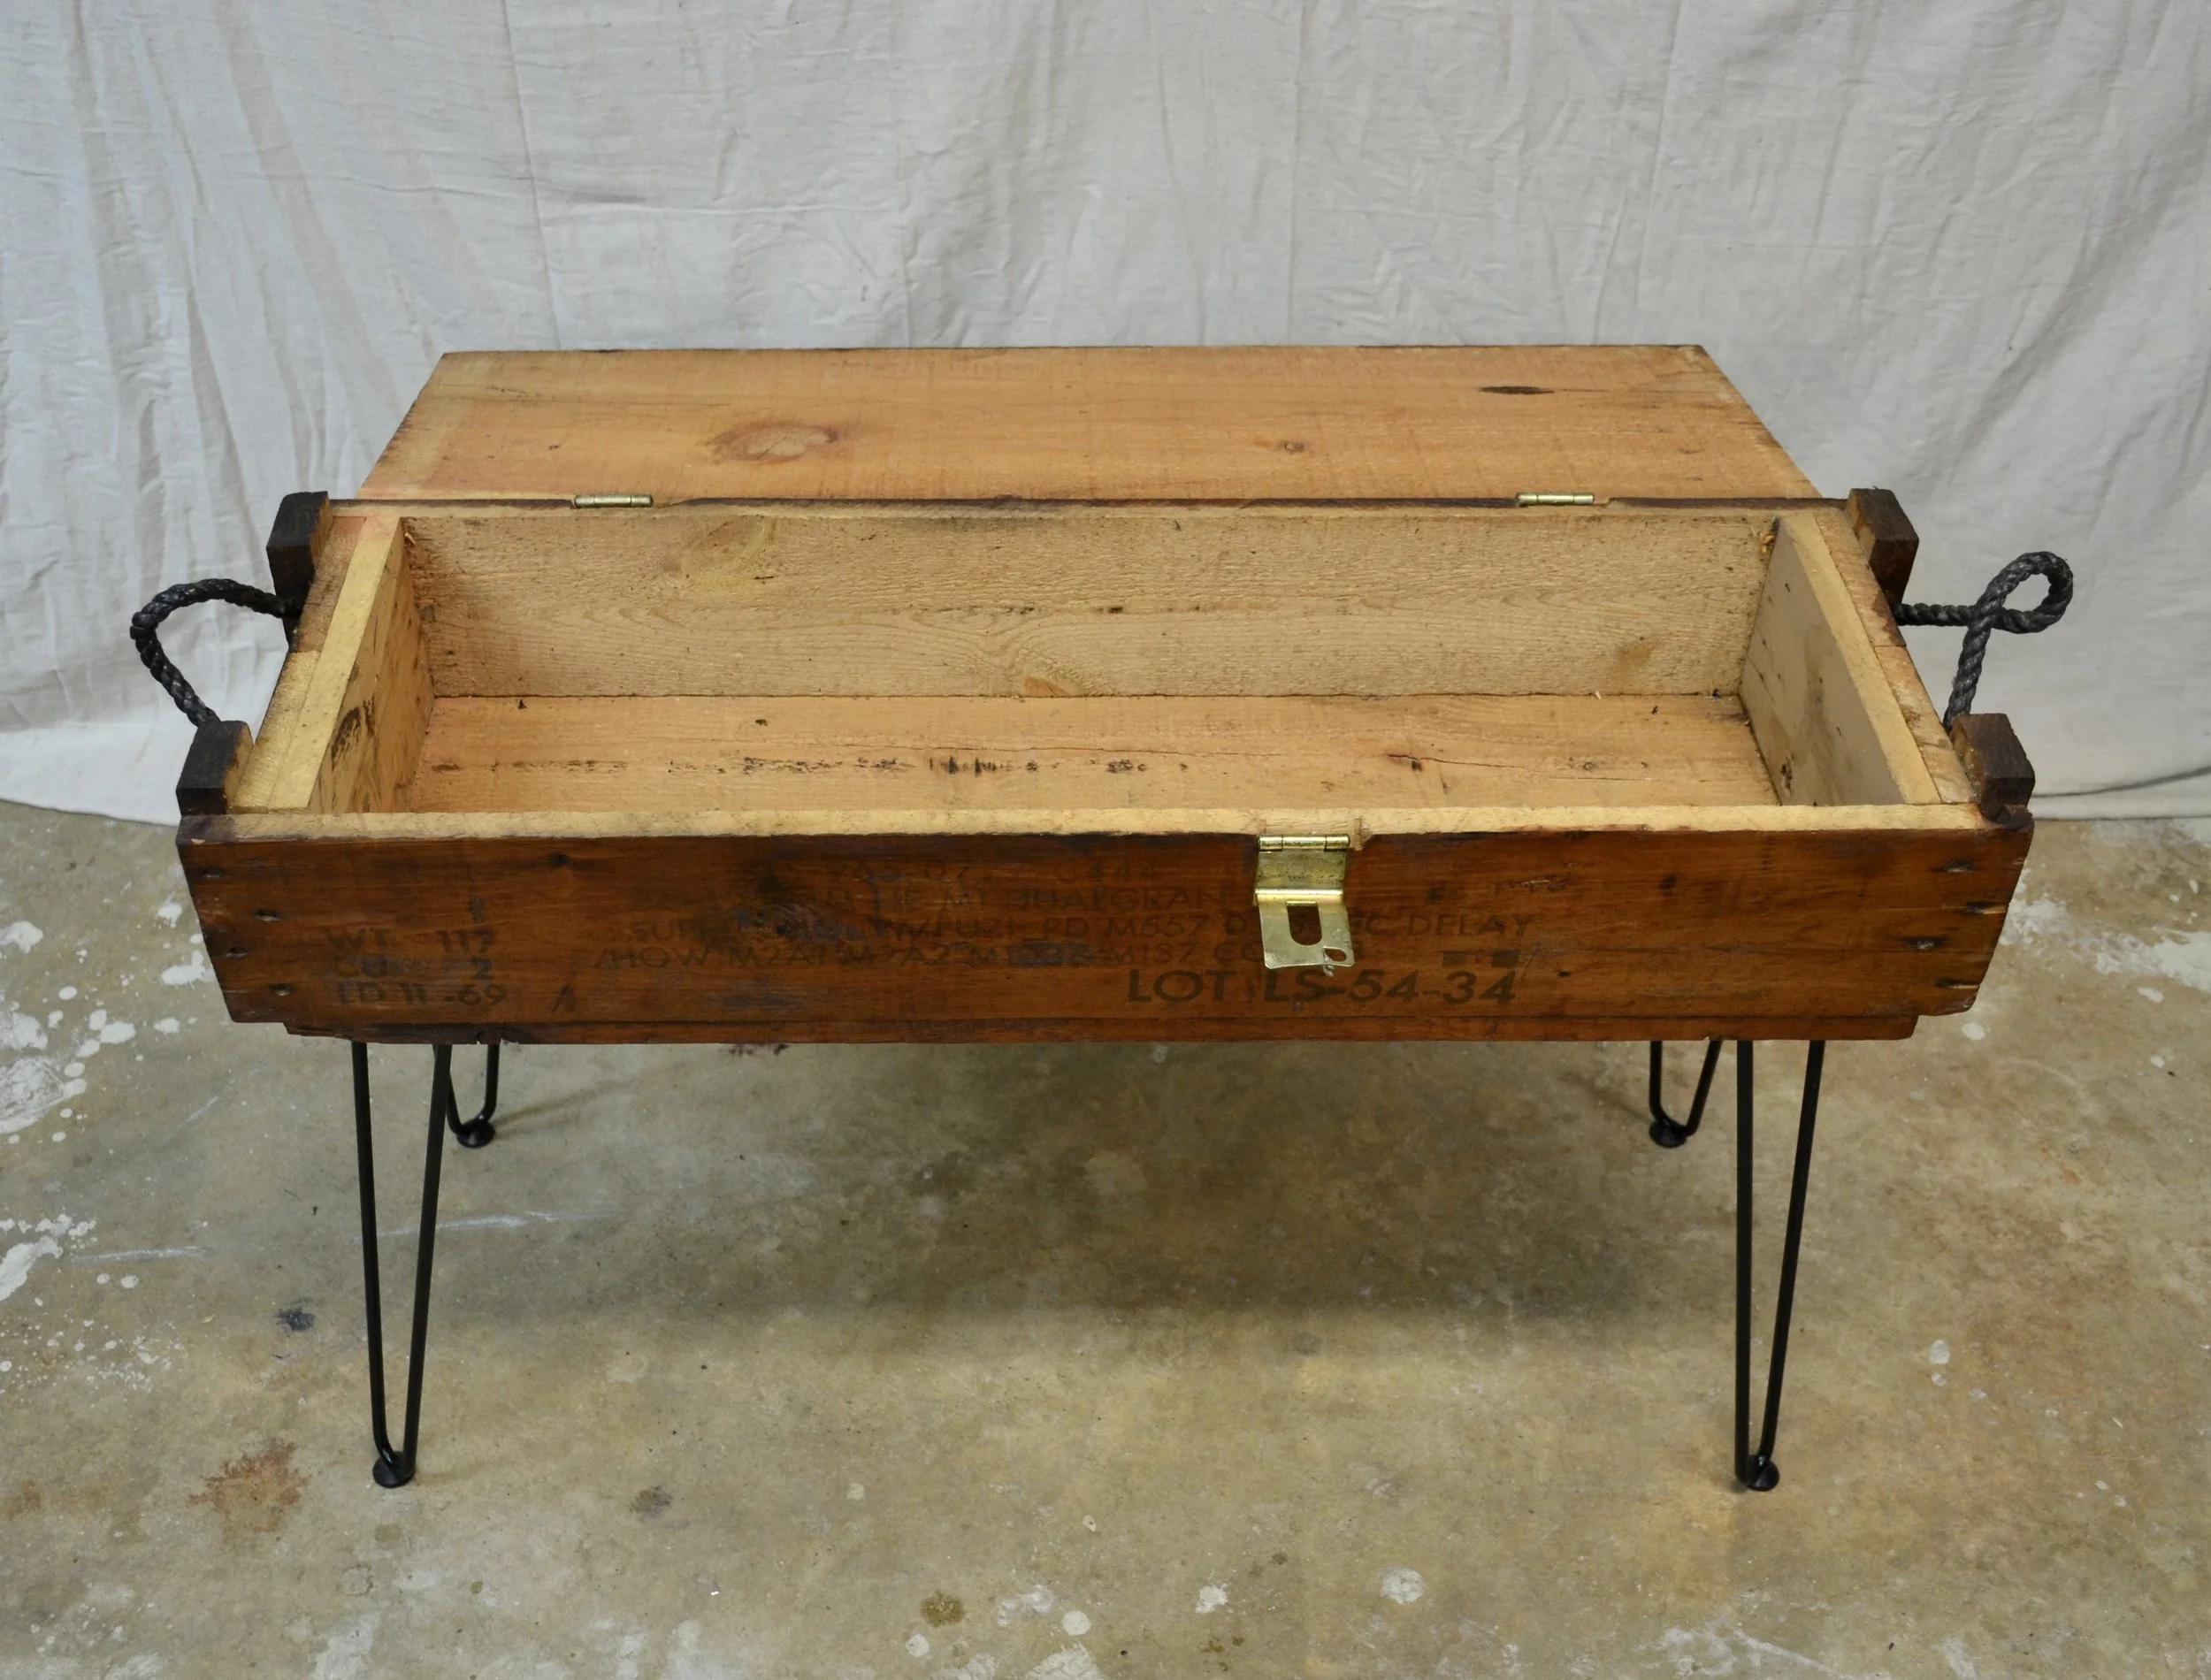
Simple DIY: WWII Ammunition Case Upcycled Into a Table/Chest
Disclosure
This post may contain affiliate links. I may earn a small commission at no extra cost to you if you make a purchase through these links. I only recommend products I personally use and love.
Total Project Time: 1 Hour
Prep:
Lightly sand wooden box (remove any watermarks or imperfections). I avoided sanding any areas where there were any letters or numbers stamped onto the wood to ensure that the piece retained as much of its’ historical character.
Clean wood with a gentle wood cleaner using a sponge, paper towel, or rag.
Wait for wood cleaner to be completely dry before applying the stain of your choice. I used MinWax’s 4-in-1 gel stain that includes a polyurethane top coat in the color “Classic Oak”. Utilize a foam brush or sponge to apply the stain. Follow directions for the specific stain type you choose. I applied only 1 coat of stain to this piece so that the stamping would remain visible.
I would let the stain dry for at least 24 hours before applying the metal legs.
Mark where you need to drill your holes for the metal legs & screw in.
Viola! You have an upcycled piece of furniture to gift or add to your own home, that’s sure to be a great conversation starter.
BEFORE:
AFTER:
Shop DIY Supplies
Minwax PolyShades Wood Stain + Polyurethane Finish – Stain and protect in one step: Shop on Amazon Sanding Blocks for Furniture Restoration – Hook and loop hand sanding pads: Shop on Amazon
You Might Also Like
Your cart
(items: 0)
Products in cart
Available on backorder
Previous price:
Discounted price:
Your shopping cart is empty
(function () {
var c = document.body.className;
c = c.replace(/woocommerce-no-js/, 'woocommerce-js');
document.body.className = c;
})();
https://annakatherinepage.com/wp-includes/js/dist/hooks.min.js
https://annakatherinepage.com/wp-includes/js/dist/i18n.min.js
wp.i18n.setLocaleData( { 'text direction\u0004ltr': [ 'ltr' ] } );
//# sourceURL=wp-i18n-js-after
https://annakatherinepage.com/wp-includes/js/dist/private-apis.min.js
https://annakatherinepage.com/wp-includes/js/dist/url.min.js
https://annakatherinepage.com/wp-includes/js/dist/api-fetch.min.js
wp.apiFetch.use( wp.apiFetch.createRootURLMiddleware( "https://annakatherinepage.com/wp-json/" ) );
wp.apiFetch.nonceMiddleware = wp.apiFetch.createNonceMiddleware( "331c98801c" );
wp.apiFetch.use( wp.apiFetch.nonceMiddleware );
wp.apiFetch.use( wp.apiFetch.mediaUploadMiddleware );
wp.apiFetch.nonceEndpoint = "https://annakatherinepage.com/wp-admin/admin-ajax.php?action=rest-nonce";
//# sourceURL=wp-api-fetch-js-after
https://annakatherinepage.com/wp-content/uploads/burst/js/burst.min.js
var wc_facebook_signals_params = {"ajax_url":"https://annakatherinepage.com/wp-admin/admin-ajax.php","nonce":"29196f1dbe","action":"wc_facebook_update_signals_state"};
//# sourceURL=wc-facebook-signals-js-extra
https://annakatherinepage.com/wp-content/plugins/facebook-for-woocommerce/assets/js/facebook-for-woocommerce-signals.js
https://annakatherinepage.com/wp-content/plugins/woocommerce/assets/js/sourcebuster/sourcebuster.min.js
var wc_order_attribution = {"params":{"lifetime":1.0e-5,"session":30,"base64":false,"ajaxurl":"https://annakatherinepage.com/wp-admin/admin-ajax.php","prefix":"wc_order_attribution_","allowTracking":true},"fields":{"source_type":"current.typ","referrer":"current_add.rf","utm_campaign":"current.cmp","utm_source":"current.src","utm_medium":"current.mdm","utm_content":"current.cnt","utm_id":"current.id","utm_term":"current.trm","utm_source_platform":"current.plt","utm_creative_format":"current.fmt","utm_marketing_tactic":"current.tct","session_entry":"current_add.ep","session_start_time":"current_add.fd","session_pages":"session.pgs","session_count":"udata.vst","user_agent":"udata.uag"}};
//# sourceURL=wc-order-attribution-js-extra
https://annakatherinepage.com/wp-content/plugins/woocommerce/assets/js/frontend/order-attribution.min.js
https://annakatherinepage.com/wp-content/plugins/facebook-for-woocommerce/assets/js/frontend/pixel-events.js
(function() {
var processParams = function() {
if (typeof clientParamBuilder !== "undefined" && !/(?:^|;\s*)wc_facebook_signals_state=held(?:;|$)/.test(document.cookie)) {
clientParamBuilder.processAndCollectAllParams(window.location.href);
}
};
if (typeof clientParamBuilder !== "undefined") {
processParams();
return;
}
var fallbackScript = document.createElement("script");
fallbackScript.src = "https:\/\/unpkg.com\/meta-capi-param-builder-clientjs@1.3.2\/dist\/clientParamBuilder.bundle.js";
fallbackScript.onload = processParams;
document.head.appendChild(fallbackScript);
}());
//# sourceURL=facebook-capi-param-builder-js-after
/* WooCommerce Facebook Integration Event Tracking */
fbq('set', 'agent', (function(){var a='woocommerce_0-11.2.1-3.7.8';if(window.__wc_fb_page_generated&&(Math.floor(Date.now()/1000)-window.__wc_fb_page_generated)>1800){a=a.replace(/(\d+\.\d+\.\d+)/,'$1_c');}return a;})(), '5552345558112956');
window.wcFacebookPixelFiredEvents = window.wcFacebookPixelFiredEvents || {};
if (!window.wcFacebookPixelFiredEvents["60a51230-6eb0-4005-925f-7634d8fc1dd7"]) {
window.wcFacebookPixelFiredEvents["60a51230-6eb0-4005-925f-7634d8fc1dd7"] = true;
var isStale = window.__wc_fb_page_generated && (Math.floor(Date.now()/1000) - window.__wc_fb_page_generated) > 1800;
if (window.FacebookSignals && typeof window.FacebookSignals.trackEvent === 'function') {
window.FacebookSignals.trackEvent('PageView', {
"source": "woocommerce_0",
"version": "11.2.1",
"pluginVersion": "3.7.8"
}, null, 'track', isStale ? null : "60a51230-6eb0-4005-925f-7634d8fc1dd7");
} else if (isStale) {
fbq('track', 'PageView', {
"source": "woocommerce_0",
"version": "11.2.1",
"pluginVersion": "3.7.8"
});
} else {
fbq('track', 'PageView', {
"source": "woocommerce_0",
"version": "11.2.1",
"pluginVersion": "3.7.8"
}, {
"eventID": "60a51230-6eb0-4005-925f-7634d8fc1dd7"
});
}
}
//# sourceURL=facebook-for-woocommerce-inline-js-after
(function(){
function rgb(c){var m=(c||"").match(/[0-9.]+/g);return m?m.map(Number):null;}
function lum(a){return (0.299*a[0]+0.587*a[1]+0.114*a[2])/255;}
function effbg(el){var n=el;while(n){var c=rgb(getComputedStyle(n).backgroundColor);if(c&&(c.length<4||c[3]>0.5))return c;n=n.parentElement;}return null;}
var sel="main h1,main h2,main h3,main h4,main p,main li,main span,#frc h1,#frc h2,#frc h3,#frc p,#frc span,#frc li";
document.querySelectorAll(sel).forEach(function(t){
var bg=effbg(t);
if(!bg) return;
if(lum(bg)<0.30){
var fc=rgb(getComputedStyle(t).color);
if(fc && lum(fc)<0.5){ t.style.setProperty("color","#f7f1e6","important"); }
}
});
})();