Disclosure
This post contains affiliate links, which means I may earn a small commission if you make a purchase through my links, at no extra cost to you.
The short answer: a realistic Nood Ageless lens before and after is a change in tone, not a change in lines or face shape. If the lens does its job, it shows up as softer dark spots and calmer redness, and Nood’s own timeline puts the best results at 8 to 12 weeks of consistent use. Wrinkles are the part to expect to look the same. So the verdict is simple: worth running if more even tone is the goal and your skin is in the fair to olive range (Fitzpatrick I to IV), and the wrong tool if fine lines are the goal.
Here’s what to look for when buying: the Ageless lens ships in the box with the Flasher Pro as the second of its two detachable lenses, next to the hair removal lens. Check the Nood Flasher Pro on Amazon.
Nood Ageless lens before and after: the quick verdict
What you are tracking
Realistic change
What that is based on
Dark spots and sun spots
The most likely place to see a difference
The Ageless lens filters light to 560 to 1100nm, and pigment is what clinic IPL has the strongest record on
Redness and blotchiness
May look calmer over time
Nood says changes in pigmentation irregularities or redness can take several weeks
Overall tone and texture
Subtle and gradual
Nood says some users notice subtle improvements after a few sessions
Fine lines and wrinkles
Plan on no visible change
A biopsy study of clinic IPL found no clinically noticeable wrinkle improvement after six sessions
Firmness and pores
Unproven
Brand claim only, with no device-specific data behind it
The timeline: what to expect week by week
The move is to judge this lens on Nood’s own schedule, not on a single week. This is what the brand says, next to what is worth looking for at each point.
When
What Nood says
What to look for
Sessions 1 to 3
Some users notice subtle improvements in tone and texture after a few sessions
Nothing obvious yet is normal. Take the before photo before the first flash.
Around week 4
The product page promises visibly younger skin in as little as one month
The first honest photo comparison. Look at the darkest spot, not the whole face.
Weeks 8 to 12
Most users see the best results after consistent use for 8 to 12 weeks
This is the real after photo. If the spots look the same here, the lens is not doing much for your skin.
After week 12
The product page says to keep going 2 to 3 times per week on an ongoing basis. The getting started guide lists maintenance every 4 to 6 weeks.
Nood frames results as something to maintain with continued sessions, not a one-time fix.
One caution on the numbers. Nood’s anti-aging page lists figures like 91 percent seeing a visible reduction in fine lines, and the attribution under them reads “results based on published IPL studies.” Those are not results from this device, so they should not set the bar for a before and after at home.
Why clinic before and afters look more dramatic
Most of the striking IPL before and after photos online come from in-office machines. A clinic photofacial runs at higher energy with an operator choosing the settings, and the pattern is well documented: treated brown spots often darken first, then fade over roughly 7 to 14 days, across a series of sessions spaced about a month apart, according to Walk-in Dermatology.
The Ageless lens is a lower energy, at-home take on the same idea, so it makes sense to plan for a slower and subtler change: gradual fading over weeks, not a spot that darkens and lifts in days. The full energy comparison is in Nood Ageless Lens vs an In-Office IPL Photofacial.
What the Ageless lens will not change
Wrinkles. Researchers took skin biopsies from six volunteers before and after six clinic IPL sessions and measured collagen and elastin. They reported no clinically noticeable improvement in facial wrinkles and no statistically significant change in the proteins they measured (El-Domyati et al., Journal of Drugs in Dermatology, 2011). That was clinic strength IPL, and there is no reason to expect an at-home lens to do more.
One more thing worth knowing before judging results: the Flasher Pro’s FDA clearance is for hair removal, and the skin lens sits outside it. The Nood Ageless Lens review covers that in detail, along with the full how-to.
How to take a before and after photo you can trust
The reason most at-home before and afters prove nothing is lighting. What works here is a fixed setup that never changes:
Shoot the before photo first. Clean, bare skin, before the first session.
Same place, same light. Stand in the same spot at the same time of day, facing the same window or lamp.
Same distance and angle. A phone tripod or a piece of tape on the floor does the job. Take front, left, and right.
No help from the camera. Rear camera, no filter, no portrait mode, no beauty setting.
Pick a day off from the device. That way any temporary warmth or pinkness from a session does not skew the photo.
Compare the checkpoints. Week 0, week 4, week 8, and week 12, side by side. Pick one or two specific spots and judge those.
Watch: how a session with the Ageless lens runs
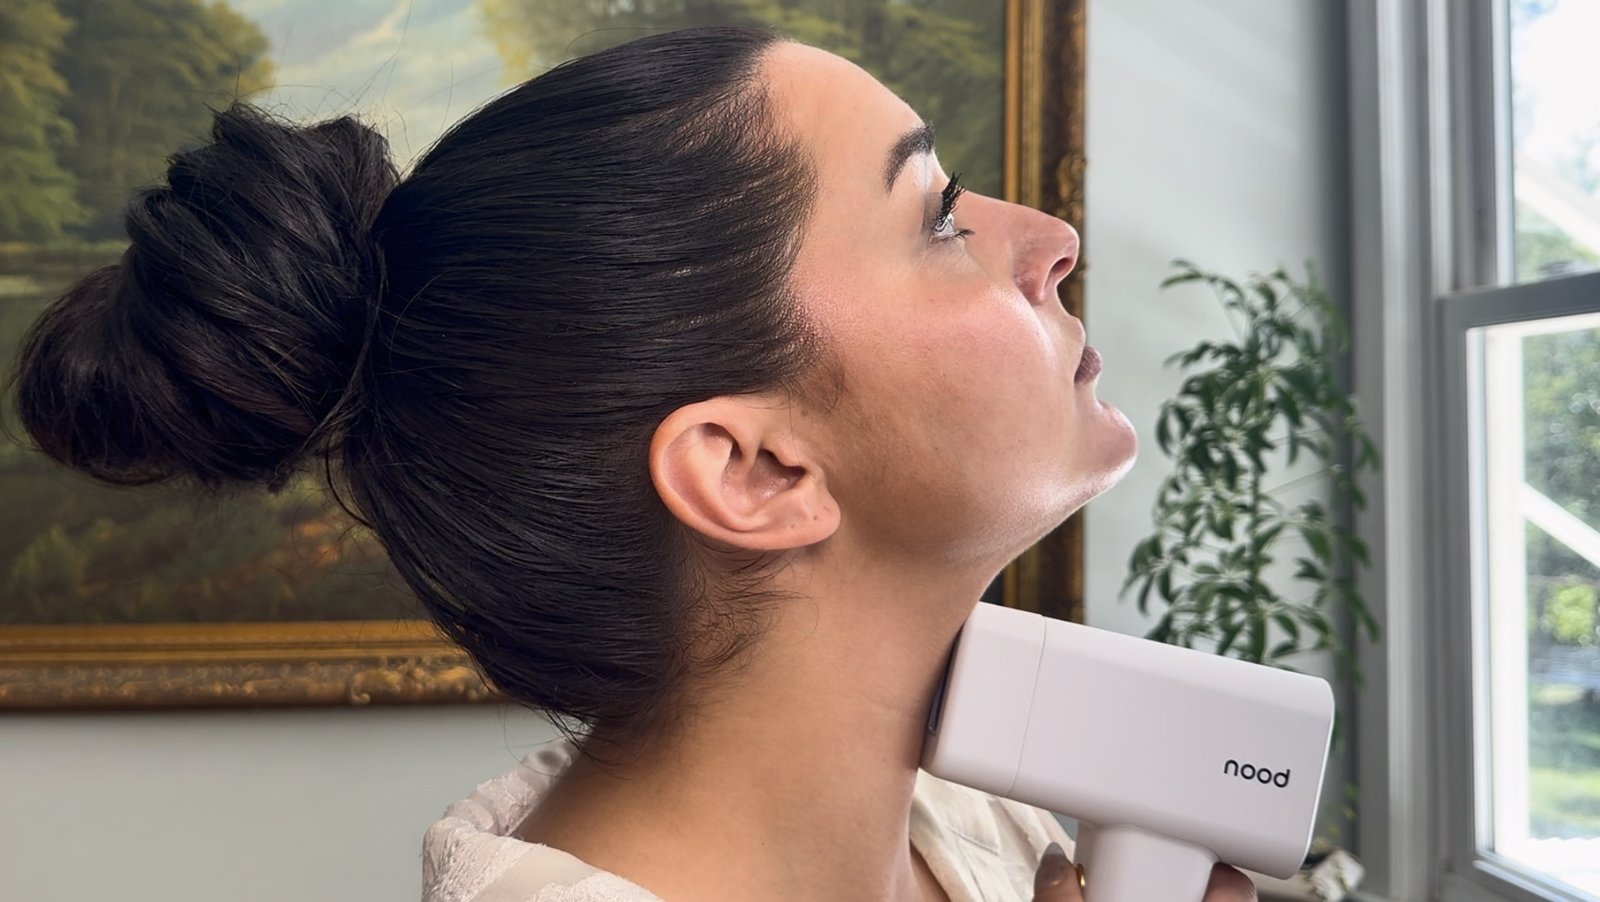
This video walks through what the 560nm filter is, how to prep skin, and how a session runs, including keeping the plate flat and working in passes across the cheeks, jaw, and forehead.
How to give the lens its best shot
A before and after is only as good as the routine behind it. Nood’s getting started guide sets the basics:
Start with clean, dry skin. Remove makeup, SPF, and actives like retinoids, acids, and vitamin C first.
Start low. Nood’s guide says level 1 to 2 for the Ageless lens. The walkthrough video above runs level 3 of 5.
Mind the no-go zones. Single flashes on the face and neck, and nothing on the eye area, lips, or dark moles.
Stay consistent. Two to three short sessions a week is what the 8 to 12 week timeline assumes.
Protect the result. Moisturize after, skip actives for 24 hours, and wear SPF 30 or higher every day.
Nood says some users notice subtle changes in tone and texture after a few sessions, with the best results after 8 to 12 weeks of consistent use. Plan on judging it at week 8 at the earliest.
Does the Nood Ageless lens really work?
It filters light to 560 to 1100nm, the range IPL uses for pigment and redness, so dark spots and uneven tone are where a change is plausible. Nood’s results figures for skin are attributed to published IPL studies, not to a trial of this device, so treat it as a reasonable bet for tone and not a guarantee.
Does the Nood Ageless lens get rid of wrinkles?
Do not buy it for that. Nood markets it for the appearance of fine lines, but a biopsy study of clinic strength IPL found no clinically noticeable wrinkle improvement after six sessions.
How often should you use the Nood Ageless lens?
Nood’s product page says 2 to 3 times per week on an ongoing basis. Its getting started guide lists two sessions a week for the first eight weeks, then maintenance every 4 to 6 weeks.
Can you use the Nood Ageless lens on dark skin?
No. Nood lists the Ageless lens for Fitzpatrick skin tones I to IV and says IPL is not safe or suitable for brown or dark brown to black skin tones.
Sources: Nood product page, getting started guide, and anti-aging page, checked October 2026. El-Domyati et al., Intense Pulsed Light Photorejuvenation: A Histological and Immunohistochemical Evaluation, Journal of Drugs in Dermatology, 2011. Walk-in Dermatology, How Long Does It Take for Brown Spots to Fade After IPL. This post is general information, not medical advice. Talk to a dermatologist about your own skin.
Leave a Reply