Right after dermaplaning, apply a hyaluronic acid serum to hydrate, follow with a gentle non-comedogenic moisturizer, and finish with a mineral SPF 30+, the single most important step. Avoid retinol, vitamin C, and AHA/BHA exfoliants for 48 hours while your skin barrier recovers.
Some links in this post are affiliate links. If you buy through them I earn a small commission at no extra cost to you. I only recommend things I have actually used.
Freshly dermaplaned skin has no dead-cell layer, so it absorbs more and is more sun-sensitive. The right aftercare turns that into a glow instead of irritation. Here is the exact routine, in order.
Skip retinol, vitamin C, and AHA/BHA exfoliants. Layering strong actives on freshly exfoliated skin is a fast track to irritation. Resume your normal routine after two days.
How long is skin sensitive after dermaplaning?
Usually 24 to 48 hours. Keep it hydrated and protected, and be extra diligent with sunscreen during that window.
Also looking at hair removal? Dermaplaning clears peach fuzz for a week or two. For hair that keeps coming back on legs, underarms or the bikini line, at-home IPL is the next step up, and the one to look at is the Nood Flasher Pro, the only at-home IPL device with an energy figure in a public FDA file.
Dermaplaning does not make facial hair grow back thicker or darker; cutting vellus hair at the surface does not change the follicle. The most common real side effects are temporary redness and breakouts, which usually trace back to a dull blade, unclean skin, or dermaplaning too often. Avoid those and side effects are rare.
Some links in this post are affiliate links. If you buy through them I earn a small commission at no extra cost to you. I only recommend things I have actually used.
The biggest myth: does hair grow back thicker?
No. Vellus hair is cut at the surface; the follicle is untouched, so regrowth is the same fine peach fuzz. It can feel slightly blunt at first, which fuels the myth, but it does not grow back darker or coarser.
Why am I breaking out after dermaplaning?
Usually one of three fixable causes: a dull or reused blade and its bacteria, dermaplaning over unclean skin, or over-exfoliating too frequently. Use a fresh blade, start with clean dry skin, and respect the frequency guidance in how to dermaplane at home.
Common mistakes to avoid
Going over active acne or moles; see the safety guide.
Using too much pressure instead of letting the blade glide.
Using a cheap, dull blade; a quality tool matters, so see the best tools.
My recommended tool: a sonic tool like the Michael Todd Sonicsmooth helps you avoid the nicks and irritation of a manual blade. It is the one I use and rate 4.7 out of 5. Read the full review.
Also looking at hair removal? Dermaplaning clears peach fuzz for a week or two. For hair that keeps coming back on legs, underarms or the bikini line, at-home IPL is the next step up, and the one to look at is the Nood Flasher Pro, the only at-home IPL device with an energy figure in a public FDA file.
Cleanse and fully dry your skin, hold the dermaplaning tool at a 45-degree angle, pull the skin taut, and glide in short downward strokes. Never go over active blemishes, use a fresh blade each time, and finish with a hyaluronic acid serum and mineral SPF. Beginners should start every four to six weeks.
Some links in this post are affiliate links. If you buy through them I earn a small commission at no extra cost to you. I only recommend things I have actually used.
Step by step
Cleanse and dry. Dermaplane on completely dry skin; moisture reduces control.
Angle the blade at 45 degrees. This is the single most important detail for a clean, safe pass.
Pull skin taut and use short, light downward strokes. Let the tool do the work, no pressure.
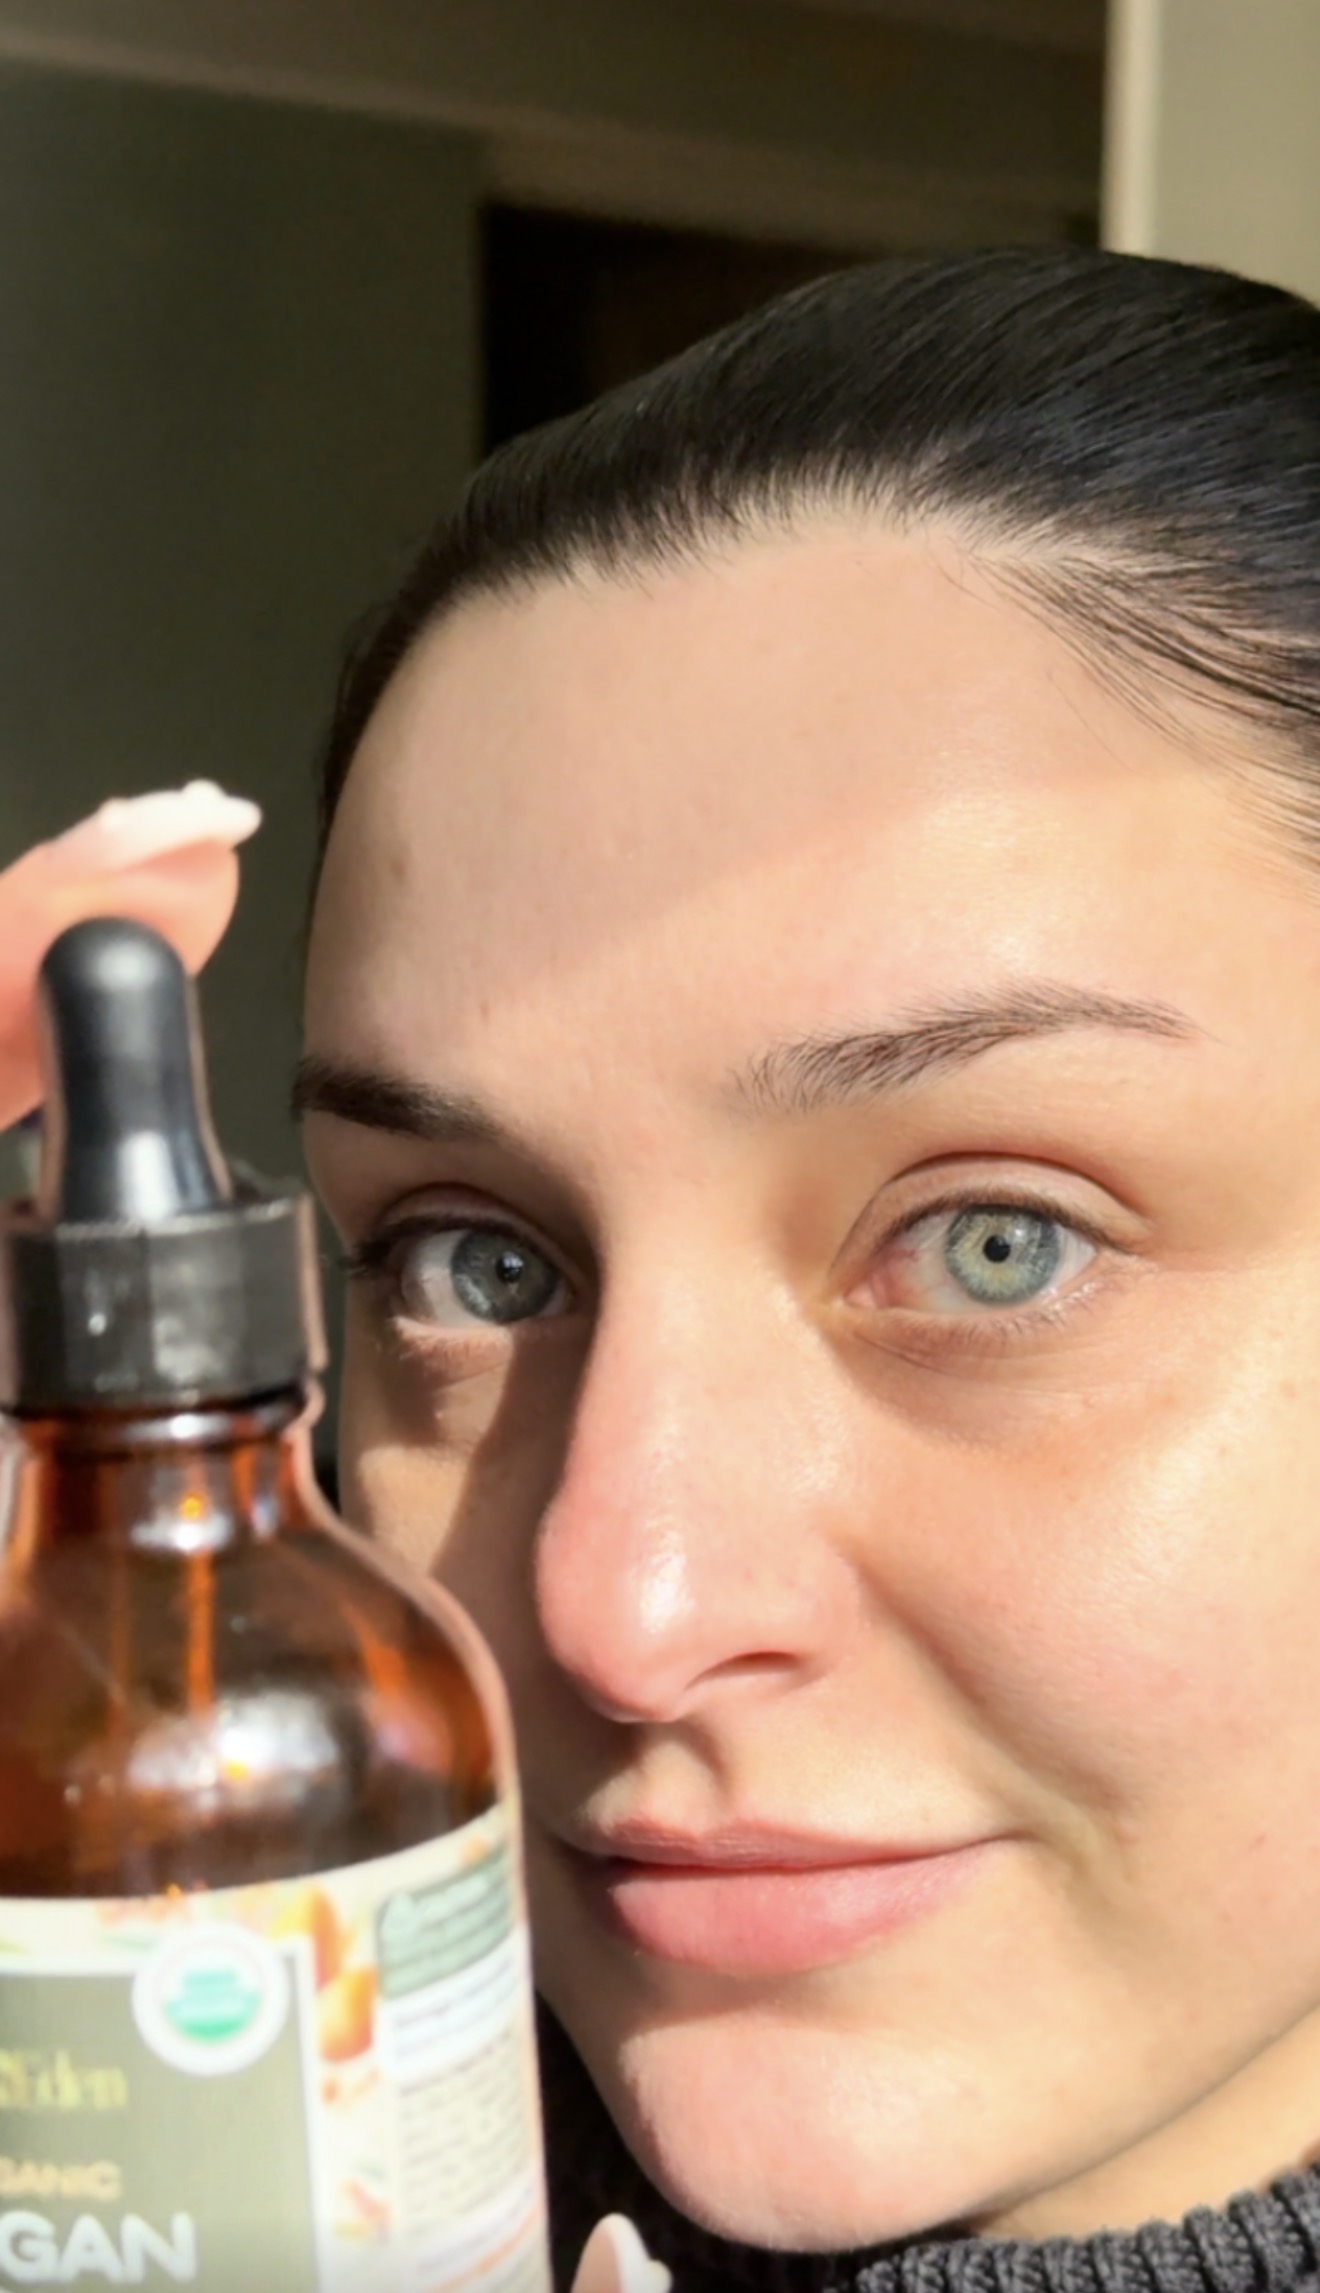
Clean, dry skin with a few drops of face oil on top. The oil is what lets the blade glide instead of drag — skipping it is the fastest way to irritate your skin barrier.
How often should you dermaplane?
Oily skin every three to four weeks, dry every four to six weeks, sensitive every six to eight weeks, and never more than once a week. Overdoing it is the most common beginner mistake, covered in dermaplaning mistakes and side effects.
Also looking at hair removal? Dermaplaning clears peach fuzz for a week or two. For hair that keeps coming back on legs, underarms or the bikini line, at-home IPL is the next step up, and the one to look at is the Nood Flasher Pro, the only at-home IPL device with an energy figure in a public FDA file.
Shaving only removes facial hair and can leave blunt tips. Dermaplaning uses a finer blade at a 45-degree angle to remove peach fuzz and exfoliate dead surface skin, giving a smoother, brighter finish and better makeup application. Dermaplaning is exfoliation first; shaving is hair removal only.
Some links in this post are affiliate links. If you buy through them I earn a small commission at no extra cost to you. I only recommend things I have actually used.
They look similar, but the goal and the result differ. Here is how dermaplaning compares to shaving, and to waxing, so you can pick the right method.
A facial razor is designed for hair only. A dermaplaning tool has a finer, angled blade that also lifts away dead skin, which is why the glow is more noticeable. If you want more than fuzz removal, dermaplaning wins, so see the best at-home dermaplaning tools.
What about waxing?
Waxing pulls hair from the root, so results last longer, but it is more painful and can irritate facial skin. The full comparison is in Dermaplaning vs Waxing.
Does the hair grow back differently?
No, this is the biggest myth. Removing vellus hair at the surface does not change the follicle, so it does not grow back thicker or darker. More on that in dermaplaning mistakes and side effects.
Also looking at hair removal? Dermaplaning clears peach fuzz for a week or two. For hair that keeps coming back on legs, underarms or the bikini line, at-home IPL is the next step up, and the one to look at is the Nood Flasher Pro, the only at-home IPL device with an energy figure in a public FDA file.
Yes. At-home dermaplaning is generally safe for most skin types when done on dry, clean skin with the right tool and a gentle 45-degree angle. The main risks are nicks, over-exfoliation, and bacteria from reusing a dull blade. Avoid it if you have active acne, eczema, rosacea, or a raised mole in the area.
Some links in this post are affiliate links. If you buy through them I earn a small commission at no extra cost to you. I only recommend things I have actually used.
Dermaplaning simply removes vellus hair, the fine peach fuzz, and dead surface skin with a fine blade. Done properly it is low-risk, but technique matters more than with almost any other at-home treatment. Here is what determines whether it is safe for you.
Who should not dermaplane at home
Active or cystic acne, where the blade can spread bacteria and irritate breakouts.
Eczema, rosacea, or psoriasis flare-ups.
Very sensitive or compromised skin barriers.
Over raised moles, skin tags, or open blemishes.
How to keep it safe
Always start with dry, clean skin, use short downward strokes at a 45-degree angle, and never reuse a single-use blade. A tool with a built-in guard reduces nick risk for beginners, so see the best at-home dermaplaning tools for 2026. Full technique in how to dermaplane at home.
At-home or professional?
At-home tools only skim the surface, which is exactly why they are safer for DIY than a professional scalpel dermaplane, which goes deeper and should be left to a licensed pro. For everyday smoothness and peach-fuzz removal, at-home is worth it and low-risk.
Also looking at hair removal? Dermaplaning clears peach fuzz for a week or two. For hair that keeps coming back on legs, underarms or the bikini line, at-home IPL is the next step up, and the one to look at is the Nood Flasher Pro, the only at-home IPL device with an energy figure in a public FDA file.
No, not when done correctly. It exfoliates the surface; problems come from bad technique, dull blades, or using it on skin that should not be dermaplaned.
Can you dermaplane over active acne?
No. Avoid any area with active breakouts to prevent spreading bacteria and irritation.
How often is it safe to dermaplane?
Oily skin every three to four weeks, dry every four to six weeks, sensitive every six to eight weeks, and dermatologists cap it at once a week maximum.
The Michael Todd Sonicsmooth Pro+ is the best at-home dermaplaning tool for most people in 2026: a 2-in-1 sonic device that exfoliates and preps skin for serums. The Dermaflash LUXE+ is the premium pick for its sonic edge and skin-friendly guard, and the StackedSkincare Dermaplaning Tool is the precision pick for anyone who loves a refillable manual.
Shopping Black Friday? The Michael Todd Sonicsmooth Pro+ is up to 40% off right now at Michael Todd Beauty. Check today’s price before you buy.
Some links in this post are affiliate links. If you buy through them I earn a small commission at no extra cost to you. I only recommend products that meet a clear quality bar.
At-home dermaplaning lifts away peach fuzz and dead surface skin for an instantly smoother, glowier finish and flawless makeup application. The three tools below are the ones actually worth your money, and they are not interchangeable. Here is how they compare, and which one belongs in your routine.
Best overall
Dermaflash LUXE+
Sonic electric · Best for most people and anti-aging
The blade cost is where these actually separate. Run weekly, the Dermaflash costs roughly $377 a year in edges against about $163 for the Sonicsmooth. Full breakdown here: Dermaflash vs Michael Todd, which is worth it.
Premium pick: Dermaflash LUXE+
The Luxe+ is the viral category leader and won most head-to-head editorial tests. Its sonic vibration and angled safety guard make it the most forgiving electric tool for beginners while still delivering a close, even exfoliation. Best for anyone prioritizing anti-aging and a near-foolproof experience.
Best for most people: Michael Todd Sonicsmooth Pro+
The Sonicsmooth is a 2-in-1 that both dermaplanes and drives post-treatment product in with sonic infusion. Reviewers note it can need a couple more passes than the Dermaflash, but the lower effective cost and dual function make it the value winner, and it is a reliable everyday performer.
The precision pick: StackedSkincare Dermaplaning Tool
Designed by an aesthetician, the StackedSkincare Dermaplaning Tool is a refillable manual that gives you the most control for targeted areas and a lower cost-per-use over time. Best for anyone who prefers the tactile precision of a hand-held blade.
Also looking at hair removal? Dermaplaning clears peach fuzz for a week or two. For hair that keeps coming back on legs, underarms or the bikini line, at-home IPL is the next step up, and the one to look at is the Nood Flasher Pro, the only at-home IPL device with an energy figure in a public FDA file.
For most people, yes. The Dermaflash LUXE+ pairs a sonic edge with an angled safety guard, which makes it the most beginner-friendly electric dermaplaning tool in this roundup, and it lasts for years with replacement edges. The trade-off is refill cost over time. If you plan to dermaplane often, the Michael Todd Sonicsmooth Pro+ is the better value.
Dermaflash LUXE+ vs Michael Todd Sonicsmooth Pro+: which is better?
The Dermaflash LUXE+ gives a closer pass with less effort, while the Michael Todd Sonicsmooth Pro+ is the better value and adds sonic product infusion for serums. Choose the Dermaflash LUXE+ for ease and a guarded first experience, and the Sonicsmooth Pro+ for value and a two-in-one routine. The Dermaflash vs Michael Todd comparison covers the yearly blade cost.
How often should you dermaplane?
Oily skin can usually be dermaplaned every three to four weeks, dry skin every four to six weeks, and sensitive skin every six to eight weeks. Never go more often than once a week, whichever tool you use. If skin looks red or feels tight after a session, leave a longer gap before the next one and keep up with moisturizer and SPF.
How do you use an at-home dermaplaning tool?
Cleanse, then apply a few drops of face oil so the blade glides, and pin your hair back. Hold the skin taut and use short downward strokes at about a 45 degree angle, wiping the blade between sections. Skip the eyelids, lips and any active breakouts. Finish with a gentle serum, moisturizer and mineral SPF. The how to dermaplane at home guide walks through each step.
Sources
Sources checked on November 3, 2026. Figures from brands are reported as the brand’s own claims.
Quick answer: Here is how to dermaplane at home with the Michael Todd Sonicsmooth Pro+: cleanse, apply a few drops of face oil so the blade glides, pin hair back, then use short downward strokes at a 45 degree angle. Wipe the blade between sections. The whole routine takes 5 to 7 minutes and gives you smoother skin and visibly better makeup application the same day. Repeat once every 3 to 4 weeks.
Last updated: November 10, 2026
Shopping Black Friday? The Michael Todd Sonicsmooth Pro+ is up to 40% off right now at Michael Todd Beauty. Check today’s price before you buy.
If your makeup never looks quite as smooth as it does in product photos, the issue is probably not the makeup. It is the peach fuzz, dead skin, and tiny hairs that catch foundation and break up coverage. Dermaplaning solves this in under 10 minutes, and you do not need to book an esthetician to do it.
The routine below is built around the Michael Todd Beauty Sonicsmooth Pro+, a sonic dermaplaning tool made for at-home use. Expect a surprising amount of dead skin and peach fuzz to come off the first time, and smoother makeup the same day.
What is dermaplaning and how to dermaplane at home?
Dermaplaning is a physical exfoliation technique that uses a fine blade held at a shallow angle to lift away dead skin cells and vellus hair (peach fuzz) from the face. The benefits are immediate: smoother texture, better product absorption, and a noticeably smoother makeup application.
Done professionally at an esthetician’s office, it runs $75 to $150 a session. At-home tools like the Sonicsmooth Pro+ use a sonic-vibration blade that does the same job safely at home, as a one-time purchase.
This is the order to follow. Skipping the oil step is the most common at-home mistake and the reason most people nick themselves the first time.
Step 1: Cleanse and dry your face
Start with a clean, dry face. Any makeup, sunscreen, or sweat on the skin will gum up the blade and reduce how well it lifts hair and dead skin.
Step 2: Apply a few drops of face oil
Warm 3 to 4 drops of a light facial oil like rosehip or jojoba between your fingertips and press it into your face. The oil helps the blade glide instead of drag, which is what prevents nicks. Cover everywhere you plan to dermaplane: forehead, cheeks, jawline, under the nose, chin, and just below the jaw.
Step 3: Pin your hair back
Pull hair completely off your face with sectioning clips or a headband. Loose strands catch in the blade and can get cut.
Step 4: Load the cartridge and turn on the tool
The Sonicsmooth Pro+ kit comes with 16 single-use blades. Slide a fresh one into the head until it clicks. Press the power button. The sonic vibration makes the blade glide more smoothly and lifts dead skin and peach fuzz more effectively than a flat razor.
Step 5: Work in short strokes at a 45 degree angle
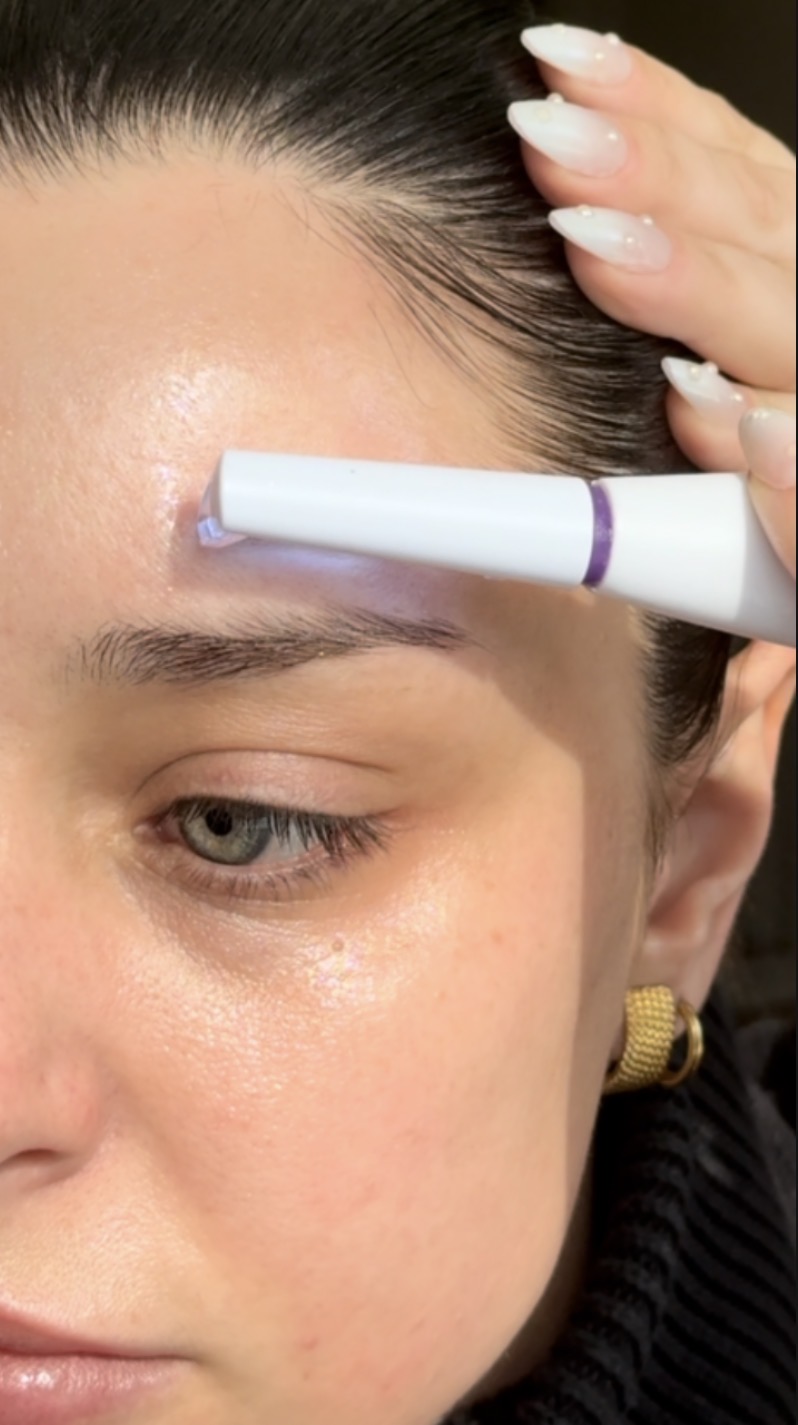
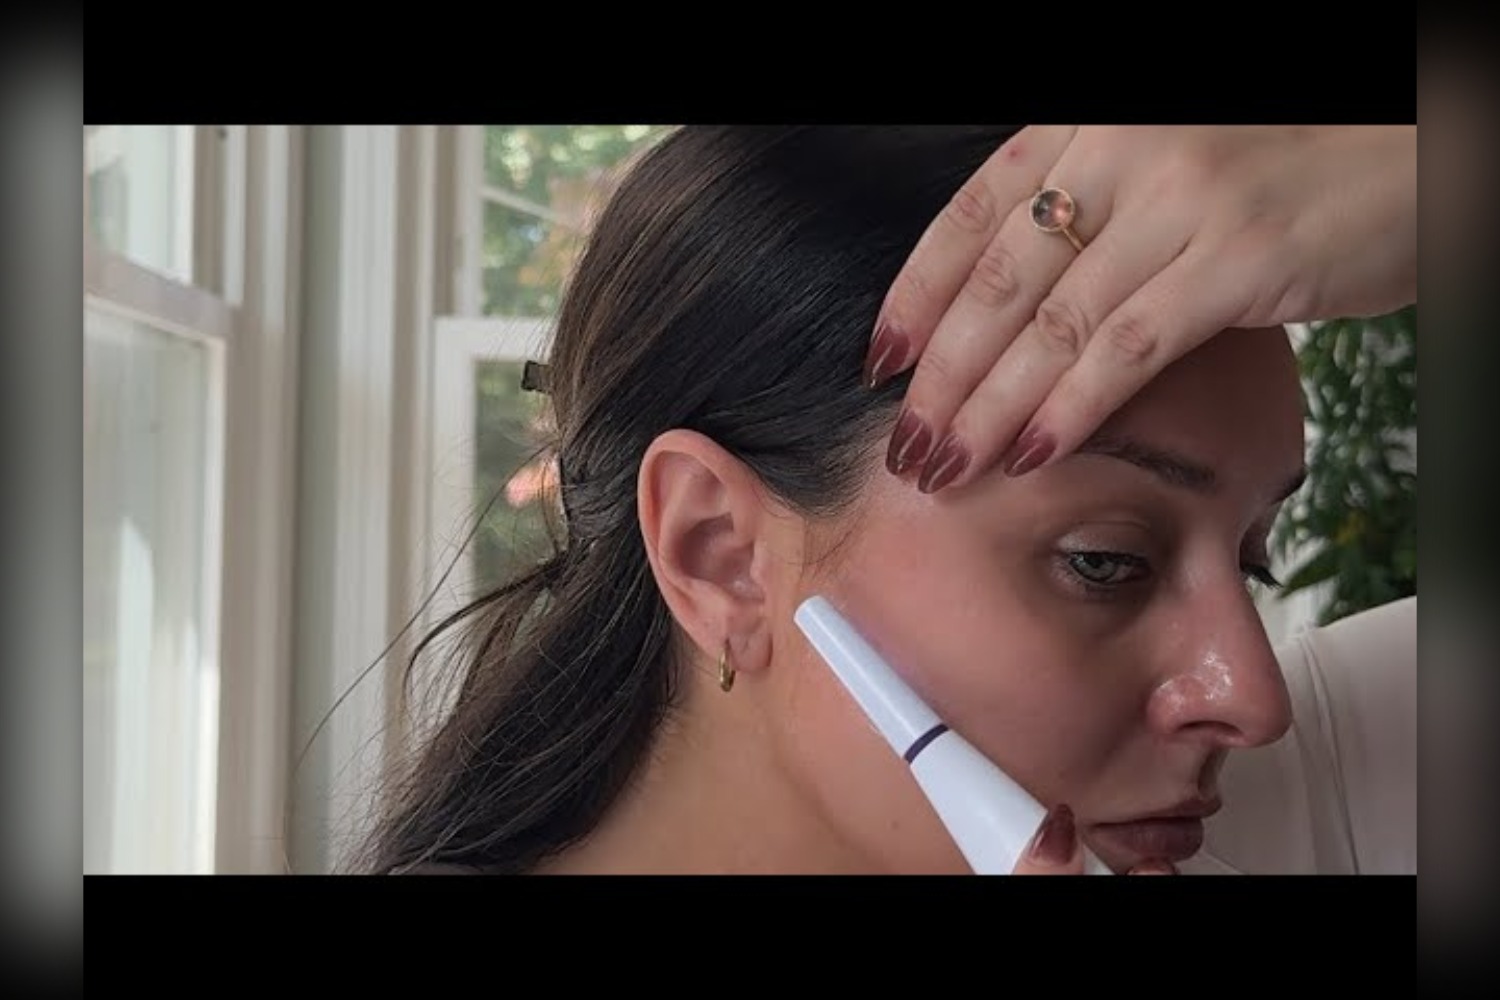
Hold the tool at a 45 degree angle to the skin. Use short, downward strokes (about an inch long). Gently pull the skin taut with your free hand. Work one section at a time:
Sideburns and outer cheeks
Inner cheeks
Jawline and under the chin (the spot most people miss)
Forehead, including between the brows
Upper lip
The bridge and sides of the nose
Carefully under the eyes
Step 6: Wipe the blade between sections
Have a paper towel ready. Every few strokes, wipe the blade clean. The visible buildup is the proof the tool is working. It is also the reason wiping matters: a clogged blade does not lift well.
Step 7: Apply serum and moisturizer
Right after dermaplaning, your skin absorbs product better than usual. This is the window for a hydrating serum and moisturizer. Avoid retinol or strong acids for at least 24 hours. The full routine is in What to Use After Dermaplaning.
What to know about the Sonicsmooth Pro+
The Sonicsmooth Pro+ is not an intimidating tool. The sonic vibration does most of the work, so there is no need to press hard, and pressing is what causes nicks. That is the main difference from the flat dermaplane razors sold in multi-packs.
The kit comes with 16 blades, and you will need more eventually. Michael Todd designs each blade for one-time use, so start every session with a fresh one. The replacement blades come in an eight-pack.
Bottom line: it is a strong pick for at-home dermaplaning, especially for beginners.
Once every 3 to 4 weeks. Doing it more often does not give better results and can irritate the skin barrier. The reason: vellus hair grows back at roughly the same rate as the skin renewal cycle, so once a month is the sweet spot. Adjust for your skin type: oily every three to four weeks, dry every four to six, sensitive every six to eight, and never more than once a week. Keep blade refills on hand.
Cleveland Clinic says some people with existing skin concerns should not have dermaplaning, and advises talking to a healthcare provider first if you have an active case of acne, cold sore outbreaks, eczema, psoriasis, moles, freckles, skin tags or other skin growths, skin burns such as those from radiation therapy, or a skin rash such as contact dermatitis. Also skip it if any of these apply:
Anyone with active acne, pustules, or open lesions. The blade can spread bacteria.
Anyone with rosacea or active eczema flares.
Anyone using prescription retinoids (consult your dermatologist).
Anyone with very sensitive skin that reacts to physical exfoliation.
Key takeaways
Always apply oil first so the blade glides instead of drags.
Hold the tool at 45 degrees with short downward strokes.
The Sonicsmooth Pro+ uses sonic vibration for better lift than a flat razor.
Wipe the blade between sections so it keeps working.
Dermaplane once every 3 to 4 weeks. More is not better.
Do not dermaplane over active acne, rosacea, or eczema flares.
Also looking at hair removal? Dermaplaning clears peach fuzz for a week or two. For hair that keeps coming back on legs, underarms or the bikini line, at-home IPL is the next step up, and the one to look at is the Nood Flasher Pro, the only at-home IPL device with an energy figure in a public FDA file.
Hold a dermaplaning blade at about a 45 degree angle and use short, light strokes. Any steeper and the blade scrapes the skin instead of gliding; any flatter and it will not catch the vellus hair, the soft peach fuzz on your face. If you find yourself pressing, the angle is wrong. Hold the skin taut with your free hand and wipe the blade between sections.
Does the hair grow back thicker after dermaplaning?
No. Hair growing back thicker after dermaplaning is a common myth. Vellus hair, the soft peach fuzz on the face, grows back at the same fineness and density it had before, because cutting a hair at the surface does not change the follicle under the skin. More myths and side effects are covered in Dermaplaning Mistakes and Side Effects.
Is dermaplaning at home safe?
Dermaplaning at home is generally safe for healthy skin when you use a tool made for home use and the right technique. Sonic-vibration tools like the Michael Todd Sonicsmooth Pro+ are designed for at-home use. Apply face oil first and use short strokes at a 45 degree angle. Cleveland Clinic advises talking to a healthcare provider first if you have active acne, cold sores, eczema or psoriasis.
How long does an at-home dermaplane take?
An at-home dermaplane takes about 5 to 7 minutes once you have the routine down. The first time can take 10 to 15 minutes while you learn how the tool feels and where to hold the skin taut. Work in sections, wipe the blade between each one, and do not skip the face oil step, which is the most common at-home mistake.
Does dermaplaning help with makeup application?
Yes. With peach fuzz and dead skin removed, foundation and concealer sit on the skin instead of catching on fine hair, so coverage tends to look smoother and last longer through the day. For the smoothest base, finish the routine with serum and moisturizer before you start your makeup, as in step 7 of the routine above.
How much does the Michael Todd Sonicsmooth Pro+ cost?
Prices for the Michael Todd Sonicsmooth Pro+ change often with sales, especially around Black Friday, so this guide does not list one. Check today’s price at check today’s price at Michael Todd Beauty before you buy. The section above on what to know about the Sonicsmooth Pro+ covers how the tool works and what to look for when you compare it with other options.
Can you dermaplane wet skin?
No. Always dermaplane on clean, dry skin with a light layer of face oil. Wet skin drags against the blade and raises the risk of nicks, while the oil helps the blade glide. Pat your face completely dry after cleansing, apply a few drops of oil, and then start with short strokes at a 45 degree angle.
Final notes on how to dermaplane at home
Once you know how to dermaplane at home, the routine becomes a 5-to-7-minute habit you do once every 3 to 4 weeks. The biggest payoff is how much smoother foundation looks after, but the secondary benefits (better serum absorption, brighter skin, less product clinging to peach fuzz) compound over time. The Michael Todd Sonicsmooth Pro+ is the at-home tool that makes how to dermaplane at home actually safe and effective for non-estheticians.
Sources
Sources checked on November 10, 2026. Figures from brands are reported as the brand’s own claims.
I am Anna Katherine Page. I share beauty, home care, and resale tips from Seneca, South Carolina. Follow along on YouTube for more honest beauty reviews.
Last updated: June 5, 2026 · By Anna Katherine Page
This post contains affiliate links. If you buy through them I may earn a small commission, at no extra cost to you. I only recommend products I actually use. Essential oils are concentrated; check the safety notes below and consult a healthcare professional if you have specific concerns.
Quick answer: Frankincense essential oil is one of the most versatile oils to keep on hand. My three daily uses are skincare for a natural glow, scenting the home (it is what visitors compliment most), and dabbing onto pulse points or a diffuser throughout the day. One small bottle covers all three.
If you only buy one essential oil this year, make it frankincense essential oil. It earned a permanent spot in my routine because it works just as well on my skin as it does in my diffuser, and a single bottle stretches for months. Here are the three ways I use it every day.
Frankincense essential oil is steam-distilled from the resin of the Boswellia tree. It has been used in spiritual practice, skincare, and perfumery for thousands of years, which is part of why it shows up in so many traditions. The scent is warm, woody, and slightly sweet, with none of the sharpness that some essential oils carry. That balance is what makes it so easy to use in everyday ways without feeling overpowering. (Find frankincense essential oil on Amazon)
1. Frankincense essential oil in my skincare routine
This is my favorite use. A drop or two of frankincense essential oil mixed into a carrier oil (jojoba, argan, or a basic moisturizer) and smoothed into my face has become a step I look forward to. It is famously associated with helping skin look balanced and bright, and the small ritual of adding it to my routine matters as much as the oil itself. The trick is dilution: essential oils are concentrated, so always blend with a carrier rather than applying directly.
2. Using frankincense essential oil to scent the home
This is the one that gets the most compliments. A few drops of frankincense essential oil in a diffuser, especially in the late afternoon, fills the house with a warm, grounded scent that does not feel like a candle and is not chemical. People walk in and ask what I am burning. The answer is just frankincense and water. It works year round; in winter it feels cozy, in summer it pairs beautifully with citrus.
3. Daily uses beyond skin and home
Once you have a bottle in the house, frankincense essential oil starts showing up everywhere. A drop on pulse points for a personal scent that lasts. A diffuser blend with lavender at bedtime. A drop in unscented lotion. Even in a homemade body oil after the shower. This is the part I describe as putting it everywhere; one ingredient slots into a dozen tiny moments throughout the day.
How to use frankincense essential oil safely
Always dilute. Mix frankincense essential oil with a carrier (jojoba, fractionated coconut, sweet almond) before applying to skin. A 1 to 2 percent dilution is typical for daily face use.
Patch test first. Apply a small diluted amount to your inner arm before using on the face.
Avoid the eye area and any open or broken skin.
Keep out of reach of children and pets. Some essential oils are not safe around animals, especially cats.
Check with a healthcare provider if you are pregnant, nursing, or managing a medical condition before adding any essential oil routine.
Key takeaways
Frankincense essential oil is one of the most versatile oils for daily home use.
Three favorite uses: skincare with a carrier, diffusing for home scent, and small daily touches like pulse points.
Always dilute on skin and patch test first.
The warm, woody scent is the most-complimented thing in my house.
Frequently asked questions
What is frankincense essential oil good for?
Frankincense essential oil is widely used in skincare blends, diffusing for home scent, and personal fragrance. Its warm, woody scent is well-balanced and pairs with many other oils.
How do you dilute frankincense essential oil for skincare?
Mix it with a carrier like jojoba, argan, or fractionated coconut oil. A 1 to 2 percent dilution (a few drops per tablespoon of carrier) is typical for daily face use.
Can you put frankincense essential oil directly on your skin?
No. Essential oils are highly concentrated and should always be diluted in a carrier oil or unscented lotion before applying to skin.
How long does a bottle of frankincense essential oil last?
With a few drops per use, a small 15ml bottle commonly lasts several months for daily users.
Can you use frankincense essential oil in a diffuser every day?
Yes, in a well-ventilated room. Many people diffuse for 30 to 60 minutes at a time and take breaks between sessions.
Is frankincense essential oil safe around pets?
Not all essential oils are pet safe, particularly for cats. If you have pets, research specific safety guidelines and consult your veterinarian before diffusing.
About Anna Katherine
I share the real version of building a home, a small business, and a wellness routine on a budget. Honest picks, no sponsored hype. Follow on TikTok and YouTube.
Last updated: June 5, 2026 · By Anna Katherine Page
This post contains affiliate links. If you buy through them I may earn a small commission, at no extra cost to you. I only recommend products I actually use. This is not medical advice; consult a dermatologist for any skin concerns.
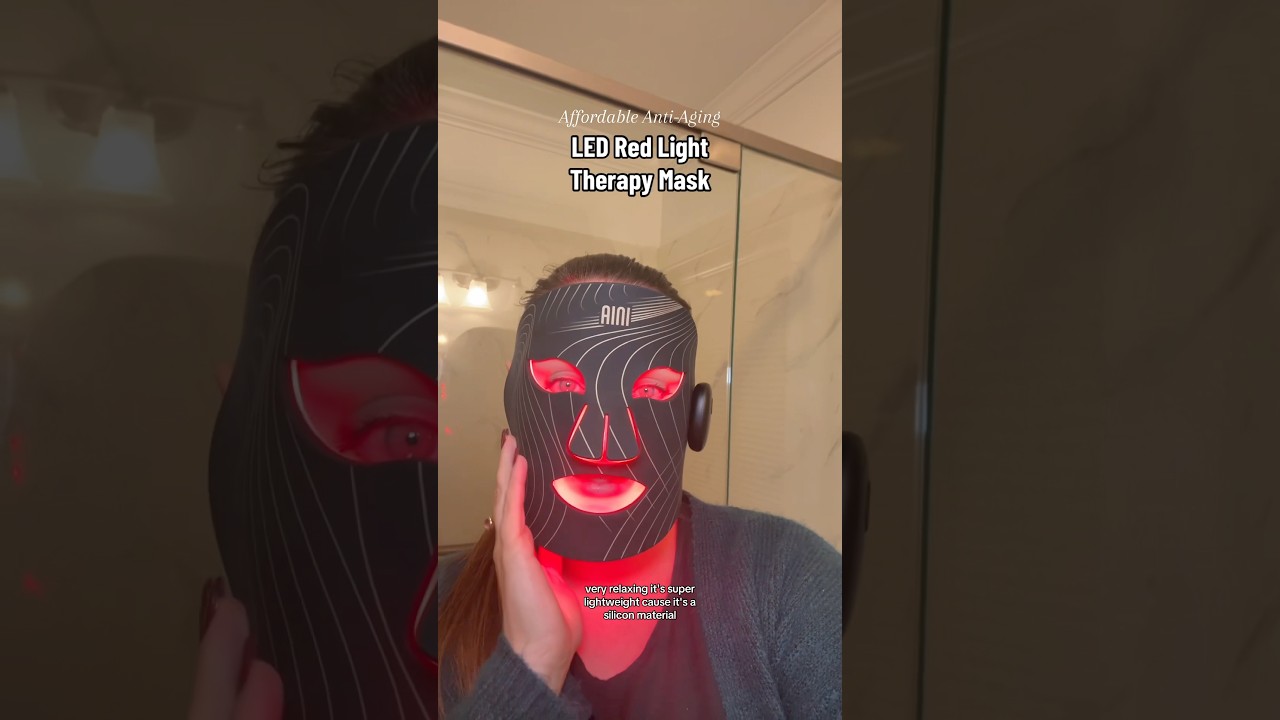
Quick answer: An LED light therapy mask builds collagen at home, which is something Botox does not actually do. I use a wireless silicone mask with red, blue, purple, and yellow light for about 10 minutes before bed. It is peaceful, takes no real effort, and the results show up gradually in the skin.
If you have been looking at every LED light therapy mask on the internet trying to figure out which one is worth the money, here is mine. I picked a wireless silicone option with more LEDs and more color modes than the top-of-the-list competitors, and I use it for ten minutes most nights. This LED light therapy mask review covers why I chose this style, what to look for if you are shopping, and how I actually use it at home.
Why an LED light therapy mask over other anti-aging tools
Here is the thing nobody talks about enough: Botox does not build collagen. It relaxes specific facial muscles to soften wrinkles, but it does nothing to actually strengthen the skin underneath. An LED light therapy mask works in the opposite direction. Red wavelengths of light penetrate the skin and stimulate the cells that produce collagen, the structural protein that keeps skin firm and bouncy. For at-home daily use, that is a real point of difference. You are investing ten minutes a day in something that supports the long game of skin health, not a quarterly appointment that smooths the surface.
What to look for in an LED light therapy mask
If you are shopping right now, these are the features that made me settle on mine instead of the popular ones every dermatologist seems to be paid to mention.
Wireless and rechargeable. No cord to dodge while you are trying to relax.
Silicone construction. It contours to your face comfortably and lets you wear it while lying down without a hard plastic shell pressing in.
Multiple light colors. Different wavelengths target different things. A mask with red, blue, purple, and yellow gives you flexibility from one tool.
More LEDs and better coverage. The number of individual LEDs across the mask matters. More lights means more even exposure, especially around the cheeks and forehead.
Built-in timer. Most quality masks auto-shut off around 10 minutes, which is the standard treatment window.
Adjustable strap. You want it secure enough to wear hands-free.
A good LED light therapy mask gives you several color modes, each one targeting something different. Here is the short version of what each color is generally used for in at-home skincare:
Red light. The collagen builder. The wavelength most associated with anti-aging and firming.
Blue light. Targets the bacteria associated with breakouts, often used by people with acne-prone skin.
Purple light. A blend of red and blue, useful when you want both anti-aging and clearing in one session.
Yellow light. Often used for tone and to soothe the look of redness.
Most nights I run mine on red because building collagen is the main goal for my skin right now. The color flexibility is part of why I wanted a multi-mode mask rather than a single-color version.
How I use my LED light therapy mask
Cleanse first. A clean face lets the light reach the skin without makeup or sunscreen blocking it.
Put the mask on and secure the strap. The silicone shapes to your face.
Choose your color. Mostly red for me.
Set it and lie down. Ten minutes. The mask shuts off automatically when the session is done.
Use the time to wind down. Most evenings I do this right before bed. It is quiet, your eyes are protected, and it doubles as a ritual that signals the day is closing.
Finish with your usual serum and moisturizer. Skincare goes on after, when the skin is warm and receptive.
What to expect from your results
The honest answer: gradual. LED light therapy is not a one-session miracle. Consistency over weeks and months is what produces visible difference. The first thing most people notice is a smoother look to the skin and a gradual brightening. Texture changes follow. None of this replaces a real skincare routine; what it does is amplify the work the rest of your routine is already doing, by giving the cells underneath more of the building blocks they need.
Key takeaways
An LED light therapy mask uses red light to build collagen, which Botox does not do.
Look for wireless, silicone, multi-color, with enough LEDs for even coverage.
Ten minutes a night, often before bed, is the standard session.
Results are gradual; consistency over months is the rule.
Frequently asked questions
Does an LED light therapy mask actually build collagen?
Red wavelengths of LED light are associated with stimulating the cells that produce collagen, the structural protein that keeps skin firm. Effects build over consistent use rather than from a single session.
How often should I use an LED light therapy mask?
Most home users run a session 3 to 5 times a week, with each session around 10 minutes. Some users do it daily. Consistency is the most important variable.
Is an LED light therapy mask safe to use at home?
At-home LED masks are designed to be safe for daily use, with built-in timers and eye coverage. If you have sensitive skin, are pregnant, or are on photosensitizing medications, check with a dermatologist before starting.
Should I use my LED light therapy mask on clean skin or with skincare on?
Clean, dry skin. Makeup, sunscreen, and most serums can block the light from reaching your skin. Apply your products after the session, when skin is warm.
What color of light should I use most?
For most adults focused on anti-aging, red is the default. Blue gets attention from people targeting breakouts. Many masks let you cycle through.
How long until I see results from an LED light therapy mask?
Visible results typically build over weeks to a few months of consistent use. The earliest changes tend to be smoothness and brightness, with texture changes following.
About Anna Katherine
I share the real version of building a home, a small business, and a skincare routine on a budget. Honest reviews, no sponsored hype. Follow on TikTok and YouTube.
Disclosure: This post contains affiliate links, which means I may earn a small commission if you make a purchase through my links, at no extra cost to you.
Quick answer: Poshmamma’s anti aging glow up skincare recipe is a two ingredient DIY, vitamin E oil combined with an essential oil, applied to the face. I tried it after watching her results on TikTok and wrote up honestly what happened on my own skin. This is a cosmetic routine, not a treatment.
Poshmamma’s Anti Aging Glow Up Skincare Recipe That Actually Works
This anti aging glow up skincare recipe uses just two powerful ingredients to transform your skin. According to the American Academy of Dermatology, vitamin E and essential oils are among the most effective natural anti-aging ingredients. I tried Poshmamma’s viral anti aging glow up skincare recipe and here are my honest results.
This post may contain affiliate links. I may earn a small commission at no extra cost to you if you make a purchase through these links. I only recommend products I personally use and love.
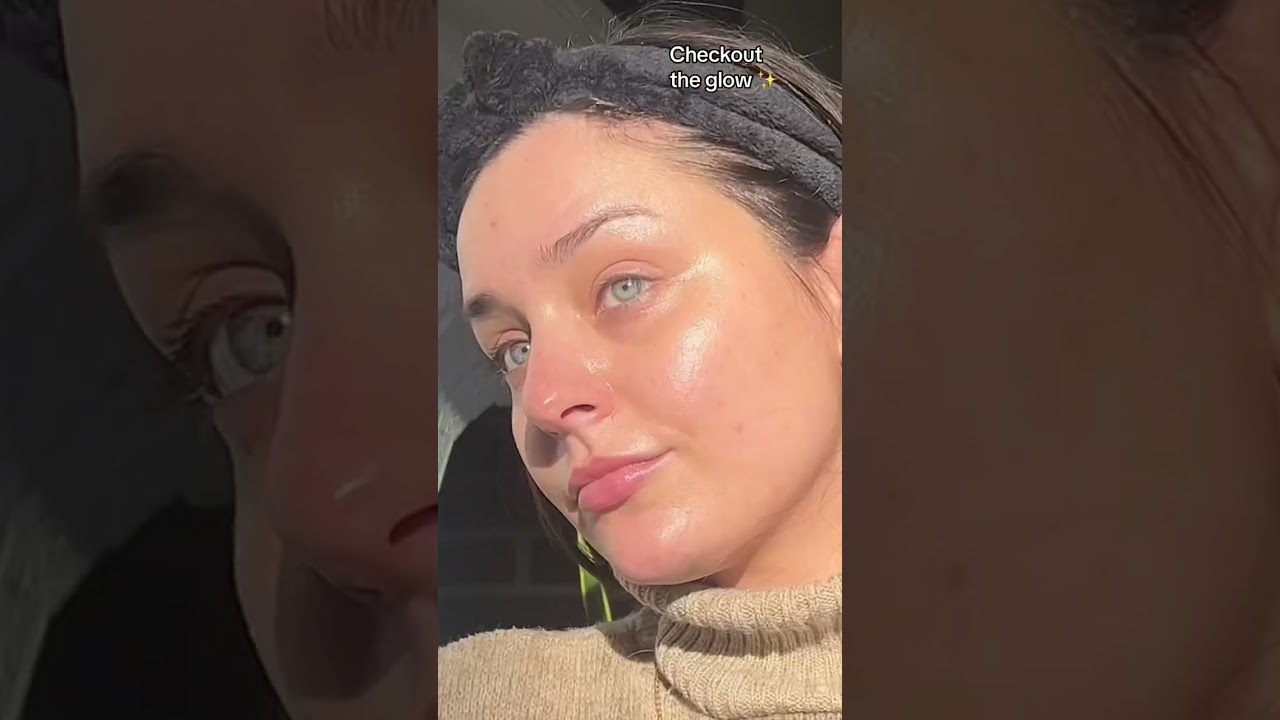
I’ve found a new anti aging glow up skincare recipe that I’m going to be trying out that I recently discovered from someone on TikTok. Her username is @Poshmamma and here is one of the videos where she introduces us to the 2 holy grail all-natural products that give her this phenomenal glow. This woman is really extraordinary when it comes to giving tips on how to utilize the resources that Earth gives us to heal our bodies and, in this scenario, to make our skin glow & repair the effects of aging. Poshmamma is in her early 50s, I believe, and I noticed in her videos that recently she has been doing something to her skin. The results have been visibly noticeable by not just me but some of her other followers on TikTok as well. In a matter of only 1-2 weeks, this lady’s skin has turned from night to day. Her results had me immediately convinced to try whatever she was doing. So of course, I quite literally ran to Wal-Mart and I bought her skin recipe concoction to test it out for myself.
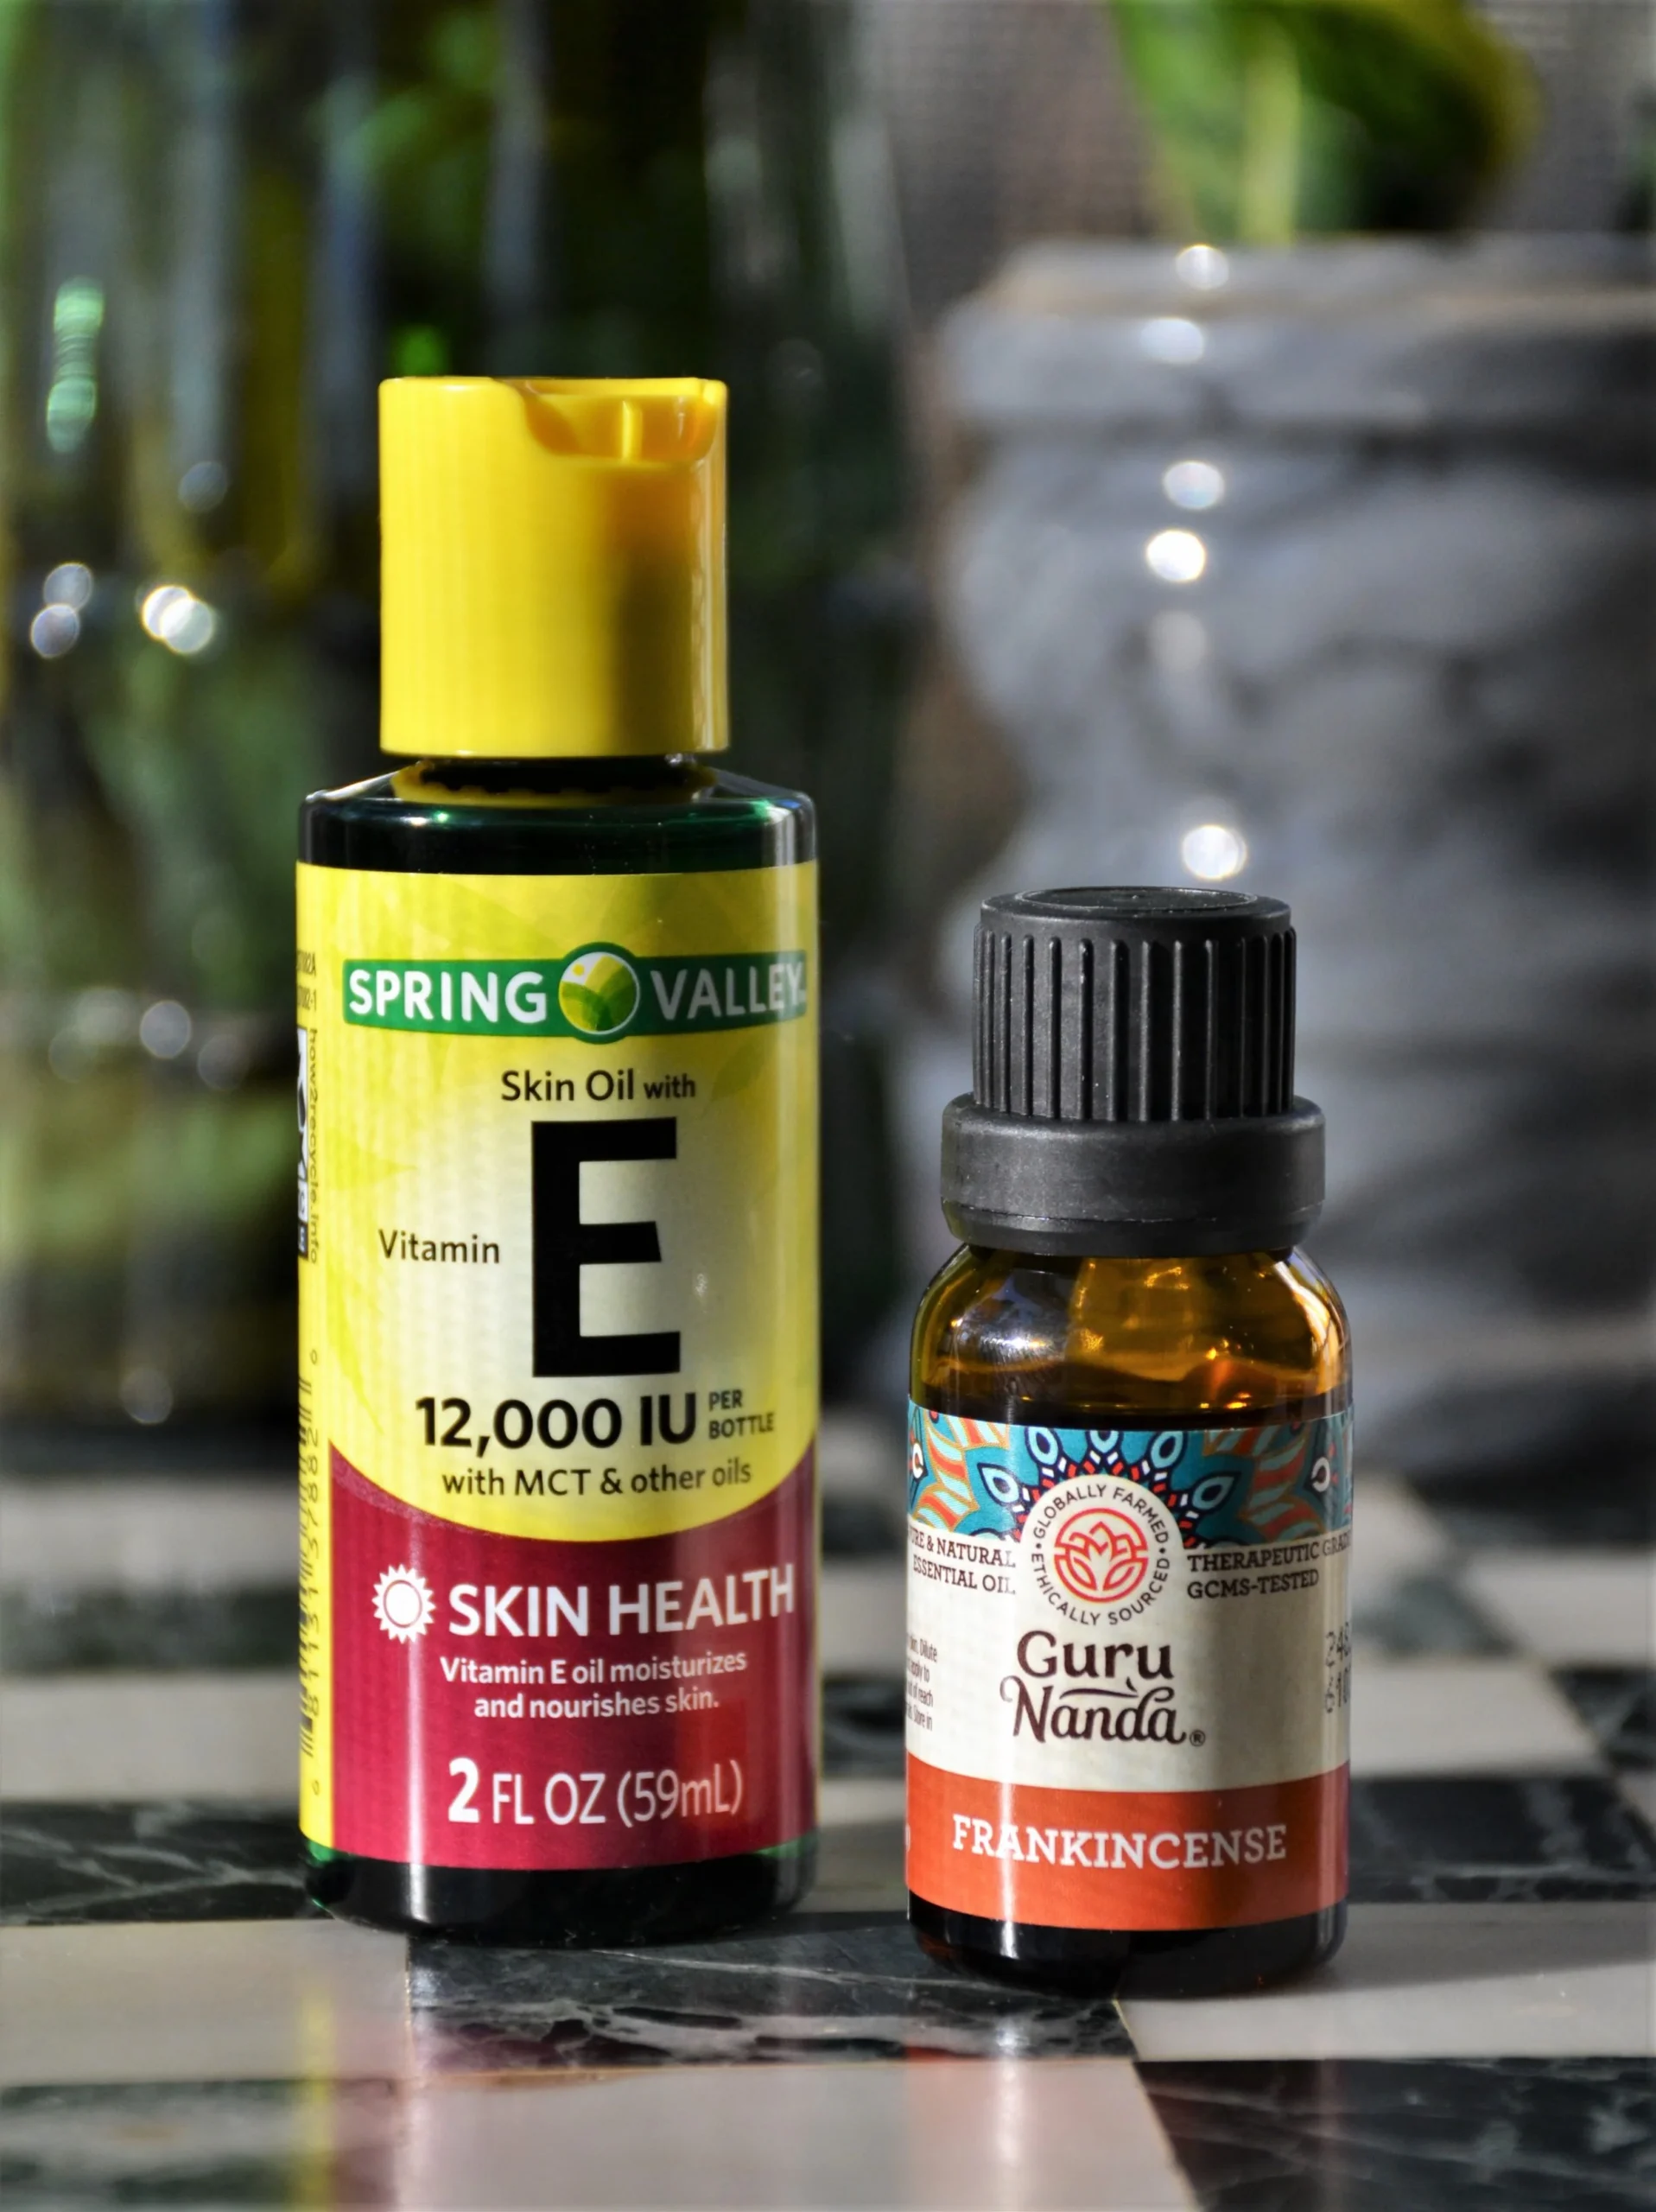
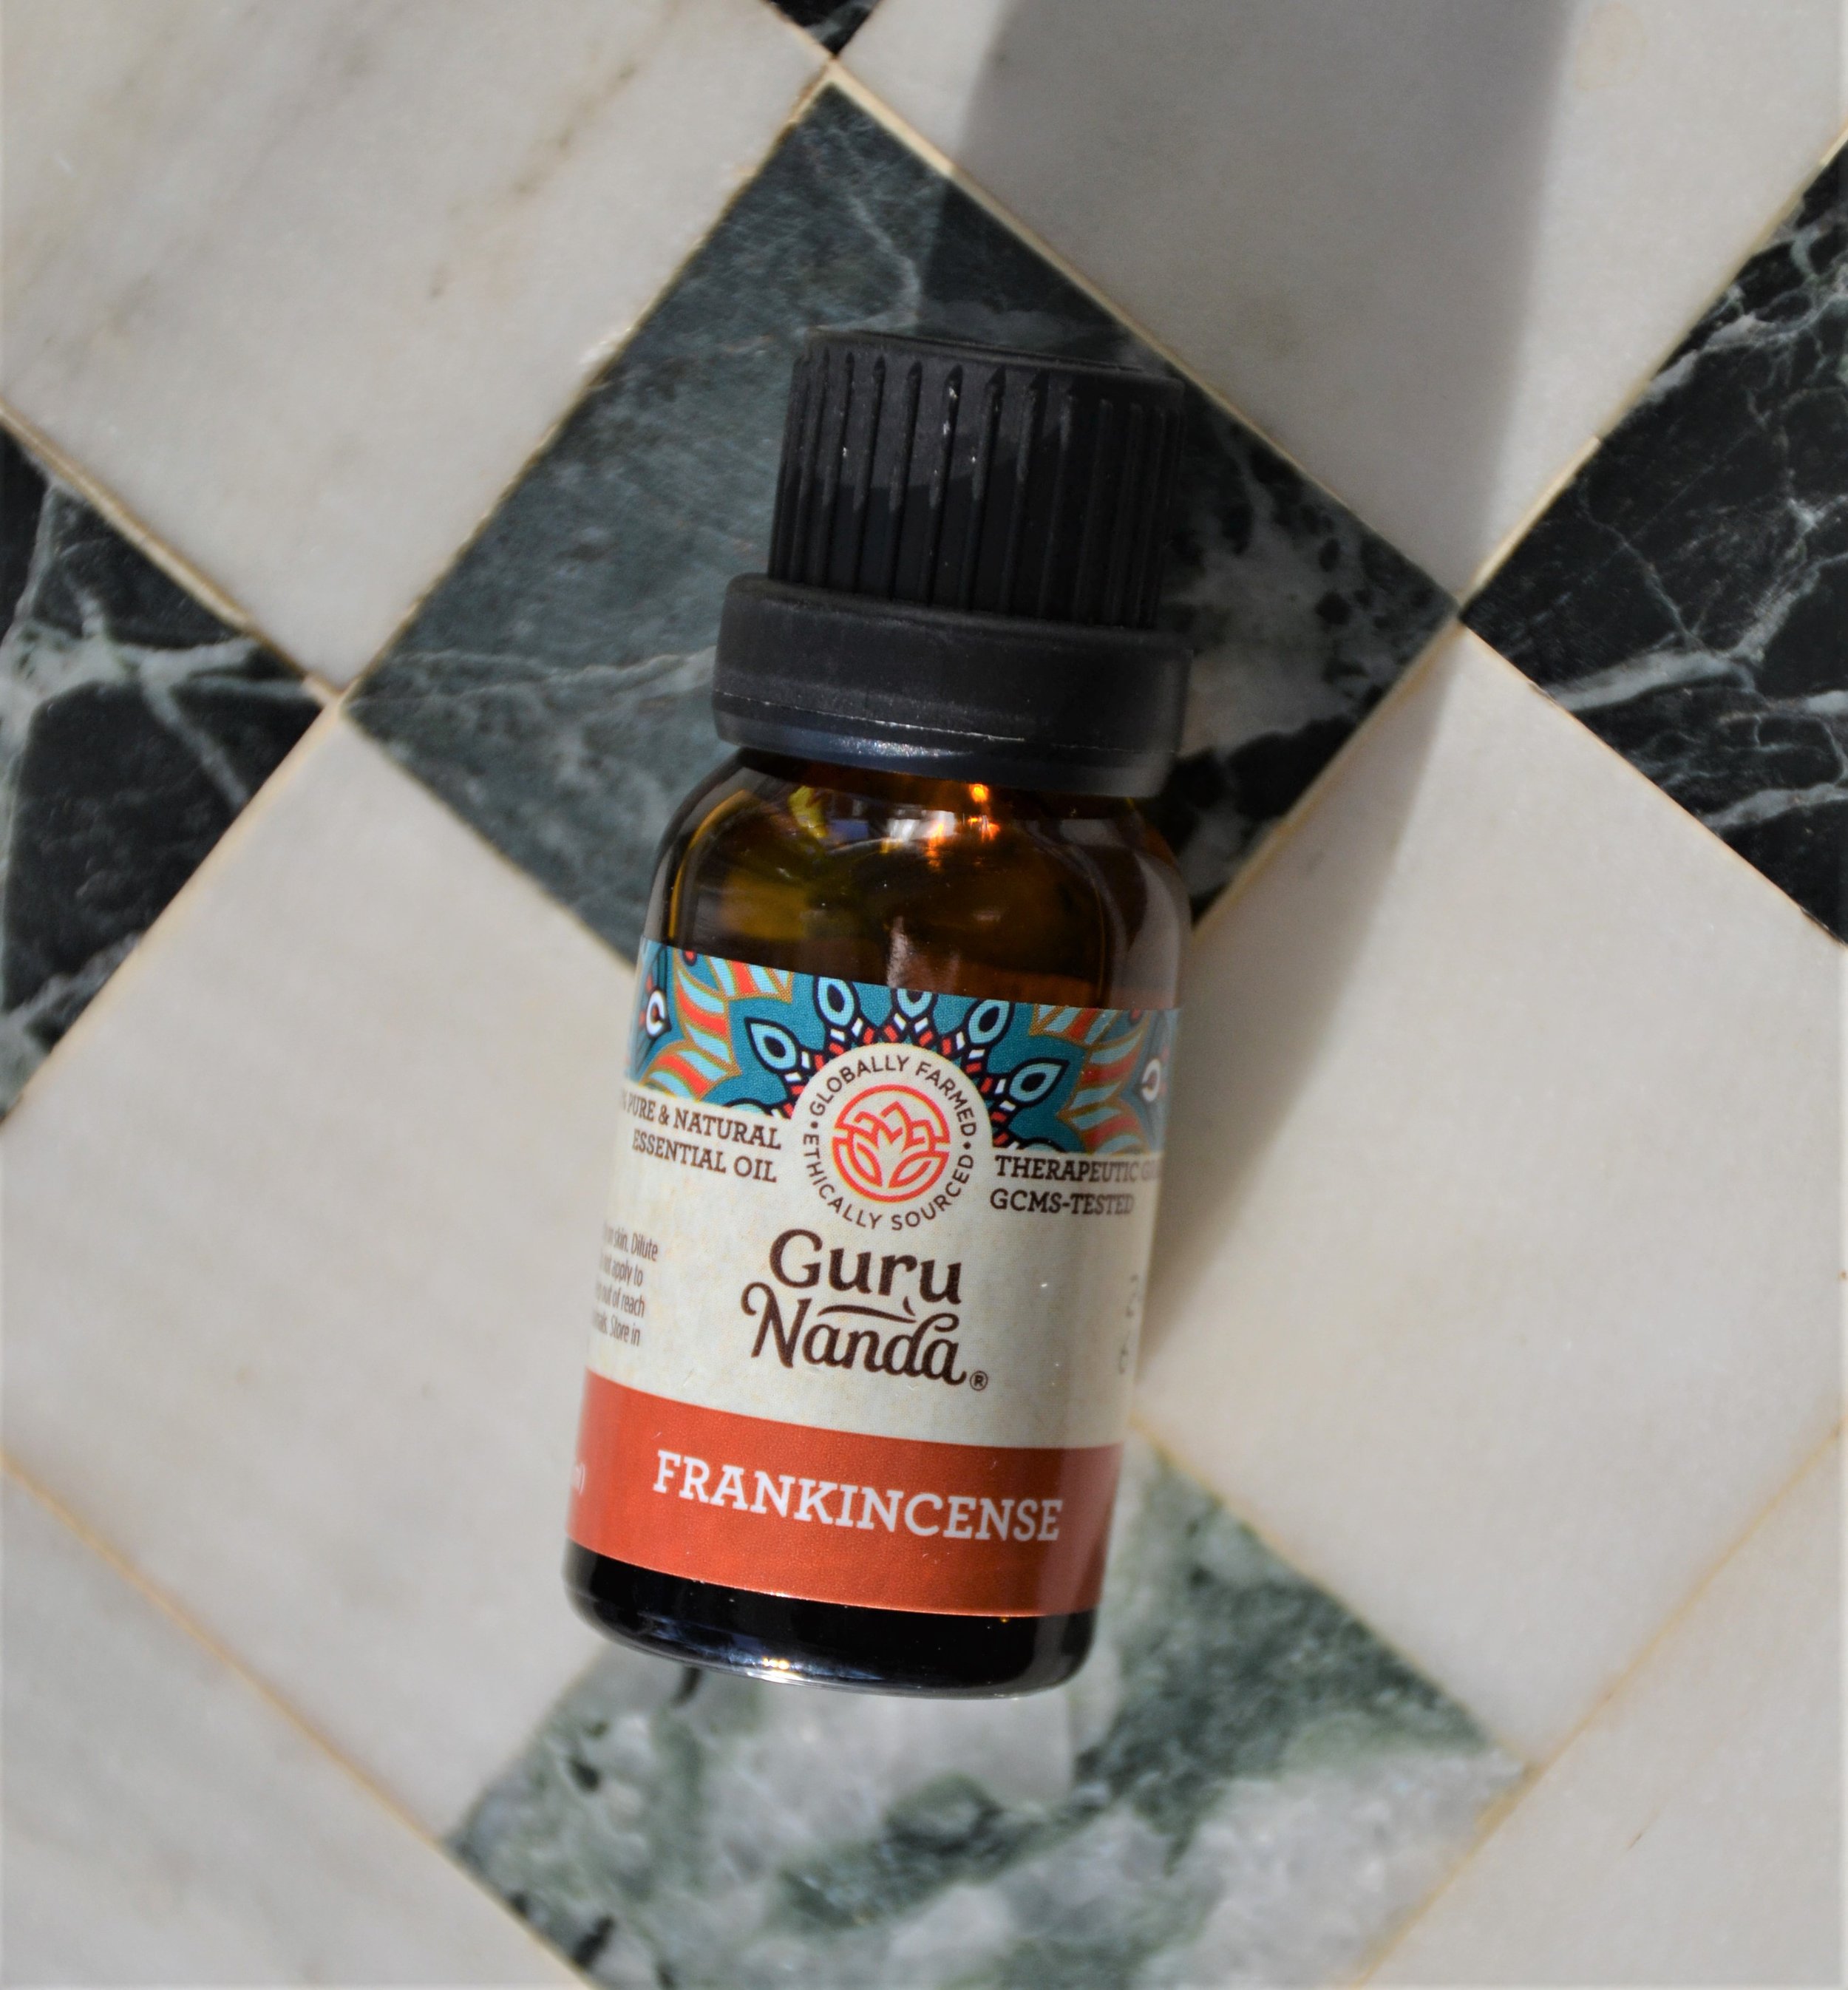
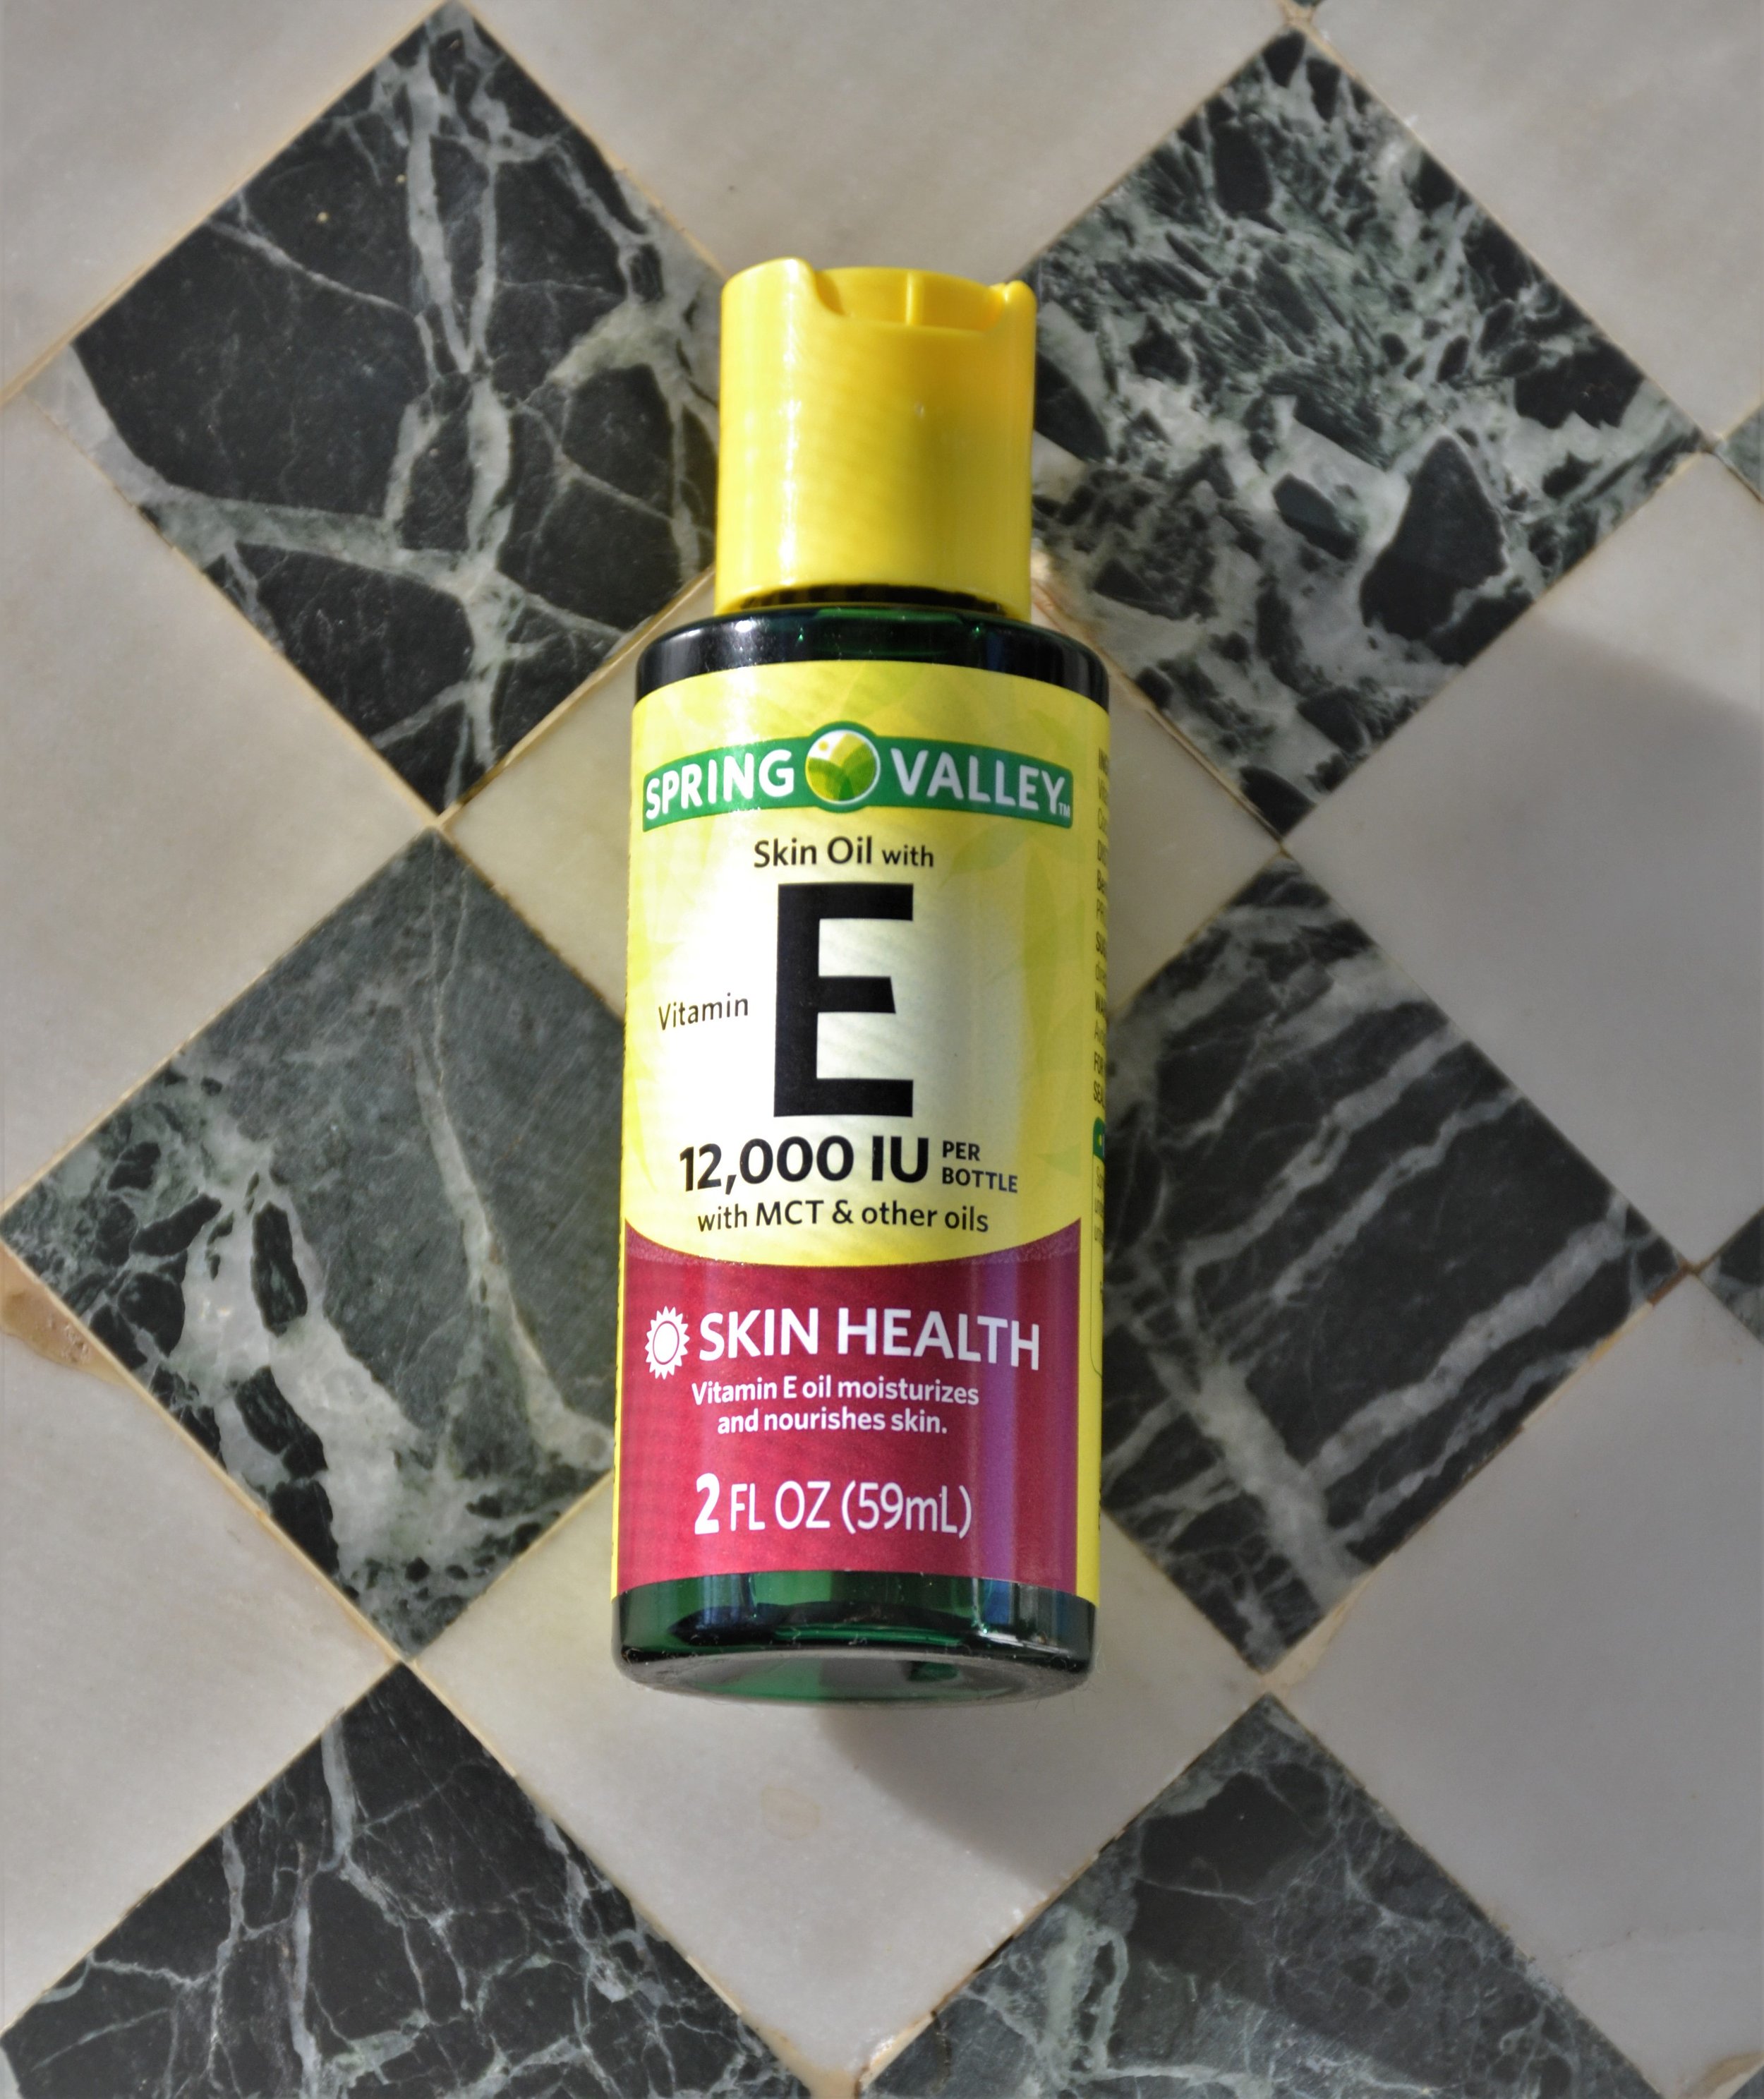
It’s just two ingredients that you’re going to use and add to your normal morning & nighttime skin care routine. First ingredient is vitamin E oil. She purchased one manufactured by Spring Valley. It’s in the vitamin section. At my store, it was on the bottom shelf of the vitamin section. If you’re looking on the vitamin aisle, you’ve got all the bottles of vitamins and pills and then this oil is at the bottom. I purchased the 2 oz bottle. The second and final ingredient is Frankincense oil and the product she recommends is made by Guru Nanda.
How To Apply:
Start with a cleansed & toned face before applying the Poshmamma Anti-Aging Glow Up skincare recipe. Pour about a nickel sized amount of Vitamin E oil and put it in the palm of my hand. Then add 1-2 drops of the Guru Nanda frankincense oil. You can mix the 2 products in the palm of your hand or wait to mix them once you apply to the face. Some people say that you lose product when you mix skincare in the palm of your hands but I just like to think that I am giving a little extra (& probably much needed) attention to the skin on my hands.
Stay tuned for my weekly progress update where I will be showing you my results after implementing these two products into my daily skincare routine.
Guru Nanda Frankincense Oil When it comes to maintaining healthy and radiant skin, there are few ingredients that can compare to vitamin E oil and frankincense oil. These two oils, when applied topically to the face, can provide a wide range of benefits that are sure to leave your skin looking and feeling its best.
Key Ingredients in This Anti Aging Skincare Recipe
First, let’s take a look at vitamin E oil. This oil is known for its powerful antioxidant properties, which can help to protect the skin from free radical damage caused by environmental factors such as pollution and UV radiation. In addition to this, vitamin E oil has been shown to help improve the appearance of scars and stretch marks, as well as reduce the appearance of fine lines and wrinkles.
Frankincense oil, on the other hand, is known for its anti-inflammatory properties, which can help to reduce redness and swelling in the skin. In addition to this, frankincense oil has been shown to help improve the overall tone and texture of the skin, giving it a more youthful and radiant appearance.
The benefits of this anti aging glow up skincare recipe with vitamin E oil and frankincense oil topically to the face are numerous. From protecting the skin from free radical damage to improving the overall tone and texture of the skin, these two oils are an essential addition to any skincare routine. So why wait? Give them a try today and see the difference they can make for yourself!
Stay tuned for my weekly progress update where I will be showing you my results after implementing these two products into my daily skincare routine.
Shop the Anti Aging Glow Up Skincare Recipe Products
Here are two products I recommend for your anti-aging skincare routine:
GuruNanda Frankincense Essential Oil (2×0.5 Fl oz) – 100% Pure, Natural, Undiluted Aromatherapy Oil for Diffusers, Supports Joint Health & Radiant Skin ($10): Shop on Amazon
Ella & Eden Organic Castor Oil (32 fl oz) – Cold-Pressed Hexane-Free Unrefined, USDA Certified & 100% Pure, For Hair Growth, Skin and Face ($26): Shop on Amazon