This post may contain affiliate links. I may earn a small commission at no extra cost to you if you make a purchase through these links. I only recommend products I personally use and love.
Try this budget friendly product, Harris Famous Roach Tablets, to eliminate roaches in your home once & for all! One box cost under $6 & will treat your entire home!
Harris Famous Roach Tablets has been killing roaches since 1922! Just place tablets in out-of-the-way areas where roaches travel & roaches will find them. One box can treat an entire house, making it one of the most efficient and cost-effective ways to kill roaches & keep them GONE!
What Does It Do?
Harris Tablets work on controlling American Roaches, German Roaches, Waterbugs, Silverfish and Ants
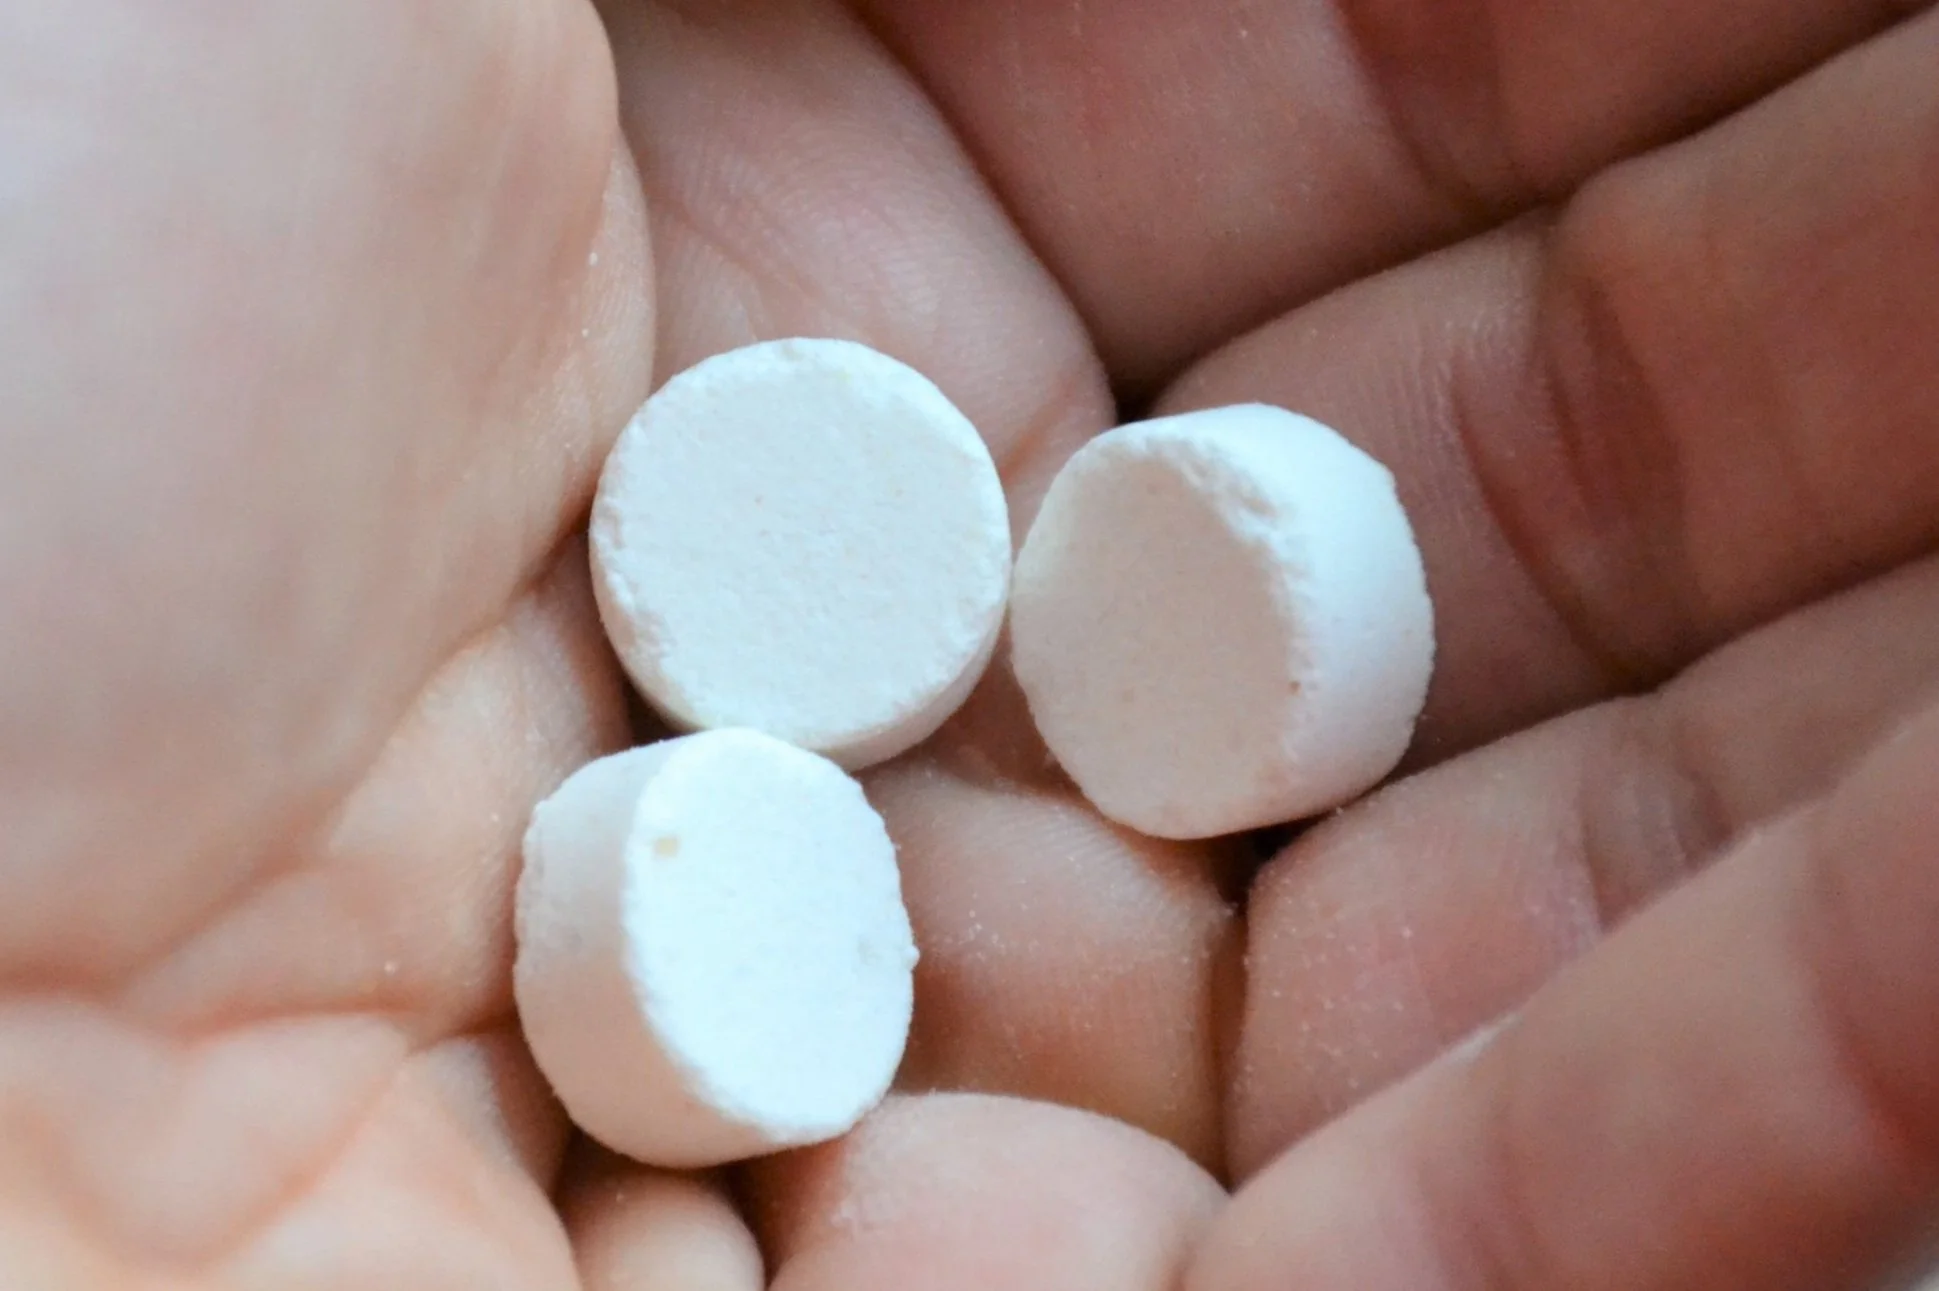
Irresistible to Roaches – Active ingredient 40% boric acid w/ our formulated lure to attract roaches
Kills the Entire Colony – Roaches carry boric acid back to their nests to kill the entire infestation
How-To Use:
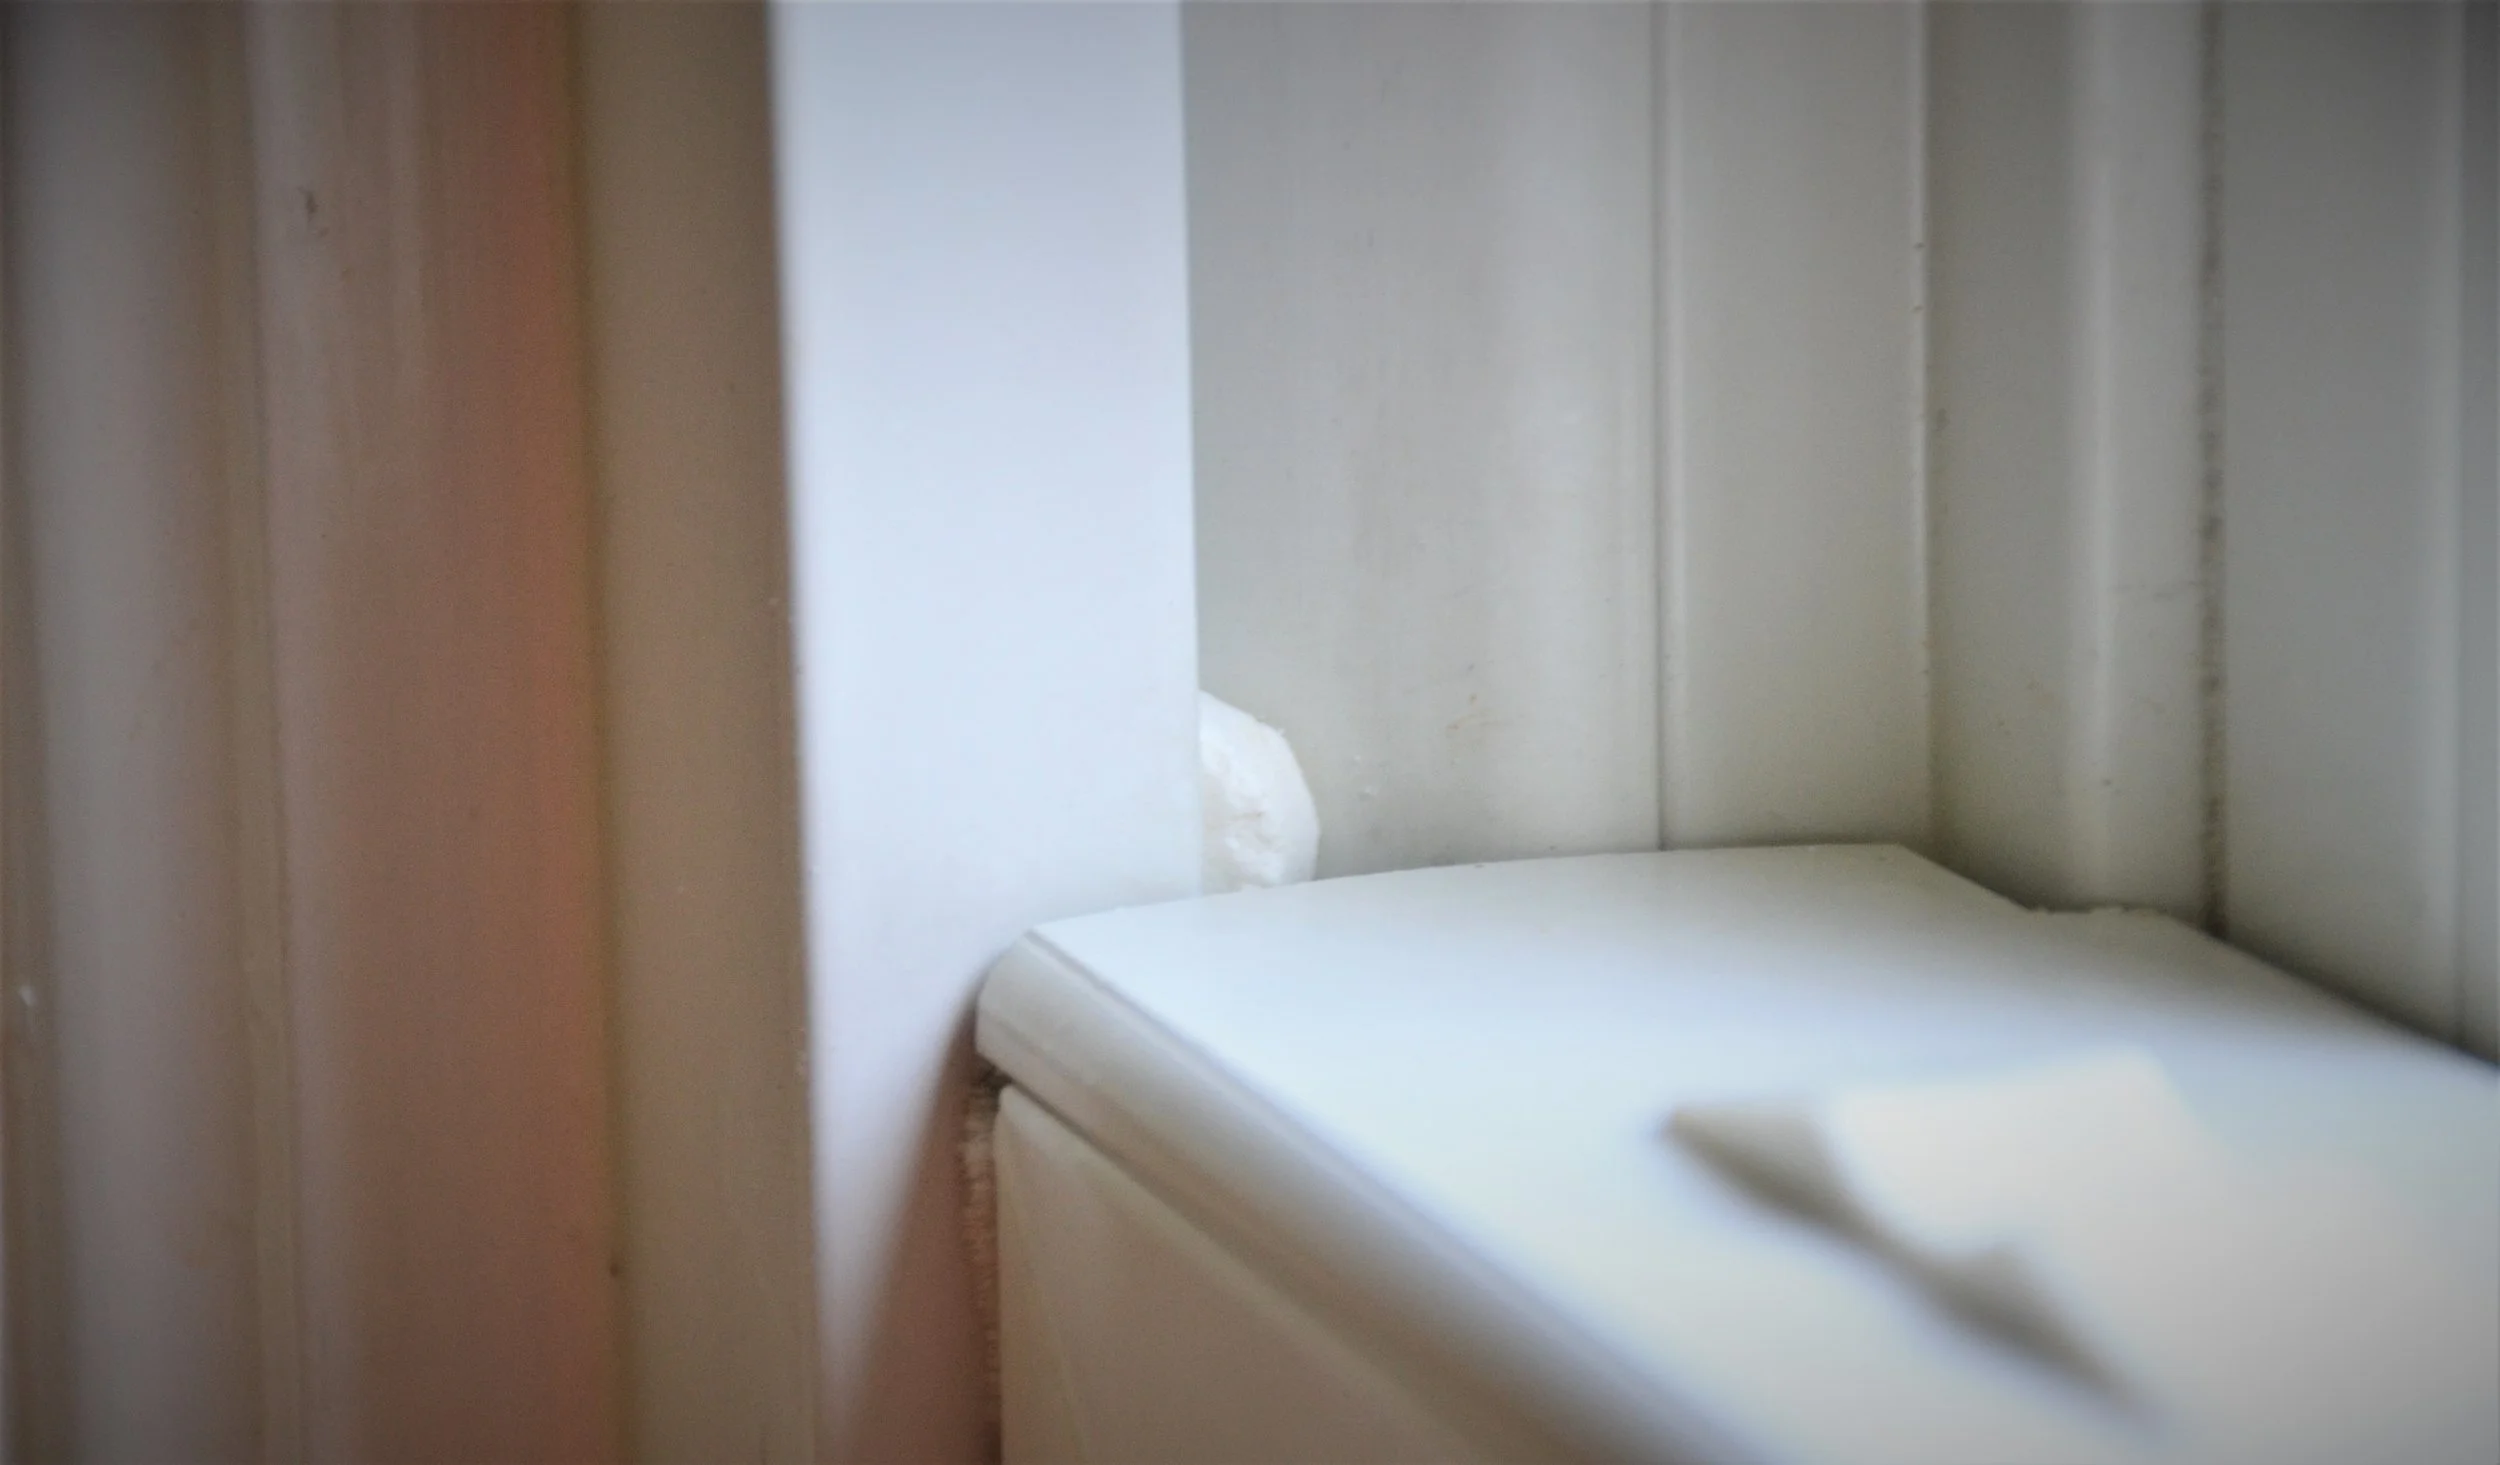
Tablet shown was placed in a crevice of a window sill in my living room.
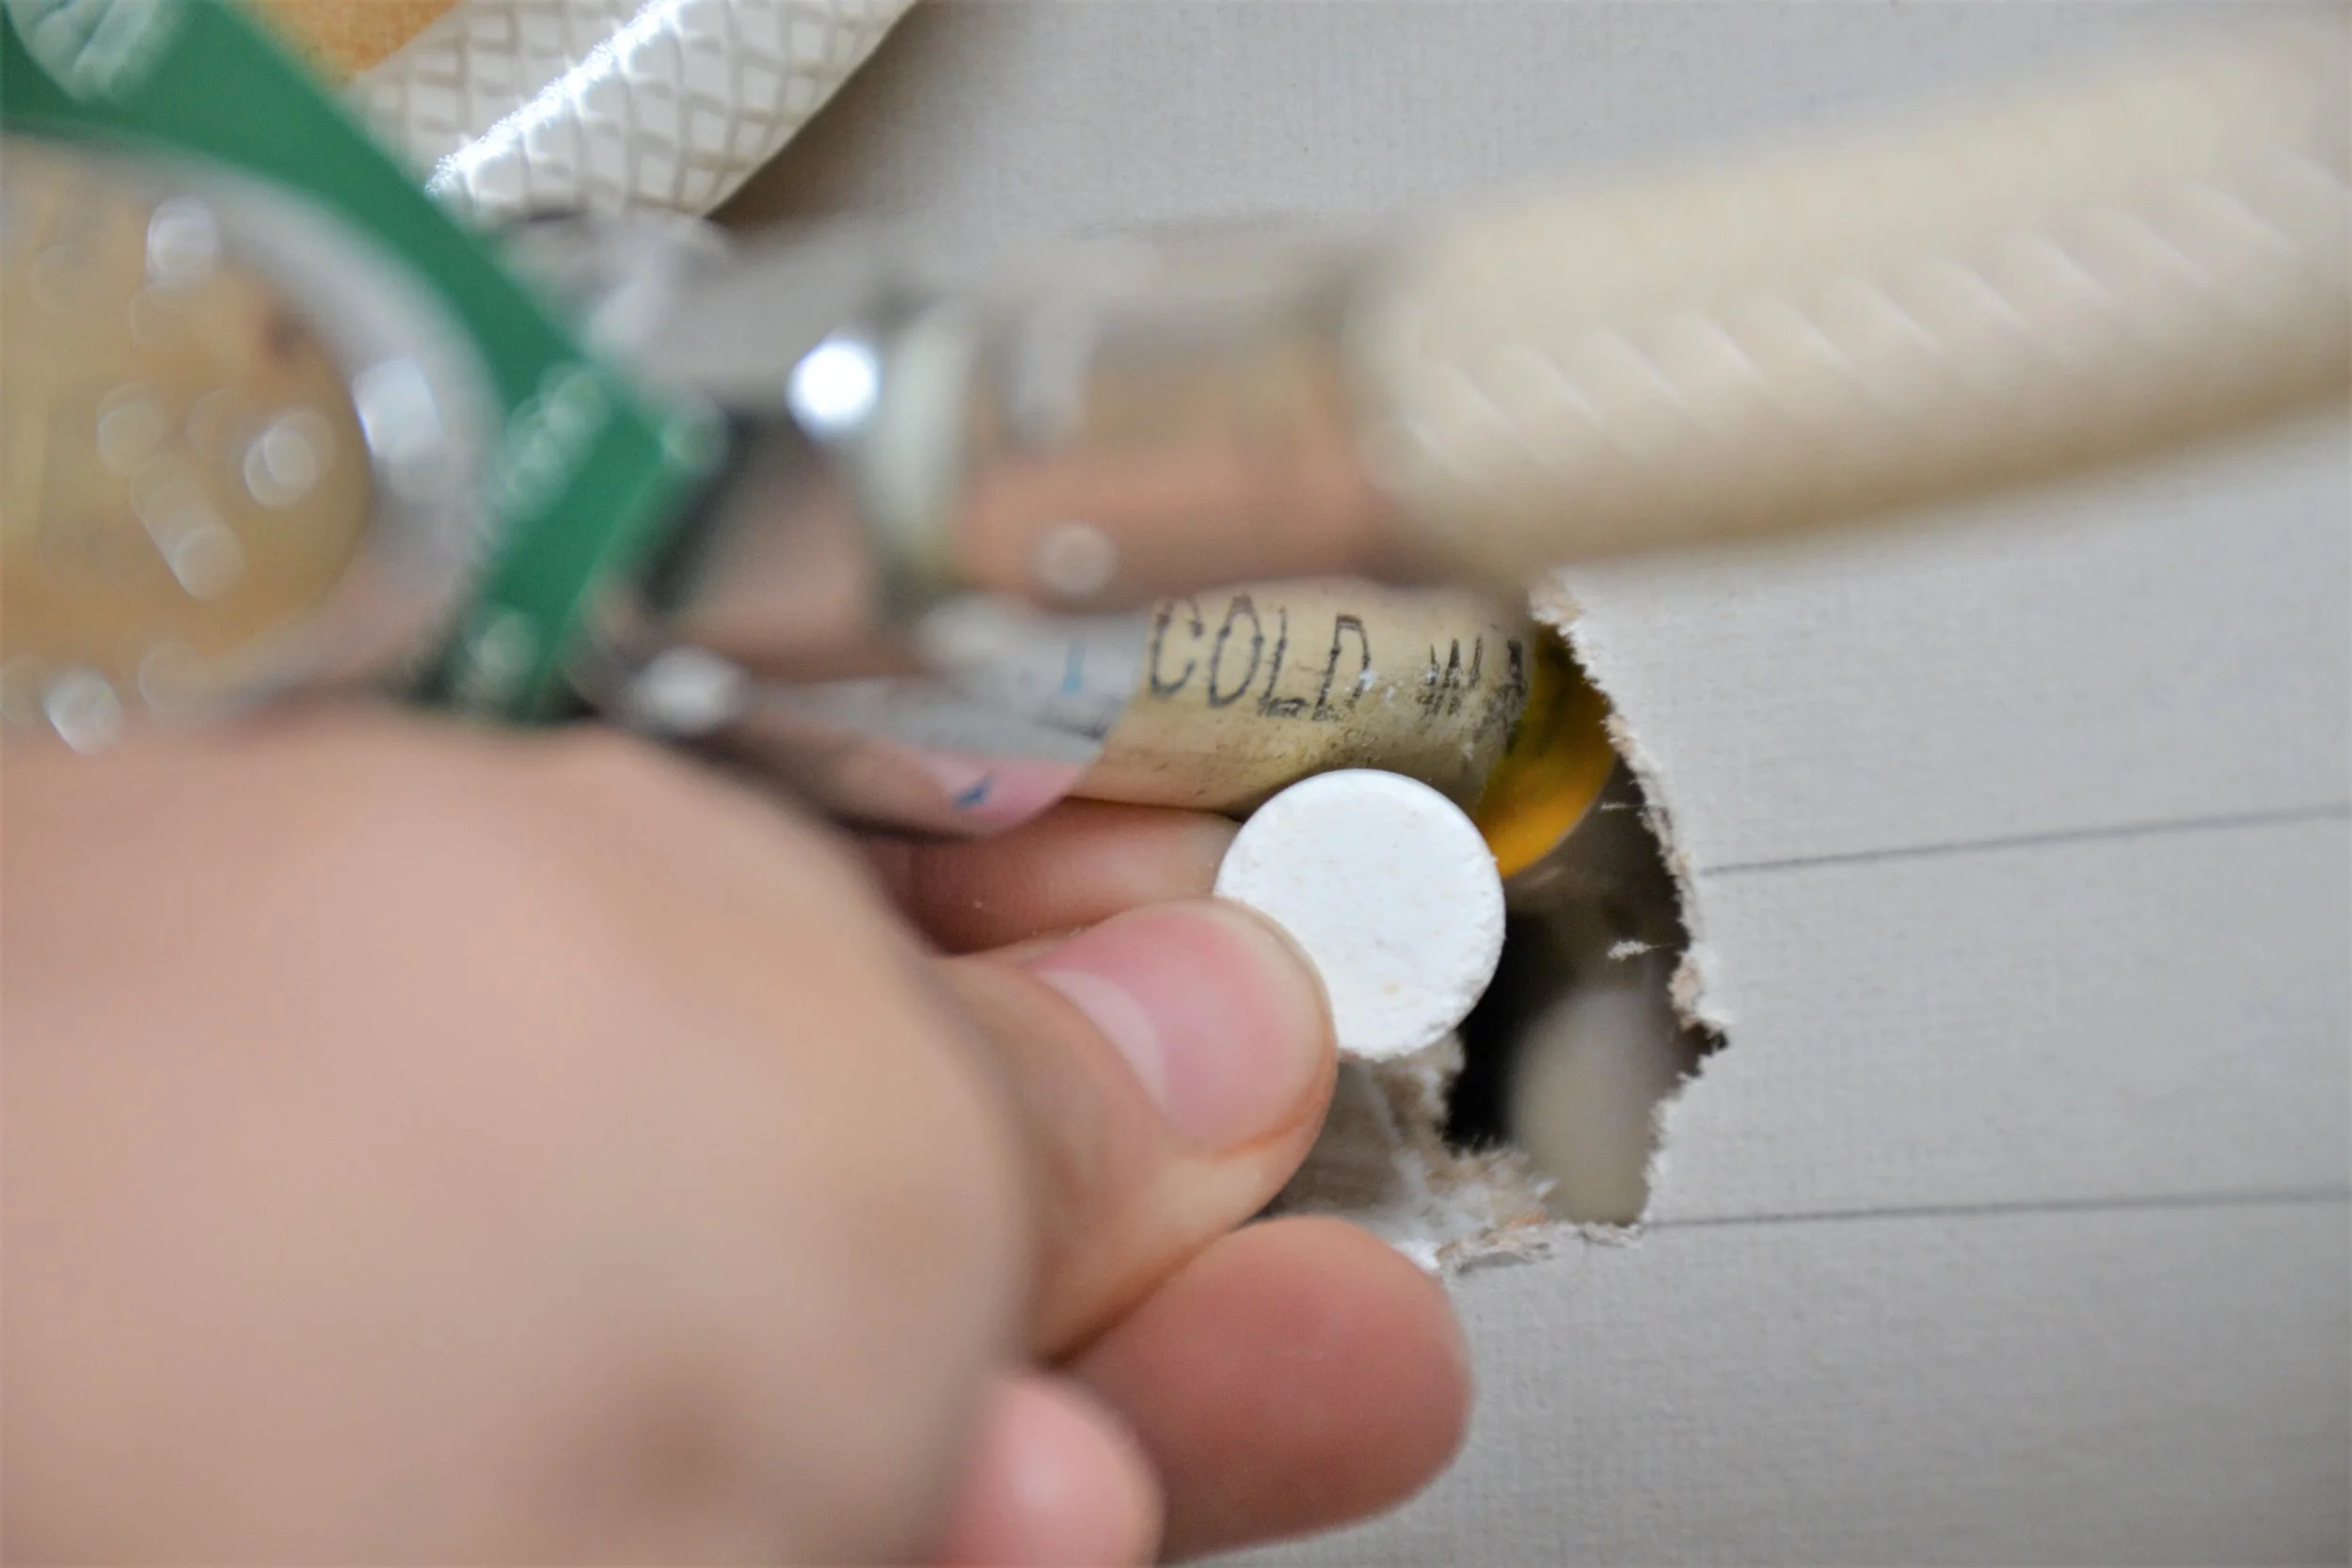
You will want to place the tablets in out of the way spots that roaches like to hide and live.
Place tablets under and behind the refrigerator, stove, sinks, tubes, dishwashers, anywhere there is moisture and warmth.
You can place the tablets in cracks and crevices along the basements and also in the corners of cabinets, and closets. Make sure that pets and children will not have access to these areas.
To treat cabinets, dresser that have an infestation you can place behind the drawers or inside the drawer wells.
You can re-apply as necessary, they will remain active for up to 2 years if they remain dry and free of contaminants, such as insecticide sprays. Harris Experts recommend you put fresh tablets out every 12 months.
Product Benefits:
Long lasting when kept dry
Easy to Conceal
Use in hidden areas – under drawers, appliances and cabinets
EPA registered and approved in all 50 states
Product has been around for over 100 YEARS!
Safe in homes with pets and children
You will want to make sure that application is in areas where they will not have access.
This post may contain affiliate links. I may earn a small commission at no extra cost to you if you make a purchase through these links. I only recommend products I personally use and love.
Quick answer: This is my transitional European kitchen, updated over two years with no demo. I bought the house in November 2020 and the kitchen had been renovated within the previous ten years, so the bones were good. The changes were hardware, lighting and curated pieces added gradually, shown here in before and after phases.
Hello & a warm welcome to my kitchen.
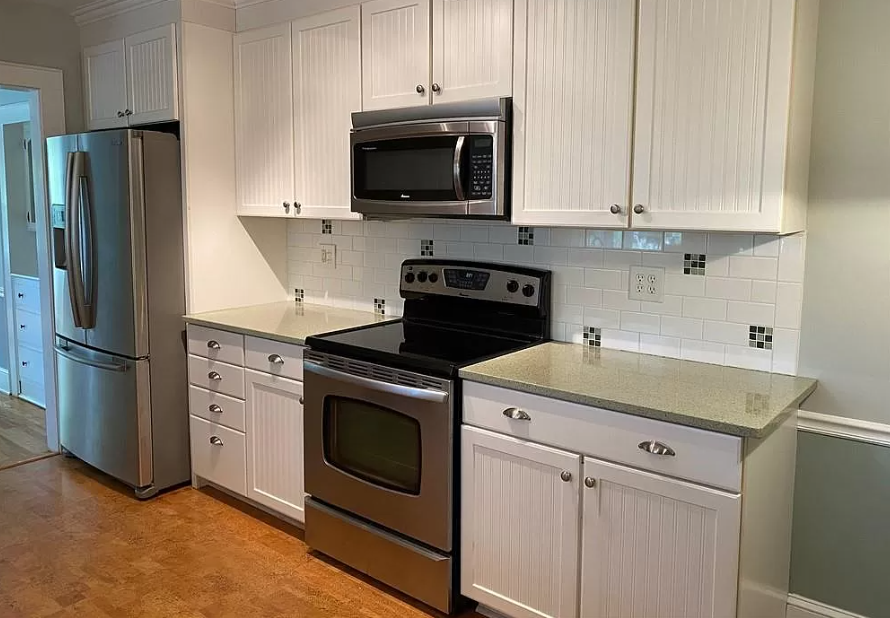
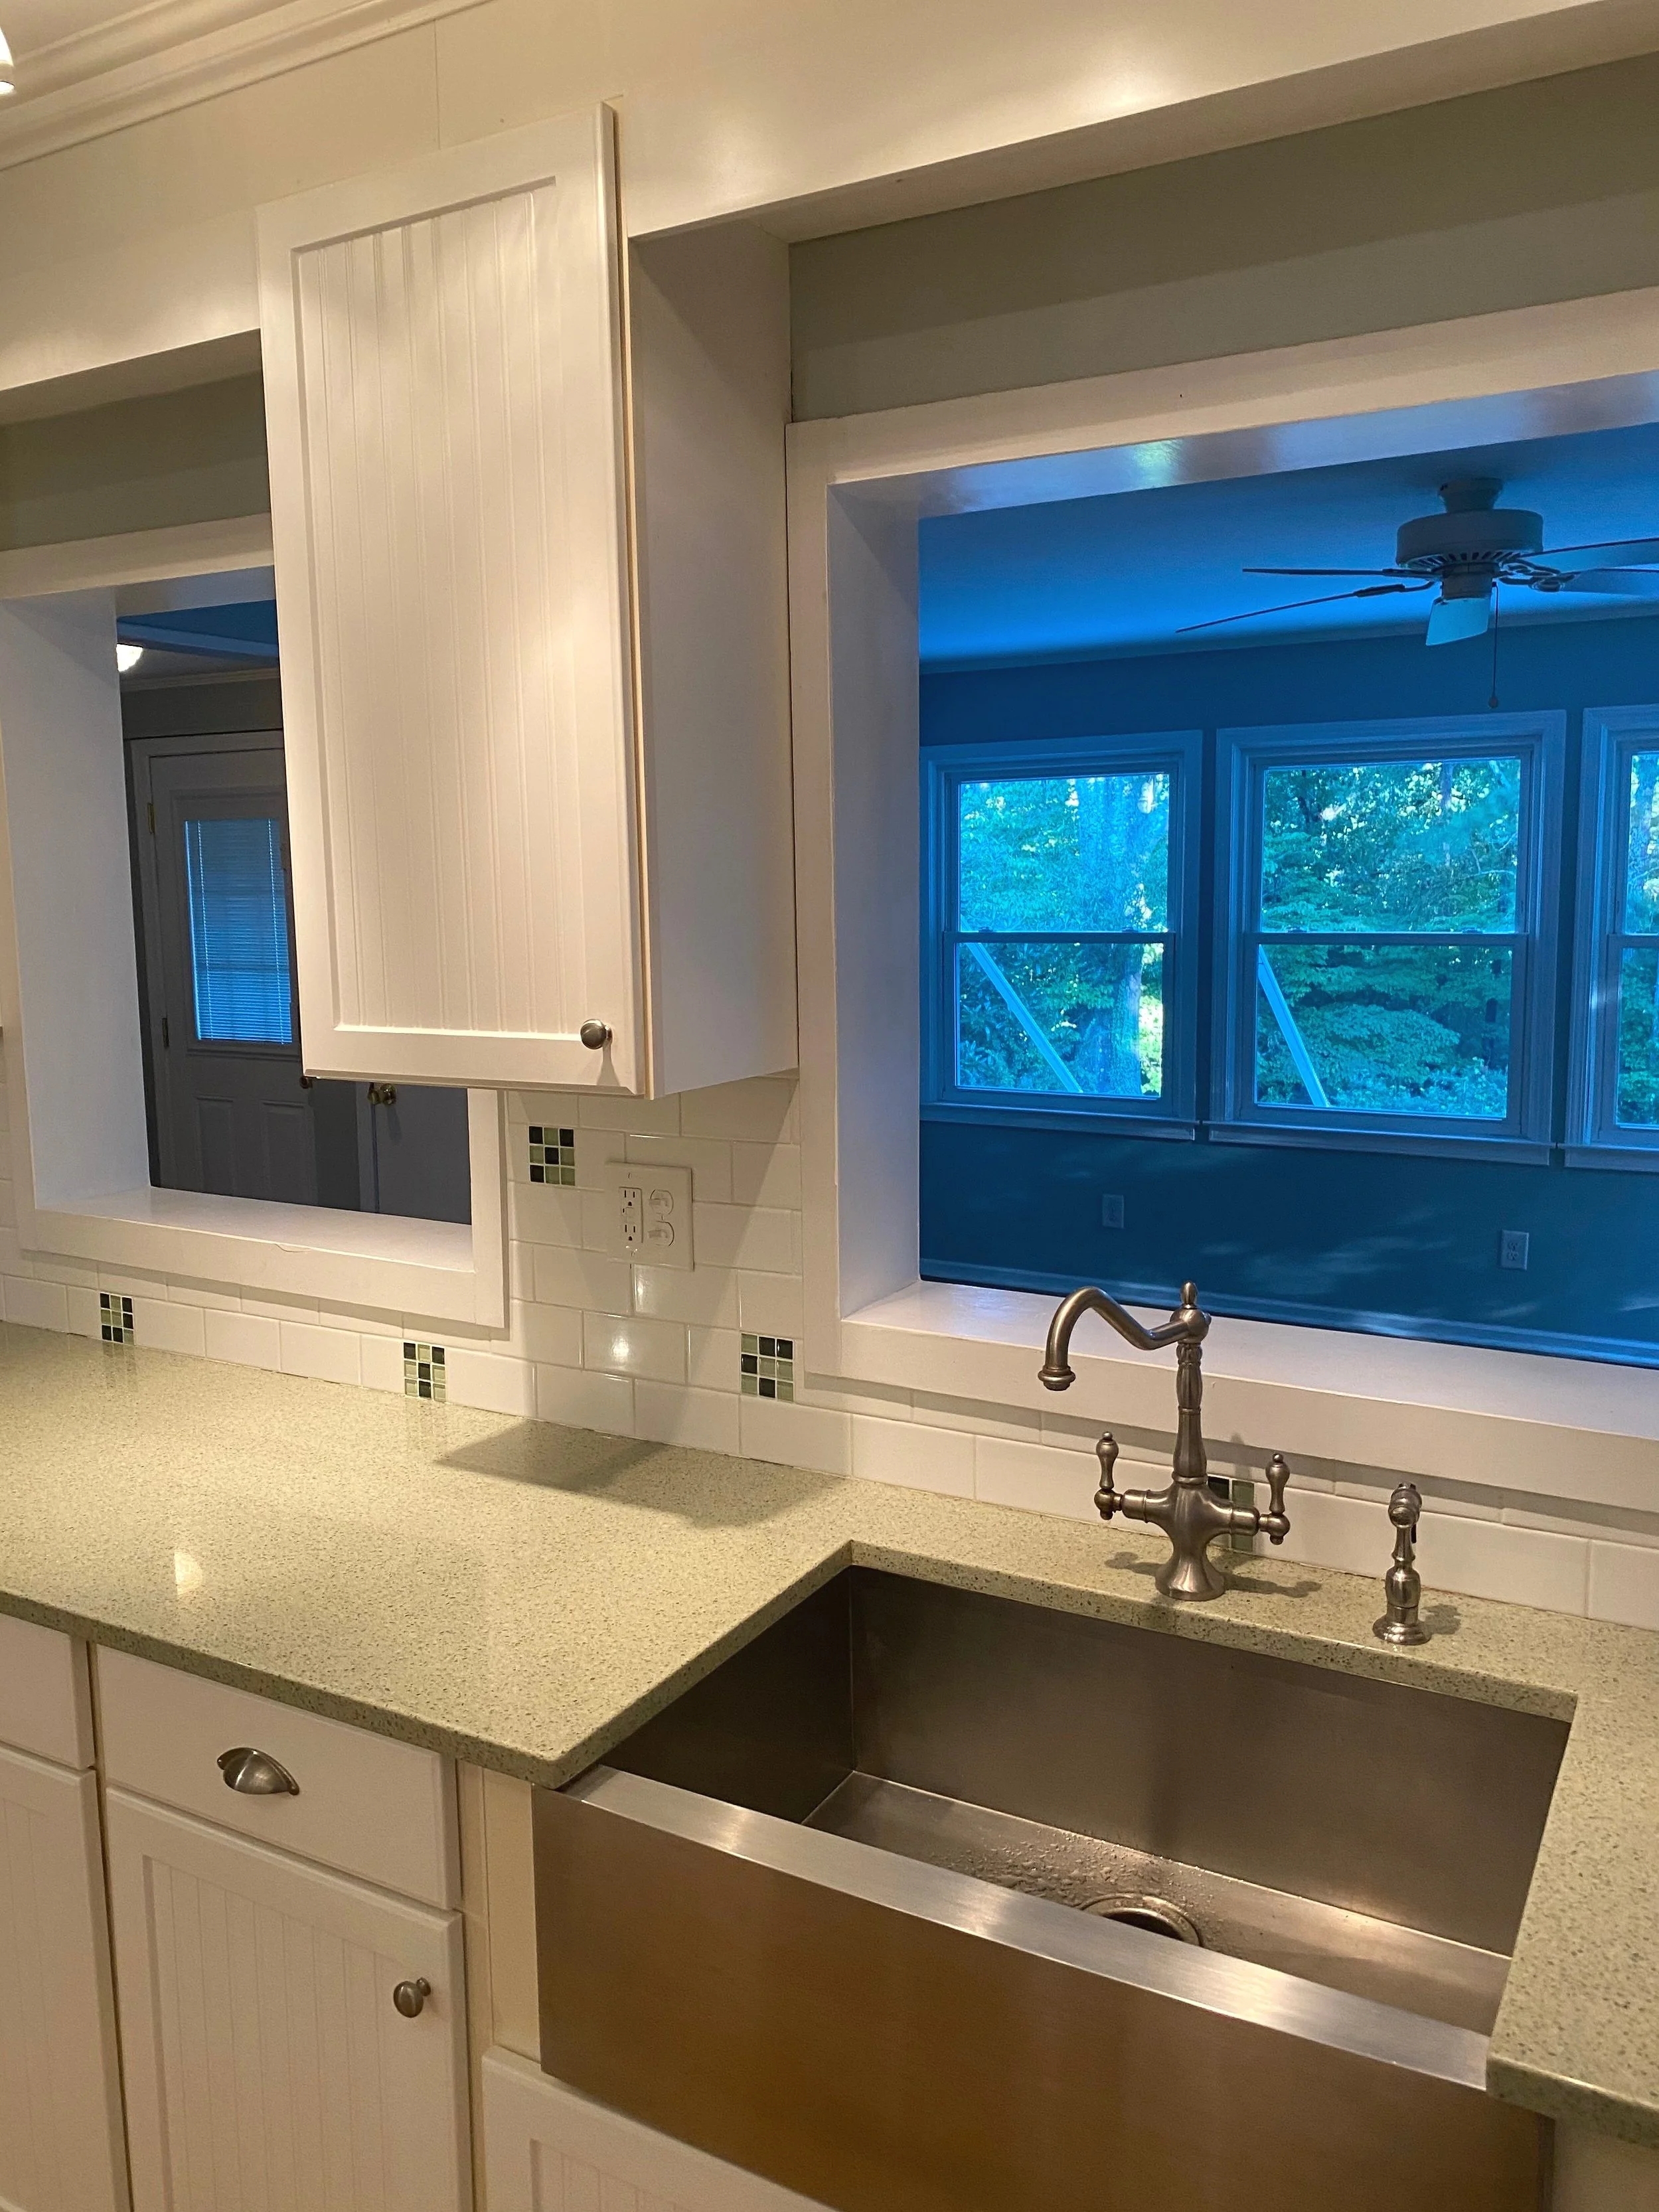
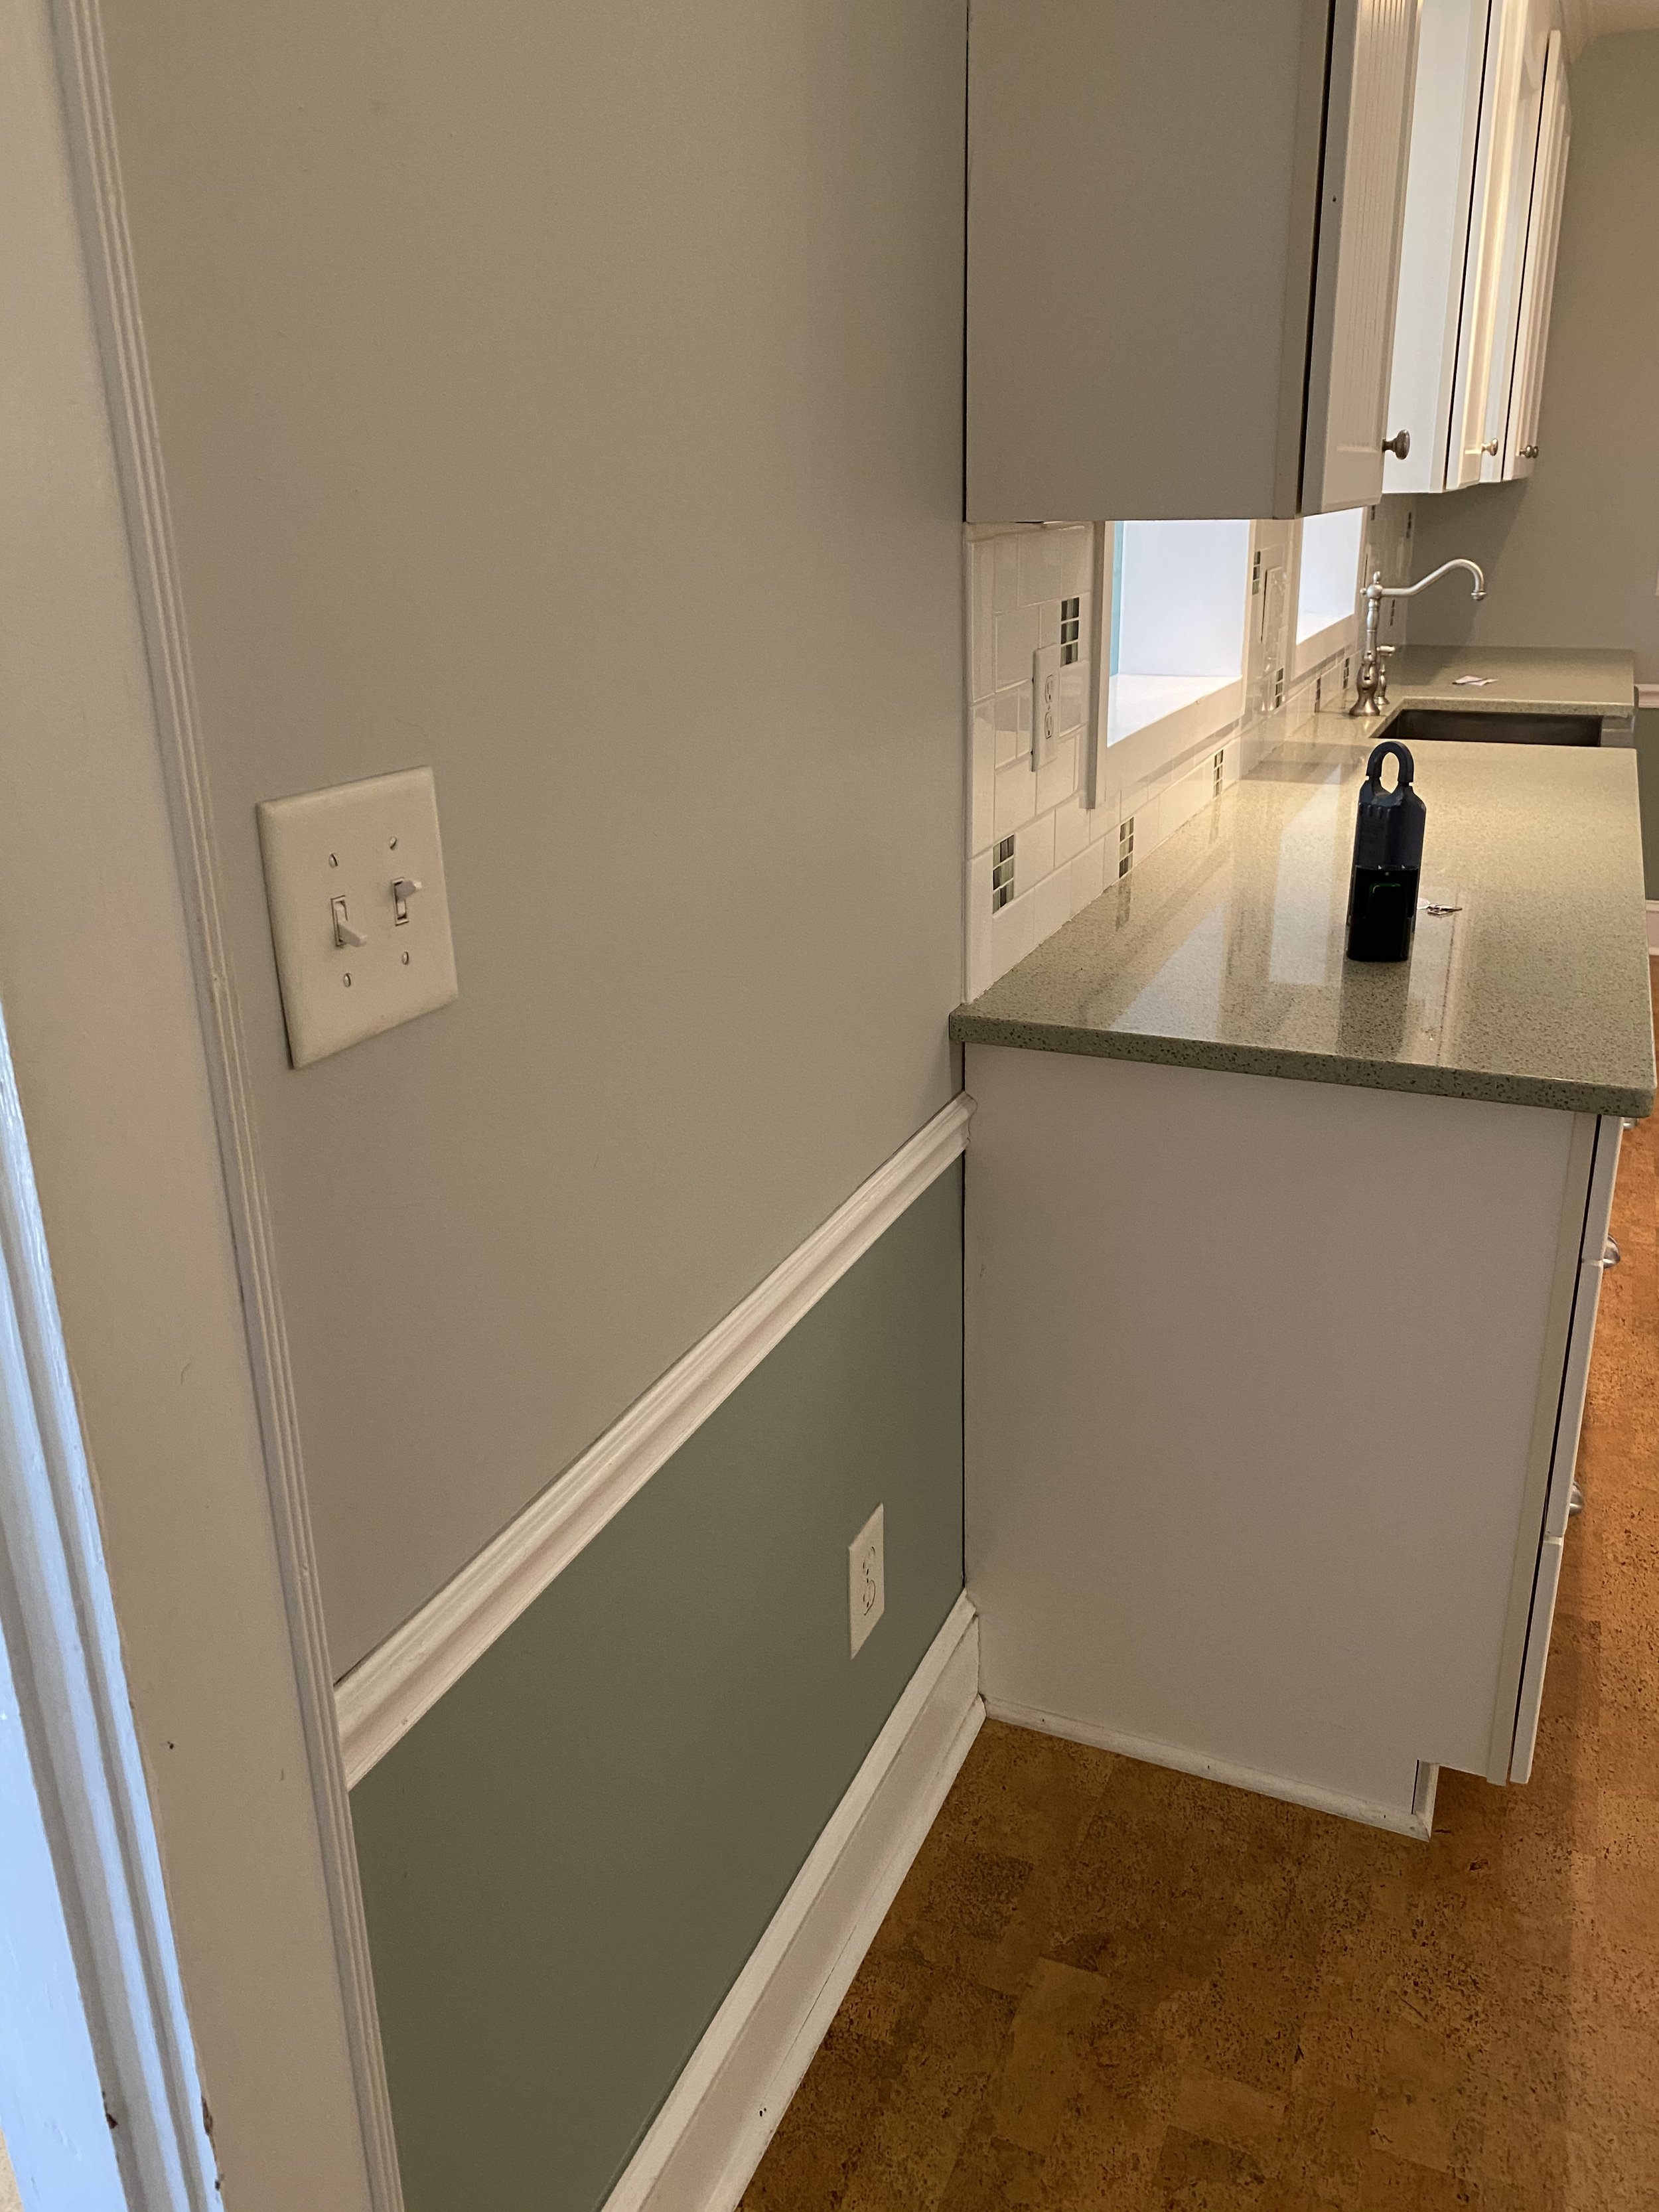
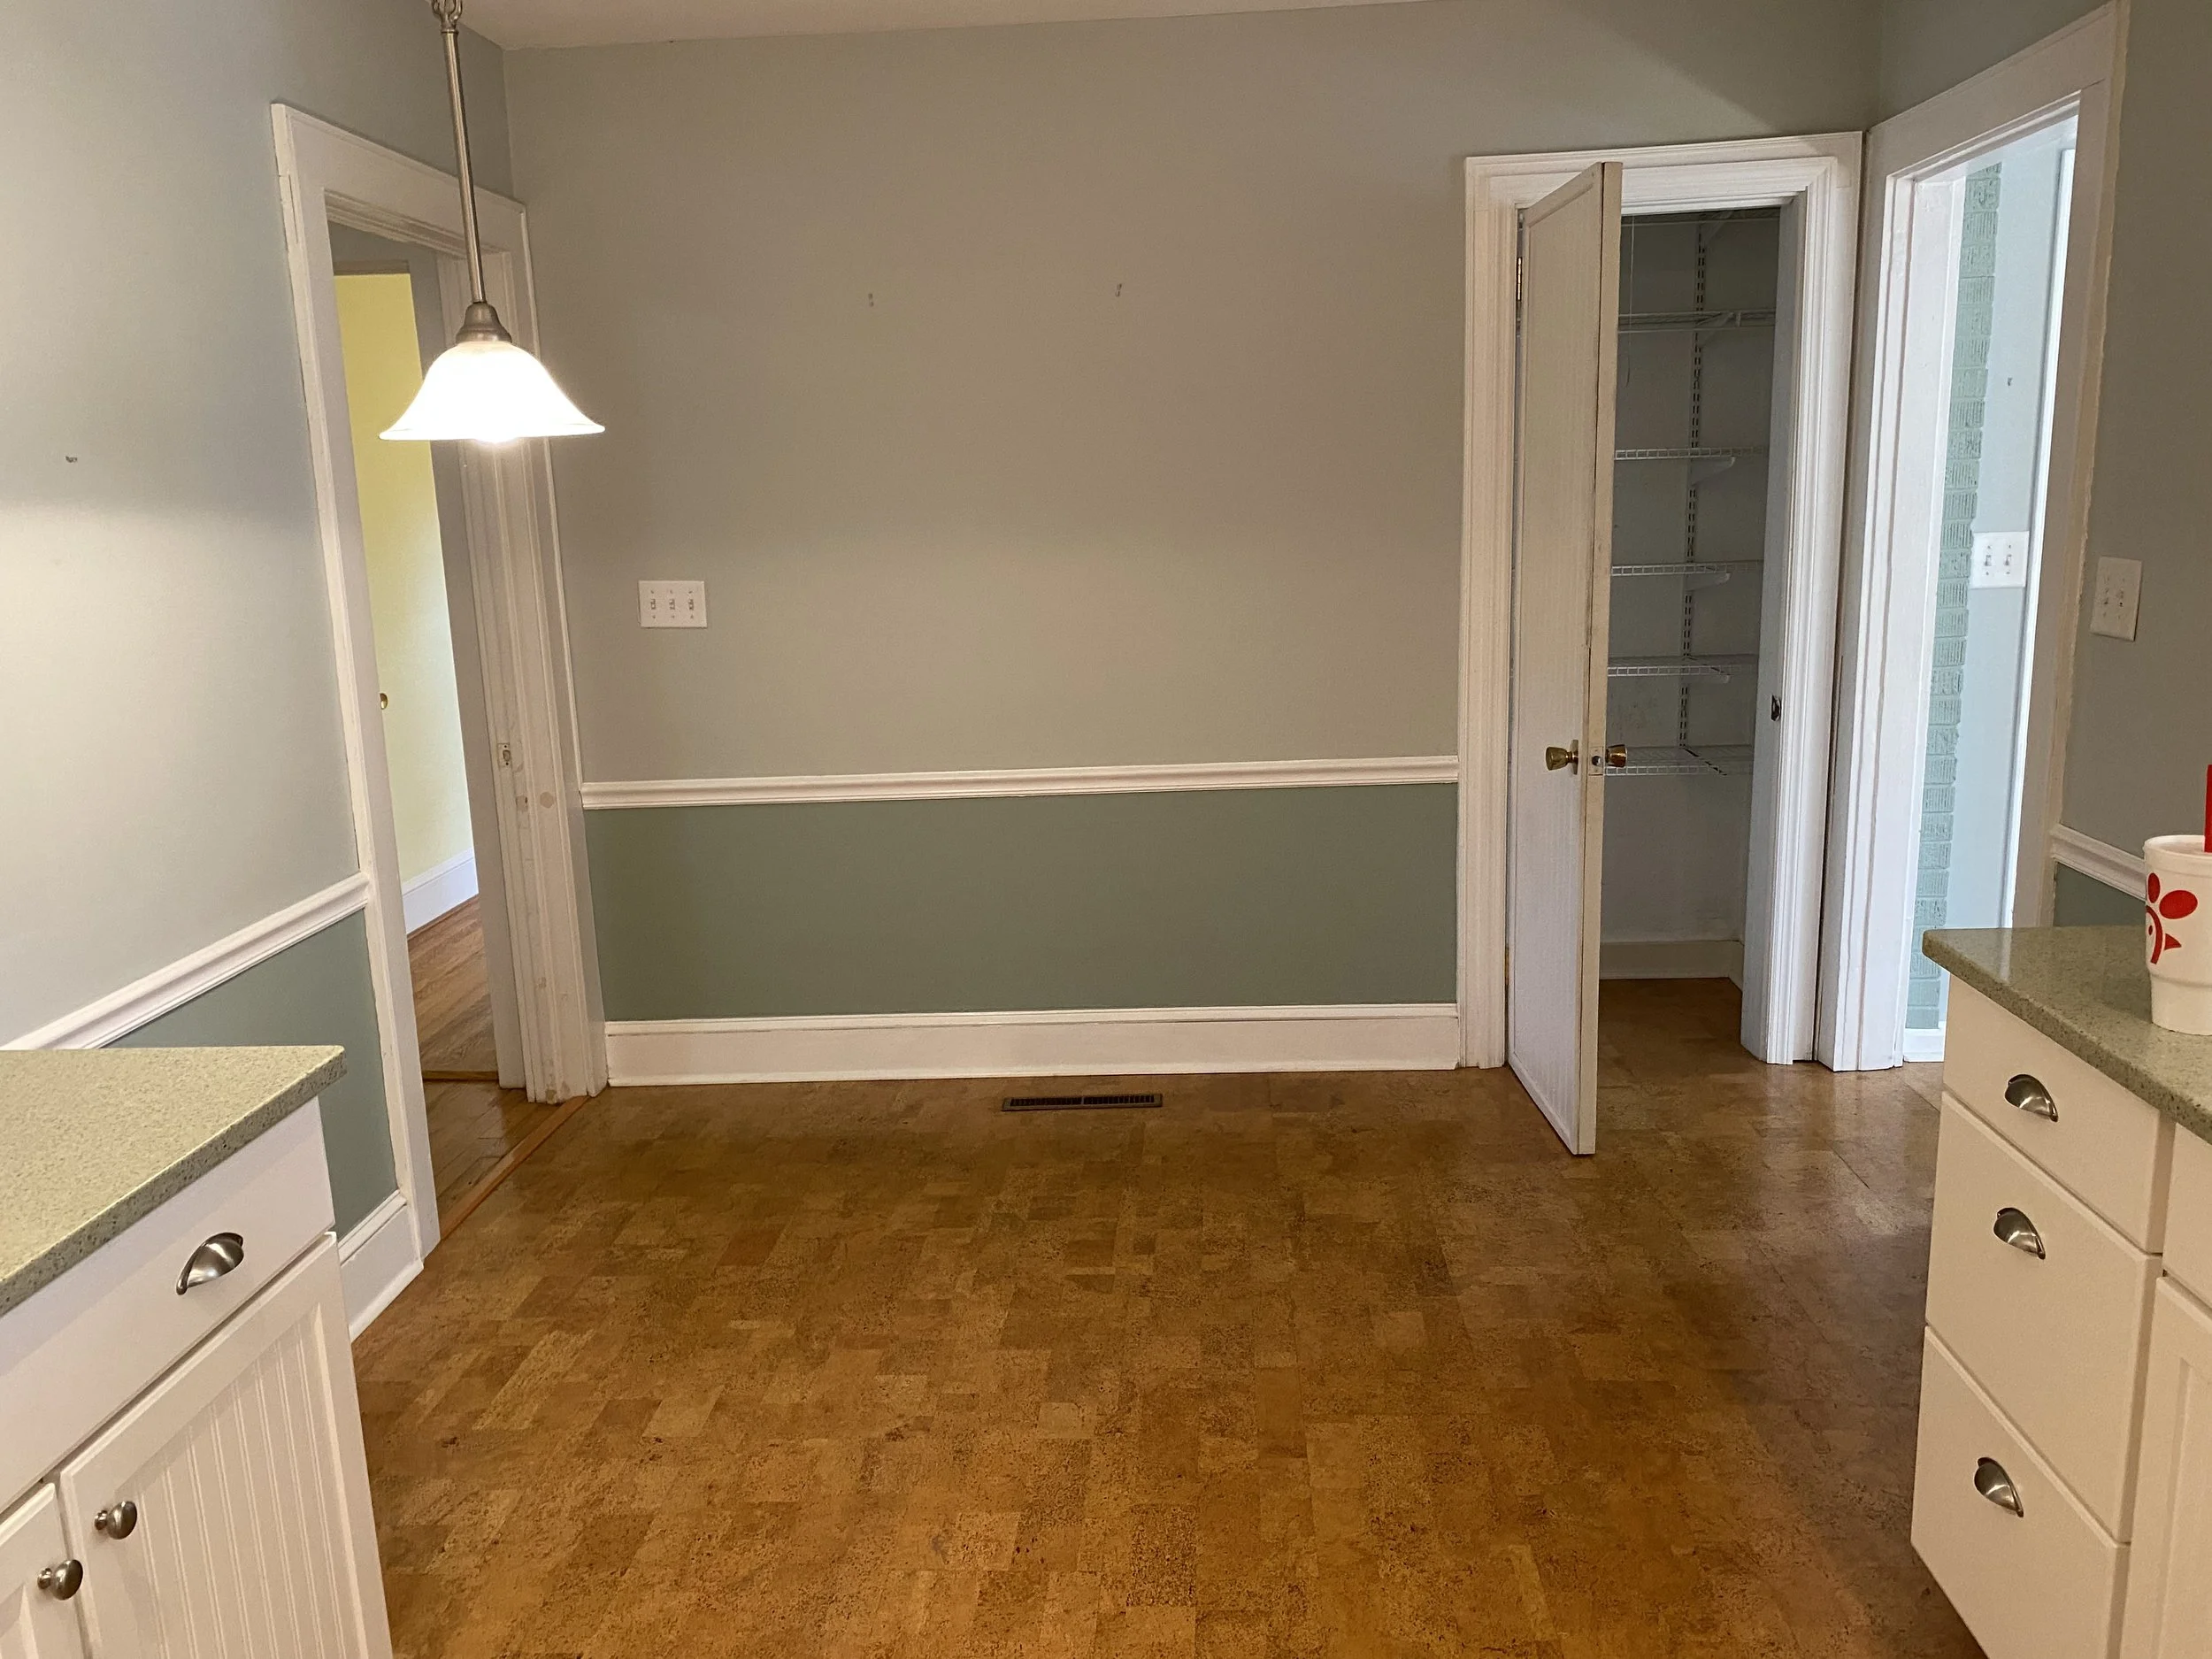
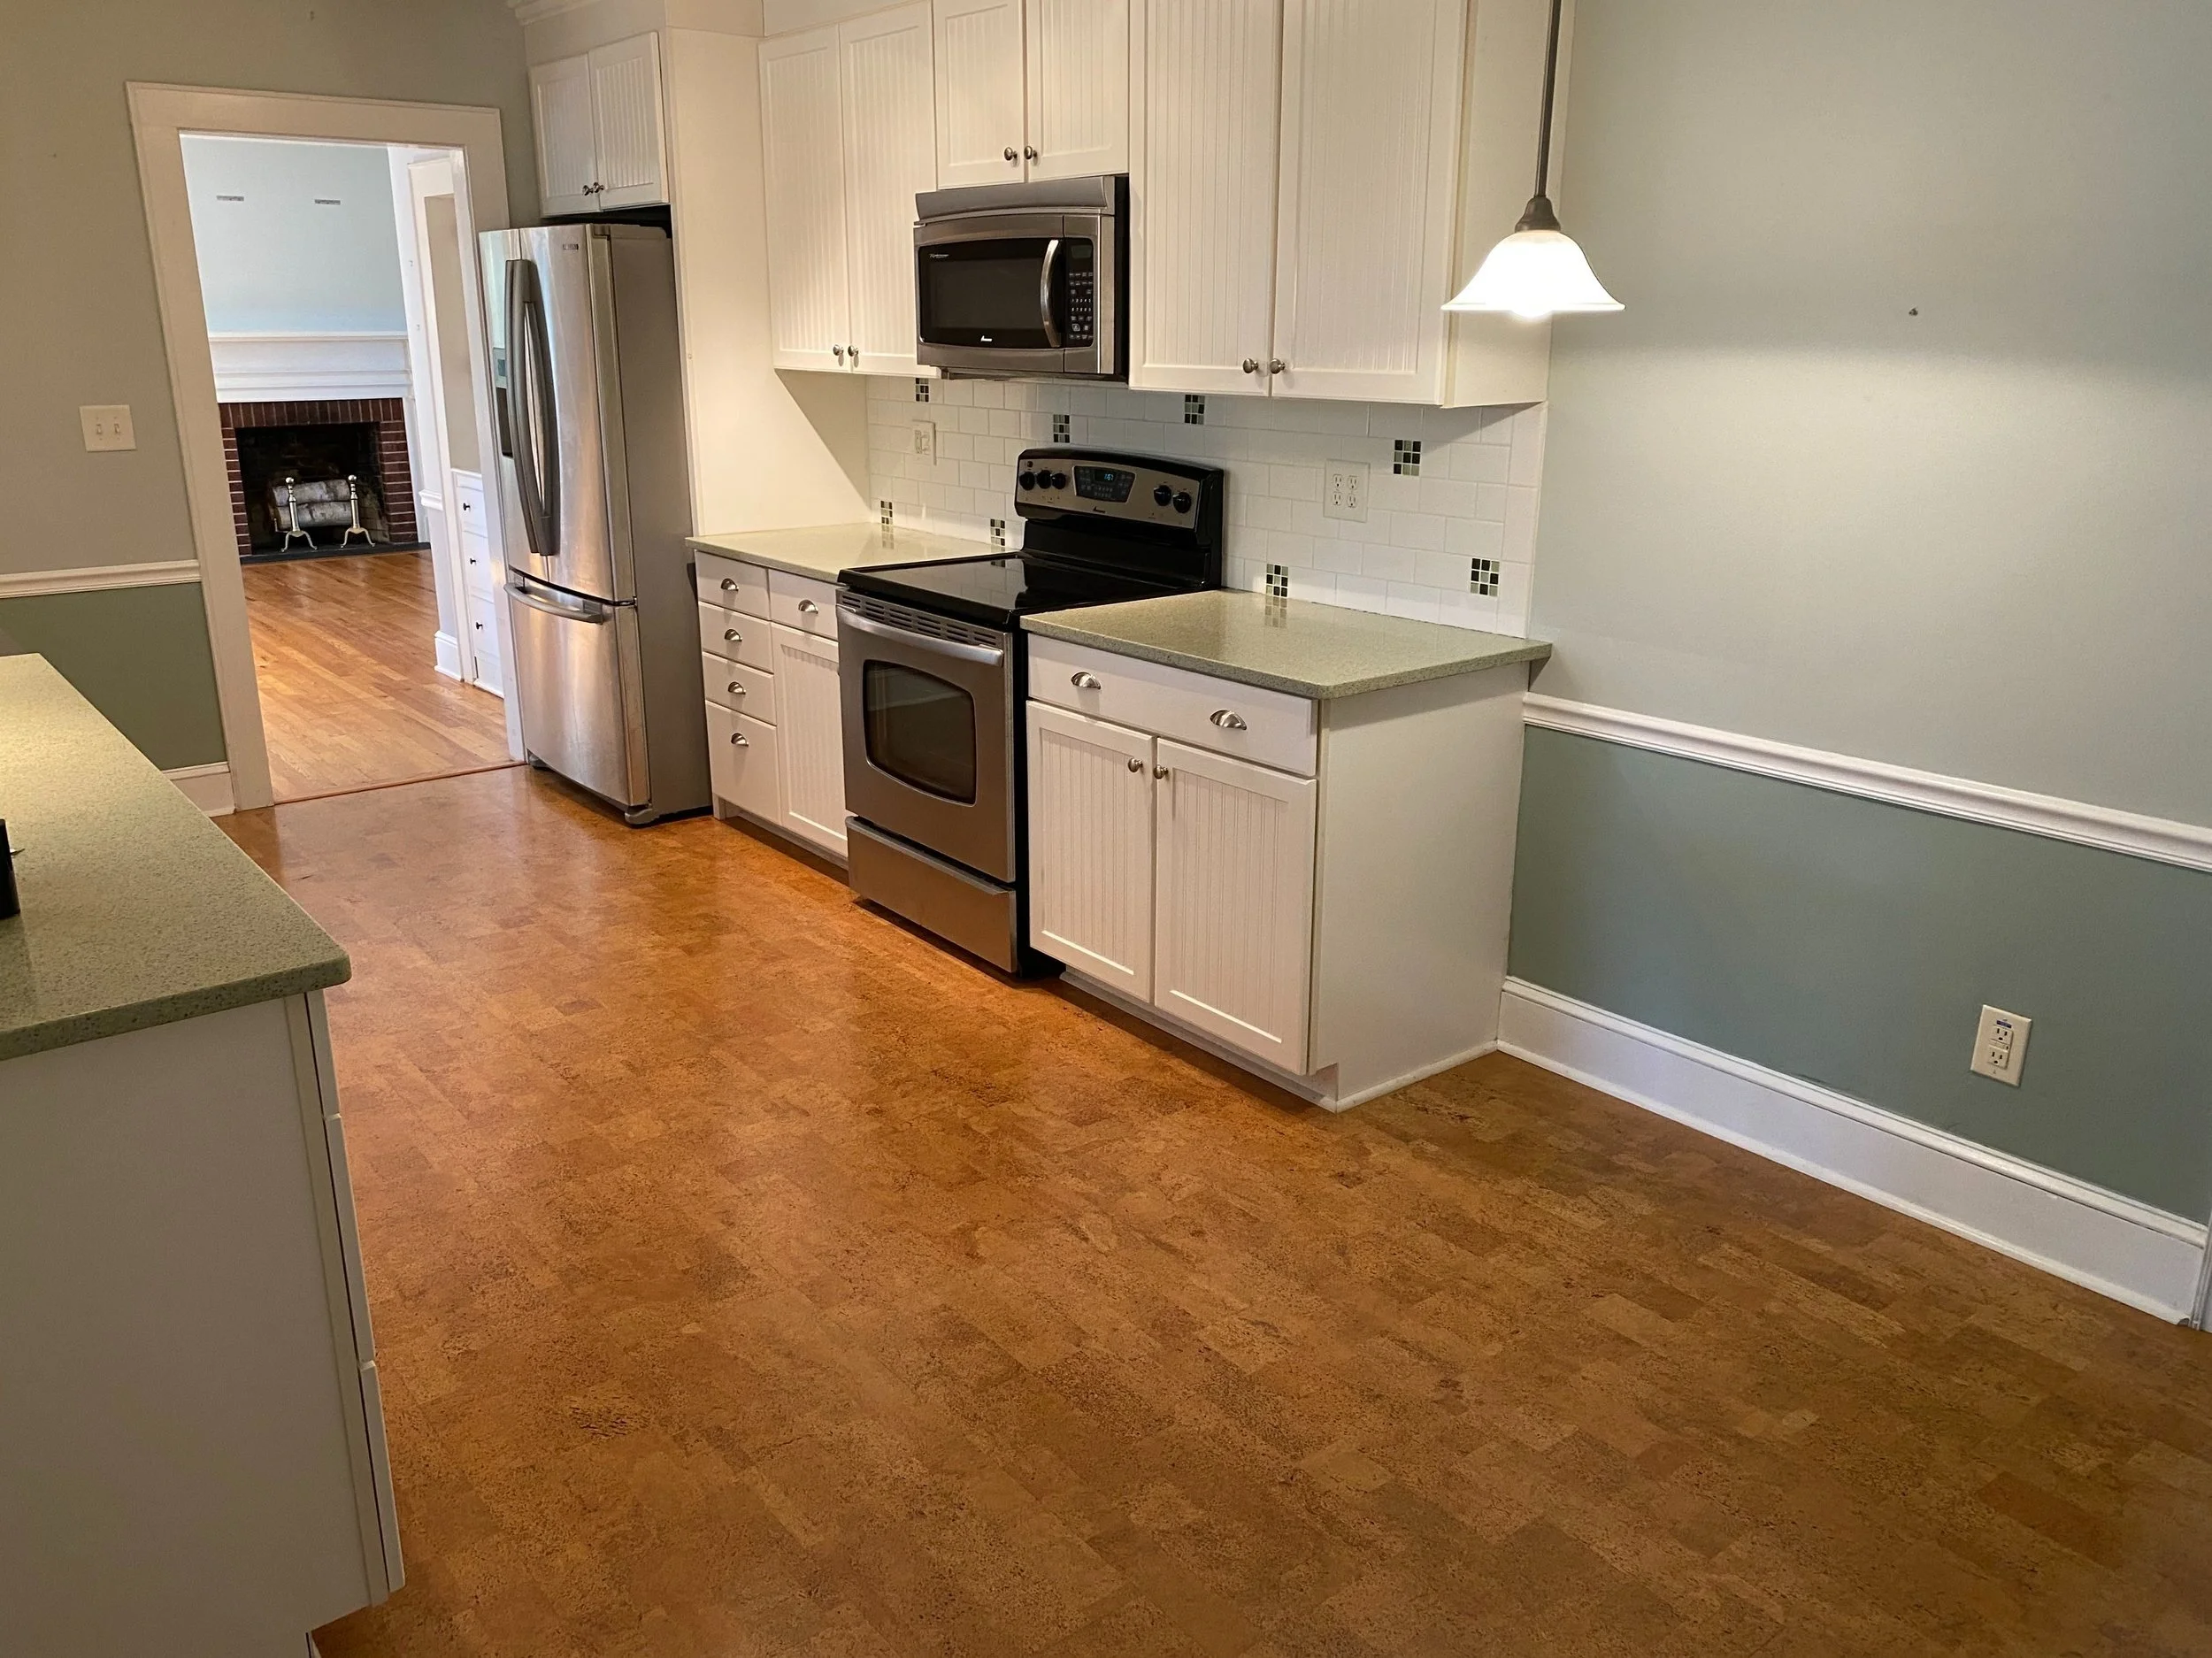
When I purchased my home in the fall of November 2020, this kitchen had been semi-recently renovated within the past 10 years with new countertops, cabinets, appliances, & lighting. Thankfully everything was in great shape and was well maintained and I had good bones to start off with. I knew I wanted to make small changes throughout the kitchen without having to demo it or make any major changes that would cost me a significant amount. Over the past 2 years I have embodied the mindset of slow curating and designing my entire home. I have been in no rush to finish the kitchen let alone any room in my home. My methodology has been based upon continually making improvements to the kitchen as I have had the money in my budget to do so. I went for a long time with no table and seating until I could find the items that perfectly fit my vision. I would find pieces here and there and I gradually began to see a transformation in my kitchen as I added each piece. Below you will find photos of my kitchen starting with the original listing photos for the house and the various stages of the curation process as it has continuously evolved over the past 2 years timespan.
Before Photos Of My Kitchen:
These are the listing photos of my kitchen and also include a few that I took myself before I moved in.
Makeover Phase 1 (First 8-12 Months):
Improvements:
Hardware
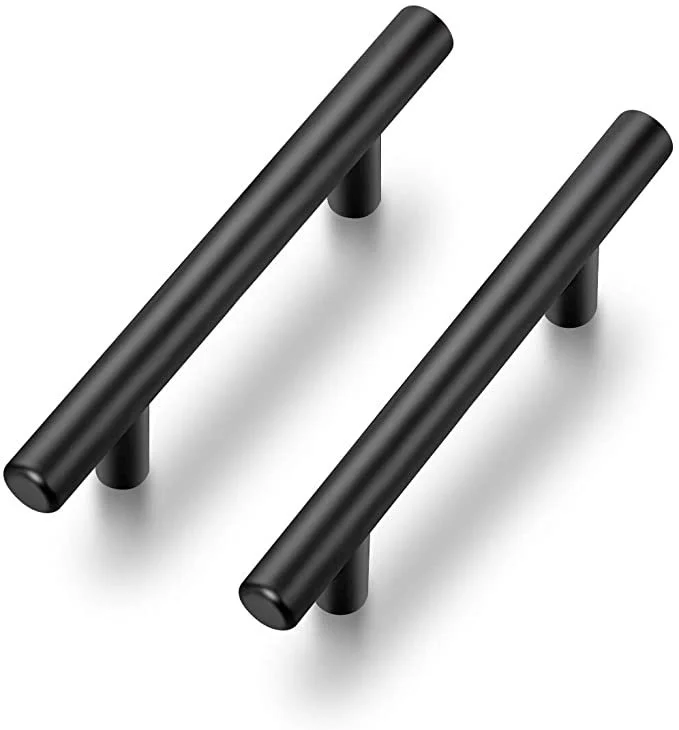
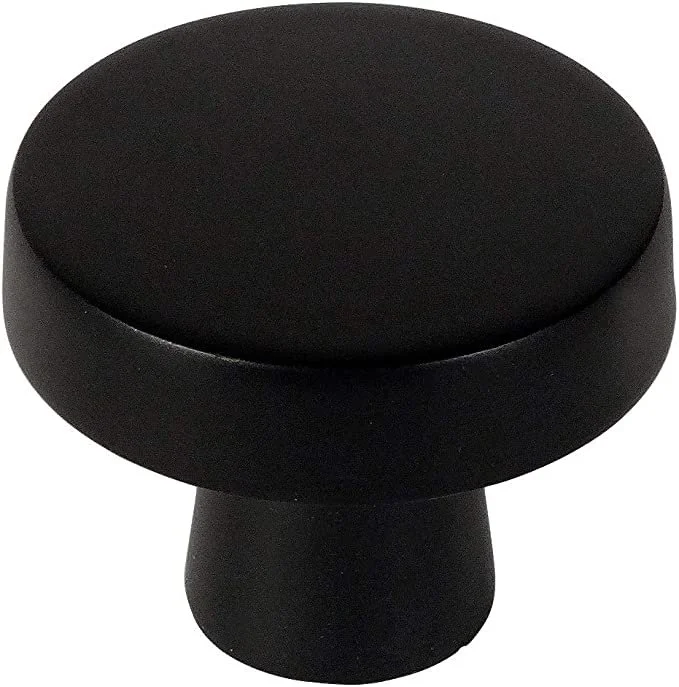
The original silver colored hardware that was on the existing cabinets & drawers when I moved in was easily changed to a matte black more modern style set of knobs & drawer pulls. I ordered both the knobs & pulls on Amazon. I definitely recommend using an electric/battery powered drill when unscrewing the old knobs on your cabinets & installing the new set. It will save you a significant amount of time in the long run.
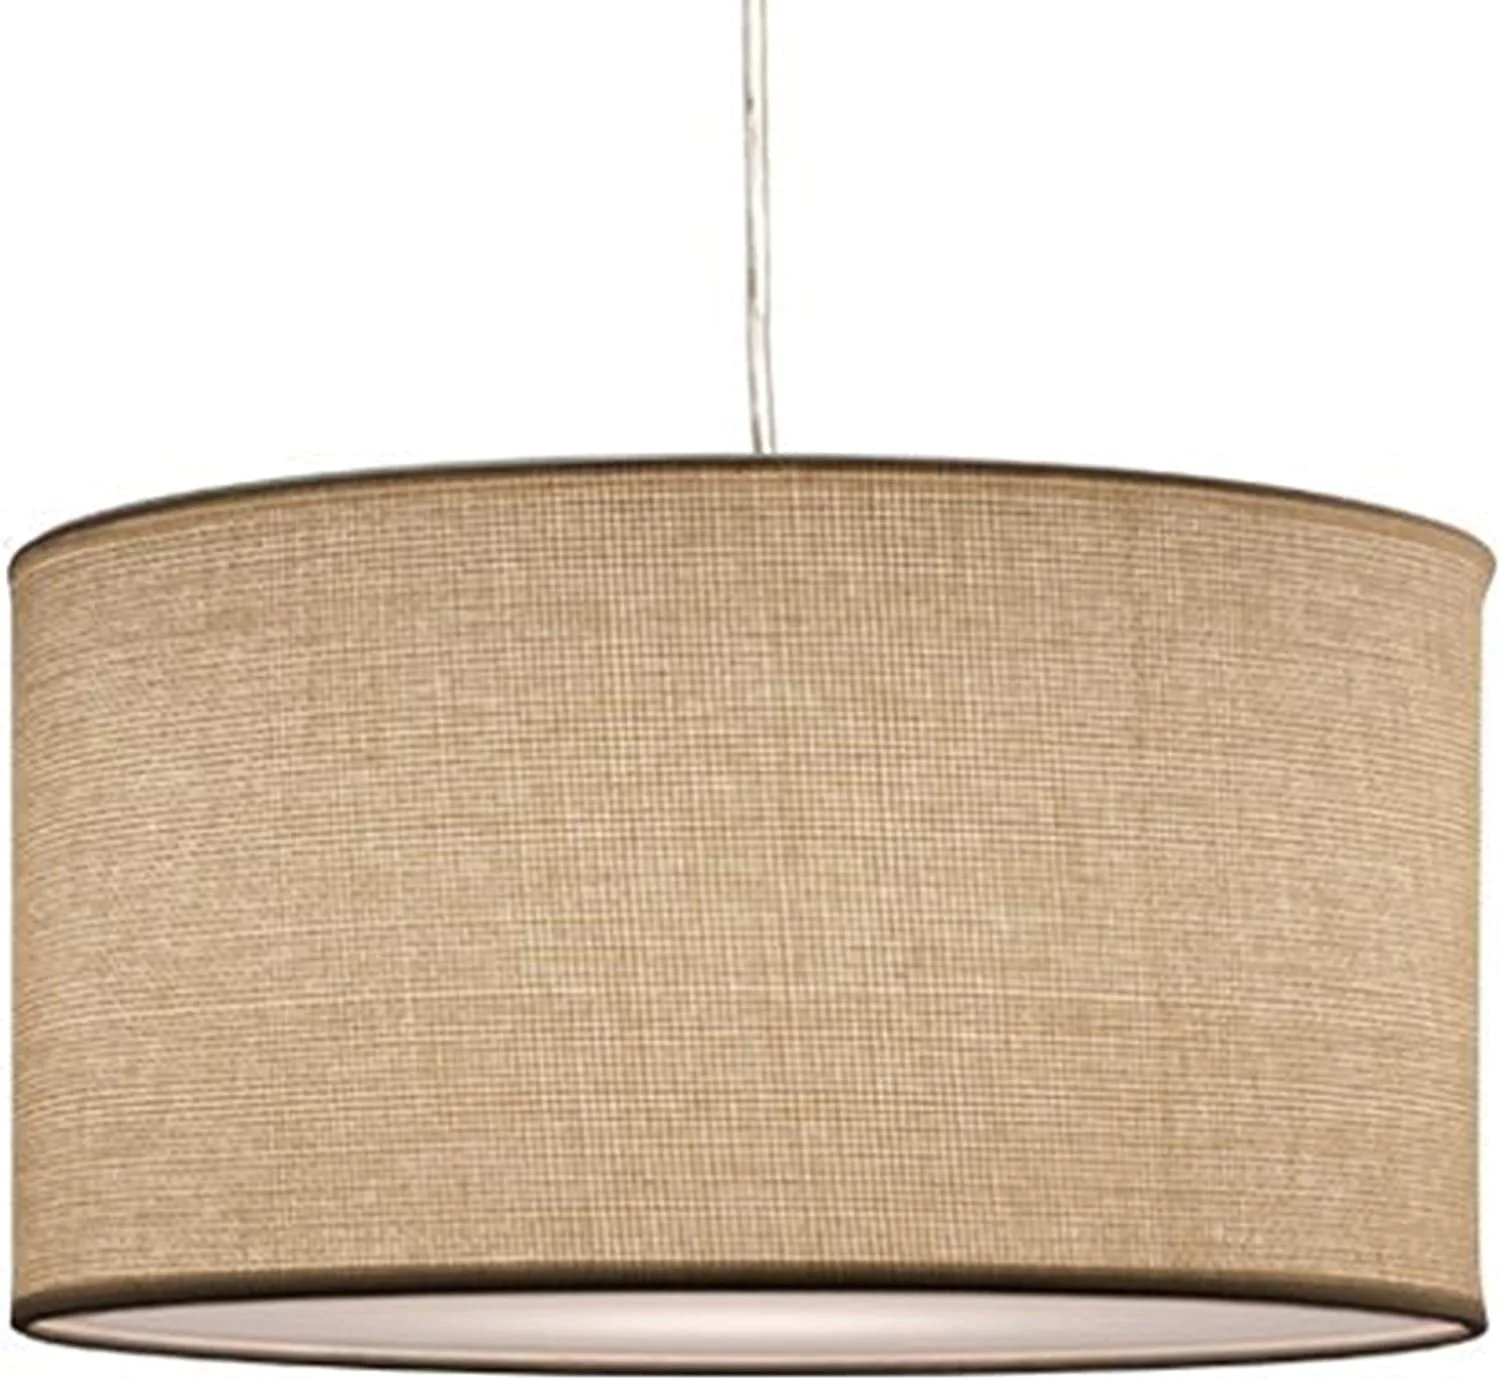
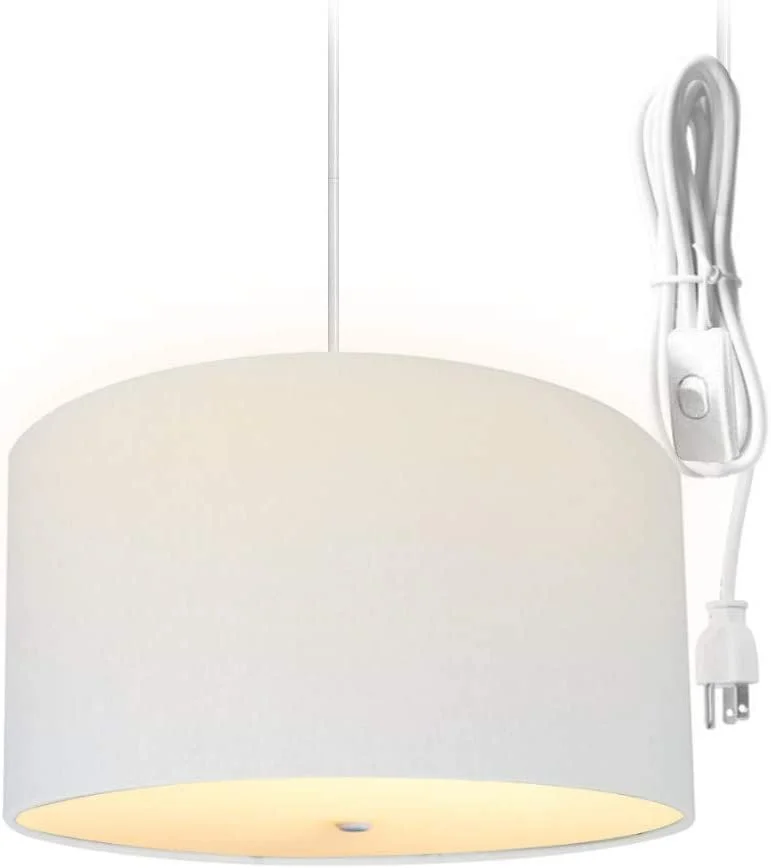
I replaced the pendant that was hanging over the area of the kitchen that I transformed into my version of an English style breakfast nook. I found the pendant on sale at a overstock/returns store that receives items from West Elm, Crate & Barrell, Amazon, Etc. I paid only $25 for the pendant and it cost me an additional $35 to have my handyman remove the old pendant and install the new one. Last item I required for this new shade was a hook to hang the cord from the ceiling (aka swag method/style) I chose a white one that blended in with my ceiling pant color for about $3.
See below for a couple of similar swag style pendants with a barrel drum style fabric shade.
This post may contain affiliate links. I may earn a small commission at no extra cost to you if you make a purchase through these links. I only recommend products I personally use and love.
Do I have tips? I’ve got plenty. After my journey cleaning my fireplace, I honestly started to consider a career in cleaning chimneys and cleaning fireplaces. Let’s get started.
First we’re going to talk about the products I used.
Second we’re going to talk about the different tools and I’m going to link everything here on this blog post.
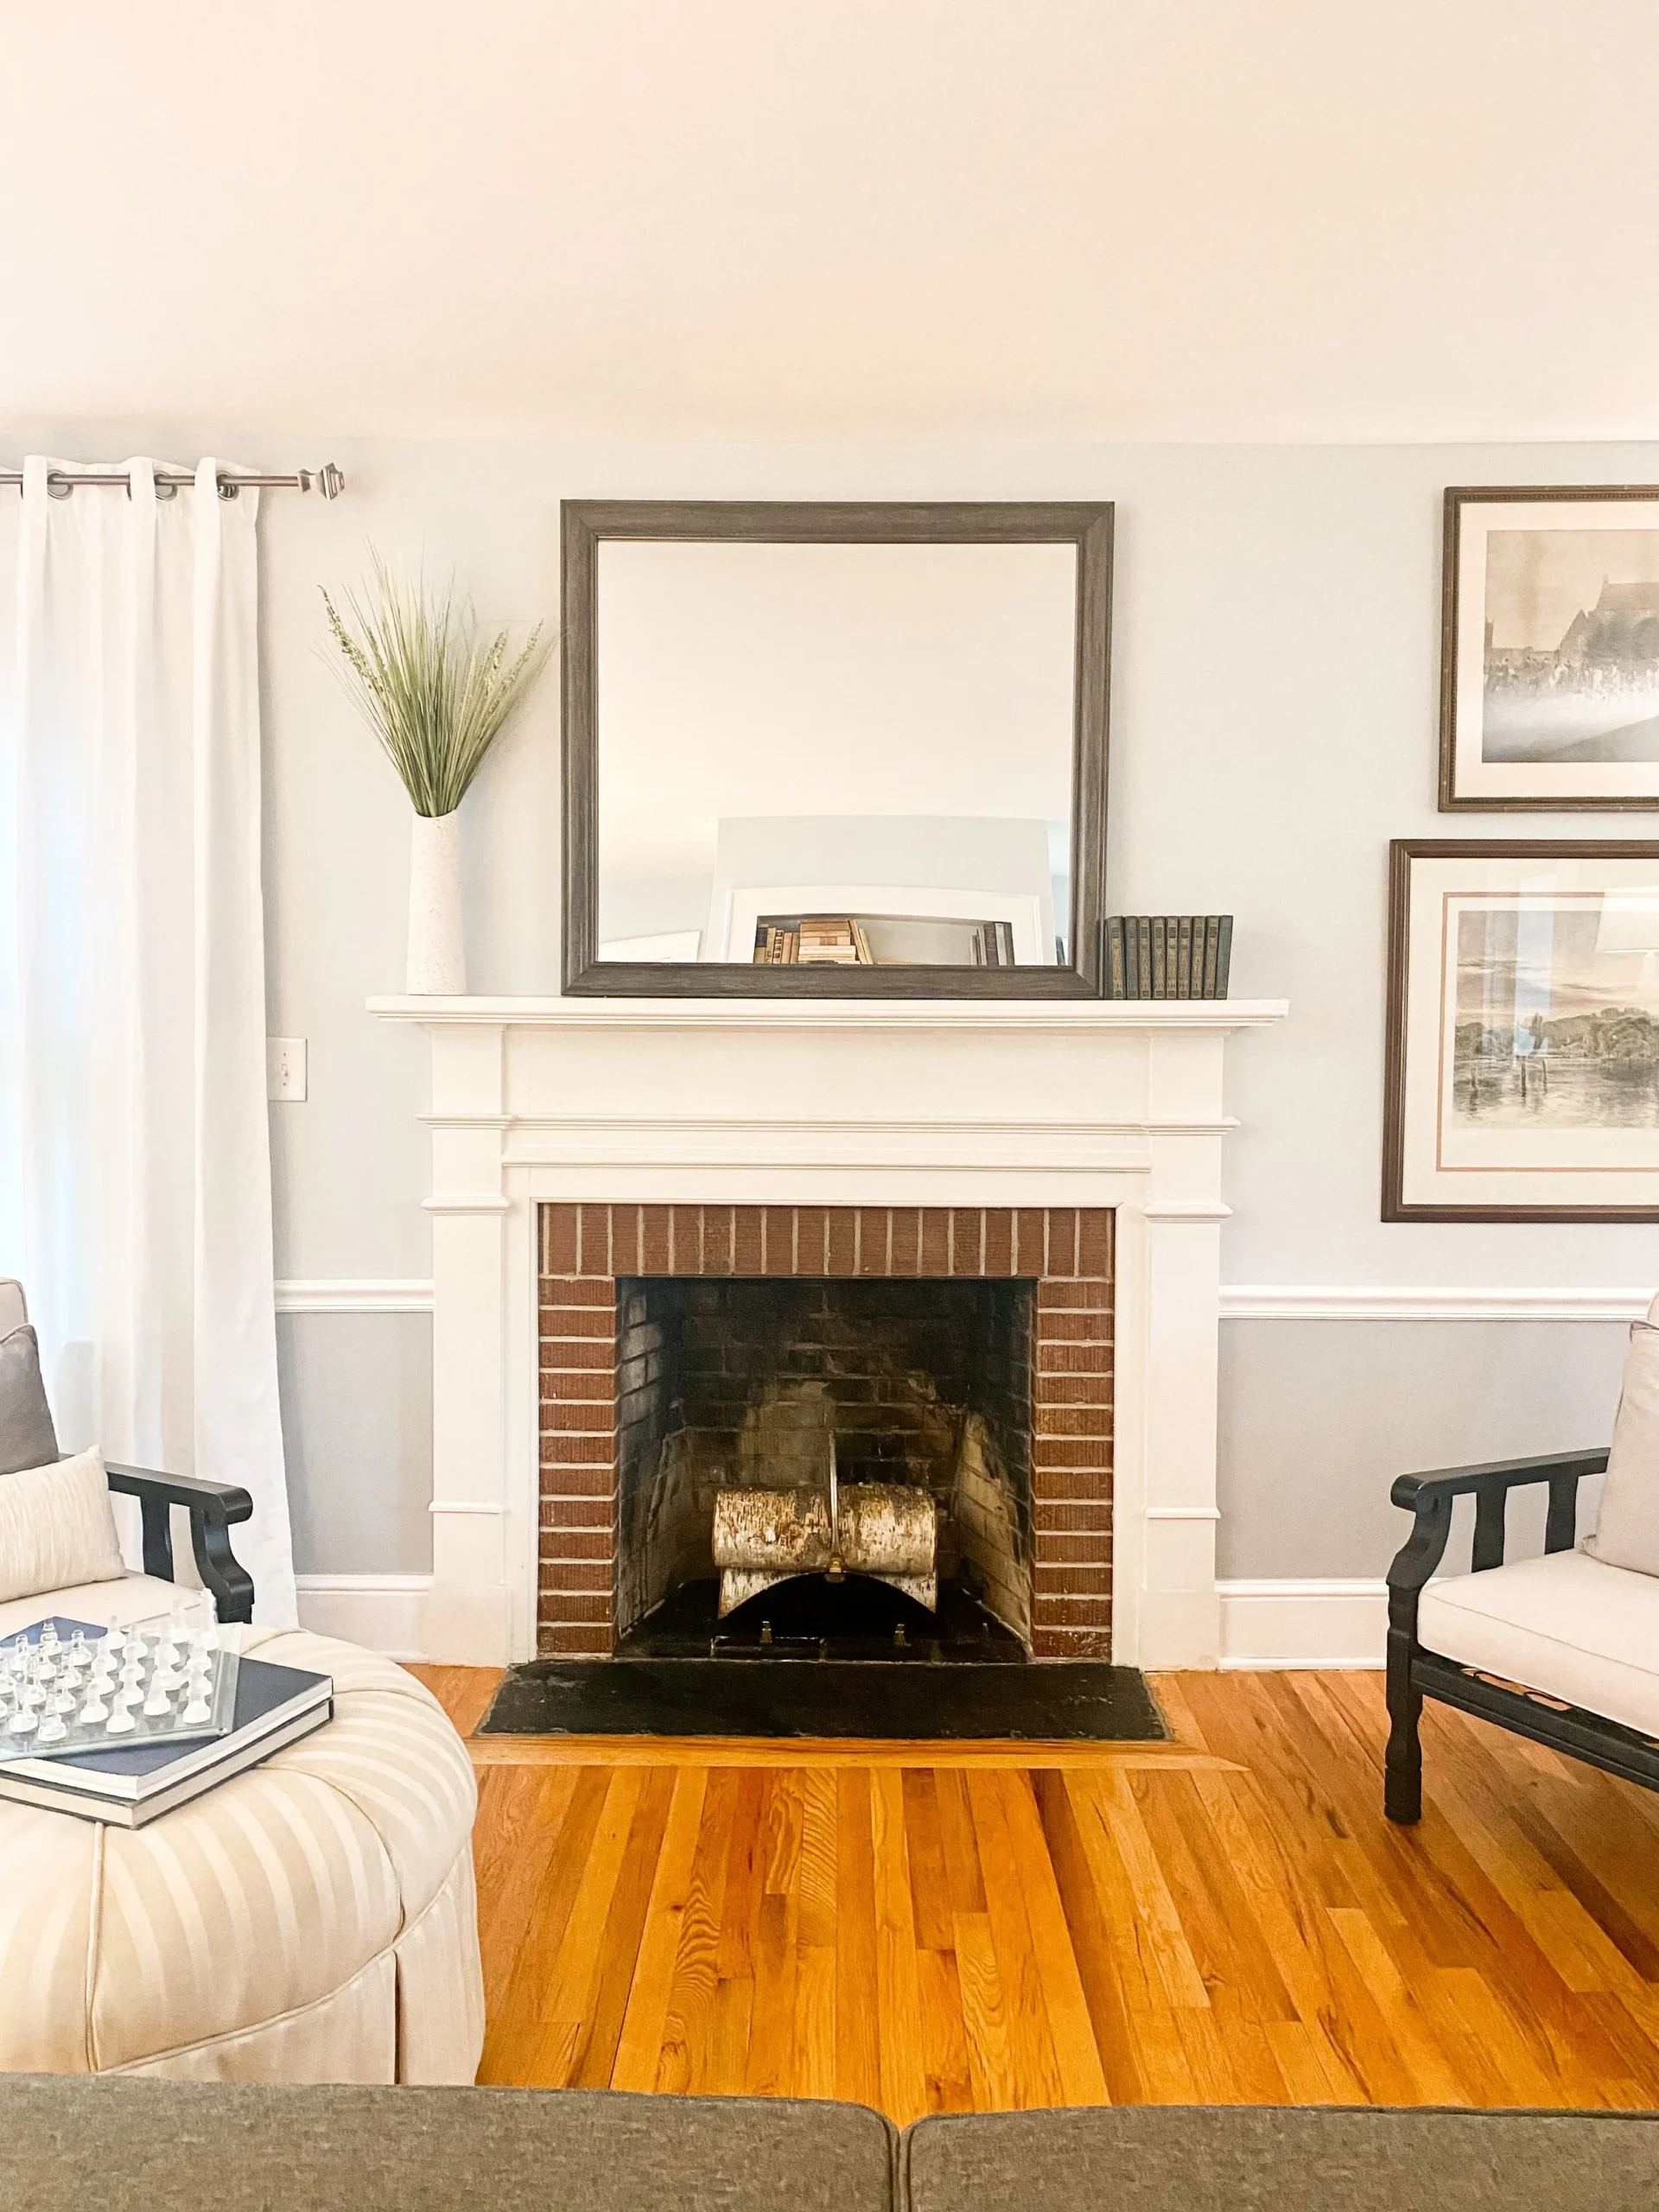
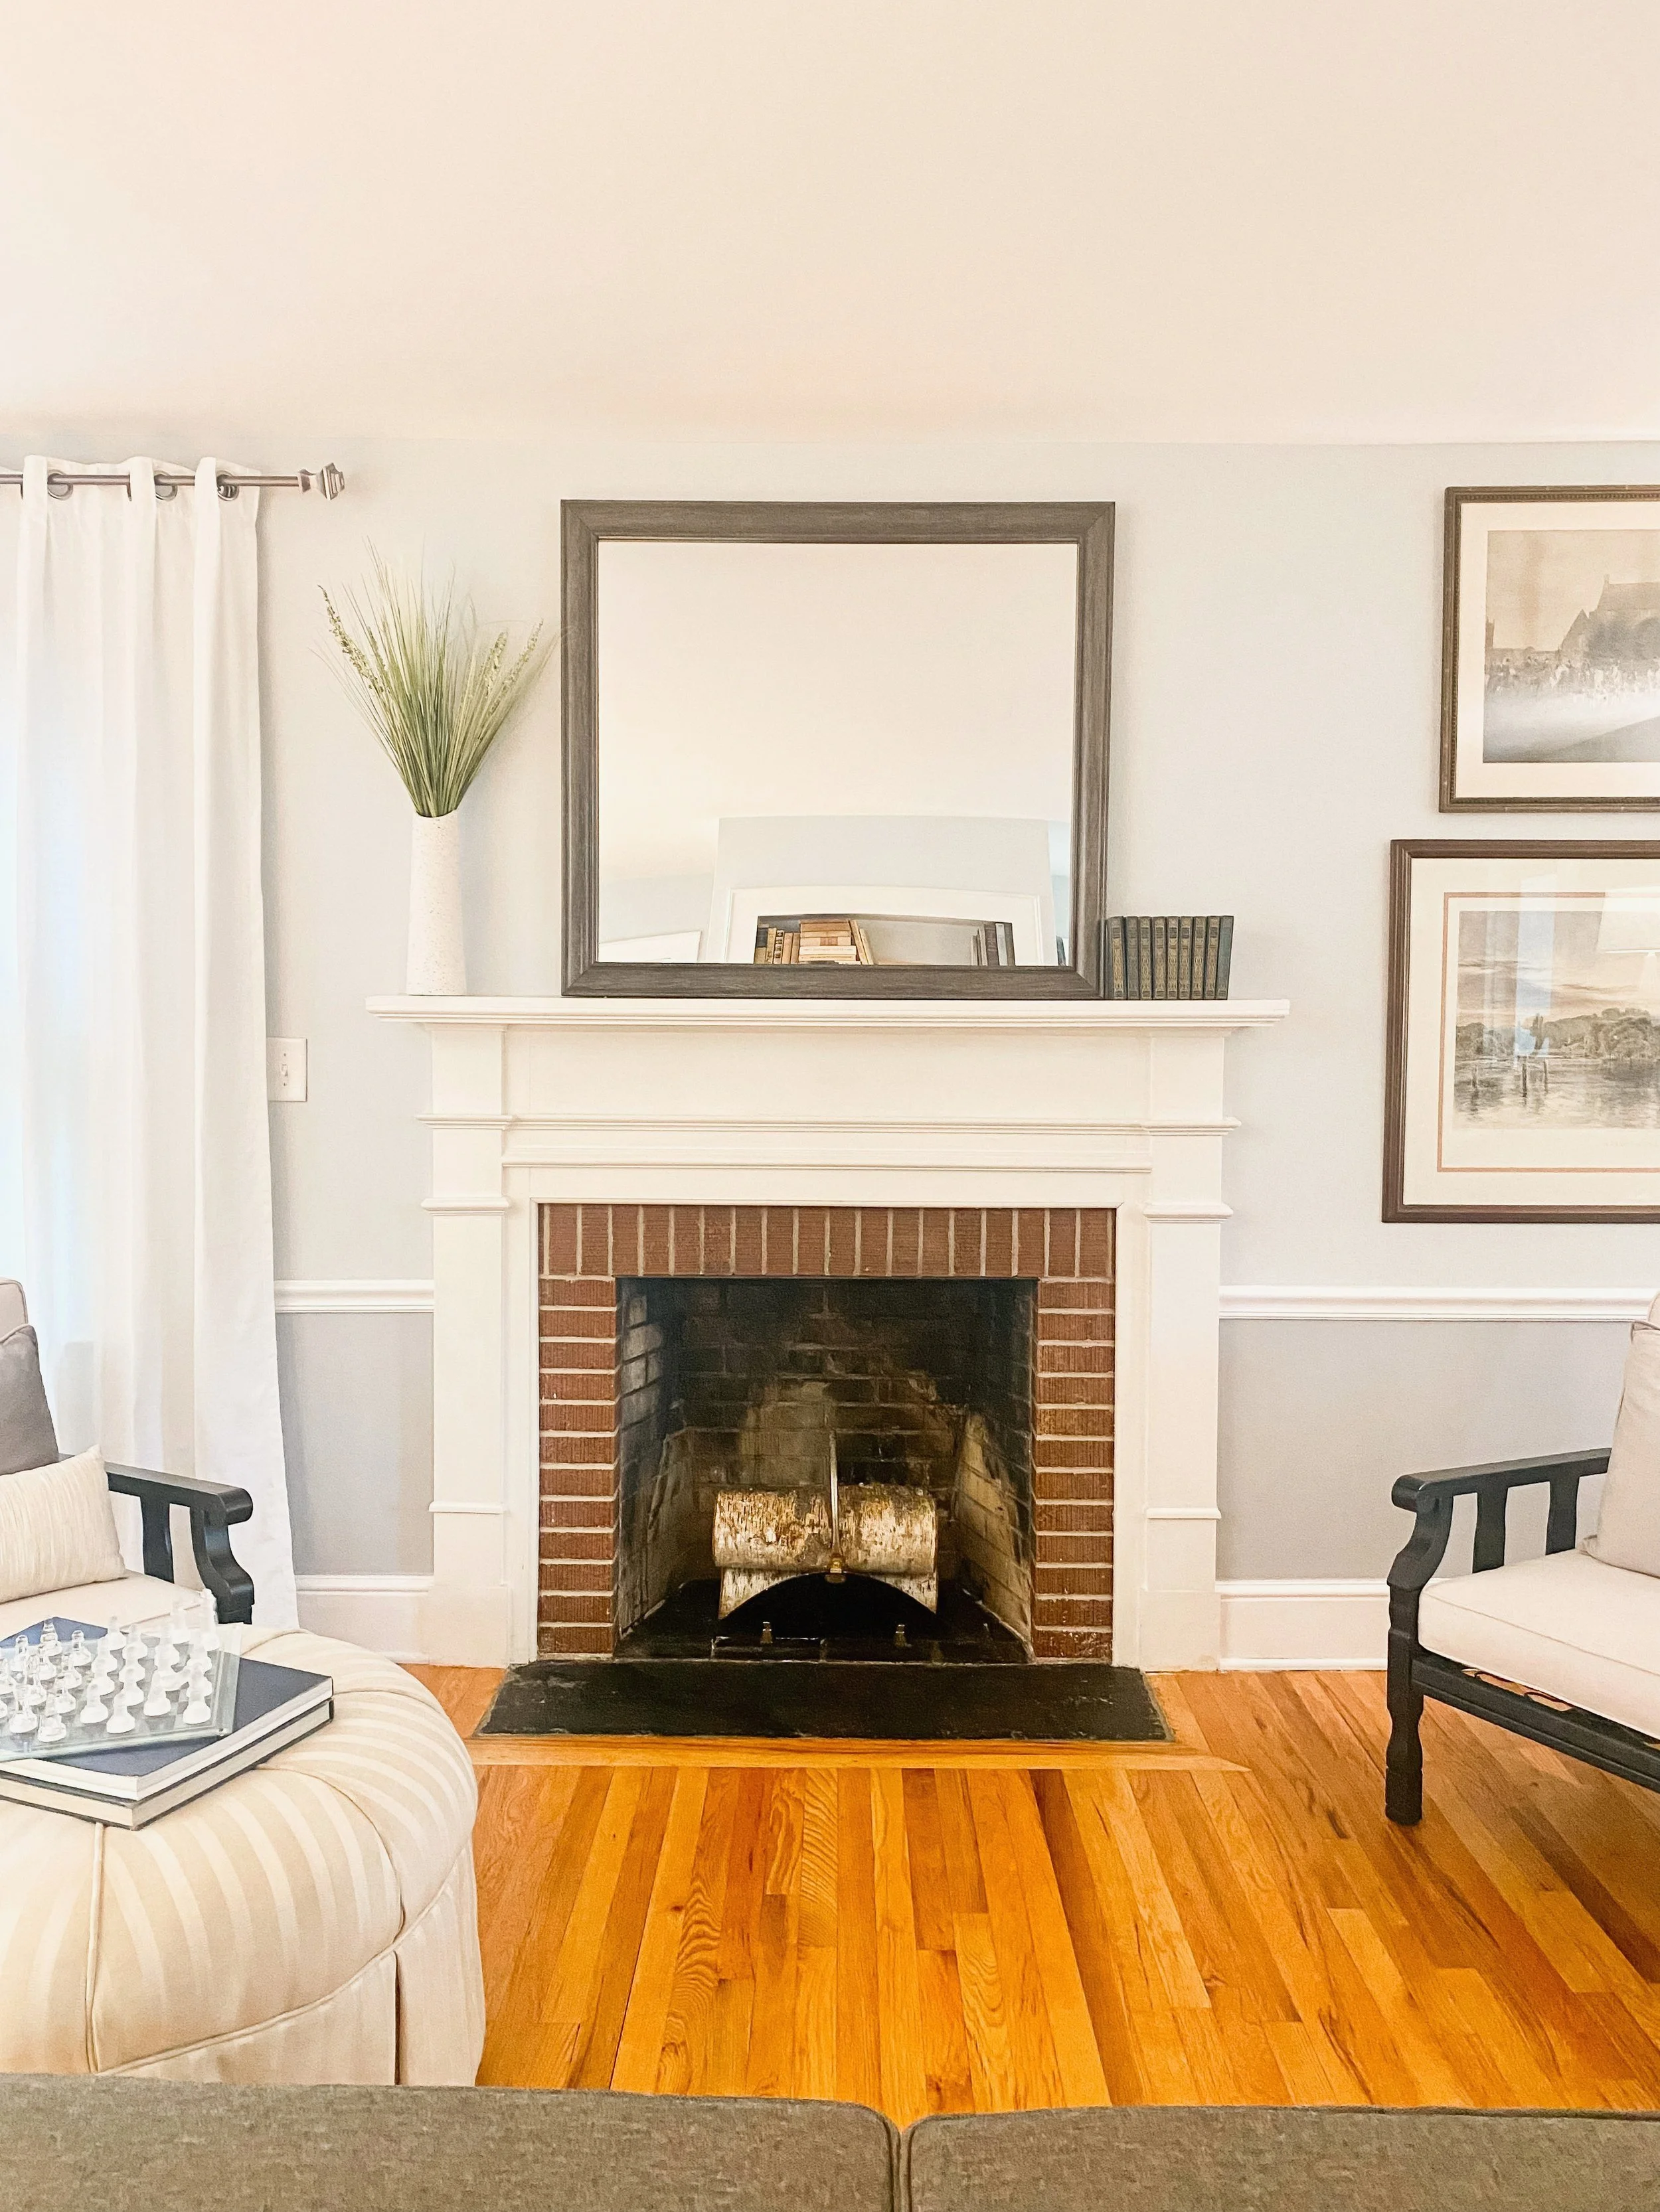
My fireplace in my living room was a coal burning fireplace back in the late 50s. And I don’t know the last time it was used but it is now closed off. I don’t think it’s ever been cleaned since then, 70 plus years later.
Spray down your fireplace with Dawn dish soap spray or if you don’t have the spray version you can just add regular style dish soap to the bowl of warm water and make a mixture of warm soapy water.
Spray a couple of layers of Easy-Off Oven Cleaner and or rotating with an all purpose cleaner such as Simple Green on the brick as well so that the chemicals can help to lift up some of the dirt, debris, and soot.
One of the products that I had the best results from was Hydrogen Peroxide.
Lastly, after applying product to the fireplace I recommend going in small sections with the Bissell SteamShot and spray the section with the steam then take your Scrub Daddy or the drill brush head attachments and really work in the cleaning products and scrub your heart out.
Before / After
Before deep cleaning & scrubbing my 1950’s old coal burning fireplace.
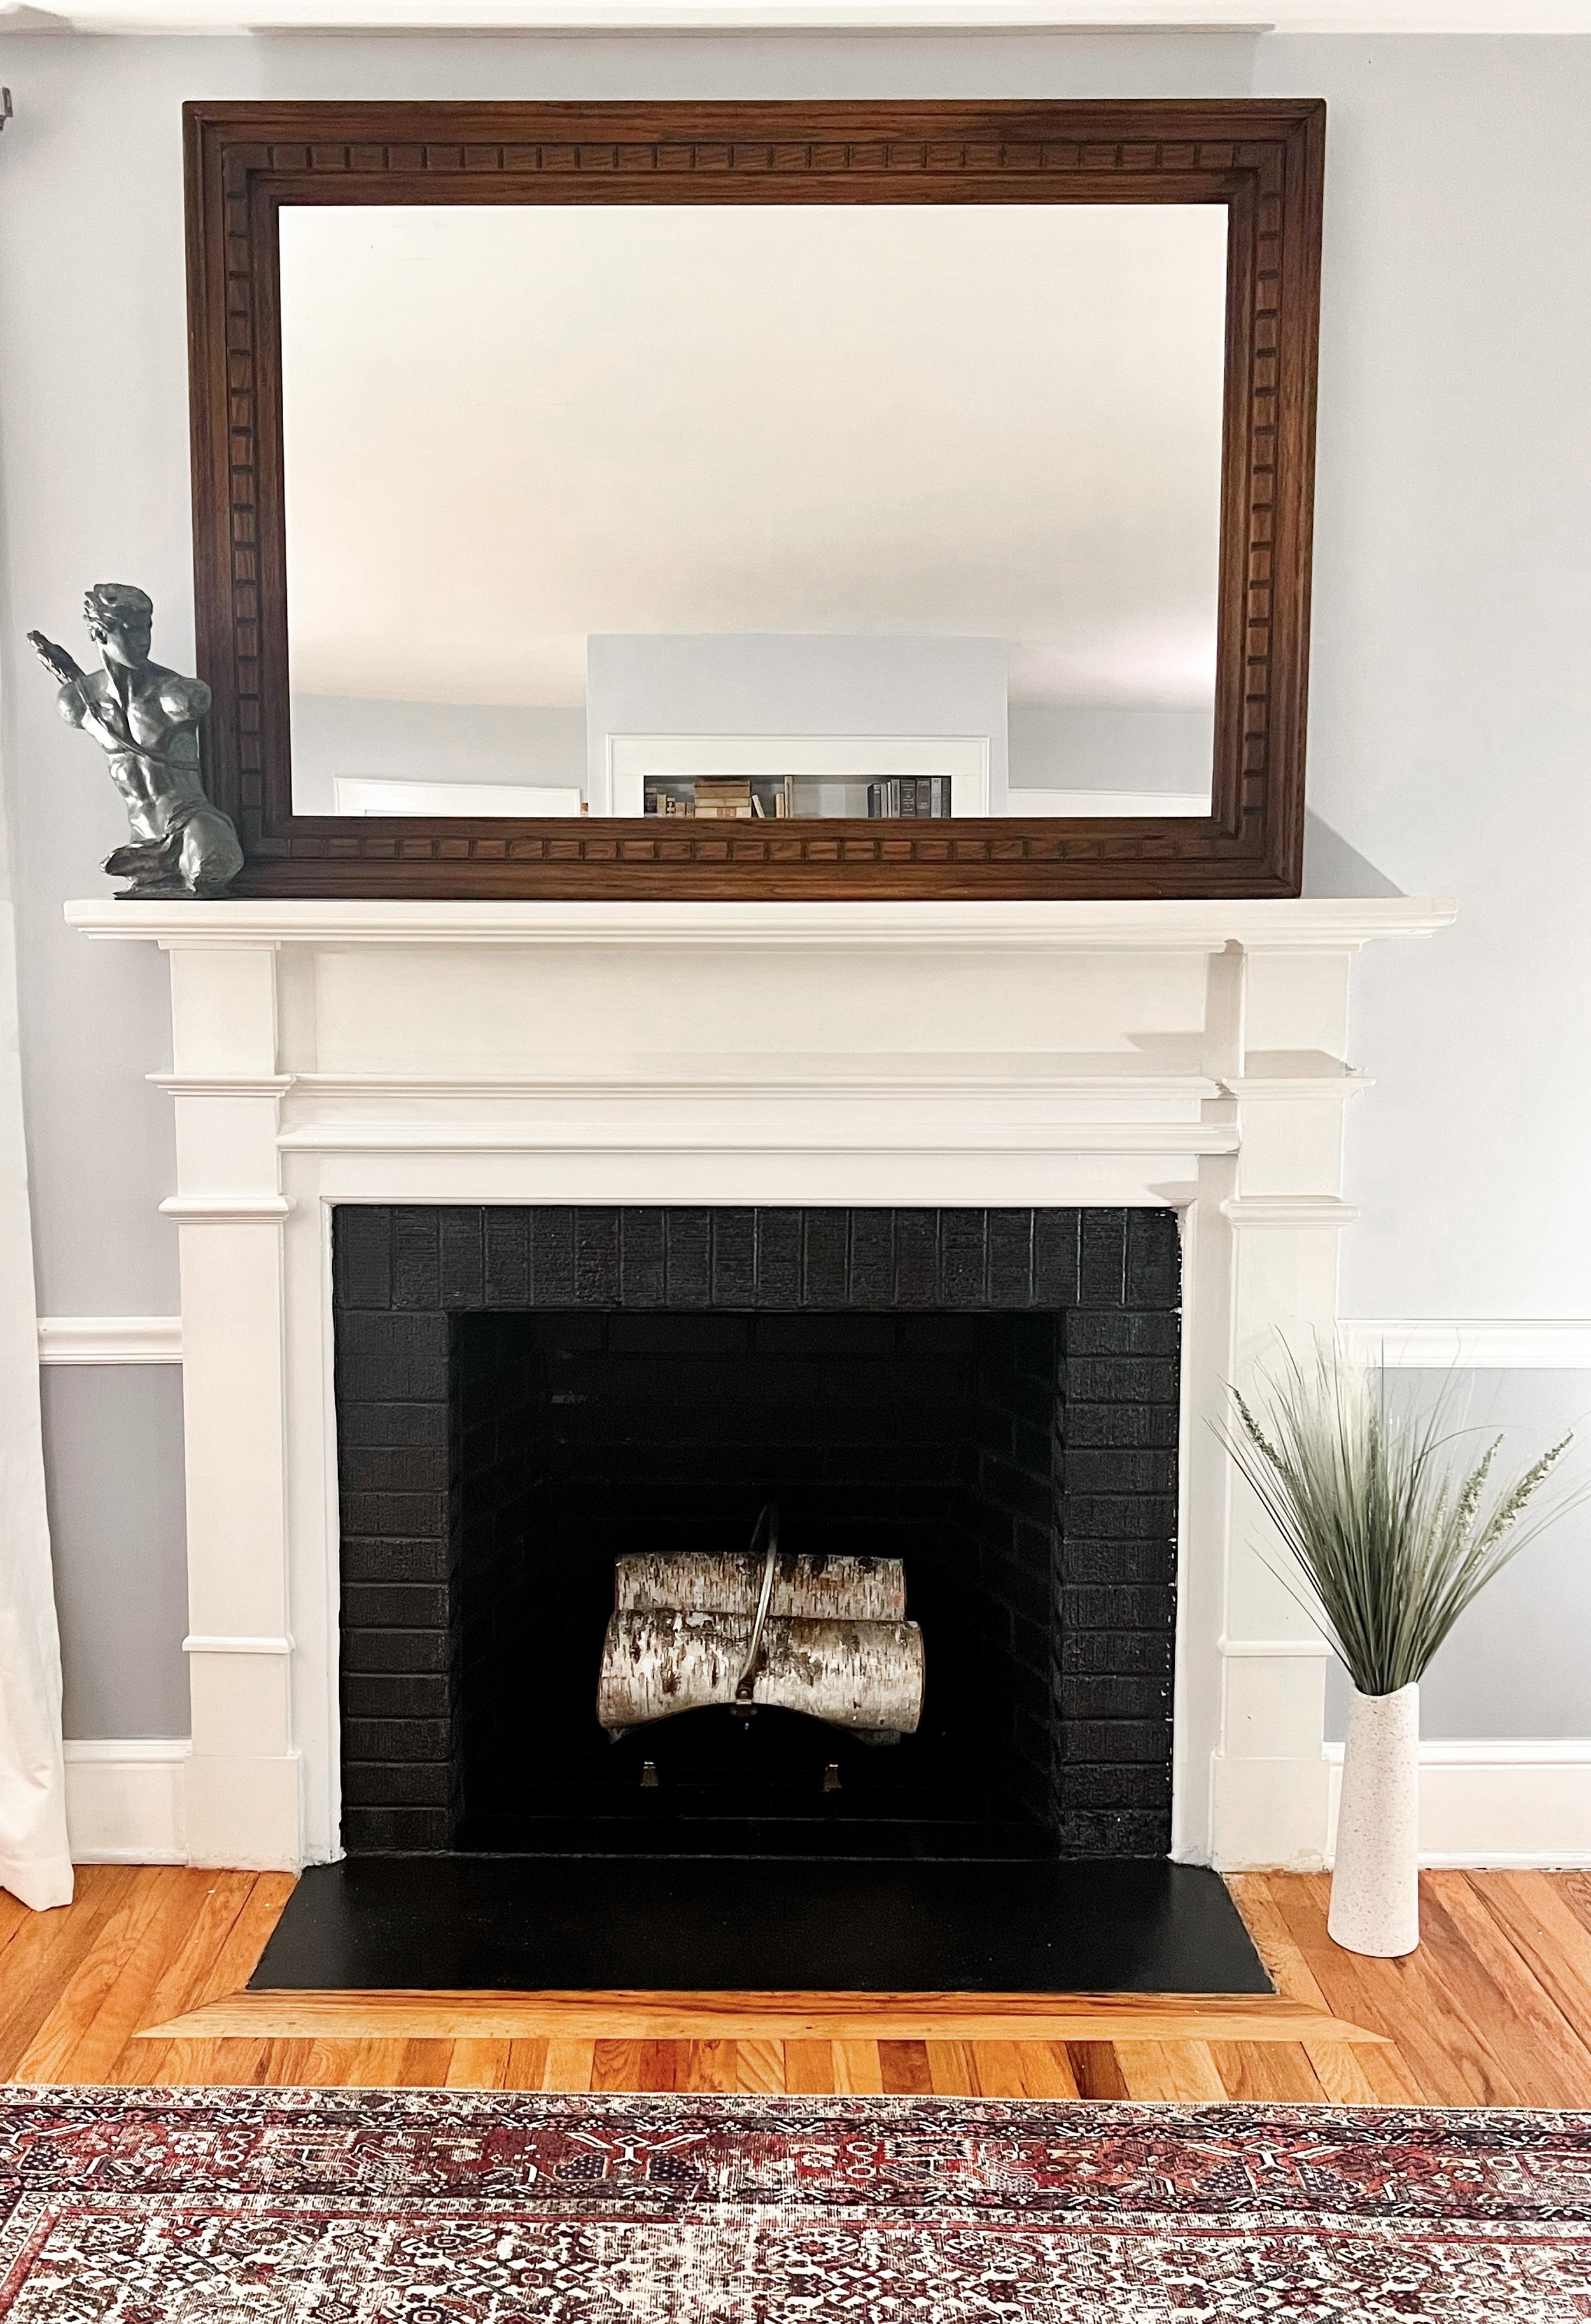
This is my freshly painted fireplace (after 1 coat).
This post may contain affiliate links. I may earn a small commission at no extra cost to you if you make a purchase through these links. I only recommend products I personally use and love.
Total Project Time: 1 Hour
Prep:
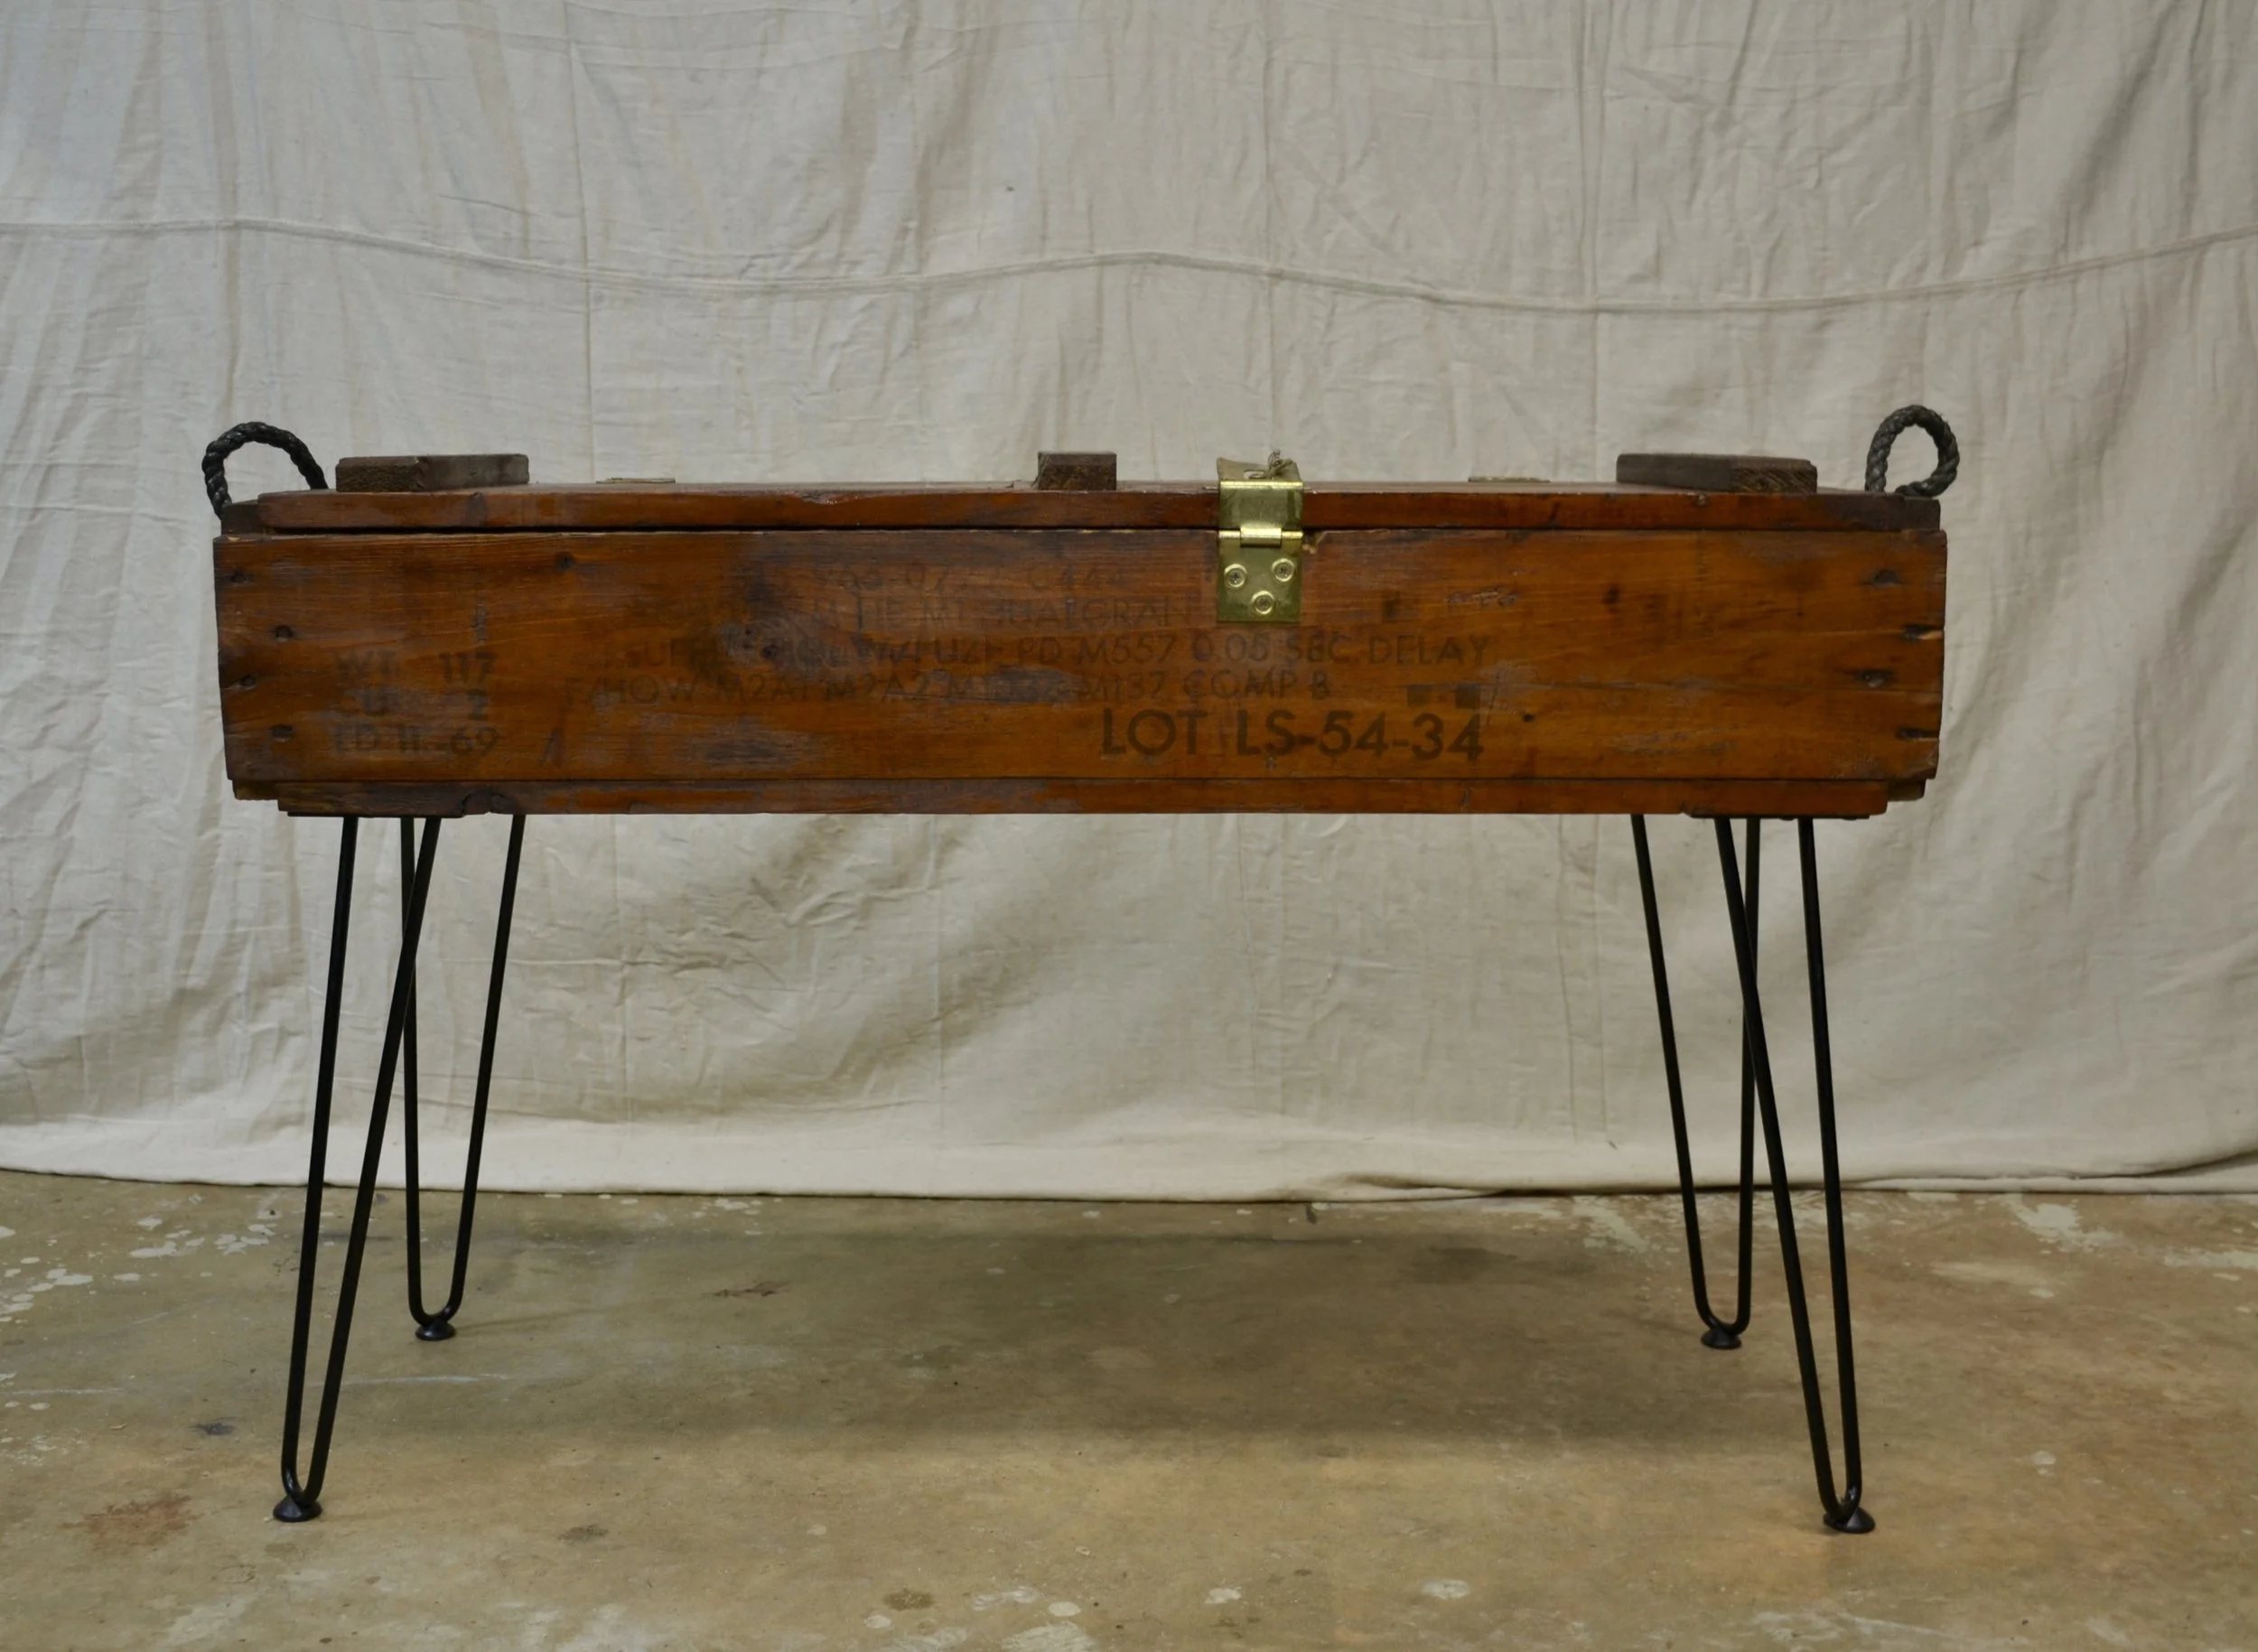
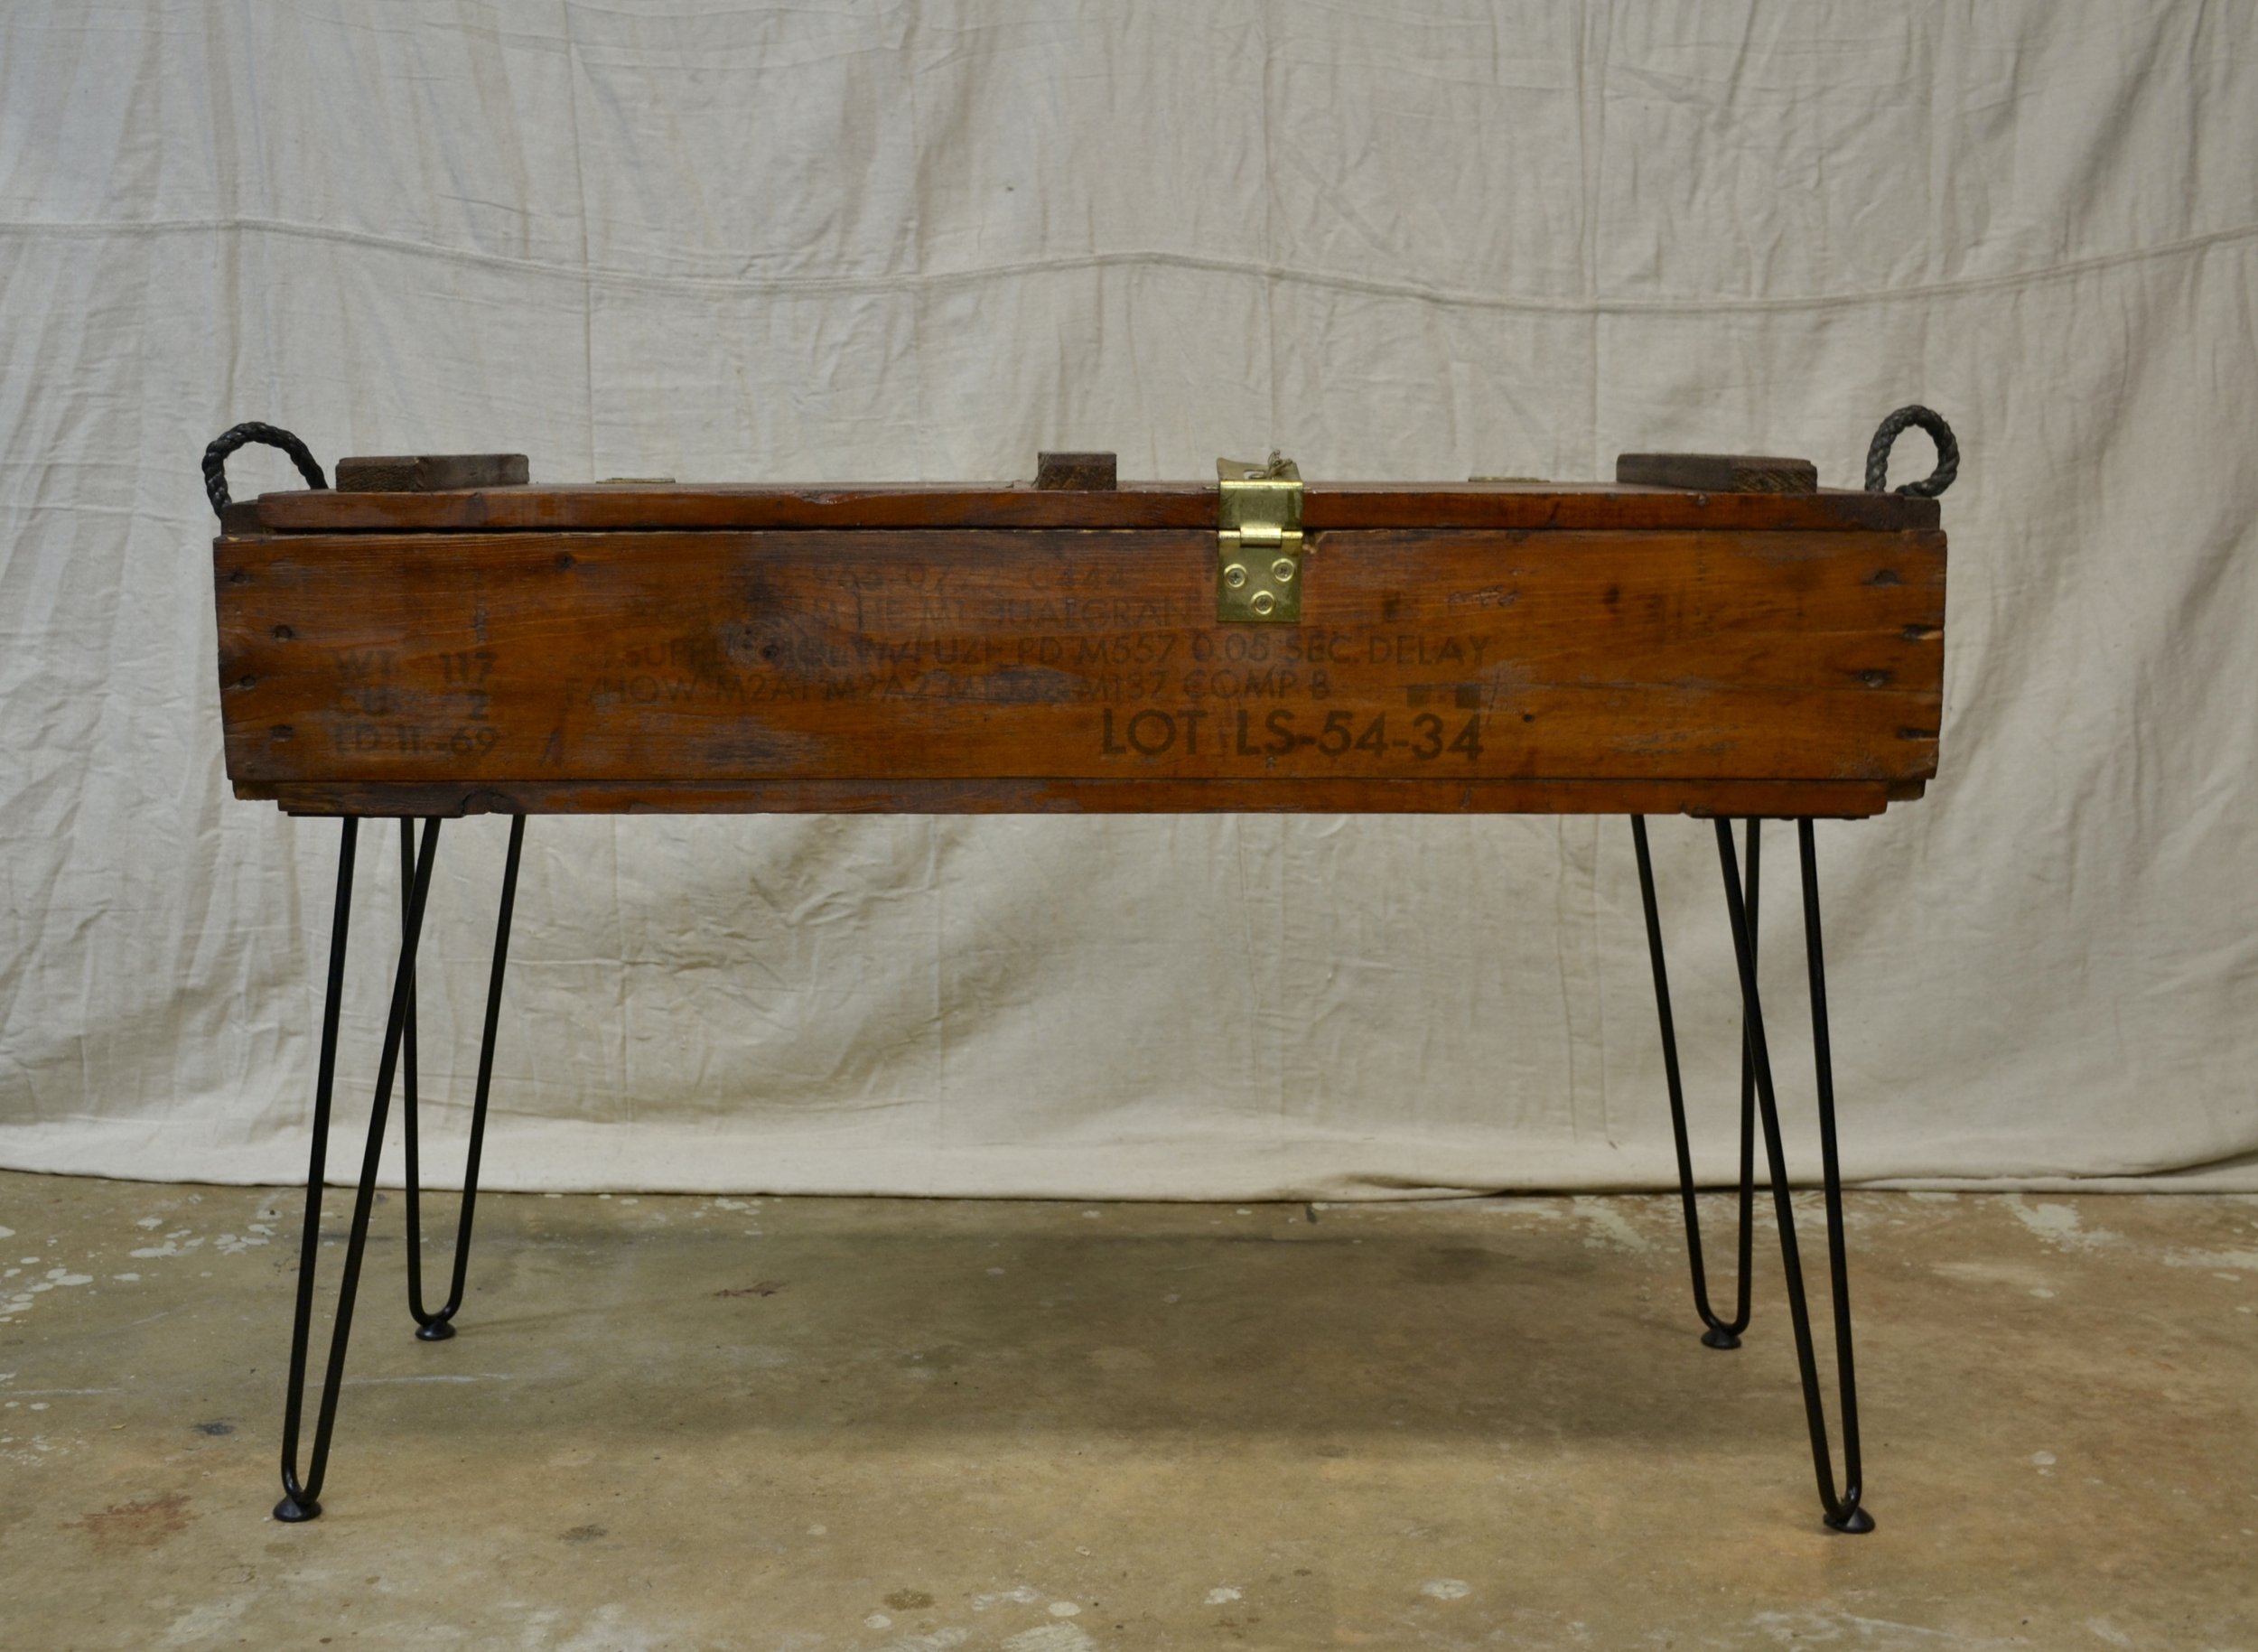
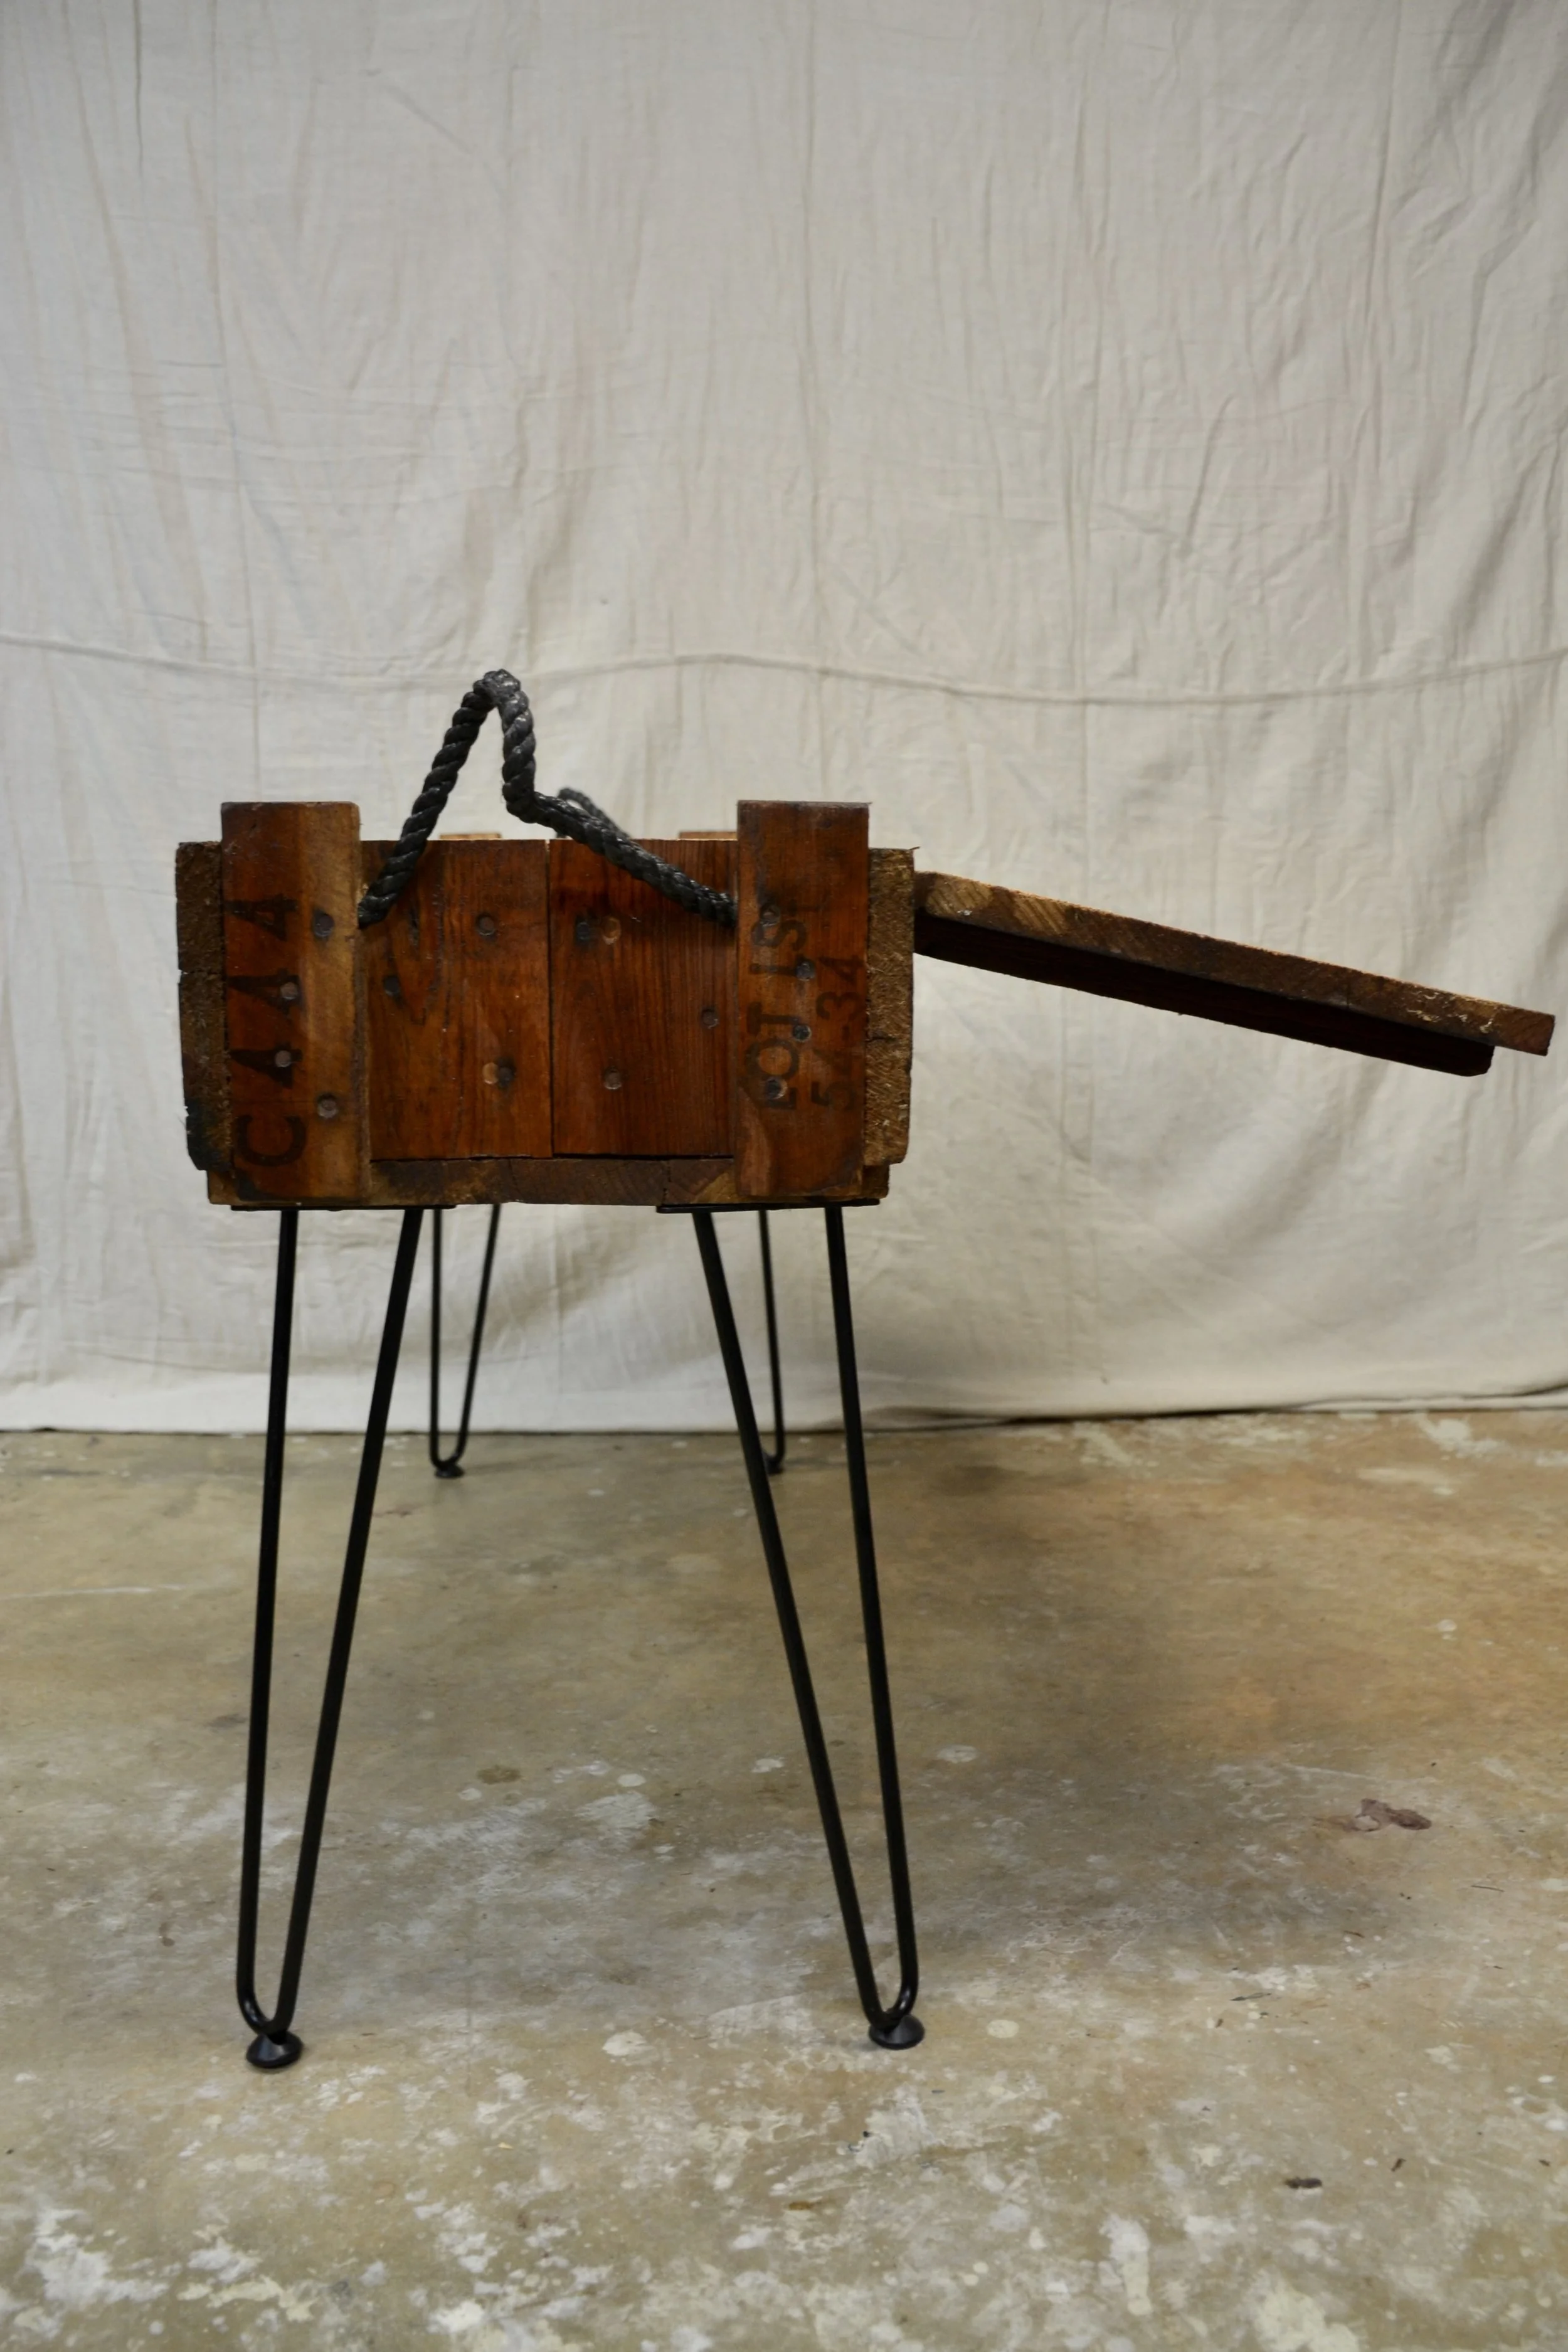
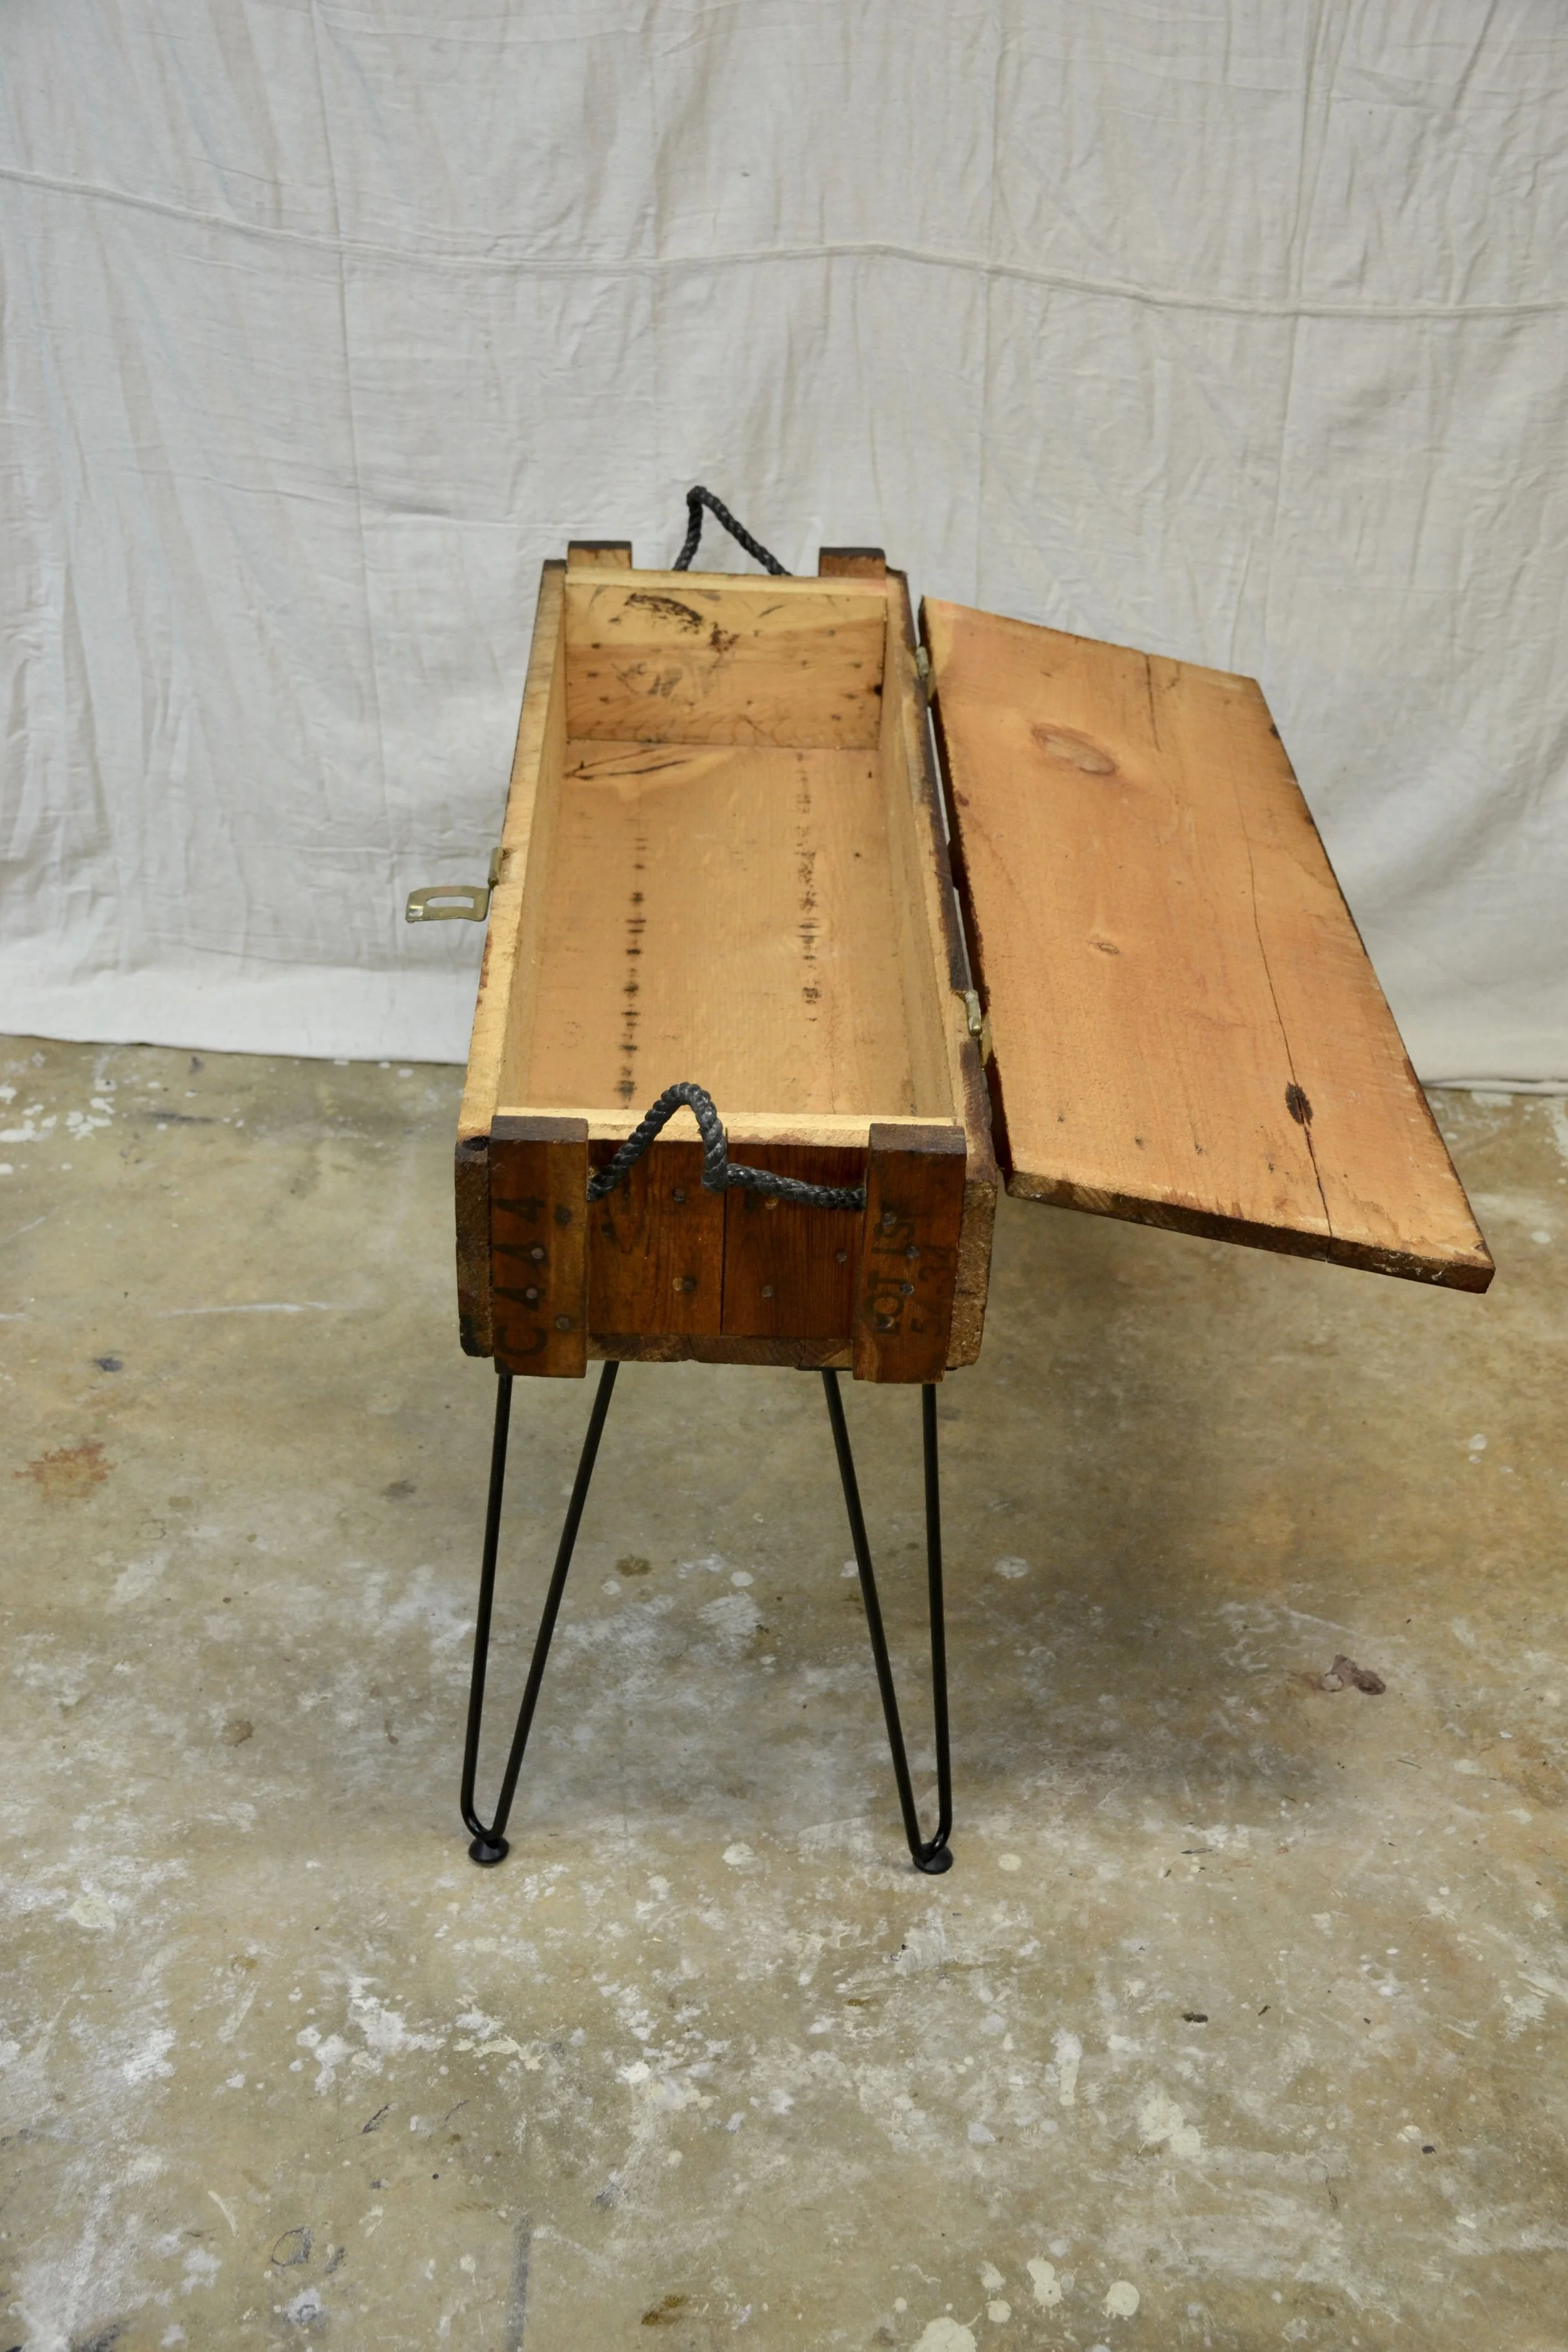
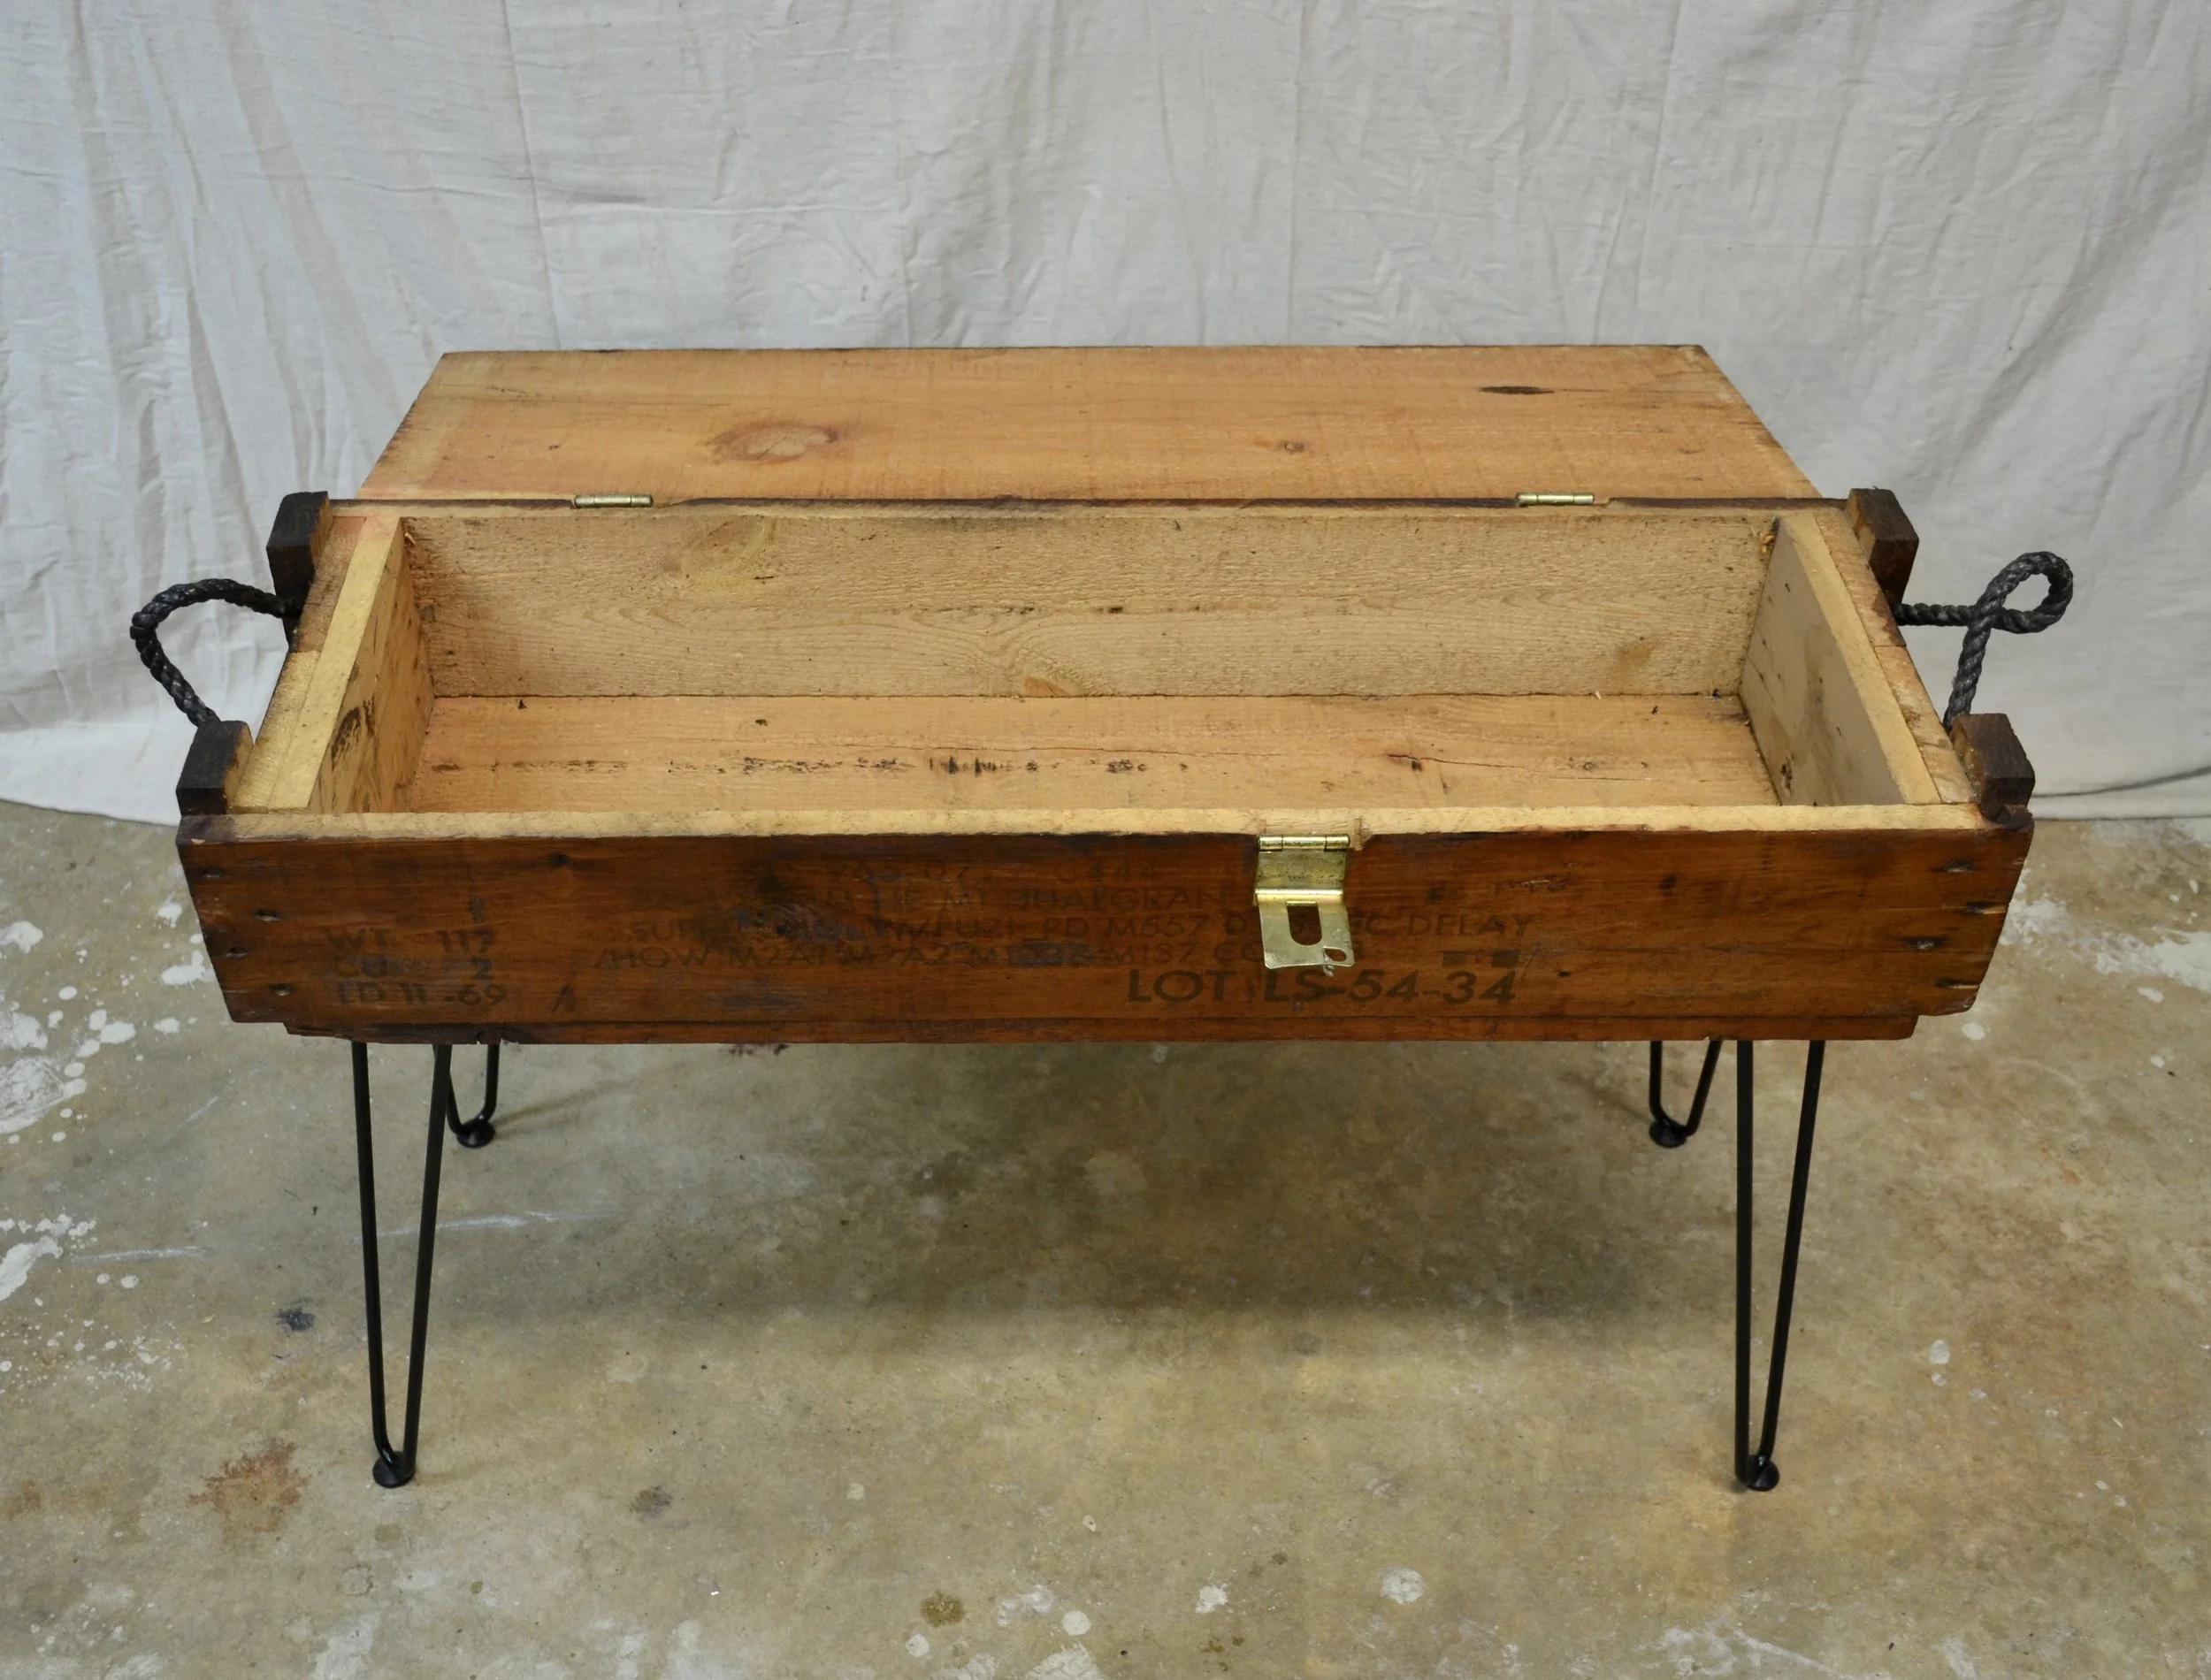
Lightly sand wooden box (remove any watermarks or imperfections). I avoided sanding any areas where there were any letters or numbers stamped onto the wood to ensure that the piece retained as much of its’ historical character.
Clean wood with a gentle wood cleaner using a sponge, paper towel, or rag.
Wait for wood cleaner to be completely dry before applying the stain of your choice. I used MinWax’s 4-in-1 gel stain that includes a polyurethane top coat in the color “Classic Oak”. Utilize a foam brush or sponge to apply the stain. Follow directions for the specific stain type you choose. I applied only 1 coat of stain to this piece so that the stamping would remain visible.
I would let the stain dry for at least 24 hours before applying the metal legs.
Mark where you need to drill your holes for the metal legs & screw in.
Viola! You have an upcycled piece of furniture to gift or add to your own home, that’s sure to be a great conversation starter.
BEFORE:
AFTER:
Shop DIY Supplies
Minwax PolyShades Wood Stain + Polyurethane Finish – Stain and protect in one step: Shop on Amazon
Sanding Blocks for Furniture Restoration – Hook and loop hand sanding pads: Shop on Amazon
This post may contain affiliate links. I may earn a small commission at no extra cost to you if you make a purchase through these links. I only recommend products I personally use and love.
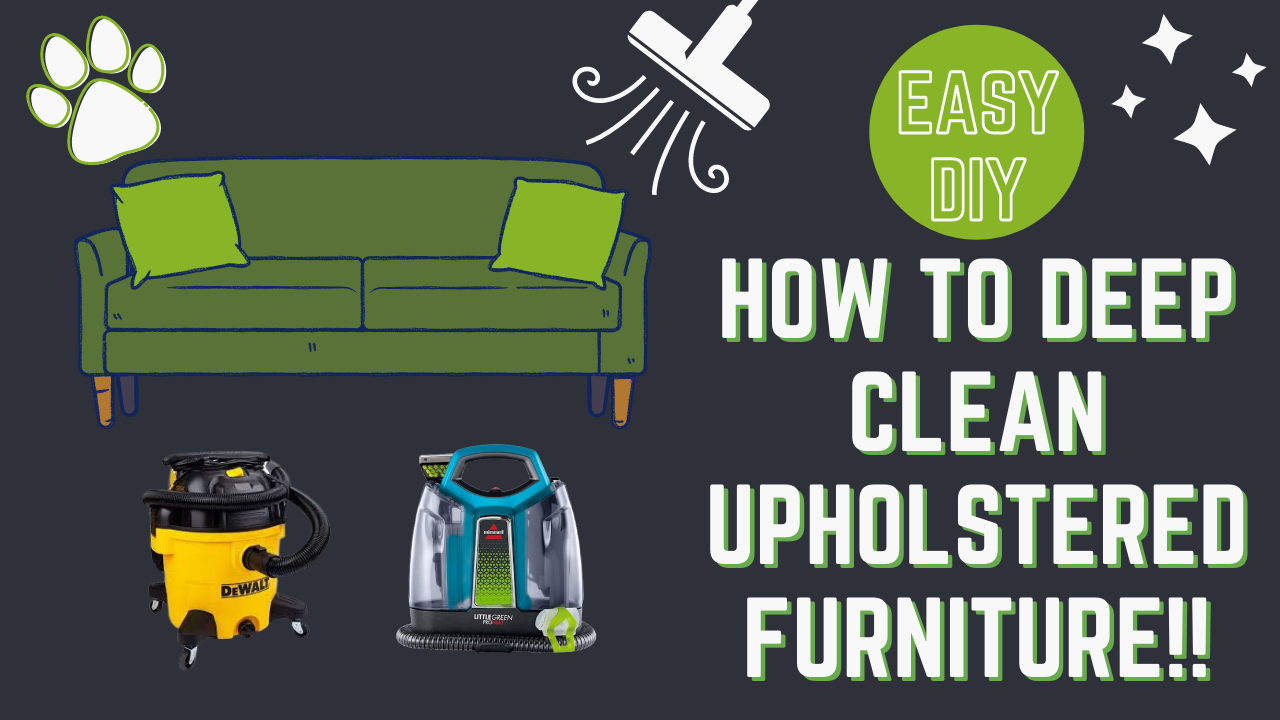
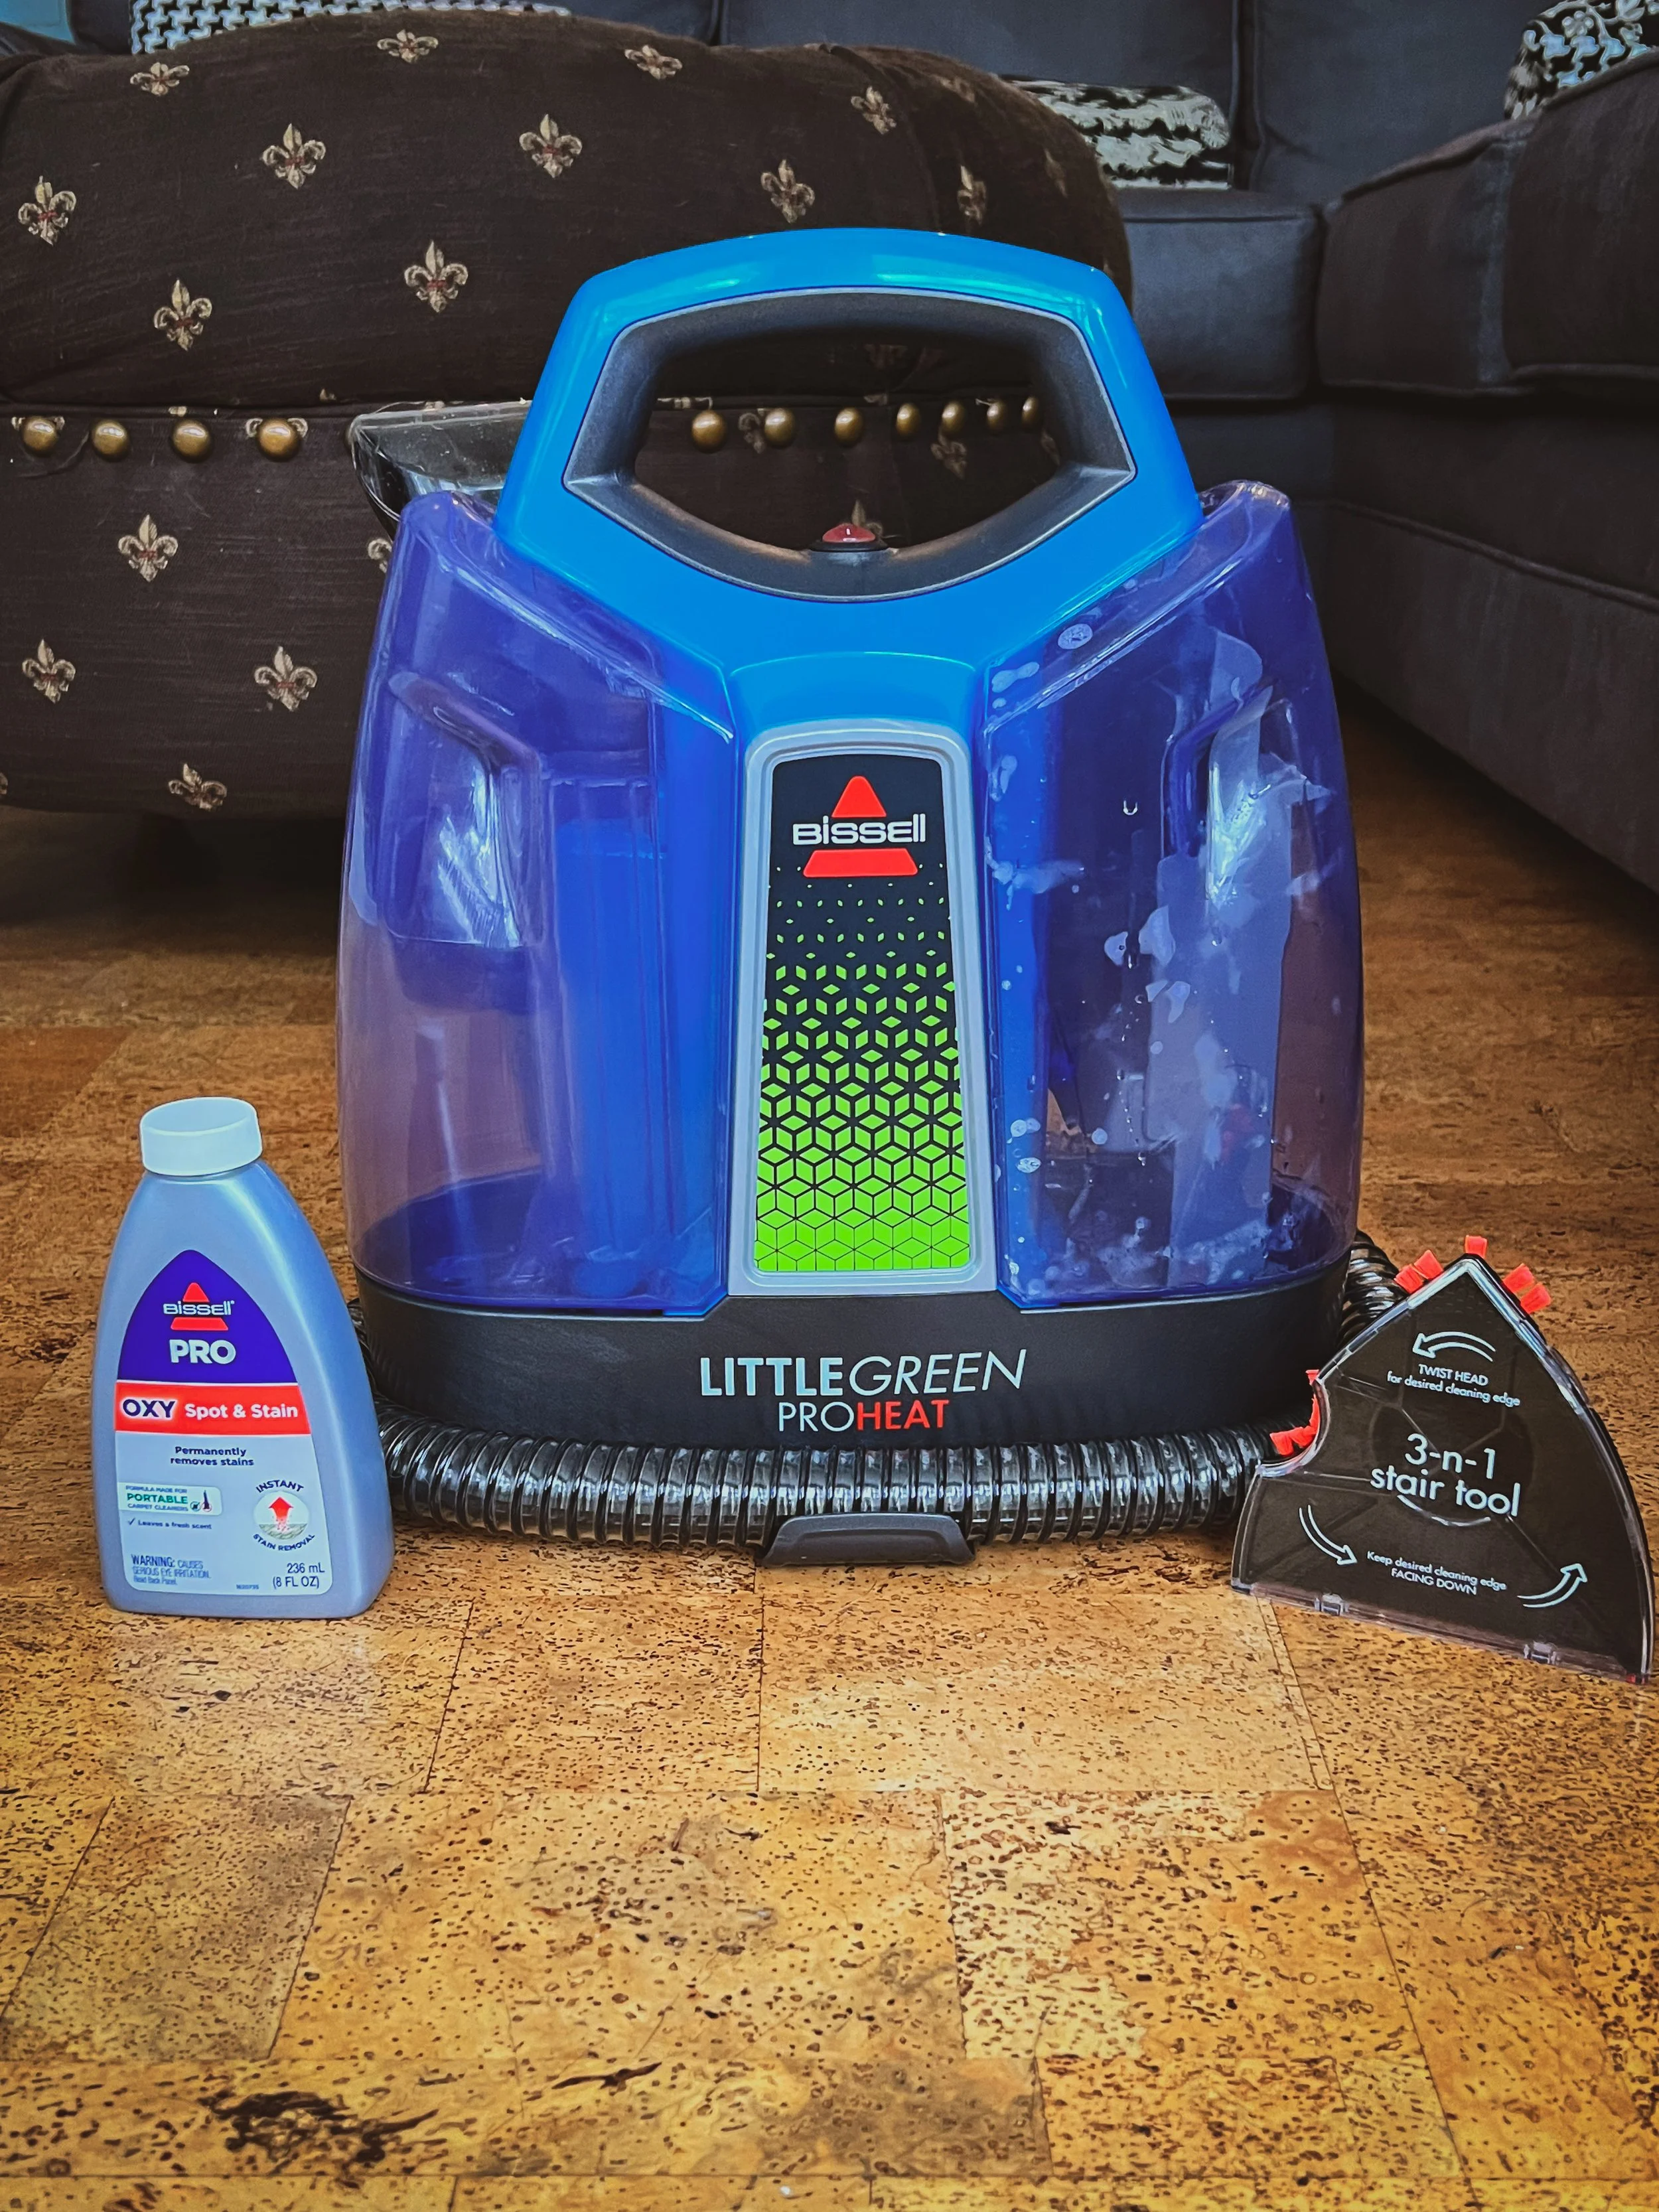
I was first introduced to the Bissell Little Green Machine over 1.5 years ago via a viral cleaning trend on TikTok & ever since I have been absolutely OBSESSED with Bissell’s line of upholstery and carpet cleaning machines and am now trying out my 3rd one, the LittleGreen ProHeat!
With now 5 dogs in our home, it is an absolute MUST for me to clean the couch like this at least every couple of weeks. Even when I had only 1 dog, I was surprised at how much dirt and debris the vacuum would remove each time and I swear I will forever be using the Bissell line of upholstery & carpet cleaning machines religiously for my entire life.
Final Rating 10/10!
Bissell LittleGreen ProHeat Overall Review:
Lightweight & easy to move around due to it’s smaller size
Tanks stand up by themselves (unlike the Bissell Little Green Portable Spot and Stain Cleaner)
The HydroRinse cleaning tool is such a great asset to ensure you’re properly maintaining the machine!
Spray entire surface of couch with the machine as a pre-coat before vacuuming.
Begin vacuuming couch and be sure to use the vacuum portion only to suck in any remaining water you have previously sprayed. This may take multiple vacuum run-throughs per area to ensure you suck out as much water as possible.
Repeat process until the dirty tank water is clear enough to your desire.
This post may contain affiliate links. I may earn a small commission at no extra cost to you if you make a purchase through these links. I only recommend products I personally use and love.
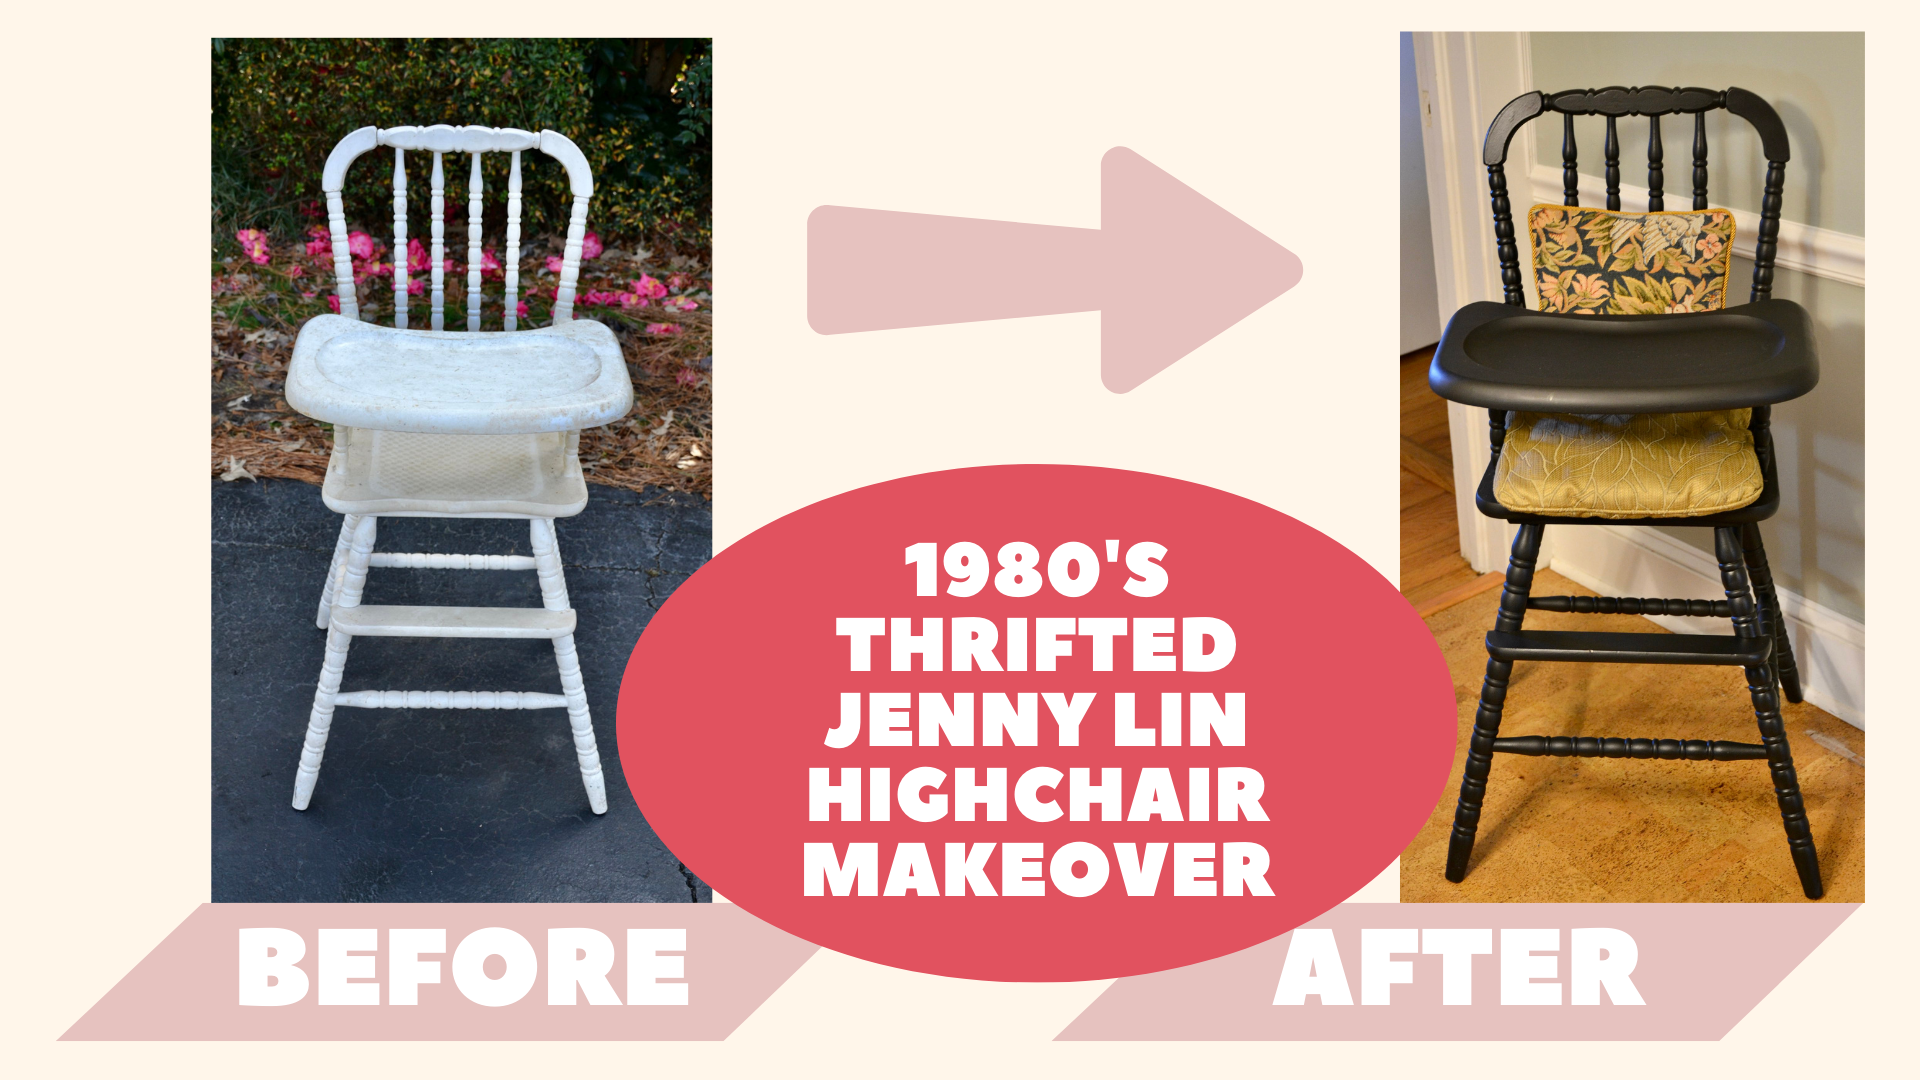
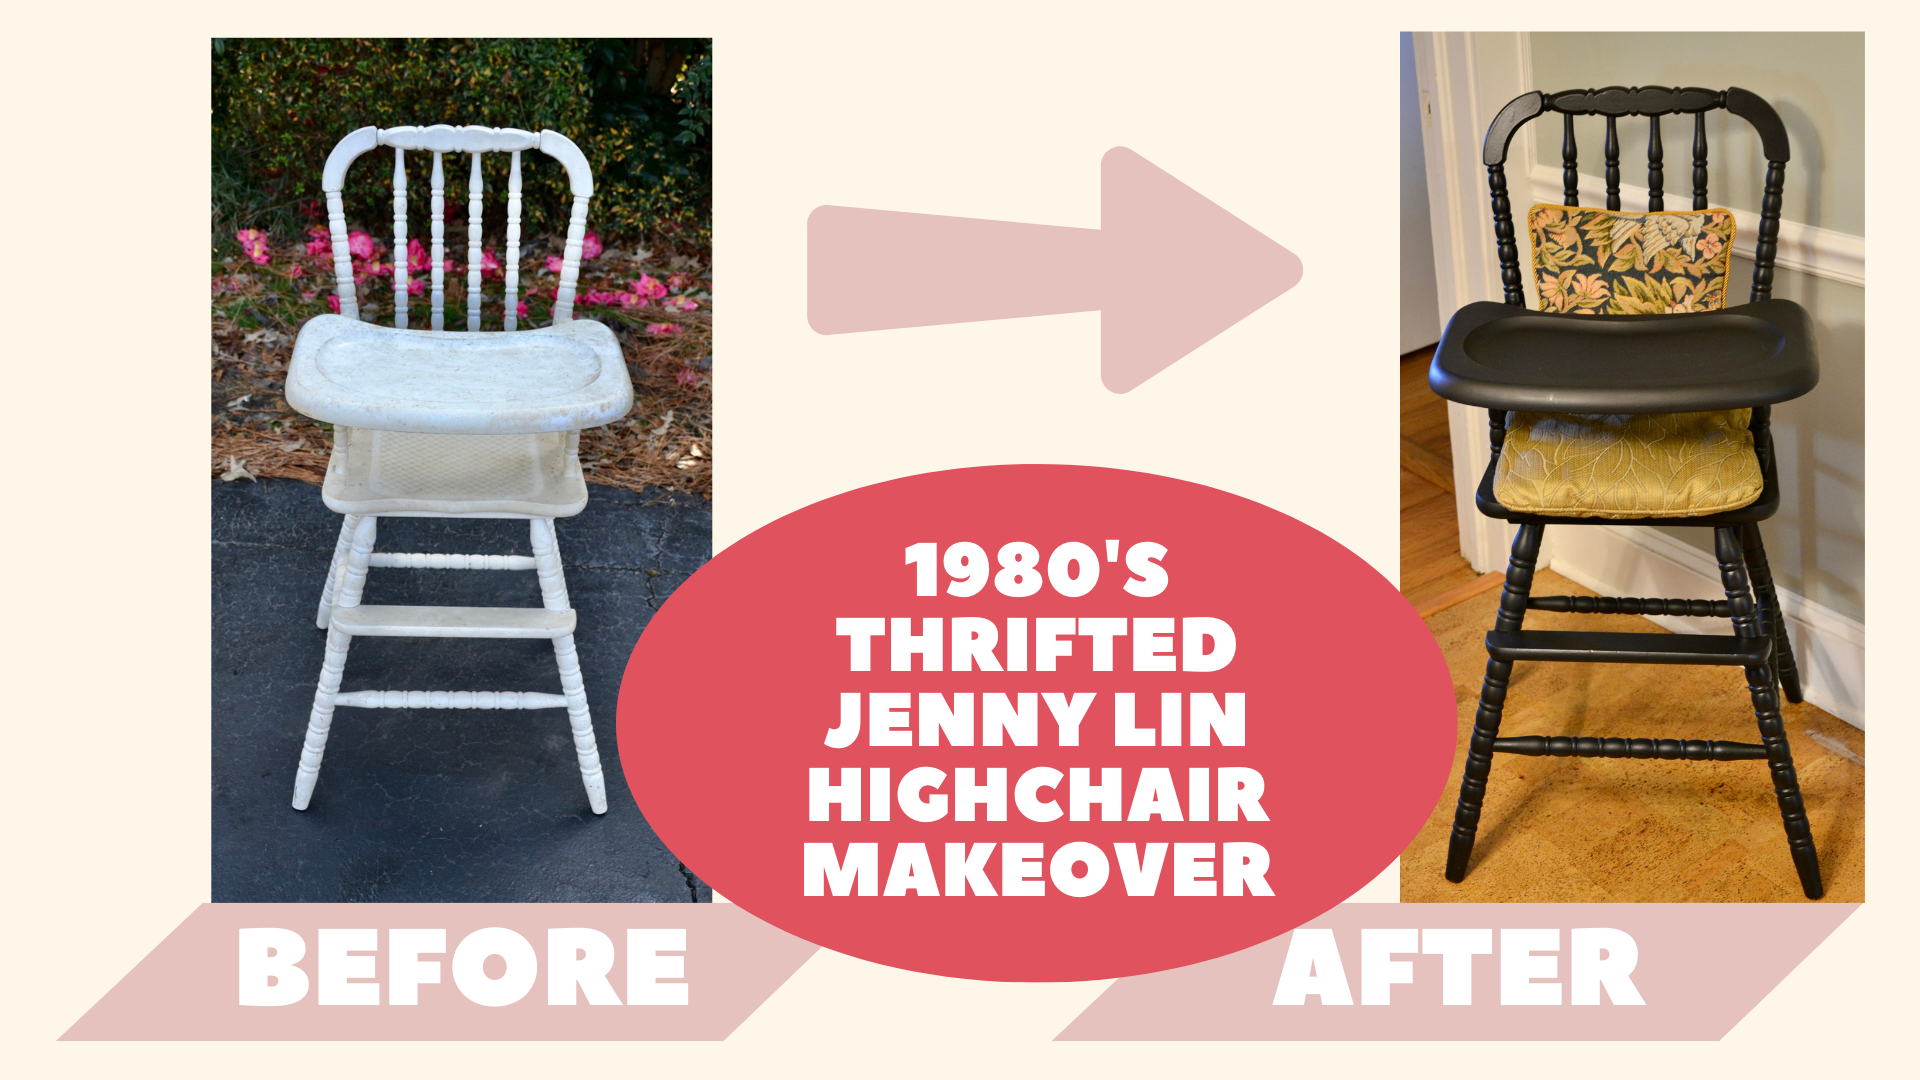
Learn how I took an overlooked 1980’s Jenny Lin brand wooden highchair that I paid $10 for at a local thrift store and then transformed into a stunning piece of furniture that matches my kitchen’s eclectic European aesthetic. When I saw the highchair at the thrift store, I knew that it was well built and meant to last a lifetime! The white color wasn’t going to fit the look I wanted for my kitchen, but I saw the potential was there. With a good deep cleaning, a couple coats of matte black spray paint and the addition of a vintage pillow or two as cushions, I transformed this piece in less than 1 day and I’m here to show you just how easy this project was and that you too can easily replicate this!
This post may contain affiliate links. I may earn a small commission at no extra cost to you if you make a purchase through these links. I only recommend products I personally use and love.
This post may contain affiliate links. I may earn a small commission at no extra cost to you if you make a purchase through these links. I only recommend products I personally use and love.
Quick answer: Consigning with TheRealReal means you ship authenticated luxury designer items to them with a free prepaid label, and they handle photography, listing, pricing and the sale. This is my first hand walkthrough of adding items, printing the label, and what happened with my first consignment, a pair of vintage Salvatore Ferragamo slingback sandals.
LEARN MORE ABOUT SOURCING & RESELLING LUXURY DESIGNER ITEMS
To learn more about how I source and purchase second hand luxury designer items to resell on platforms like TheRealReal, then check out my Youtube video above for more details, tips, tricks, & secrets about how to find products & sell them for top dollar!!!
Reseller Shipping Essentials
Packaging matters when consigning luxury items. Here are my go-to shipping supplies:
Designer Poly Mailers (100 Pack) – Premium printed shipping envelopes for a professional look: Shop on Amazon
Poly Mailers Shipping Envelopes – Waterproof mailing bags for clothing and accessories: Shop on Amazon
Step 1.
First step to get started is to create your FREE account with TheRealReal.
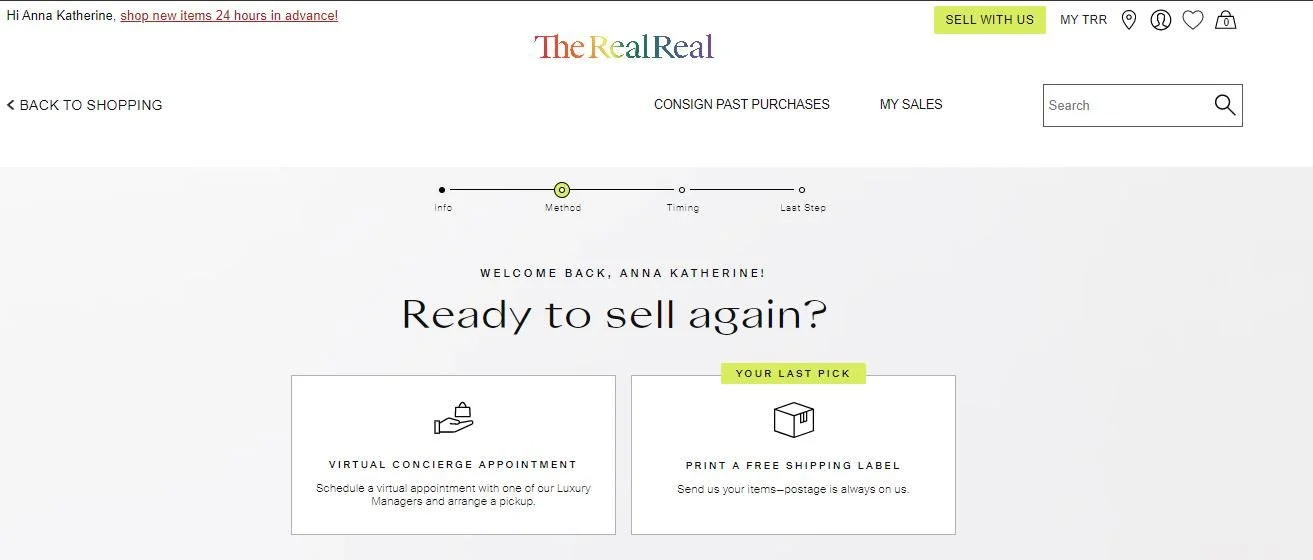
Once your account is created, click on the top right section of the webpage titled “SELL WITH US”.
Step 3.
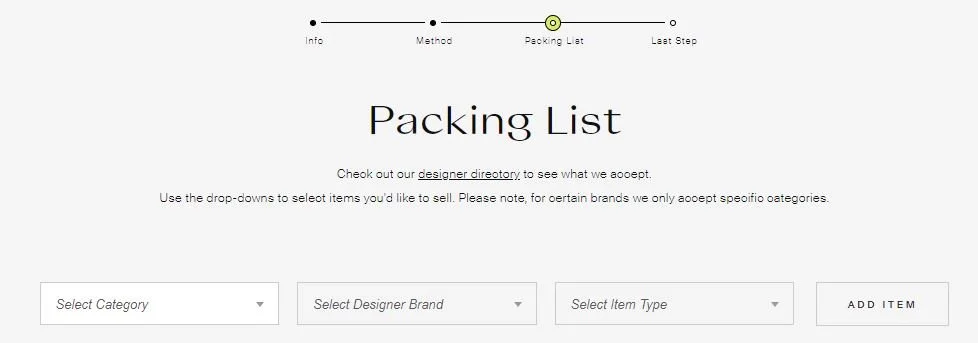
Then click “Print A Free Shipping Label”. Select the Category, Designer Brand, & Item Type and click “ADD ITEM”.
Step 4.
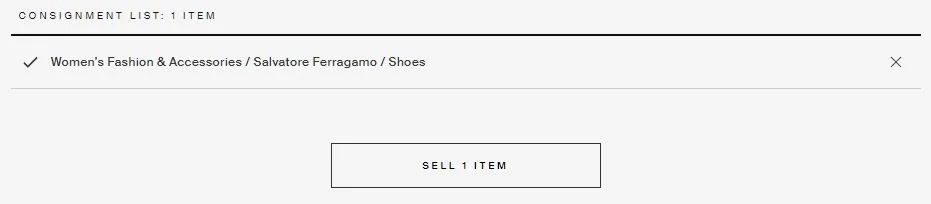
Once you have clicked “ADD ITEM”, you can view the item(s) added & at that time you will want to select “SELL __X Number__ ITEM”
Step 5.
Lastly, confirm your address so that the FREE shipping label can be created & will be ready for you to print & ship your items!
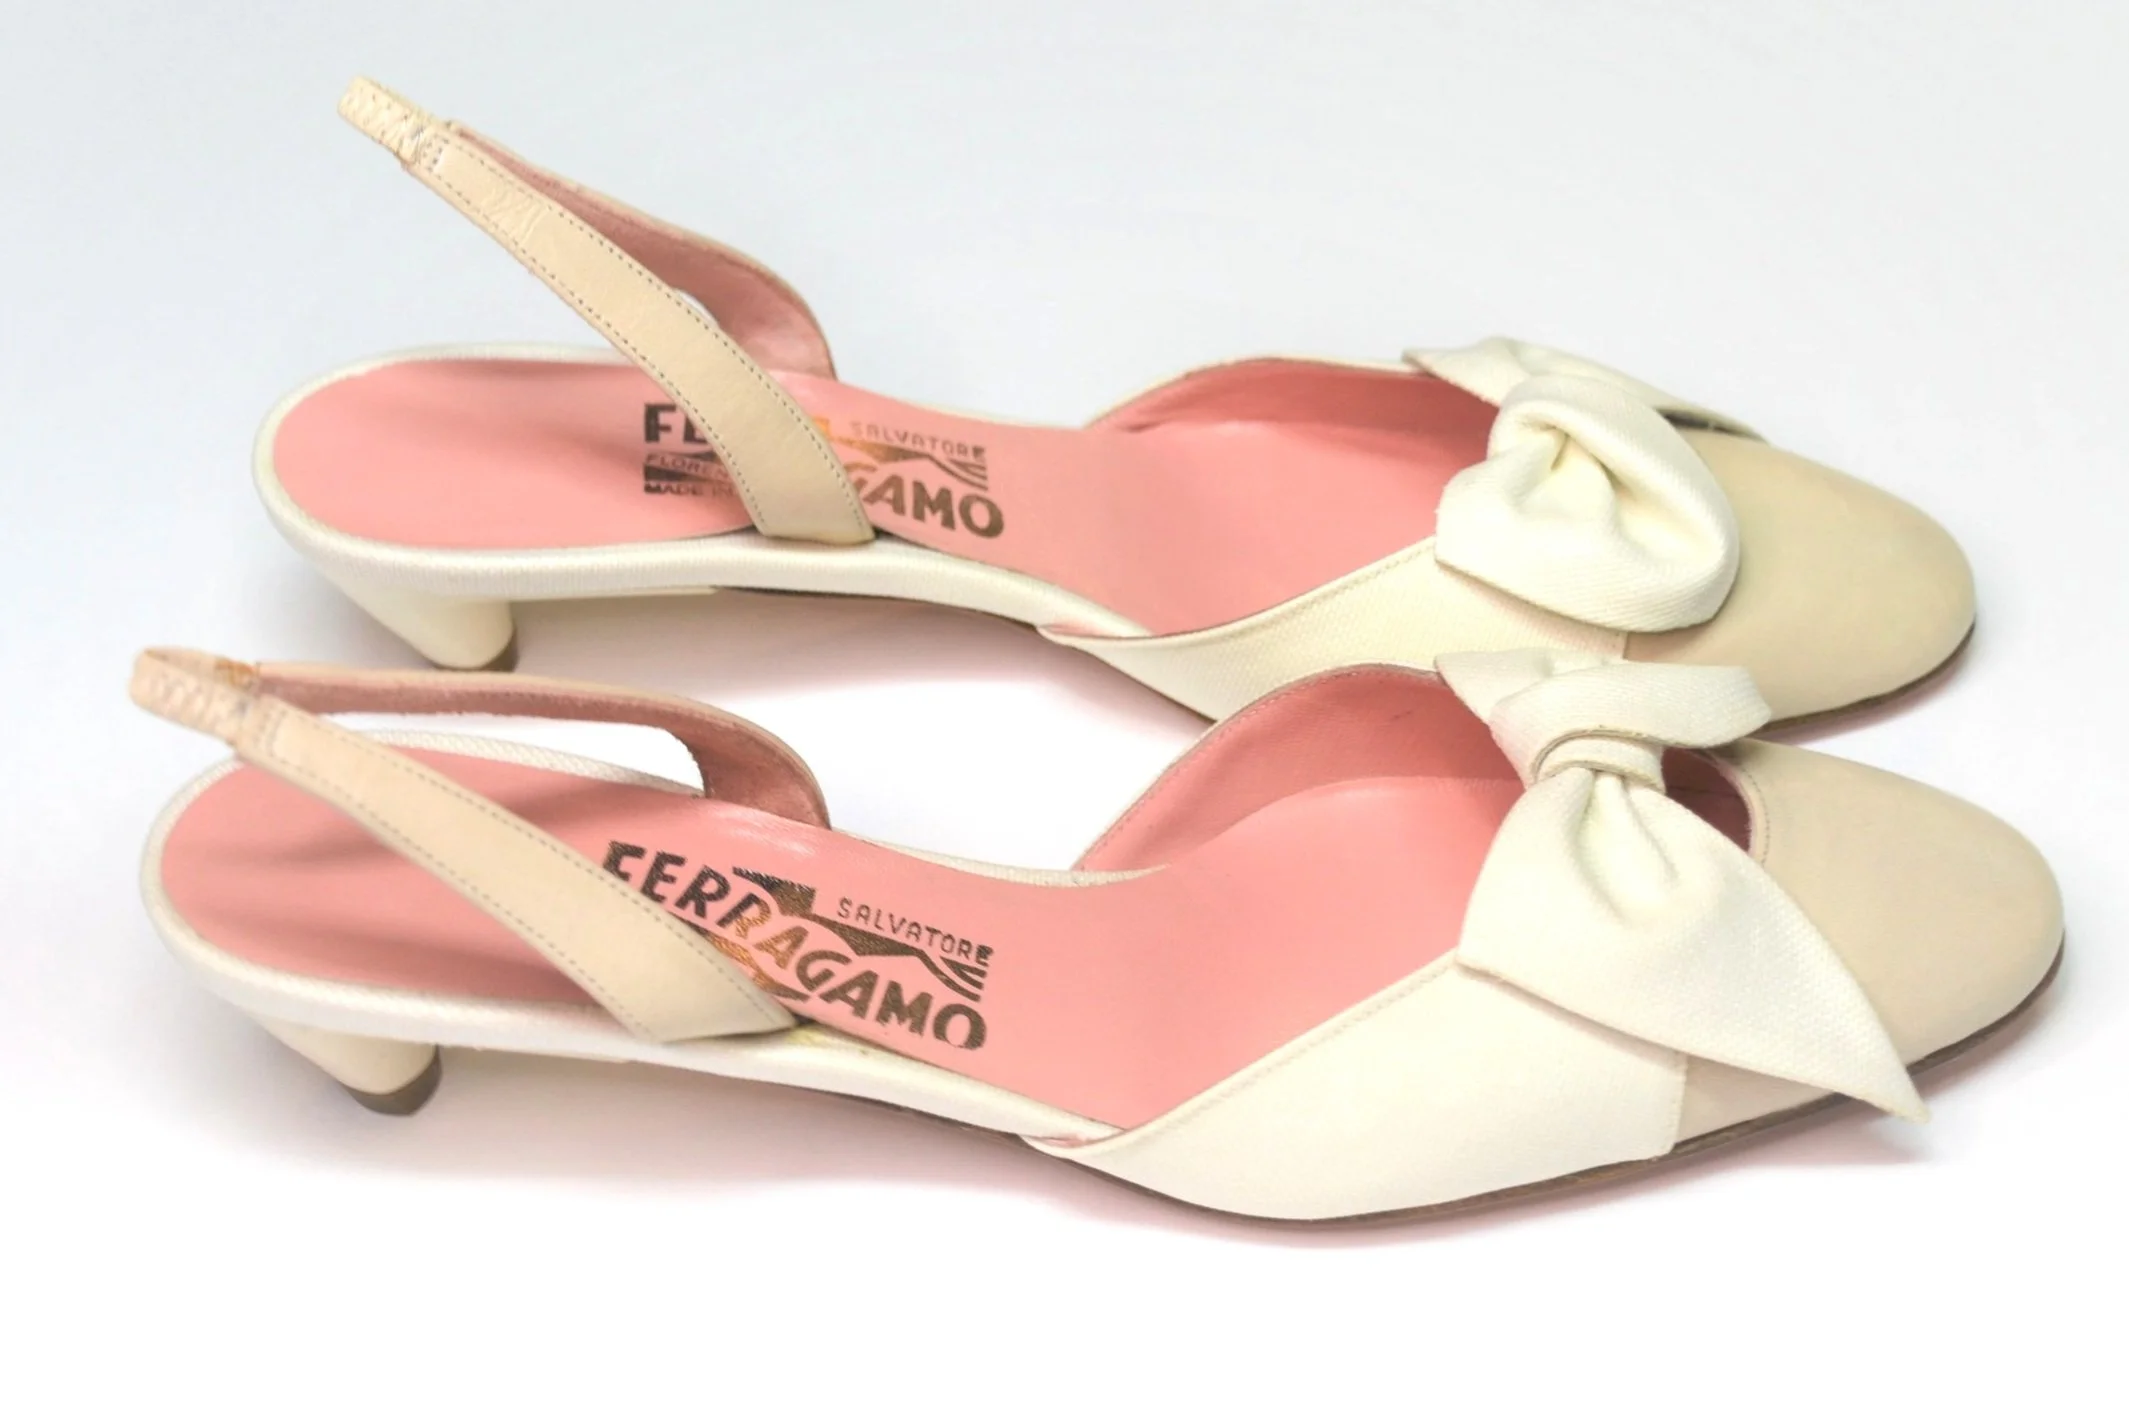
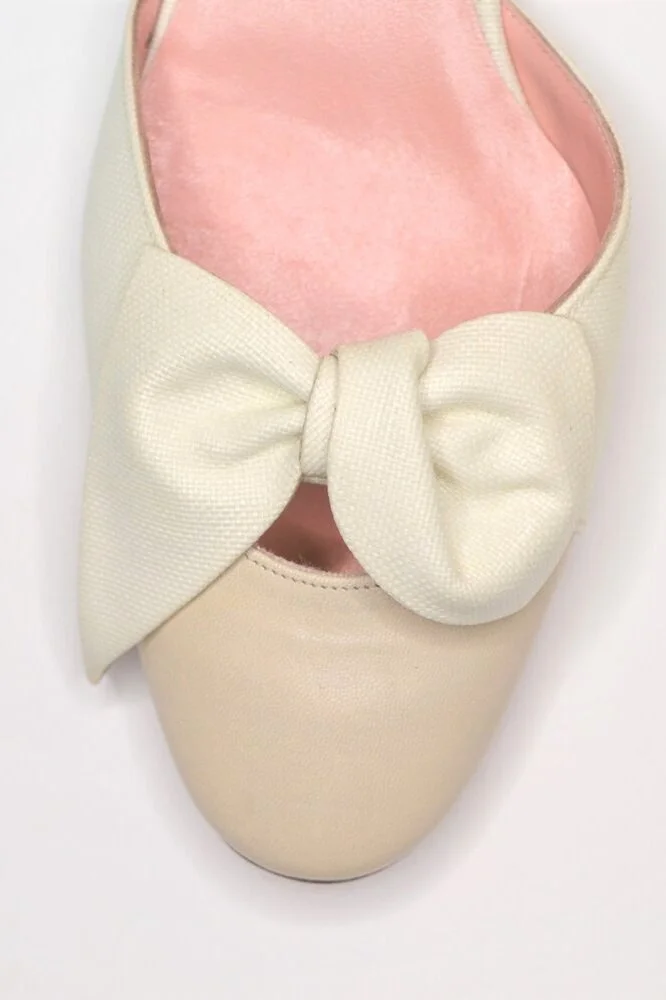
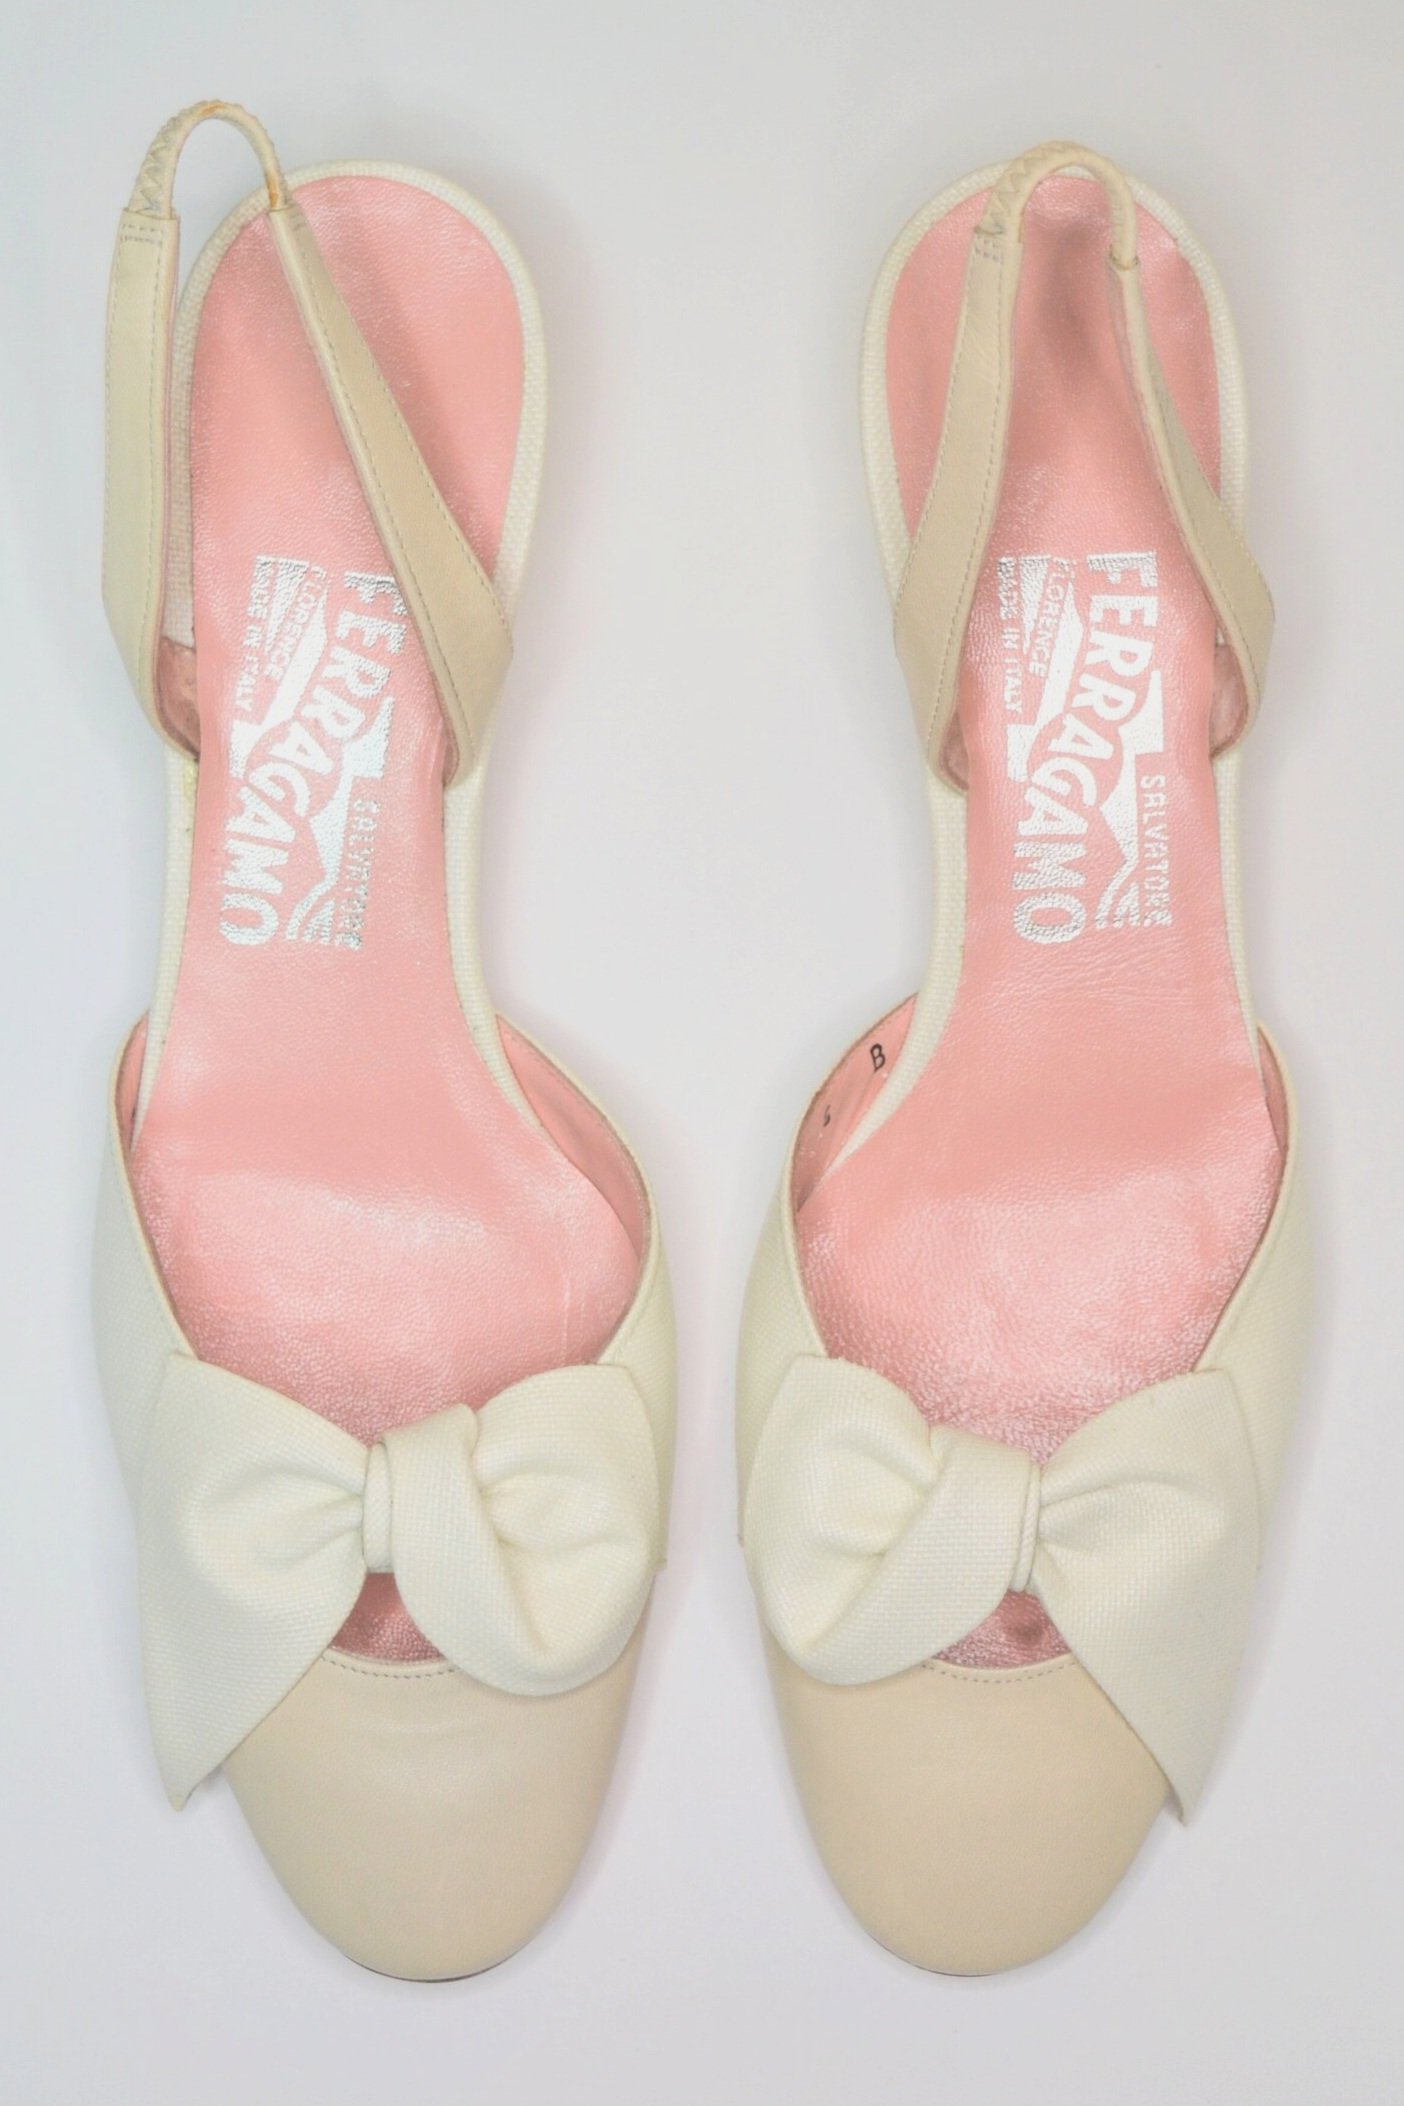
My First Item Consigned/Resold With TheRealReal: Vintage Salvatore Ferragamo Leather Bow Accents Slingback Sandals
This absolutely spectacular pair of kitten heels were for sale at a local Salvation Army thrift store and I was sure to snag them as immediately as the pink leather insole sparkled across the room and quickly caught my attention. Like new, looking as if they’ve never been worn, I have never put something in my shopping cart so quickly as I did these.
The pair was in an overall great condition & the only “cleaning” they required was a bit of leather cleaner solution & moisturizer from The Chemical Guys.
Cleaned & conditioned with The Chemical Guys leather care products.
Logged into my TheRealReal account & entered the item details.
TheRealReal created a FREE shipping label that I then printed.
Wrapped the shoes in brown paper & repurposed an old Amazon box.
Took the package to the post office.
Within 2 weeks, TheRealReal created a listing for the item.
The shoes sold for $40 at a discounted rate of 20%. My final commission was $16.
Final Impressions & Overall Review Of TheRealReal:
As my first item I sold/consigned with TheRealReal I am impressed with their service and I will most definitely be consigning/selling more items with them in the future. Their customer service team was very helpful. The overall time it took me was less than 15 minutes. $16 profit for 15 minutes of minimal effort was well worth it.