Disclosure
This post contains affiliate links, which means I may earn a small commission if you make a purchase through my links, at no extra cost to you.
Last updated: June 5, 2026 · By Anna Katherine Page
This post contains affiliate links. If you buy through them I may earn a small commission, at no extra cost to you. I only recommend products I actually use.
Quick answer: A simple thrifted desk makeover with no paint at all. I picked up a vintage wood desk at a thrift store for $25, cleaned it with Murphy’s Oil Soap, conditioned it with Old English wood oil that has a touch of stain, and sealed it with SC Johnson paste wax. Three easy steps, and the original character of the piece stayed intact.
This thrifted desk makeover started with a $25 score at the thrift store and ended with a piece I love a hundred times more than anything I could have bought new. The whole project uses just three products, no paint, and protects what makes vintage wood furniture special: its grain, color, and the little quirks that come from a piece having a life before you.
Vintage wood desks at thrift stores are some of the best values you can find. Real solid wood, joinery that has already proven itself, and prices a fraction of what you would pay for a comparable new piece. A thrifted desk makeover takes that bargain and turns it into a piece you actually love, often without changing its character at all. You are not building from scratch, you are coaxing what is already good back to the surface.
What you will need for the thrifted desk makeover
Murphy’s Oil Soap. A gentle wood cleaner that lifts grime without stripping the finish. (Find it on Amazon)
Old English wood oil with stain. Conditions dried-out wood and adds a touch of color where it needs it. (Find it on Amazon)
SC Johnson paste wax. Seals and protects with a soft, low-sheen finish. (Find it on Amazon)
Soft cloths or microfiber rags for applying each product.
How to refinish a thrifted wood desk in 3 easy steps
Clean with Murphy’s Oil Soap. Mix according to the bottle directions, dampen a soft cloth, and work it across the whole desk to lift years of grime. Wipe down with a clean damp cloth and let the wood fully dry.
Condition with Old English wood oil. Apply a thin coat of the wood oil with stain, following the grain, and let it soak in. The oil rehydrates dried-out wood and the touch of stain evens out faded or worn spots without covering the grain.
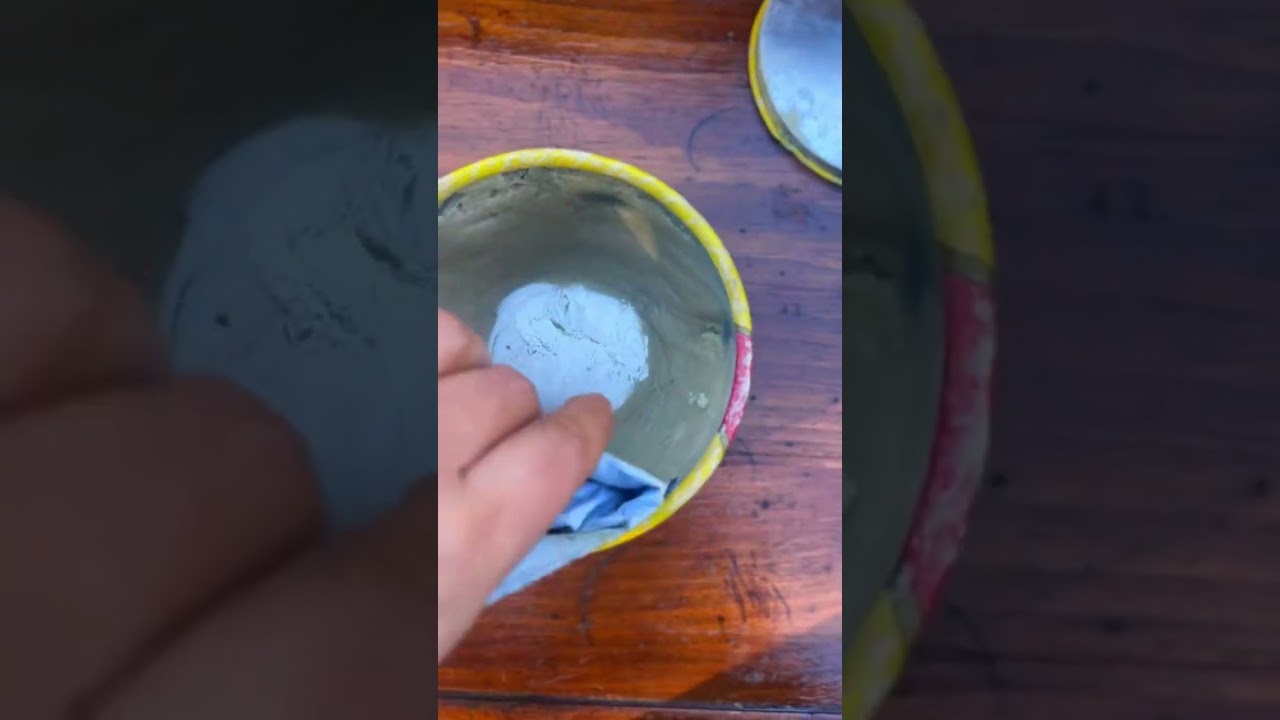
Seal with SC Johnson paste wax. Once the oil has set, rub on a thin layer of paste wax with a clean cloth, then buff to a soft sheen. This protects the surface and gives it a finish that feels like real wood instead of plastic.
That is the entire thrifted desk makeover: clean, condition, seal. No sanding, no painting, no power tools.
Keeping the original character details
One of the best things about this desk: it had a few original smiley faces carved into it from whoever owned it before. I left them in. A thrifted desk makeover is at its best when you protect the parts that make the piece unique, not erase them. Carvings, original hardware, color variations, the patina on the edges. Those are the details that make a vintage piece feel intentional in a room, not like another mass-produced board.
Why oil and wax instead of paint
Painting a wood desk is fast and dramatic, and there is a time for it (I have done plenty of painted furniture projects too). But on a beautiful piece of real wood, paint covers exactly what makes it valuable. Oil and wax do the opposite. They feed the wood, deepen its color, and protect it without hiding the grain. For a vintage thrifted desk with character, this approach almost always reads better.
Key takeaways
This thrifted desk makeover took three products and three steps.
Clean with Murphy’s Oil Soap, condition with Old English wood oil with stain, seal with paste wax.
No paint, no sanding, no covering up the wood grain.
Original details like carvings and hardware stay intact and add character.
Frequently asked questions
How long does a thrifted desk makeover like this take?
About an afternoon. Cleaning and oil application is the bulk of the time, with drying built in. The paste wax goes on quickly and buffs out in minutes.
Do I need to sand the desk first?
Not for this approach. If the existing finish is intact and the desk just needs cleaning and conditioning, sanding would strip the patina you are trying to keep. Only sand if you are dealing with damaged or peeling finish.
What does Murphy’s Oil Soap actually do?
It is a gentle wood-safe cleaner that lifts dirt, grease, and grime without stripping the existing finish. Perfect first step for any thrifted wood furniture project.
Can I use this method on other wood furniture?
Yes. Any vintage wood piece you want to preserve without painting works with the same three steps. Side tables, dressers, dining chairs, headboards.
How often do I need to rewax the desk?
Once a year is plenty for most pieces. A quick buff with a soft cloth refreshes the finish between waxings.
Is this thrifted desk makeover beginner friendly?
Yes. There are no power tools, no sanding, and the worst case if you over-apply oil or wax is just wiping it back. This is one of the easiest finishes to get right.
About Anna Katherine
I refresh thrifted furniture and home decor on a budget and share the real, hands-on process. Follow along for honest DIY projects and the small techniques that make them look professional, on TikTok and YouTube.
Watch the original makeover and more thrift flips on TikTok.
Leave a Reply