This post may contain affiliate links. I may earn a small commission at no extra cost to you if you make a purchase through these links. I only recommend products I personally use and love.
Quick answer: These eight Montessori inspired activities for toddlers build fine motor skills, problem solving and hand eye coordination through independent play, starting with a learning clock, a shape sorter and spinning gears. Research from the NAEYC finds play based learning is one of the most effective ways to build early childhood skills.
8 Montessori Activities for Toddlers That Build Skills Through Play
These montessori activities for toddlers are designed to support your child’s natural curiosity and development through hands-on, independent play. Research from the National Association for the Education of Young Children (NAEYC) confirms that play-based learning is one of the most effective ways to build cognitive, motor, and social skills in early childhood. Here are 8 montessori activities for toddlers that make learning feel like fun.
As parents, we want the best for our little ones, especially when it comes to their development. The Montessori approach to learning emphasizes hands-on, sensory-rich activities that encourage your child’s natural curiosity and foster essential developmental milestones. For babies aged 6-12 months, this Montessori-inspired activity set is a perfect tool to promote sensory awareness, fine motor skills, and early problem-solving abilities.
This thoughtfully designed activity set features 8 engaging and educational activities that align with the Montessori philosophy. Let’s explore how each activity provides unique benefits for your baby and makes playtime both fun and meaningful!
1. Learning Clock
Introduce your baby to the concept of time with this colorful learning clock. The movable hands and numbers encourage shape recognition and fine motor skills while laying the groundwork for time-related concepts in the future.
2. Shape Sorter
The classic shape sorter enhances your baby’s problem-solving abilities and spatial awareness. By matching shapes to their corresponding slots, your baby develops hand-eye coordination and a better understanding of geometry.
3. Spinning Gears
Turn, twist, and explore! The spinning gears captivate your baby’s attention while promoting fine motor development and cause-and-effect learning. It’s an engaging activity that keeps little hands busy.
4. Sorting Stacking Board
Stacking and sorting rings or blocks by size and color encourages your baby to develop color recognition and logical thinking. This activity also helps improve grasping and hand strength.
5. Ball Drop Game
The ball drop game introduces object permanence, helping your baby understand that objects exist even when out of sight. Dropping the ball and watching it reappear is both exciting and educational.
6. Color Matching Sticks Drop Game
This activity involves matching colored sticks to their corresponding holes, which enhances color recognition and fine motor precision. It’s a fun challenge that improves focus and patience.
7. Coin Bank
Encourage early saving habits while building hand-eye coordination with this coin bank activity. Dropping coins into the slot is a simple and rewarding way for babies to develop fine motor skills and concentration.
8. Carrot Harvest Game
The carrot harvest game features removable carrots of various sizes, teaching size differentiation and improving pincer grip. It’s a delightful activity that introduces concepts of farming and nature.
Why Parents Love This Activity Set
Durable and Safe: Made from high-quality, non-toxic materials, this set is built to last and safe for little hands and mouths.
Educational Value: Every activity is carefully designed to align with Montessori principles, ensuring your baby’s playtime is productive and meaningful.
Multi-Use: Perfect for independent play or parent-child bonding sessions.
Great Gift: Ideal for baby showers or birthdays, this set offers lasting value for babies and their families.
Ready to Elevate Your Baby’s Playtime? This Montessori-inspired activity set is a must-have for parents who want to support their baby’s natural curiosity and growth. Click the link below to shop now and watch your little one’s development thrive!
Shop the Best Montessori Activities for Toddlers
Here are some of my favorite Montessori-inspired toys perfect for babies and toddlers:
Kizfarm 8-in-1 Wooden Montessori Play Kit – Shape sorting, stacking, carrot harvest, coin bank & more: Shop on Amazon
PEBIRA Montessori Sorting & Stacking Toys – Wooden color recognition shape sorter for 1-3 year olds: Shop on Amazon
Montessori Wooden Sensory Toddler Toys – Educational learning toy for fine motor skills: Shop on Amazon
Disclosure: This post contains affiliate links, which means I may earn a small commission if you make a purchase through my links, at no extra cost to you.
Quick answer: This is the DIY roach routine I actually run in my own home, using affordable products from Amazon and no exterminator. It has kept my house roach free for over a year and a half. Cockroaches are one of the most common household pests and can trigger asthma and allergies, according to the EPA.
How to Get Rid of Roaches DIY – A Step-by-Step Routine That Actually Works
If you’re wondering how to get rid of roaches DIY, you’re not alone. According to the U.S. Environmental Protection Agency (EPA), cockroaches are one of the most common household pests and can trigger asthma and allergies. This proven DIY routine shows you exactly how to get rid of roaches DIY using affordable products from Amazon , no exterminator needed.
This post may contain affiliate links. I may earn a small commission at no extra cost to you if you make a purchase through these links. I only recommend products I personally use and love.
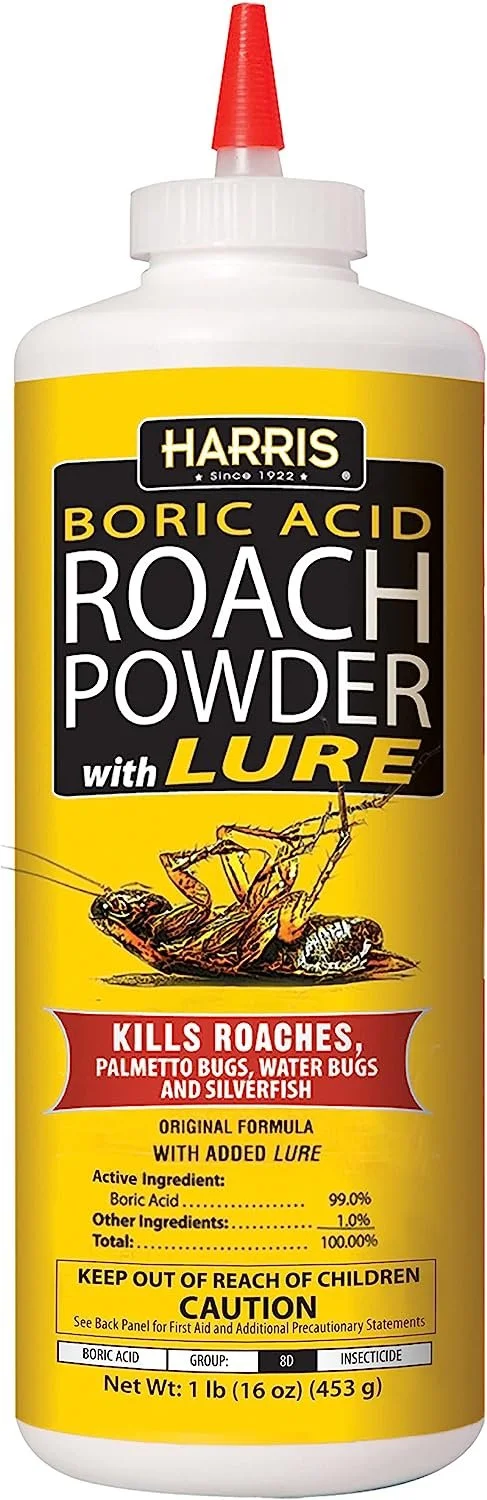
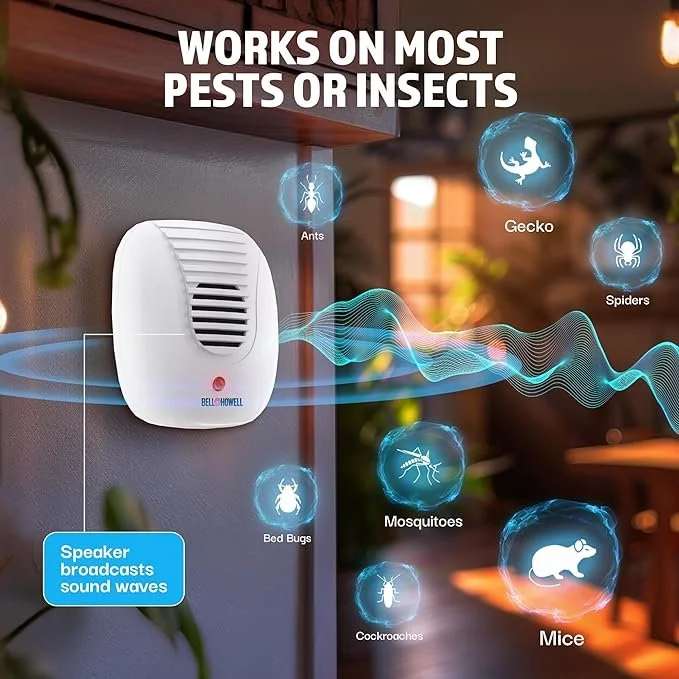
Roaches in your home? I understand your pain and please reassure yourself and know that you are not alone! When I first moved into my first home almost three years ago, I was faced with an overwhelming roach infestation in my home. After much trial and error, countless hours of research, and testing out dozens of methods and products I have developed a routine that allowed me to finally feel comfortable in my home without seeing a pesky roach for over the past year and a half. Below you will find a list of the products and step-by-step routine I use to help keep the cockroaches out of my house & then to kill any that are currently living in your home.
Before I begin, if you haven’t already viewed my video on Tiktok as a response to Grace O’Malley who’s new apartment in NYC was infested with roaches then go ahead and view it now via the Youtube video below.
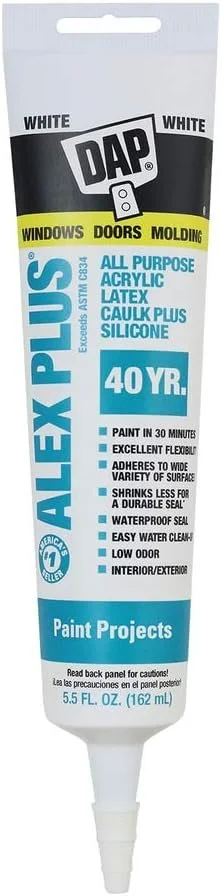
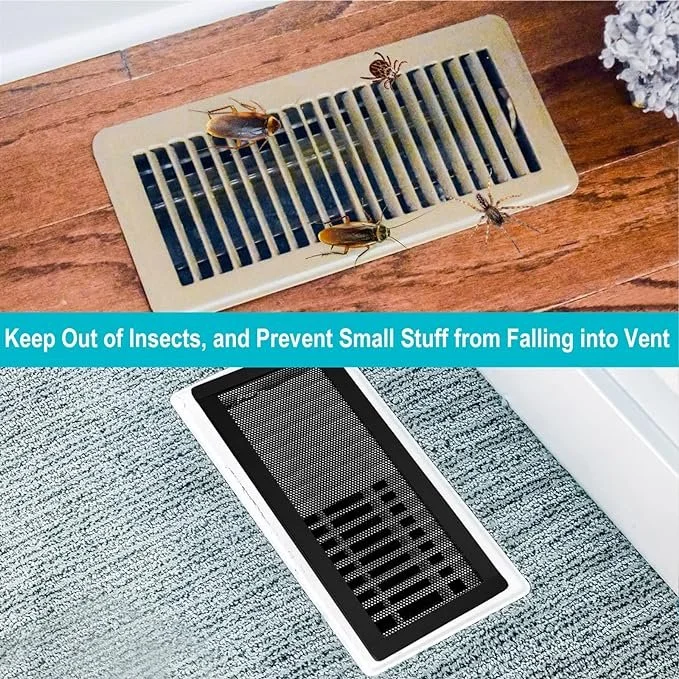
The most important tip I can give you is that if you don’t seal up their points of entry then they will definitely continue to find their way in your apartment. But not to fear! It’s easier than you think. Caulk any crevices or holes, cover your air vents, close your drains at nighttime (bathroom sink, tub/shower, & kitchen sink) and literally they won’t be able to get into your space!
Don’t give up! You’ve got this & I promise you are going to eliminate and overcome these roaches once and for all so that you can finally feel comfortable in your home!
Disclosure: This post contains affiliate links, which means I may earn a small commission if you make a purchase through my links, at no extra cost to you.
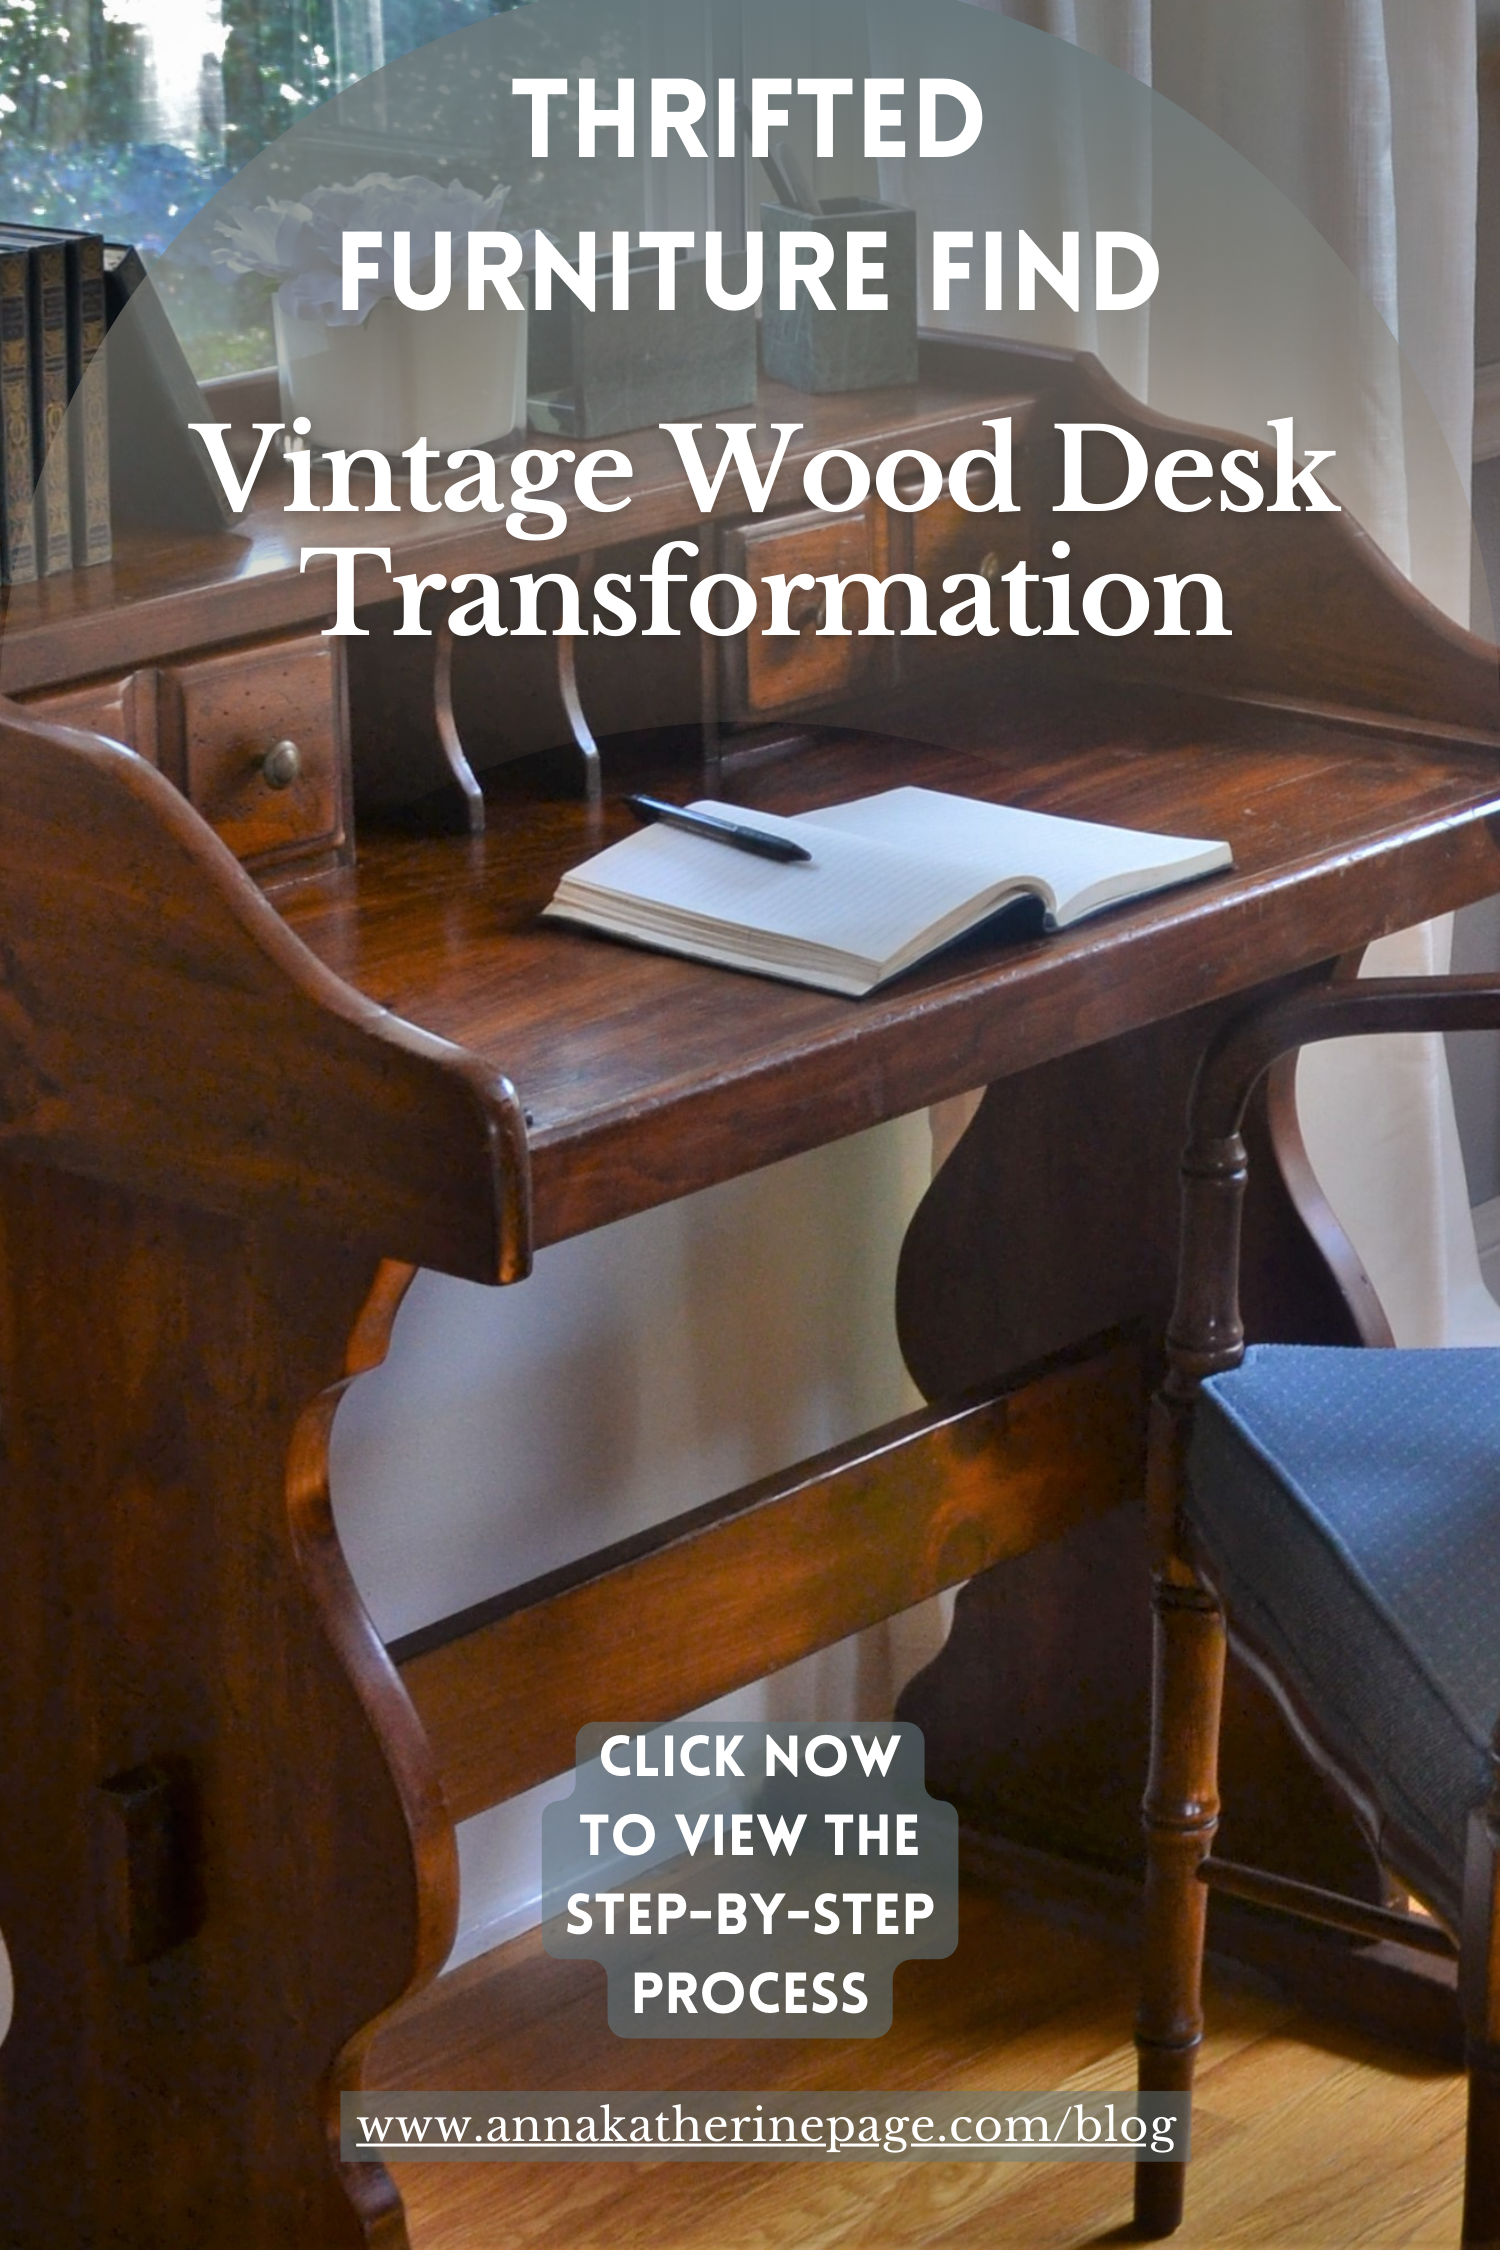
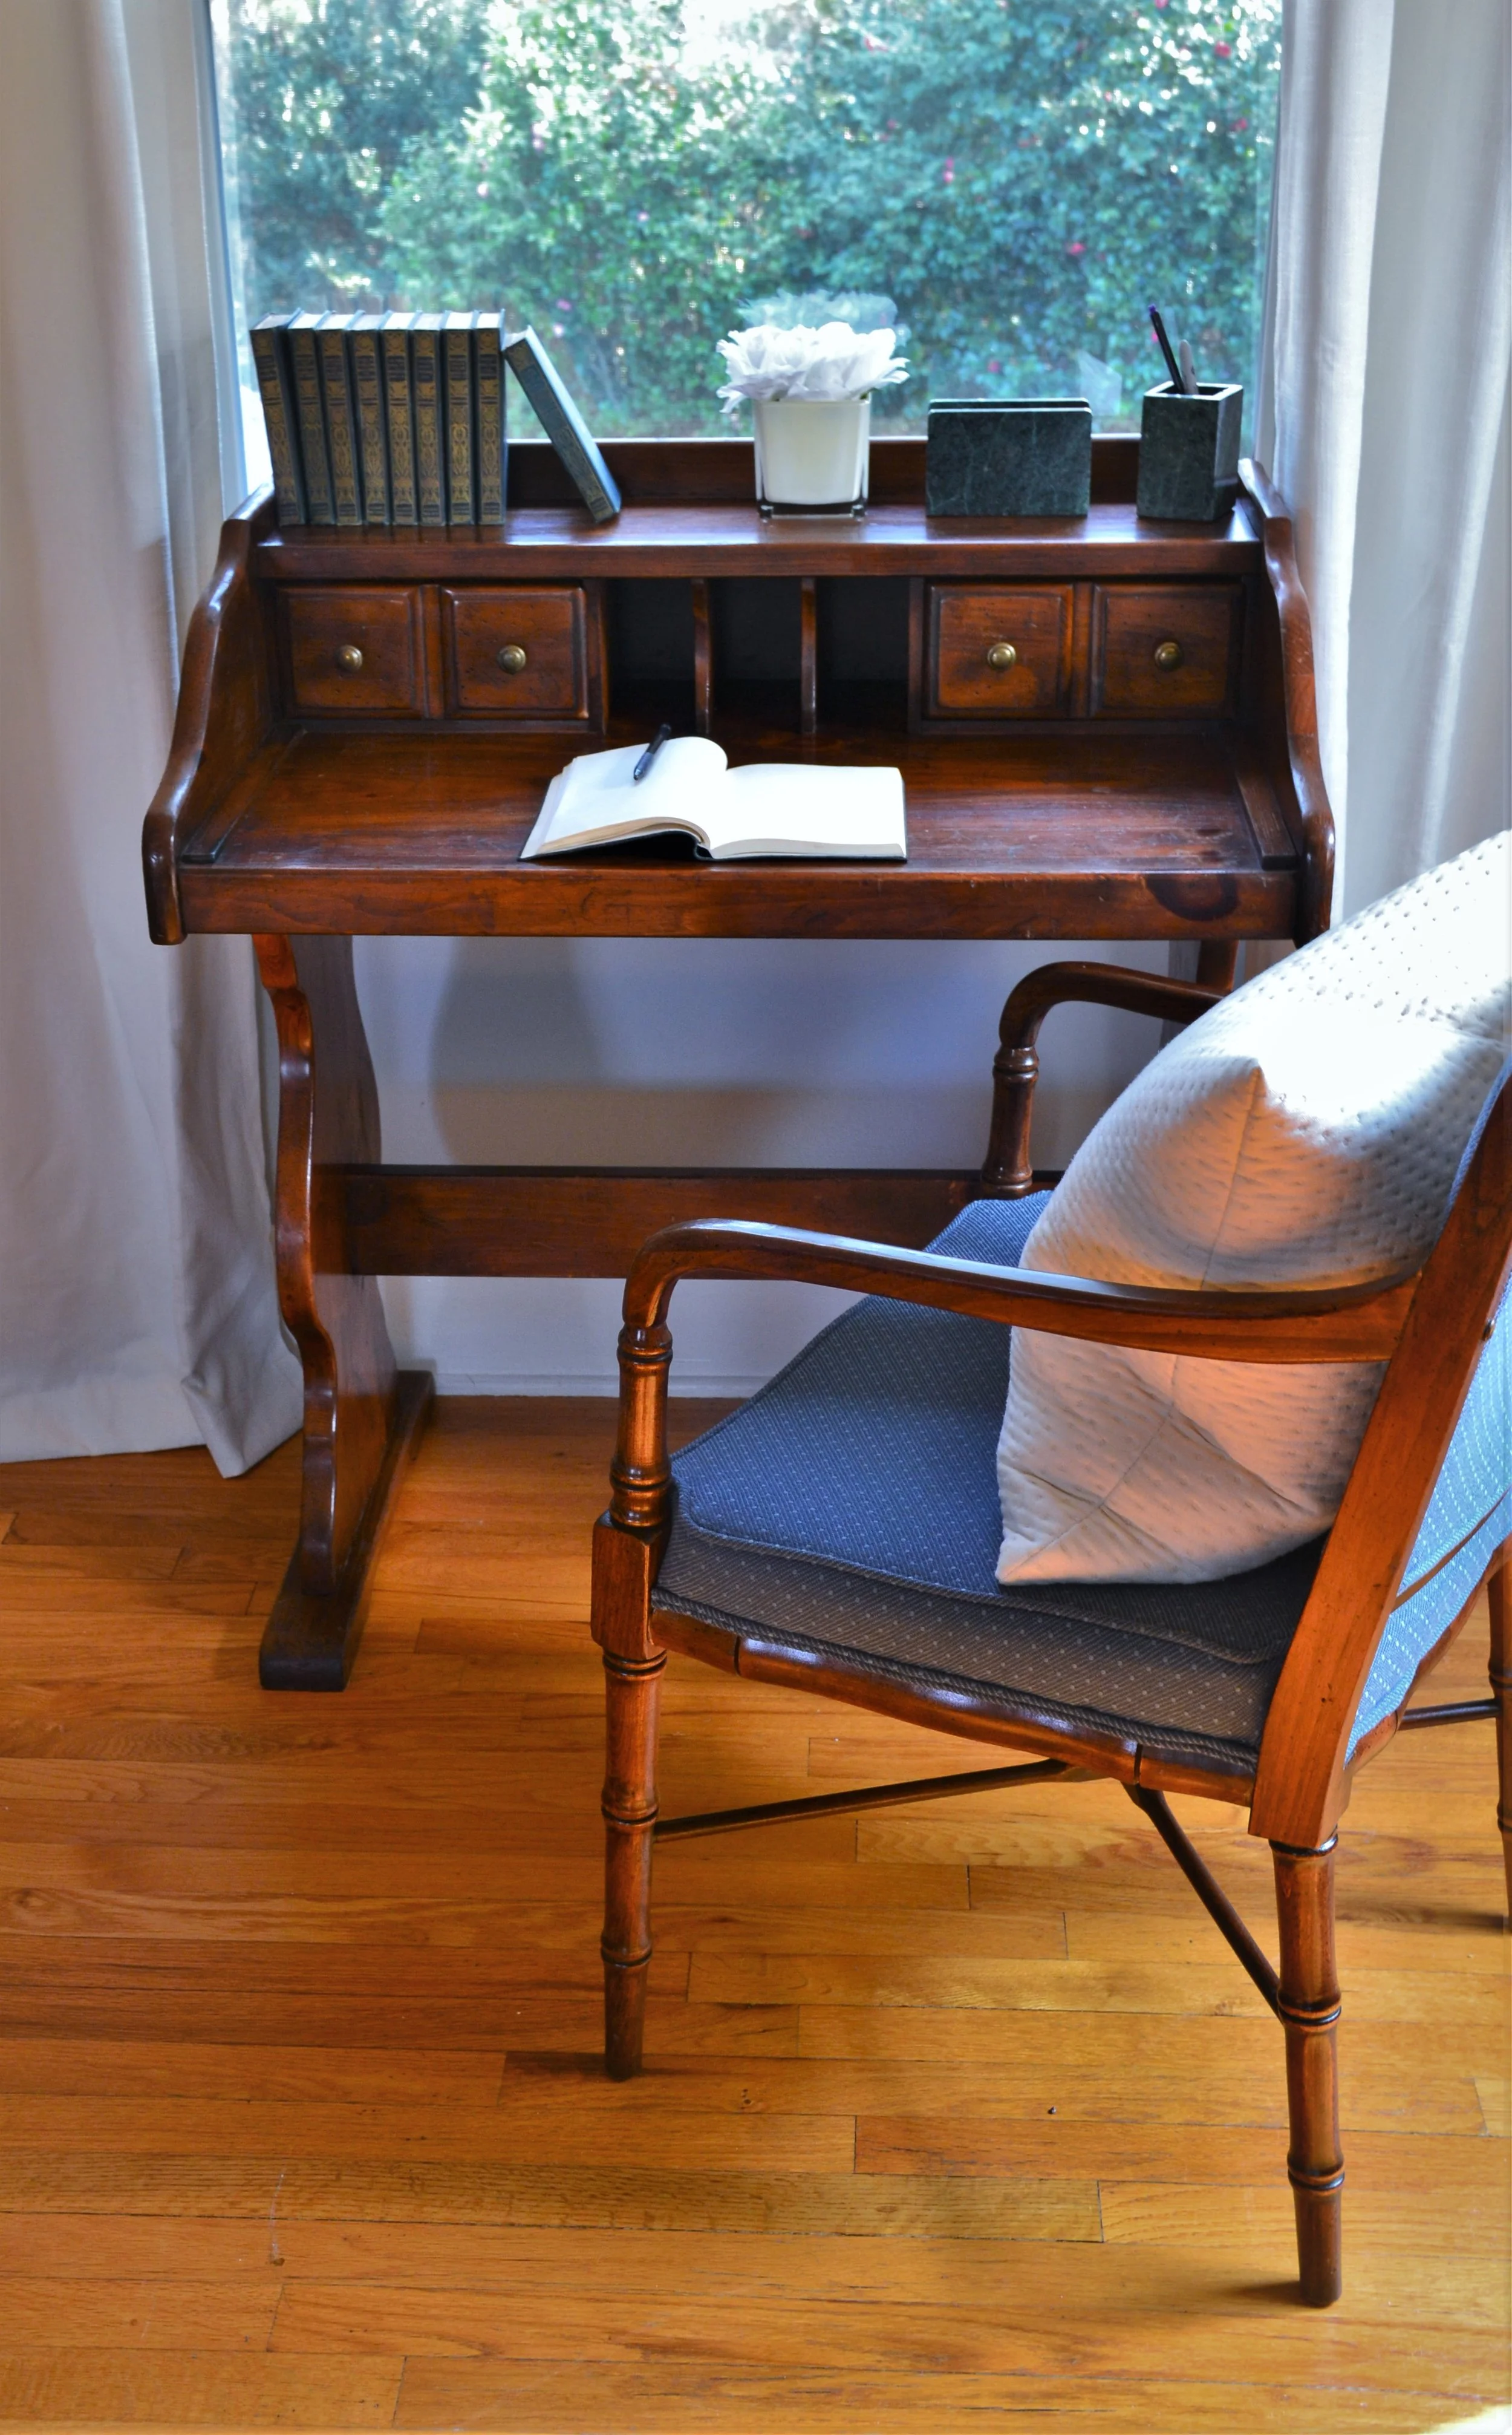
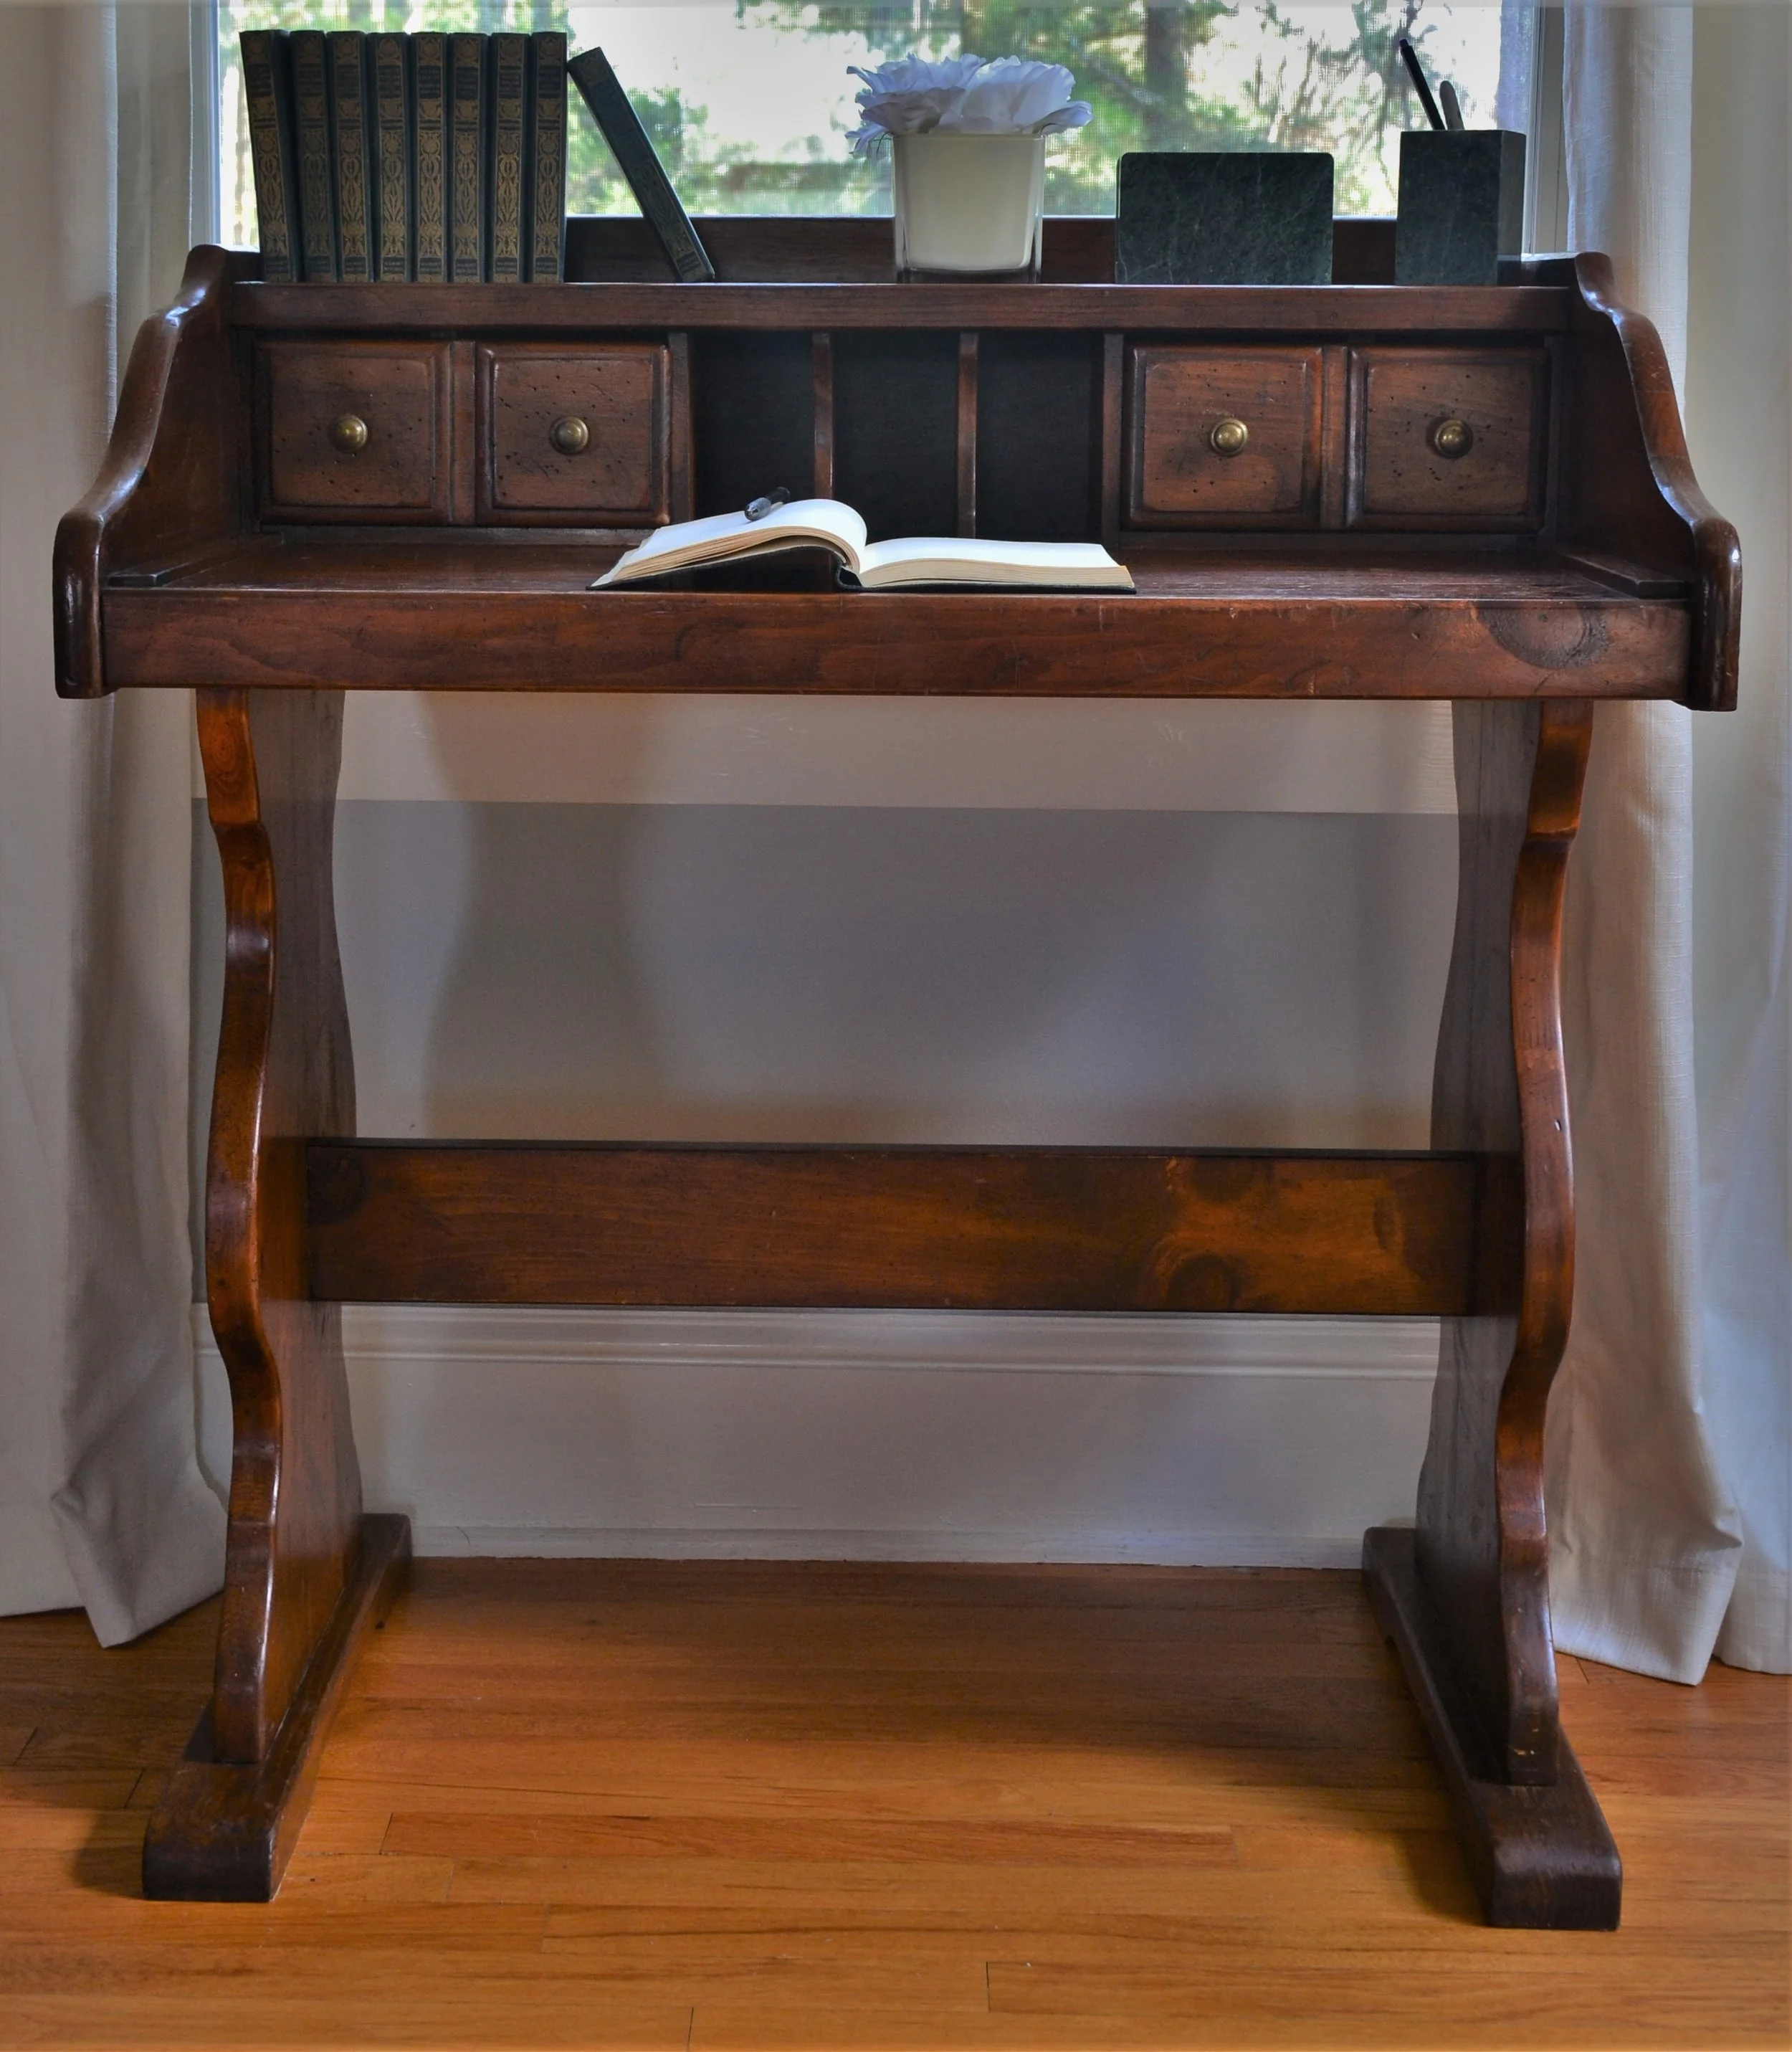
$25 Thrift Store Furniture Flip – Vintage Wood Desk Transformation
This thrift store furniture flip proves you don’t need a big budget to create something beautiful. I found this vintage wood desk at a local thrift store for just $25 and transformed it into a stunning statement piece. According to the EPA’s guide to reducing waste, furniture restoration and upcycling keeps thousands of tons of wood out of landfills every year , making every thrift store furniture flip a win for your wallet and the planet.
This post may contain affiliate links. I may earn a small commission at no extra cost to you if you make a purchase through these links. I only recommend products I personally use and love.
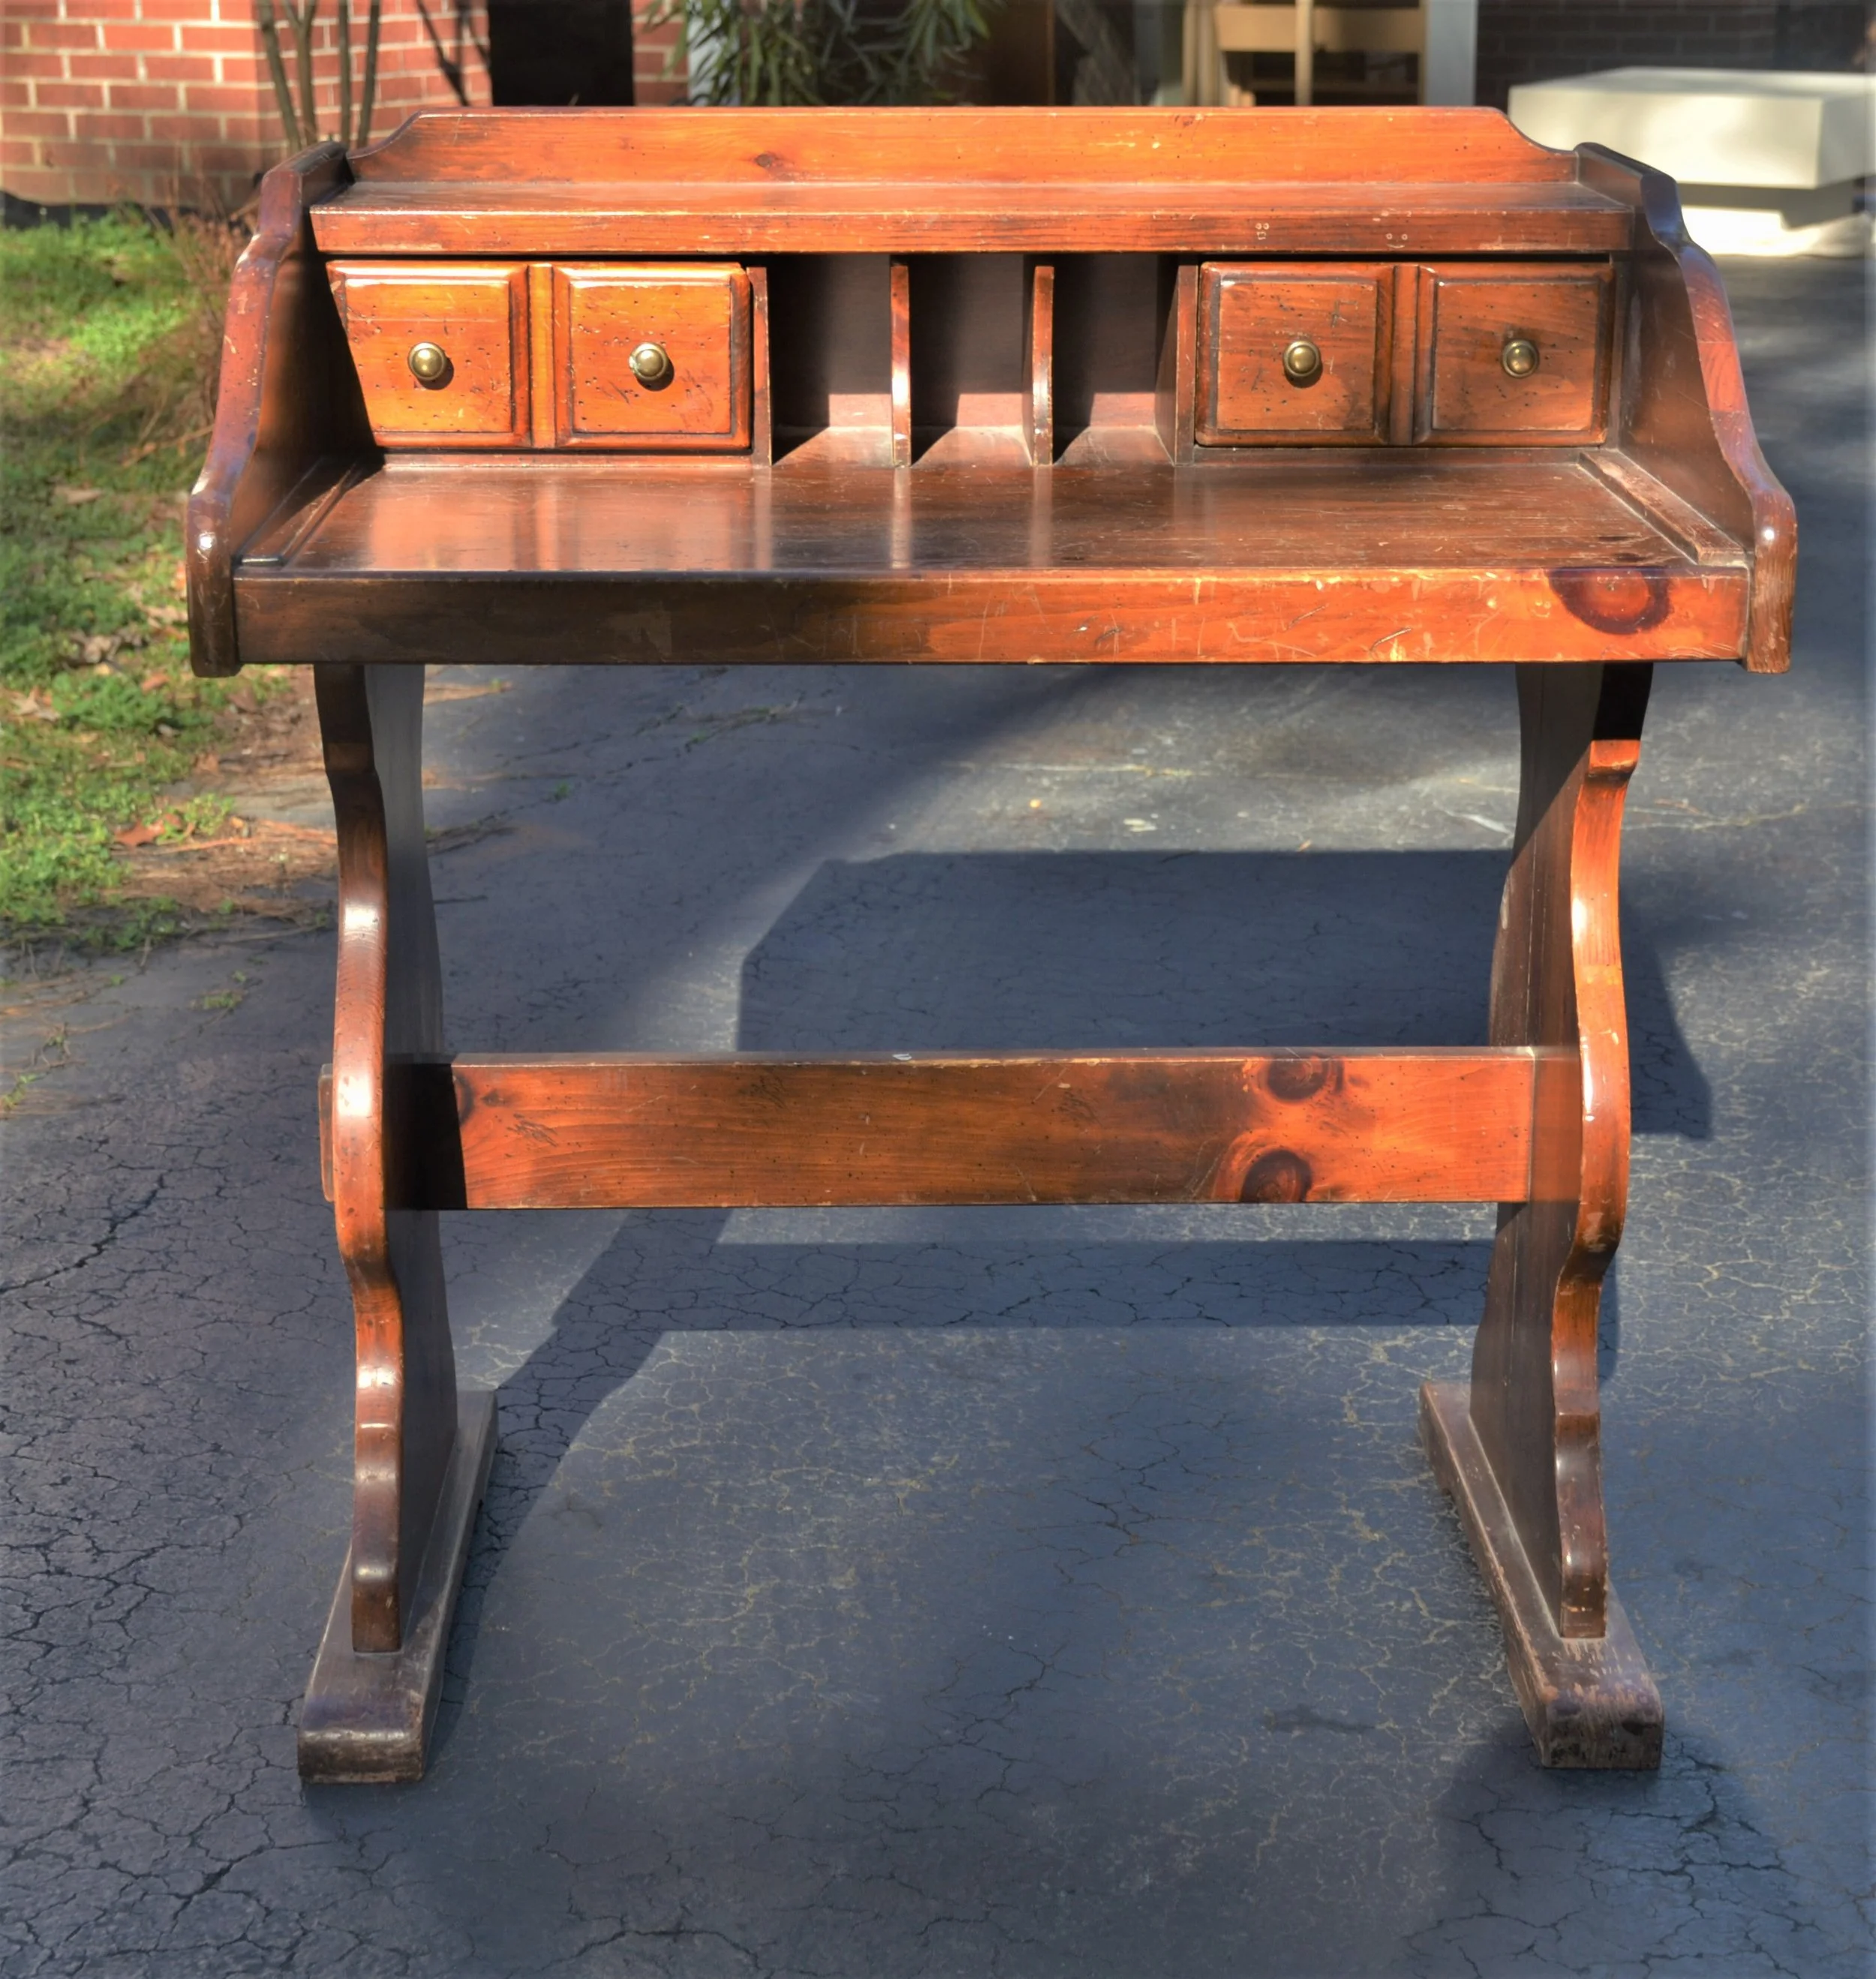
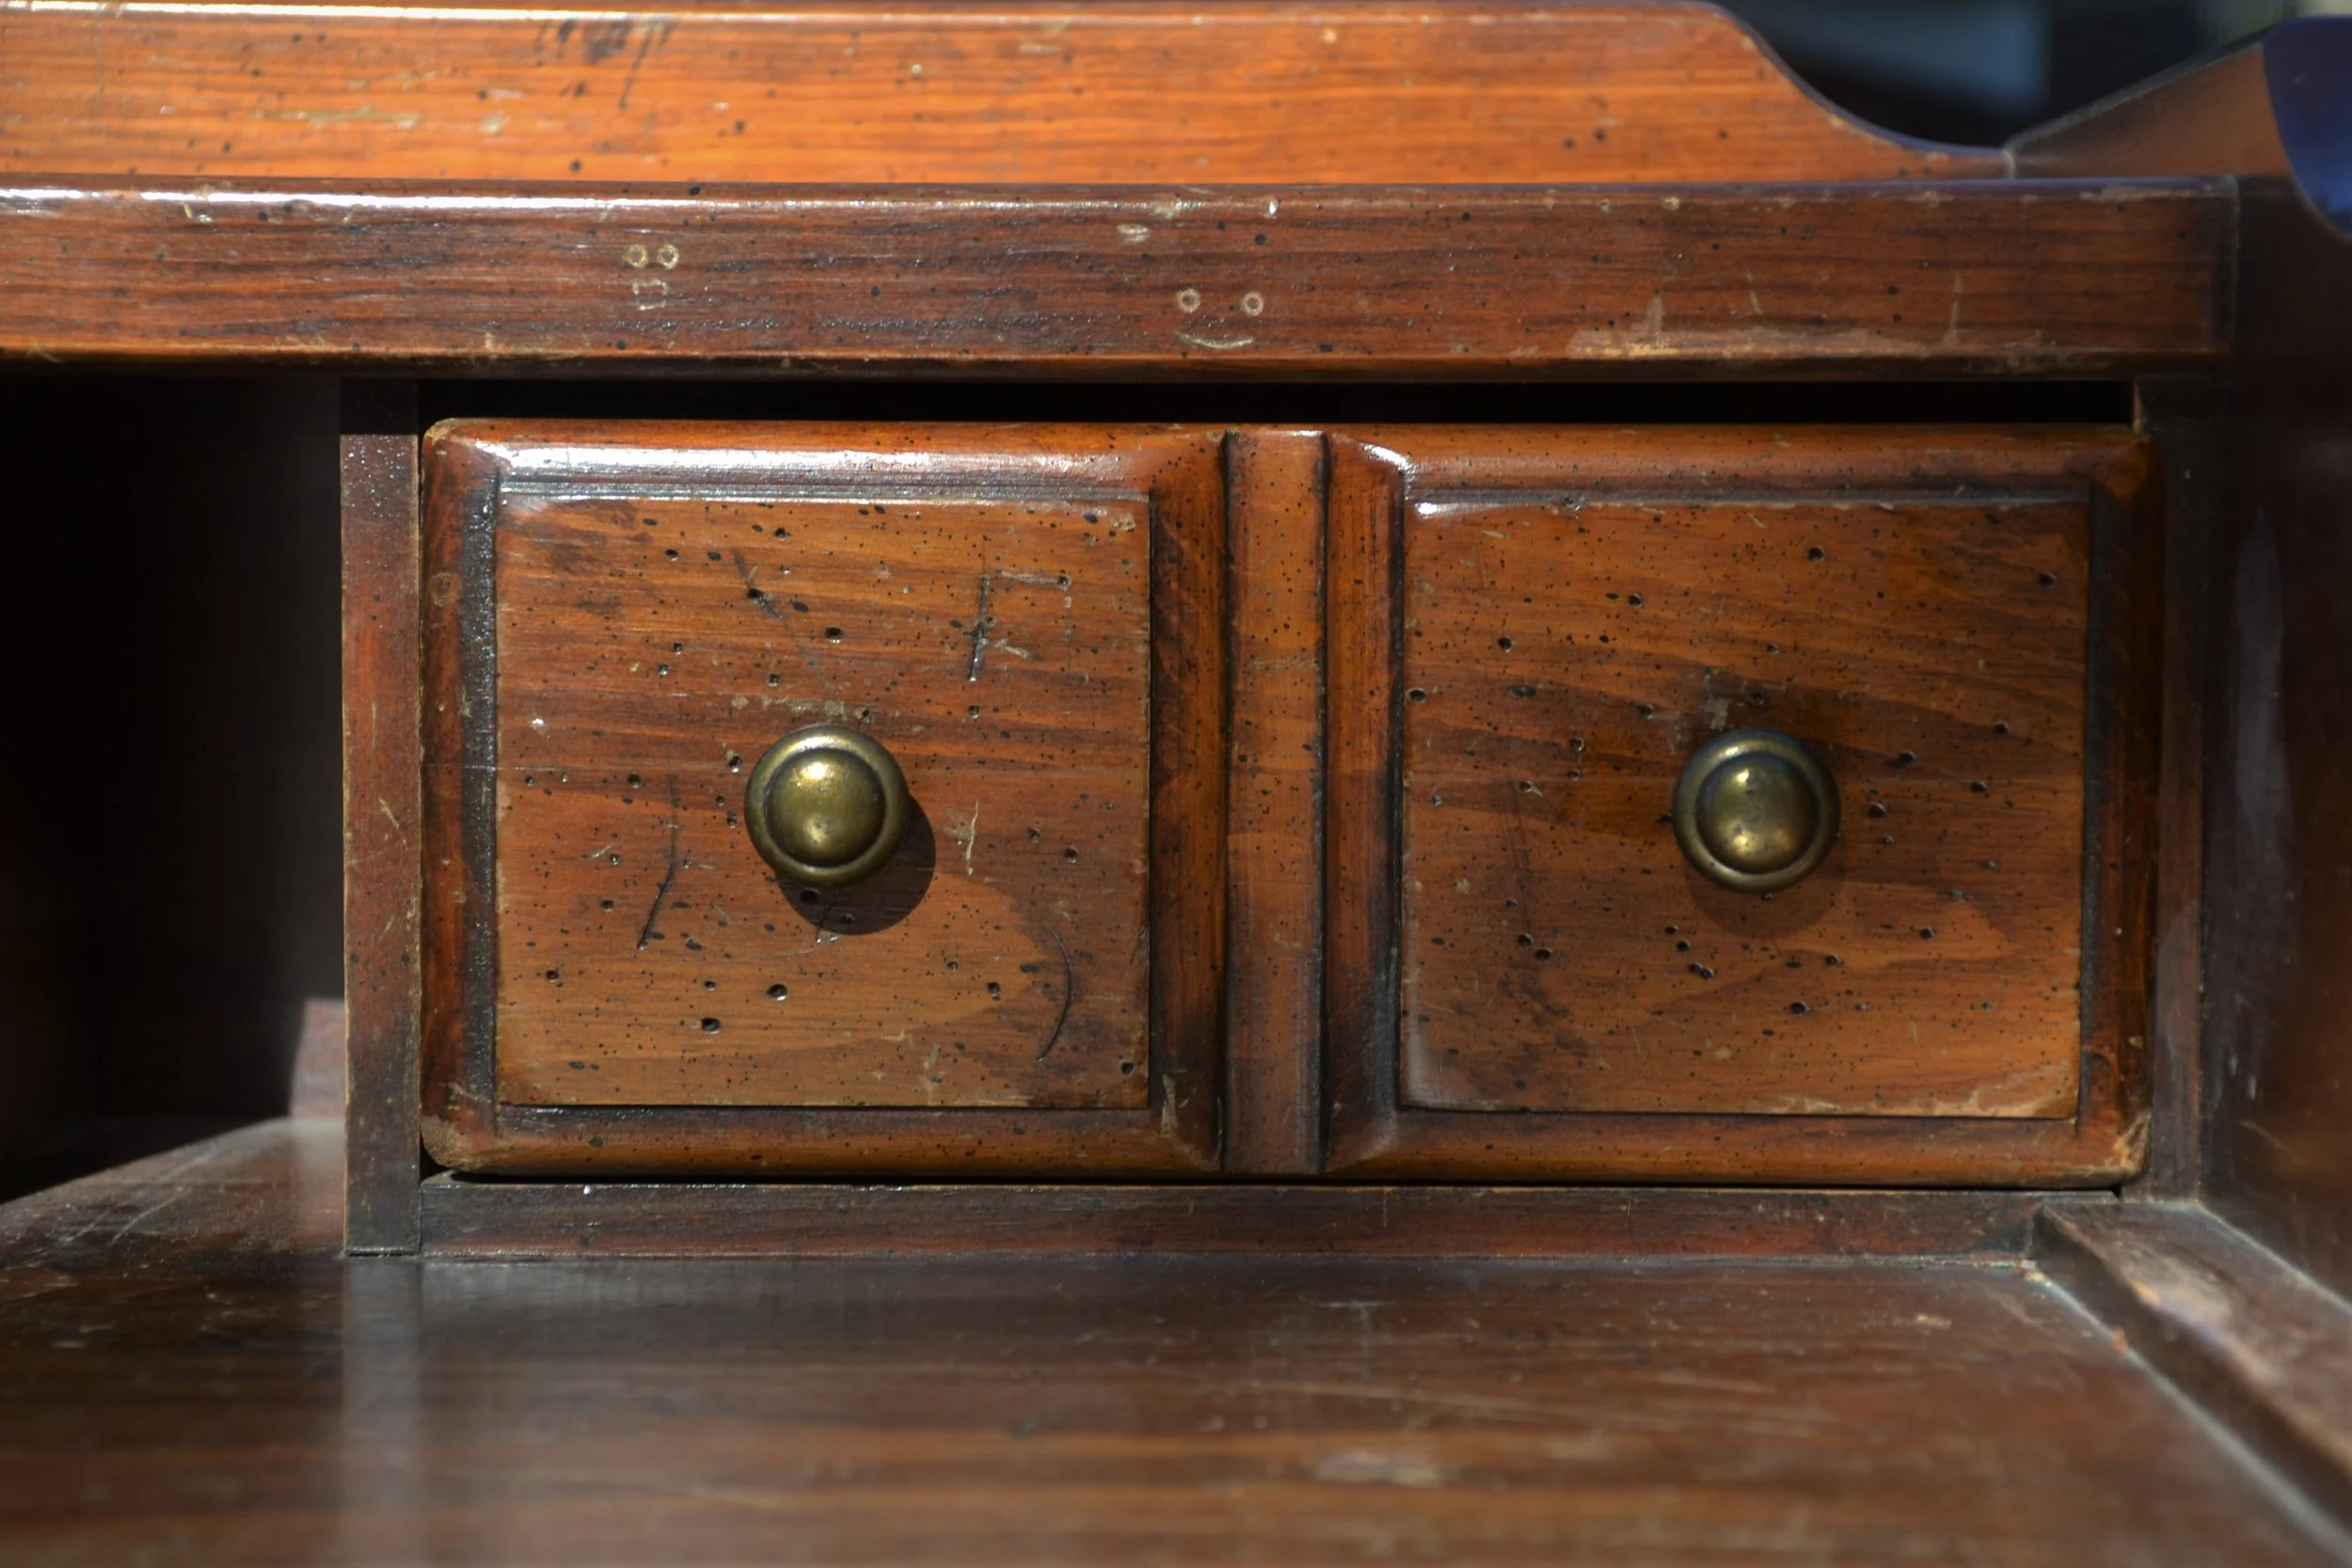
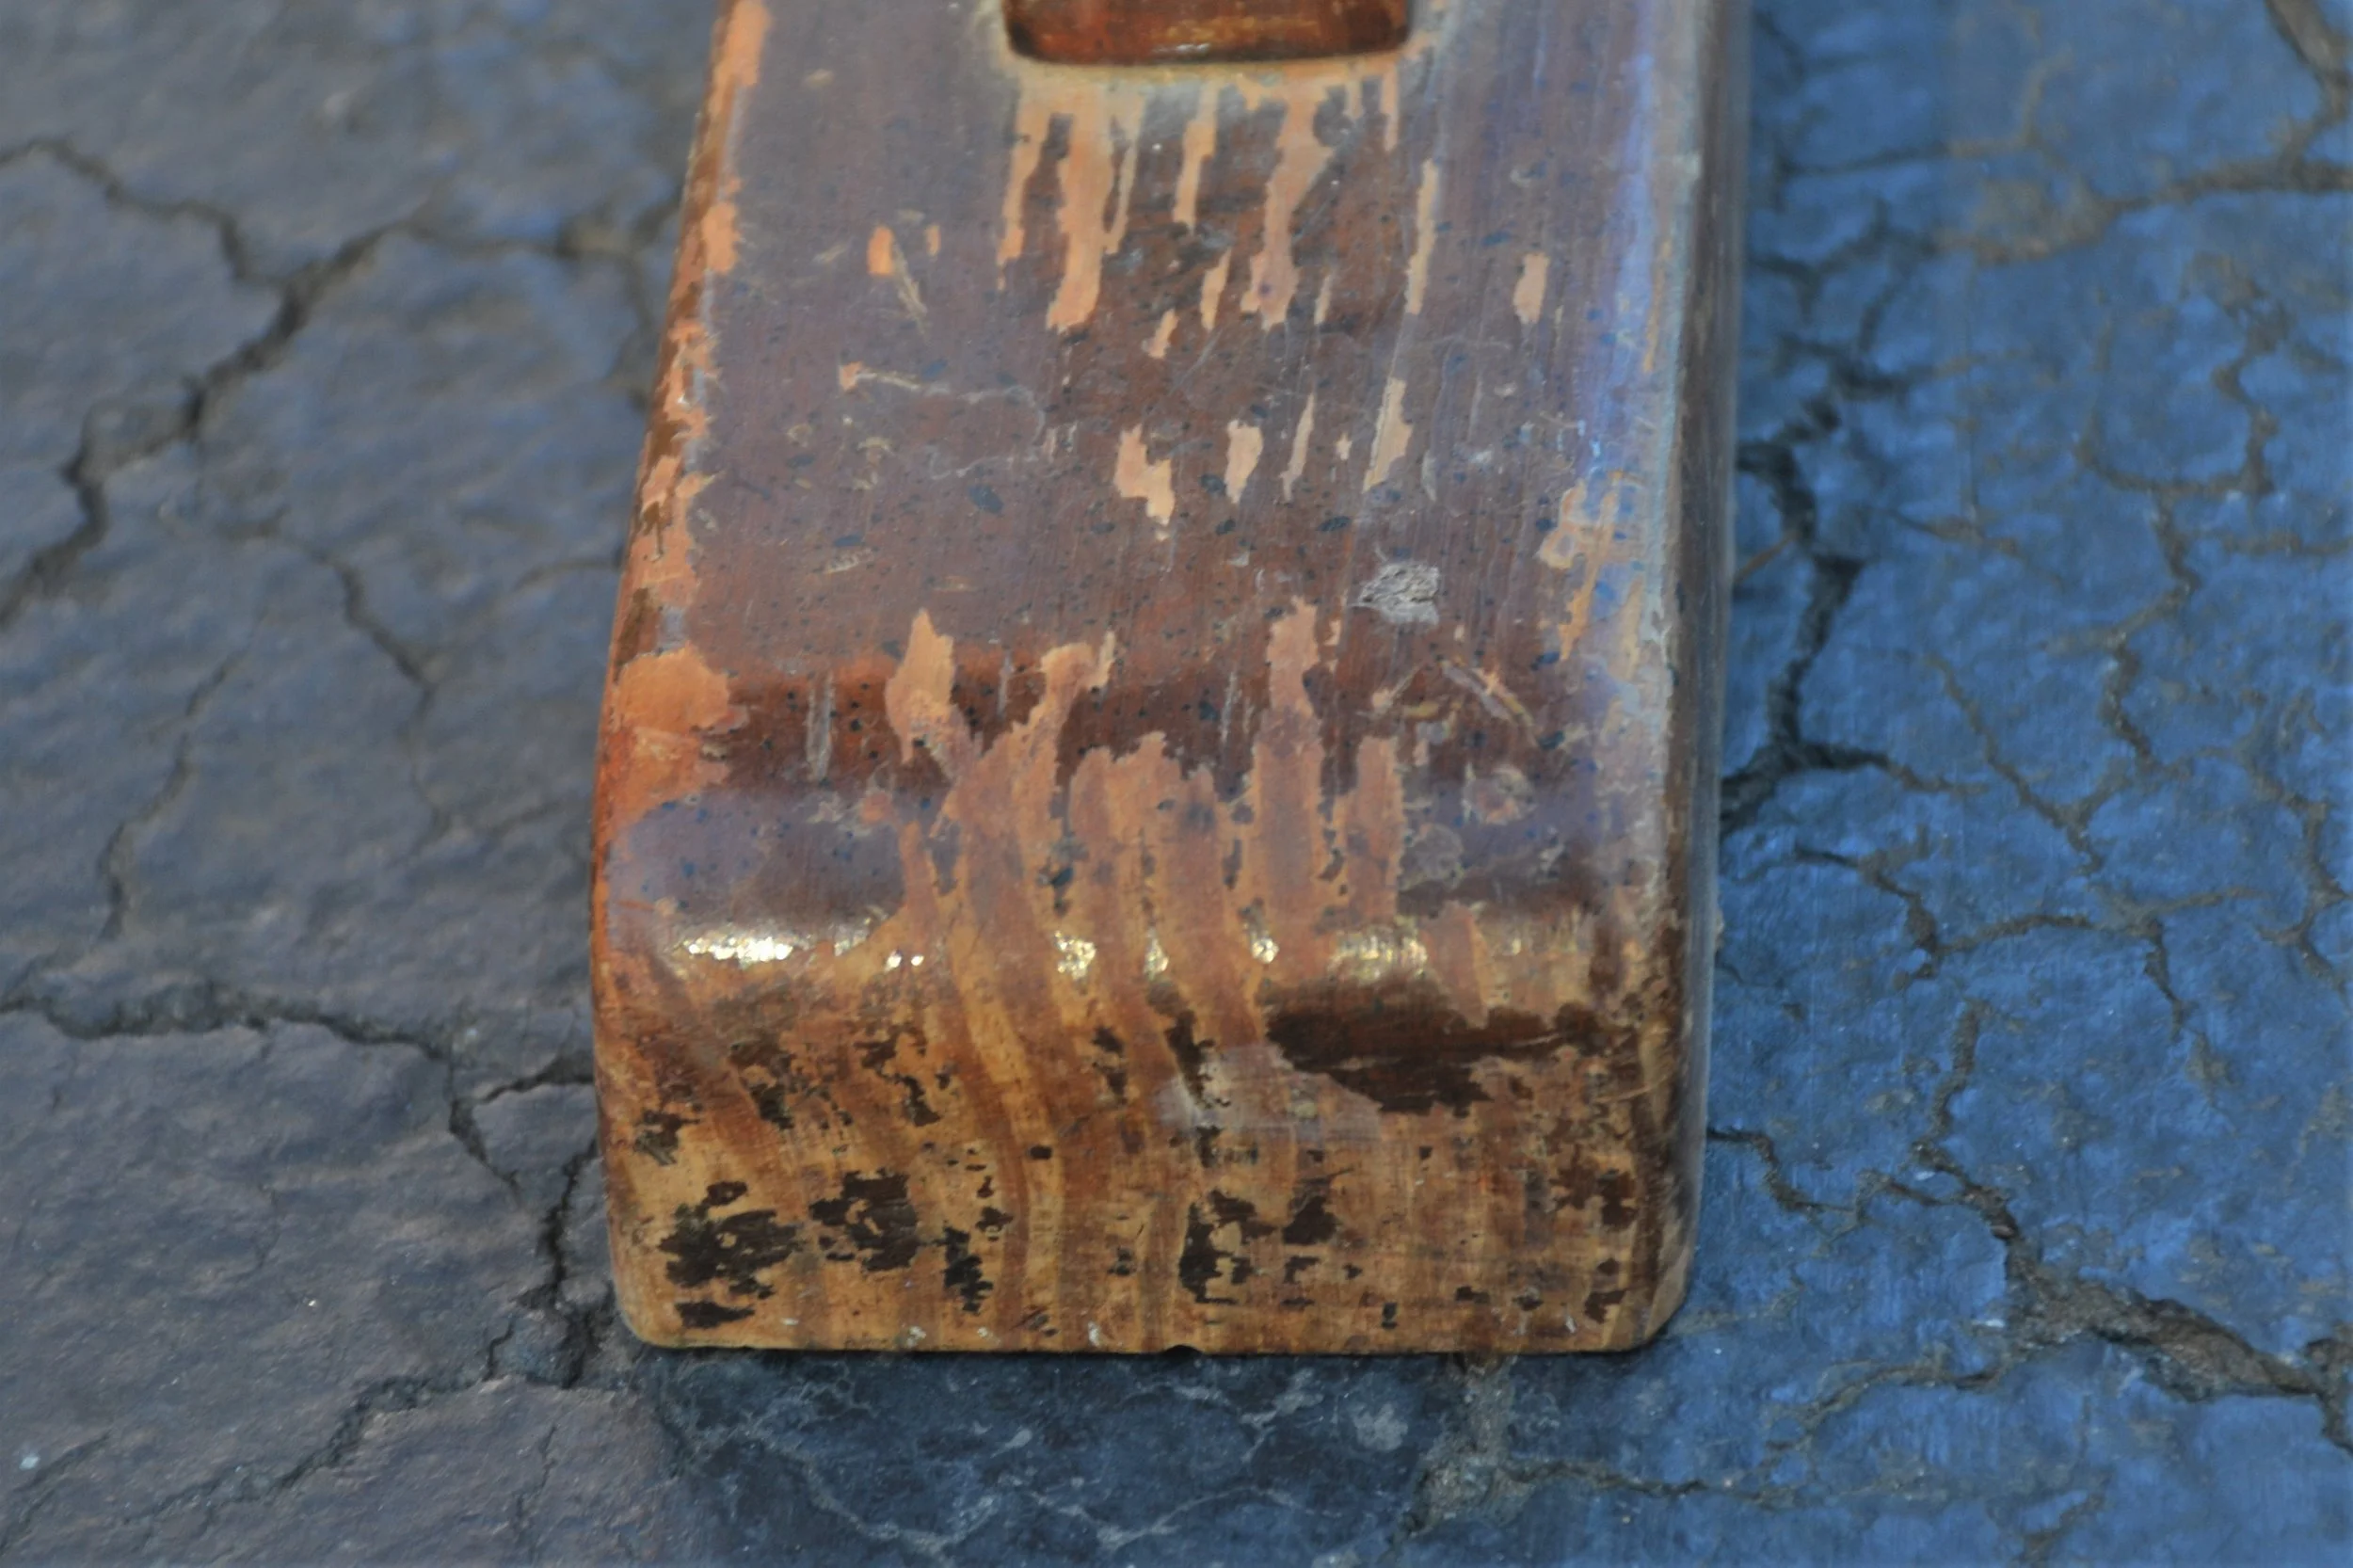
Before
After the Thrift Store Furniture Flip – The Final Result
This thrift store furniture flip was one of my favorite projects , there’s something incredibly satisfying about giving a forgotten piece of furniture a second life. If you’re looking for your next thrift store furniture flip, keep an eye out for solid wood pieces with good bones. The best thrift store furniture flip candidates are vintage desks, dressers, and side tables made from real hardwood.
Disclosure: This post contains affiliate links, which means I may earn a small commission if you make a purchase through my links, at no extra cost to you.
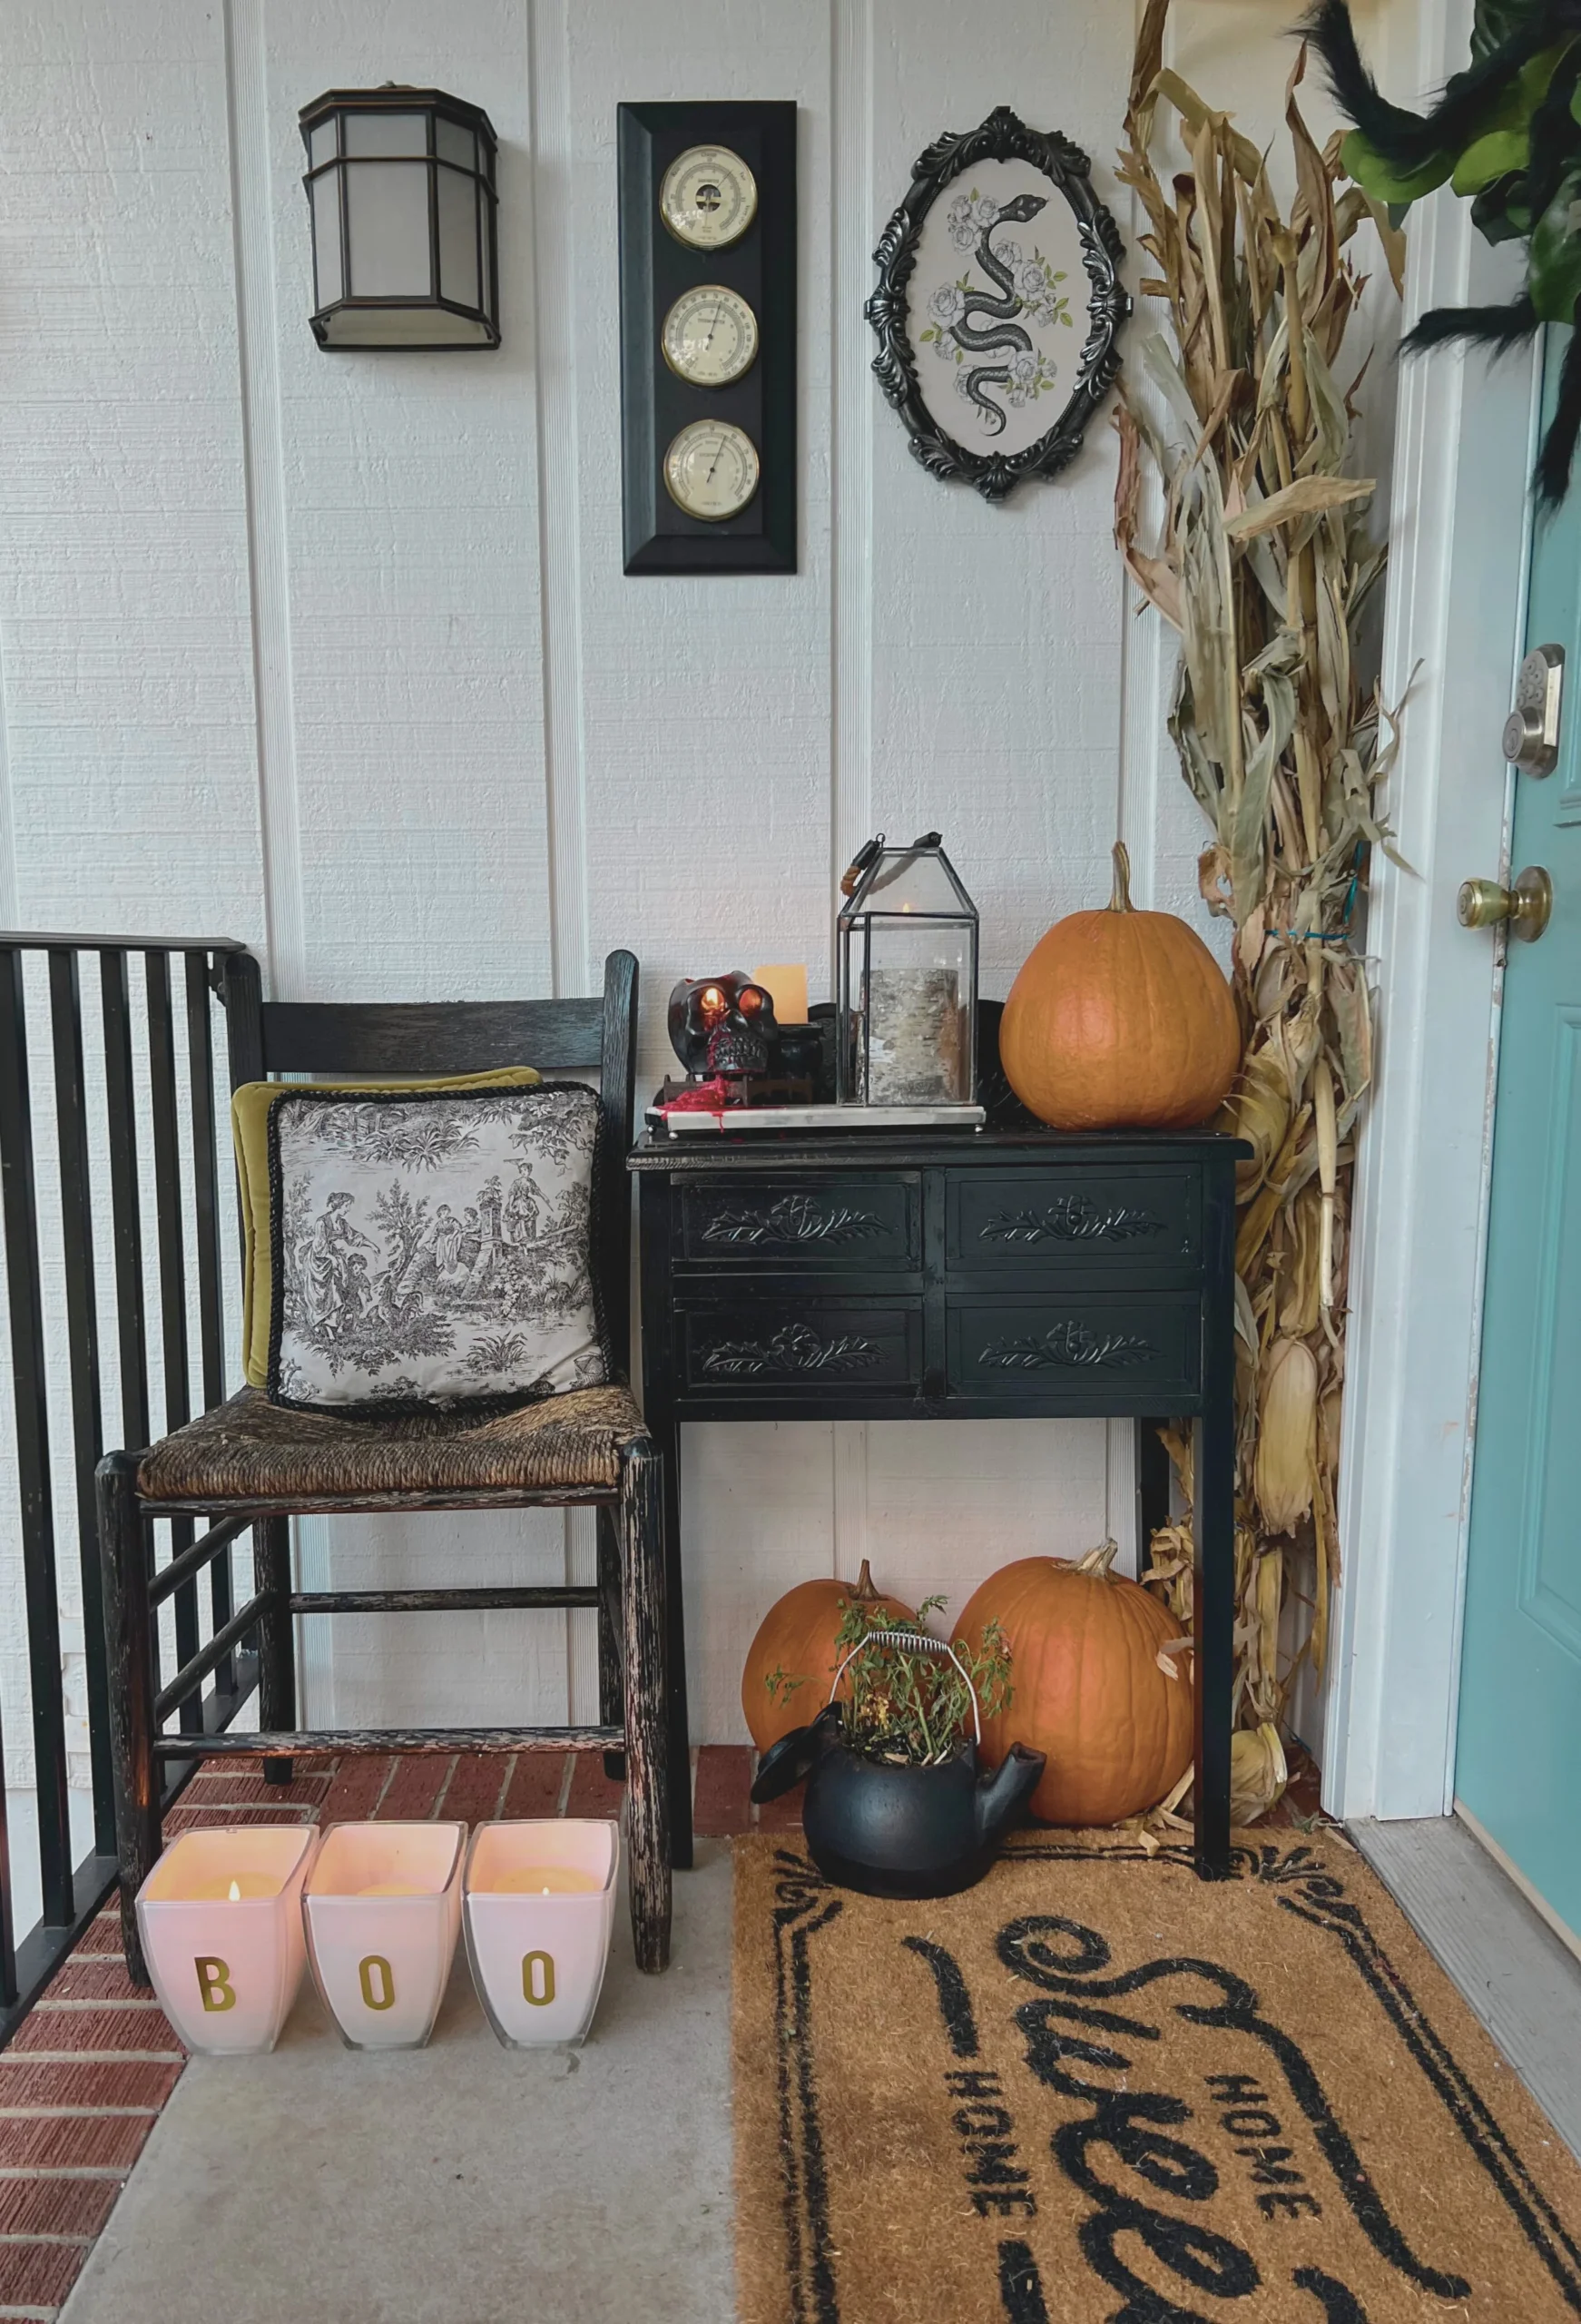
13 Halloween Porch Decor Ideas for the Spookiest Season Yet
Looking for the best halloween porch decor ideas this season? Whether you prefer creepy-chic or family-friendly, these halloween porch decor ideas will transform your front entry into a show-stopping display. The National Retail Federation reports that Americans spend billions on Halloween decorations each year , but you don’t need a huge budget to make an impact with these halloween porch decor ideas.
This post may contain affiliate links. I may earn a small commission at no extra cost to you if you make a purchase through these links. I only recommend products I personally use and love.
These halloween porch decor ideas prove that a little creativity goes a long way. Mix and match different elements like pumpkins, cobwebs, lighting, and skeletons to create your own unique spooky season display.
Shop the Best Halloween Porch Decor Ideas
Light-Up Standing Ghost Decor (2 Pack) – 8 lighting modes with remote, perfect for porches: Shop on Amazon
Halloween Porch Trick or Treater Decor (38″) – Lighted color-changing jack o’ lantern: Shop on Amazon
Hello & happy fall! My name is Anna Katherine, but you can call me “AK” for short!
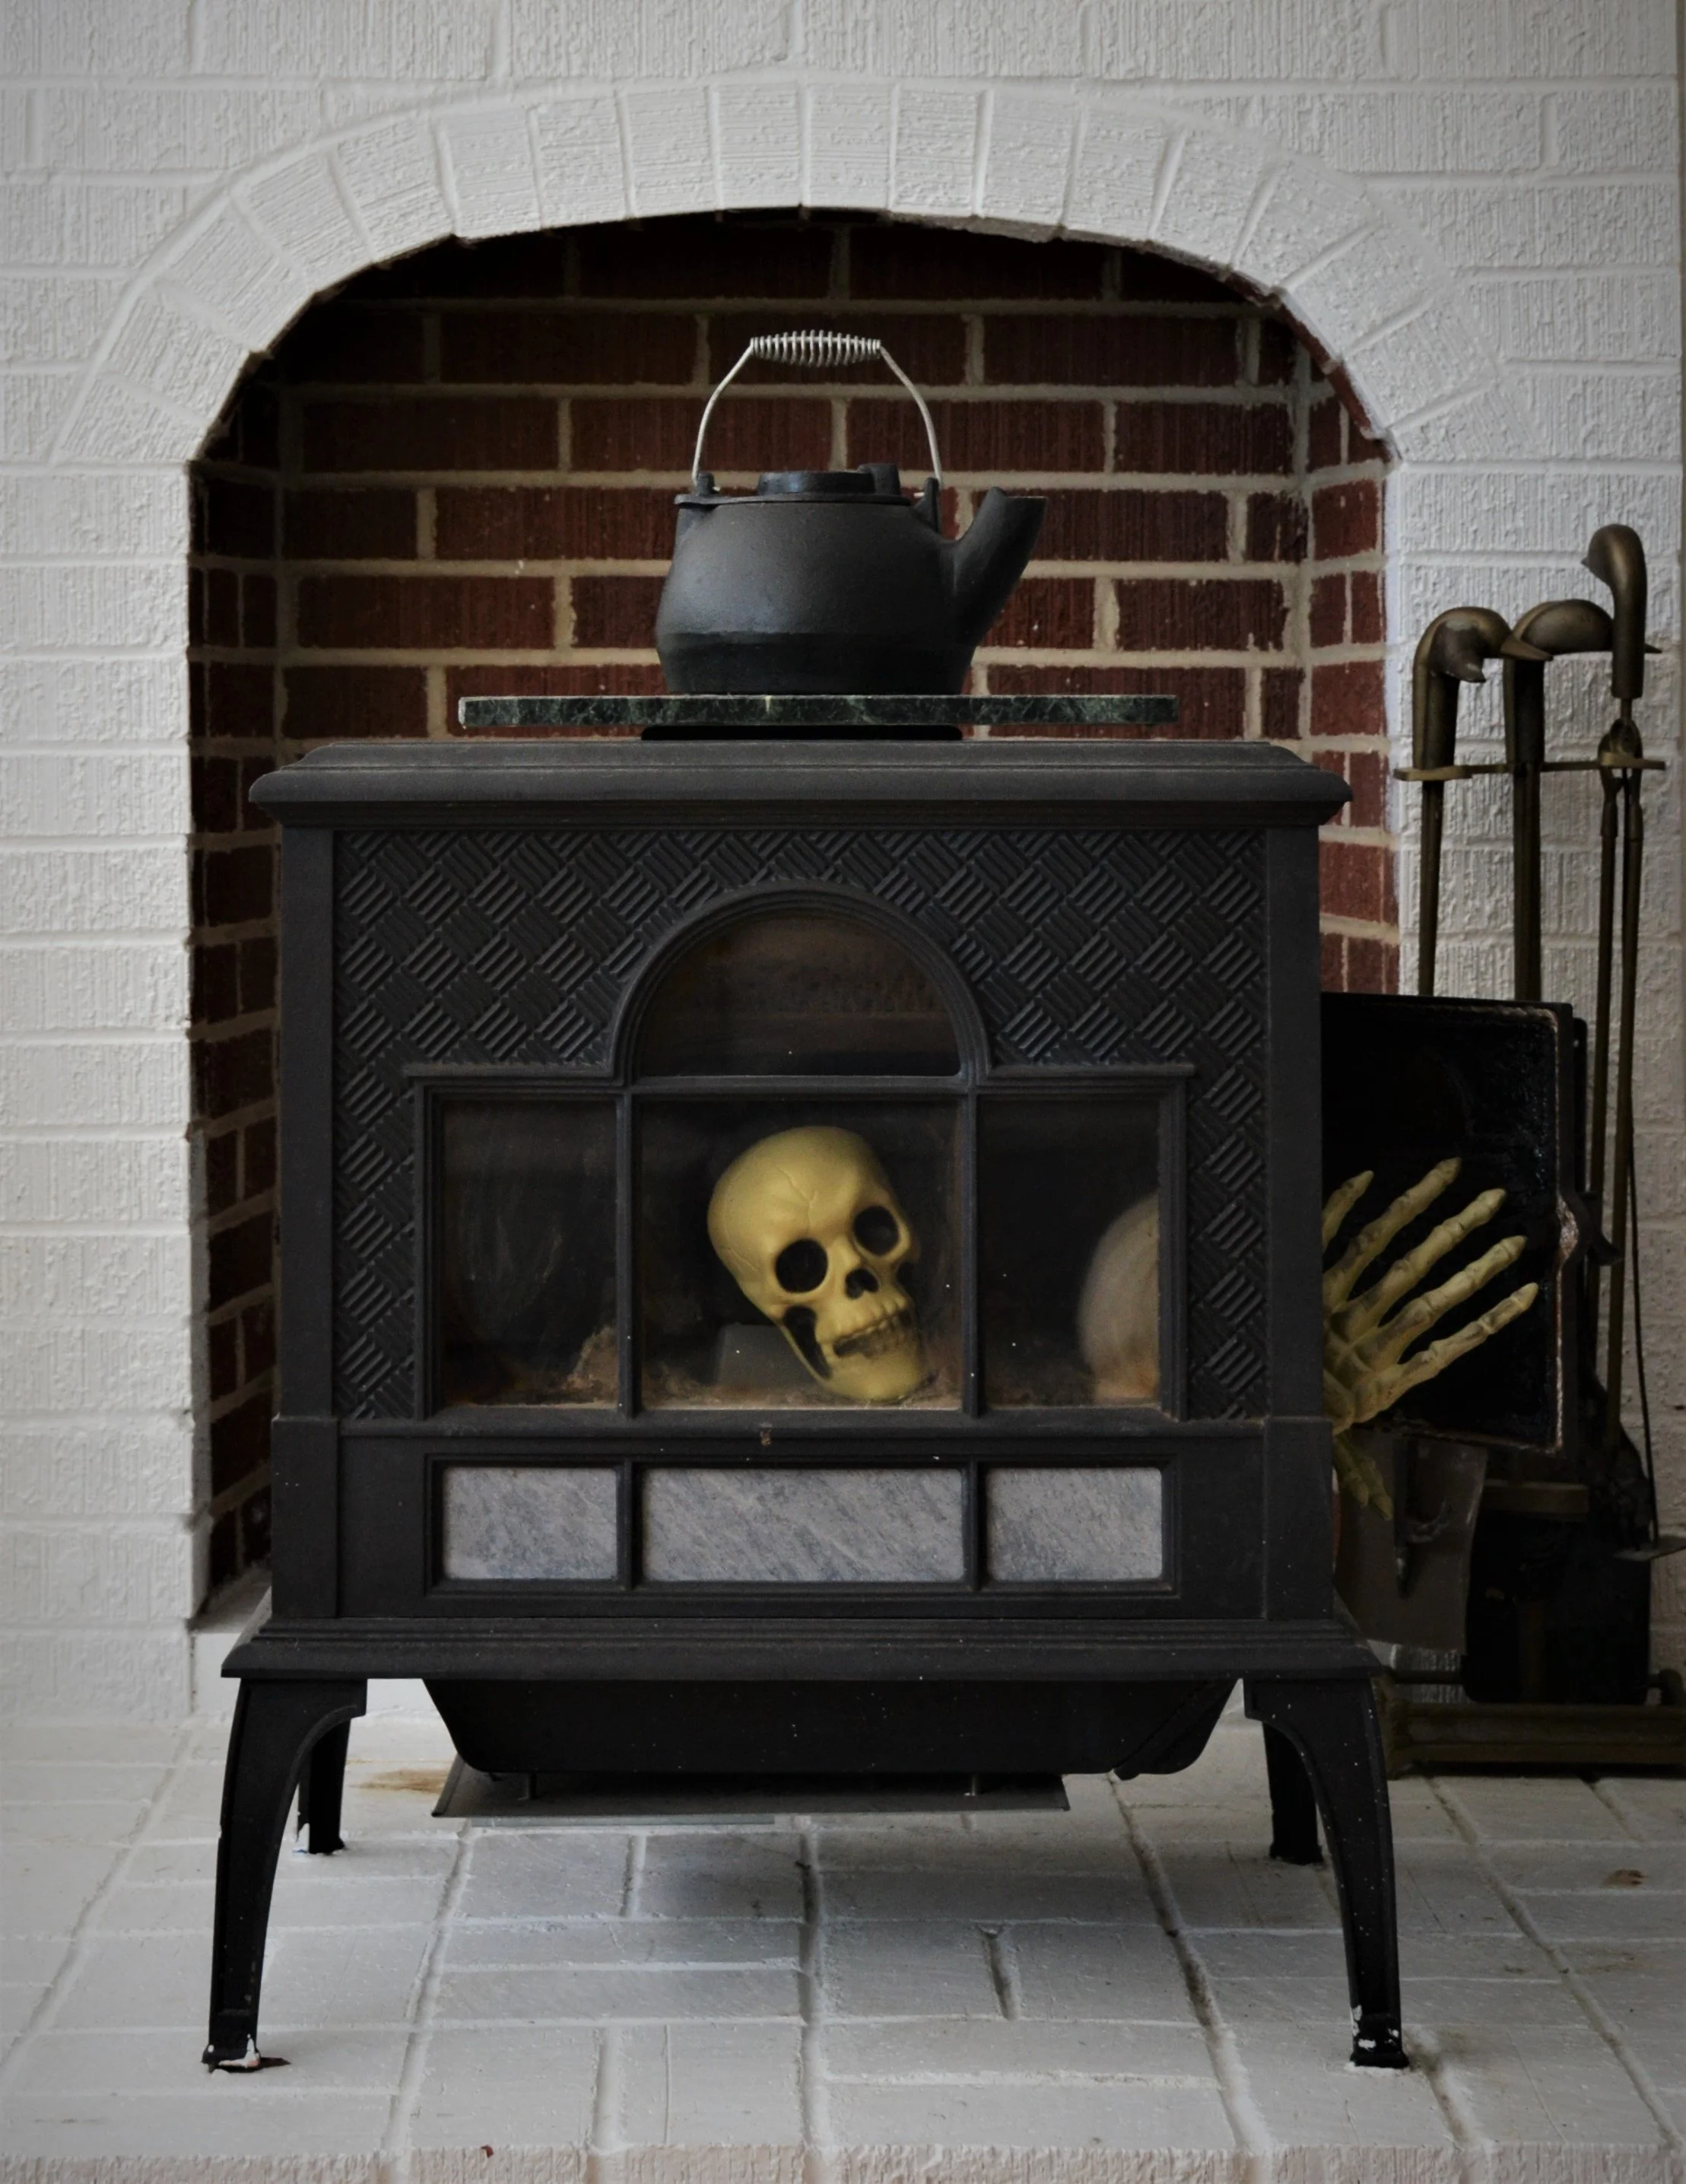
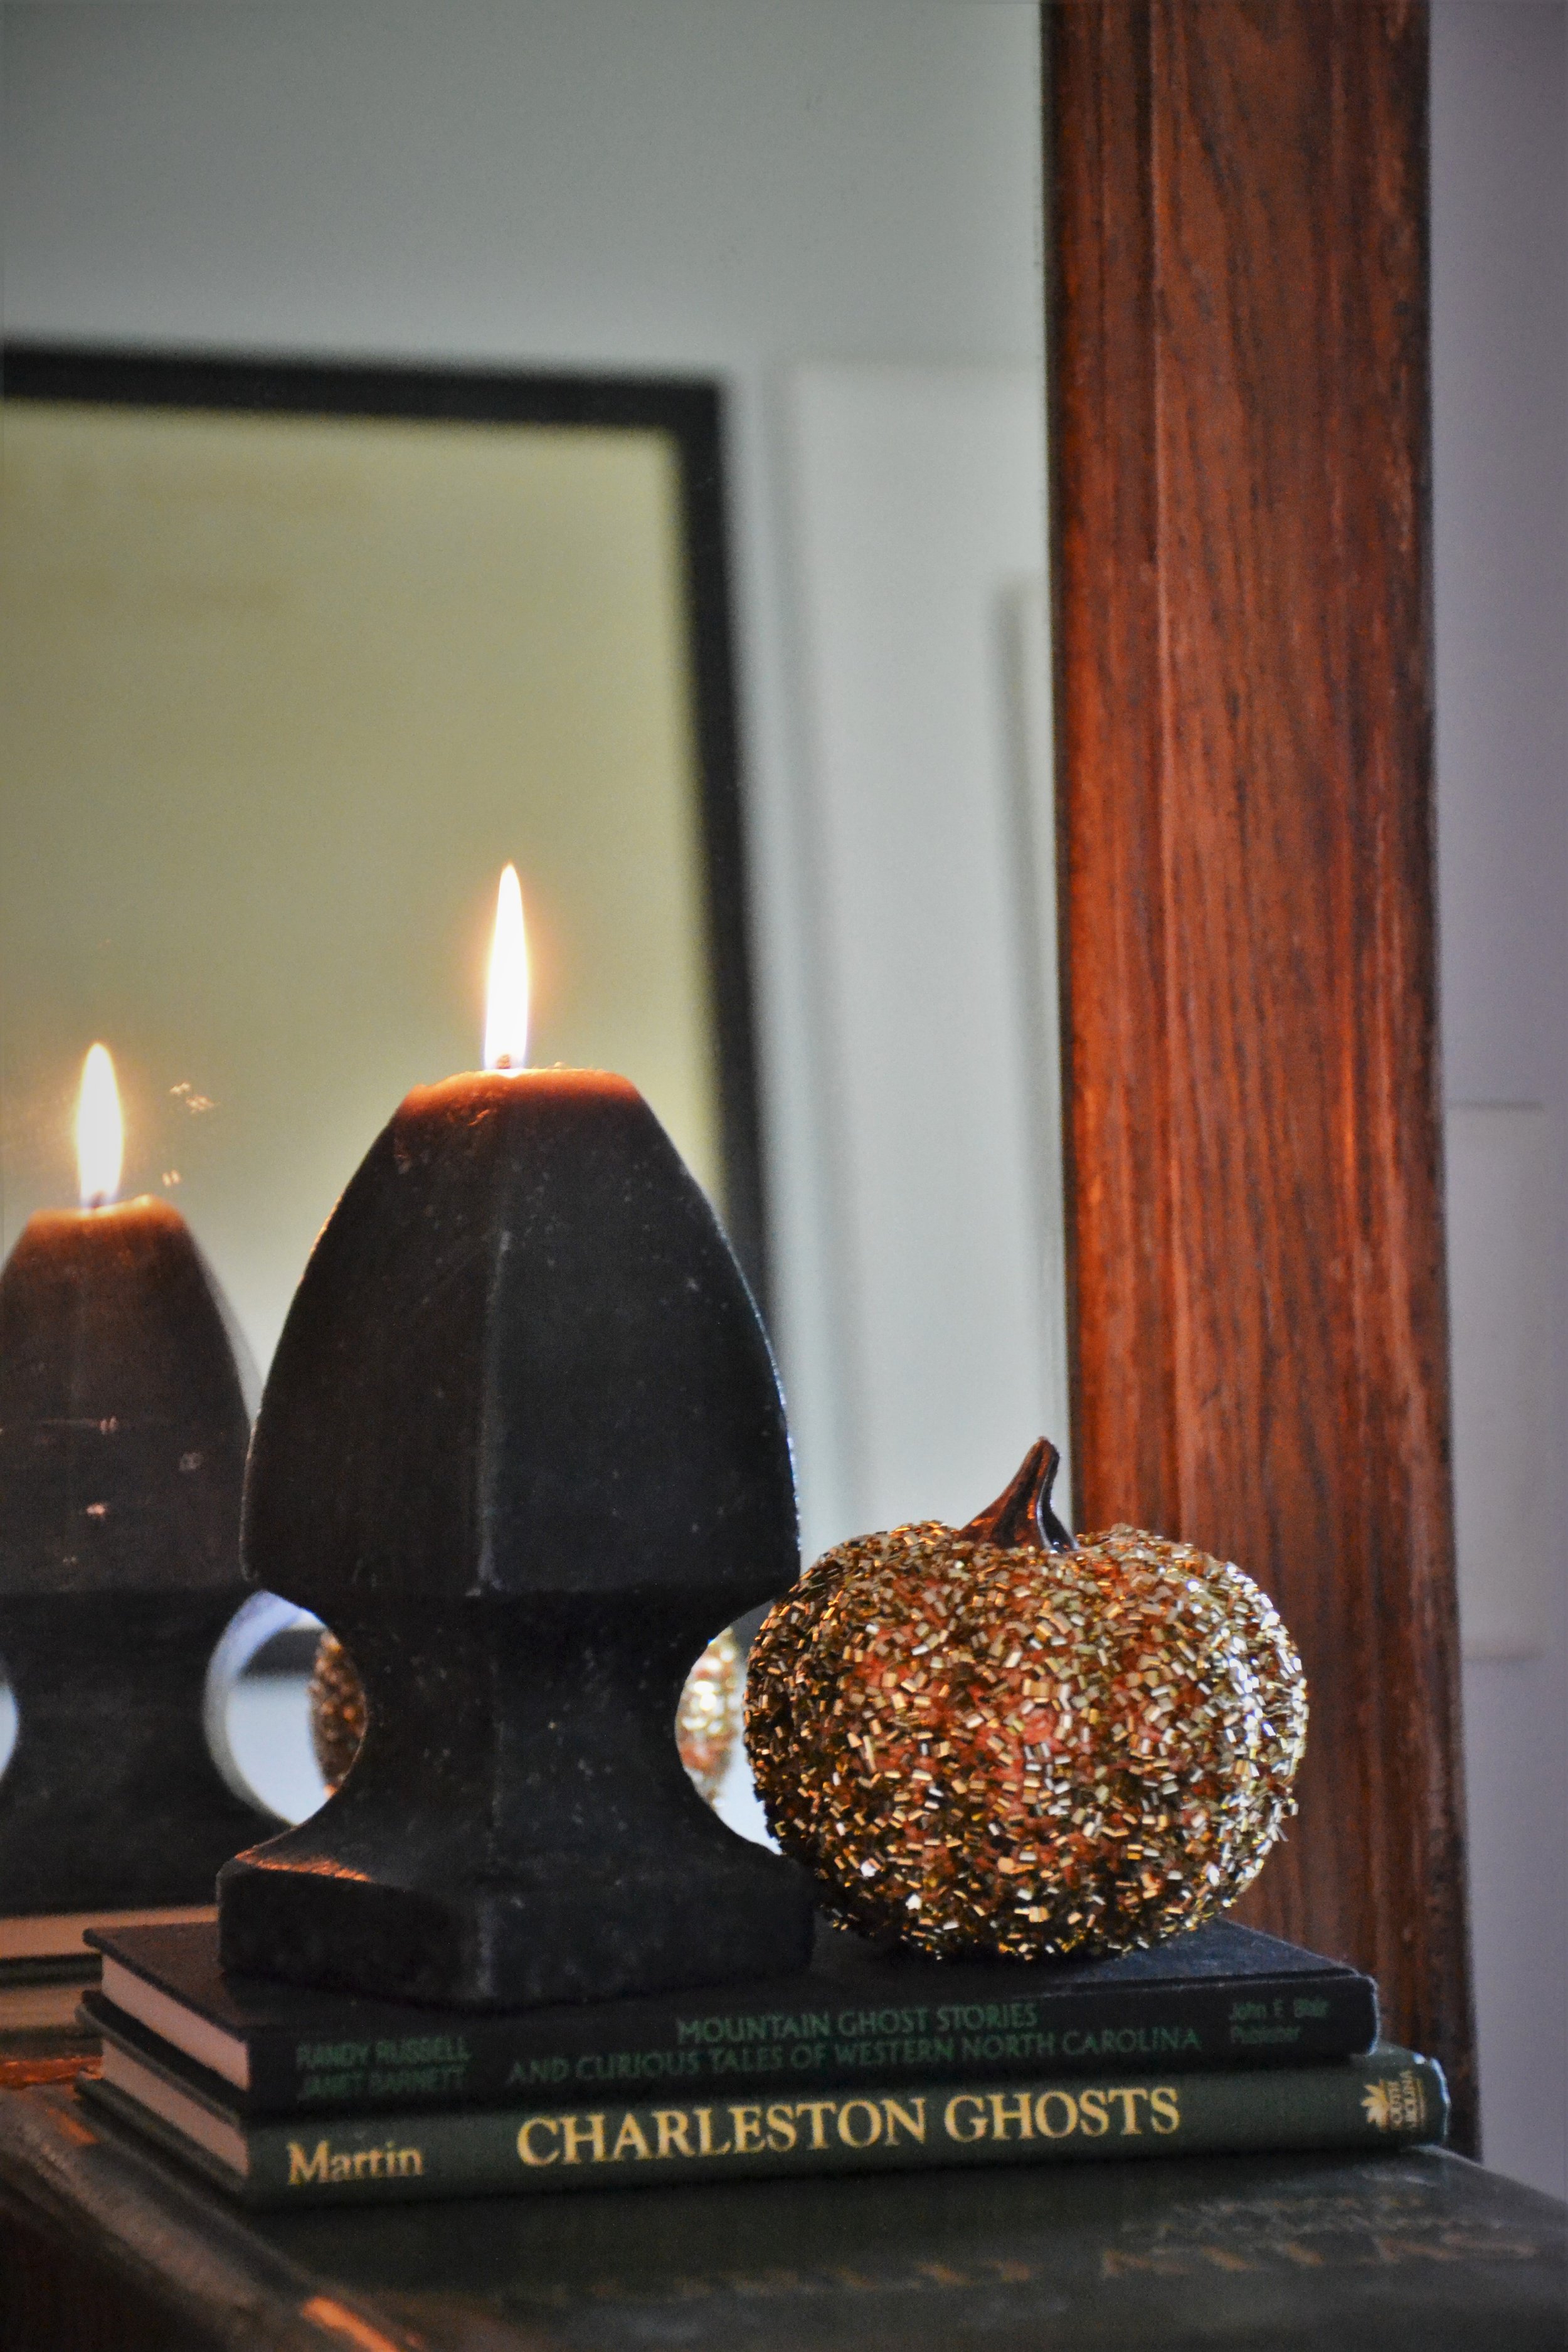
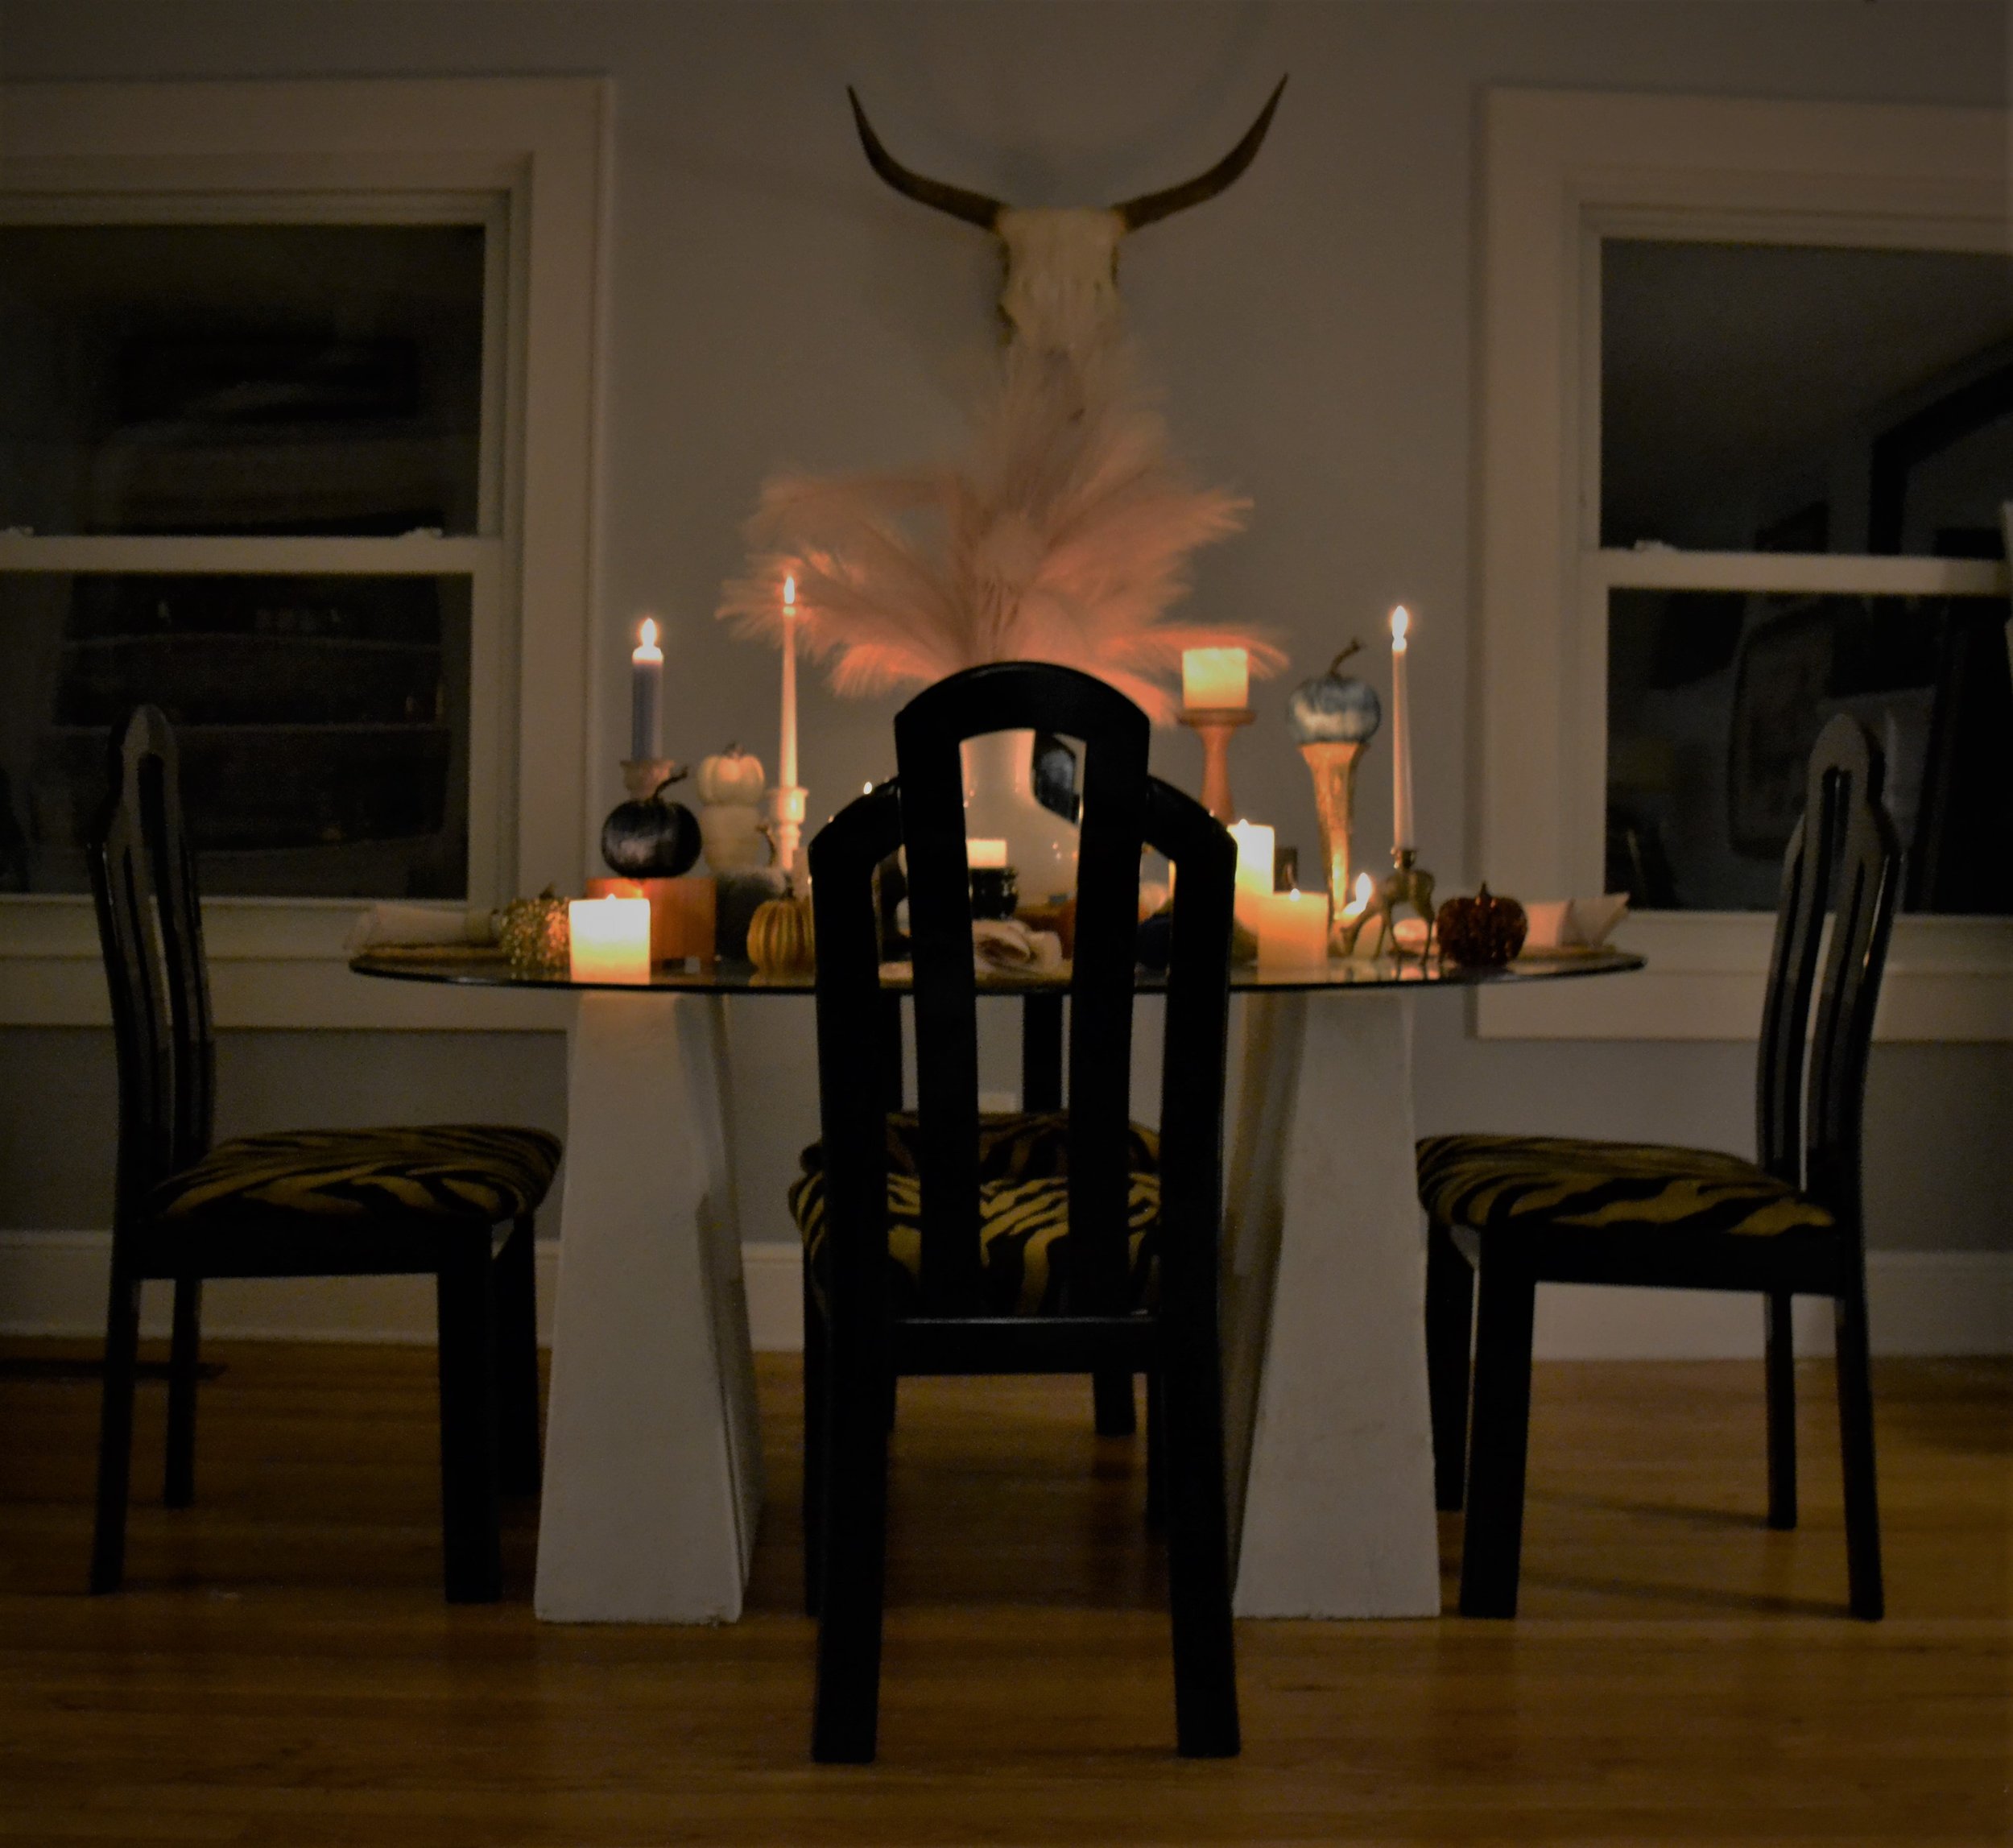
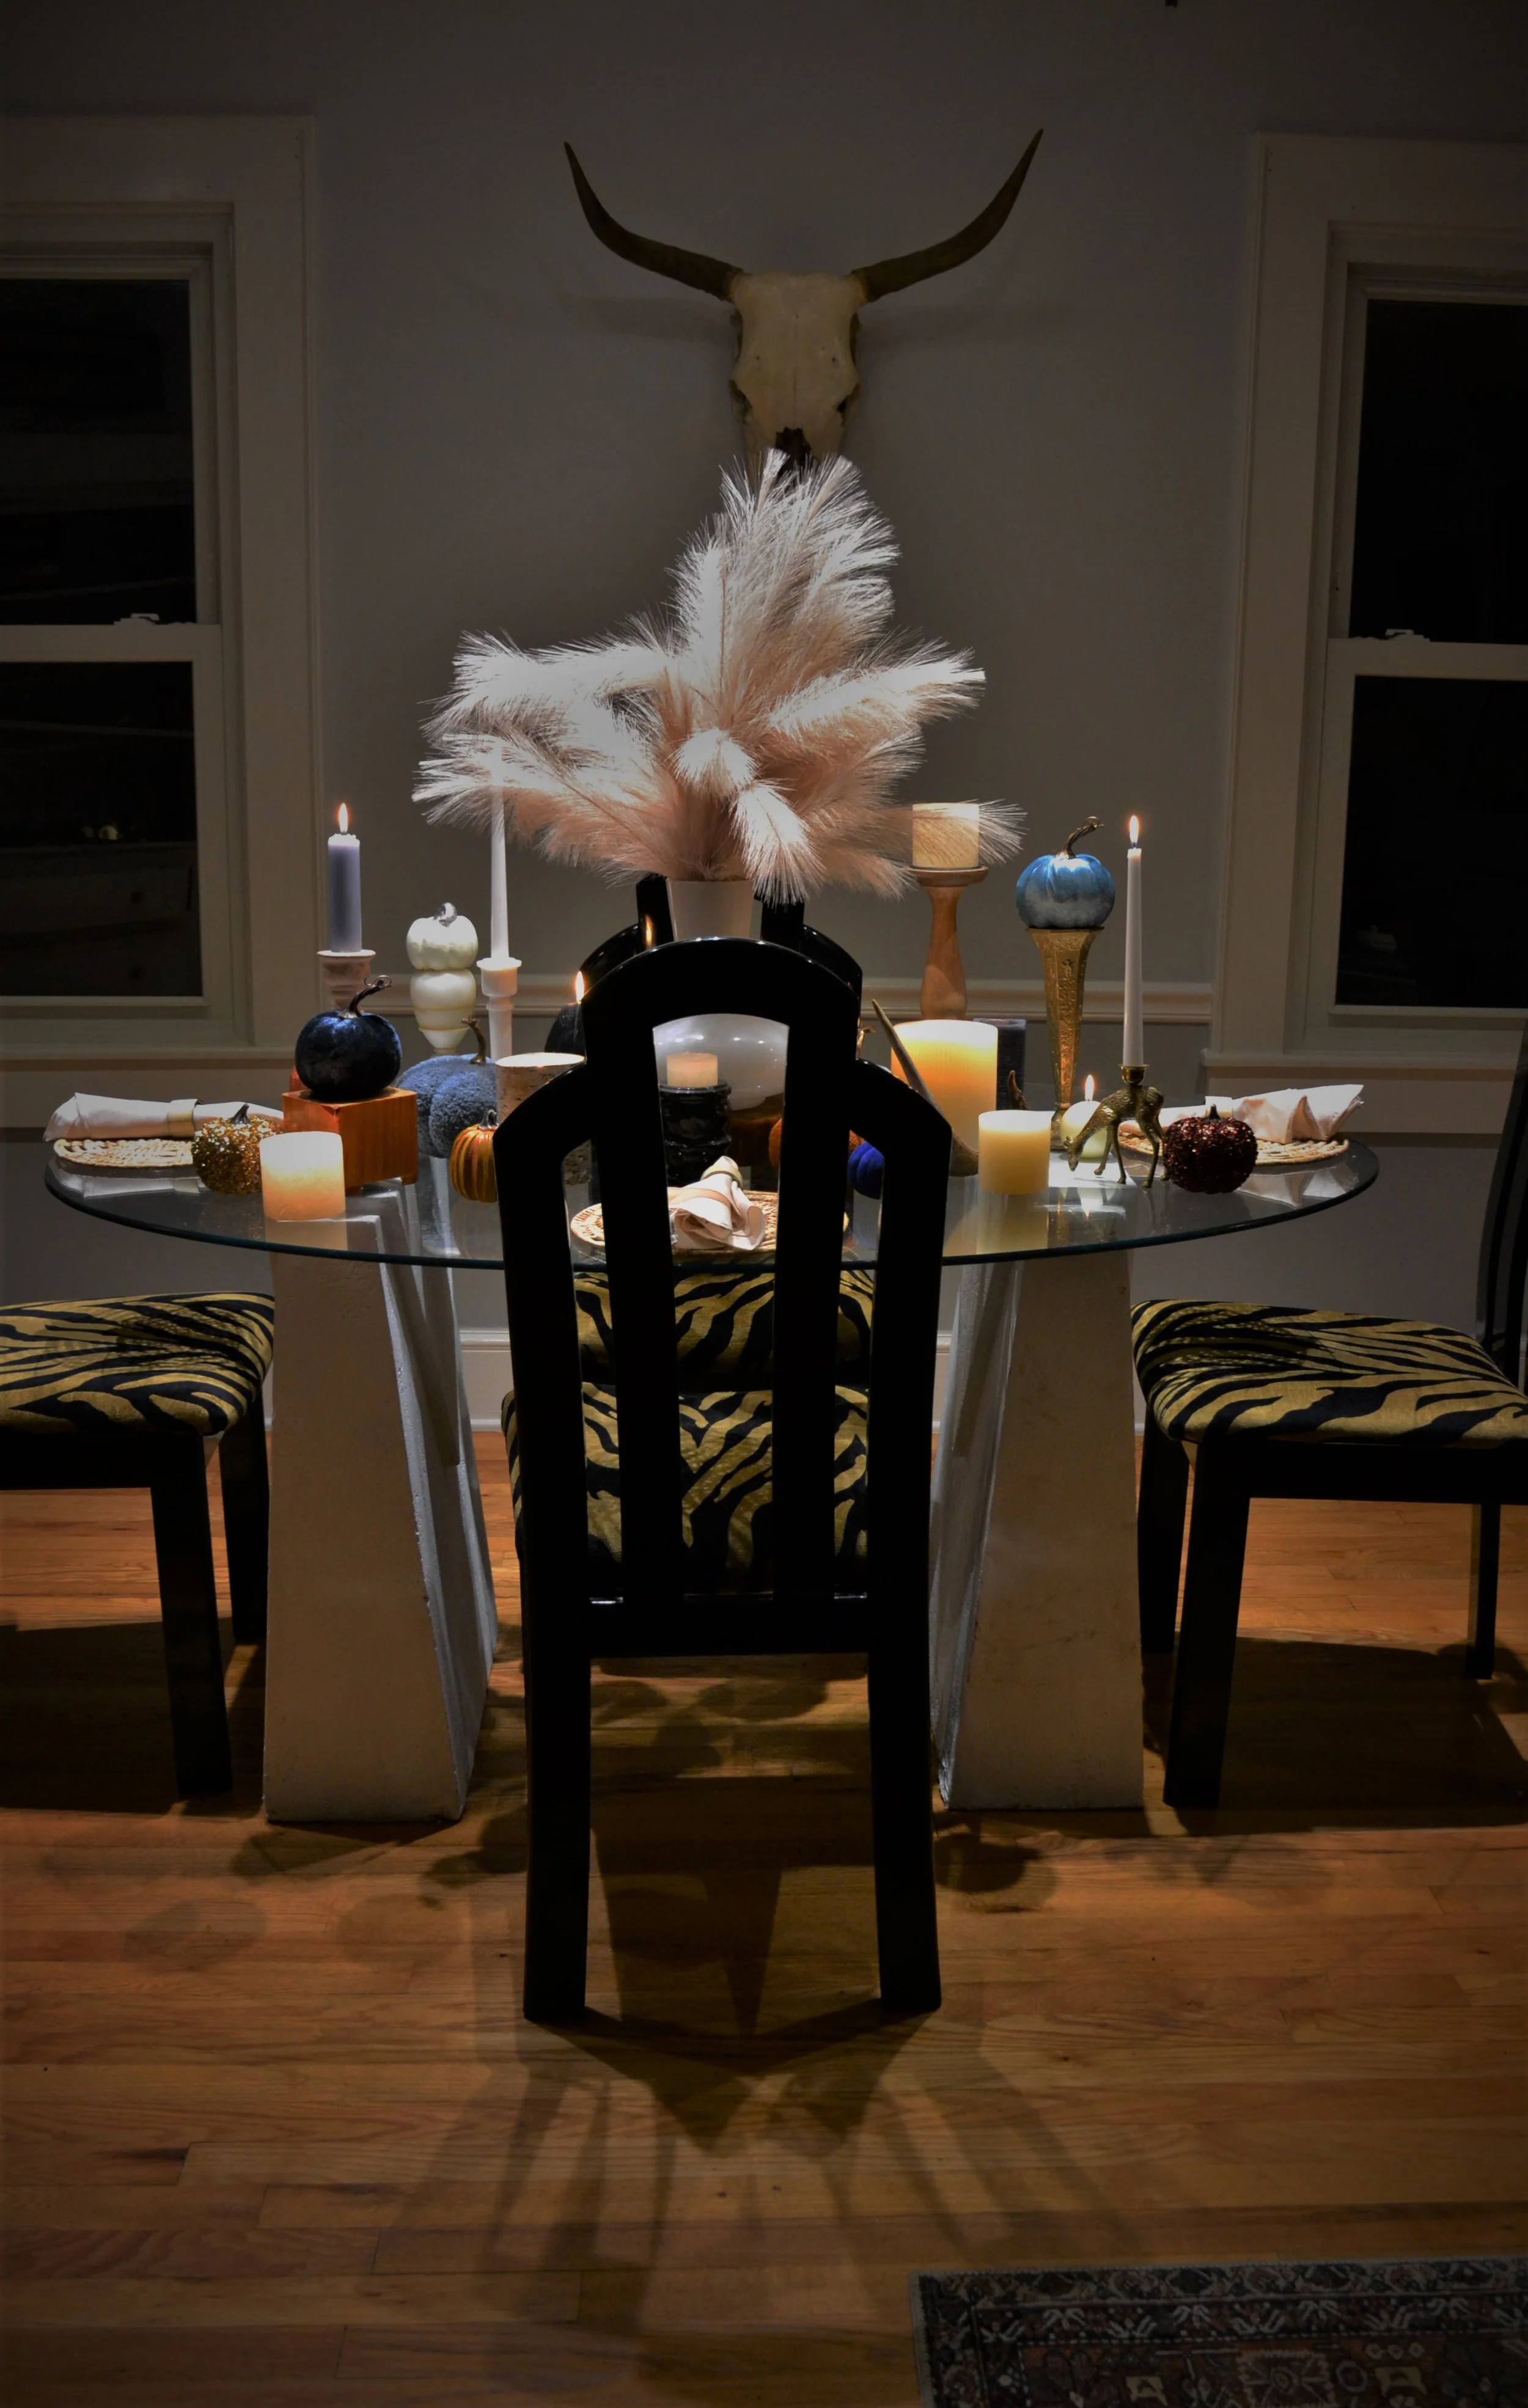
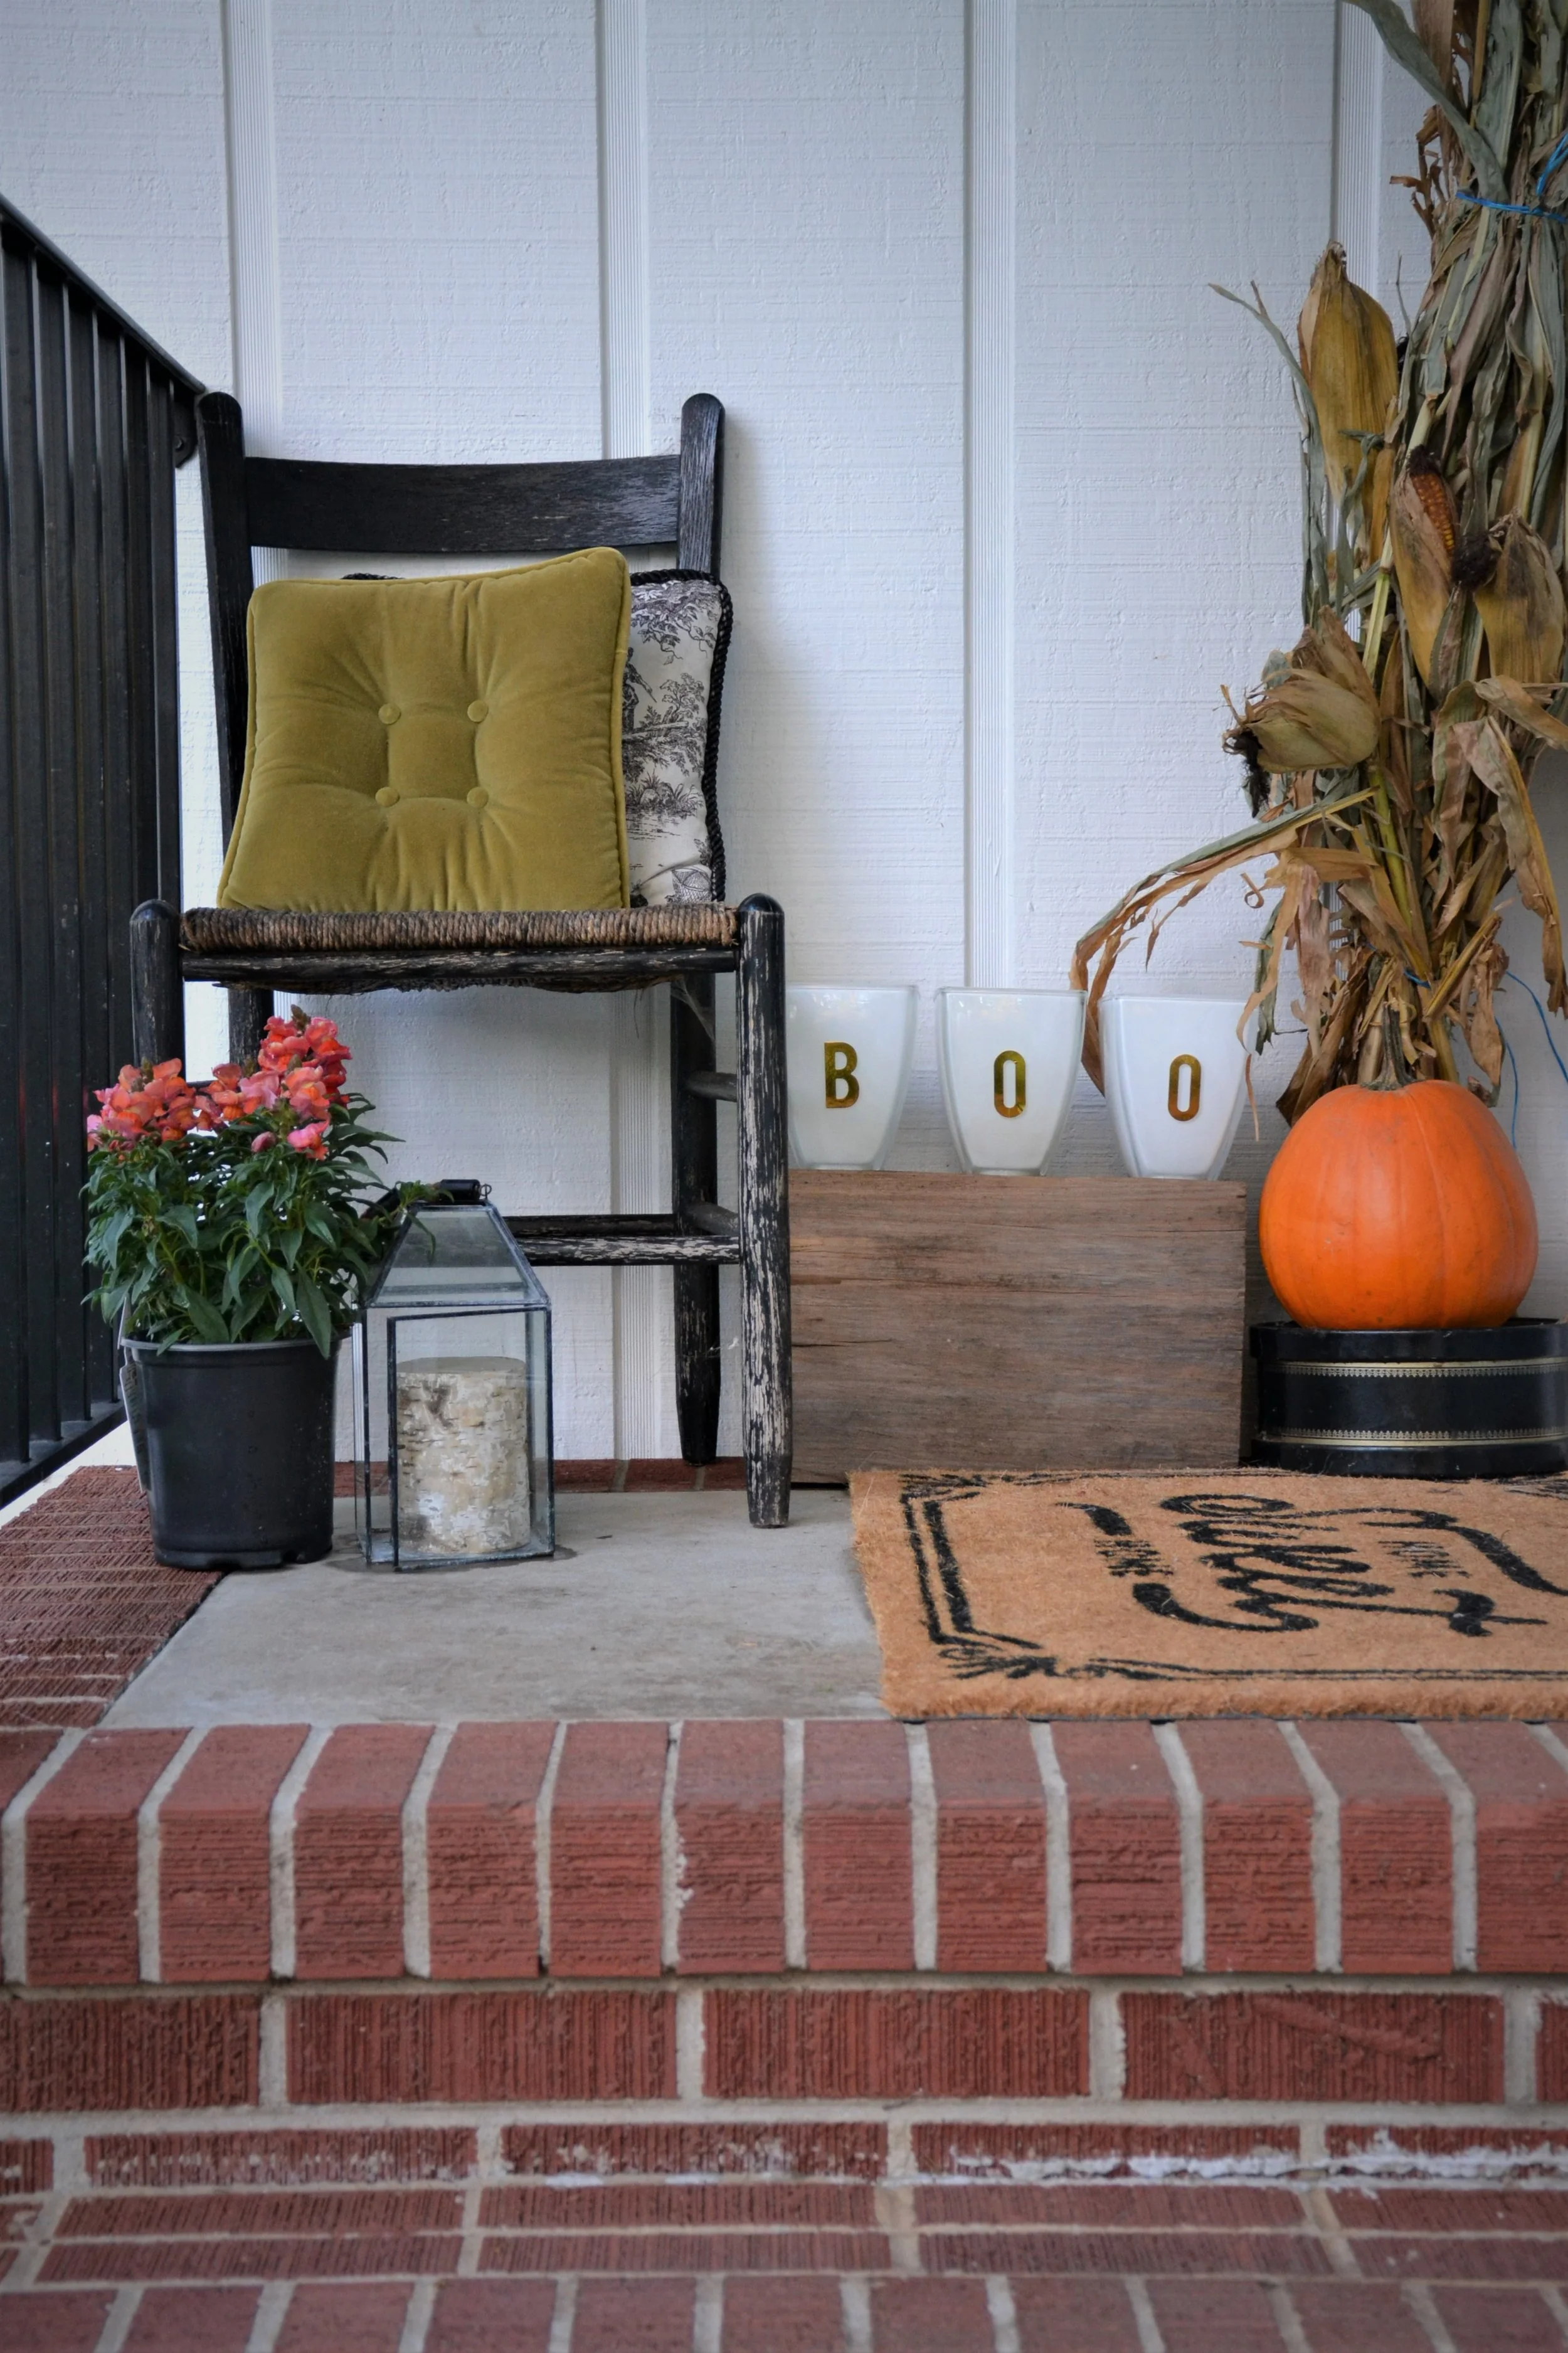
In today’s blog post I’m showing you some of my previous Halloween decor displays and DIY ideas on how to create a spooky design aesthetic in your home this Halloween season. First & foremost, I can’t emphasize enough, use what you already have! Don’t feel the urge to have to spend hundreds of dollars at the store to create a festive feel in your home this Halloween. Get creative, shop secondhand (thrift stores, consignment shops, antique stores, yard sales, Facebook Marketplace, Craigslist, etc.), and exchange or swap decor with friends & family. Lastly, don’t forget to incorporate fresh, in-season florals such as mums and locally grown pumpkins, gourds, and corn stalks from your local farmers markets.
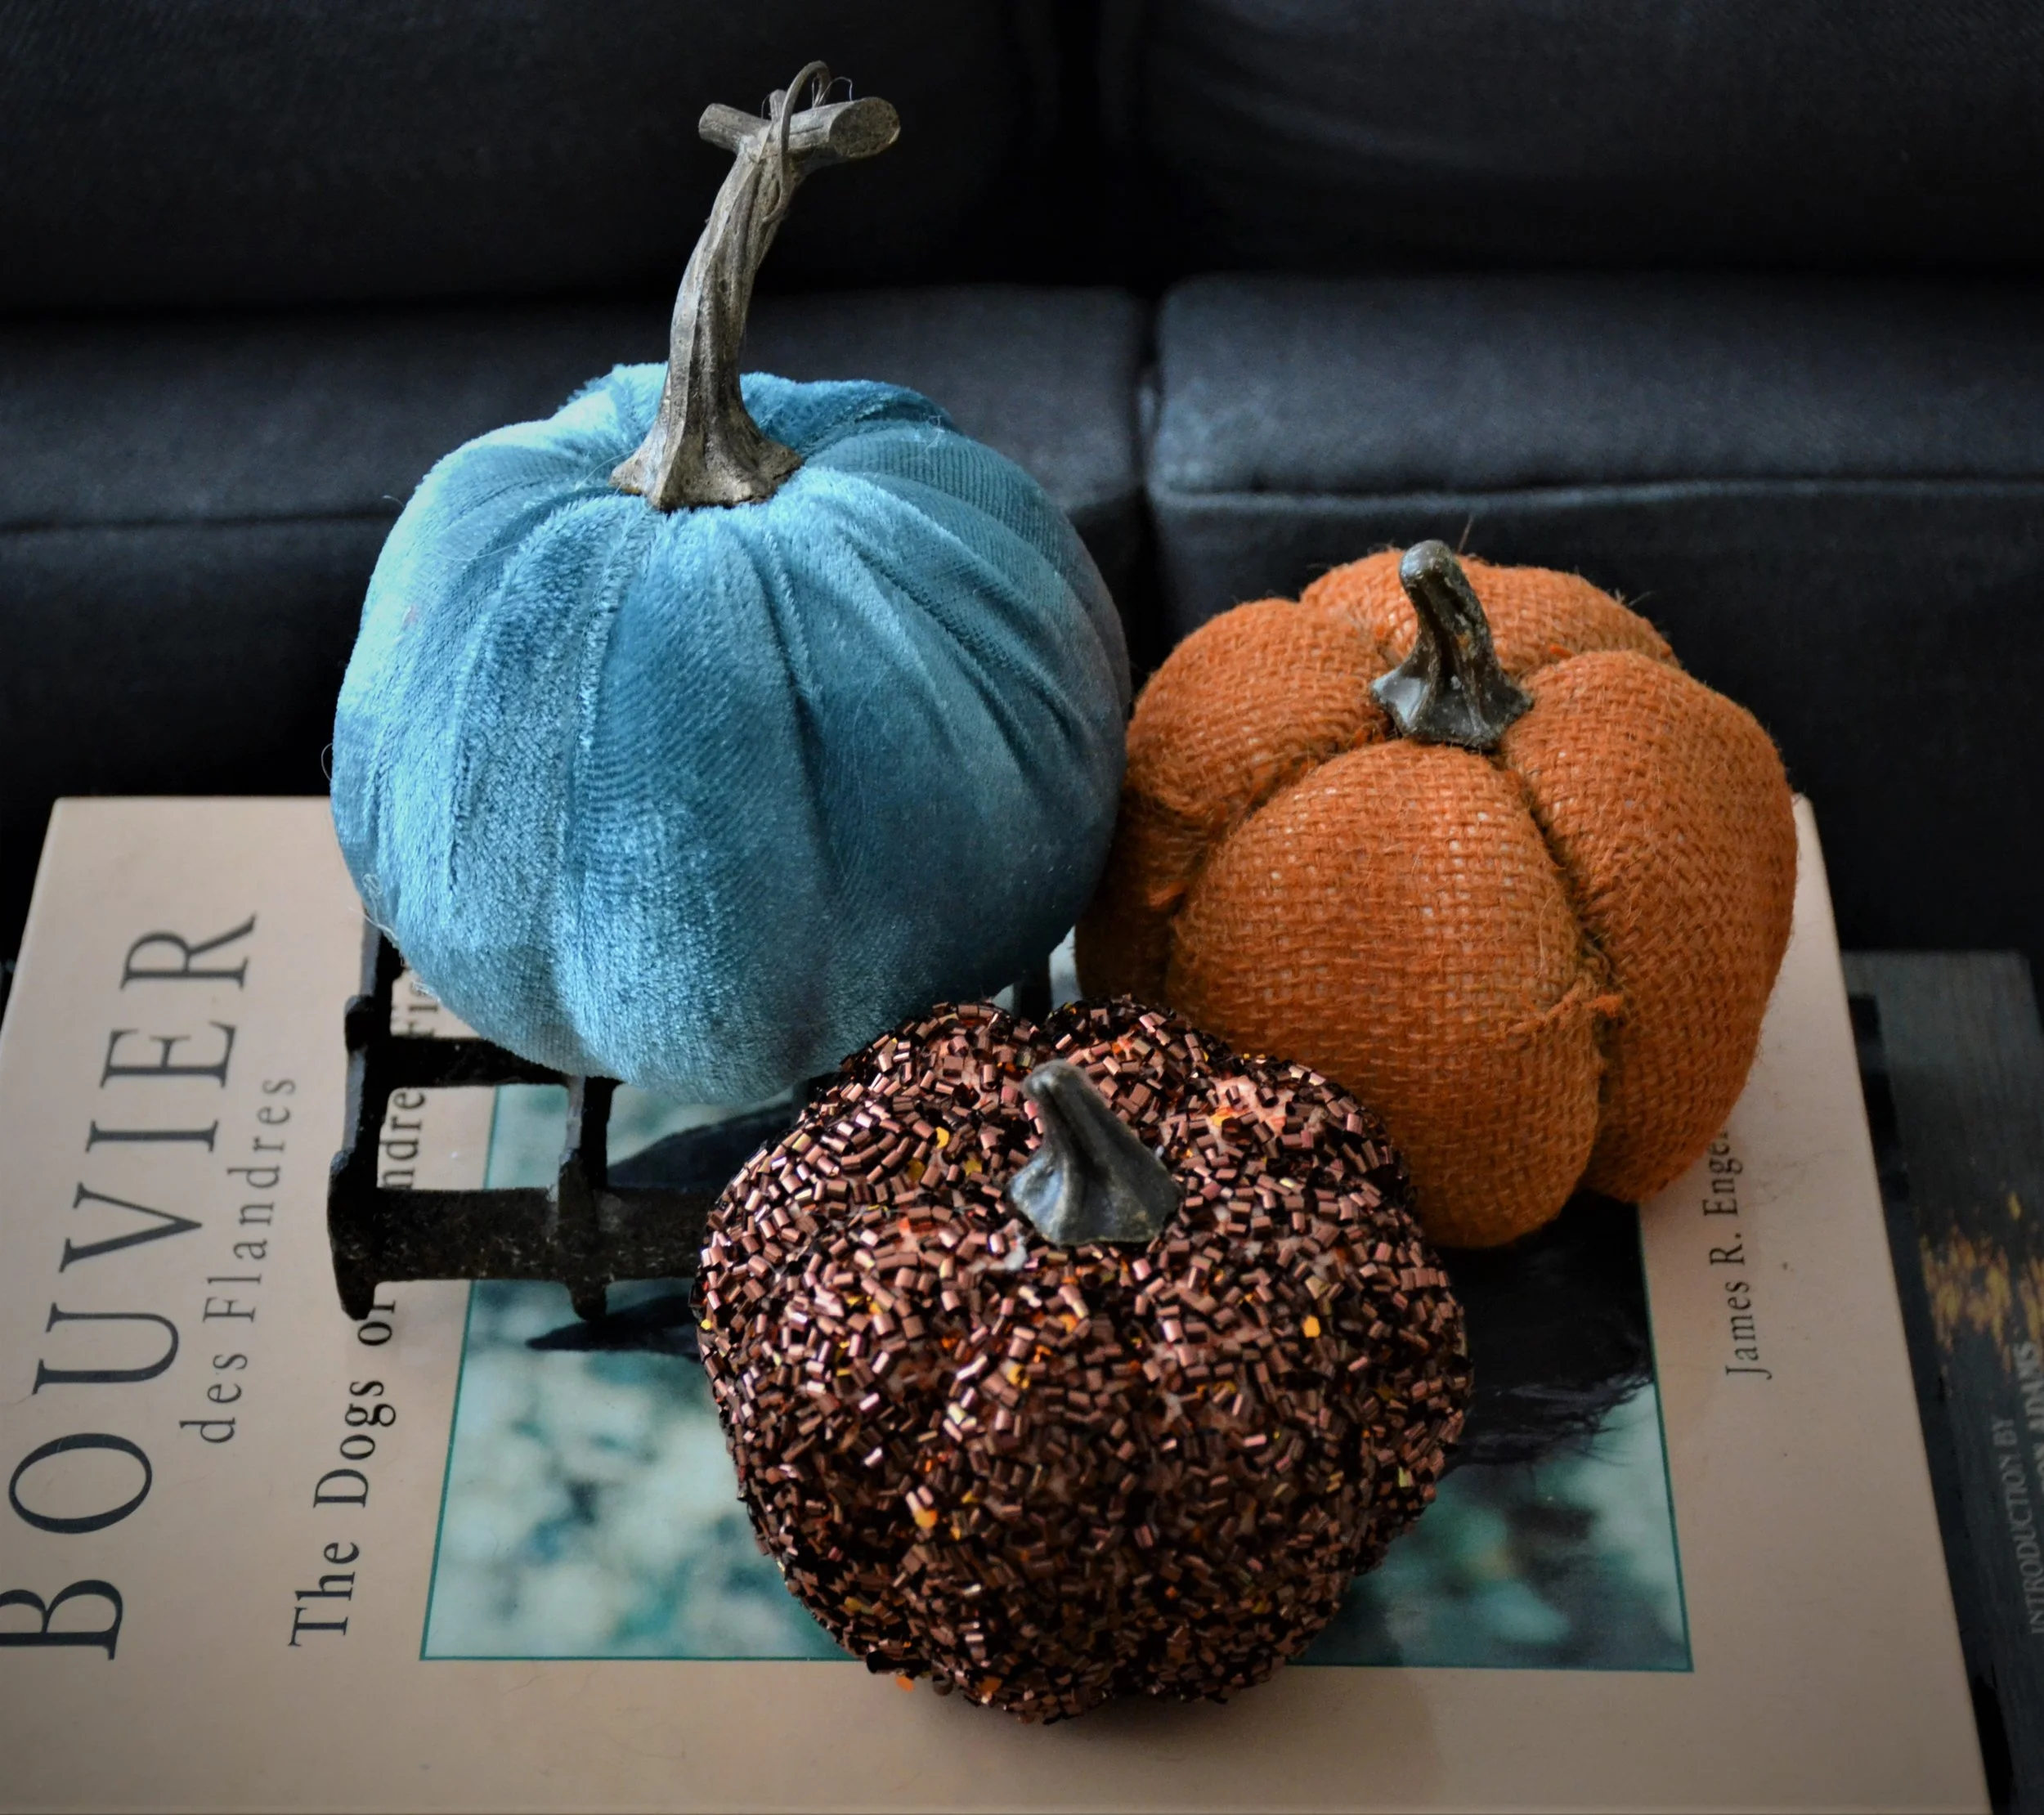
Skull & skeleton hands in wood fire burning stove. Skull was purchased from Dollar Tree. Skeleton Hands (quantity 2) was purchased from Dollar Tree.Vintage ghost books thrifted from local thrift stores for $1 each. Sparkle pumpkin purchased from Dollar Tree.3 various style pumpkins purchased from Dollar Tree.Spider purchased from Dollar Tree Plus.
Disclosure: This post contains affiliate links, which means I may earn a small commission if you make a purchase through my links, at no extra cost to you.
Quick answer: I restored a 1960s vintage rattan dining table with BEHR paint as my entry to the BEHR To DIY For Season 2 contest. The table had been weathering on my screened porch for almost three years. This walkthrough covers the prep, which is where nearly all of the real work is, and the paint I used.
Vintage Rattan Table Restoration – Bringing a 1960s Dining Table Back to Life
This vintage rattan table restoration project is proof that with the right paint and some patience, you can transform a forgotten piece into a stunning centerpiece. I entered this vintage rattan table restoration into the BEHR “To DIY For” Season 2 contest , and the results speak for themselves. According to This Old House, proper prep work is the key to any successful furniture restoration.
This post may contain affiliate links. I may earn a small commission at no extra cost to you if you make a purchase through these links. I only recommend products I personally use and love.
Here is my official entry posted on TikTok for Challenge #2:
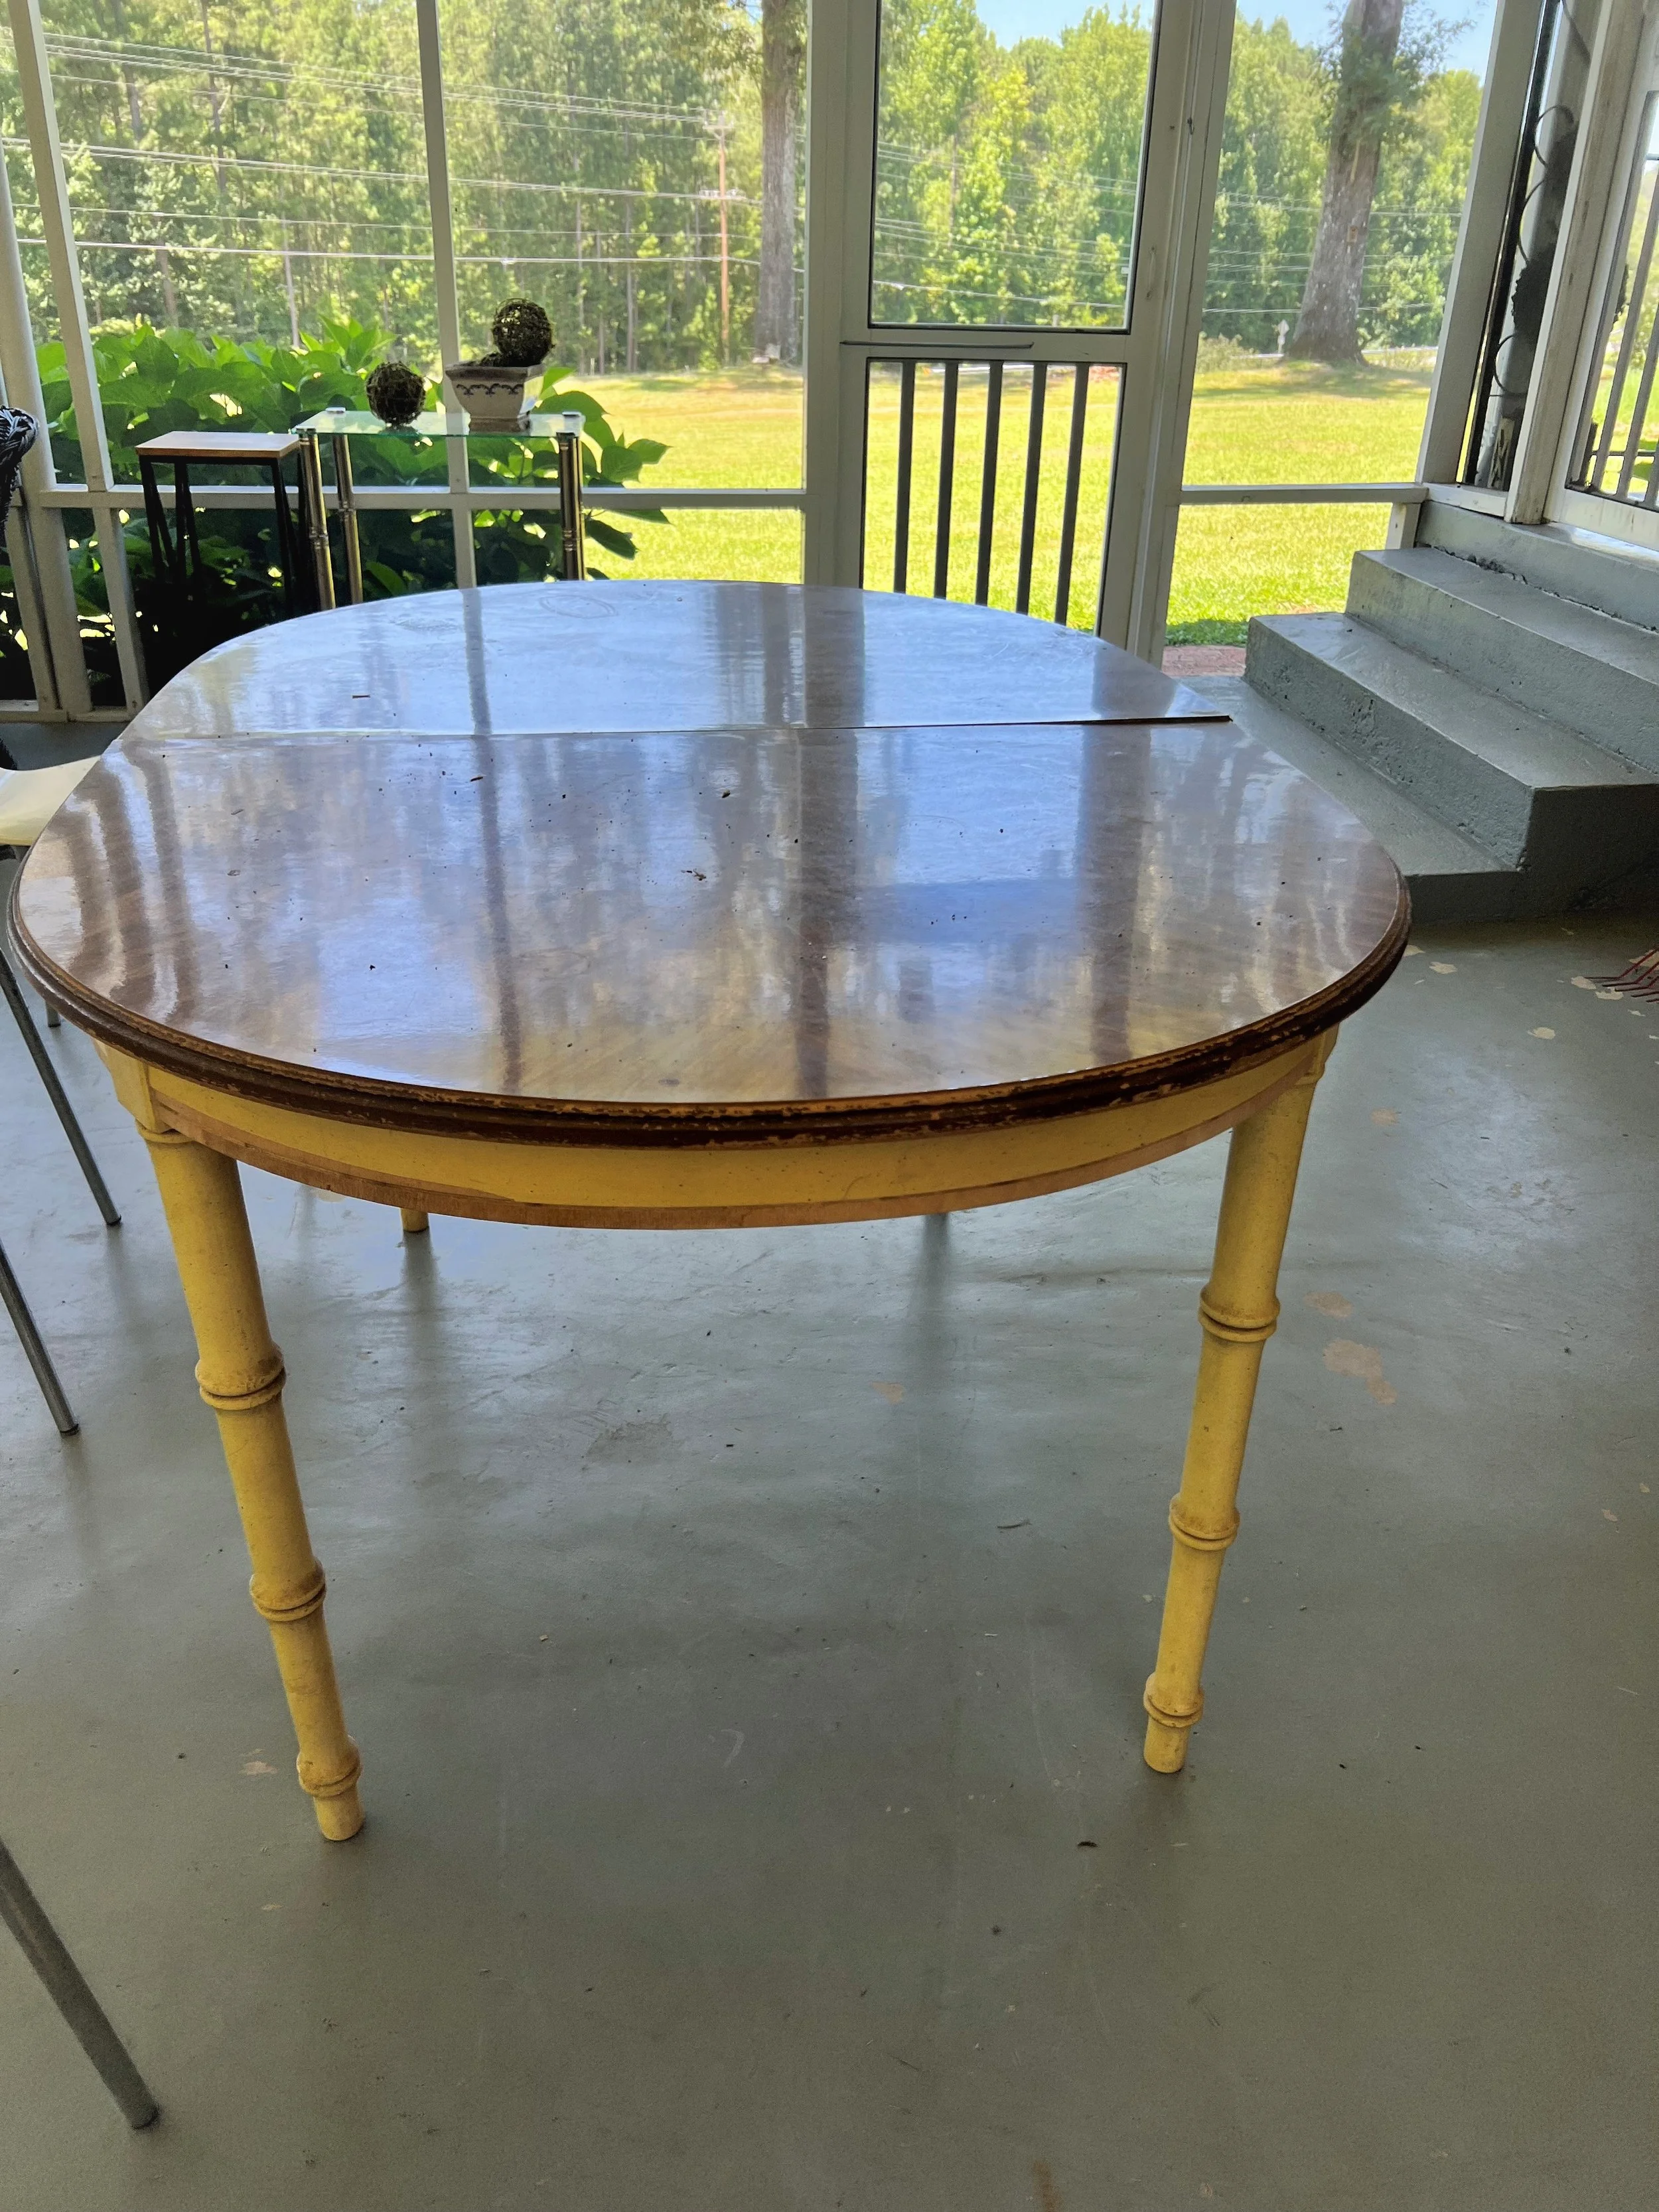
As soon as I saw BEHR’s video on TikTok announcing Challenge #2, I immediately knew which table I was going to tackle for my entry to the contest. Yes, that dirty, old, forgotten 1960’s vintage rattan dining table I had weathering away on my screened in porch is EXACTLY what popped into my head (cobwebs & all).
I acquired this table almost 3 years ago at a local rental house going out of business and selling their inventory. It was the last day of the sale that I stopped into the shop & I saw this dining set along with 6 chairs. They had it listed for $100 but when the owner saw me looking at the set, she offered it to me for only $40 for all 10 pieces (1 table, 3 leaflet inserts, & 6 chairs). I quickly obliged and handed her the $40 as quickly as I could. At this time in my life I was still living with my parents but actively looking for a home of my own. I stored the dining set in their garage along with my other thrifted, yard-sale, & flea market second-hand finds for my home. 2 months after purchasing it, I made an offer on a home with a dream of a screened in porch and I knew that this table would make the perfect addition to the large porch area for entertaining. Fast forward to now (2 & 1/2 years later) and I still haven’t gotten around to sprucing up this dining table and it’s been long overdue!
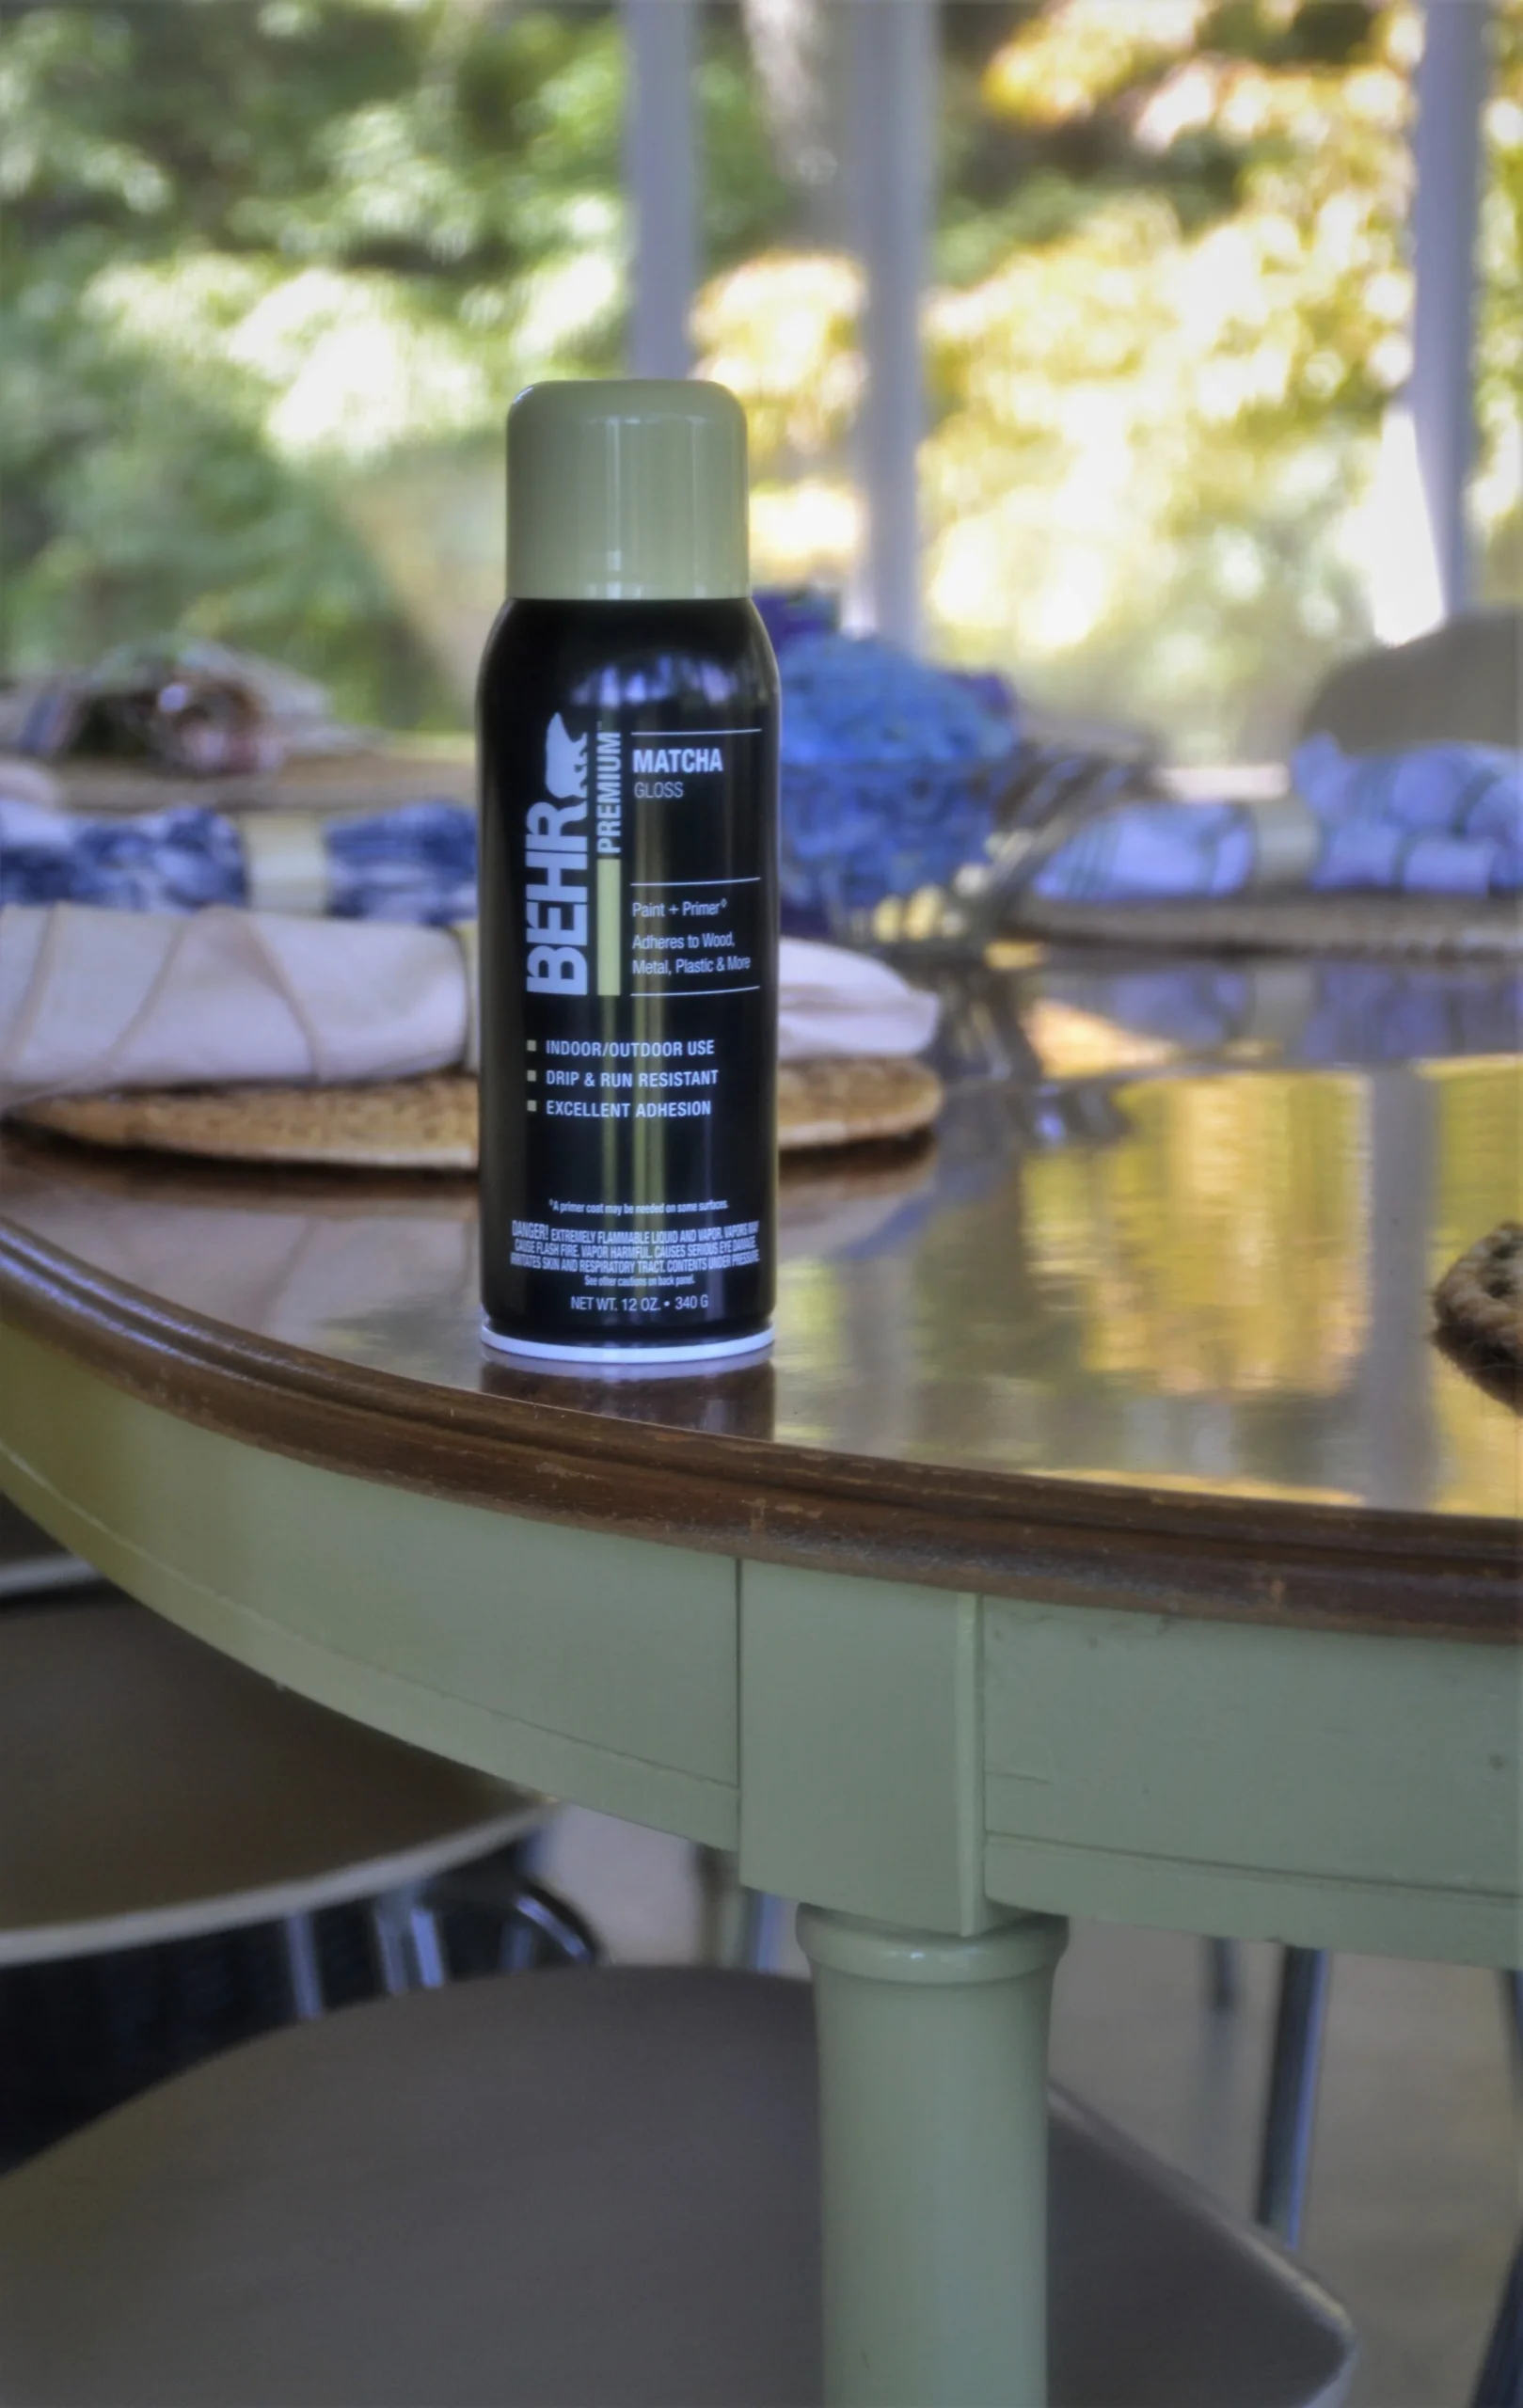
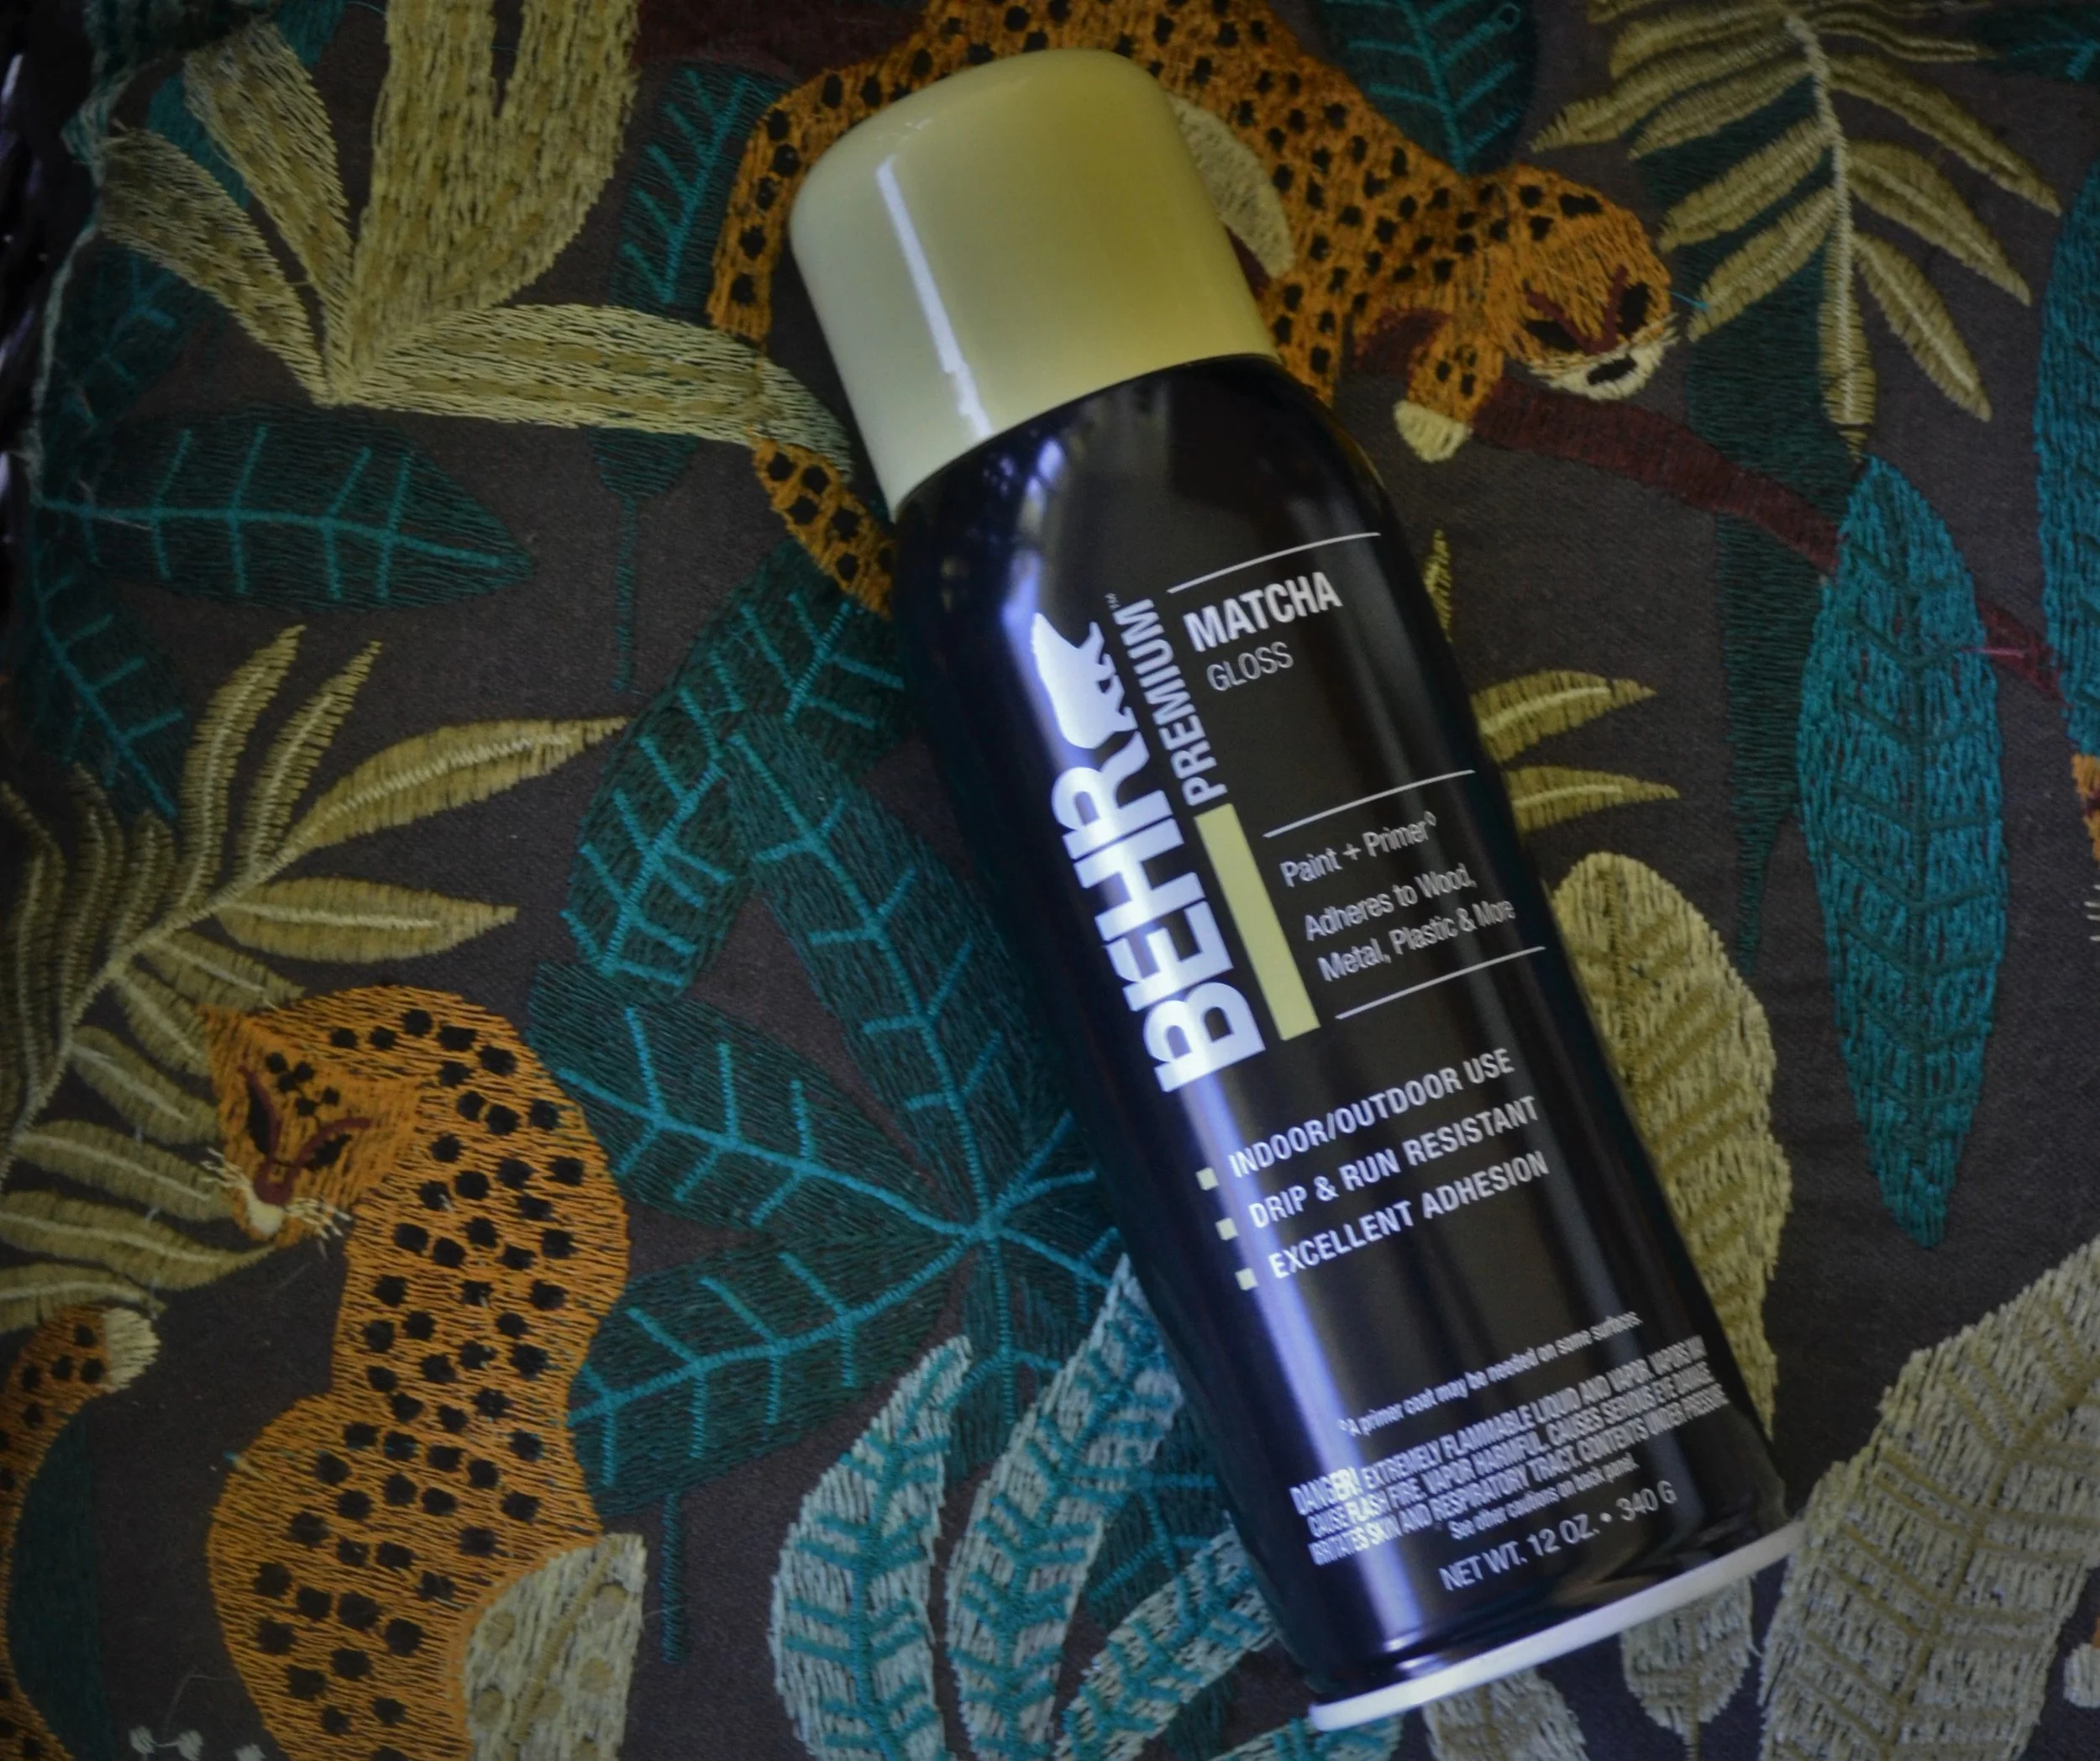
My intent for this table was to never alter the original beauty or integrity of this piece. I knew I wanted to leave the table surface itself alone as it is in decent condition. The only 2 items that required attention were the wood veneer peeling around the round edges below the table’s surface. This was a simple fix and only required me to peel it off by hand and then use a knife for those trickier areas that were more difficult. Lastly, I wanted to add a fresh coat of paint. I like the original yellow color but it didn’t vibe with my color pallet for my porch. When looking through BEHR’s potential color options offered in their spray paint, I was overwhelmed (in a positive way) with the many color options. I was immediately drawn to the color Matcha. I ran to my local Home Depot & went straight to the paint section to grab myself 2 cans of their Premium Matcha Gloss Interior/Exterior Spray Paint.
Check out what this table looked like before..
The Vintage Rattan Table Restoration Process
Here are some of the products I recommend for furniture restoration projects like this one:
KILZ Chalk Spray Paint – Ultra matte finish for upcycling furniture, works on wood, wicker & rattan: Shop on Amazon
Amy Howard Chalky Mineral Spray Paint – No stripping, sanding, or priming needed: Shop on Amazon
Whether you’re tackling your first vintage rattan table restoration or you’re a seasoned DIYer, the BEHR paint line makes it easy to achieve professional-looking results on any budget.
This post may contain affiliate links. I may earn a small commission at no extra cost to you if you make a purchase through these links. I only recommend products I personally use and love.
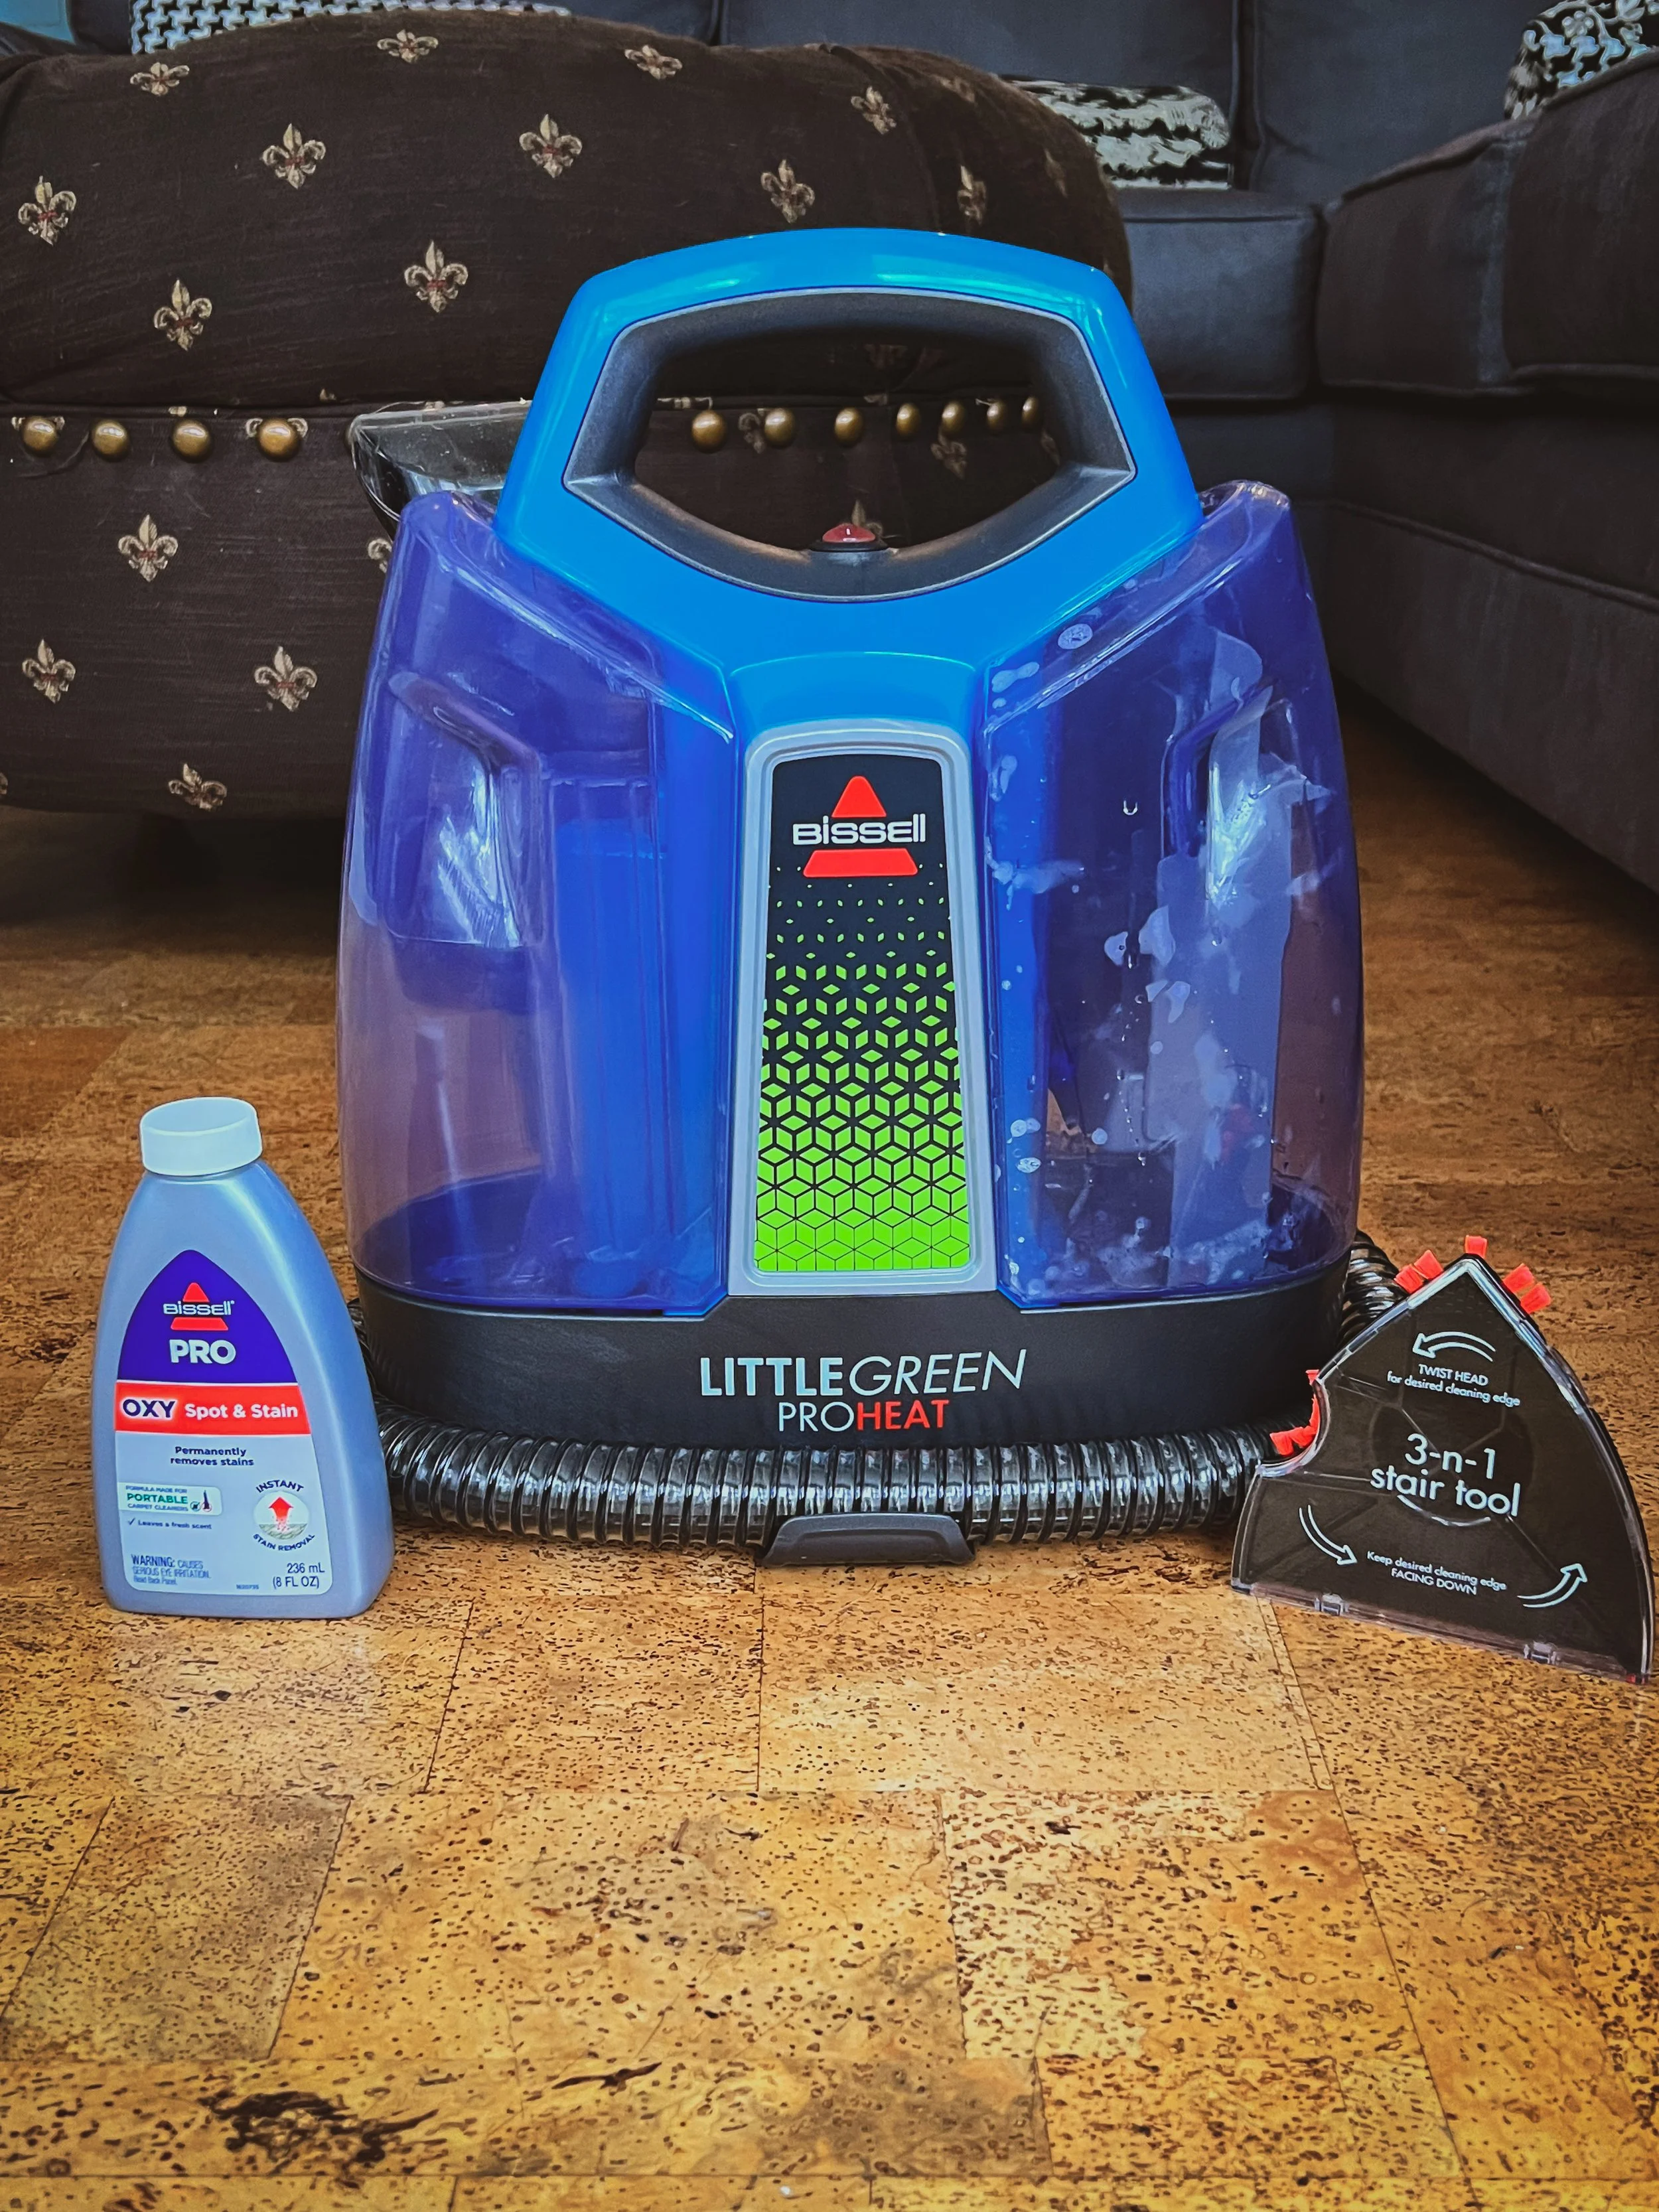
I was first introduced to the Bissell Little Green Machine over 1.5 years ago via a viral cleaning trend on TikTok & ever since I have been absolutely OBSESSED with Bissell’s line of upholstery and carpet cleaning machines and am now trying out my 3rd one, the LittleGreen ProHeat!
With now 5 dogs in our home, it is an absolute MUST for me to clean the couch like this at least every couple of weeks. Even when I had only 1 dog, I was surprised at how much dirt and debris the vacuum would remove each time and I swear I will forever be using the Bissell line of upholstery & carpet cleaning machines religiously for my entire life.
Final Rating 10/10!
Bissell LittleGreen ProHeat Overall Review:
Lightweight & easy to move around due to it’s smaller size
Tanks stand up by themselves (unlike the Bissell Little Green Portable Spot and Stain Cleaner)
The HydroRinse cleaning tool is such a great asset to ensure you’re properly maintaining the machine!
Spray entire surface of couch with the machine as a pre-coat before vacuuming.
Begin vacuuming couch and be sure to use the vacuum portion only to suck in any remaining water you have previously sprayed. This may take multiple vacuum run-throughs per area to ensure you suck out as much water as possible.
Repeat process until the dirty tank water is clear enough to your desire.