Last updated: June 5, 2026 · By Anna Katherine Page
This post contains affiliate links. If you buy through them I may earn a small commission, at no extra cost to you. I only recommend products I actually use.
Quick answer: Here are the spray paint tips that matter most: warm the can in water before you start, shake it well, and apply the paint in short, light, sweeping strokes that begin and end past the edges of your object. Thin coats beat thick ones every single time.
If your spray paint projects come out drippy, splattered, or uneven, the problem usually is not the paint. It is the prep and the technique. I have spray painted a lot of thrifted furniture, and the difference between a blotchy finish and a smooth, professional one comes down to a handful of small habits. Here are the spray paint tips I use on every project.
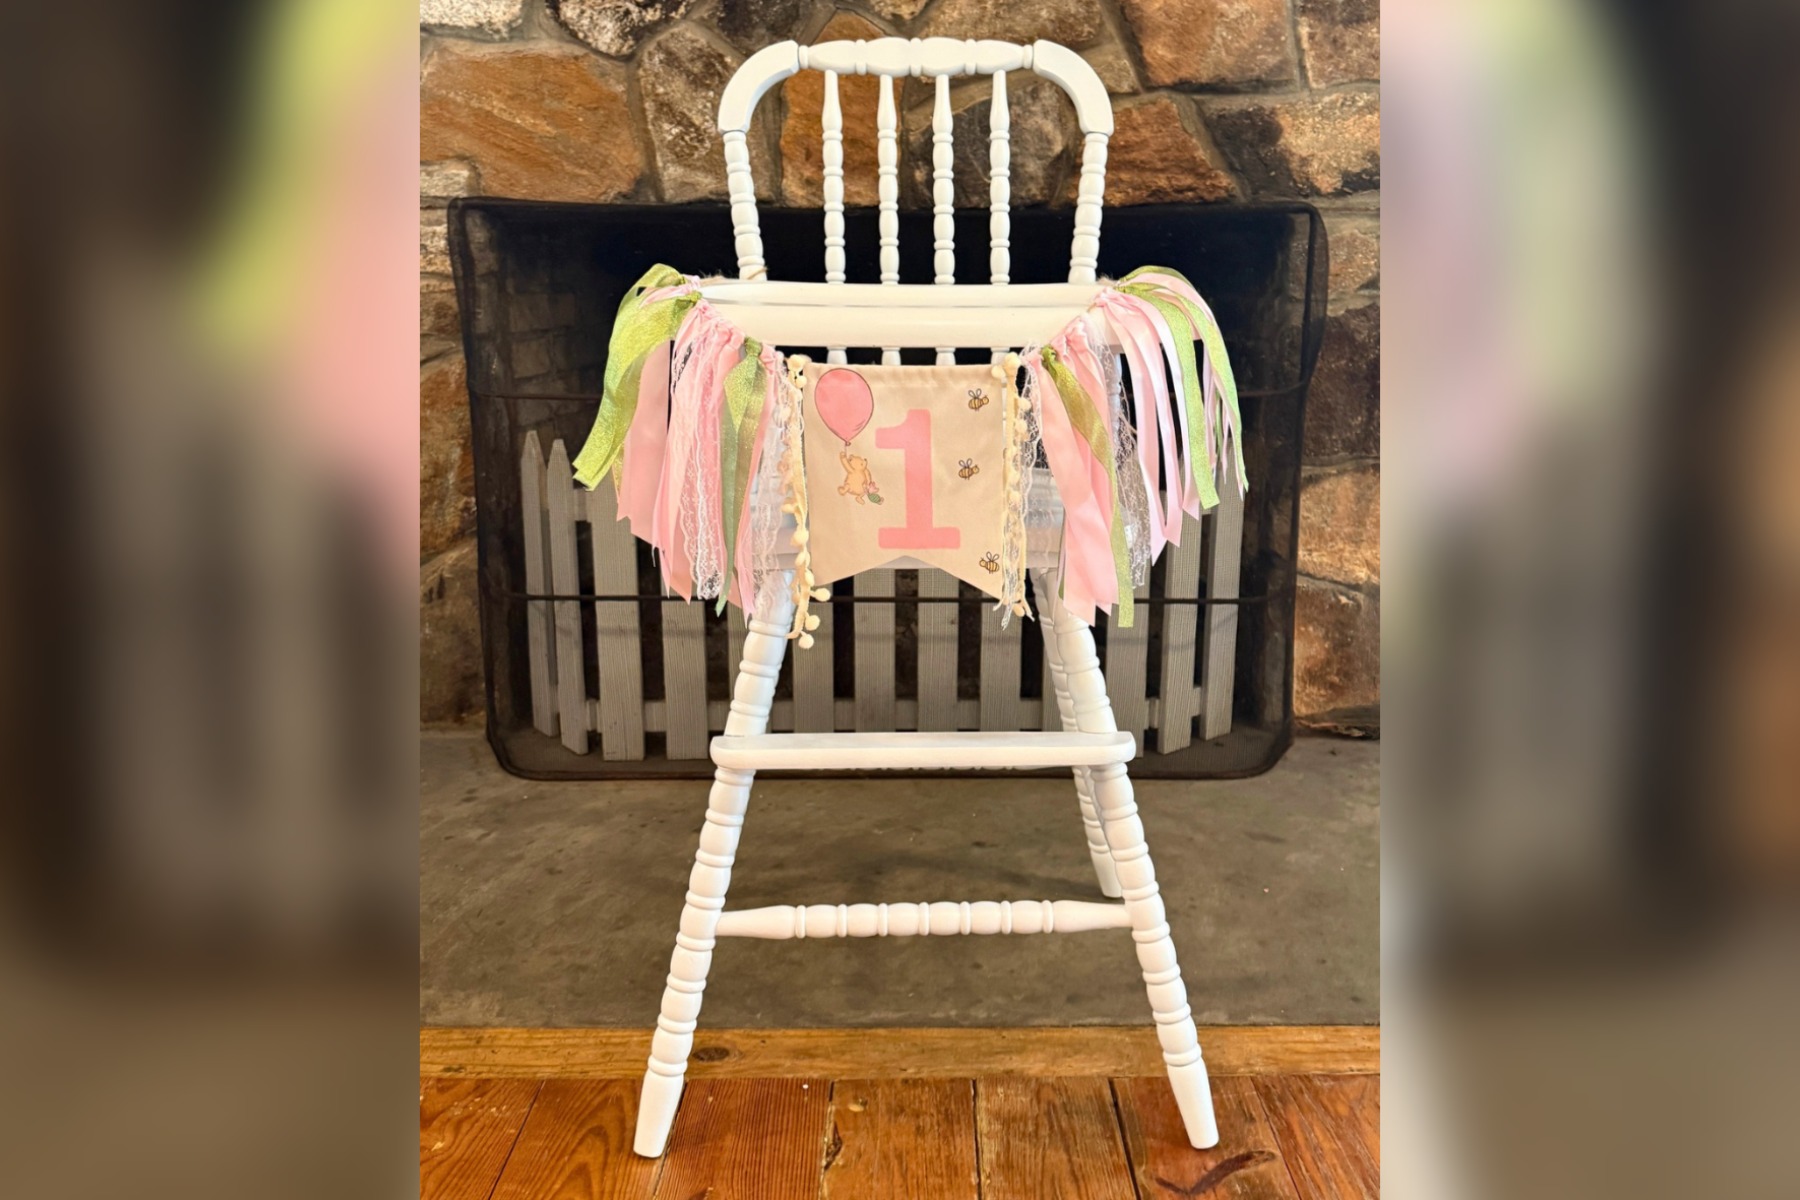
A bit of context: I filmed these tips while repainting a vintage 1980s Jenny Lind high chair, refinishing it from black back to white to use as a rental piece for my event rental business. If you want the full backstory, I wrote up the whole Jenny Lind high chair makeover separately.
Most uneven finishes trace back to two mistakes: paint that is too thick or unevenly mixed, and a spraying motion that lingers too long in one spot. When you hold the can still over one area, paint pools and runs. When the paint itself is cold or poorly shaken, it sprays in a rough, spattered pattern. Fix those two things and the finish takes care of itself.
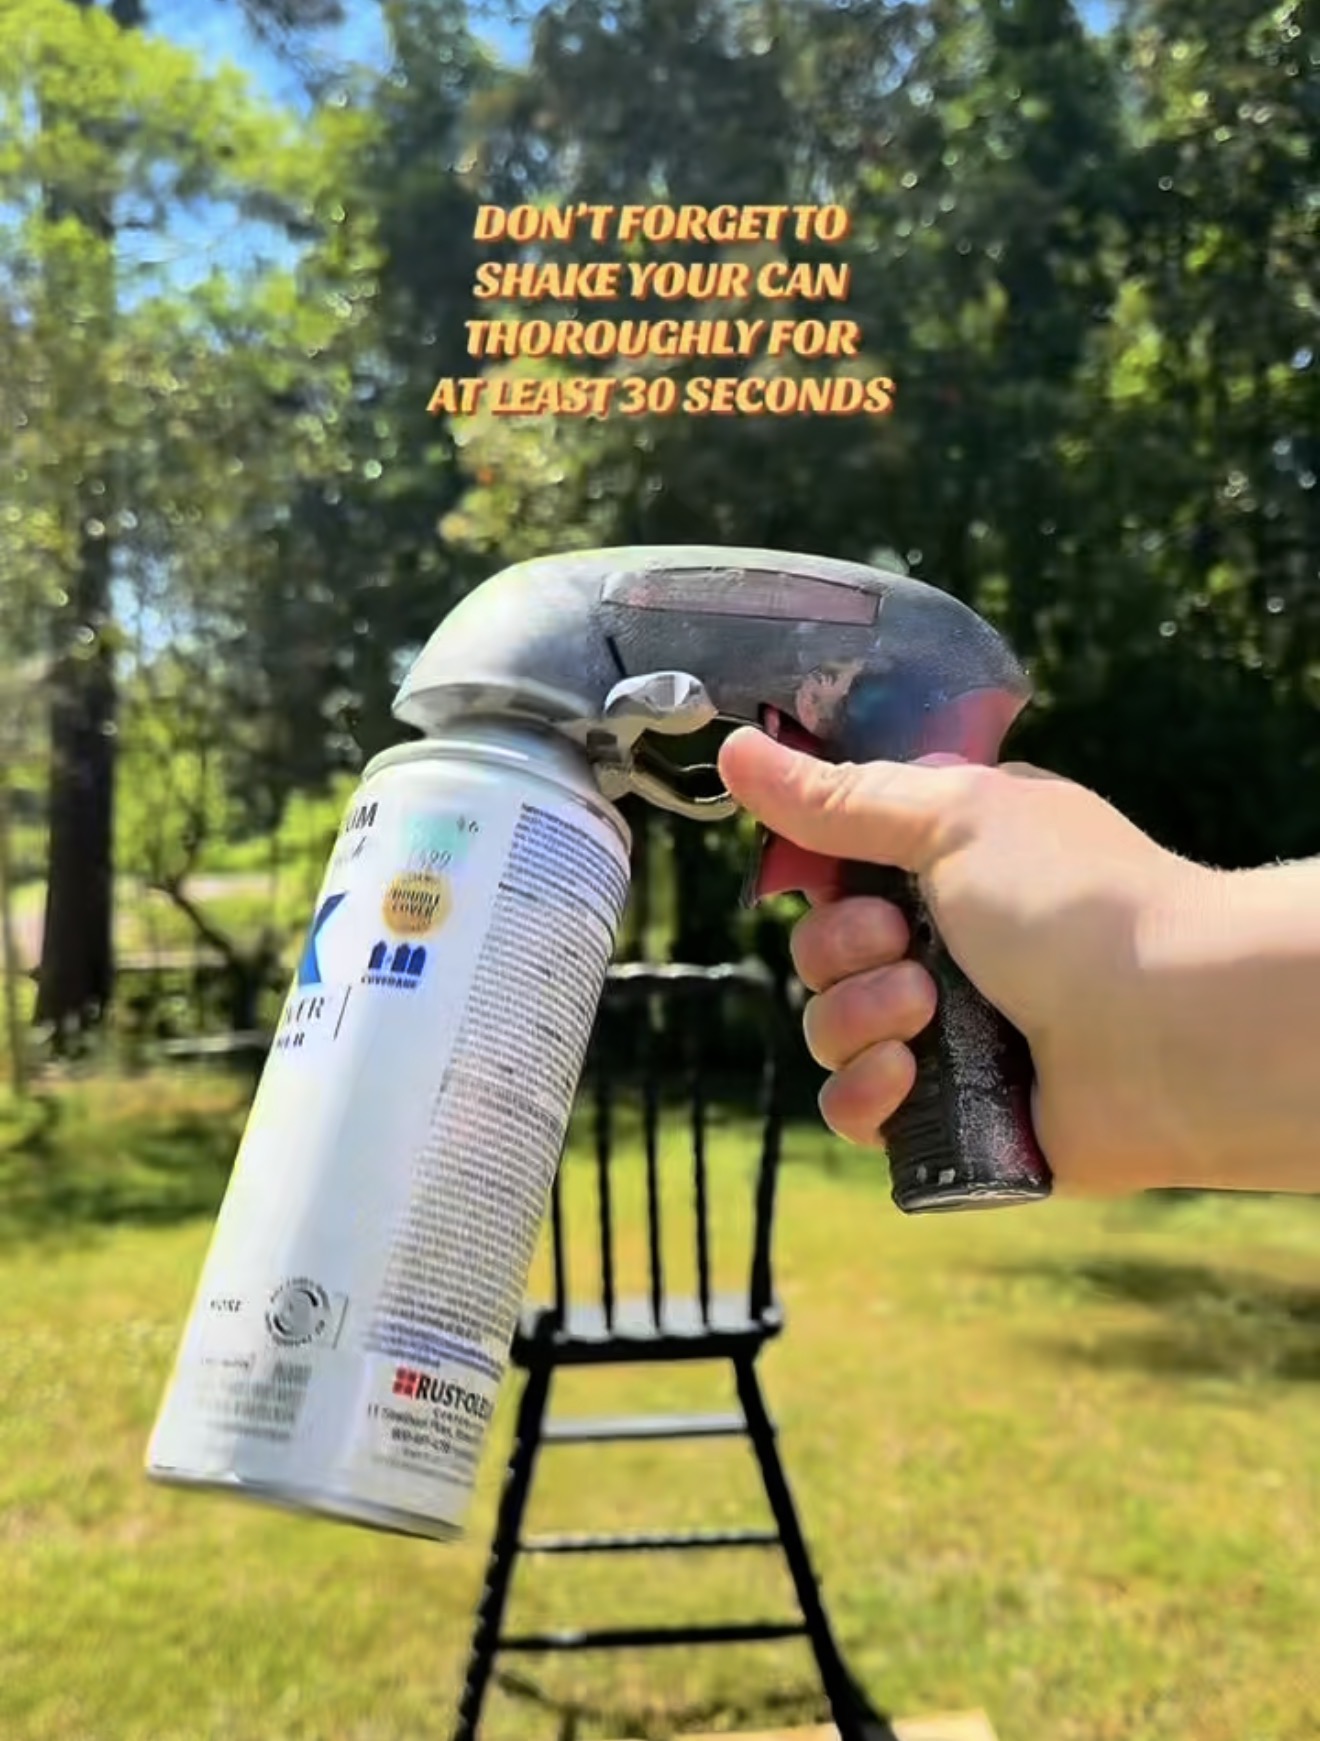
A spray paint trigger handle. This clips onto the can and makes your strokes far steadier. I use the Rust-Oleum Comfort Grip trigger.
A drop cloth and a well-ventilated space.
The two tools that do the heavy lifting: Rust-Oleum satin spray paint and the Comfort Grip trigger.
Spray paint tips: how to get a smooth finish, step by step
Warm the can in water. Set the can in a bucket of warm water for about 60 seconds. This brings the paint to a smoother, more even consistency before it ever leaves the nozzle. Use warm water only, never hot, and never heat an aerosol can any other way.
Attach a trigger handle. Clip the trigger attachment onto the top of the can, lined up centered so it snaps on properly. A trigger gives you far more control than pressing the tip with one finger.
Shake well. Shake the can for a good 30 seconds so the paint is fully mixed.
Start your stroke past the object. Begin spraying just off to the side of your object, not directly on it. Starting straight on the piece leaves an uneven, splattered patch where the spray first bursts out.
Use short, smooth, sweeping strokes. Move the can in short, consistent passes. Never hold it in one spot. Keep the motion light and steady all the way across.
Finish past the object too. Carry each stroke all the way off the far edge before you release. Start past it, end past it. That is what keeps the coat even from edge to edge.
Build up thin coats. Apply one light coat, then let it dry for about 30 minutes to an hour. Come back and add the next thin layer. Thin coats stacked slowly always beat one thick, drippy pass.
Spray paint tips: how many coats do you need?
It depends on the color and the surface, but plan on several thin coats rather than two heavy ones. On my high chair project I used three full cans of satin white to reach a clean, even finish. Keep adding light layers until the color looks solid and consistent, letting each one dry in between. Manufacturers agree on the light-coat approach: Krylon notes that most aerosol spray paints are dry to the touch in roughly 20 to 25 minutes and ready to handle in about an hour.
Mistakes to avoid
Spraying a cold, under-shaken can. Warm it, shake it, then spray.
Holding the can in one place. This is the number one cause of drips and runs.
Starting or stopping your stroke on the object. Always begin and end past the edges.
Loading on thick coats to save time. Thick coats stay tacky, sag, and ruin the finish.
Painting in high humidity. Damp air slows drying and can cloud the finish.
Key takeaways
Warm the can in water and shake it for 30 seconds before spraying.
A trigger handle gives you steadier, smoother strokes.
Start and finish every stroke past the edges of the object.
Build the finish with several thin coats, drying 30 to 60 minutes between each.
Frequently asked questions
Why should you put spray paint in warm water?
Warming the can for about a minute brings the paint to a smoother consistency, so it sprays more evenly and is less likely to spatter. Use warm water, never hot, and never heat an aerosol can directly.
How long should spray paint dry between coats?
About 30 minutes to an hour for a light coat. Manufacturer guidance from Krylon puts most aerosol paints at dry to the touch in 20 to 25 minutes, but drying time varies with paint and humidity, so check the can before recoating.
How do you avoid drips when spray painting?
Keep the can moving in short sweeping strokes, never pausing in one spot, and apply thin coats. Drips happen when paint pools, which is caused by lingering too long or spraying too heavily.
Do you really need a spray paint trigger handle?
It is not required, but it makes a real difference. A trigger steadies your hand, reduces finger fatigue, and helps you keep an even, consistent stroke across the whole piece.
What temperature should you spray paint in?
Aim for a mild, dry day, roughly 65 to 85 degrees with low humidity. Cold air and damp conditions both slow drying and can leave a rough or cloudy finish.
Why is my spray paint coming out rough or spotty?
The usual causes are a cold or under-shaken can, holding the can too long in one area, or spraying in high humidity. Warm the can, shake it well, and keep your strokes light and moving.
About Anna Katherine
I refresh thrifted furniture and home decor on a budget and share the real, hands-on process. Follow along for honest DIY projects and the small techniques that make them look professional, on TikTok and YouTube.
Want to see these strokes in action? Watch on TikTok, or replay the YouTube Short above.