Last updated: June 5, 2026 · By Anna Katherine Page
This post contains affiliate links. If you buy through them I may earn a small commission, at no extra cost to you. I only recommend products I actually use.
Quick answer: A compressed coconut coir brick expands into about 16 quarts of seed starting mix in 120 seconds with just warm water. No more hauling heavy bags of soil from the store or wrestling them out of the car, and this seed starting mix holds moisture noticeably better than most bagged options.
If you have ever lugged a 30-pound bag of soil out of a car for spring seed starting, this is the seed starting mix hack you have been waiting for. One compressed coir brick the size of a paperback book turns into 16 quarts of light, moisture-holding seed starting mix in 120 seconds. No back strain, no plastic bag of dust, and a better result for your seedlings.
The biggest barrier to starting seeds at home is the soil itself. Bagged seed starting mix shows up at the store as dense, heavy, plastic-wrapped bags. You haul one through the parking lot, wrestle it into the car, drive it home, and lug it out again. By the time you get to the actual planting, your back is already done. And the mix inside is often dried out, hard to wet evenly, and runs water right off the top of the pot.
This seed starting mix hack solves both problems at once: it weighs almost nothing, and it holds water like a sponge.
What you’ll need for this seed starting mix hack
A compressed coconut coir brick. Small, dense, paperback-sized. Look for one that expands to 16 quarts or more. (Shop compressed coir bricks on Amazon)
Warm water, which activates the brick faster than cold.
A bucket or large container to expand it in.
That is it. No store run mid-project, no heavy bag waiting in the garage all season.
How to make seed starting mix in 120 seconds
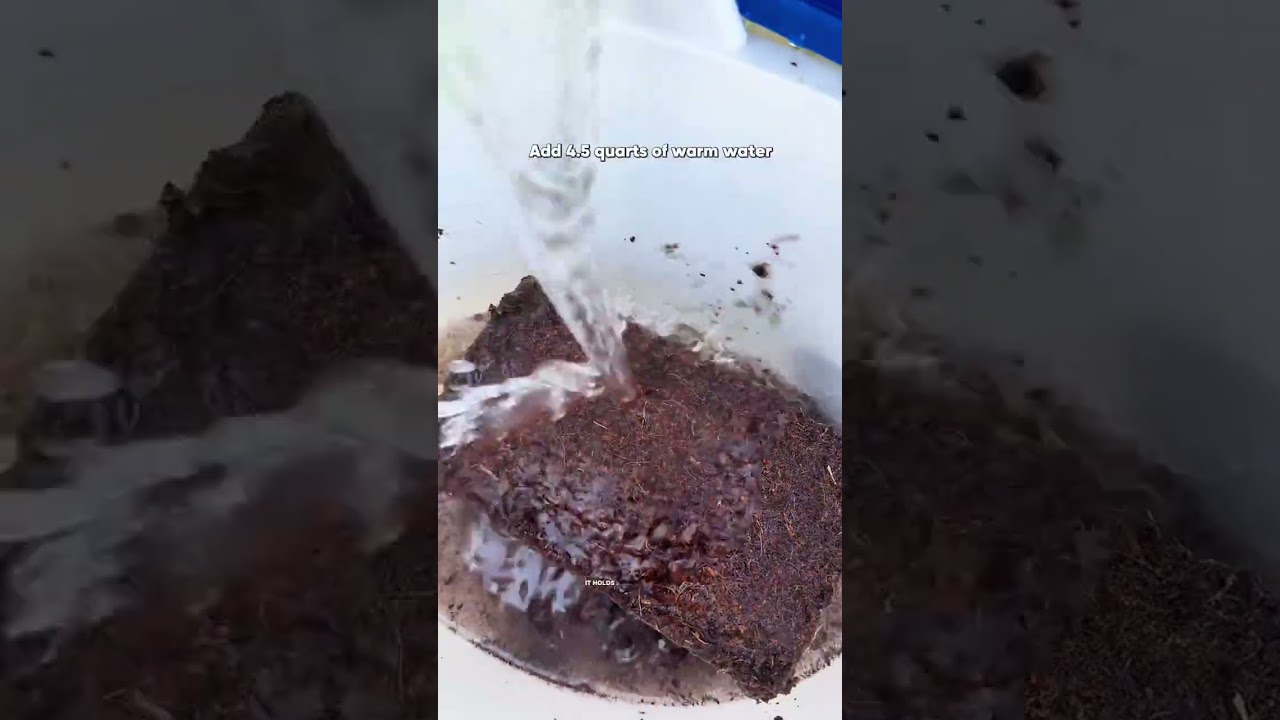
Set the brick in your bucket. One brick handles a full 16-quart batch of seed starting mix.
Pour warm water over it. Use the amount the package calls for, usually around a gallon.
Wait about 120 seconds. The brick swells and breaks apart into a fluffy, dark mix.
Fluff it with your hands or a hand trowel. Break up any remaining clumps. You should have 16 quarts of light, moist seed starting mix ready to use.
Fill your trays, pots, or jugs. Plant your seeds at the depth the seed packet recommends, water lightly, and you are good to go.
Why this seed starting mix holds moisture better
Compressed coir is processed coconut husk fiber. Once it expands, it forms a light, airy matrix that holds water through the whole pot rather than letting it pour straight out the bottom. For seedlings, that is a huge advantage. Young roots cannot survive a dry spell, and a mix that stays evenly damp without going soggy gives them the best start. It is a quieter benefit than the “no heavy bags” headline, but for actual germination rates, it matters more.
Using it for winter sowing in jugs
If you are starting seeds in outdoor jugs over winter, the well-loved winter sowing technique where you sow in cleaned milk jugs and set them outside to overwinter, this seed starting mix is ideal. The expanded coir is light enough to scoop easily into a jug, holds the seeds in place, and stays evenly moist through freezing-thawing cycles. Get the jugs prepped in late winter and the seeds wake up on their own as spring arrives.
Key takeaways
A compressed coir brick plus warm water makes 16 quarts of seed starting mix in 120 seconds.
Weighs a fraction of bagged mix and stores small until you need it.
Holds moisture better than typical bagged options, which means stronger seedlings.
Works for trays, pots, and outdoor winter sowing jugs.
Frequently asked questions
What is coconut coir and is it the same as seed starting mix?
Coconut coir is the fibrous material processed from coconut husks. When compressed and rehydrated it becomes a seed starting mix on its own or mixed with a little perlite.
How much water does a compressed coir brick need?
Follow the package directions, but most standard bricks take about a gallon of warm water to expand fully into roughly 16 quarts of seed starting mix.
Can I use this seed starting mix for transplanting too?
Yes. It works for starting seeds, potting up seedlings, and topping off containers. For larger established plants you may want to blend it with regular potting soil for more nutrients.
Does coconut coir have nutrients in it?
It is low in nutrients on its own, which is fine for germination since seeds carry their own starter food. Once seedlings get true leaves, feed them with a diluted liquid fertilizer.
How long do compressed coir bricks last in storage?
The bricks store almost indefinitely while compressed, as long as they stay dry. Keep one on a shelf and rehydrate it whenever you need fresh seed starting mix.
Can I use this for winter sowing in milk jugs?
Yes. The expanded coir is light, holds moisture through freeze-thaw cycles, and scoops cleanly into jugs, which makes it a good fit for winter sowing.
About Anna Katherine
I am a South Carolina gardener documenting a real cut-flower and pollinator garden, season by season. I share what works, what flops, and the small hacks like this one that make the biggest difference. Follow the garden on TikTok and YouTube.
Watch the original demo and follow more garden hacks on TikTok.
Last updated: June 5, 2026 · By Anna Katherine Page
This post contains affiliate links. If you buy through them I may earn a small commission, at no extra cost to you. I only link to products I actually use in my own garden.
Quick answer: Here is how to cold stratify milkweed seeds: fold them into a damp paper towel, seal it in a labeled plastic bag, and refrigerate for about two weeks before planting. This mimics winter and tells the seeds it is safe to germinate. Skip this step and most milkweed seeds stay dormant, which means fewer blooms and fewer monarch butterflies in your yard.
Every spring I plant milkweed to bring monarch butterflies into my garden, and there is one step almost everyone skips that makes the biggest difference in whether those seeds actually come up. It is called cold stratification, it takes less than five minutes of hands-on work, and it costs nothing. This year I am starting five different varieties of milkweed, and I prep every single one the same way. Here is exactly how to cold stratify milkweed seeds, why it matters, and the simple paper-towel method I use.
What is cold stratification, and why do milkweed seeds need it?
Cold stratification is a period of cold, moist conditions that a seed needs before it will germinate. Milkweed is native to North America, and in nature its seeds drop in the fall, sit on the ground through the cold, damp winter, and sprout in spring. That winter chill is a signal. It tells the seed that the dangerous cold has passed and it is safe to grow.
When you start milkweed seeds straight from a packet without that cold period, you are skipping the signal. The seeds do not know winter is over, so a large share of them simply stay dormant. If your milkweed seeds have ever failed to come up, this is the most likely reason. Conservation groups agree on the fix: the Xerces Society notes that germination is significantly improved by a period of cold, moist stratification before sowing. Get this step right and reliable milkweed is what fills a yard with monarchs.
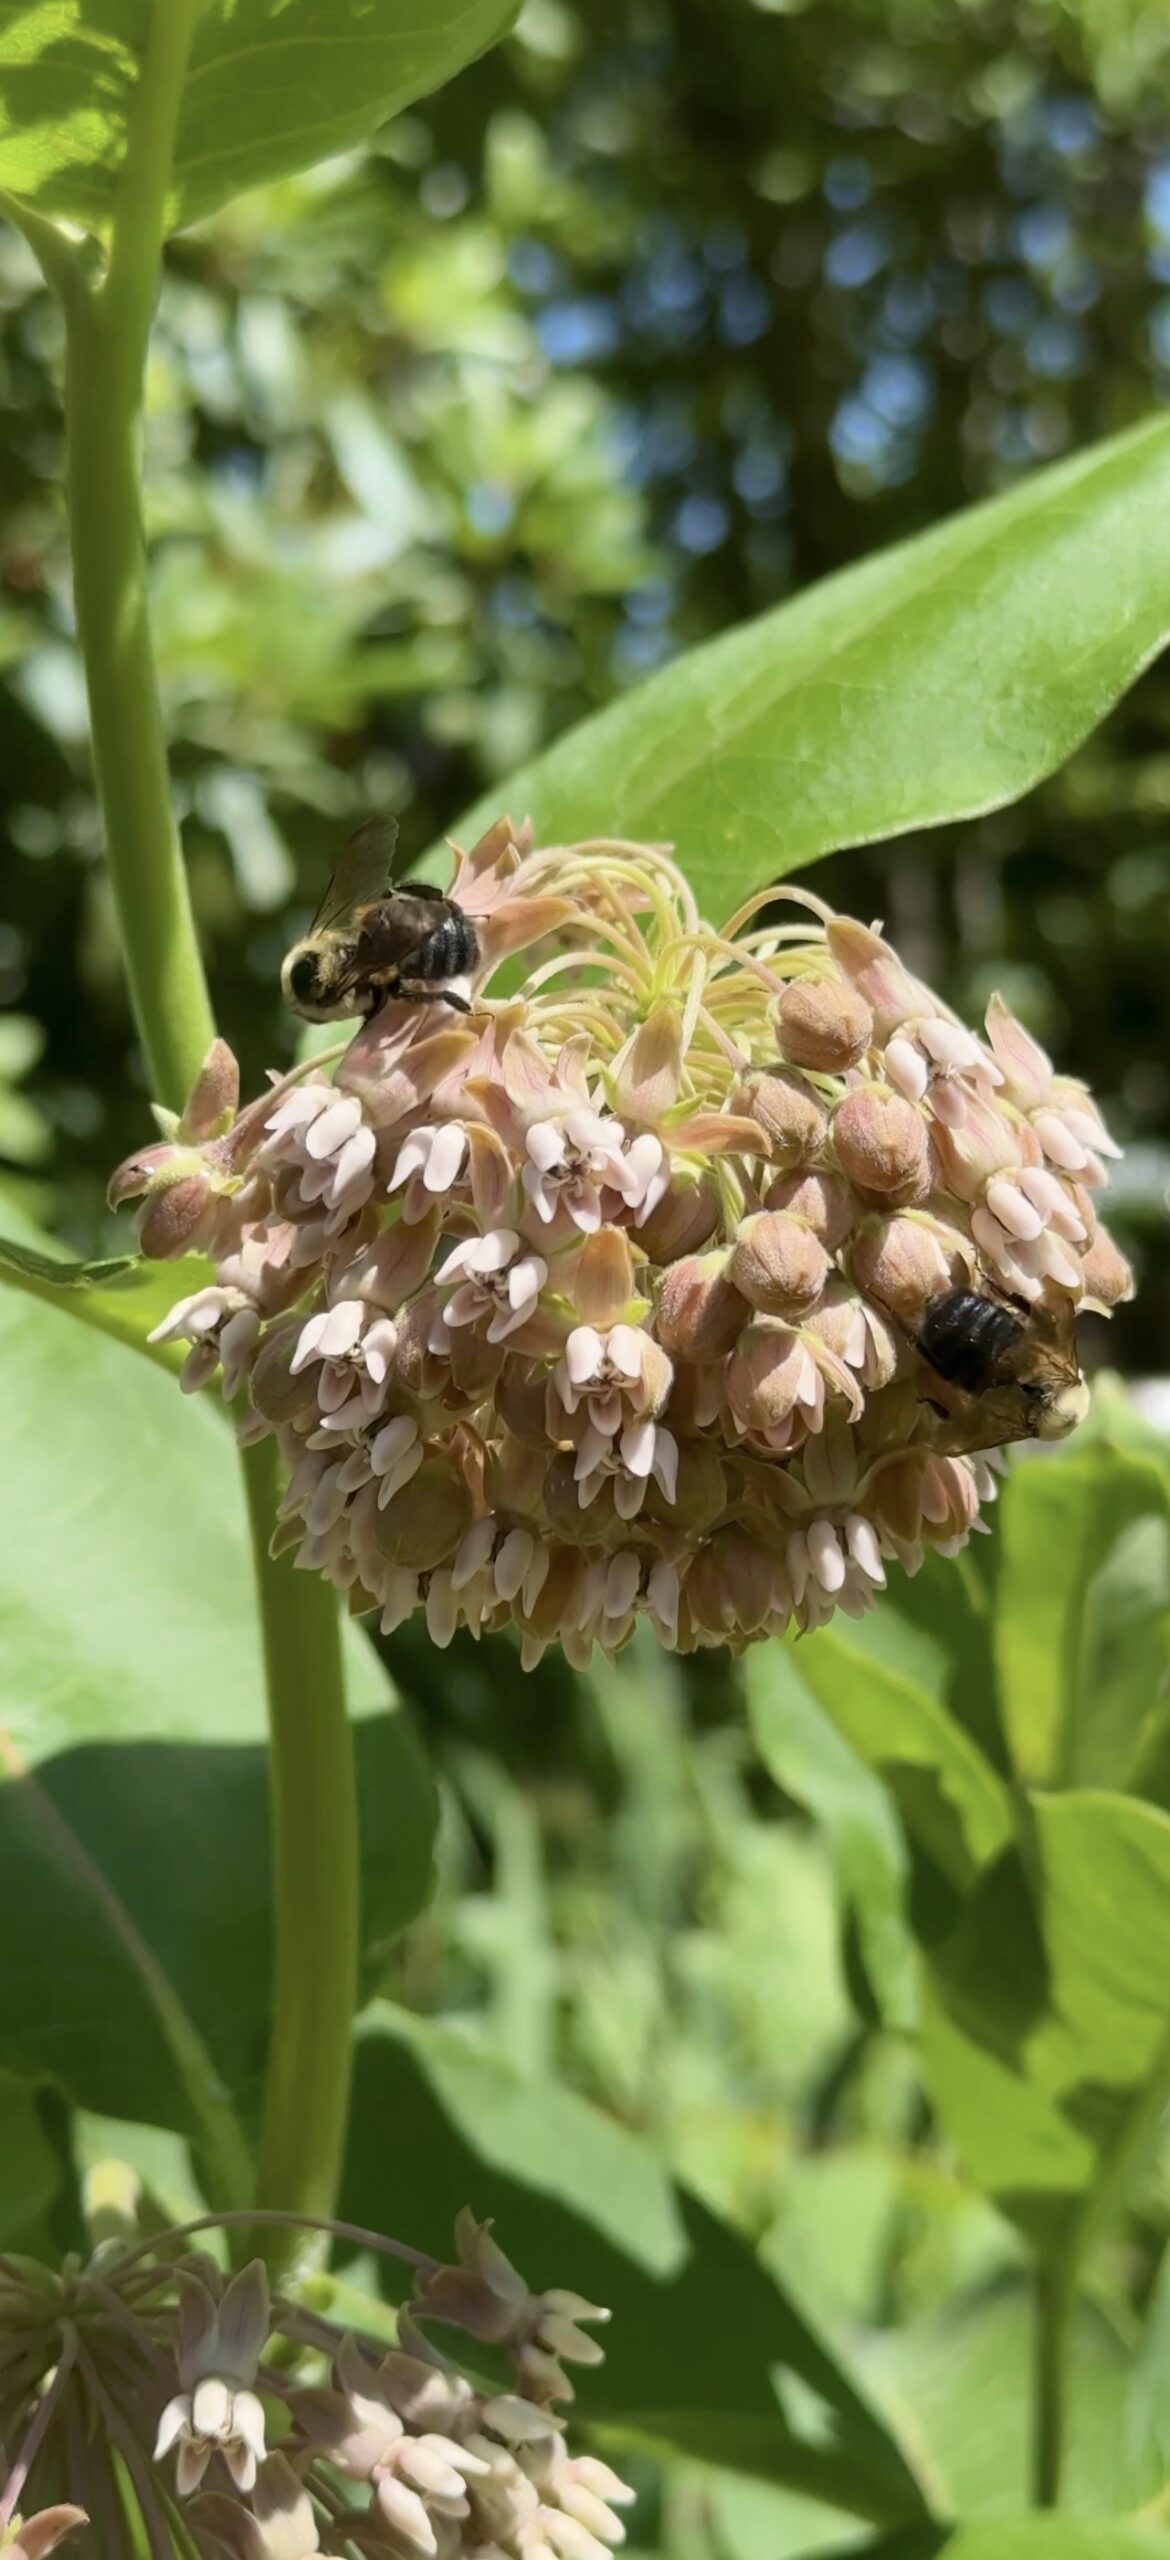
Milkweed in my own garden, doing exactly what it is meant to do: feeding pollinators.
A zip-top plastic bag (any freezer-style bag works)
A marker for labeling
That is it. No special equipment, no greenhouse, no grow lights. Just a spot in your refrigerator.
How to cold stratify milkweed seeds, step by step
Dampen the paper towel. Wet the paper towel, then squeeze out the extra water. You want it moist and damp, not dripping or soaking. Too much water is one of the easiest ways to ruin the process.
Fold it in half. A single fold gives you a clean surface to lay seeds on.
Add your seeds. Spread the milkweed seeds across one side of the towel. Keep them all together on the same side rather than scattering them, which makes them far easier to peel off later.
Fold it up. Fold the towel over the seeds a few more times, keeping the seeds gathered in one spot. Avoid rolling the towel and tucking seeds in at different points; they will be a nightmare to separate.
Re-check the moisture. Give it a quick feel. If it has dried out, dip it lightly again, keeping it damp but never soaked.
Bag and label it. Slide the folded towel into a zip-top bag and write the date on the bag with a marker. Labeling matters more than it sounds. In two weeks you will not remember when you started.
Refrigerate for about two weeks. Put the bag in your refrigerator and set an alarm or calendar reminder on your phone for 14 days out.
Plant. When the two weeks are up, take the seeds out and plant them. They are now ready to germinate.
One small tip: hang on to your original seed packets. They carry the planting depth and spacing instructions you will want when stratification is done.
How long do milkweed seeds need to be cold stratified?
About two weeks in the refrigerator is a dependable window, and it is the timing I use. Monarch conservation groups, including the Xerces Society, recommend going longer for the highest possible germination rates, in the range of 30 to 40 days of cold, moist conditions. Longer never hurts. The key is that the seeds spend that whole time cold and consistently damp, which is exactly what the paper-towel-in-a-bag method gives you.
When should you start?
Count backward from your last spring frost. Begin cold stratifying about two to three weeks before you intend to plant, so the seeds finish chilling right as your planting window opens. I start mine in early March, which lines the seeds up perfectly for spring planting in my area. Milkweed variety does not change the timing. Showy, common, swamp, or butterfly weed all get the same chill.
Common mistakes to avoid
Too much water. A soaking towel can rot seeds. Damp is the target.
Scattering seeds through a rolled towel. Keep them in one spot so you can actually retrieve them.
Not labeling the bag. Two weeks is long enough to completely forget your start date.
Skipping stratification entirely. This is the big one. It is the difference between a few sad sprouts and a yard full of milkweed.
What it looks like when it works
Get the seed-starting step right and milkweed becomes one of the hardest-working plants in the garden. A few months after planting, mine is covered in pollinators from morning to evening, as you can see in this clip from my own garden.
Yes. Every milkweed variety benefits from it, and the process is identical for all of them. Seeds bought fresh from a packet have not been through a natural winter, so they need the cold period before they will reliably germinate.
Can you cold stratify milkweed seeds in the freezer instead of the fridge?
Use the refrigerator, not the freezer. The goal is cold and damp, like winter ground, not frozen solid. The fridge holds the right temperature range.
What happens if you don’t cold stratify milkweed seeds?
Most of them stay dormant. You may get a few sprouts, but germination rates drop sharply, which means far fewer plants and fewer monarchs.
How long can stratified seeds stay in the fridge before planting?
Two weeks is the target, but leaving them a little longer does not harm them. Just plant them once your outdoor conditions are ready.
Can you cold stratify milkweed by planting seeds outdoors in fall?
Yes. Sowing milkweed seeds outdoors in fall lets the natural winter handle the cold, moist stratification for you. The refrigerator method simply gives you the same result on your own schedule when spring planting.
Does cold stratification work for other flower seeds?
Yes. Many native perennials such as coneflowers and lupine need the same treatment. The paper-towel-and-fridge method carries straight over.
About Anna Katherine
I am a South Carolina gardener documenting a real cut-flower and pollinator garden, season by season. I share what works, what flops, and the small steps like this one that make the biggest difference. You can follow the garden on TikTok and YouTube.