Last updated: June 5, 2026 · By Anna Katherine Page
This post contains affiliate links. If you buy through them I may earn a small commission, at no extra cost to you. I only recommend products I actually use in my own garden.
Quick answer: Here is how to propagate hydrangeas from cuttings: take a healthy stem cutting, dip the cut end in rooting hormone, and plant it in moist potting soil. Keep the cutting consistently damp in bright indirect light for the next few weeks while it grows roots. This is how I propagate hydrangeas every season to get endless free plants from the ones I already have.
If you want more hydrangeas in your yard without buying a single new plant, this is the way. Learning how to propagate hydrangeas from cuttings turns one shrub into many, costs almost nothing, and only takes a few minutes of hands-on work. I use the same three-step method every season and it works.
One mature hydrangea can give you a dozen new plants in a single afternoon. That is the math that makes propagation worth learning. Knowing how to propagate hydrangeas means you can fill a whole border for free, share rooted cuttings with friends and neighbors, or quietly multiply a favorite variety that is hard to find at the nursery. It is also the easiest way to keep a specific hydrangea going if the original plant ever gets damaged or dies.
When to take hydrangea cuttings
The best window is late spring through early summer, when the plant has put out new soft green growth but stems are not yet fully woody. These softwood cuttings root the fastest. Early morning is the best time of day because the stems are full of moisture before the heat sets in.
Take a stem cutting. Choose a healthy, non-flowering stem with new green growth. Cut a 4 to 6 inch section just below a leaf node. Strip the lower leaves so only the top two remain. If the top leaves are large, cut them in half to reduce water loss.
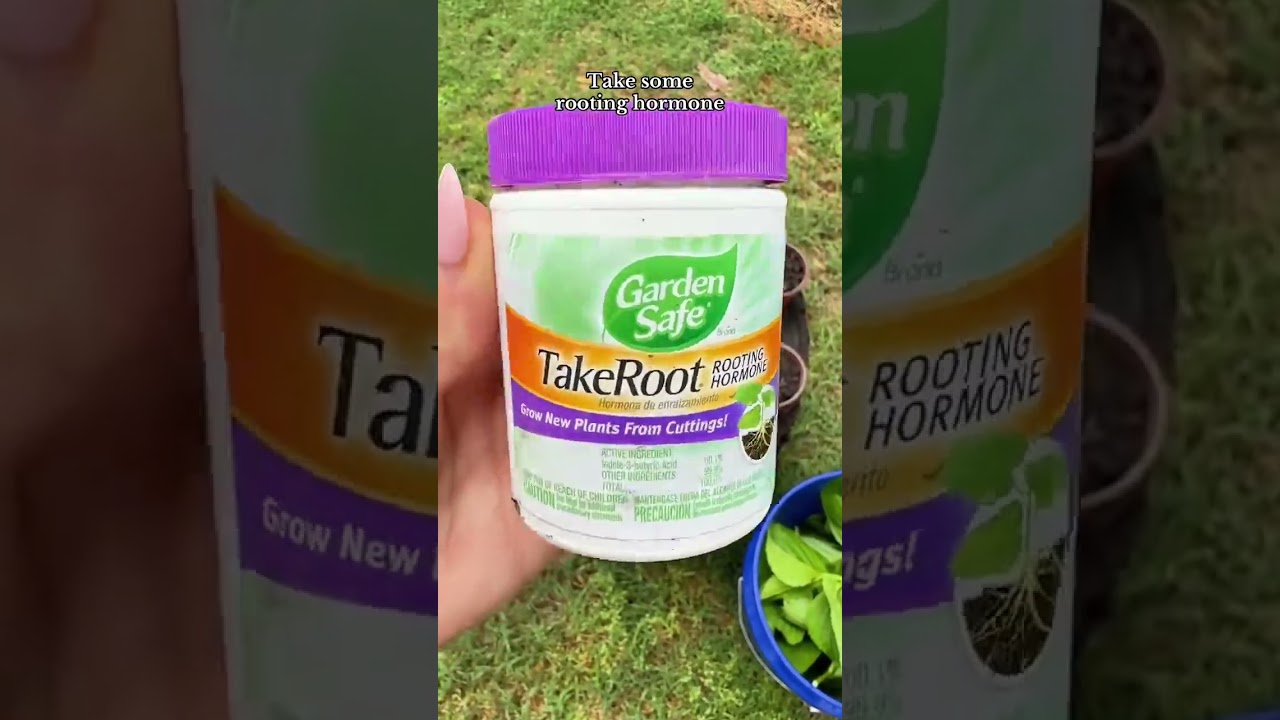
Dip the cut end in rooting hormone. Wet the bottom inch of the cutting and dip it into Garden Safe TakeRoot or another rooting hormone powder. Tap off the excess. The hormone is what tells the cutting to focus on producing roots instead of pushing out new leaves.
Plant in moist potting soil. Make a hole in damp potting soil, slide the dipped cutting in, gently press the soil around the stem to hold it upright, and water lightly to settle everything in.
After-care: keeping the cuttings alive
The next few weeks are about keeping the cutting consistently damp without rotting it. Place the pot somewhere with bright, indirect light. Direct afternoon sun will cook a fresh cutting before it has roots. Check the soil daily and water whenever the surface starts to dry. Some gardeners loosely cover the pot with a clear plastic bag or dome to keep humidity high, which can speed things along.
When to expect roots
Most hydrangea cuttings start producing roots within 2 to 4 weeks. You can do a very gentle tug test after about three weeks; if you feel a tiny bit of resistance, roots are forming. Wait until the cutting is well-rooted (usually 4 to 6 weeks total) before transplanting into a larger pot or directly into the garden.
Key takeaways
How to propagate hydrangeas comes down to three steps: cut, dip, plant.
Take softwood cuttings in late spring or early summer for the fastest results.
Rooting hormone like Garden Safe TakeRoot dramatically improves success rates.
Keep cuttings consistently damp in bright indirect light for 4 to 6 weeks.
Frequently asked questions
Can you propagate hydrangeas without rooting hormone?
You can, but success rates are noticeably lower. Rooting hormone signals the cutting to focus on producing roots, which is exactly what you want.
How long does it take to propagate hydrangeas from cuttings?
Most cuttings produce roots within 2 to 4 weeks, with a fully rooted plant ready for transplant around 4 to 6 weeks.
What is the best time of year to propagate hydrangeas?
Late spring through early summer is ideal, when stems are softwood (green and flexible, not yet woody).
Do hydrangea cuttings need direct sunlight?
No. Bright, indirect light is best. Direct afternoon sun will dry out a fresh cutting before it has roots.
Can I propagate hydrangeas in water instead of soil?
Yes, water propagation works. Transfer to soil once roots are about an inch long.
How many cuttings should I take to make sure some succeed?
Plan on 6 to 10 cuttings to virtually guarantee a few thriving plants. The math is easy when cuttings are free.
About Anna Katherine
I am a South Carolina gardener documenting a real cut-flower and pollinator garden, season by season. I share what works, what flops, and the small steps and hacks like this one that make the biggest difference. Follow the garden on TikTok and YouTube.
More garden tutorials and free-plant hacks on TikTok.
Last updated: June 5, 2026 · By Anna Katherine Page
This post contains affiliate links. If you buy through them I may earn a small commission, at no extra cost to you. I only recommend products I actually use.
Quick answer: A compressed coconut coir brick expands into about 16 quarts of seed starting mix in 120 seconds with just warm water. No more hauling heavy bags of soil from the store or wrestling them out of the car, and this seed starting mix holds moisture noticeably better than most bagged options.
If you have ever lugged a 30-pound bag of soil out of a car for spring seed starting, this is the seed starting mix hack you have been waiting for. One compressed coir brick the size of a paperback book turns into 16 quarts of light, moisture-holding seed starting mix in 120 seconds. No back strain, no plastic bag of dust, and a better result for your seedlings.
The biggest barrier to starting seeds at home is the soil itself. Bagged seed starting mix shows up at the store as dense, heavy, plastic-wrapped bags. You haul one through the parking lot, wrestle it into the car, drive it home, and lug it out again. By the time you get to the actual planting, your back is already done. And the mix inside is often dried out, hard to wet evenly, and runs water right off the top of the pot.
This seed starting mix hack solves both problems at once: it weighs almost nothing, and it holds water like a sponge.
What you’ll need for this seed starting mix hack
A compressed coconut coir brick. Small, dense, paperback-sized. Look for one that expands to 16 quarts or more. (Shop compressed coir bricks on Amazon)
Warm water, which activates the brick faster than cold.
A bucket or large container to expand it in.
That is it. No store run mid-project, no heavy bag waiting in the garage all season.
How to make seed starting mix in 120 seconds
Set the brick in your bucket. One brick handles a full 16-quart batch of seed starting mix.
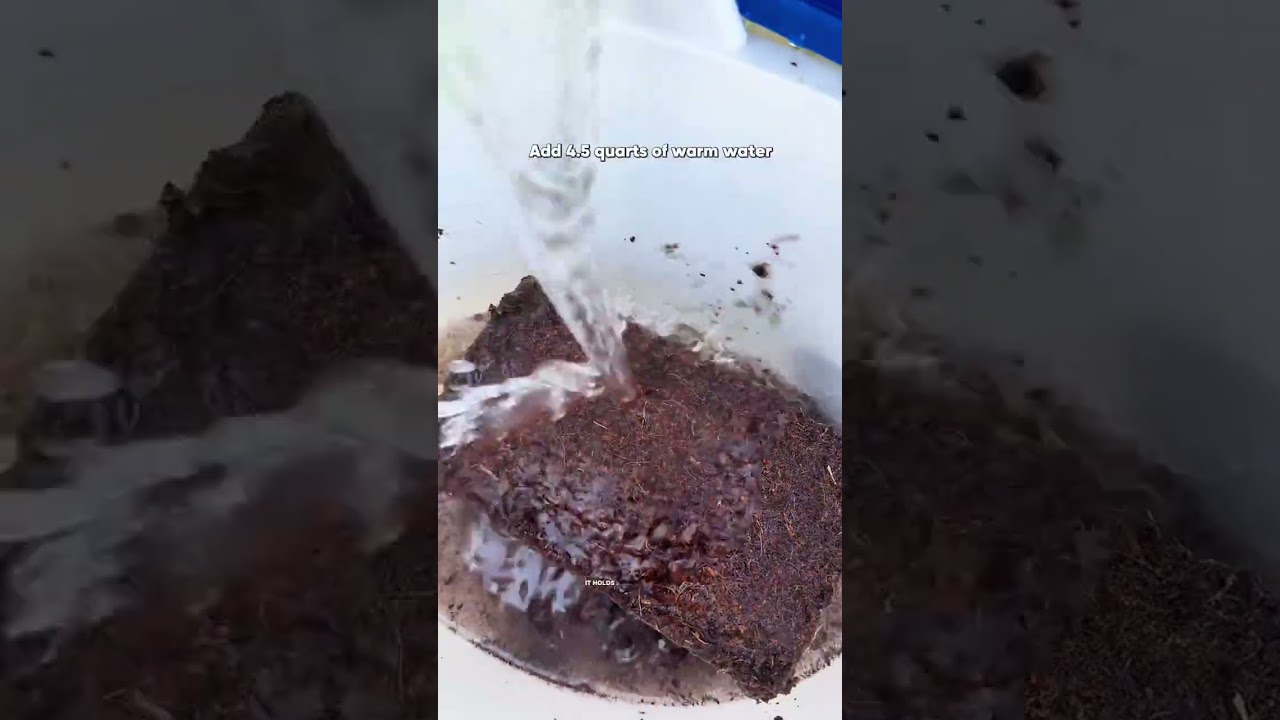
Pour warm water over it. Use the amount the package calls for, usually around a gallon.
Wait about 120 seconds. The brick swells and breaks apart into a fluffy, dark mix.
Fluff it with your hands or a hand trowel. Break up any remaining clumps. You should have 16 quarts of light, moist seed starting mix ready to use.
Fill your trays, pots, or jugs. Plant your seeds at the depth the seed packet recommends, water lightly, and you are good to go.
Why this seed starting mix holds moisture better
Compressed coir is processed coconut husk fiber. Once it expands, it forms a light, airy matrix that holds water through the whole pot rather than letting it pour straight out the bottom. For seedlings, that is a huge advantage. Young roots cannot survive a dry spell, and a mix that stays evenly damp without going soggy gives them the best start. It is a quieter benefit than the “no heavy bags” headline, but for actual germination rates, it matters more.
Using it for winter sowing in jugs
If you are starting seeds in outdoor jugs over winter, the well-loved winter sowing technique where you sow in cleaned milk jugs and set them outside to overwinter, this seed starting mix is ideal. The expanded coir is light enough to scoop easily into a jug, holds the seeds in place, and stays evenly moist through freezing-thawing cycles. Get the jugs prepped in late winter and the seeds wake up on their own as spring arrives.
Key takeaways
A compressed coir brick plus warm water makes 16 quarts of seed starting mix in 120 seconds.
Weighs a fraction of bagged mix and stores small until you need it.
Holds moisture better than typical bagged options, which means stronger seedlings.
Works for trays, pots, and outdoor winter sowing jugs.
Frequently asked questions
What is coconut coir and is it the same as seed starting mix?
Coconut coir is the fibrous material processed from coconut husks. When compressed and rehydrated it becomes a seed starting mix on its own or mixed with a little perlite.
How much water does a compressed coir brick need?
Follow the package directions, but most standard bricks take about a gallon of warm water to expand fully into roughly 16 quarts of seed starting mix.
Can I use this seed starting mix for transplanting too?
Yes. It works for starting seeds, potting up seedlings, and topping off containers. For larger established plants you may want to blend it with regular potting soil for more nutrients.
Does coconut coir have nutrients in it?
It is low in nutrients on its own, which is fine for germination since seeds carry their own starter food. Once seedlings get true leaves, feed them with a diluted liquid fertilizer.
How long do compressed coir bricks last in storage?
The bricks store almost indefinitely while compressed, as long as they stay dry. Keep one on a shelf and rehydrate it whenever you need fresh seed starting mix.
Can I use this for winter sowing in milk jugs?
Yes. The expanded coir is light, holds moisture through freeze-thaw cycles, and scoops cleanly into jugs, which makes it a good fit for winter sowing.
About Anna Katherine
I am a South Carolina gardener documenting a real cut-flower and pollinator garden, season by season. I share what works, what flops, and the small hacks like this one that make the biggest difference. Follow the garden on TikTok and YouTube.
Watch the original demo and follow more garden hacks on TikTok.